Dan’s been back in touch. This time he shows us how he added some detail to his model railroad pond:
“Al, while looking for some single topics, I thought I would tell how I made lily pads.
These lily pads were needed on a layout I did for a friend. Later I will show the entire layout.


I found these on Google. The flowers can also be pink.
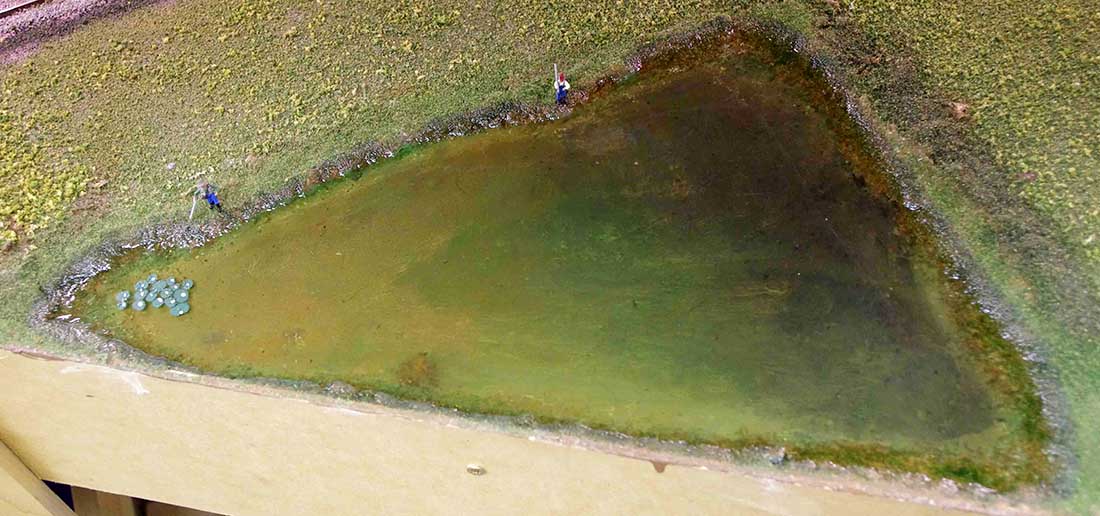
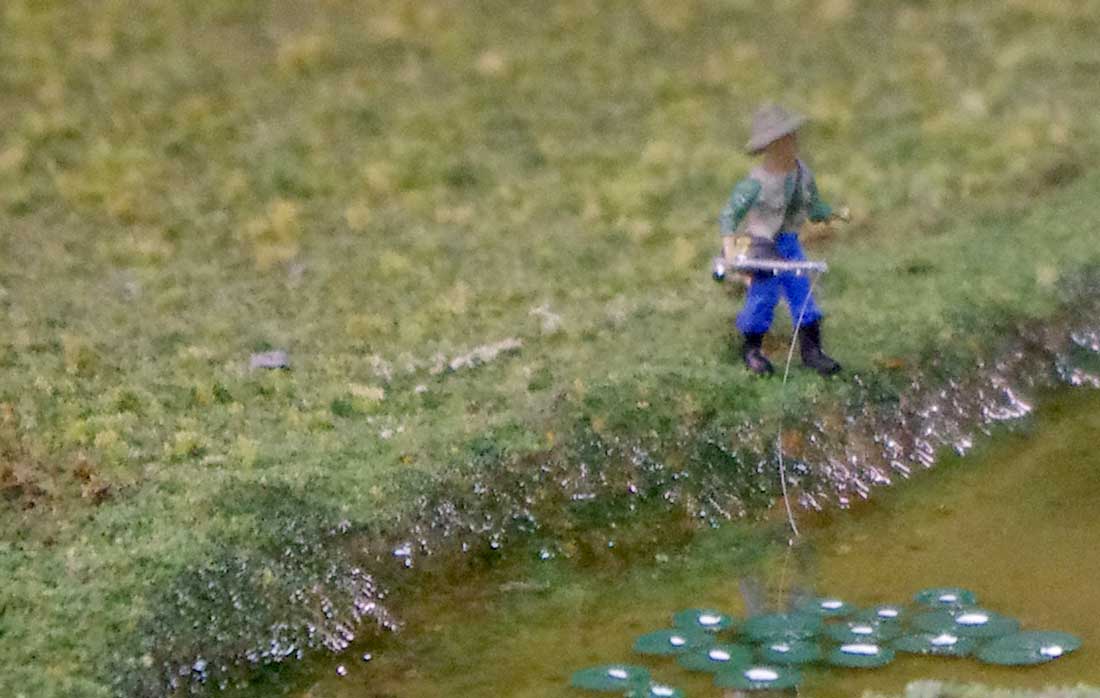
The basic pond idea was to fill in a spot that needed some interest. It is right up to the edge of the lower level of the layout. There are a couple of fishermen looking for dinner.
Lily pads grow in shallow water. You can see the muddy bottom.
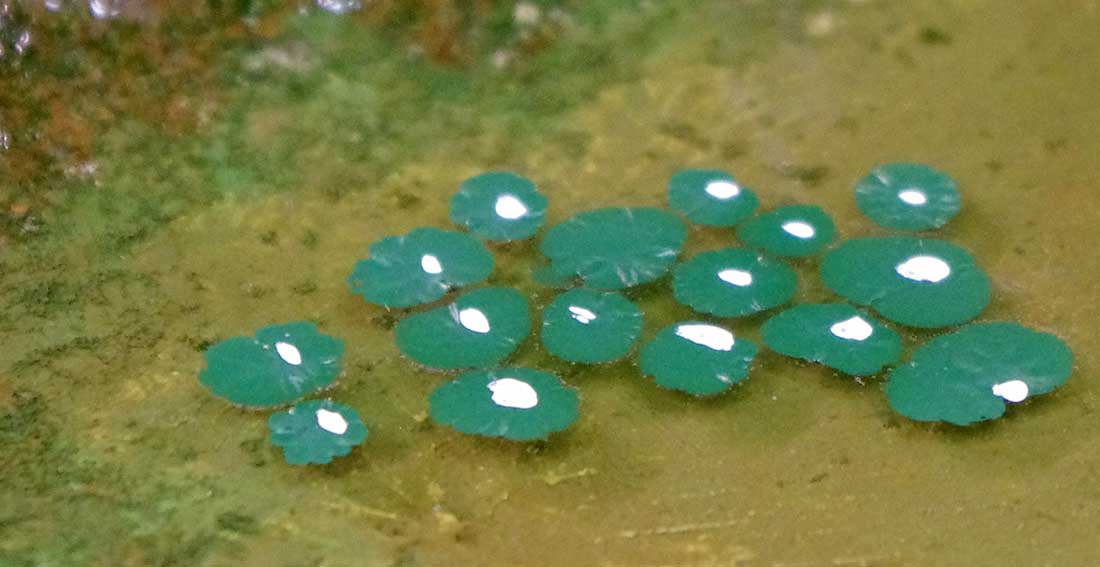
A close up of the pads.
Some molders have used a paper punch to make the pads and glue them on after the Envirotex sets up. I used a different method. The pond is Envorotex over the plaster and painted bottom. I waited about an hour before the next part.
Select the shade of green that you want. I used Matte Acrylic craft paint. Dip a sharp needle in the paint. Pull out the needle with a small drop of paint. Carefully dip the needle in the Envirotex and slowly pull the needle out. This will make the shape you see in Photo 7. Repeat as many times as pads you need. I cleaned the needle each time to avoid a build up that could cause a bad pad. The next day I used a small pointed brush and painted on the flower. The owner wanted white flowers.
The epoxy causes the wrinkled edge and slightly heart shape, I think. Just like the “prototype.”
Have fun!
Dan*”
A big thanks to Dan for showing us how he added lilly pads to his model railroad pond.
(Dan’s last ‘pond’ post is here: HO scale water ponds.
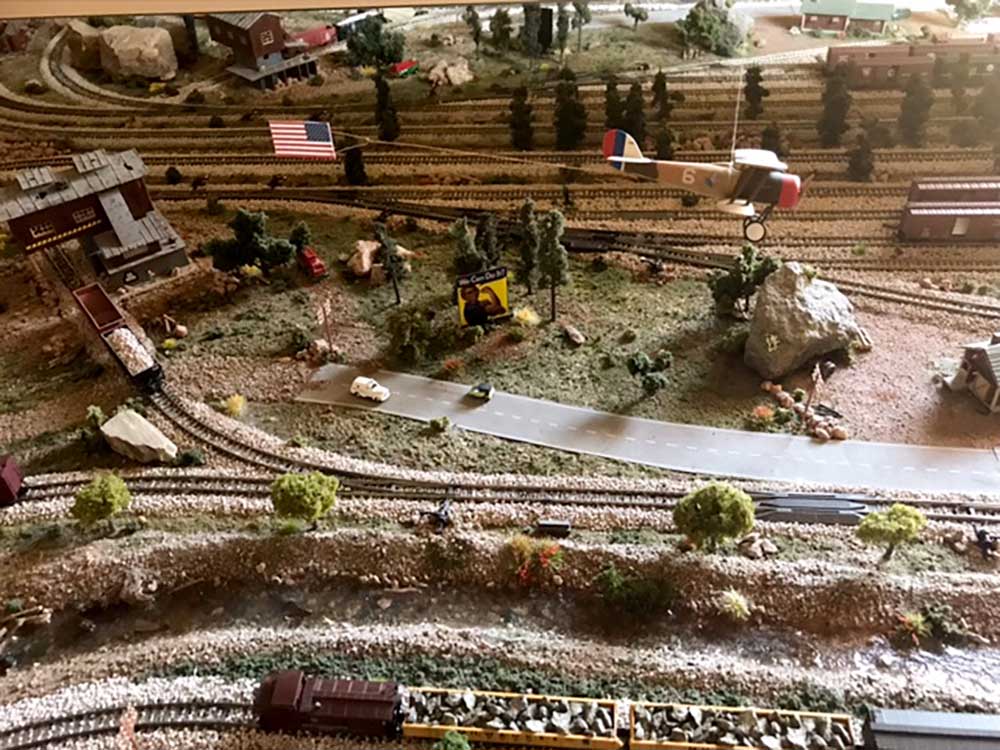
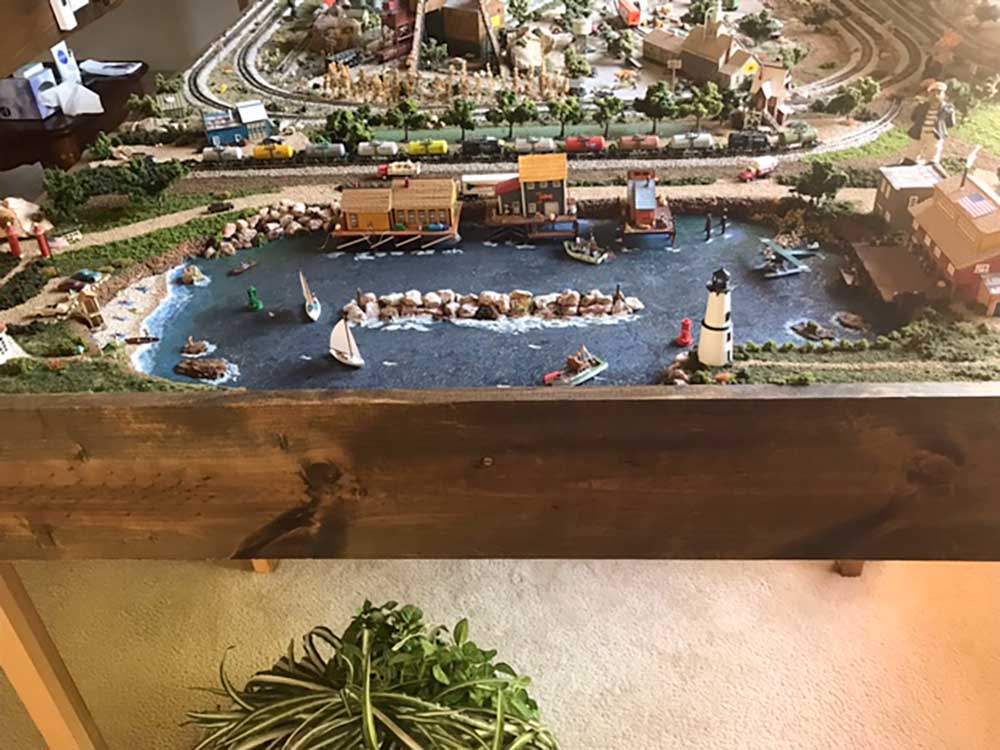
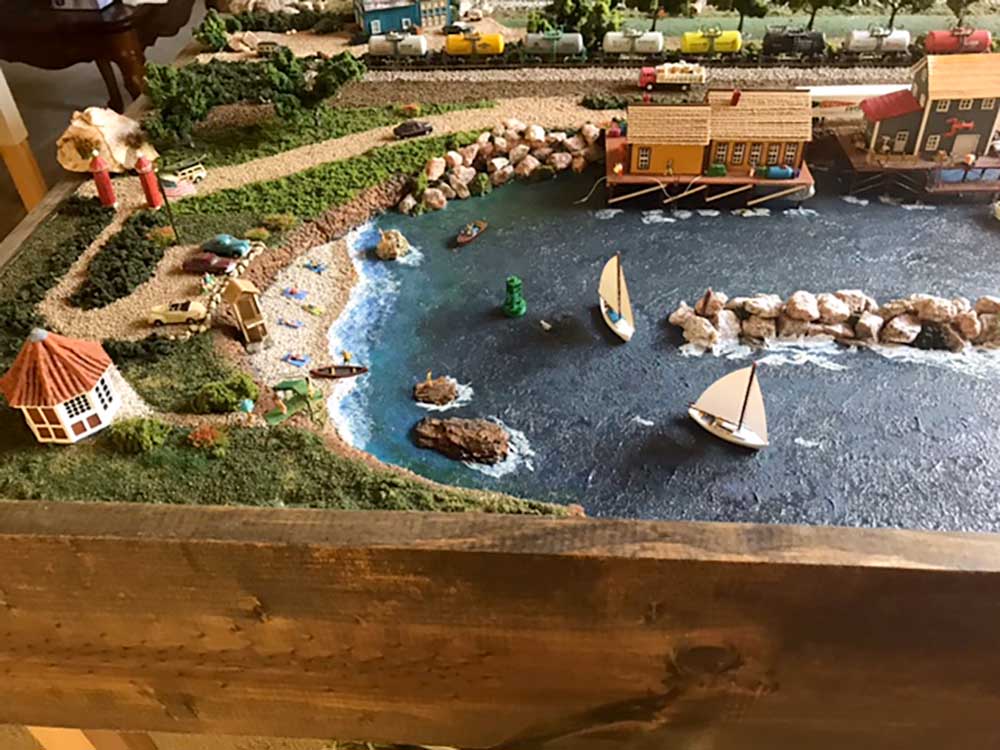
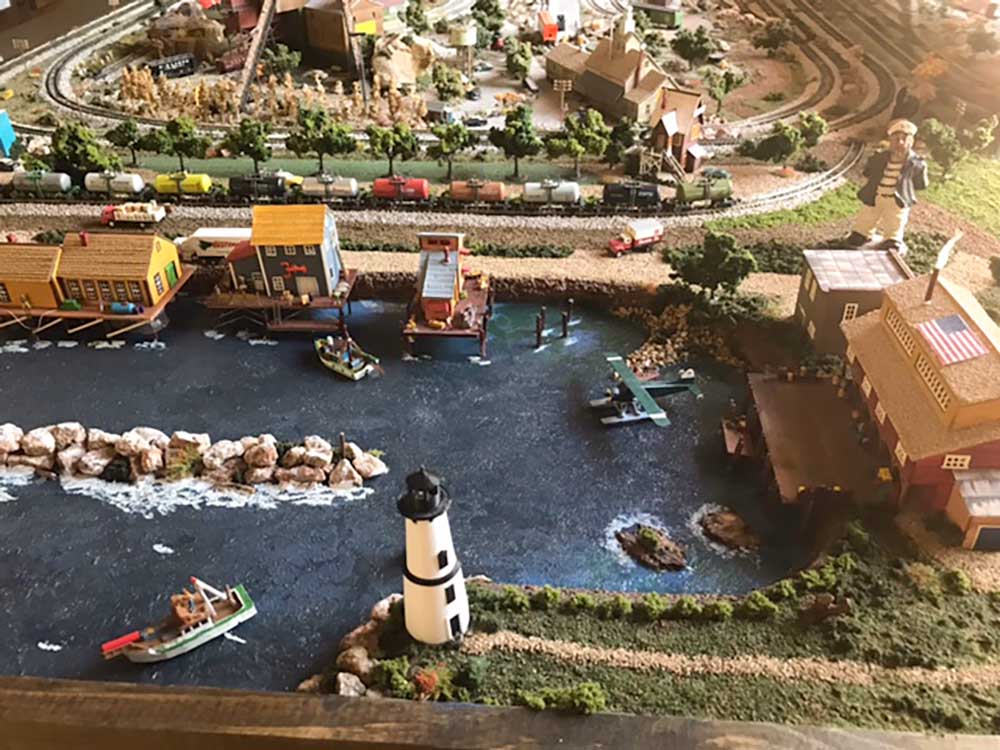
Next on to Andrew:
Got a few more pics in from Andrew to start today off. If you missed his post last time, it’s here.
“Hi Alastair
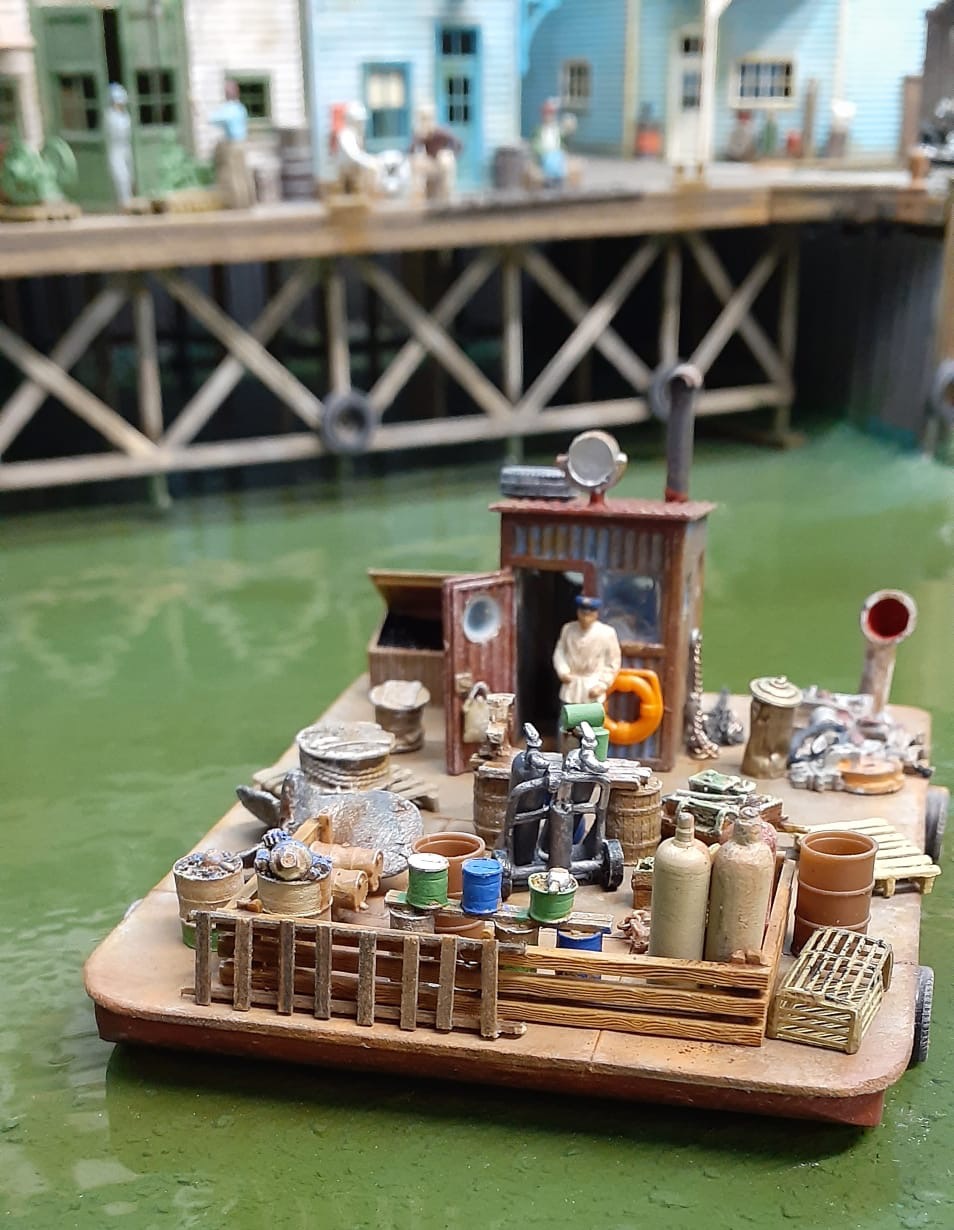
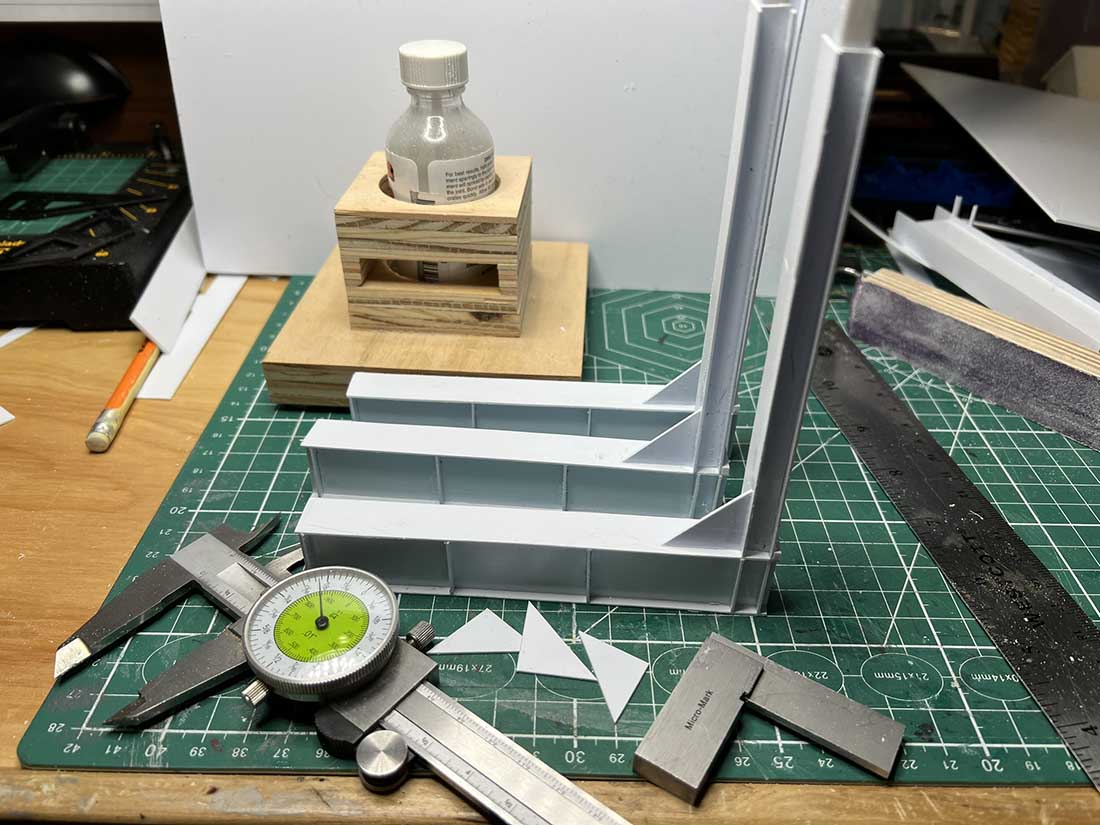
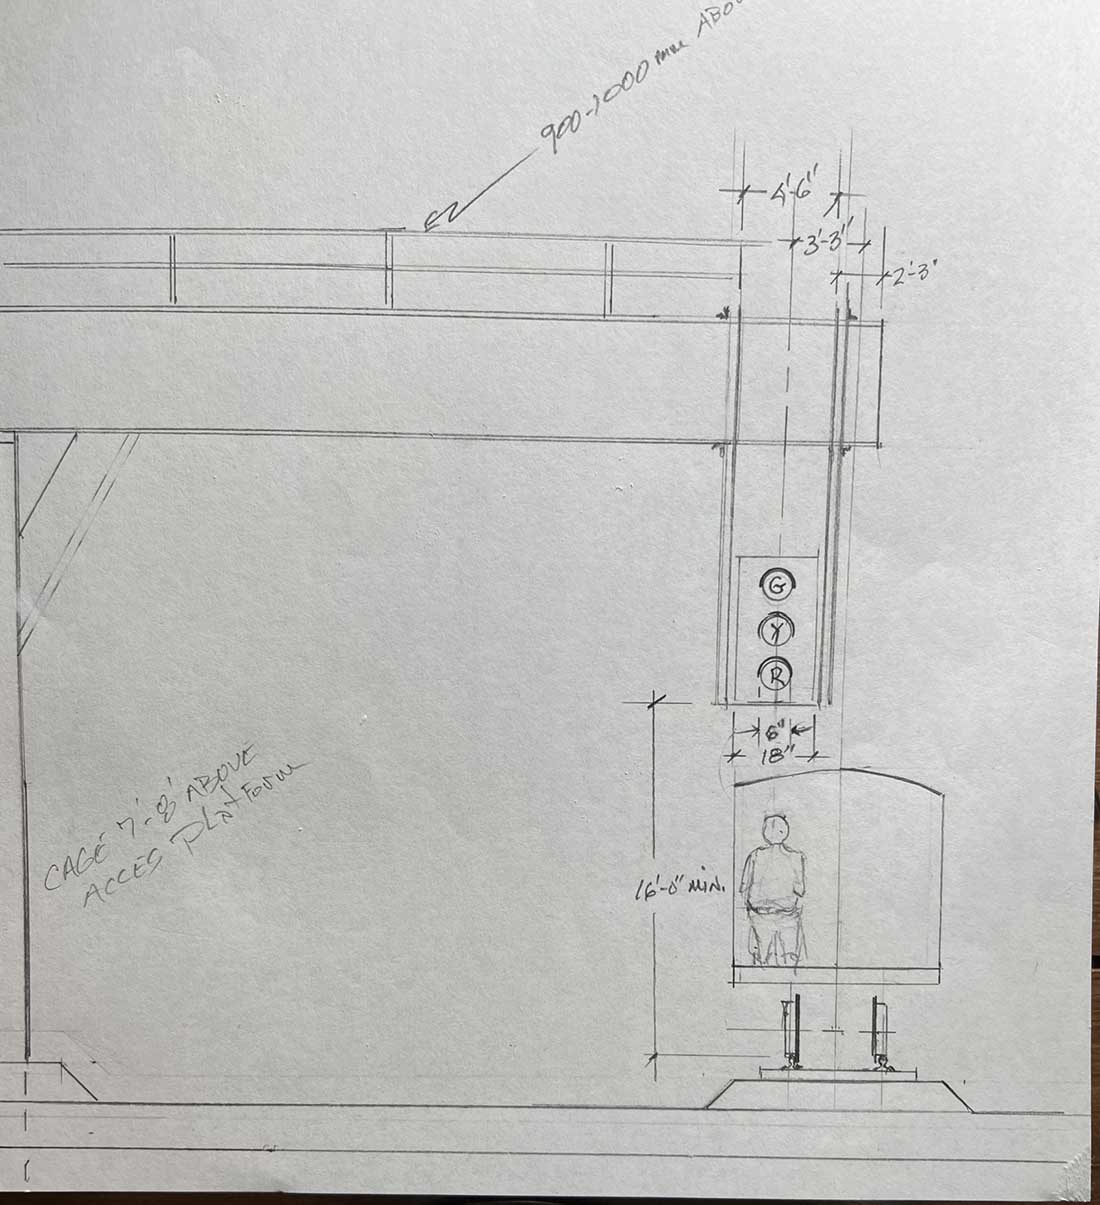
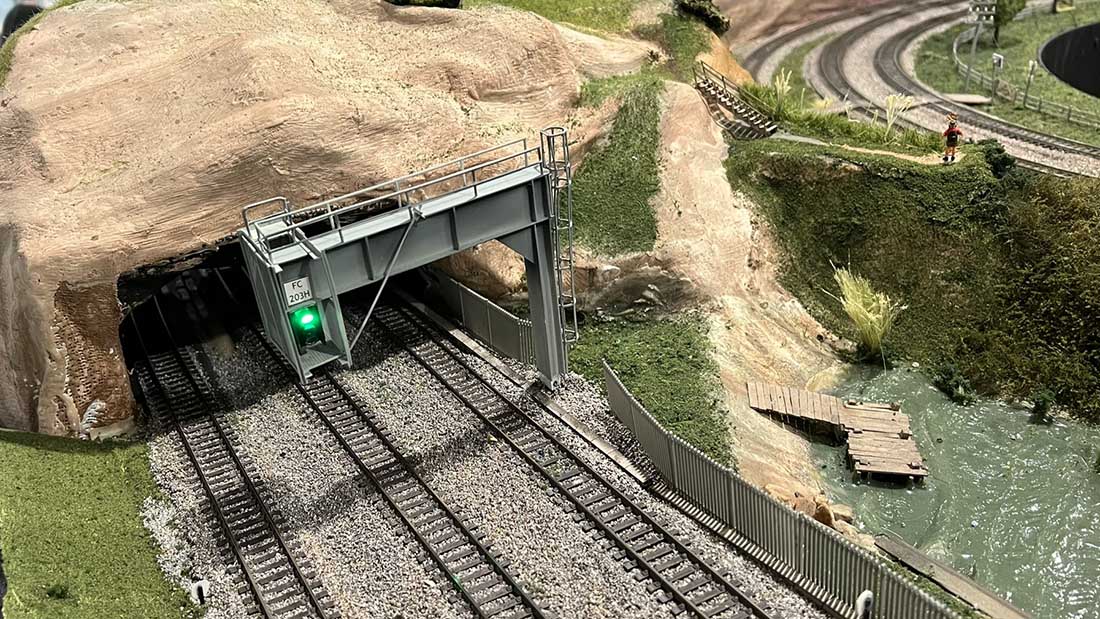
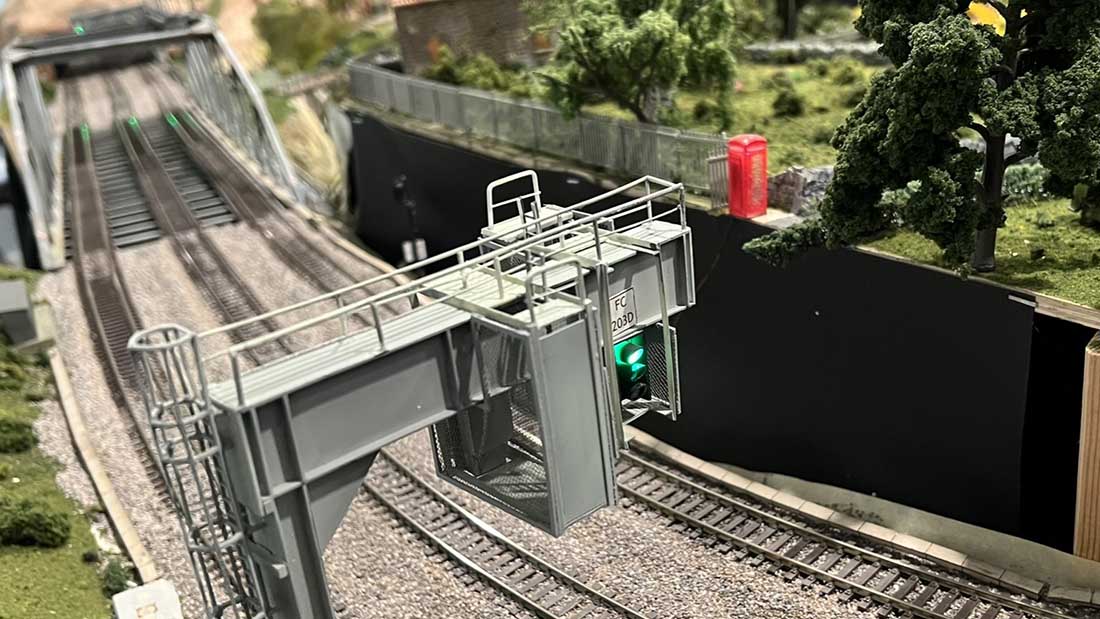
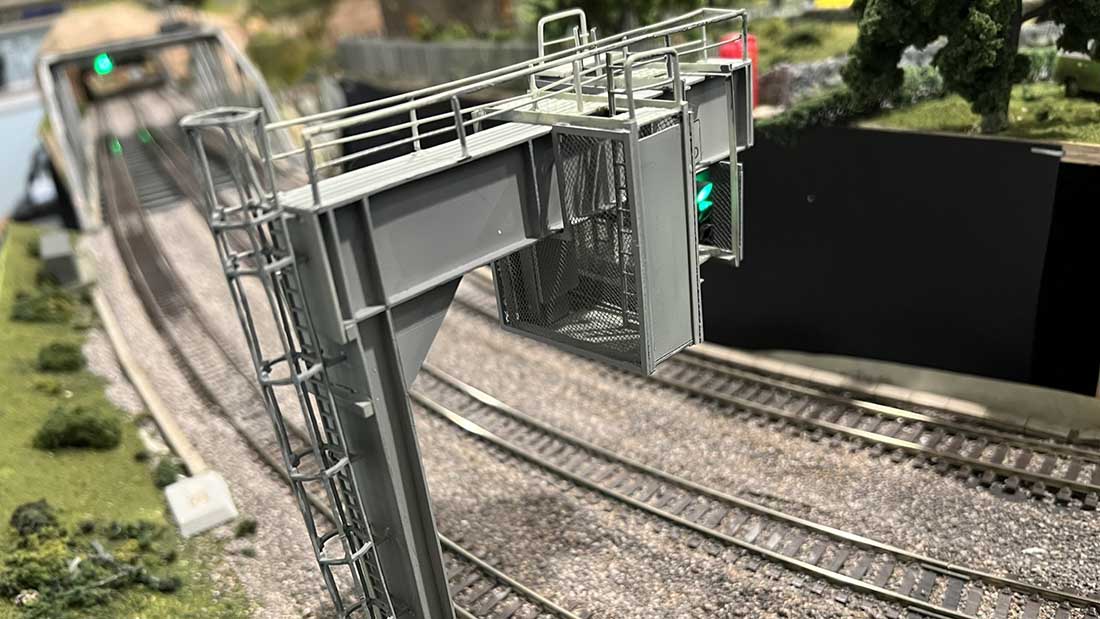
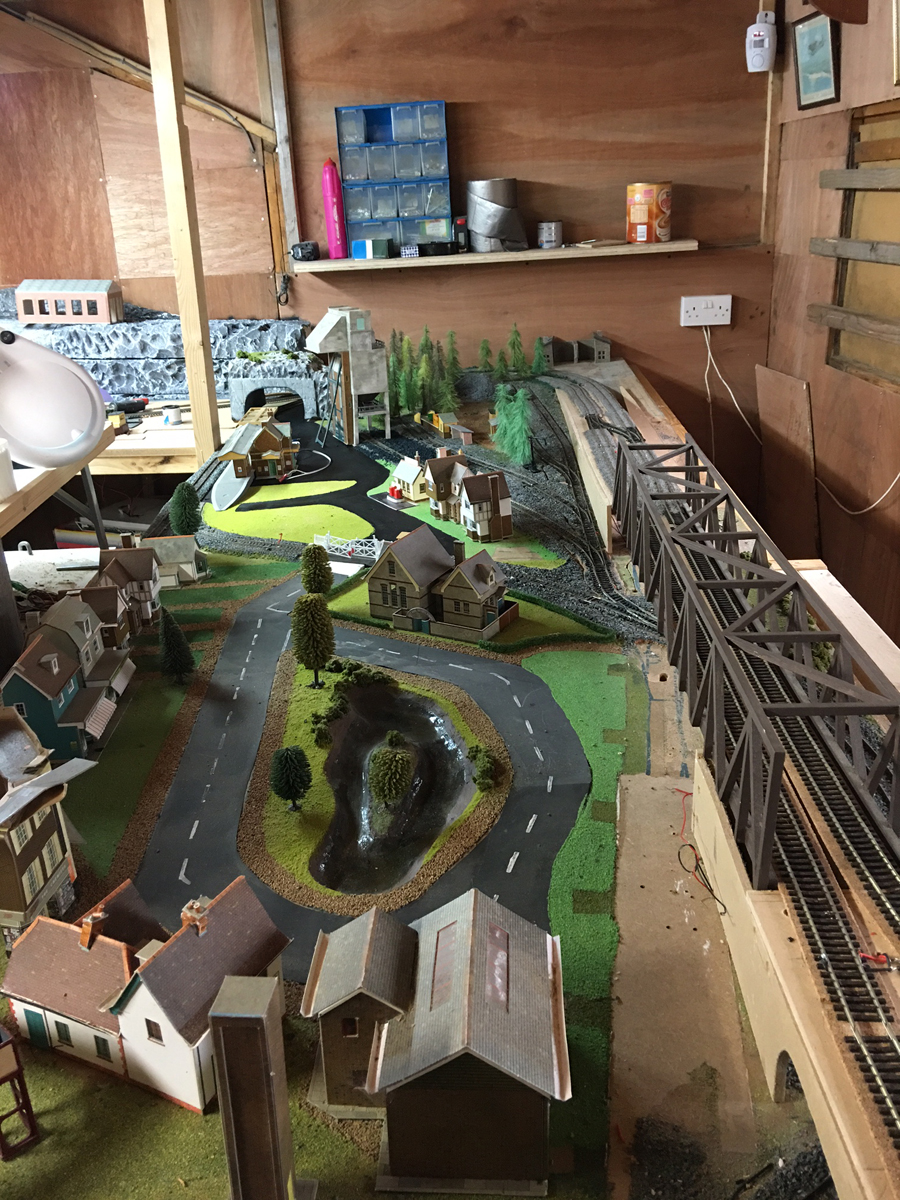
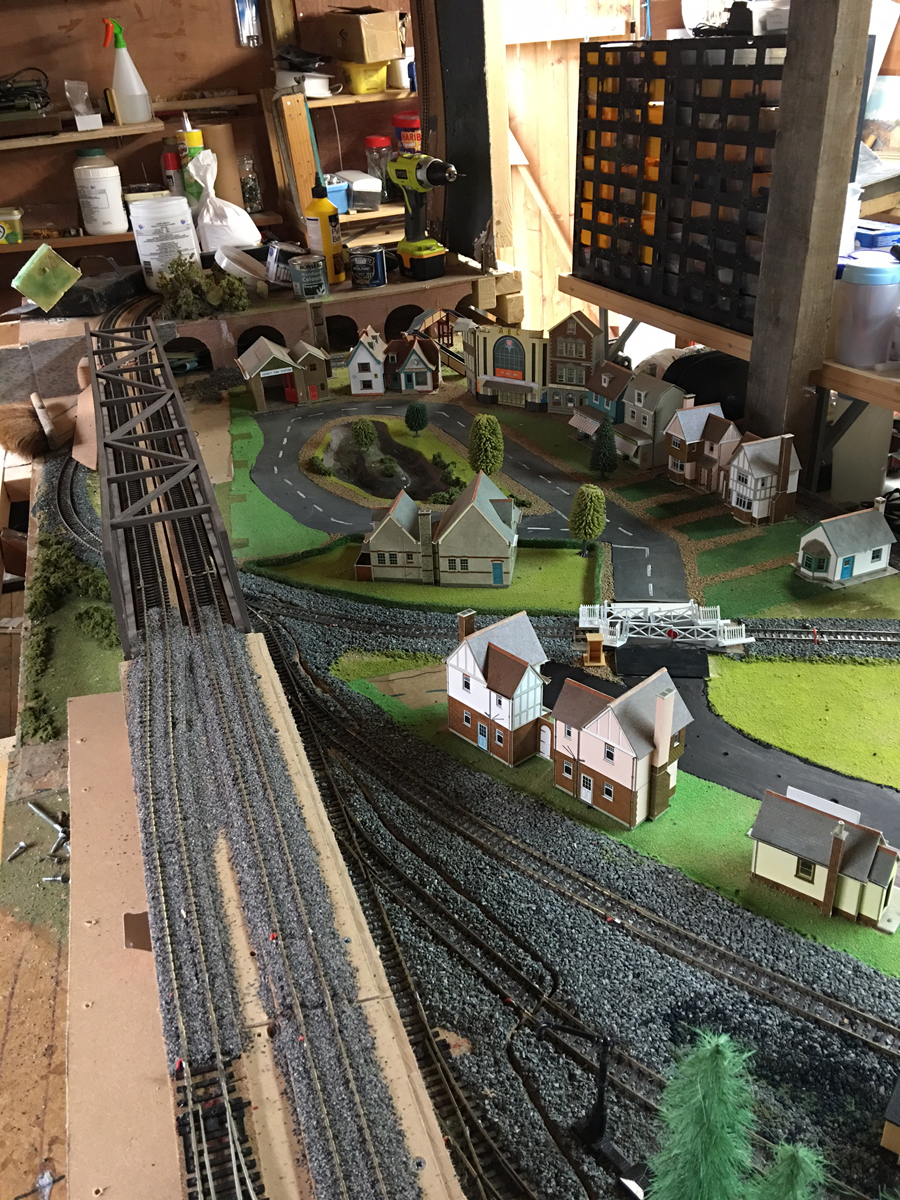
A little more and a photo taken from the village side and from the work yard to the village side, and there is the girder bridge I built from scratch now on the layout as promised.
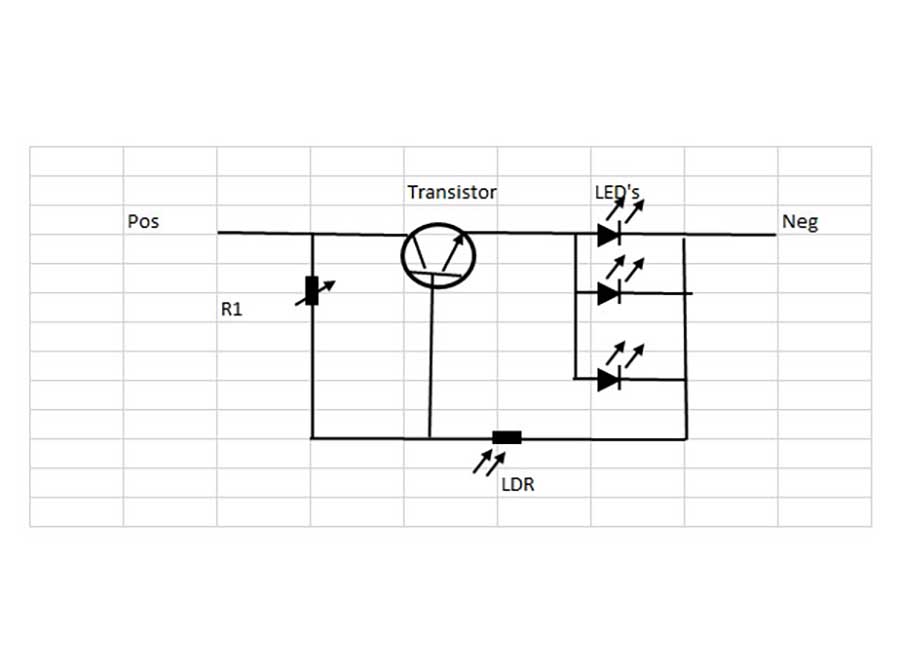
The small lake is done with polyurathane varnish, all the houses are cardboard kits, the next step is to do the lighting in the buildings, the wiring is going to be like spaghetti junction near me. More to follow guys. Any tips let me know cus I’m fairly new to this.
Thank you
Andrew”
That’s all for today folks.
Please do keep ’em coming.
And if today is the day you join in the fun, the Beginner’s Guide is here.
Best
Al
PS Latest ebay cheat sheet is here.
PPS More HO scale train layouts here if that’s your thing.