Brian’s been in touch with the latest update to his shelf model railroad.
“Hi Al,
I thought that I was finished with everything and ready to landscape the rest of the layout, looked back to admire my workmanship when something came to my attention.
I was doing a bit of running trains (shunting) and delivering cars to their respective industries when a thought suddenly came to mind, how do I deliver a tank car to the oil refueling tank in the yard. I have one inbound/outbound track from the turntable and in this case, cannot deliver from the turntable.
Never mind he thinks, simple solution by adding a point and curving the track away from the turntable, called in the track gang and low and behold, a siding where I can make deliveries of Oil, Sand and other locomotive facility stuff.
Never to late to make a few small changes.
I will send a few photos later of the completed new section as soon as the backdrop dries and the strip lights added.
As they say, learn from your mistakes.
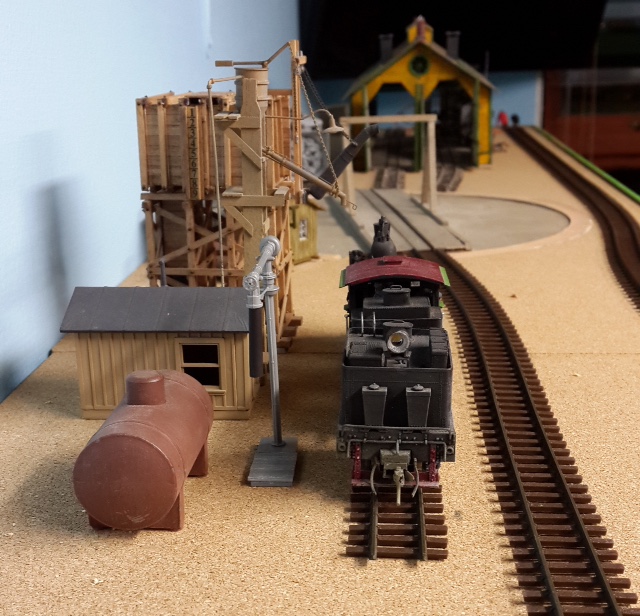
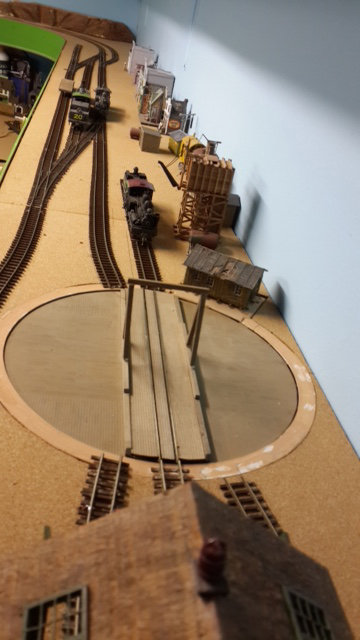
Photo below is the old track layout from the turntable.
This photo below shows the mistake of not being able to supply the facilities. Engine House tracks are not aligned with the turntable yet in these early photos.
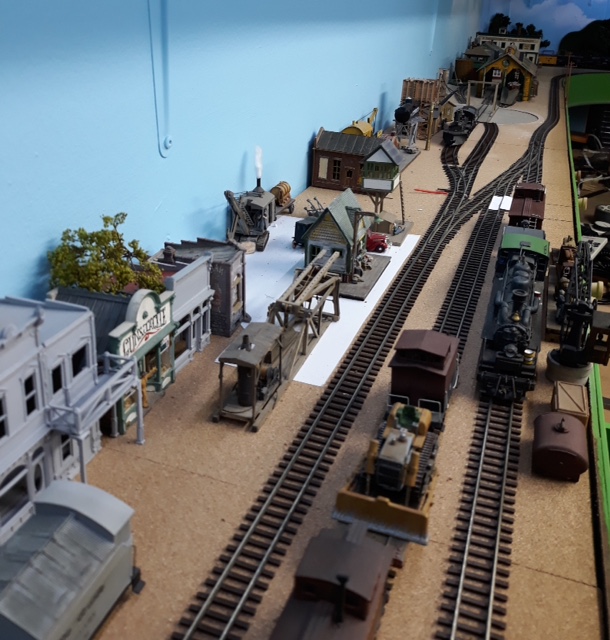
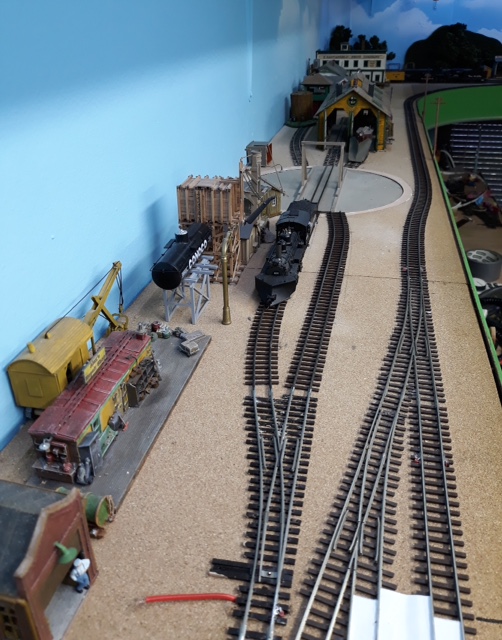
The two photos below show the added point and adding a new section of track enabling deliveries to the facilities.
The two tracks now serve as inbound and outbound to and from the Engine house and service track on the side.
Problem solved and completed in two hours including mounting the point motor underneath and the control knob on the facia board.
Note to self, remove unwanted red wire before continuing.
(Photos are always very good at pointing out these problems – thats why I take a lot of them to make sure that I have not missed something, like adding sleepers in the gaps under the rail). Remembering that my layout is just below eye level and not easy to see this.
That’s all for now and all the best.
Brian”
For a shelf model railroad, Brian really is packing everything in to it.
No one I’ve talked to on this side of the pond seems to know the answer to this question: Why do many European locomotives have long steel panels on either side of the boiler? What is/was their purpose?
Thanks,
Bob
Okeechobee, Florida
p,s.
Really enjoy your site.”
That’s all for today folks, please do keep ’em coming.
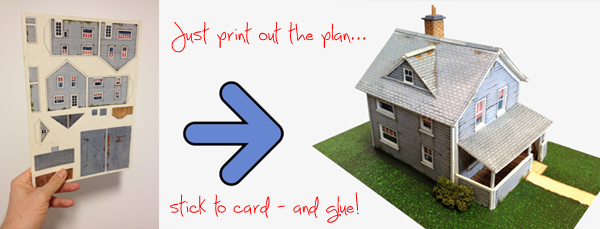
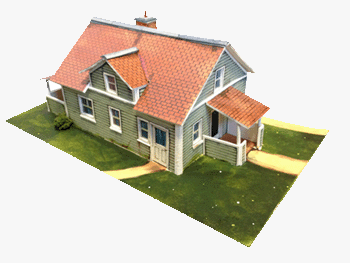
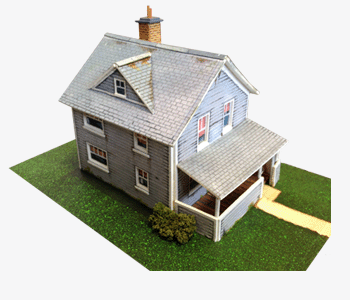
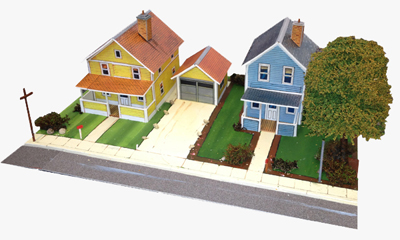
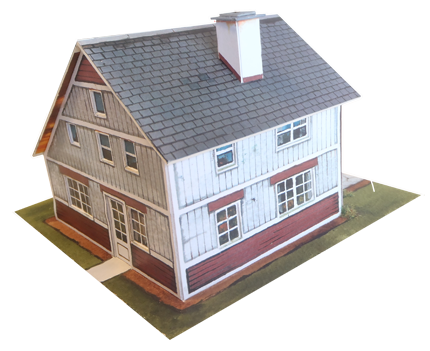
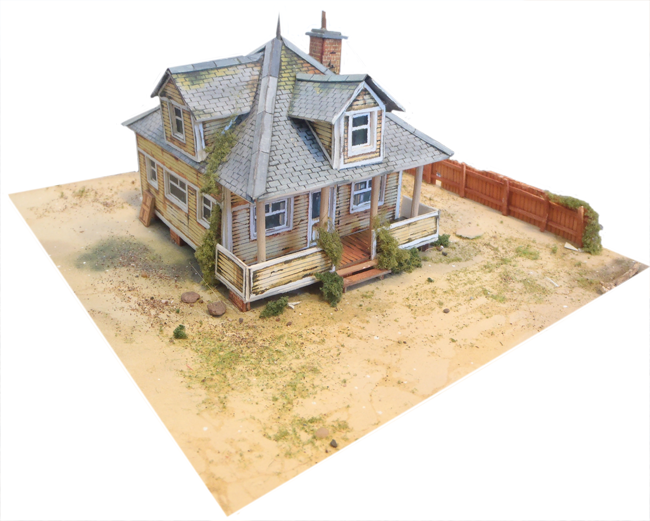
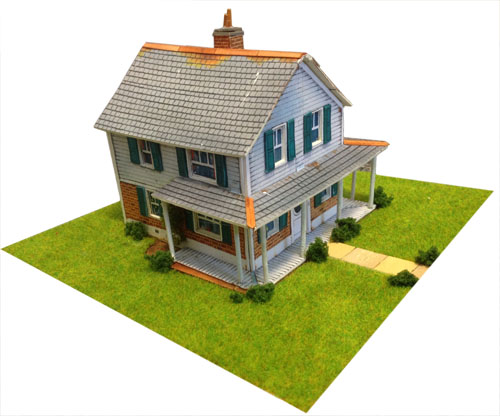
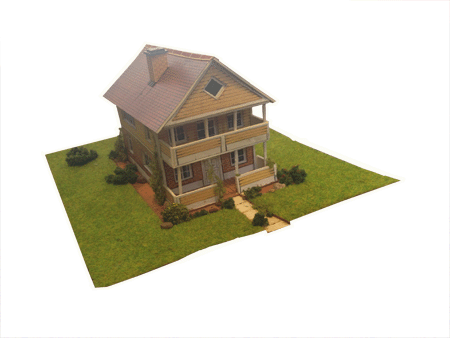
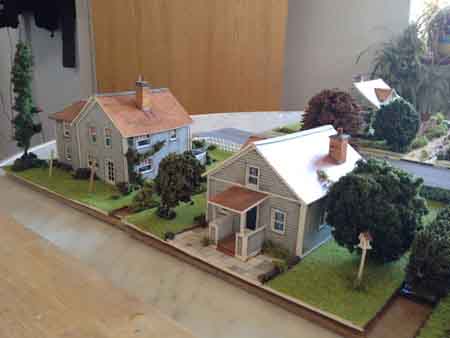
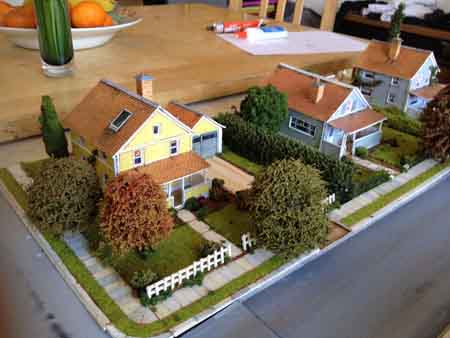
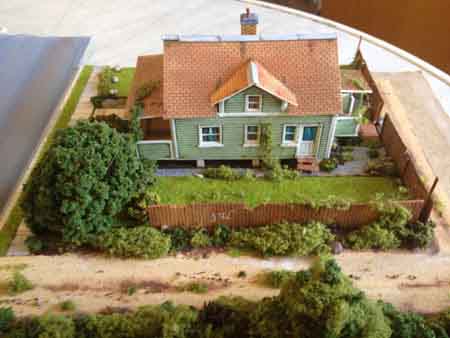
The houses are great fun to build – and look great too. All the printable buildings do!
And once you have downloaded them, you can make as many as you want.
How to make the printable buildings for your model railroad
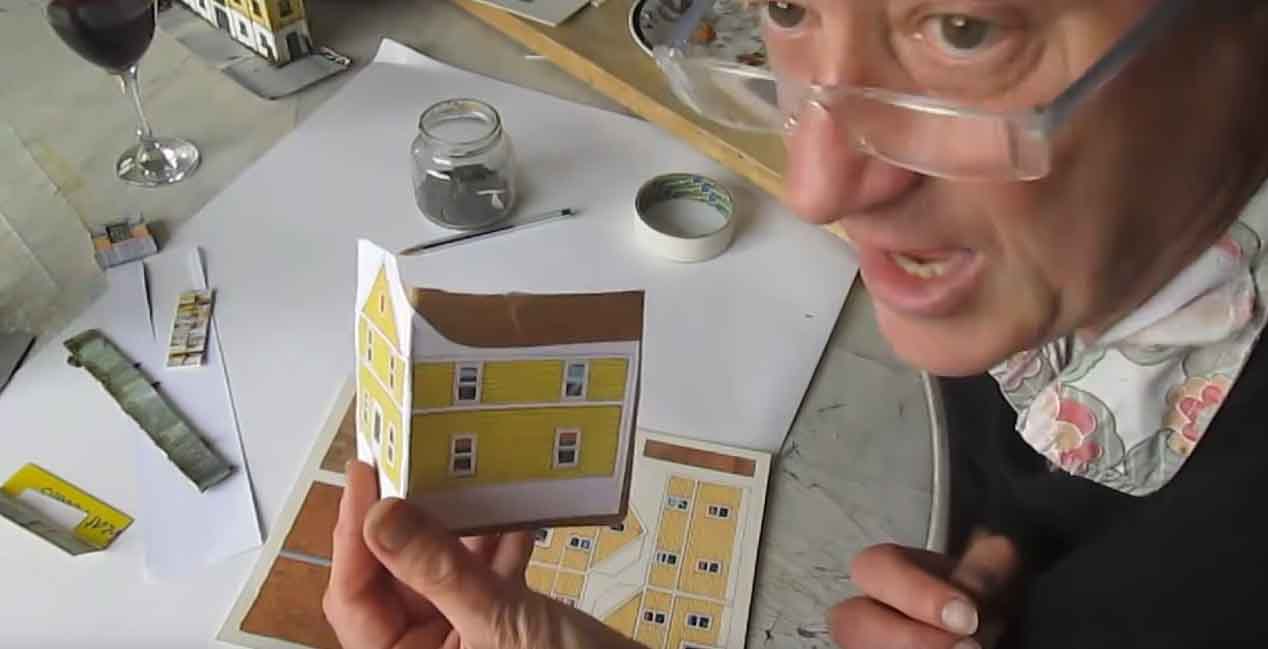
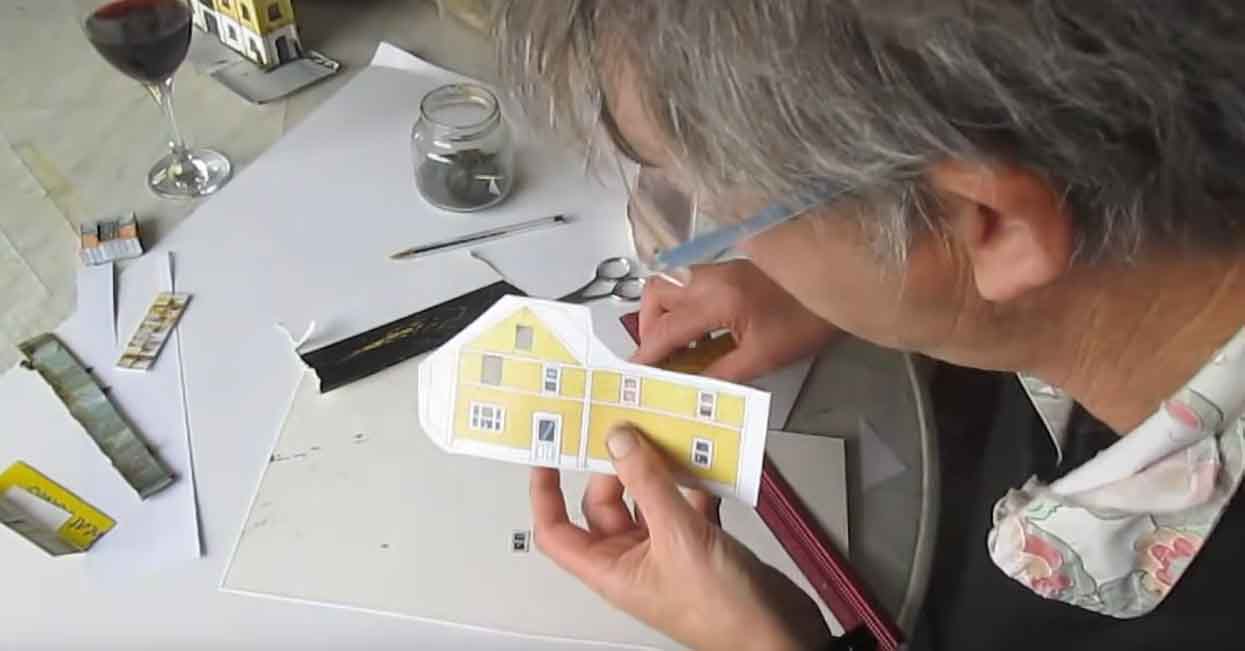
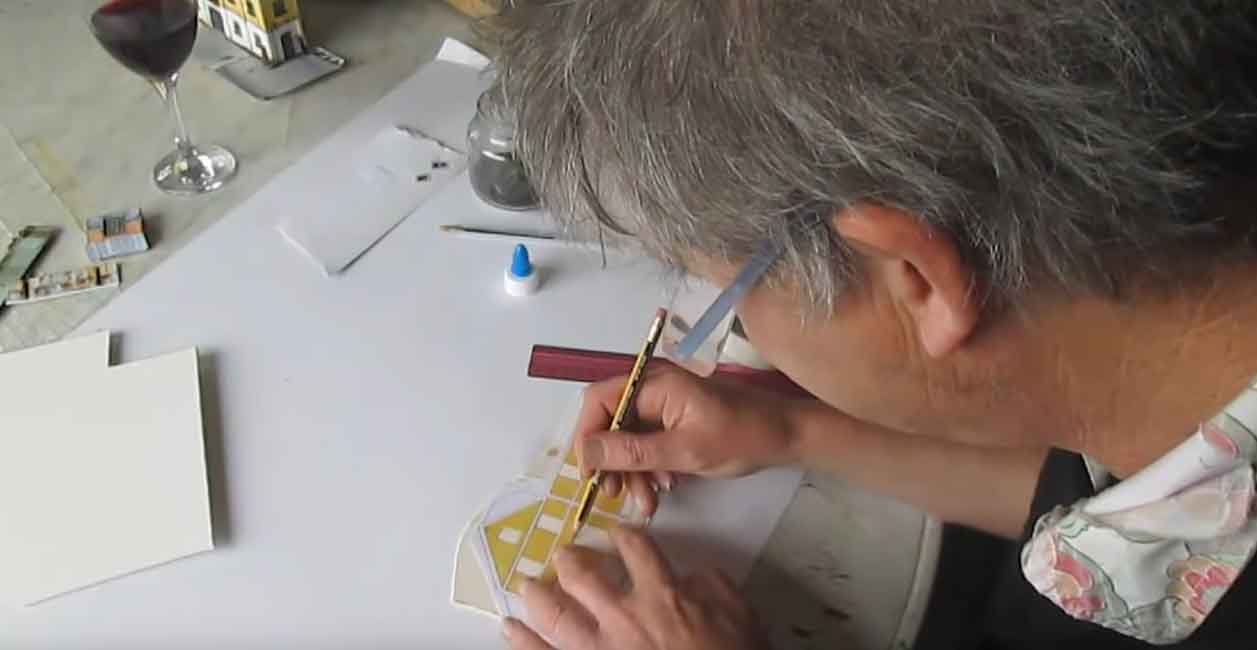
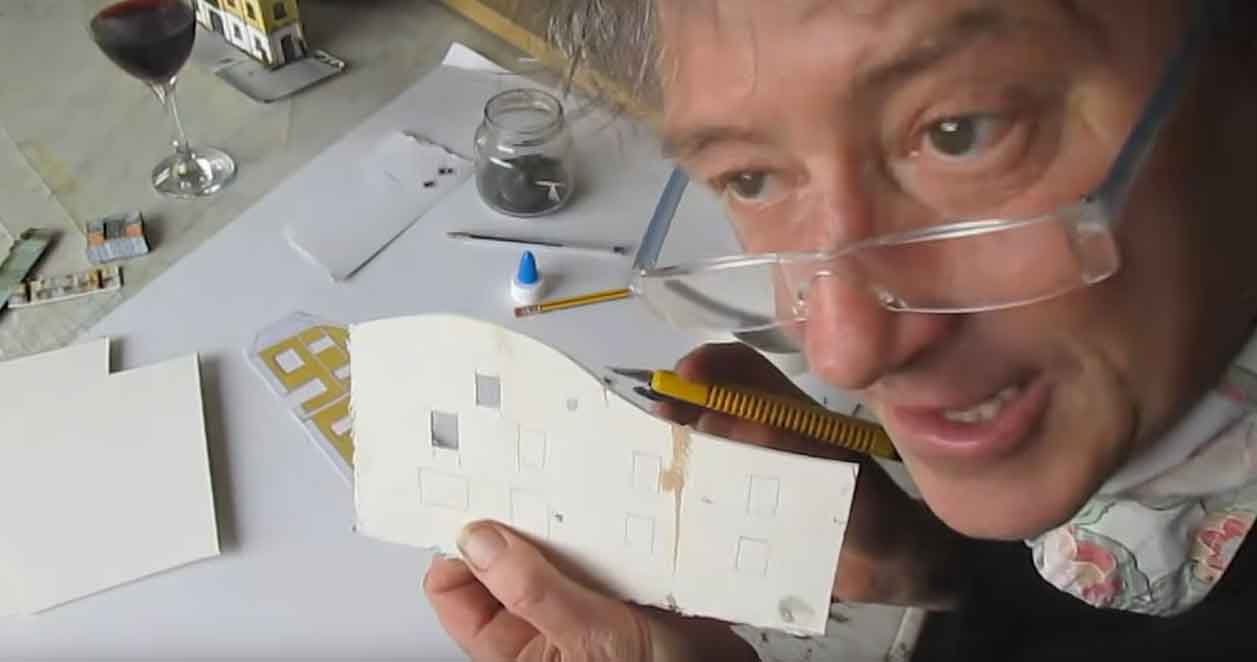
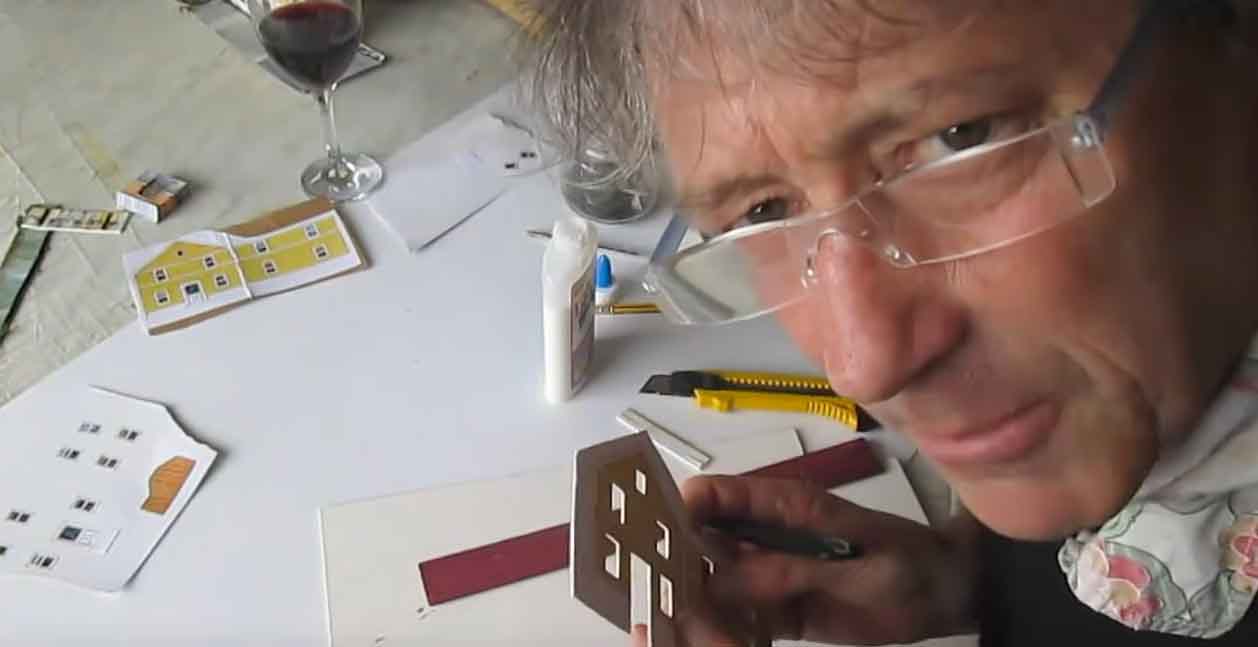
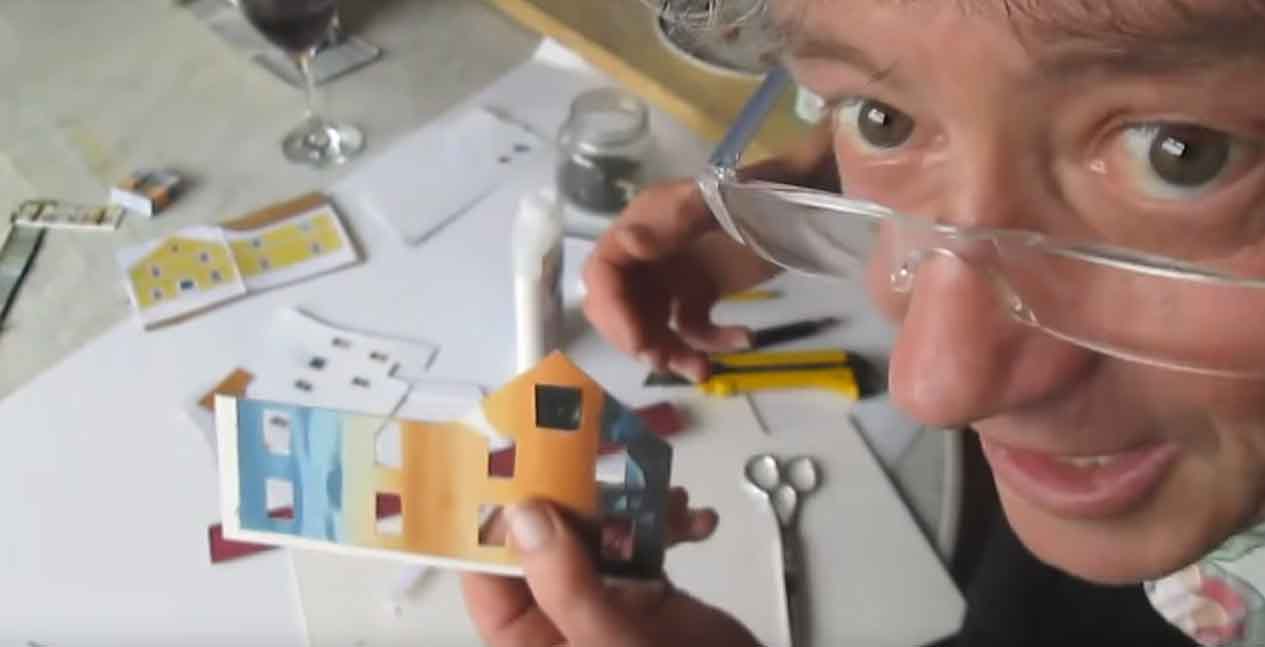
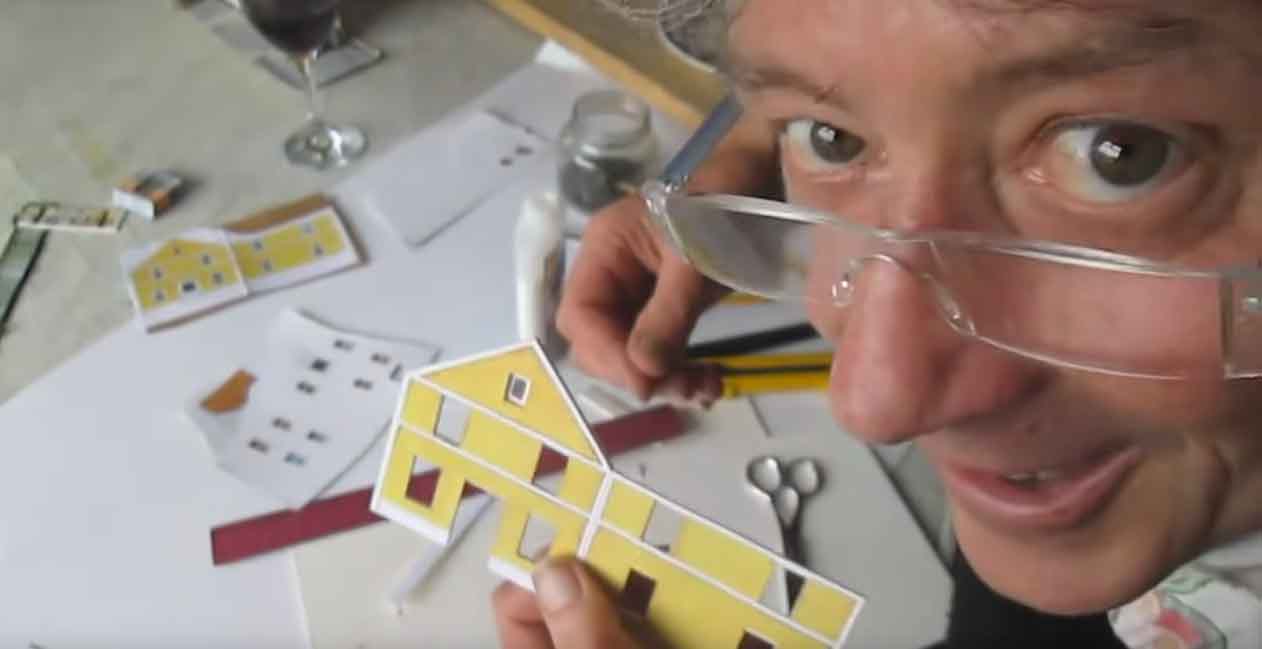
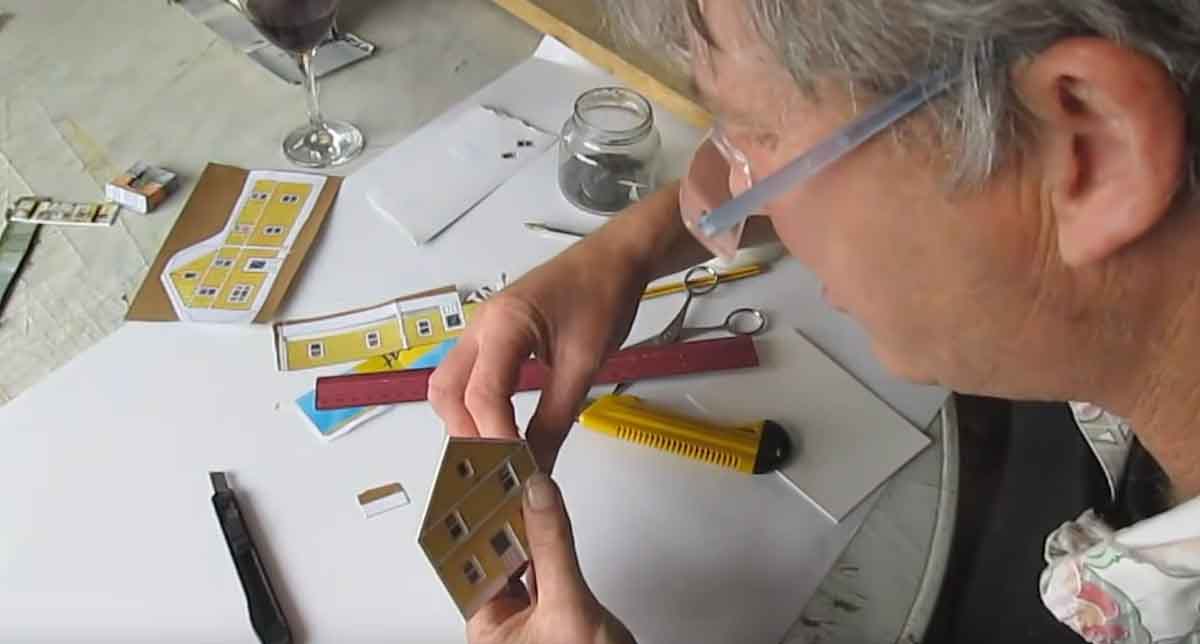
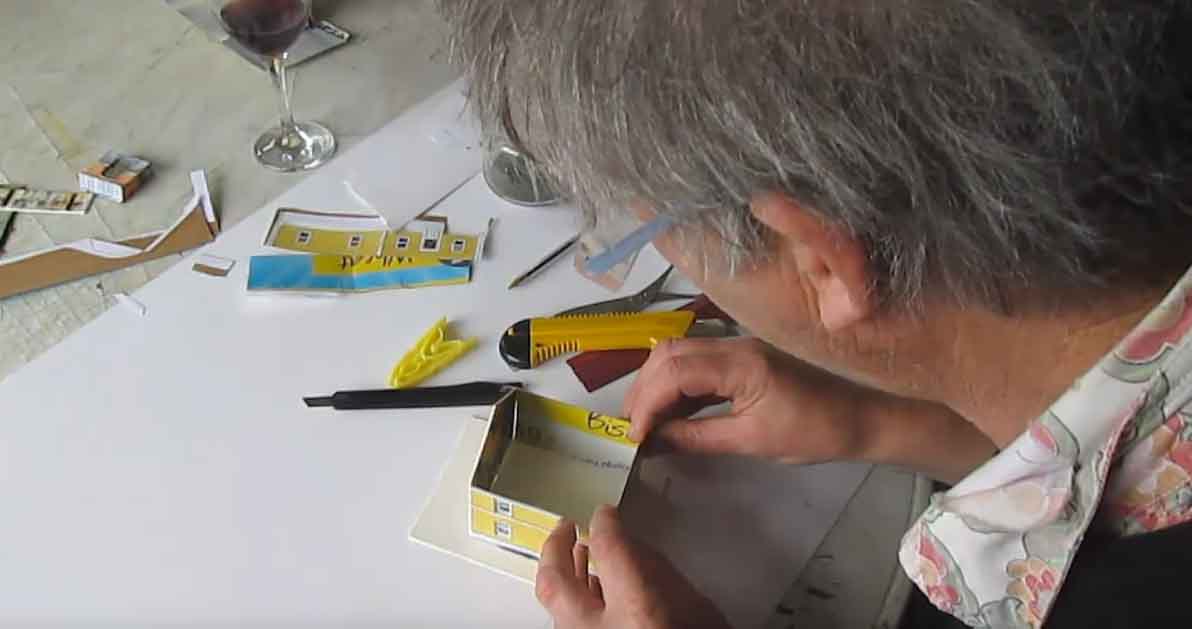
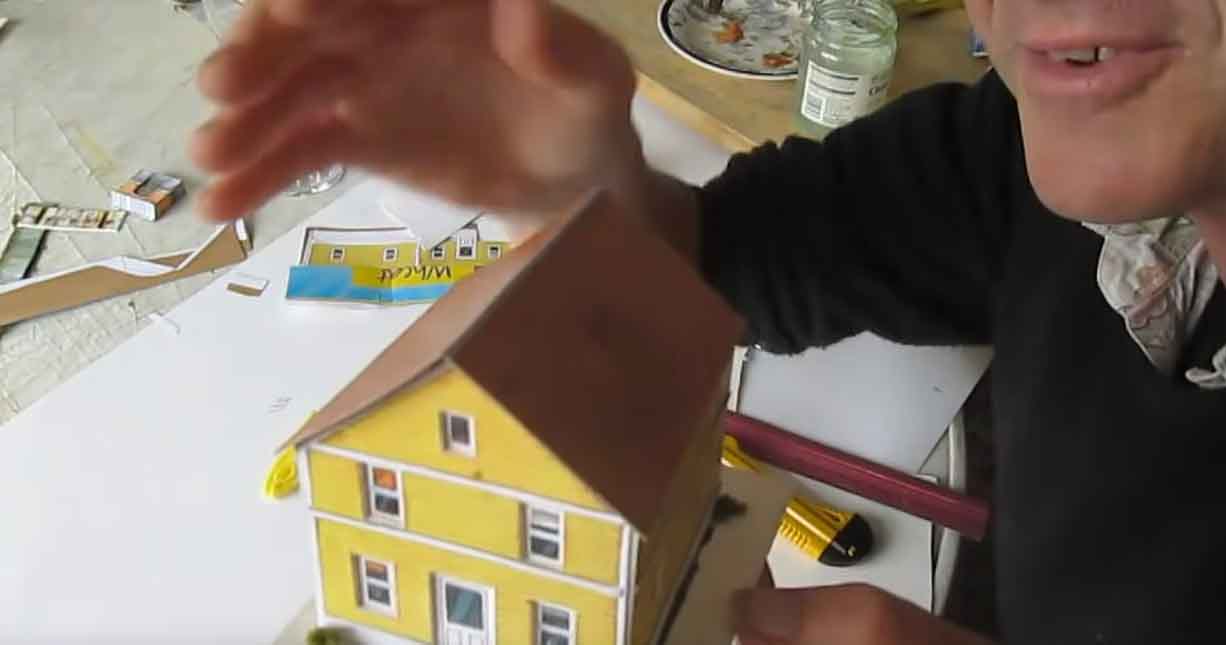
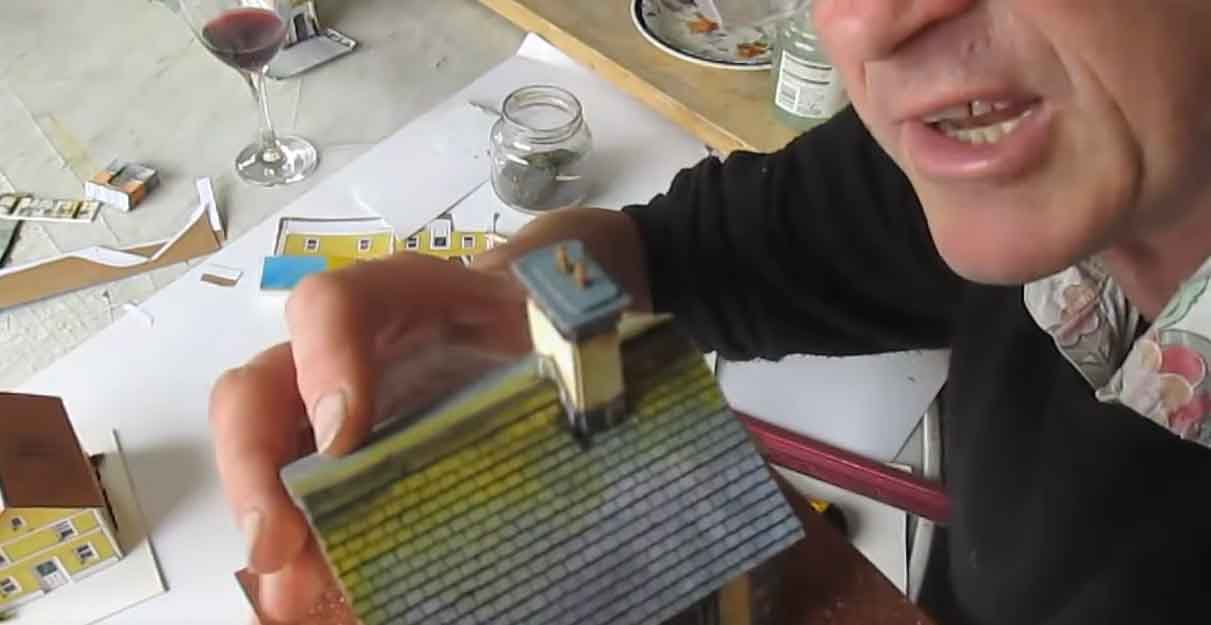
Here’s John making some of the houses. He’s quite a character:
There are no instructions with the prints – but as John shows, anyone can do them.
All the designs can be resized to the scale you are working in.
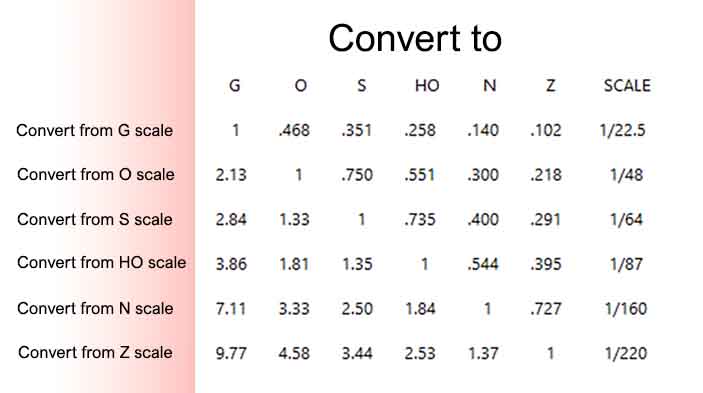
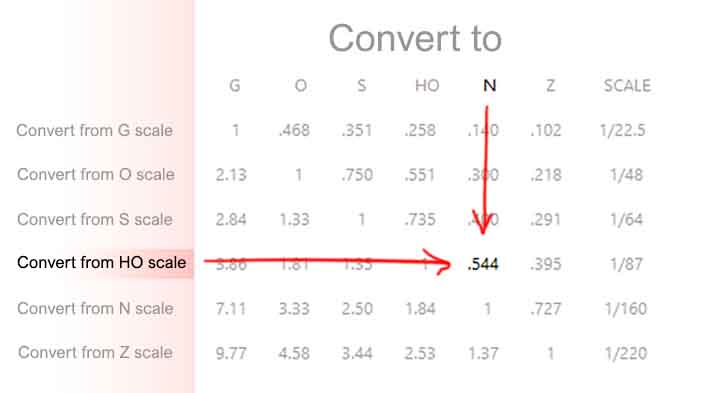
Here’s a scale conversion chart:
All the printable buildings are made in HO scale, so if you wanted to convert to N scale, when you print the buildings, just print at 54% size.
HO scale is 100% – you don’t need to do anything. Just print it out and get busy.
How to make the printable buildings
You can below the print outs are nice and simple.
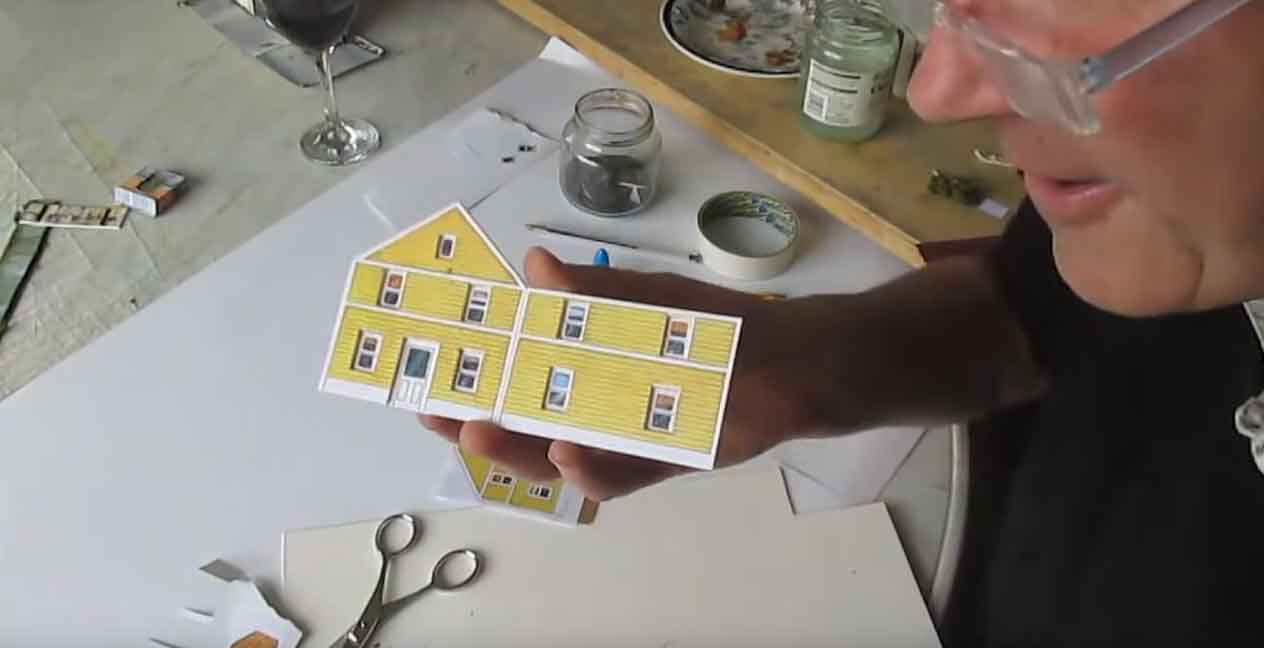
You can see on this example – one of the houses – the two walls, the roof, the chimney and the porch area.
You can stick them some card and make them as they are, which is fine, but they won’t look great.
The printable buildings look best when you add relief – the contours of the doors, windows, bricks and beams.
It’s these contours – the relief – that make the buildings look great.
So the first thing you want to is cut out the windows.
Stick the windows to another sheet of card and forget about them for a few minutes.
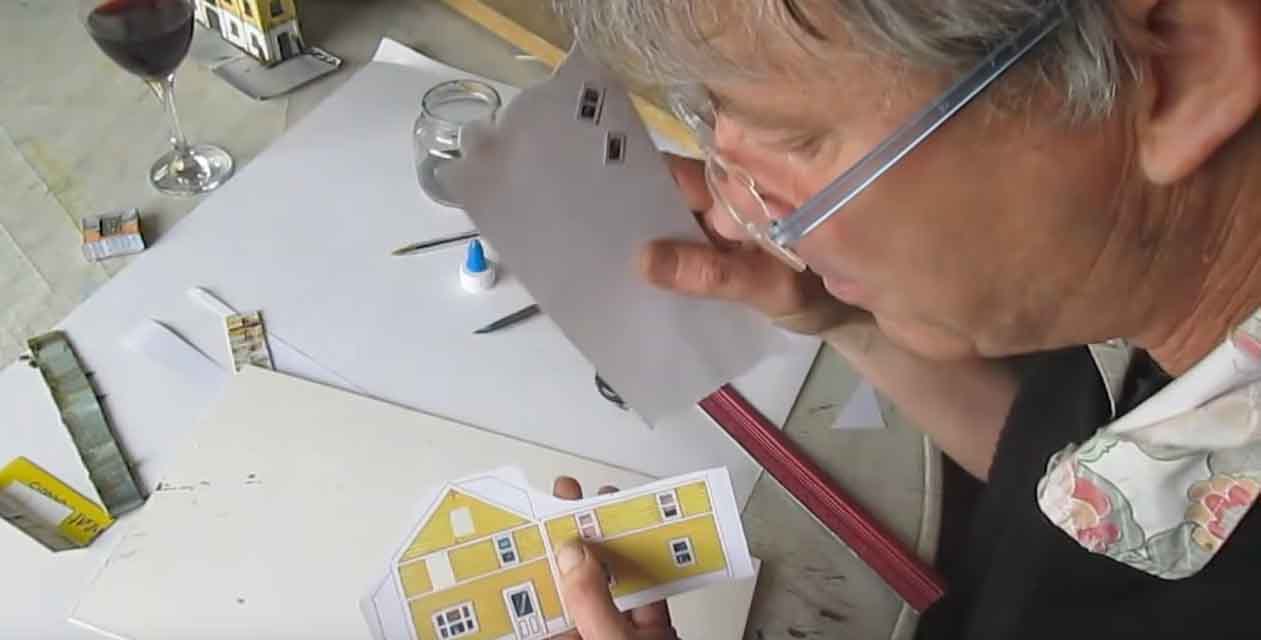
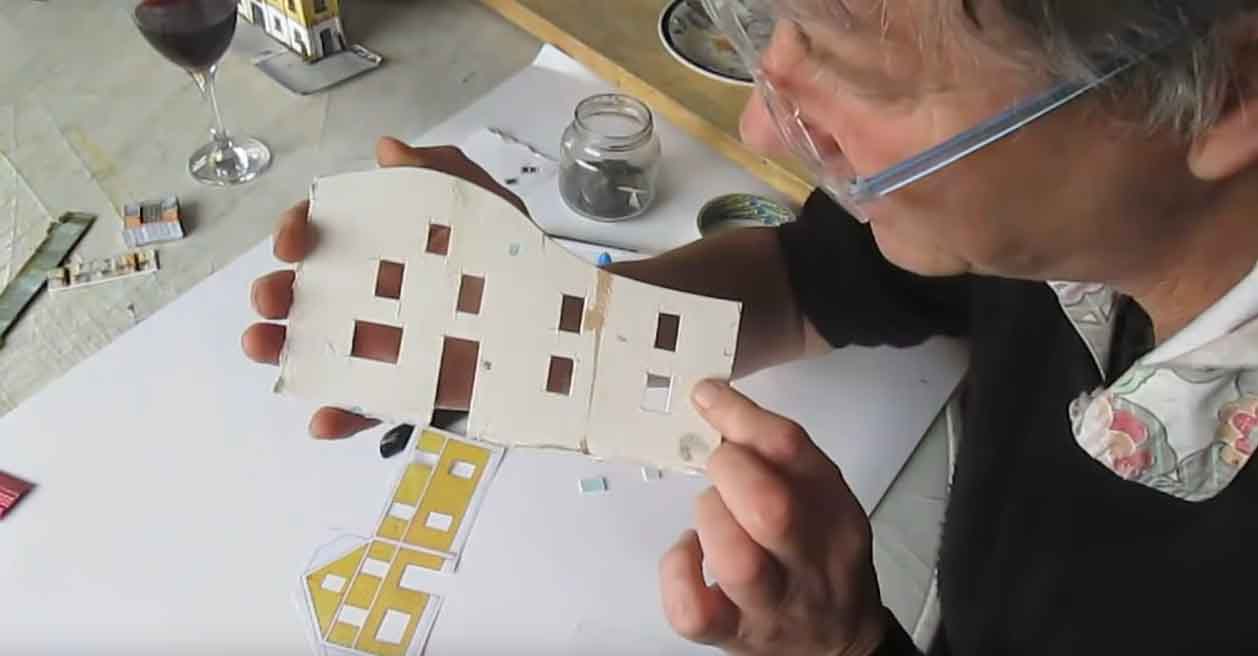
Use the printable buildings to trace out where the windows are on another sheet of card.
Then cut the windows out of that one.
Now stick the card with the window holes on to the back of the printable building.
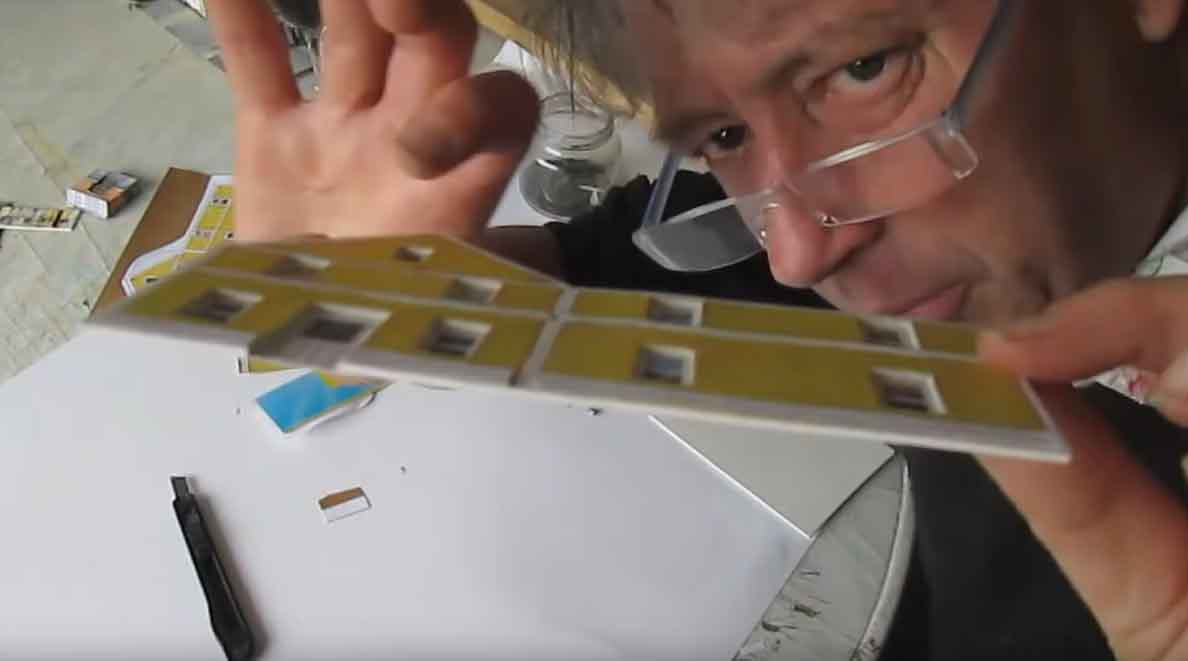
The start sticking the windows back on. As they will behind two layers of card, it will add a lot of depth and the printable building look a lot more realistic.
You can see the top window below already looks more real.
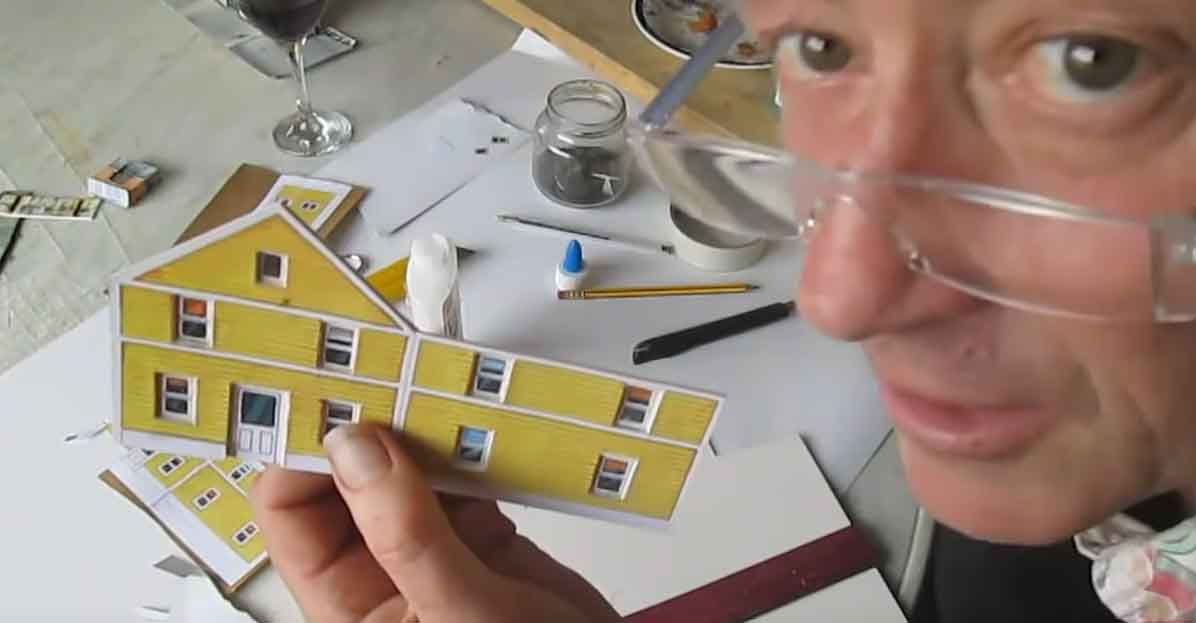
Do the same to the rest of the windows – you can see the difference it makes in the next few pics. The buildings look much more realistic than when they are just flat print outs.
Next you need to score the building with a sharp knife so you can fold it into a 90 degree shape.
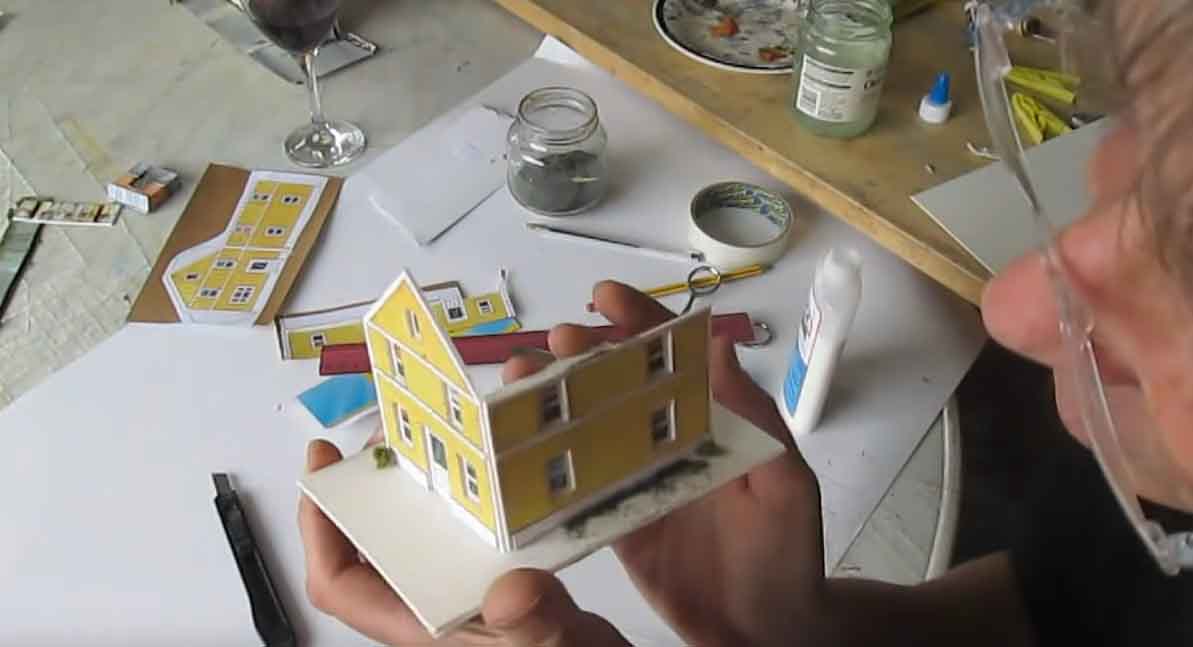
Then, glue the building to it’s base, whatever that may be, it really depends on your layout.
Then you need the other half of your printable building – do the same steps as above to make the complete house.
Here you can see a simple roof has been glued to the house.
But just like the rest of the buildings, adding some relief (or depth) really ads to the realism, like in this example below.
The technique is the some for all the buildings, it’s not just he houses that benefit from adding relief.
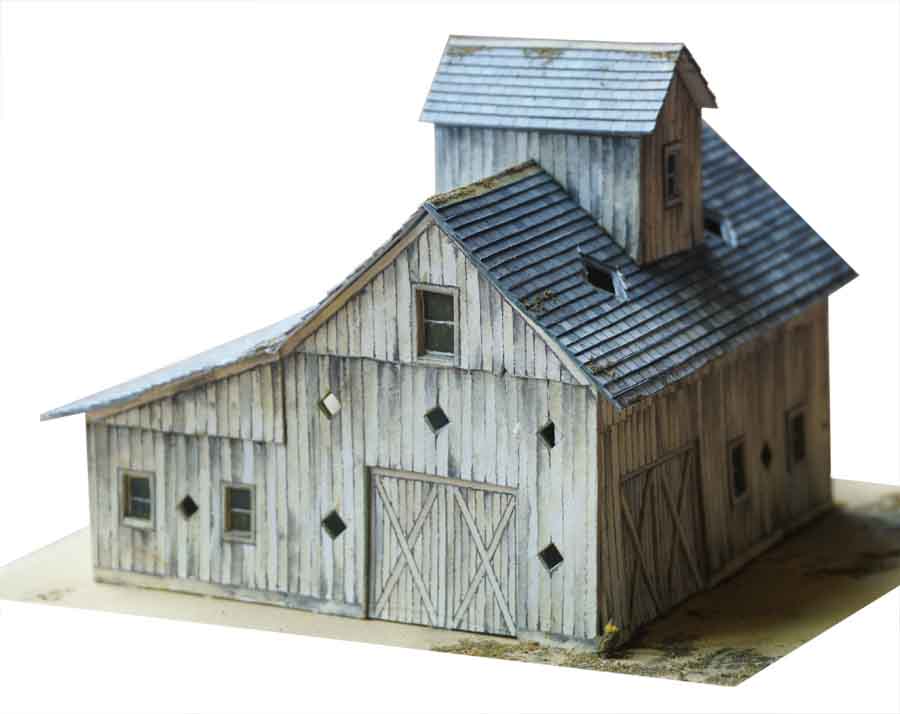
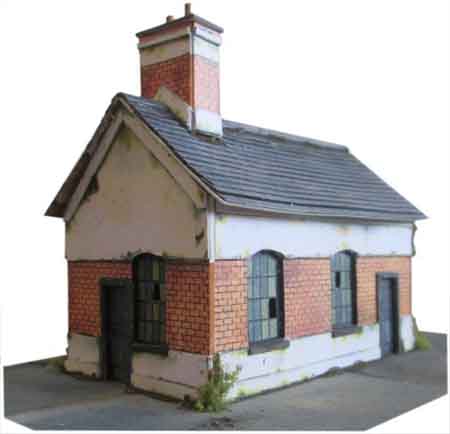
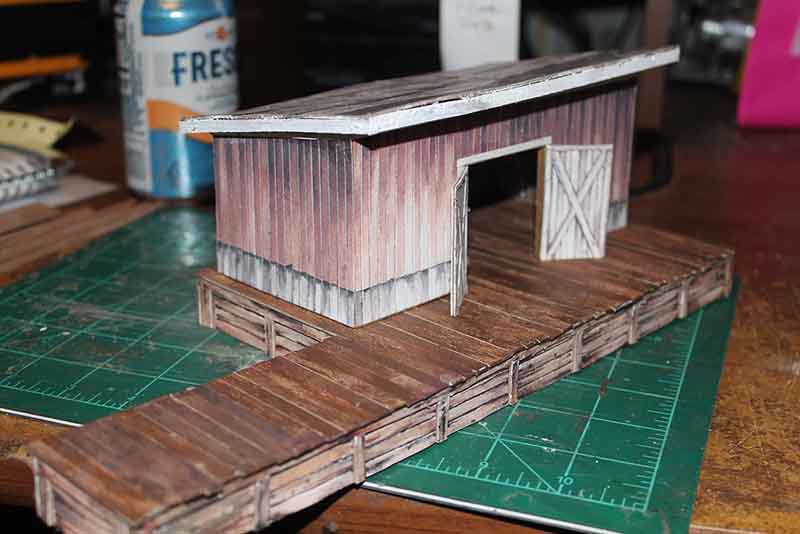
Here’s one of the barns – you can see it doesn’t look flat at all.
And just to prove the point, here are a few more:
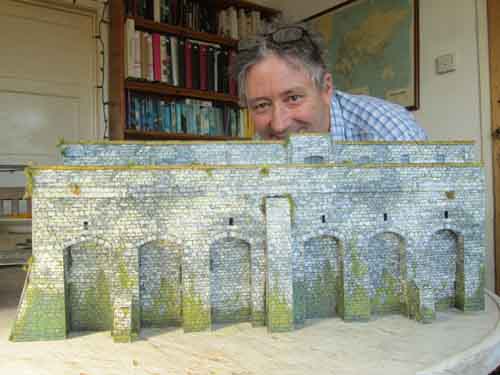
It’s the same what ever the building is – this embankment is also made from a print out:
And of course, once you have the prints, you can use them to make your own buildings.
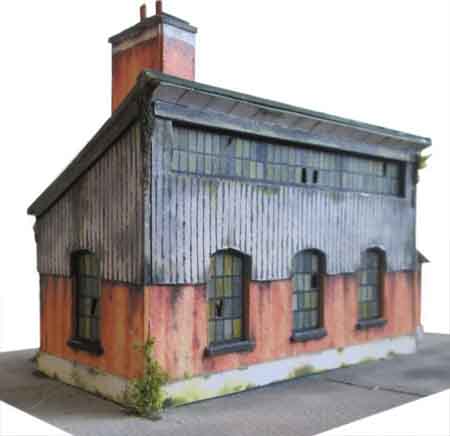
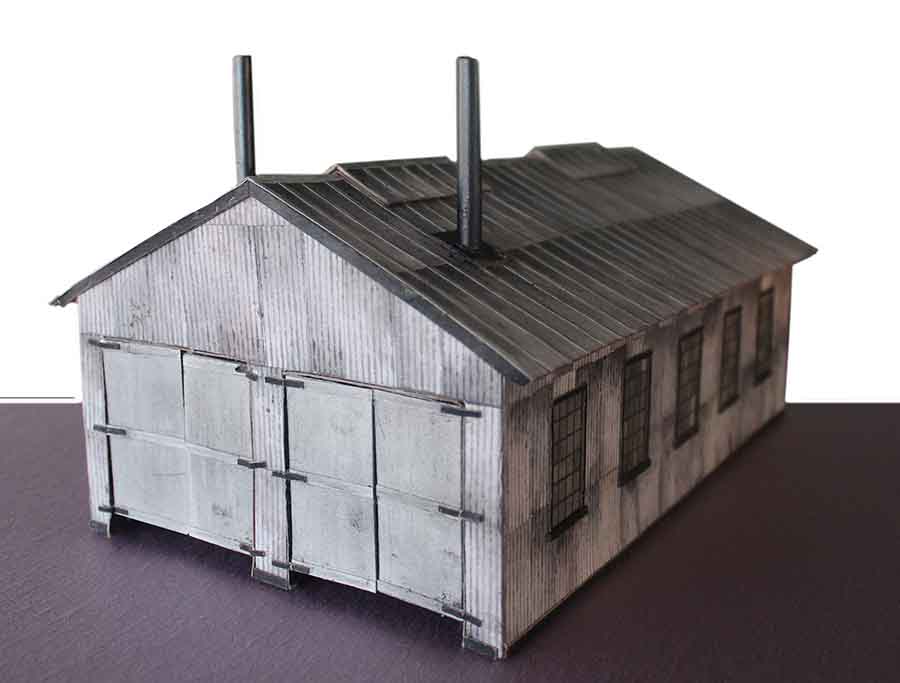
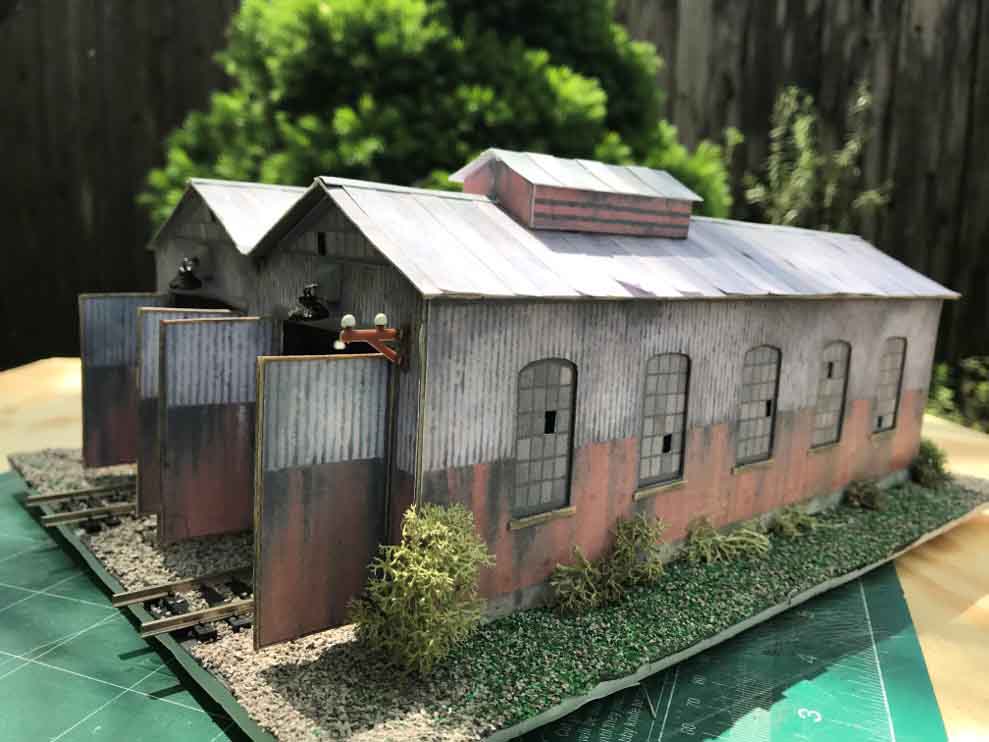
Here John has scratch built an engine shed for his layout – it’s made entirely from the printable building downloads, but to his design. You can scratch build as much as you like!
All the printable buildings are made in HO scale. However, if you’re looking to use these buildings in N scale, it’s no problem, just follow these simple steps.
When you’re ready to print the buildings, print at 54% and you’ll have them perfectly scaled down for your N scale model train set.
For HO scale, you don’t need to make any adjustments as it is already set at 100%.