Ken’s been in touch with his old west town layout:
“It has been some time since I added any pictures to the blog.
After a long period of time where I struggled with motivation I finally went back to work assisted by my 7 year old grand daughter Brittany who has developed an interest in working with me to create scenery.
While we have a long ways to go (we are actually half way through with our basic layout) I thought that I would share the progression made on a snowy Saturday morning.
Unlike many, I do not have the video capabilities yet and I still do not have the rail up and running. I hope you enjoy my old west town layout.
Kenneth”
A big thanks to Rob
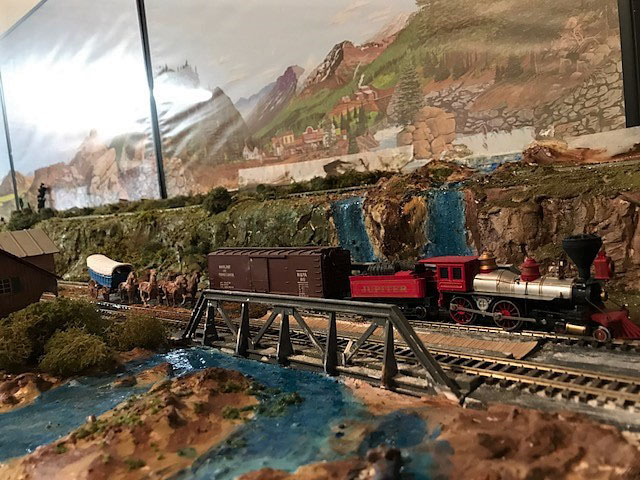
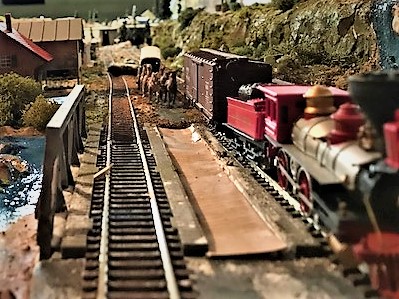
I couldn’t find Kenneth’s orginal post for his old west town layout, but while looking for it I found another American West layout from another chap called Ken (pretty sure it’s not the same one).
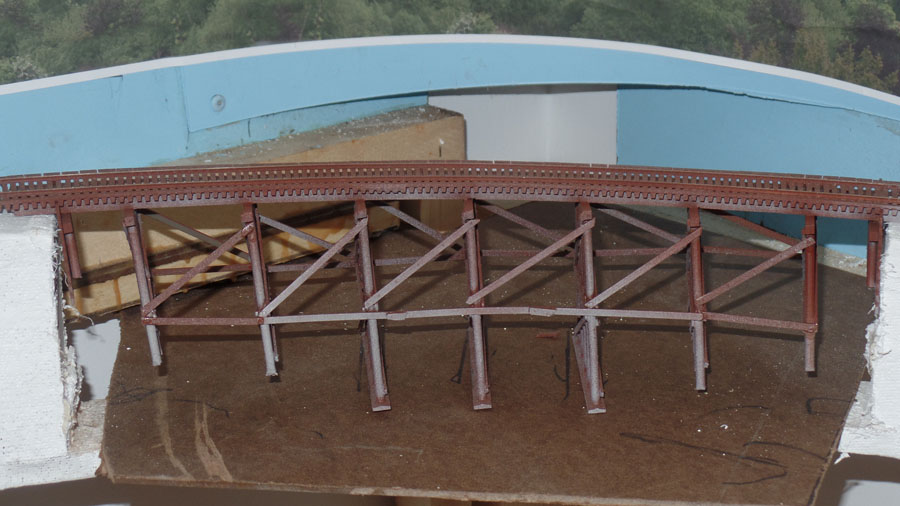
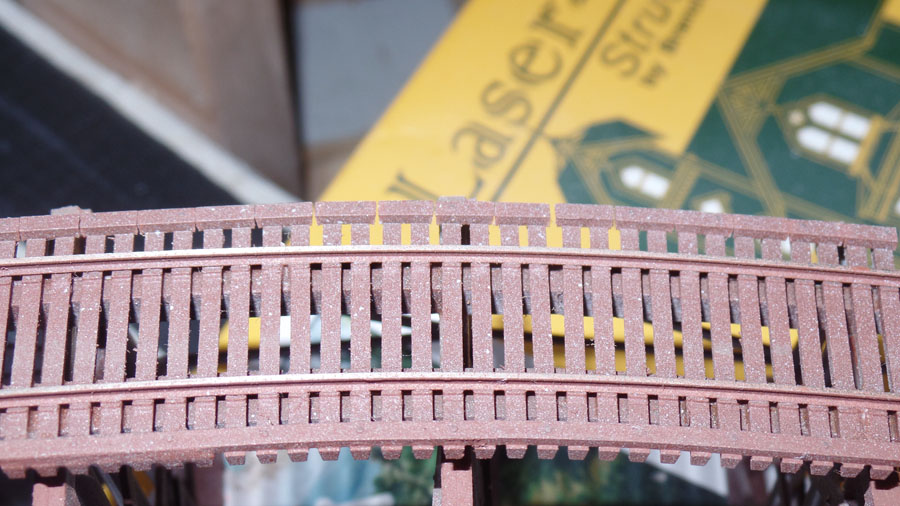
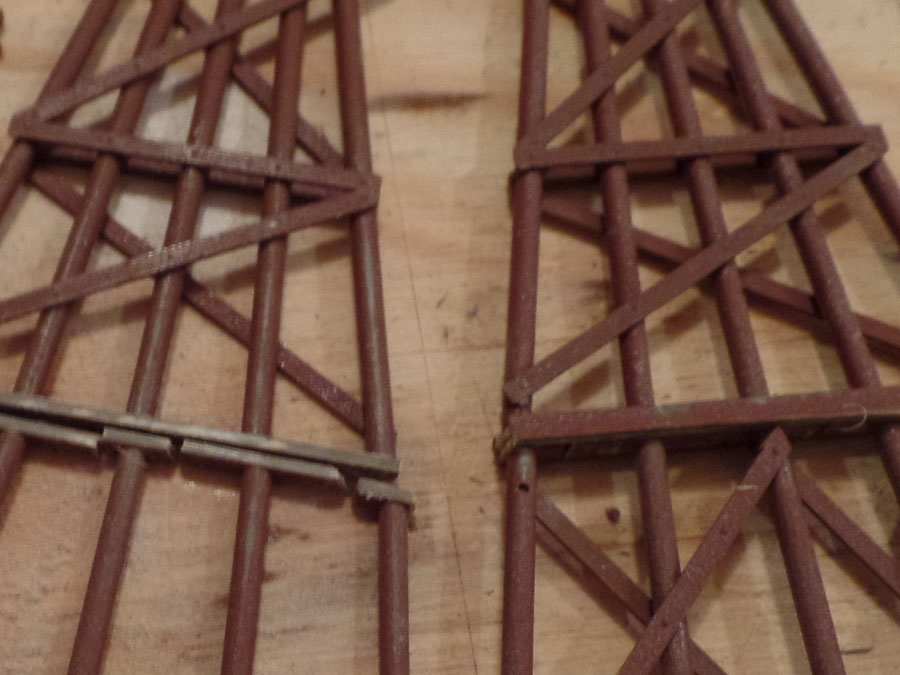
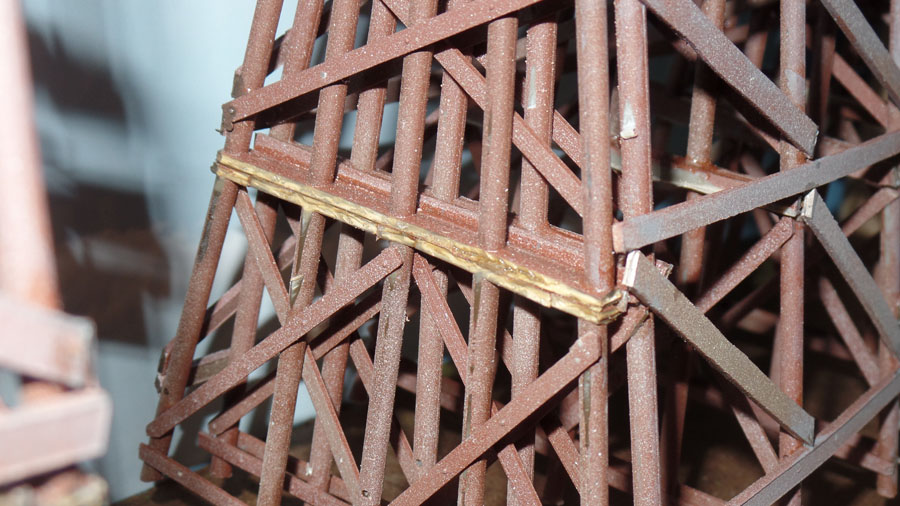
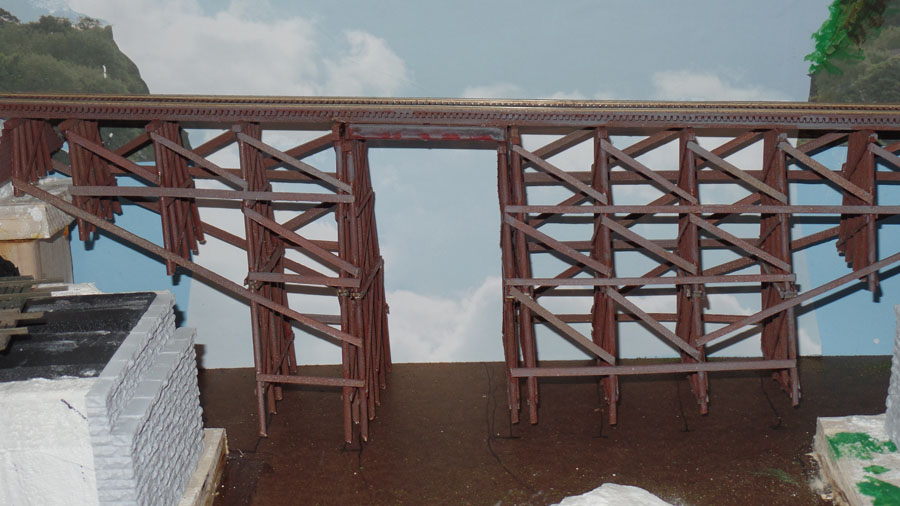
Danny’s been in touch with his way of buildings HO scale trestles:
“I thought your readers may be interested in the progress of my railroad.
It was started in my basement and was moved to the second floor of our condo when we moved.
The first pictures are of the New River Mining Co. I relocated and greatly reduced the size of the refuse bin to fit my layout. The other pictures are how I modified Walthers wood trestle
kit.
The first trestle is curved. I slit the deck to make like flex track. Pinned it in the curve I wanted and then glued the four stringers individually. I then super glued the track. This made a
rigid deck for adding the uprights.
They were added at a four degree angle to match the slope of the track.
The second trestle Is straight and also at a four degree slope. this trestle is twice the height of the kit.
First the upright bases are trimmed to the width of the posts. The top of the bottom section is cut off. This is then cut into five puzzle pieces and glued to the upper section.
The joint on each side is then covered with with a horizontal strip. While not in the kit, both both bridges are braced along the track axes.
I had to buy some additional bracing plastic to finish the models. I prepainted sub assemblies before final assembly. Modifying this kit can save a lot over the wood trestle kits.
Hope you like my way of building HO scale trestles.
Danny”
Danny’s post reminded me of another Dan, who has a different way of building HO scale trestles:
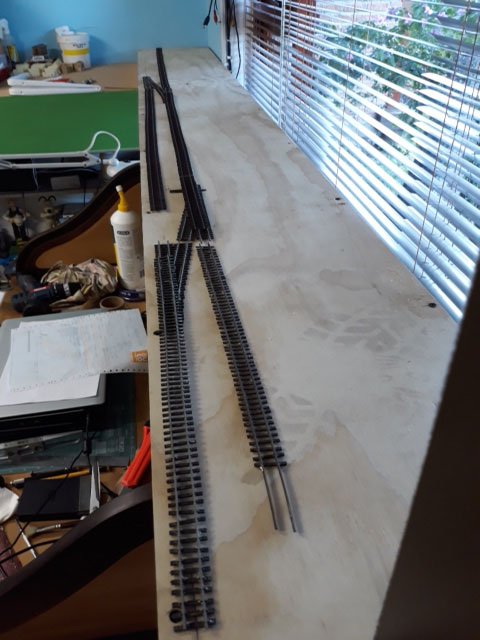
I finally decided to go the circular route with my layout (HOn3) on the upper logging level.
I am adding a 12 inch wide shelf above my workbench in front of the window which will link up the left and right hand sides of the upper level to give me a complete loop.
It will have a lift out section at the door on the right hand side of the photo.
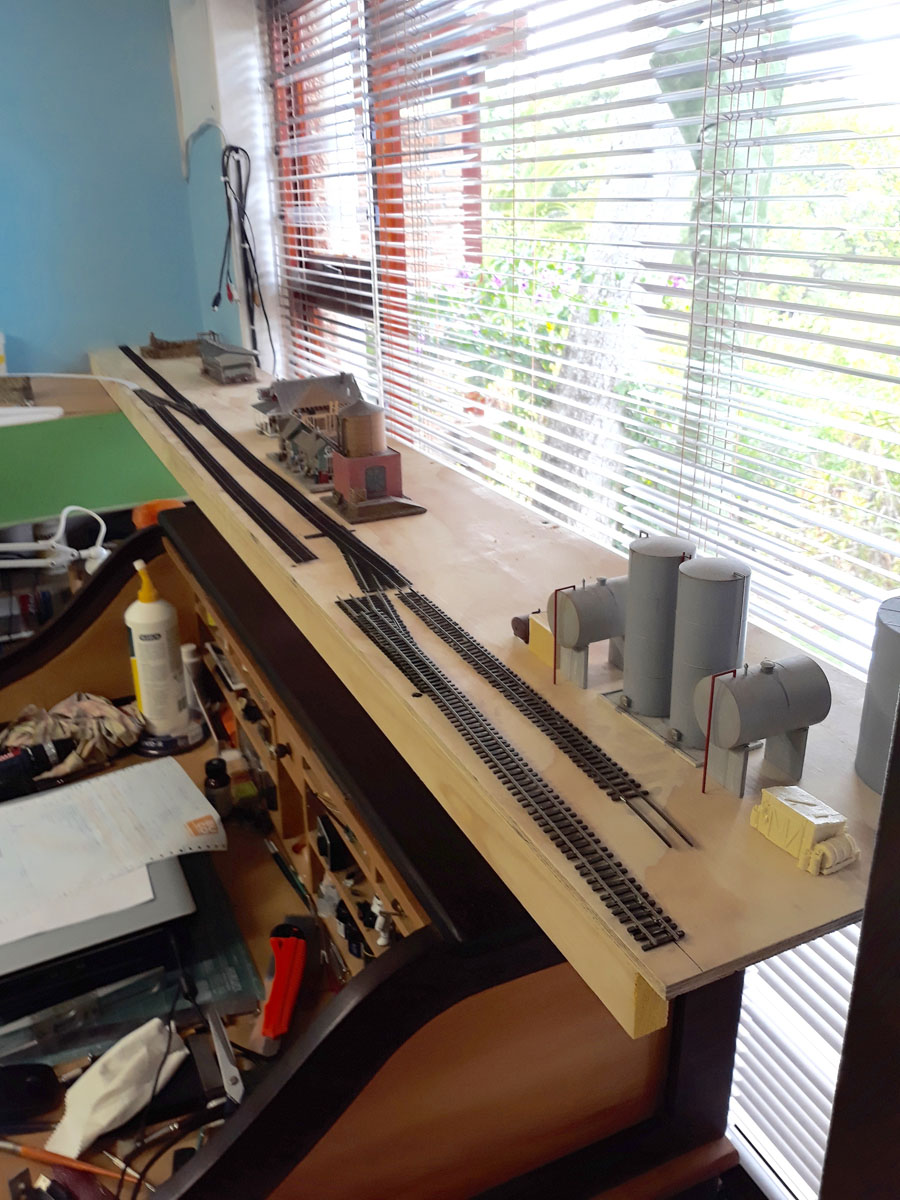
This shelf will have a station, water tank, stock pens and an oil depot. (All my logging locomotives are oil fired which gives me a reason to run my oil tank cars) and possibly a few more buildings if real estate allows. Also it has a passing siding for trains to pass.
Above, Left upper level will join the upper level on the right. Television (used for watching railroad and modeling related videos) will be relocated to make way for the stock pens.
Shaded area below is the proposed new section completing the loop showing where the lift out section will be at the door.
The shelf layout extension is currently laying on top of my workbench while I work out the height that it has to be when connected to each end on the upper level. It is approximately 15 inches above the lower level where it is currently resting at the moment. A 2 foot by 12 inch section will be added to the top left to join the 2 sections together.
By the way, the view out of the window looks out across the lagoon (which is tidal with an opening at the heads to the sea) and at the town of Knysna approximately 3 kilometers as the crow flies but by road – 15 kilometers and we are about 300 meters above sea level.
(It is really hard to concentrate on work at my workbench with a view like this).
Will keep you updated on the progress.
All the best
Brian.”
A huge thanks to Danny for sharing his way of building HO scale trestles, and to Brian too.
I wanted to publish Brian’s latest for two reasons.
And secondly, I love to see the layouts half built: I don’t think there’s anyone out there who hasn’t looked at their creation half way through, and thought ‘Uuuummmmmmmm – is this going to work out?’
But it’s amazing when everything falls together – the layout springs to life. A joy to see.
(Course, I’m biased, but all the steps to pull a layout together are in the Beginner’s Guide.)
“Hi Al, I emailed you a week or so ago about helpful comments on my channel re my eighth video about using a pencil to make a curve and a mirror to check alignment plus painting a thin line on the 5ft platform edge.
If you feel your viewers would appreciate the tips, then please use it.