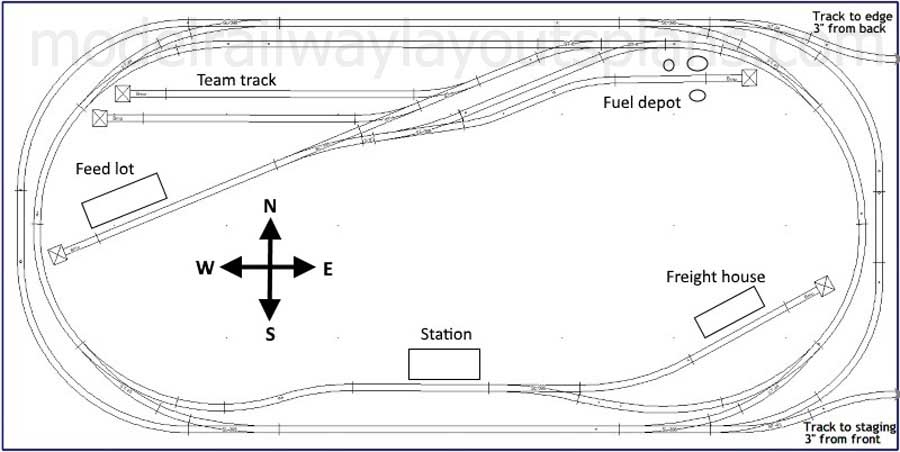
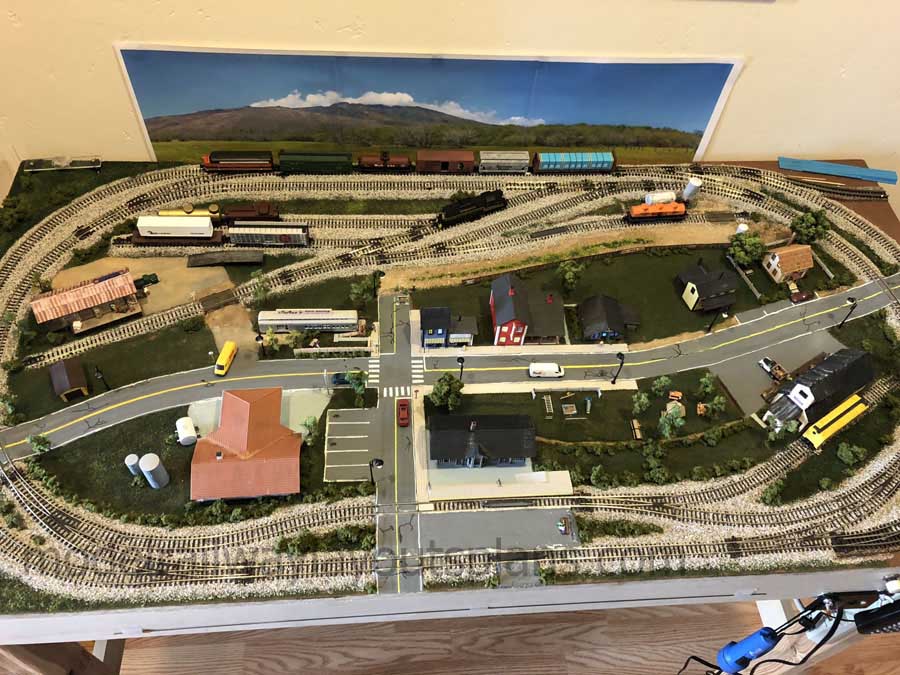
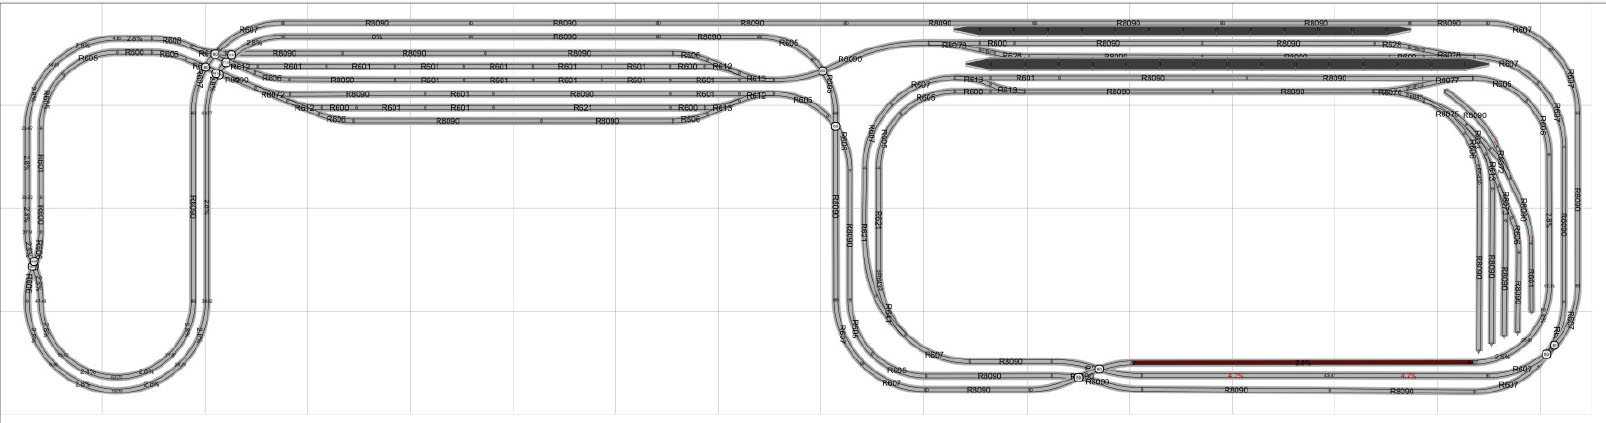
Mike’s been in touch with his 3×6 N scale layout:
“AL, I am not retired yet but the kids are grown and I thought I would get back into it too.
Years ago I built an HO layout with the kids, worked and played on it for around 10 years. Now with a 13 year gap I thought I would do a n scale.
I took a couple layouts I liked and combined them and came up with this. I learned a lot with the old layout and want a solid track plan that works.
Do you think the attached n scale layout, 3X6 DC wired work good?? I need some opinions about it.
Thanks
Mike”

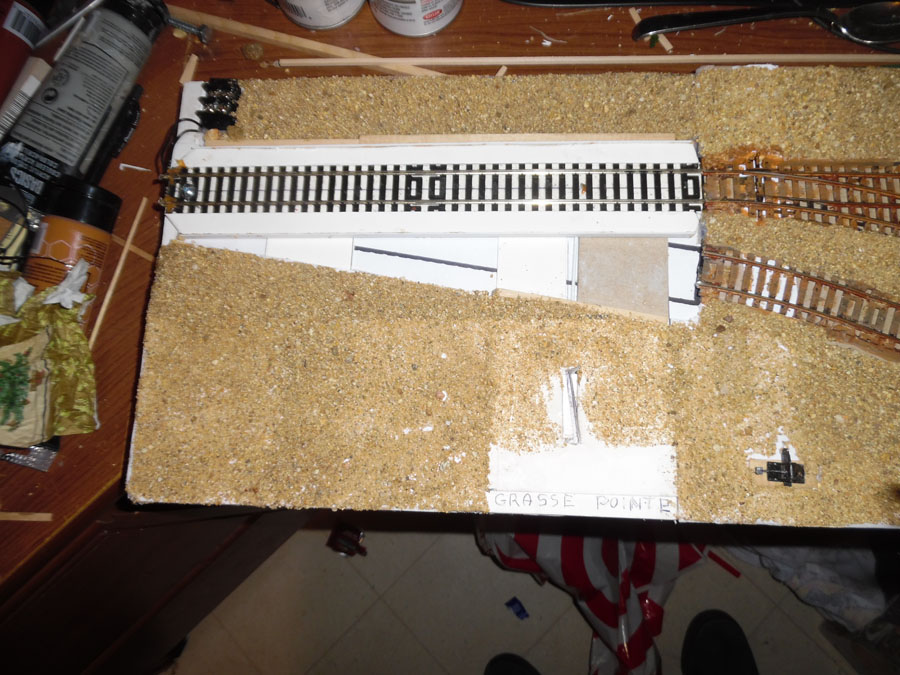
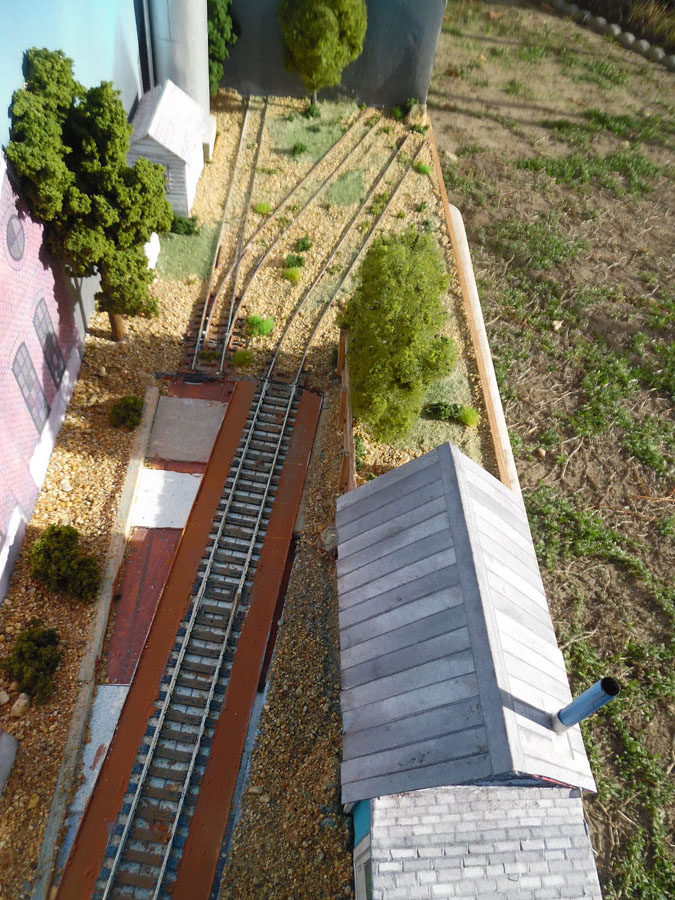
Now on to Martyn who has made a start with his layout:
“Hi Alastair,
I’m not new to model railways, always loved the hobby, but never really managed to set anything up myself, other than a loop on the carpet!
So for Twenty or so years, I’ve been “Making a Start”.
I had various bits and pieces that were collected over the years, but never the space. Indeed, space is still an issue, but I’ve decided that if I don’t get clever with the space that I have got, then that “Making a Start” will never happen.
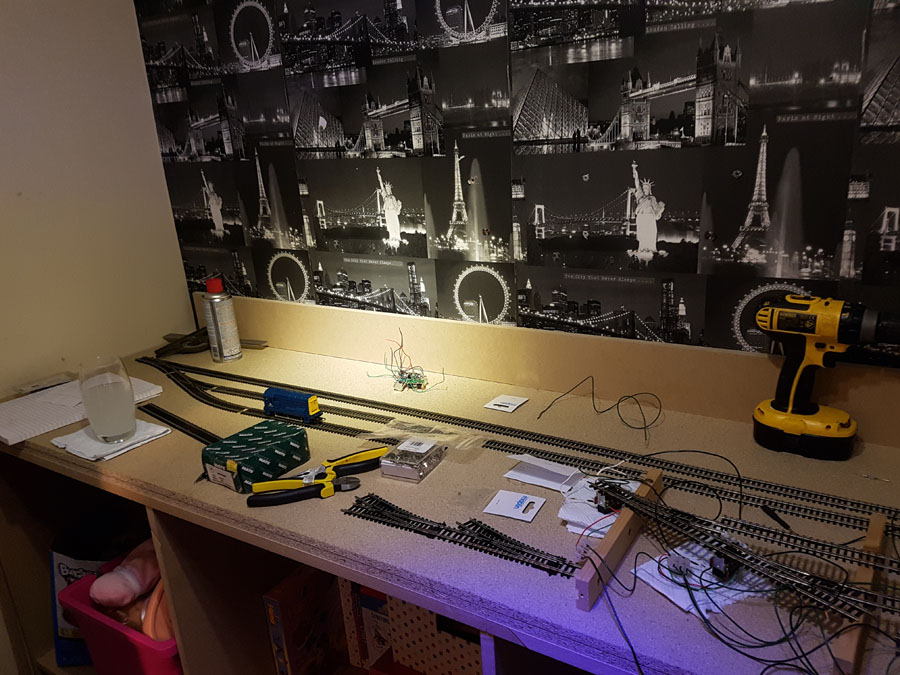
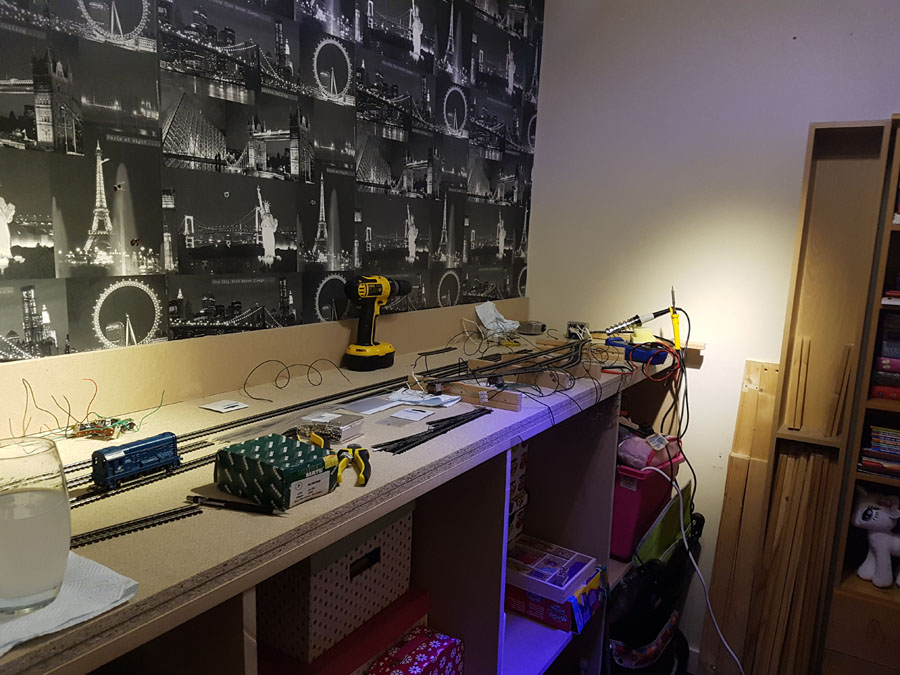
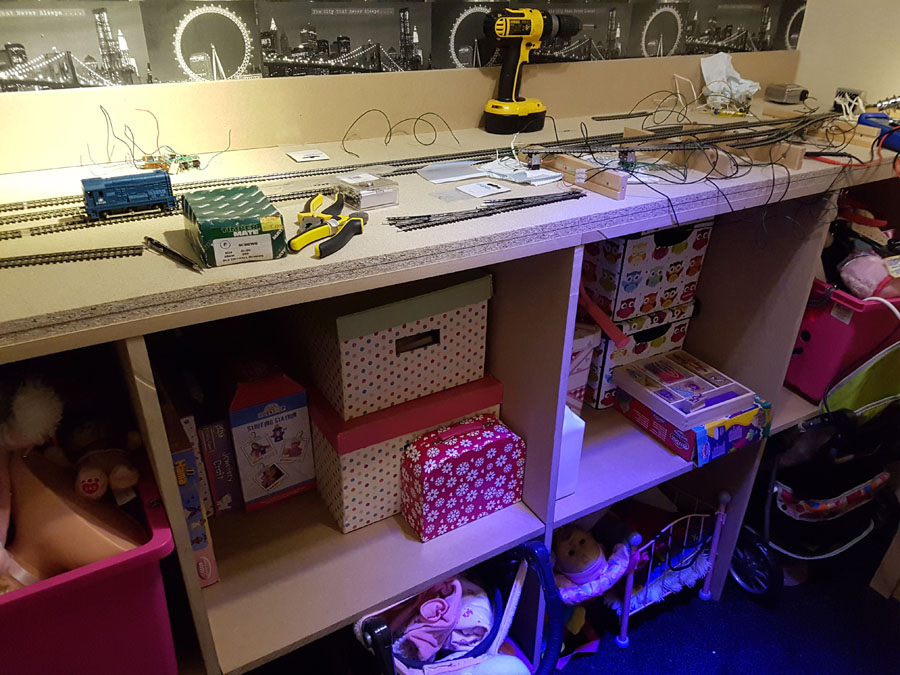
Both the kids toy room, and my office, are about the same size and back onto each other. The toy room has been a tip!! So I must either sell the kid, sell the toys, or compromise! I’ve chosen the latter, and a few hours work to build some framework and tidy up the toys has left me with a bit of space to start!! This area will house the loop/fiddle area and part of the circuit that will then extend into the office – (through a small hole in the Drywall stud).
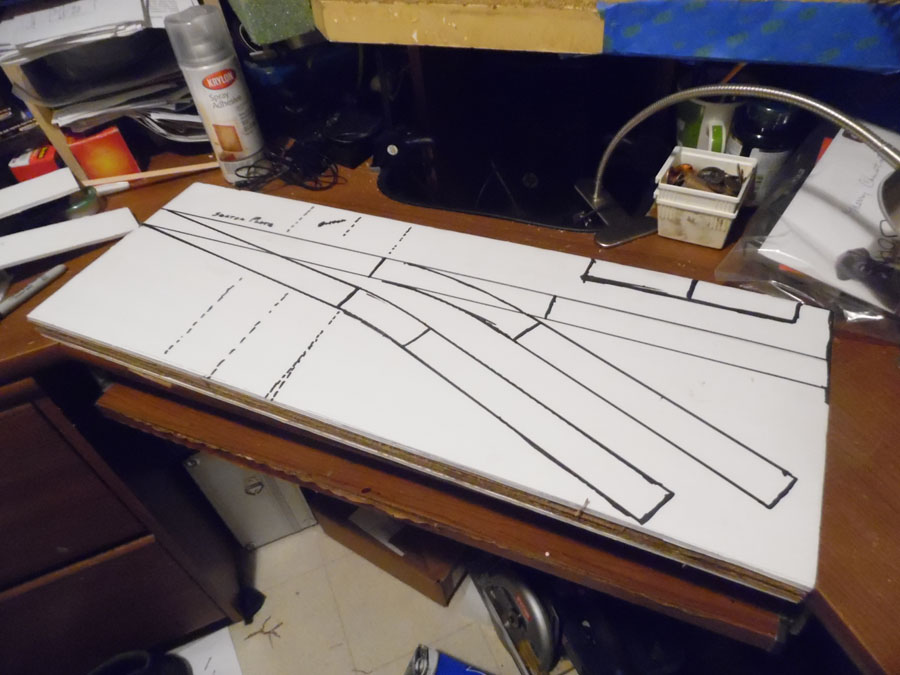
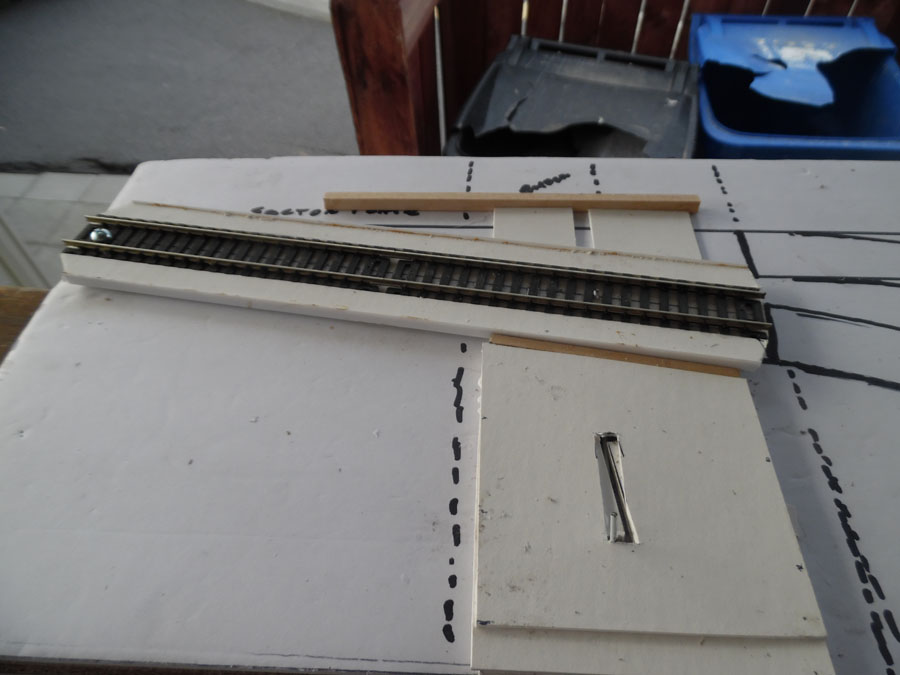
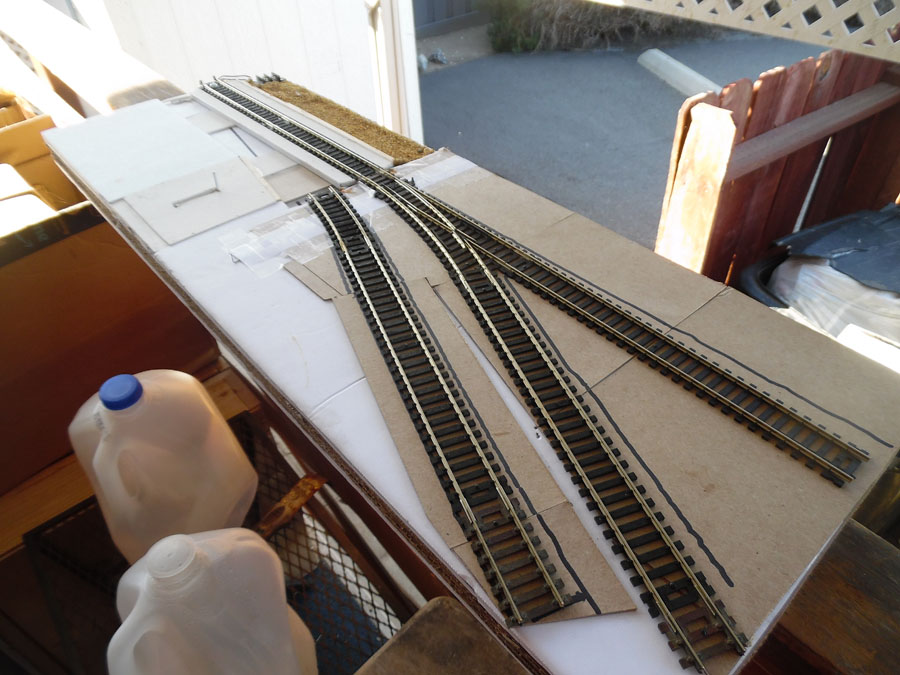
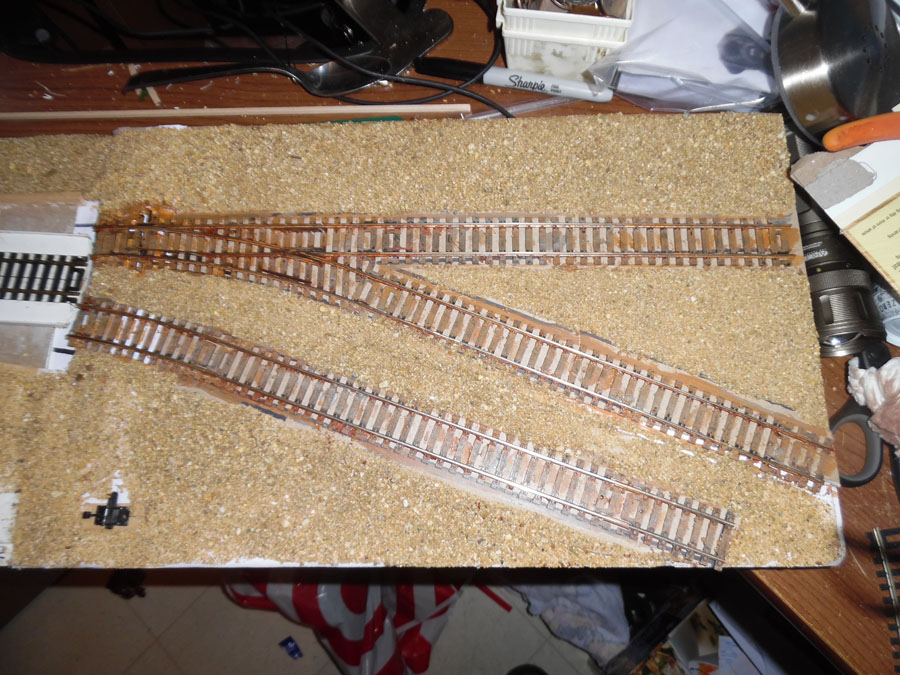
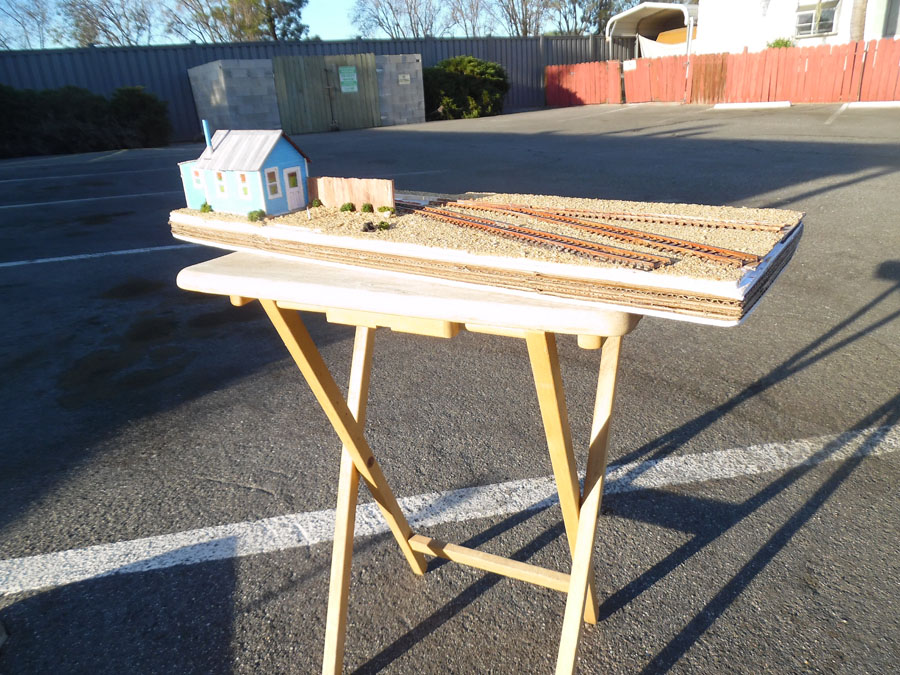
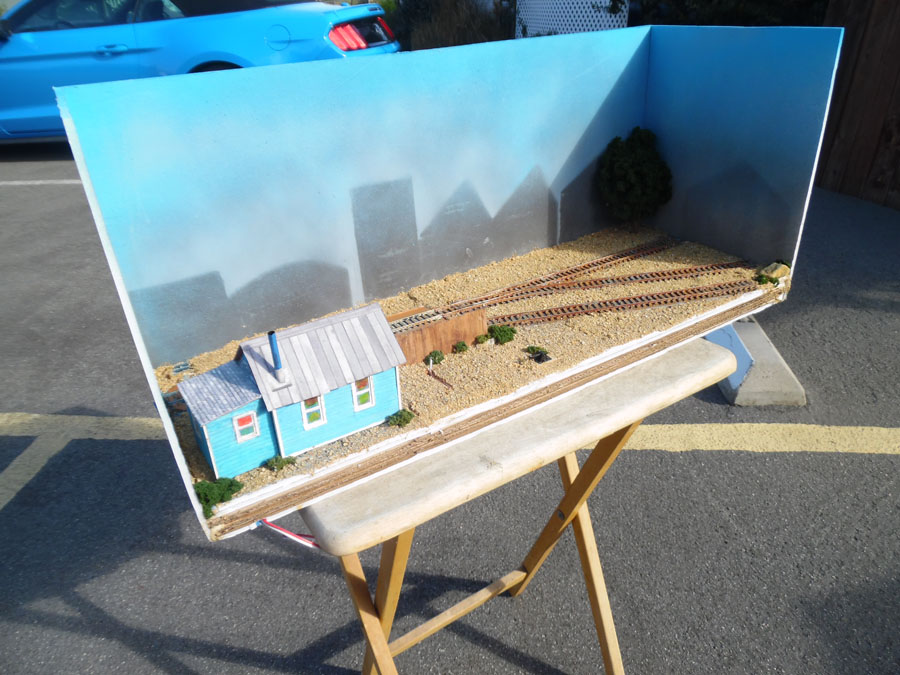
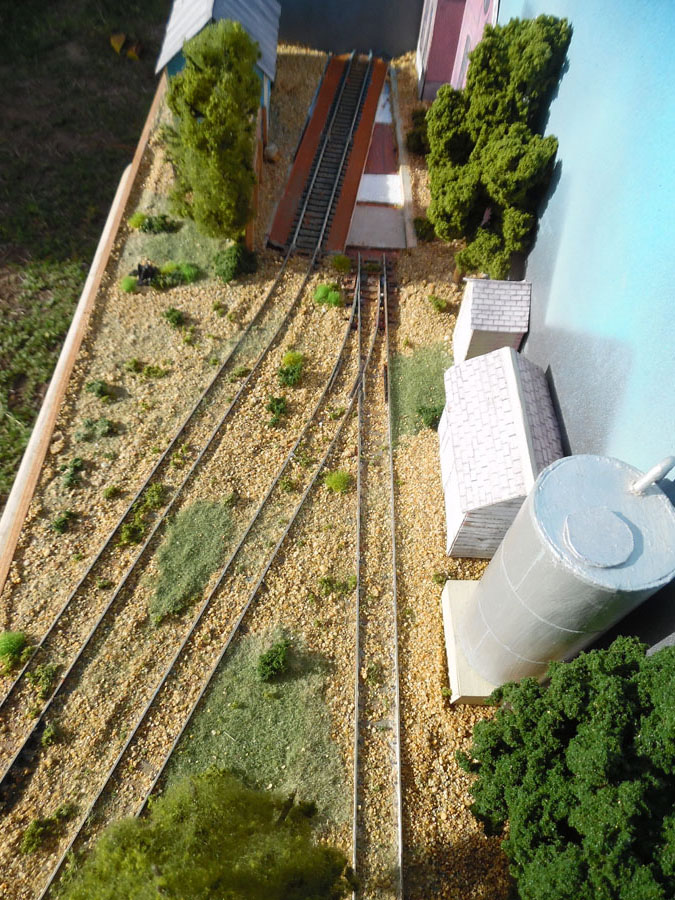
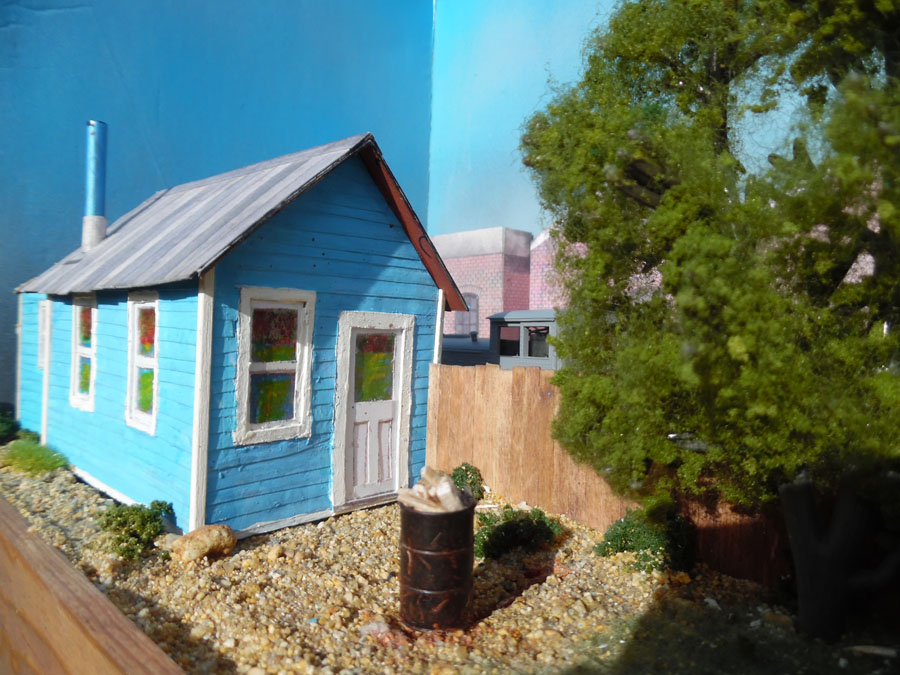
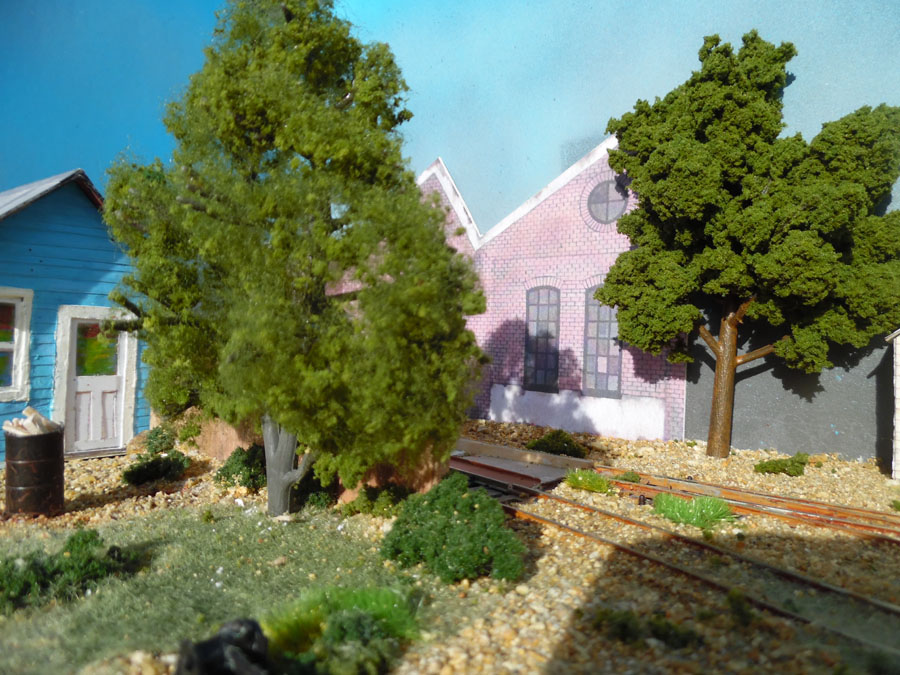
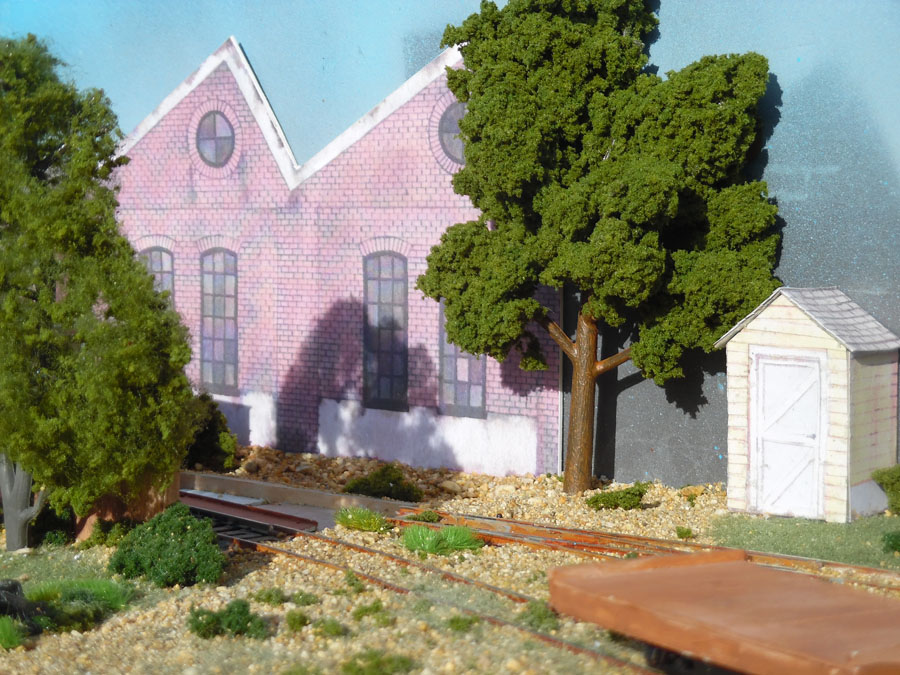
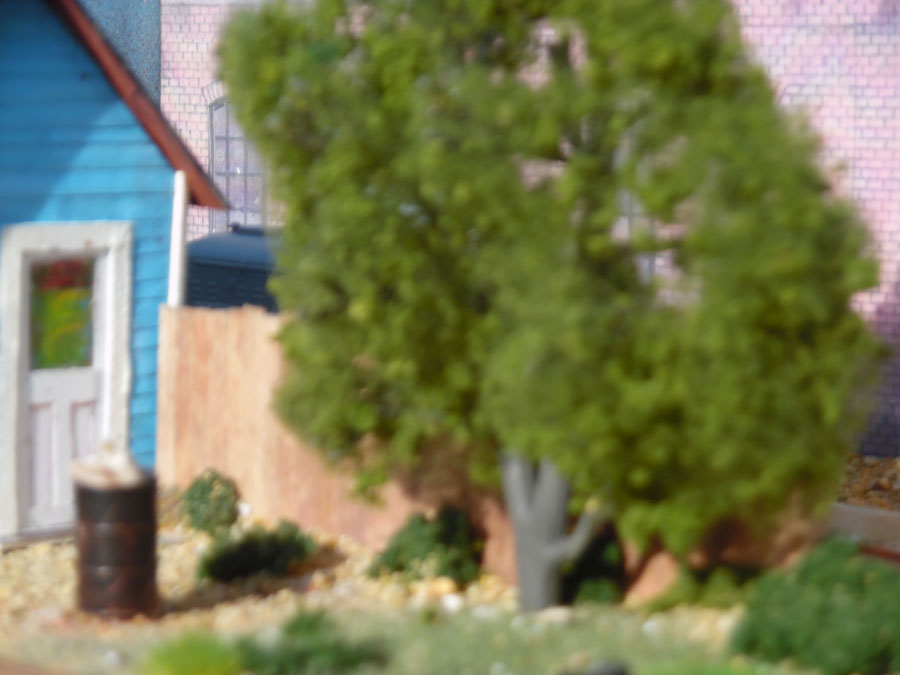
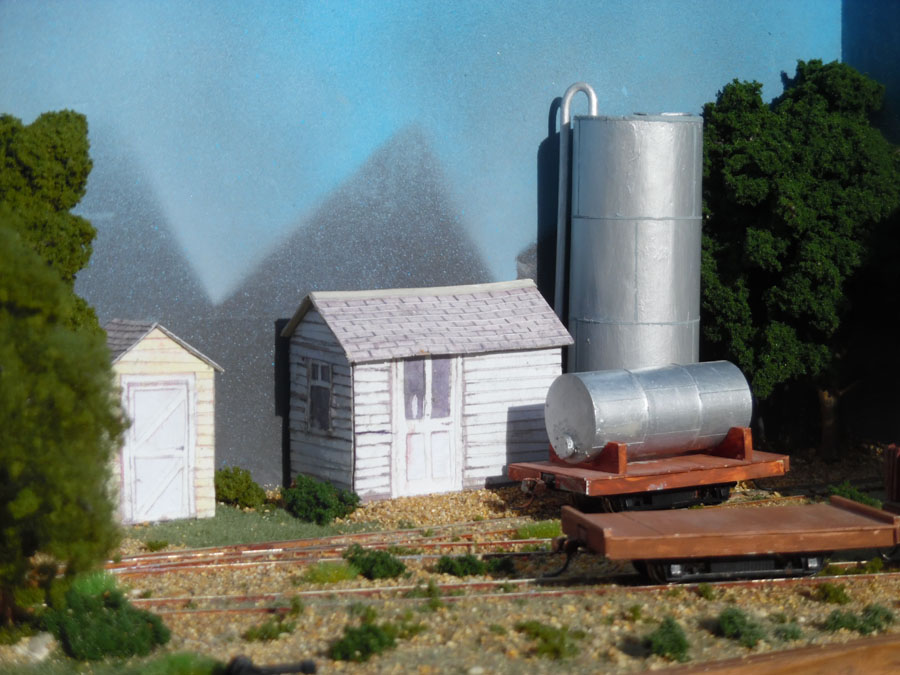
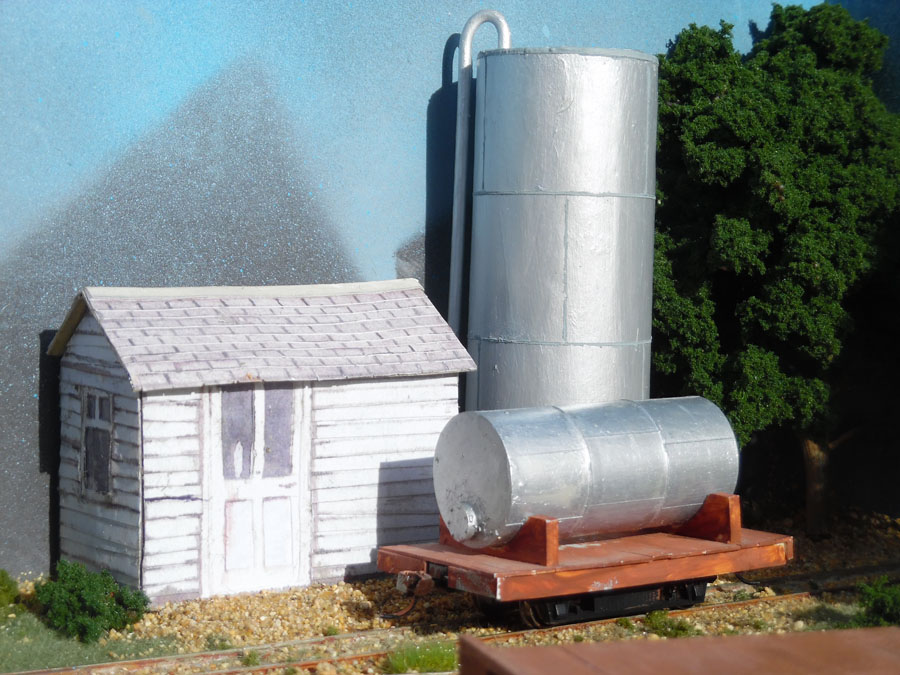
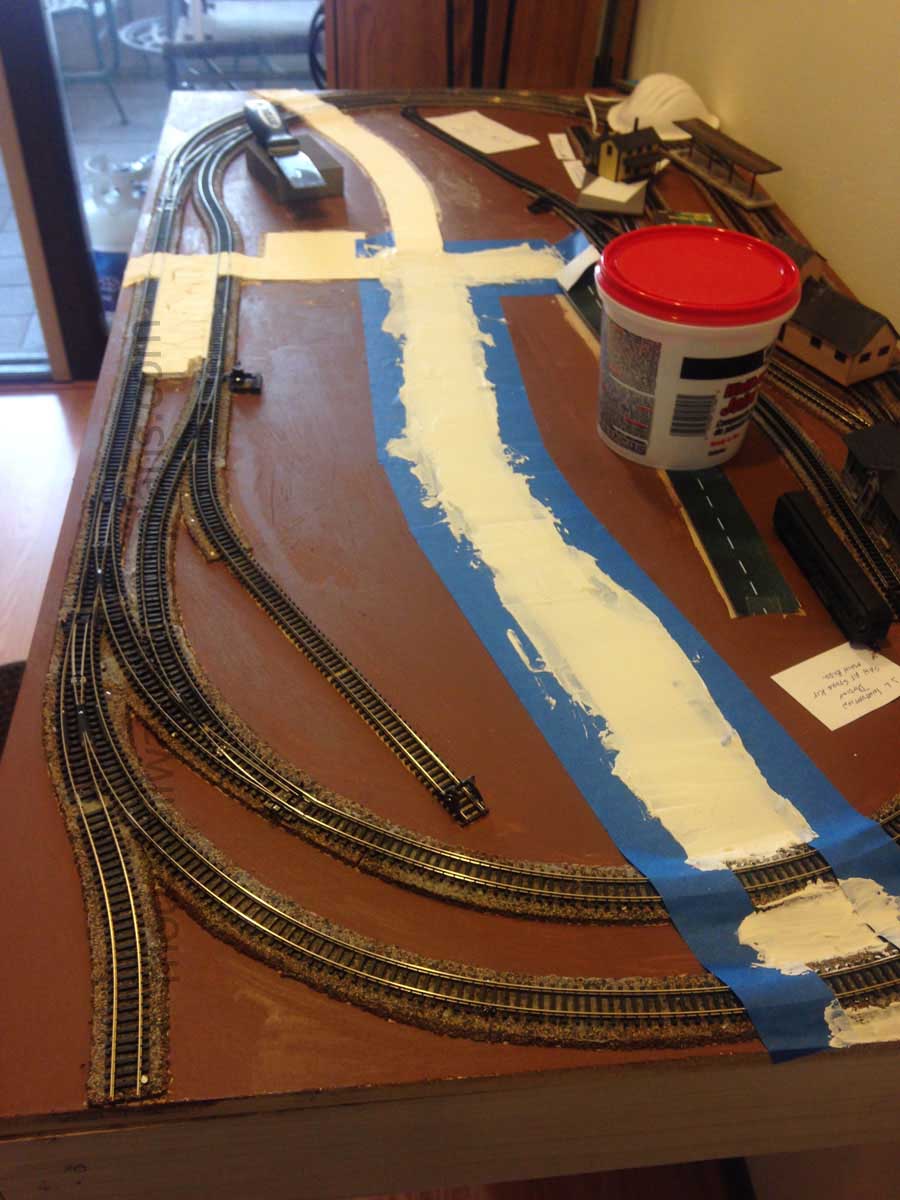
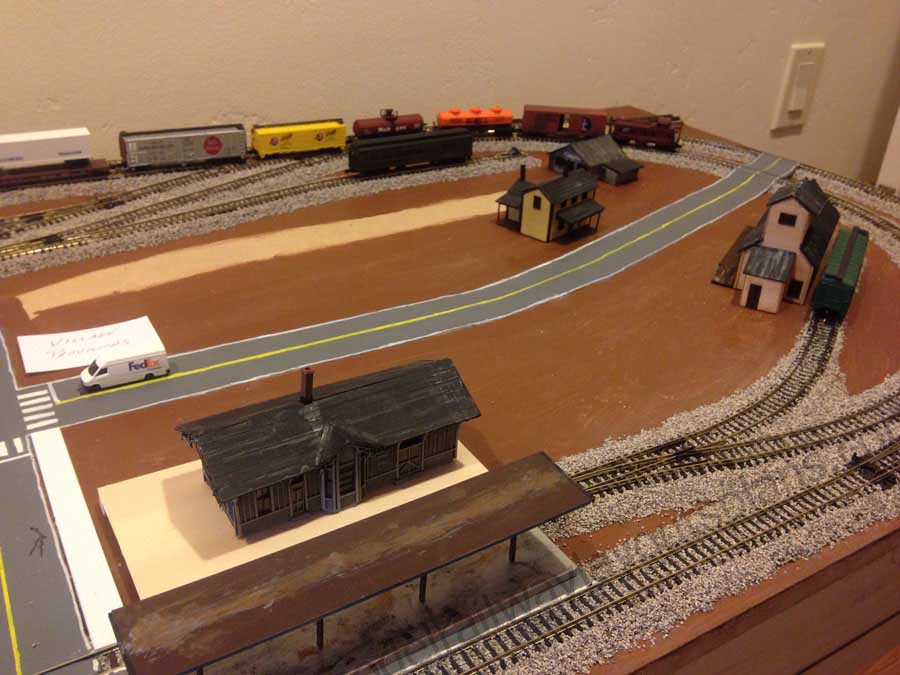
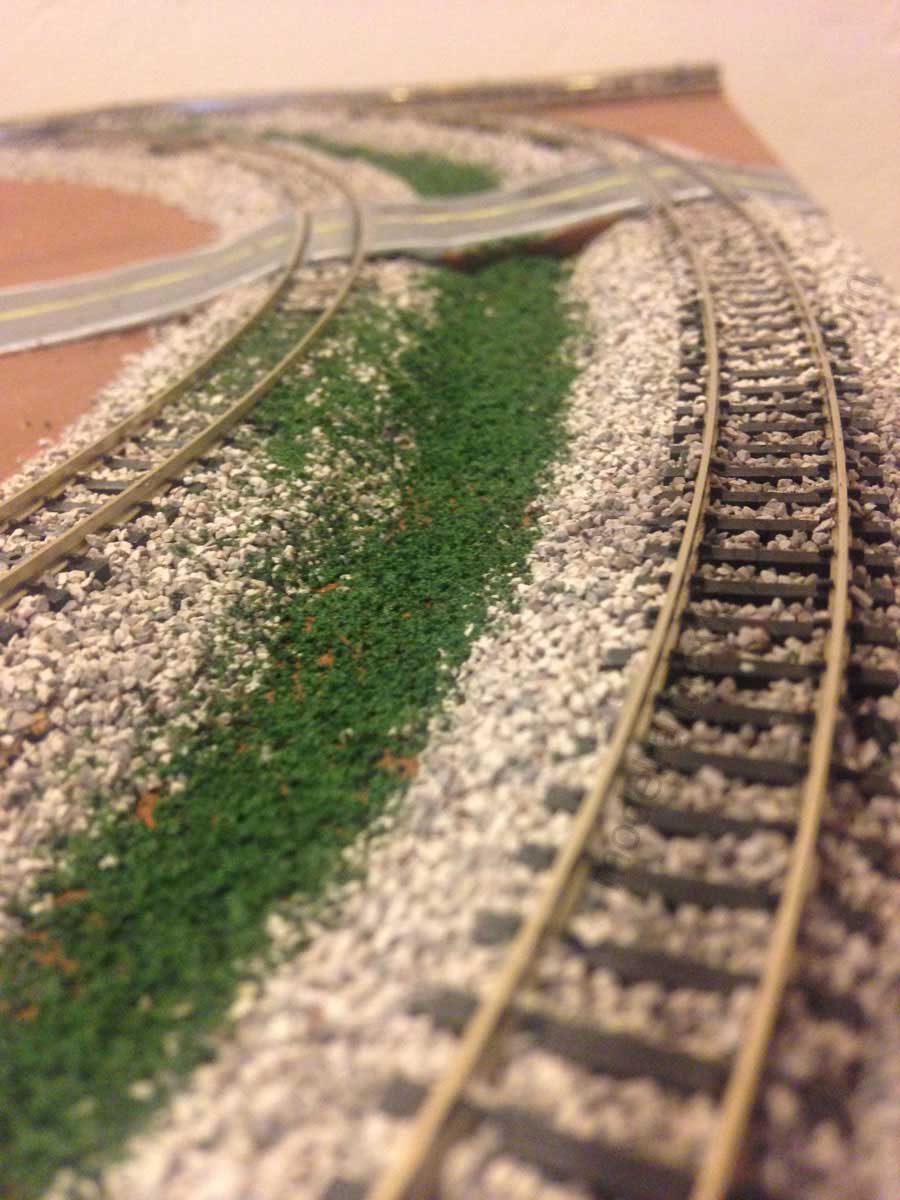
There are a few photos of the toy room showing the start of the build.
The office part of the layout is a little more tricky – The layout will be suspended from the ceiling and will climb down it’s own ropes when in use, to be retracted back up when I need to work!! A 12V winch with steel cable will provide the locomotion here. But that part is very much still in my head. So for the time being, I will concentrate on the toy room area.
My layout will be “Anything Goes” rather than a specific period. It is a single track, and will be fully automatic – (apart from the separate shunting areas and sidings). The scenery will come later, and may not be that specific. I want to get as much track on the layout as possible, so there will not be much space for housing estates, towns, fields and roads etc. but I will do my best when the time comes.
A pdf view of the layout is attached – I have used AnyRail to create it loosely as a schematic – There will be a bit more flexibility in it rather than using standard curves and straights.
DC is what I understand, I am not one of the converted yet, but DCC looked to be a big investment for what I want the layout to do.
My first thought was automation of the passing loops, so I started to think about the control – I wanted a train to run into a free part of the loop and release the next train from the loop, and so on. So with a bit of trial and error, I finally settled on something that works really well. It use 16V AC power from a transformer, a CDU, (as I would be firing several points simultaneously), glass reed switches combined with relays, Peco PL10 point motors, and PL13 on/on sliding switches attached to the base of the motors.
I have a video showing it’s basic operation, using drawing pins, (thumb tacks), in place of the reeds/relays which I have yet to purchase.
The plan is to use a acceleration module on the loop, which will gradually reduce speed as the train enters the loop until it is caught by the isolation rail, then the train that is released will slowly accelerate out of the loop. Another reed/relay set further around the layout will set the inward points to their correct position based on the position of the outward points. I’ll put in a set of control panel switches that allows me to stop automation and/or release trains from the loop at any time.
THERE’S MAKING A START!!!
Regards
Martyn”
(All images are clickable, by the way.)
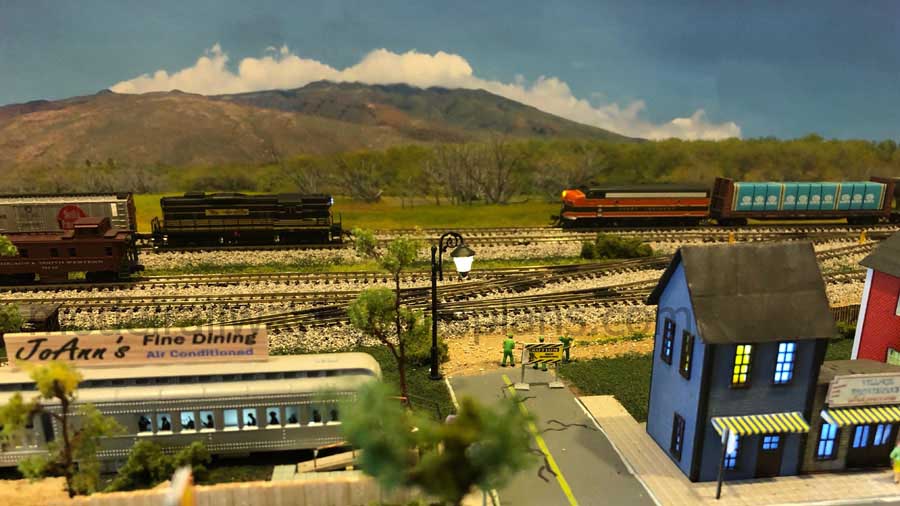
Next on to Peter, and it’s a really good comparison of the different size in scales.
So Mike is planning a 3×6 N scale layout, Peter’s is 12×24!
“Hello Mr. Lee ,
Not sure you remember me but we had some emails back and fourth about a year or so ago . Hope all is well.
It has been good , getting your emails and notes from other hobbists , looks like a good following, you put Daves layout on a lot, he has alot of good tips and hes got a nice layout.
I’ve been doing HO scale for about 60 plus years and still going stong , when I lived in Brooklyn , we only rented so i was limited in space but with 3 children I managed a few layouts, nothing big but all hand done.
We moved out to New Jersey about 10 years ago and we bought our first Home at our retirement age, what a time to do it right, but we got it with a little basement and my wife gave me 1/4 of it for my hobby.
In about 2 years i had a 14 by 18 foot HO scale layout and it was a lot of fun but in 2011 we got introduced to IRENE, you remember the storm everyone said wouldn’t happen but it did, my base filled just about to the ceiling, with water, last it all but was able to salvage some, lost 2 cars in our driveway my mother-in-law was taken out of the house in a boat. When i get a chance and if you’ll permit me i can send you some pics.
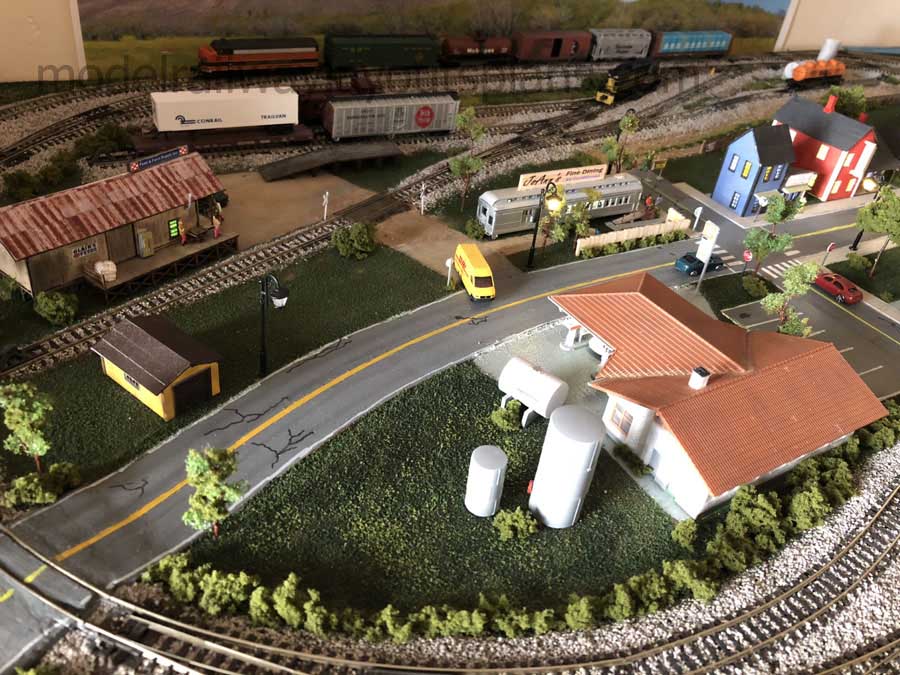
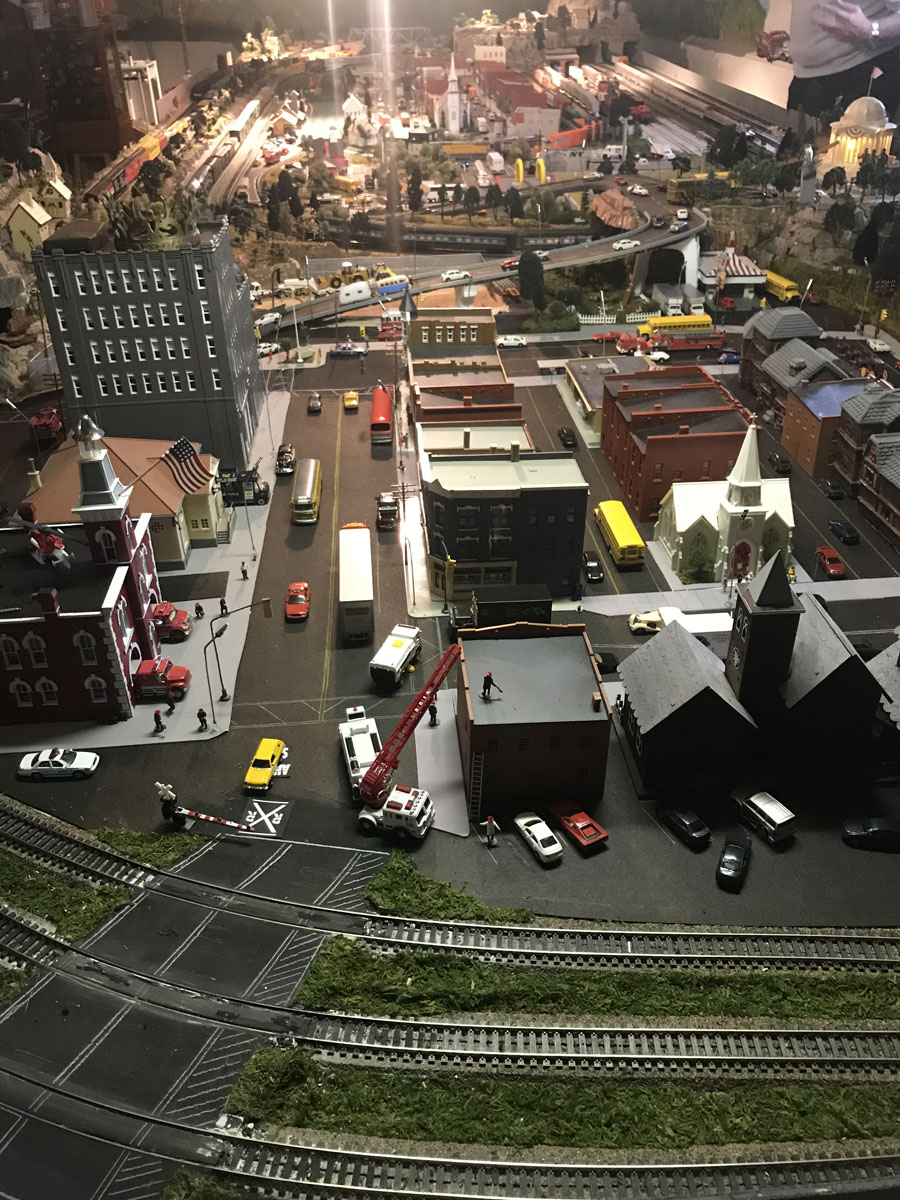
I thought for sure that was the end for me with Trains but my wife insisted you have to build another and with that said I did, this one is 12 by 24 feet, 6 outer loops, 3 inner loops, a
freight yard of 4 live rails. I can run 9 loops at the same time , I am attaching a few pics and hopefully you will allow me to send more when you say it is ok .
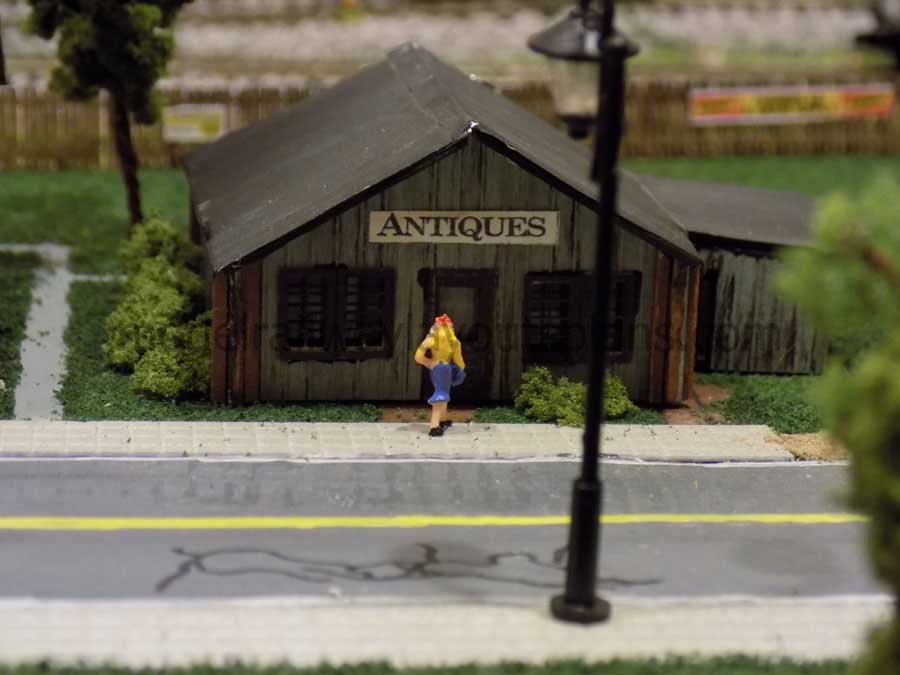
It is still a work in progress but I love it , alot of items are hand made some with card stock, plastics and other items i toy with . For 1 example the balast used around the tracks ,
is cat litter, but I believe most hobbists do that.
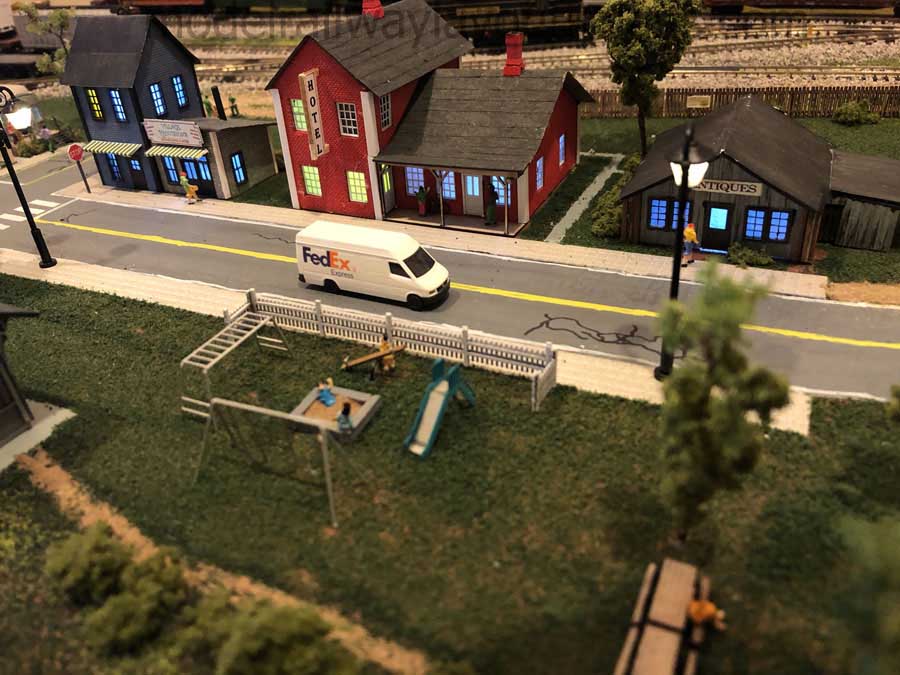
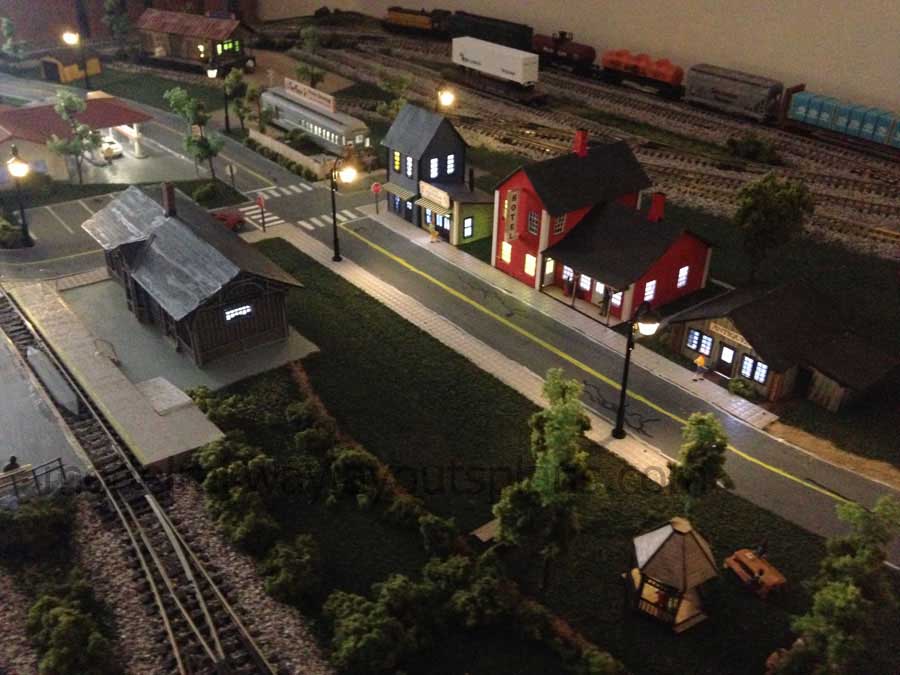
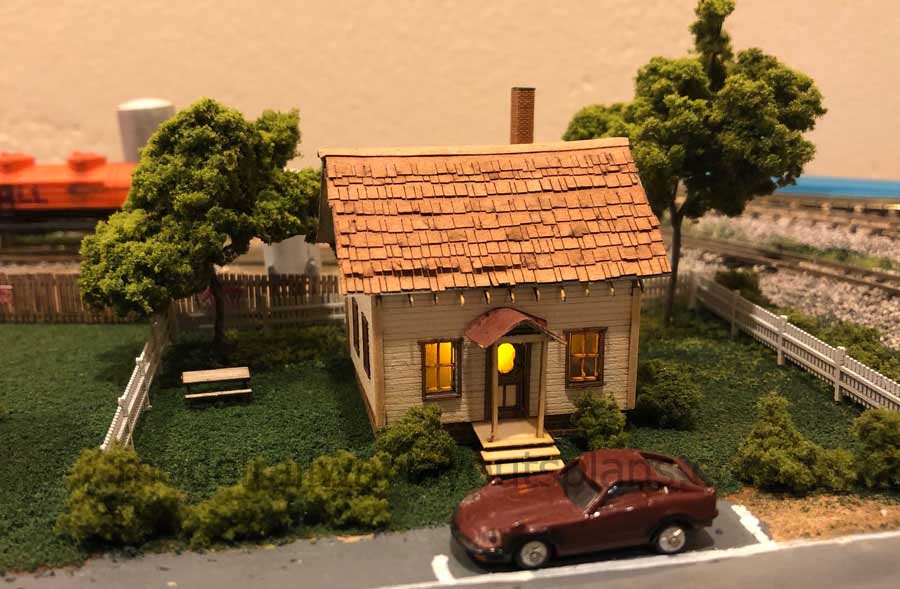
I will end here and hope to hear from you and what you think of Peter’s layout Pics.
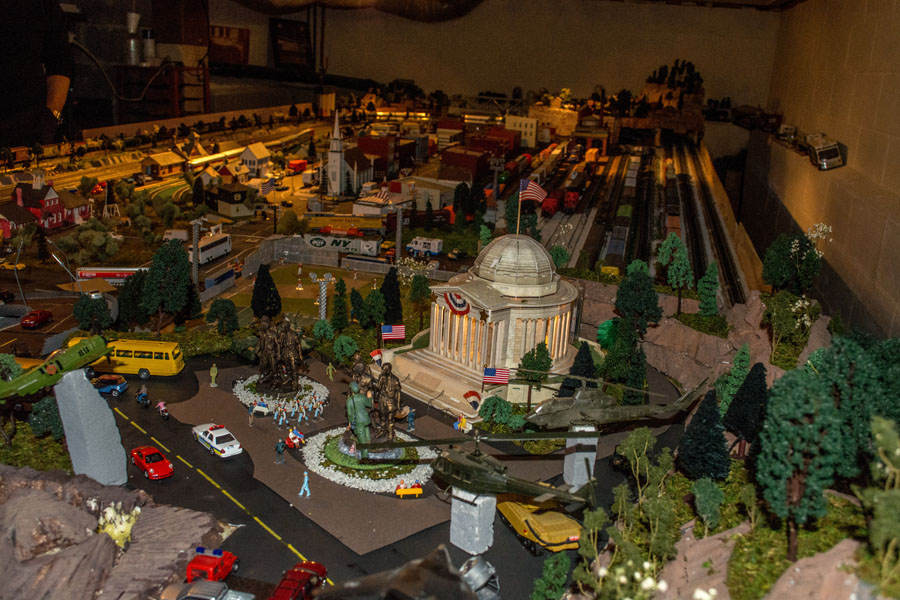
Pic #17 is a veterans memorial that I contructed , I am a Vietnam Vet
Thank you ,
Peter”
 .
.
A huge thanks to Mike for sharing his 3×6 N scale layout, to Martyn – and an even bigger thanks to Peter.
And Peter, yes, please send more pics, we’d love to see them.
Peter’s layout brings me nicely to the brand spanking new ebay cheat sheet (loads much quicker than the old one).
You can only get a layout Peter’s size by buying smartly – have a look at what’s availble now on ebay. It really does go mad at this time of year.
That’s all for today, folks.
Please do keep ’em coming. And if you’re worried everyone else is having all the fun, the Beginner’s Guide is here.
Best
Al
PS Latest ebay cheat sheet is here.
PPS More HO scale train layouts here if that’s your thing.
PPP Or more N scale layouts here if you prefer.