Dennis has been in touch with a wonderful post on Cheap N scale train sets.
It just goes to show you don’t need to spend a fortune or have lots of space:
“Dear Al,
I have a good friend, JT, who is a snowbird, spending summers in Colorado and winters in Arizona.
His home in Colorado has a basement, but the Arizona home is smaller, a double wide trailer.
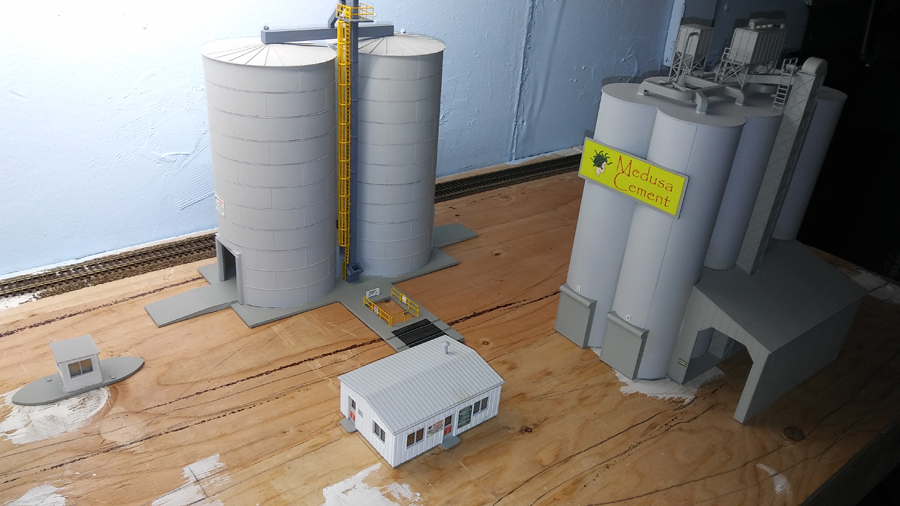
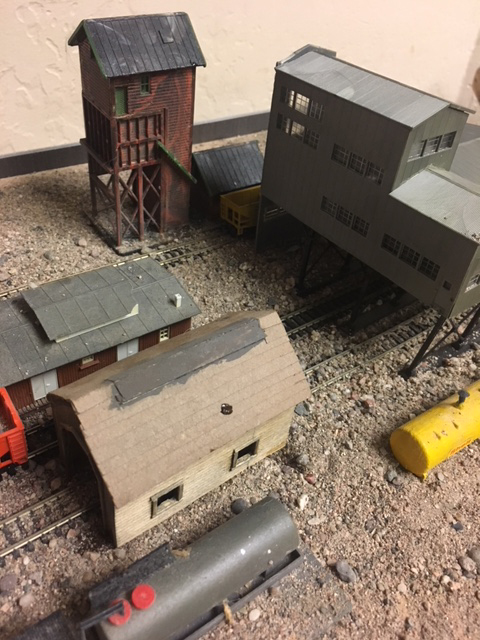
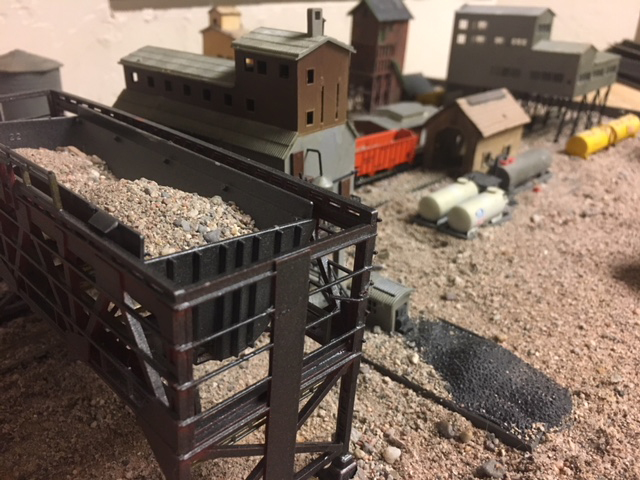
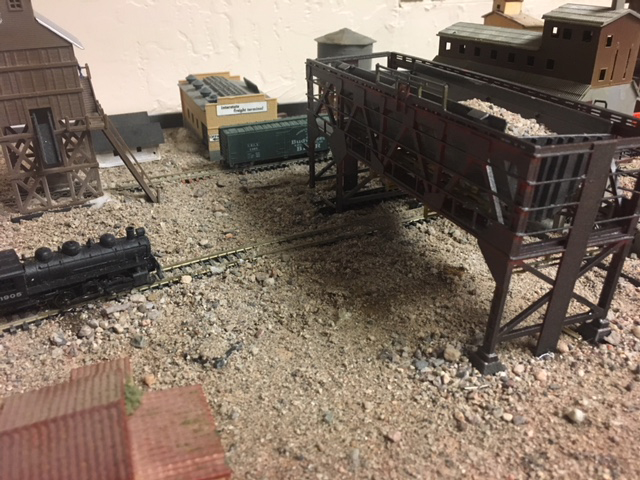
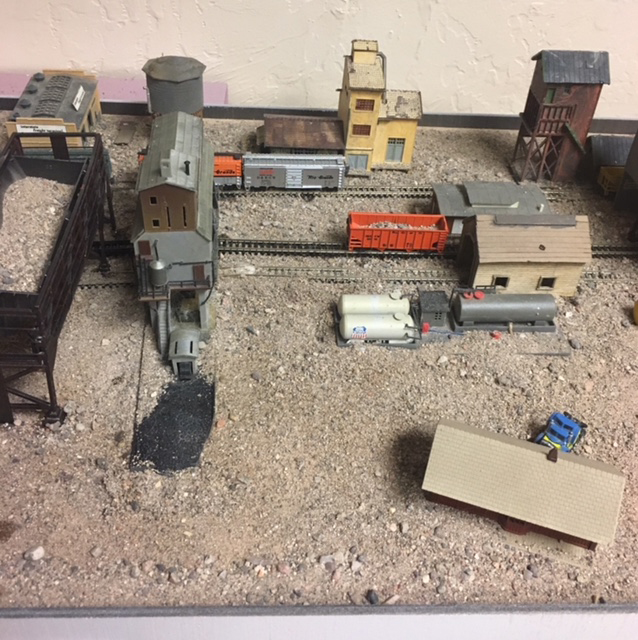
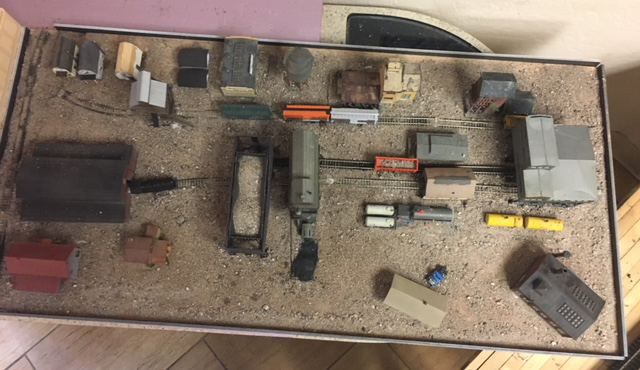
I decided to make a small N-scale diorama for his trailer and set out to illustrate that even a small space can have a railroad and that you don’t have to rob a bank to do it!
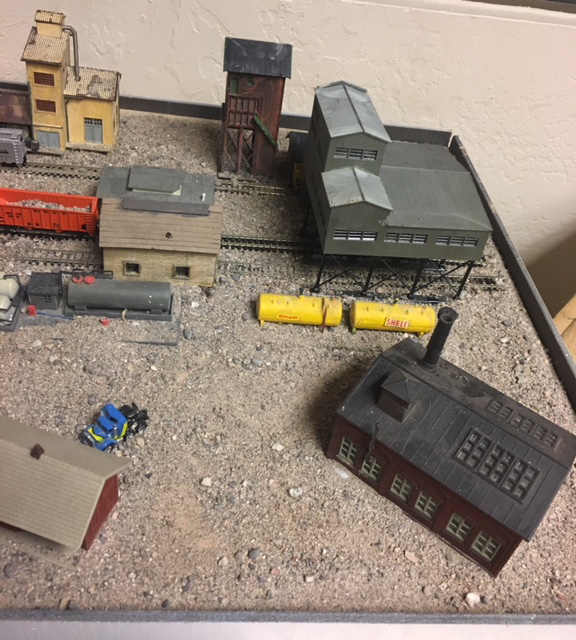
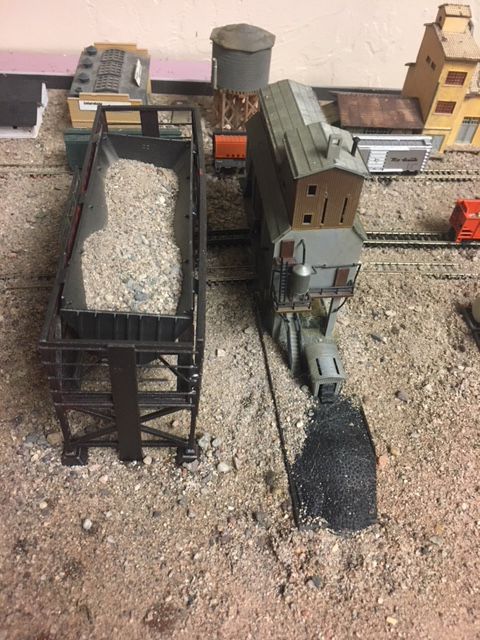
I found a scrap piece of plywood approximately 20 x 40 inches. Since I was creating a static diorama, I eliminated every potential electrical problem. I decided to use clear Gorilla glue and not a single nail or fastener. The theme would be a dusty Western US small town.
My real fun was scavenging railroad swap meets for cast off “junk” parts that I could transform. I bought discarded buildings, locomotives, cars, and track, never spending more than $5 for any one item, and most were only a dollar or two.
Like all of us I bought some structures that wouldn’t fit in, but at these prices I had no regrets. I moved things around a bit, covered my errors and sins with lots of glue and sand, dulled down some of the colored plastic, and added painted strips around the perimeter to contain any loose sand.
I deliberately left a gap in the fence in case JT wanted to strip out the end piece of track and connect to a larger layout in the future.
Voila! Total expense less than $75 US!
Hope it inspires you to go to swap meets, too. I met some new friends there and bumped into lots of old ones.
Dennis M.D., Scottsdale Arizona”

 .
.

And John has decided you don’t need much space to build a layout too:
“If you have never built any kind of layout, if you think you do not have any room, do not let those things be excuses…
Build a diorama to develop some modeling skills. A “micro layout” can be fun. Just get started.
One thing I hear too much of is the complaint that someone does not have enough room for a layout. Well, since building my little shed on my camping trip in September I have been lost in the doldrums. Or what we here call a modeling funk.
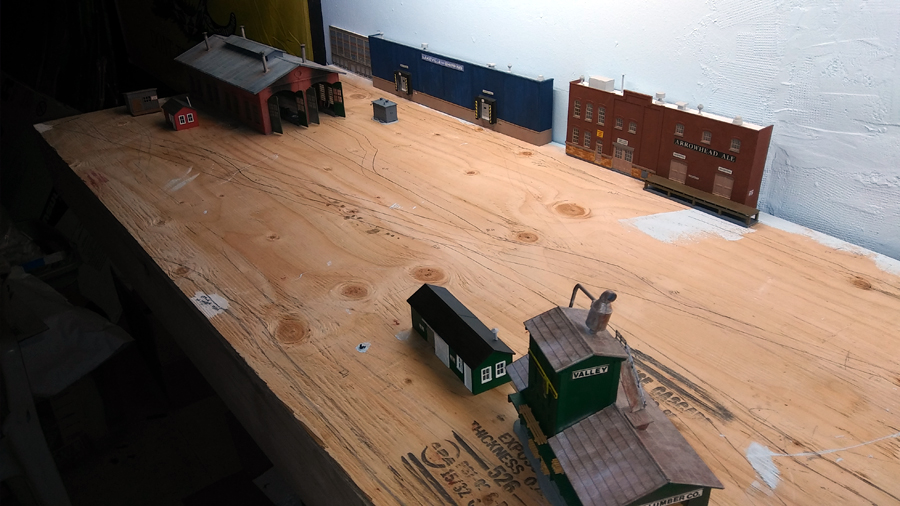
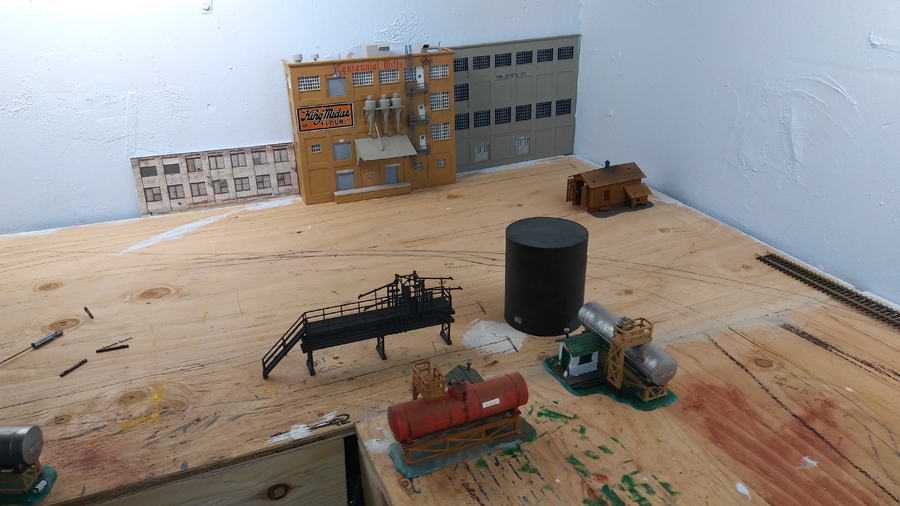
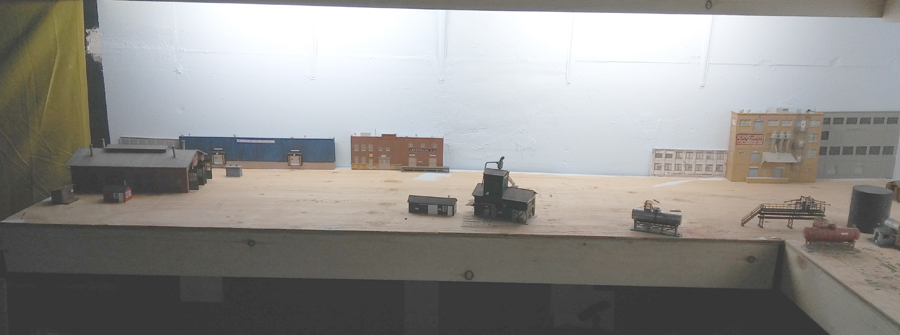
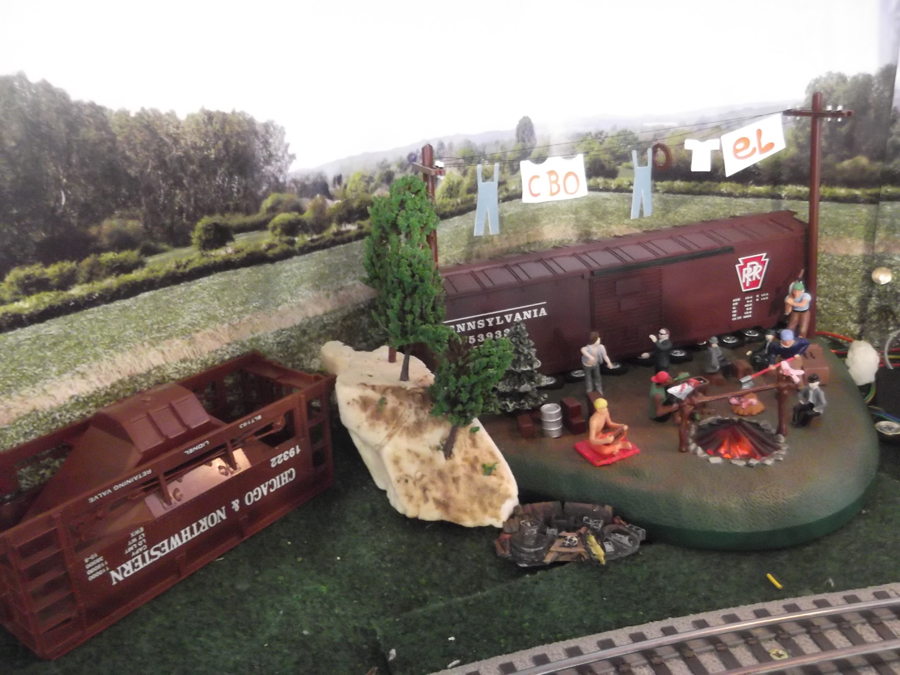
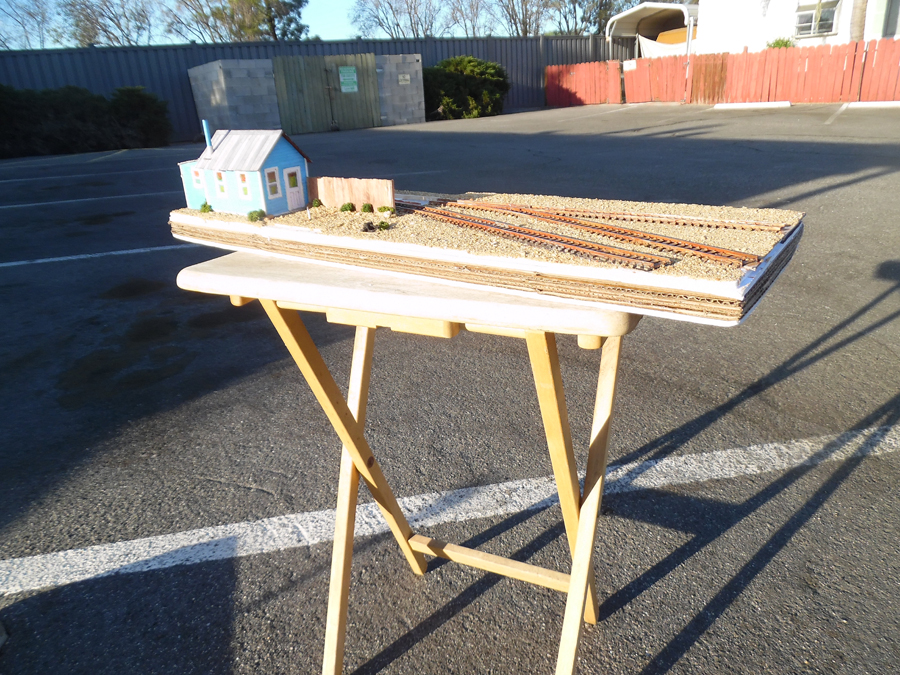
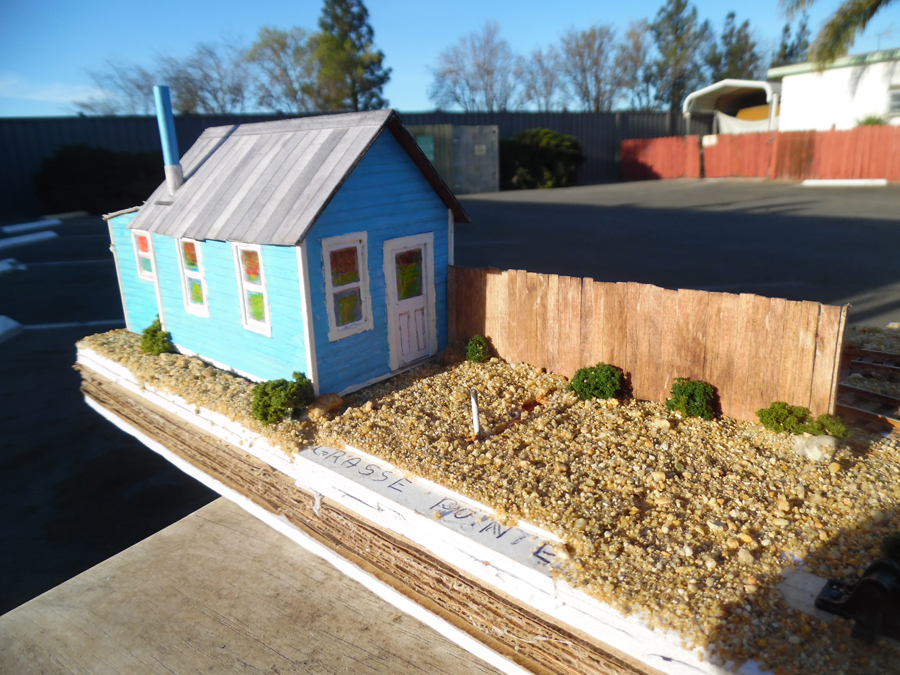
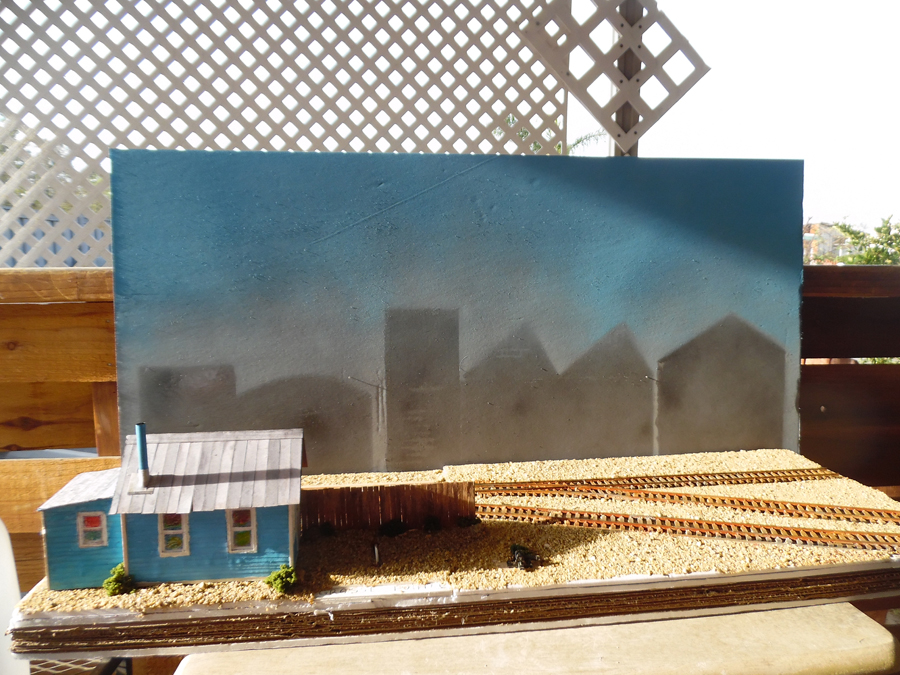
Then in early December I saw a video of a little 1 foot by 3 foot inglenook. I started looking through some of my old “idea files”… “Grasse Pointe” is the result!
This is my first attempt at using a sector plate and I am learning some new things too…
Grasse Pointe is roughly 10 inches deep and 28 inches long. It fits in a standard bookshelf. It really is becoming a scenic diorama that I can run trains on.
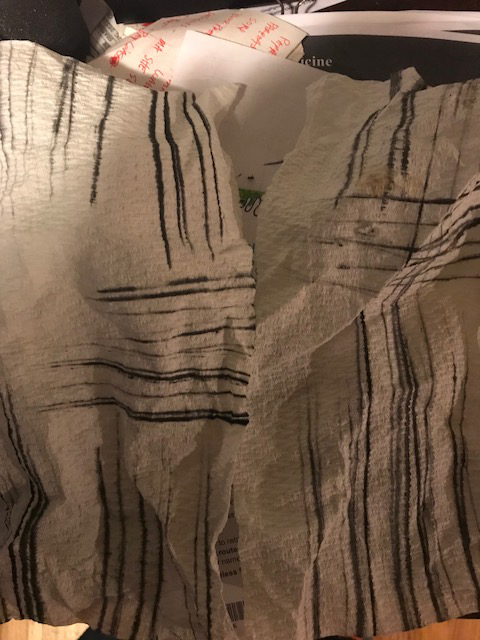
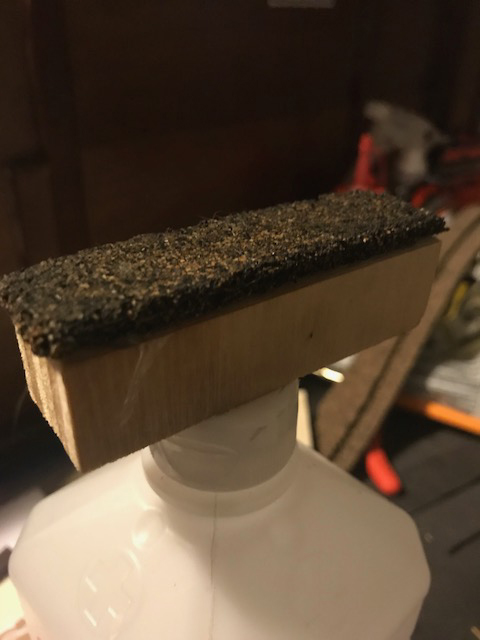
Here are three pictures. You might recognize the paper house. More photos will appear soon.
John
aka “John from Cali”
And lastly, another installment from Dangerous Dave.
I haven’t been too quick off the mark in posting this one, so apols if you’ve already seen it:
“Hi Alistair
Happy New Year to you and all the members
New vid shows adding there side mounted points motors…
Dave”
A huge thanks to Dave.
Thanks also to John and to Dennis for showing us how cheap N scale train sets can be just as fun as the expensive ones.
Just goes to show you don’t have to have a lot of room if you want to scratch that layout itch.
That’s all for today folks.
Don’t forget the Beginner’s Guide if you’re tired of sitting on the side lines.
Best
Al
PPS More N scale layouts here if that’s your thing.