Brian’s been back in touch, he’s been adding to the HO scale train buildings on his layout:
“Hi Alastair,
Please keep up the excellent work you are doing on your blog. I am sure that this is very much appreciated by all your followers. I do not always comment on them but read all of them and save to a folder.
Herewith an article of two kit rebuild/kit bashing plus some work on/under the layout.
I added a few more pictures at the end of the article of the never ending work around layout room.
Many many years ago I built this Pola (a European kit manufacturer) as it came out of the box with no modifications to it other than paint and weathering.
I pulled it out of my cupboard and decided that I can use it on my layout but it needs a complete rebuild.
This is what it looked like with the old roof after cleaning all the dust off it with a few details on the boring looking platform in front of it.

The first thing that I decided was to re spray it grey and the doors and windows green, add an interior of some sort.
As seen below, I marked out a double door opening to make a front loading/off loading building. As an afterthought, I did not like the grey paint scheme.
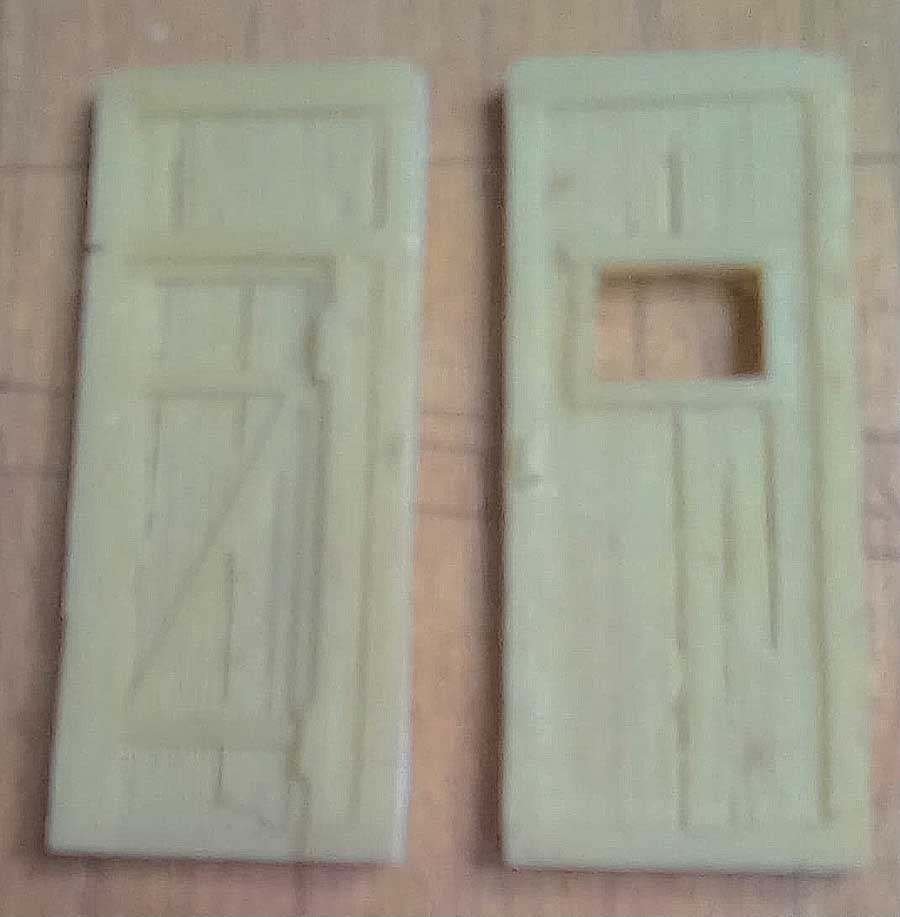
I delved into my bits box and found a double door resin casting which I promptly split in half to fit the new wider cut opening in the front for the Goods to be added. Apologies for the poor picture quality.
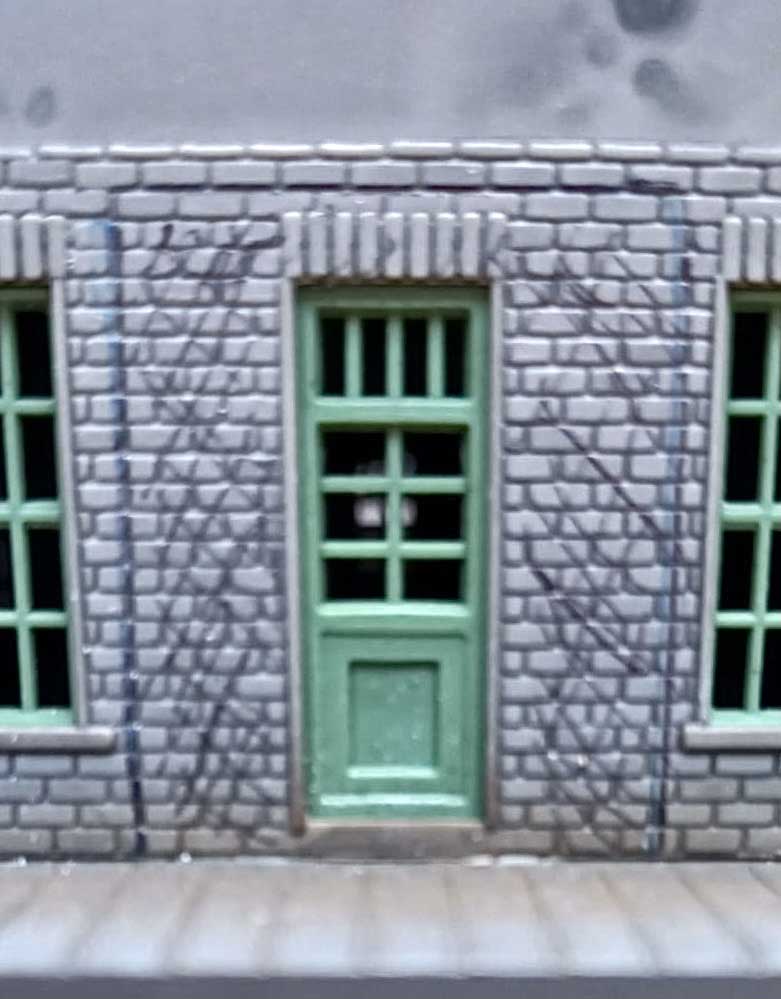
Next I test fitted the opening with the doors. This was before the repaint to a brick colour.

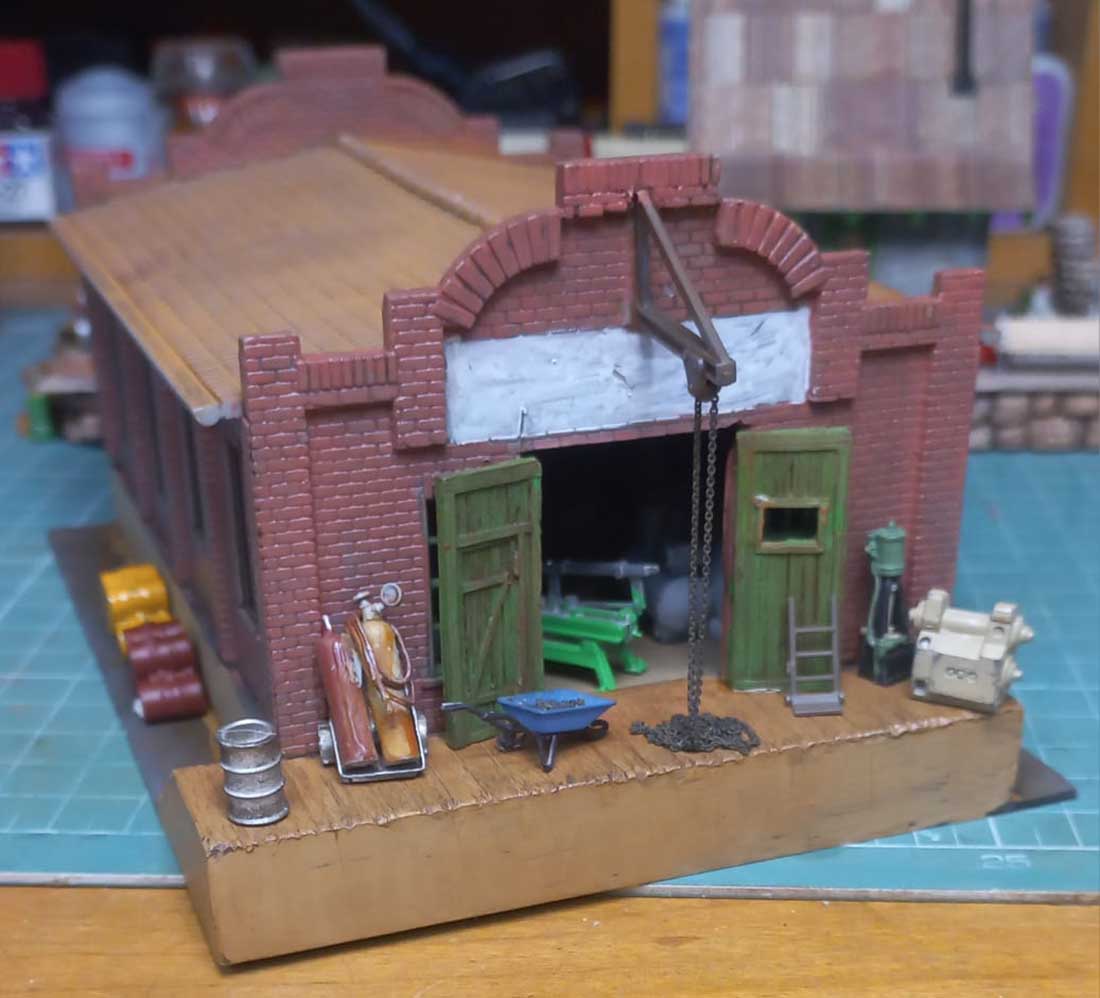
Next the building received a coat of brick coloured paint and the doors were painted green. The windows were painted an olive green.The two decks were roughened up to show lots of wear and tear. The weathering process will follow.
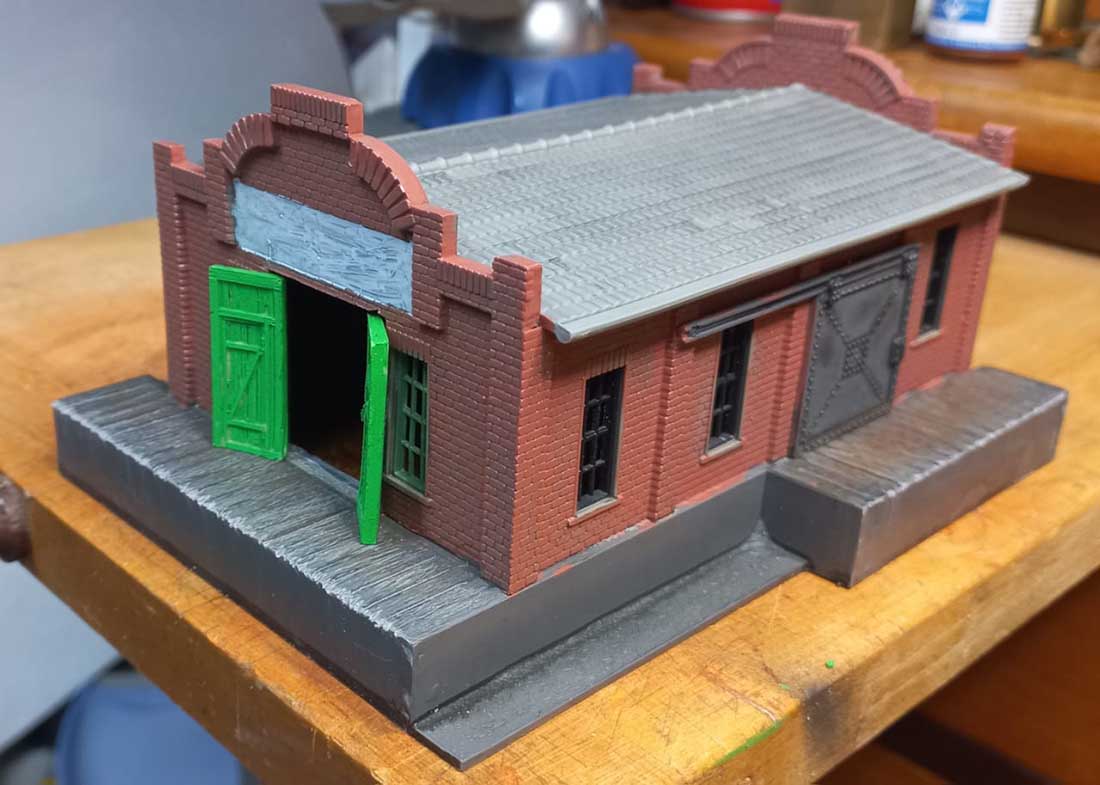
A name for the industry is still to be determined. Possibly an engineering works. I will print an appropriate sign once I have figured out what to call it. The deck has been painted and weathered as well as the doors.

Starting to add the details around the outside and inside the building.
Added a small tank to the side deck. I will still add more details to it.
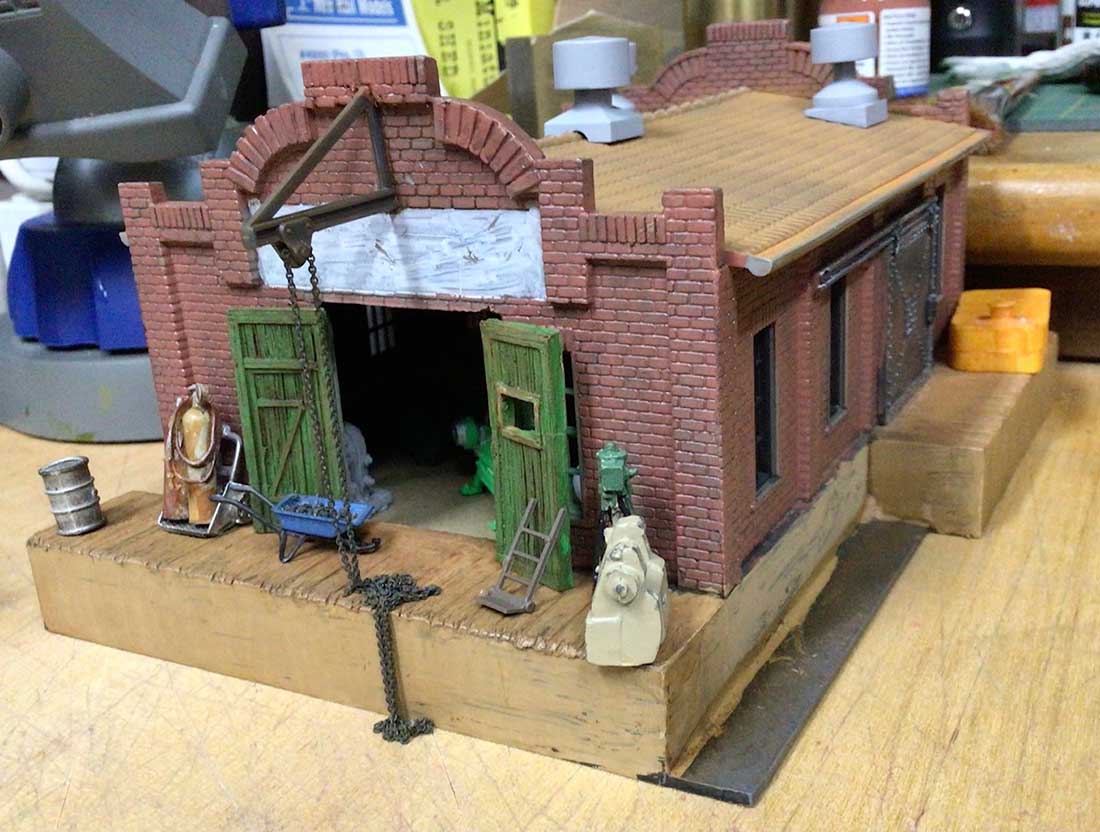
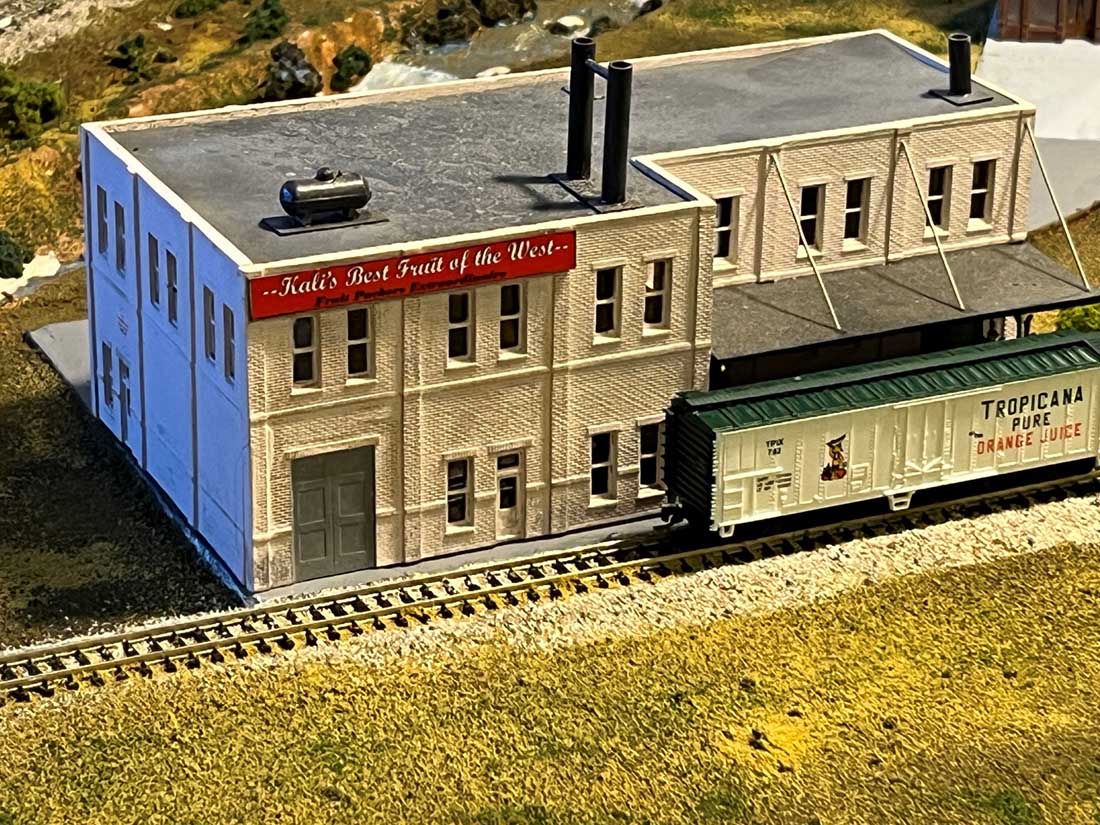
Below I have added one of my resin cast stores (a lean-to) to the side of the building.
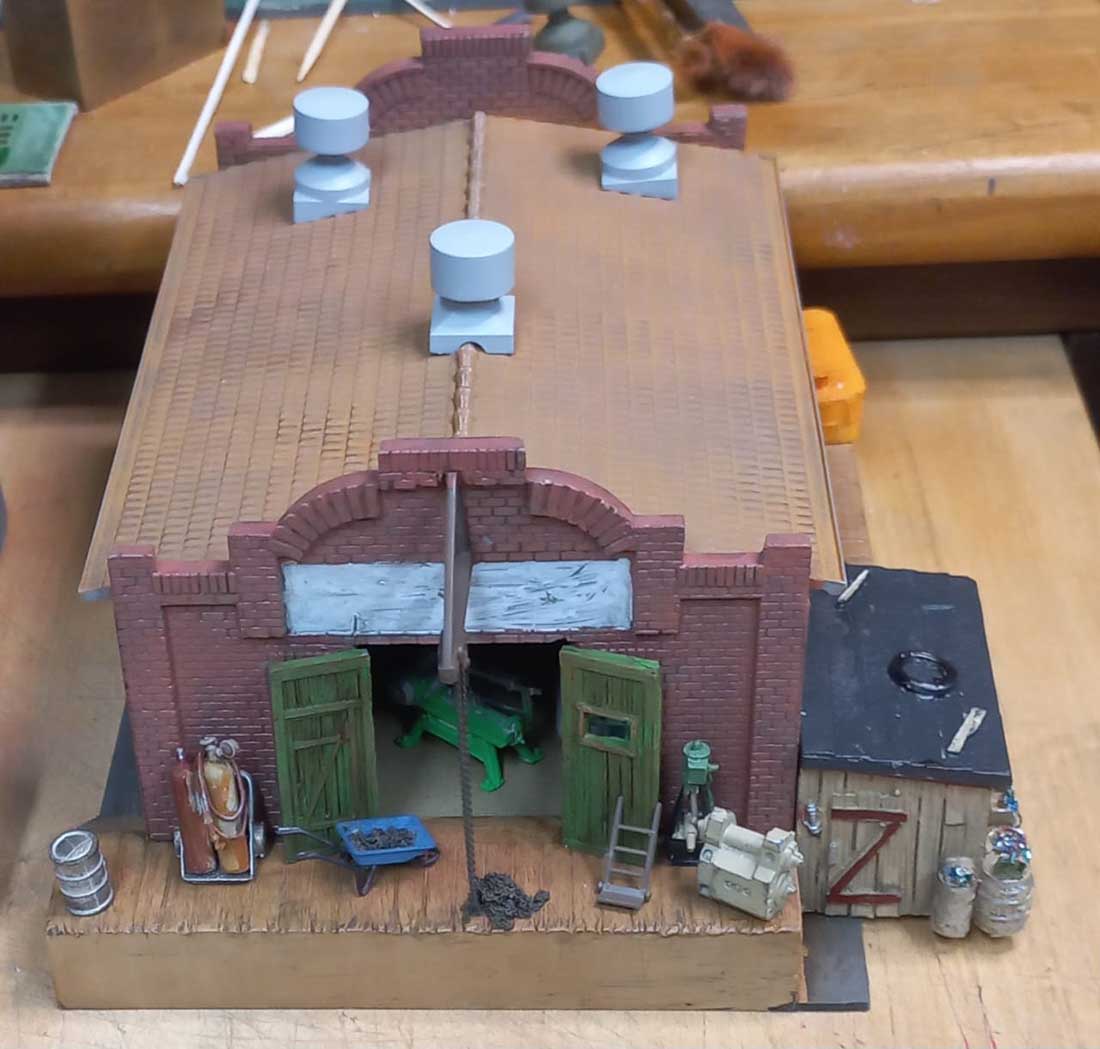
I was not happy with the original roof and found a spare one from a similar kit at a friend’s place which he kindly donated to me and this made the building look much better. (The old original roof that was removed was saved and will be used elsewhere). This building is now ready to be installed on the layout.

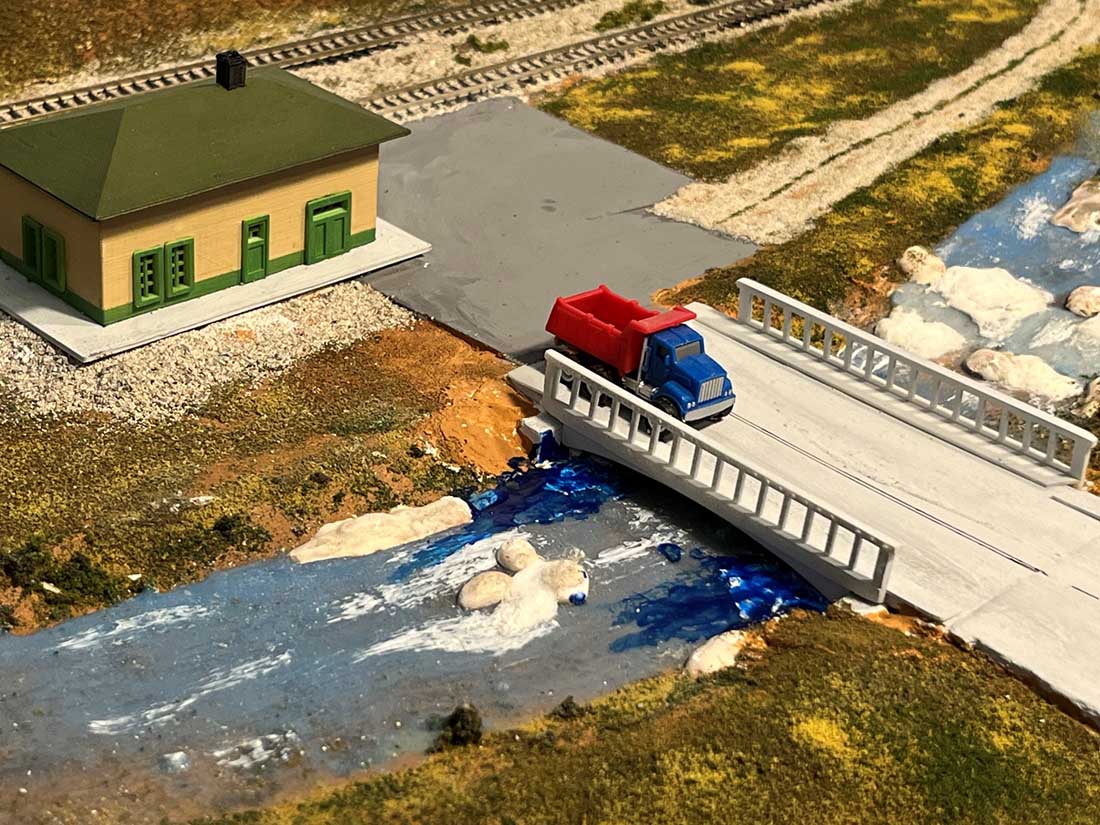
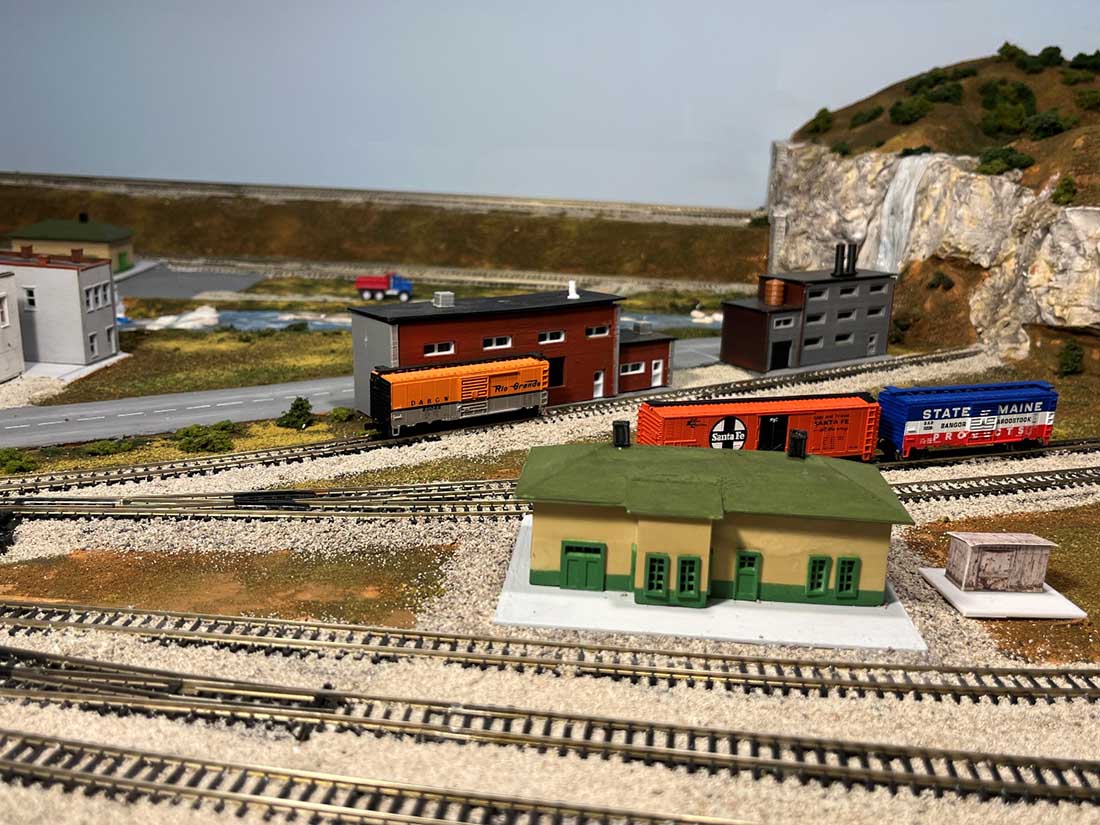
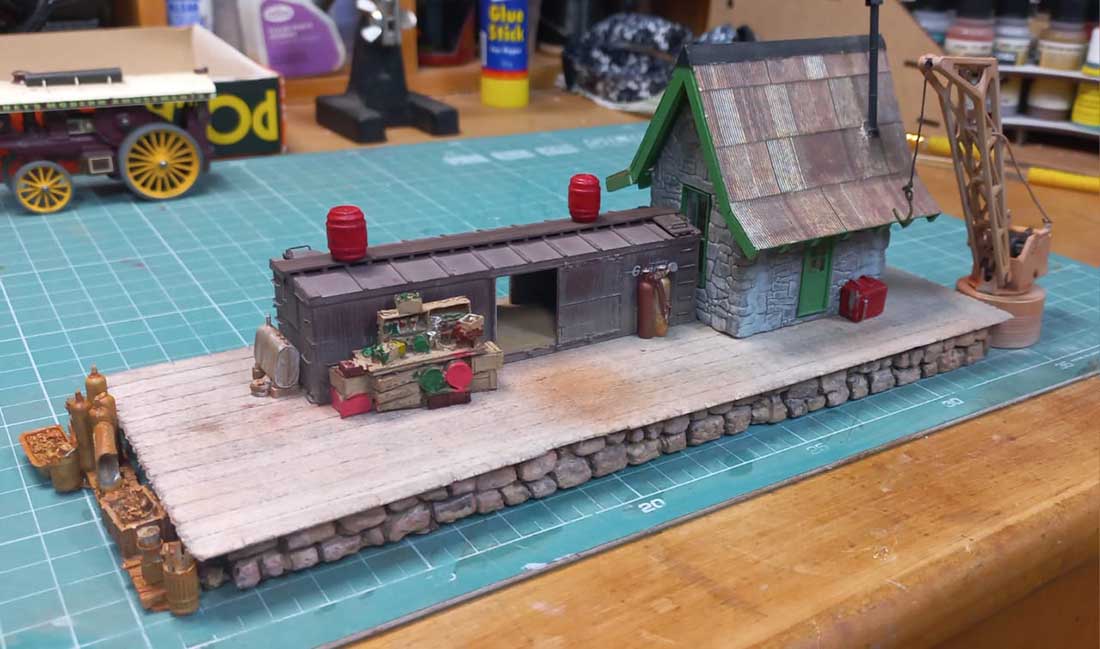
While I was scratching around in my cupboard, I found this station kit (a cast plaster one and cannot remember who made it) that I built about 40 plus years ago. This photo shows the finished product.

This is what I found in the cupboard amongst a lot of unfinished buildings started many years ago. (What’s new? and I am sure that a lot of us do this) I also found a damaged HOn3 box car.
The remnants of a previous attempt at building a small station was also in there. Does not look that good and no wonder I did not complete it.

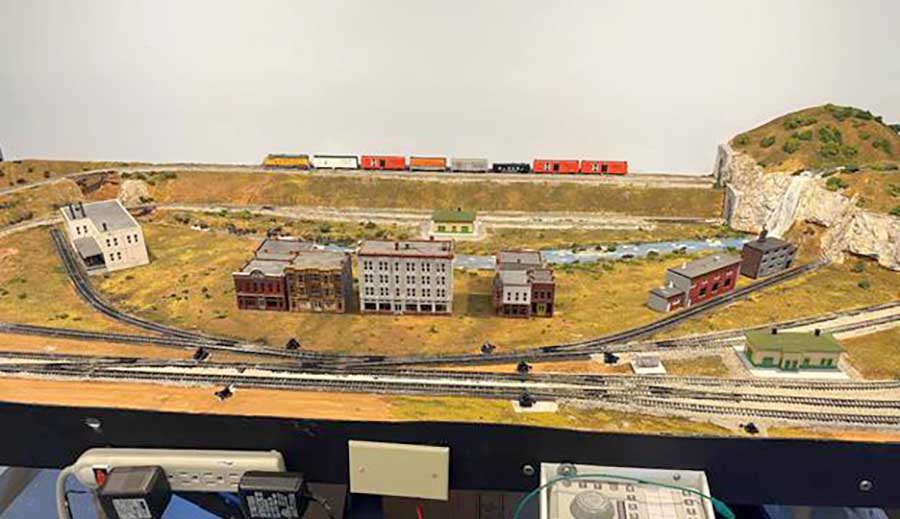
I decided to add the two together to form a small passenger/freight station for the next section of my layout on the lower level. Two pieces of cork were glued together to give me the base at the correct height.

I had some random stone castings that I used to surround the base.
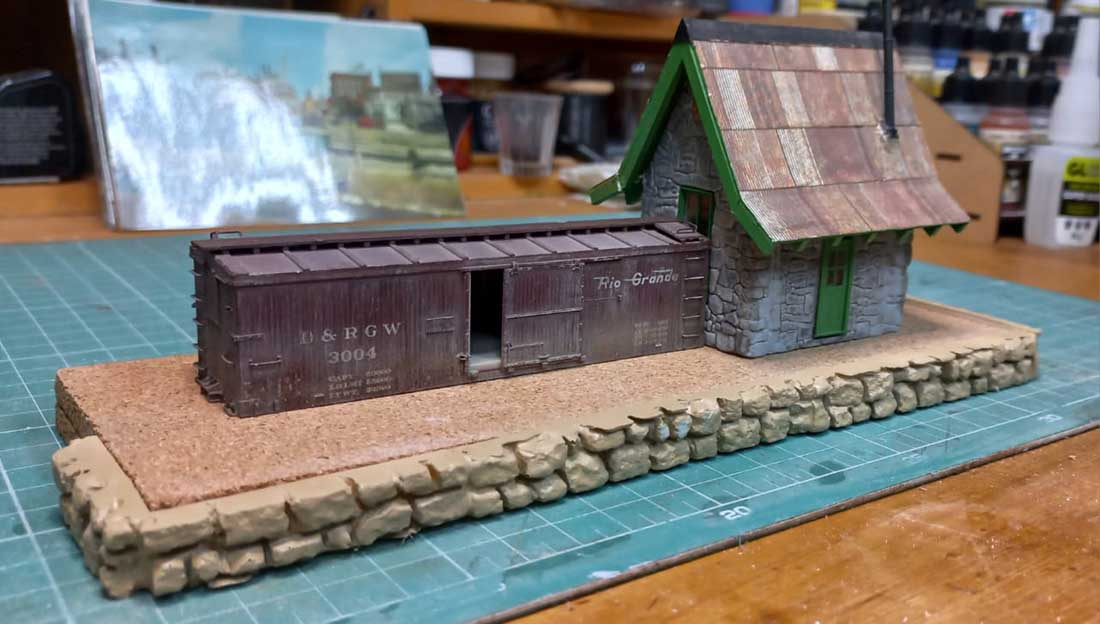
A wooden deck was added, roughed up, plank lengths scribed onto it and then stained and weathered. More of my casting details was added to the end of the platform.
Added details on it from my bits box to finish it off. This is where I really appreciate having spent time (an hour or two) on painting castings for my bits box that are ready to place as I build new (old????) structures when needed.

A small dock crane was added to load/offload goods. Figures were added as well as some details on the right hand side of the station. It is now ready for placement on the layout.
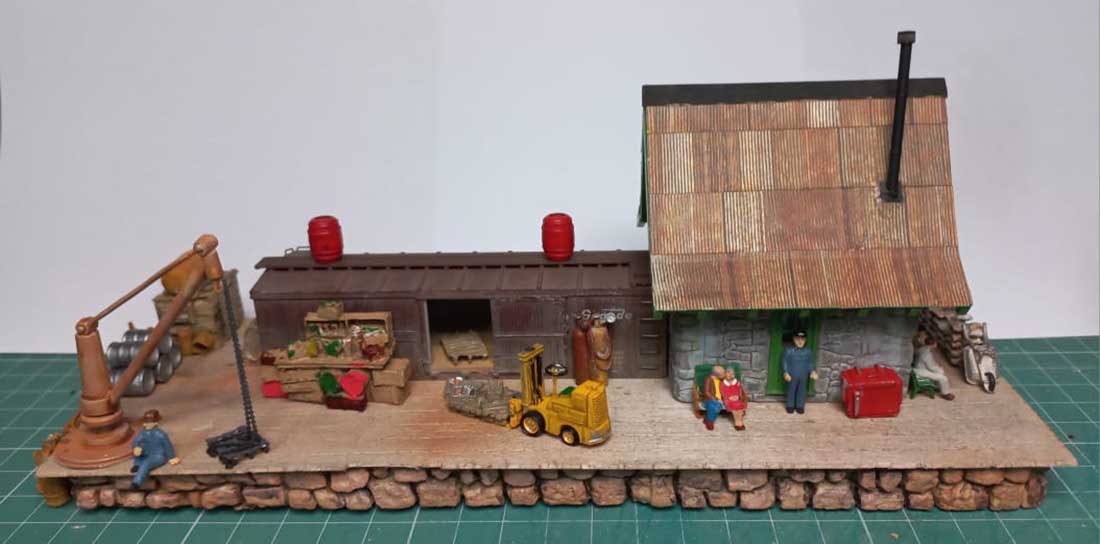
The Pola building took me four days to complete and the above station about seven days.
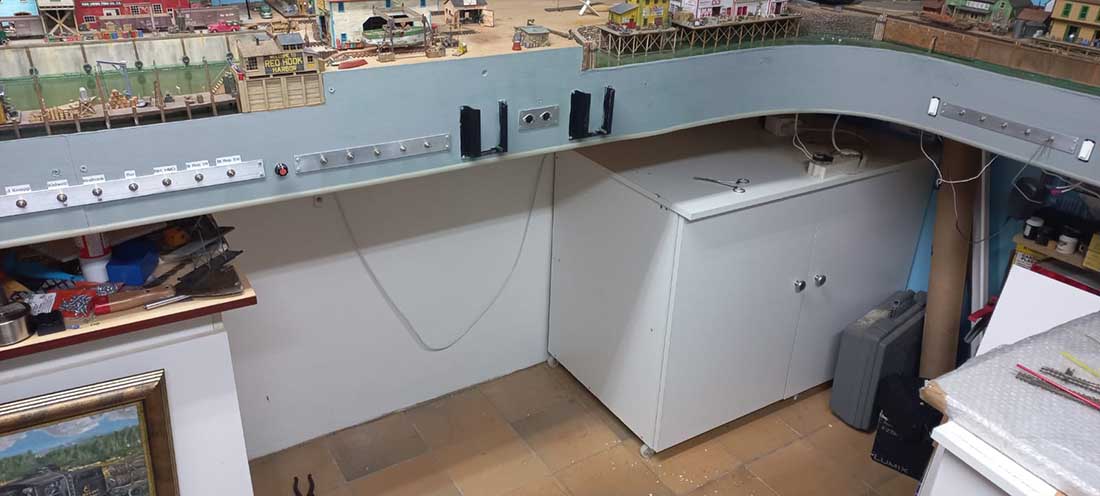
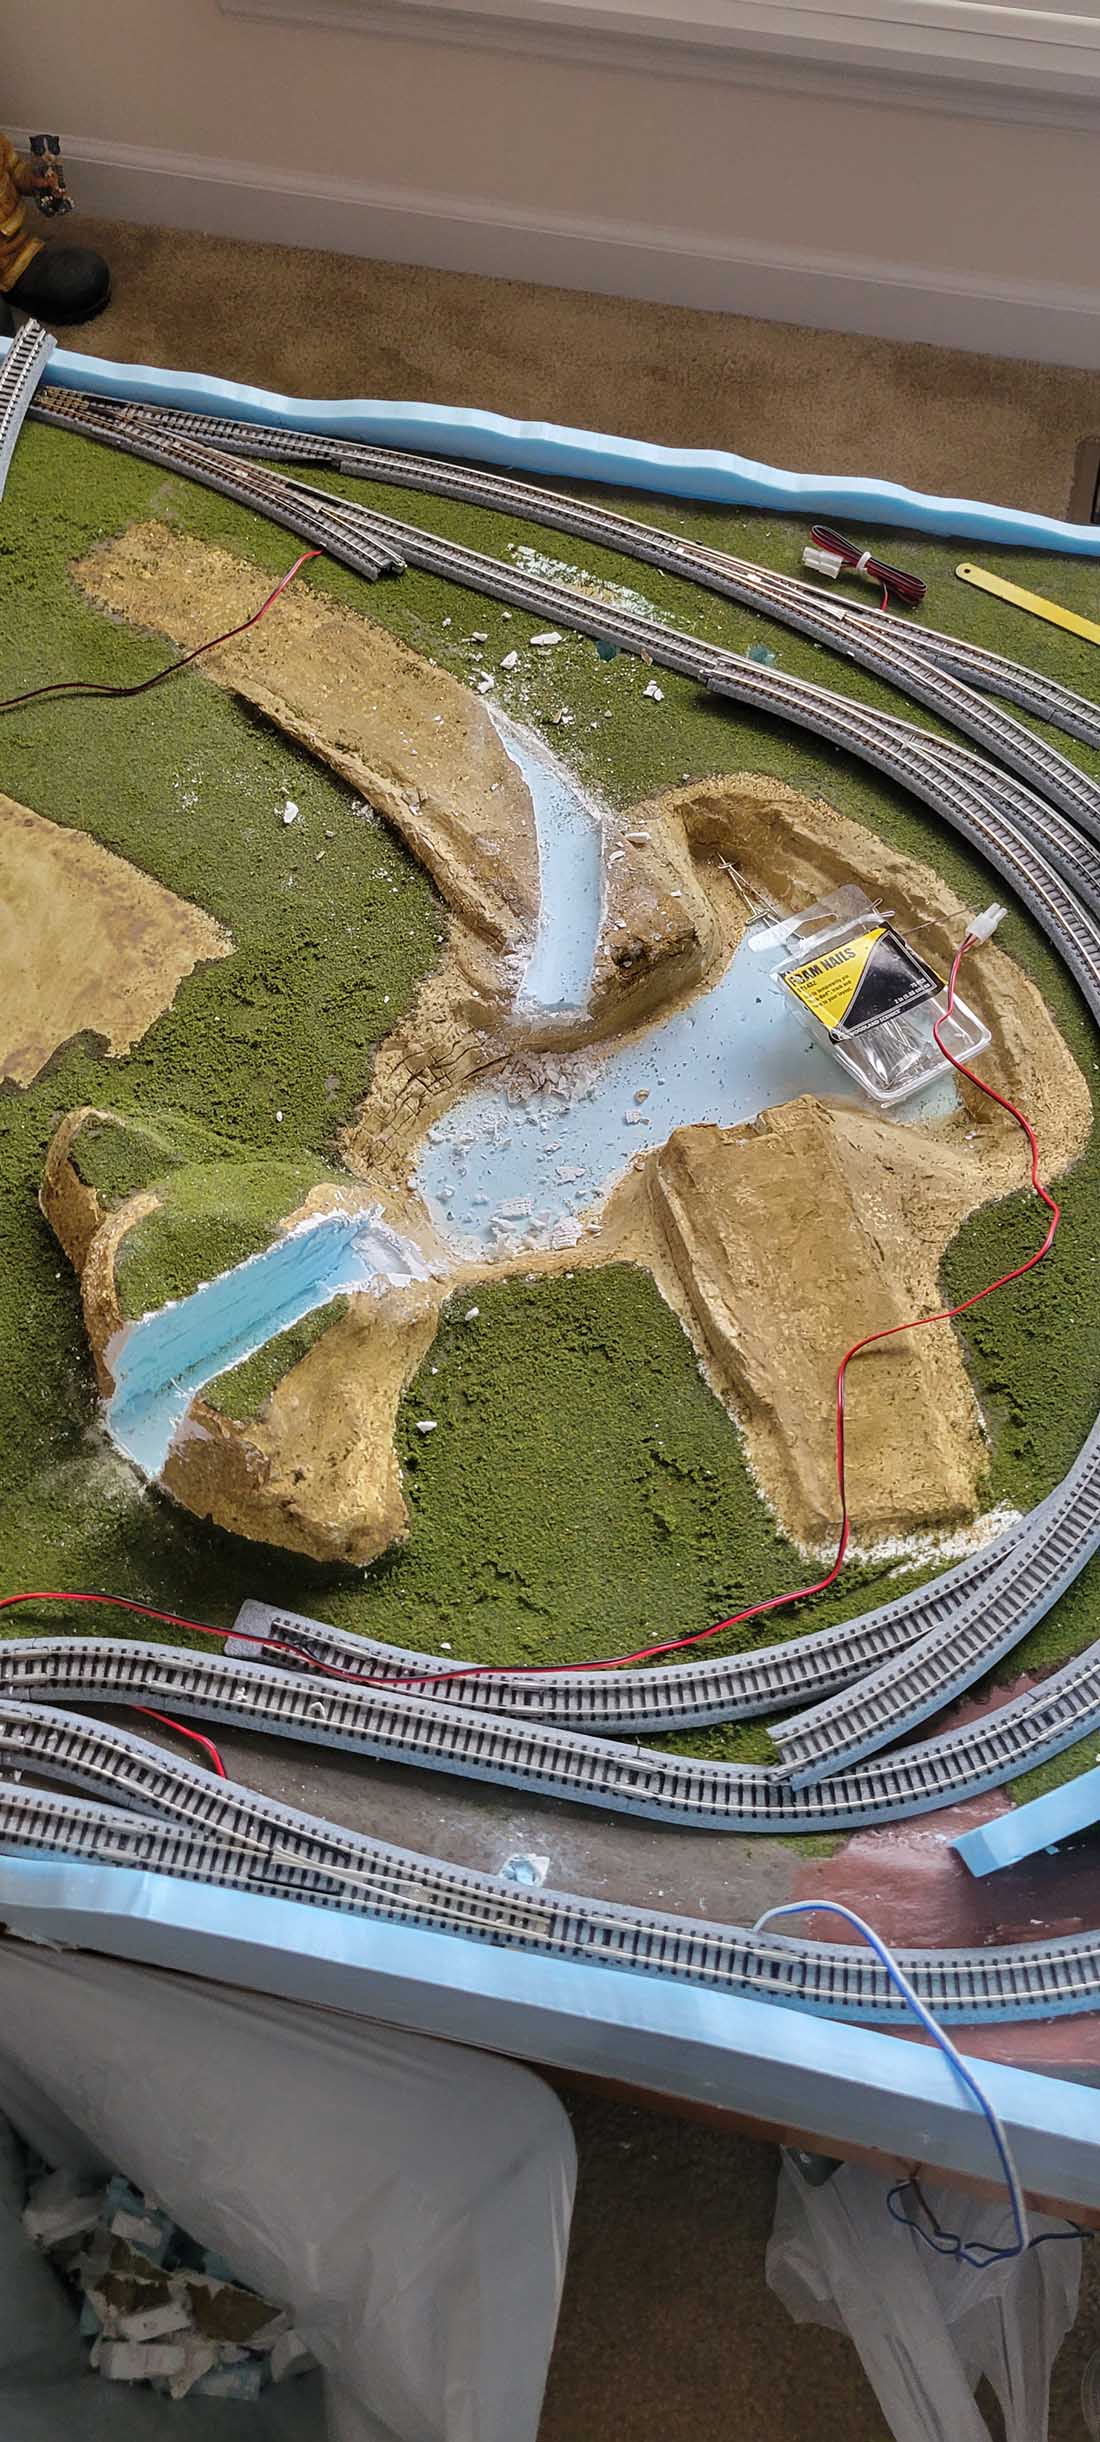
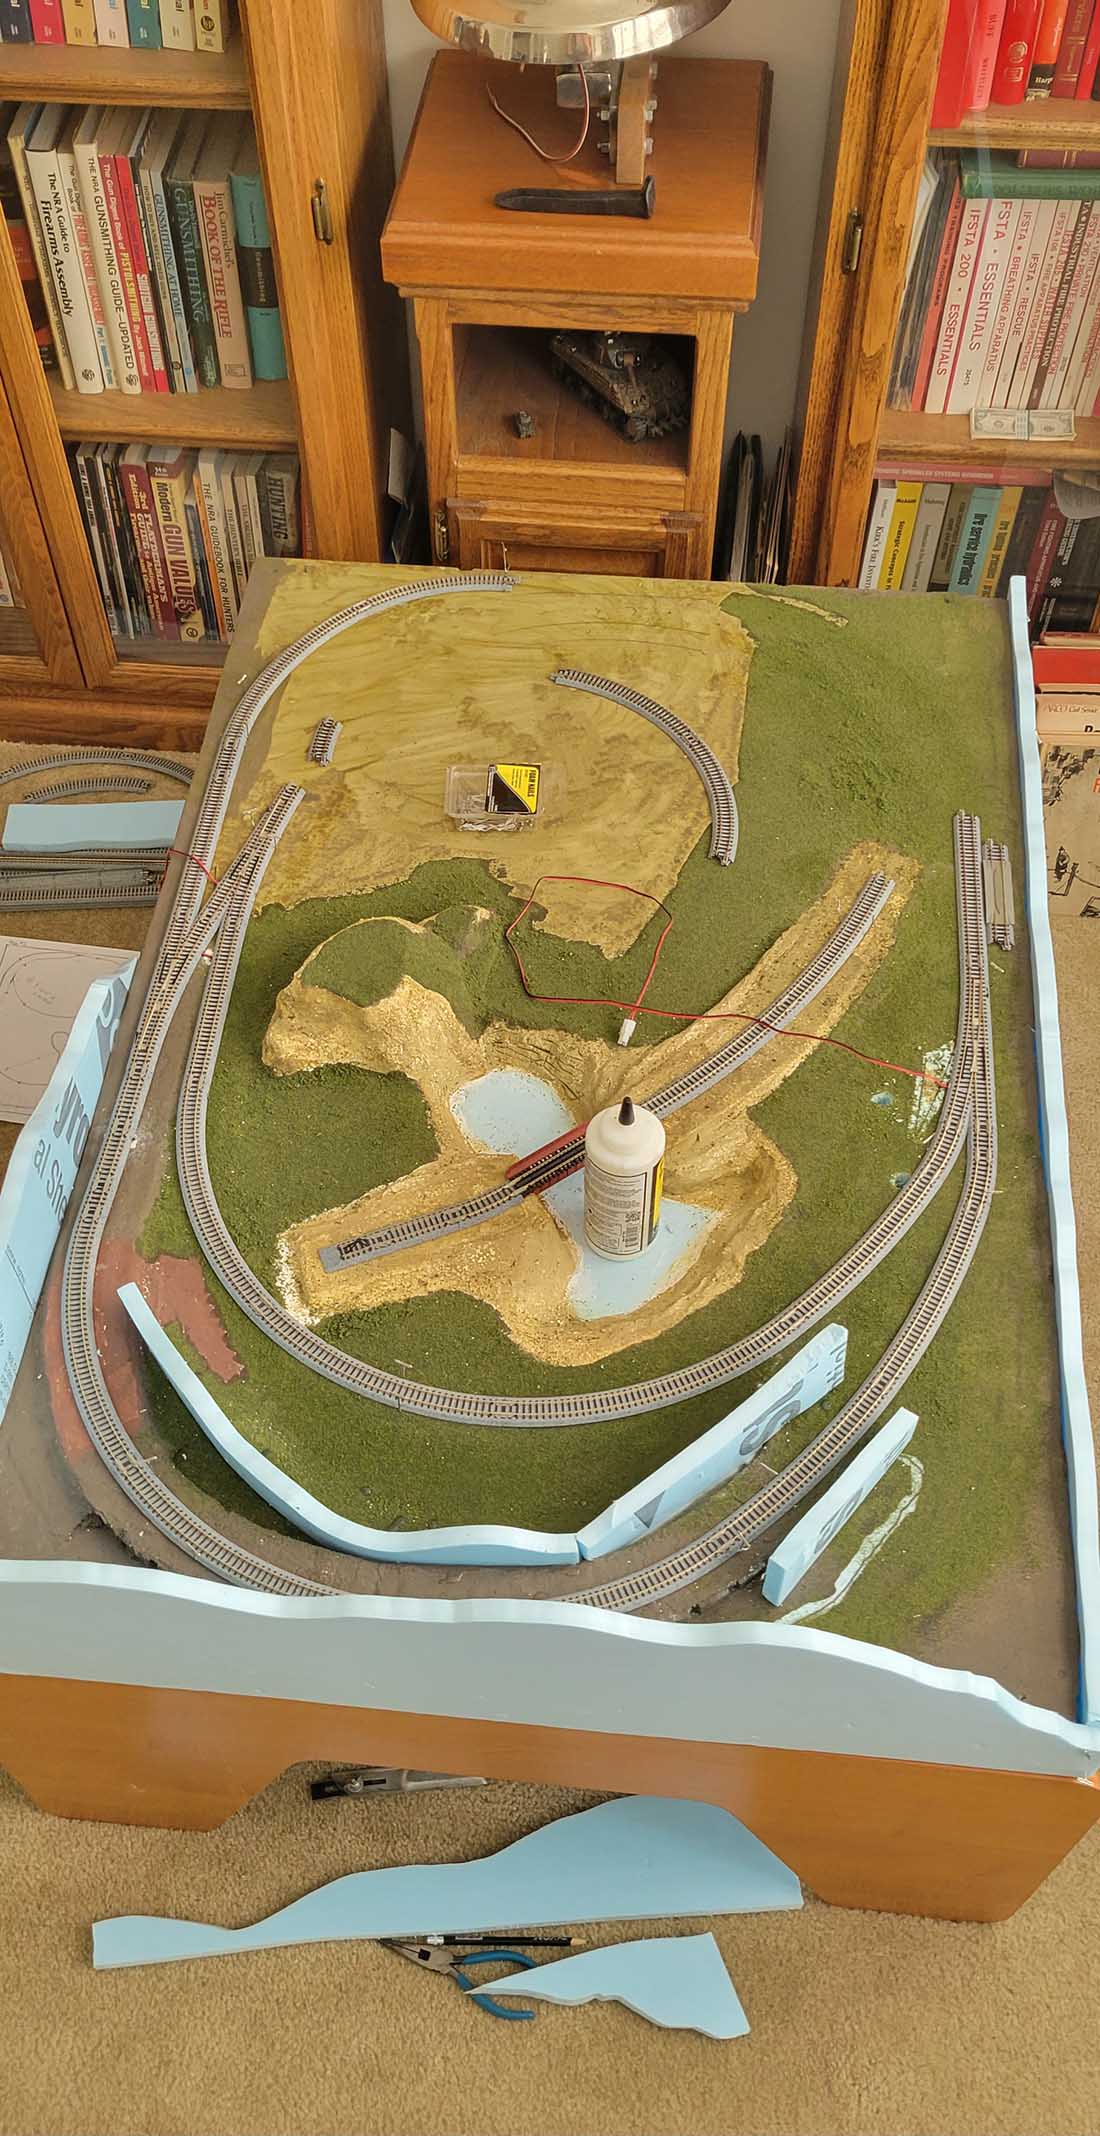
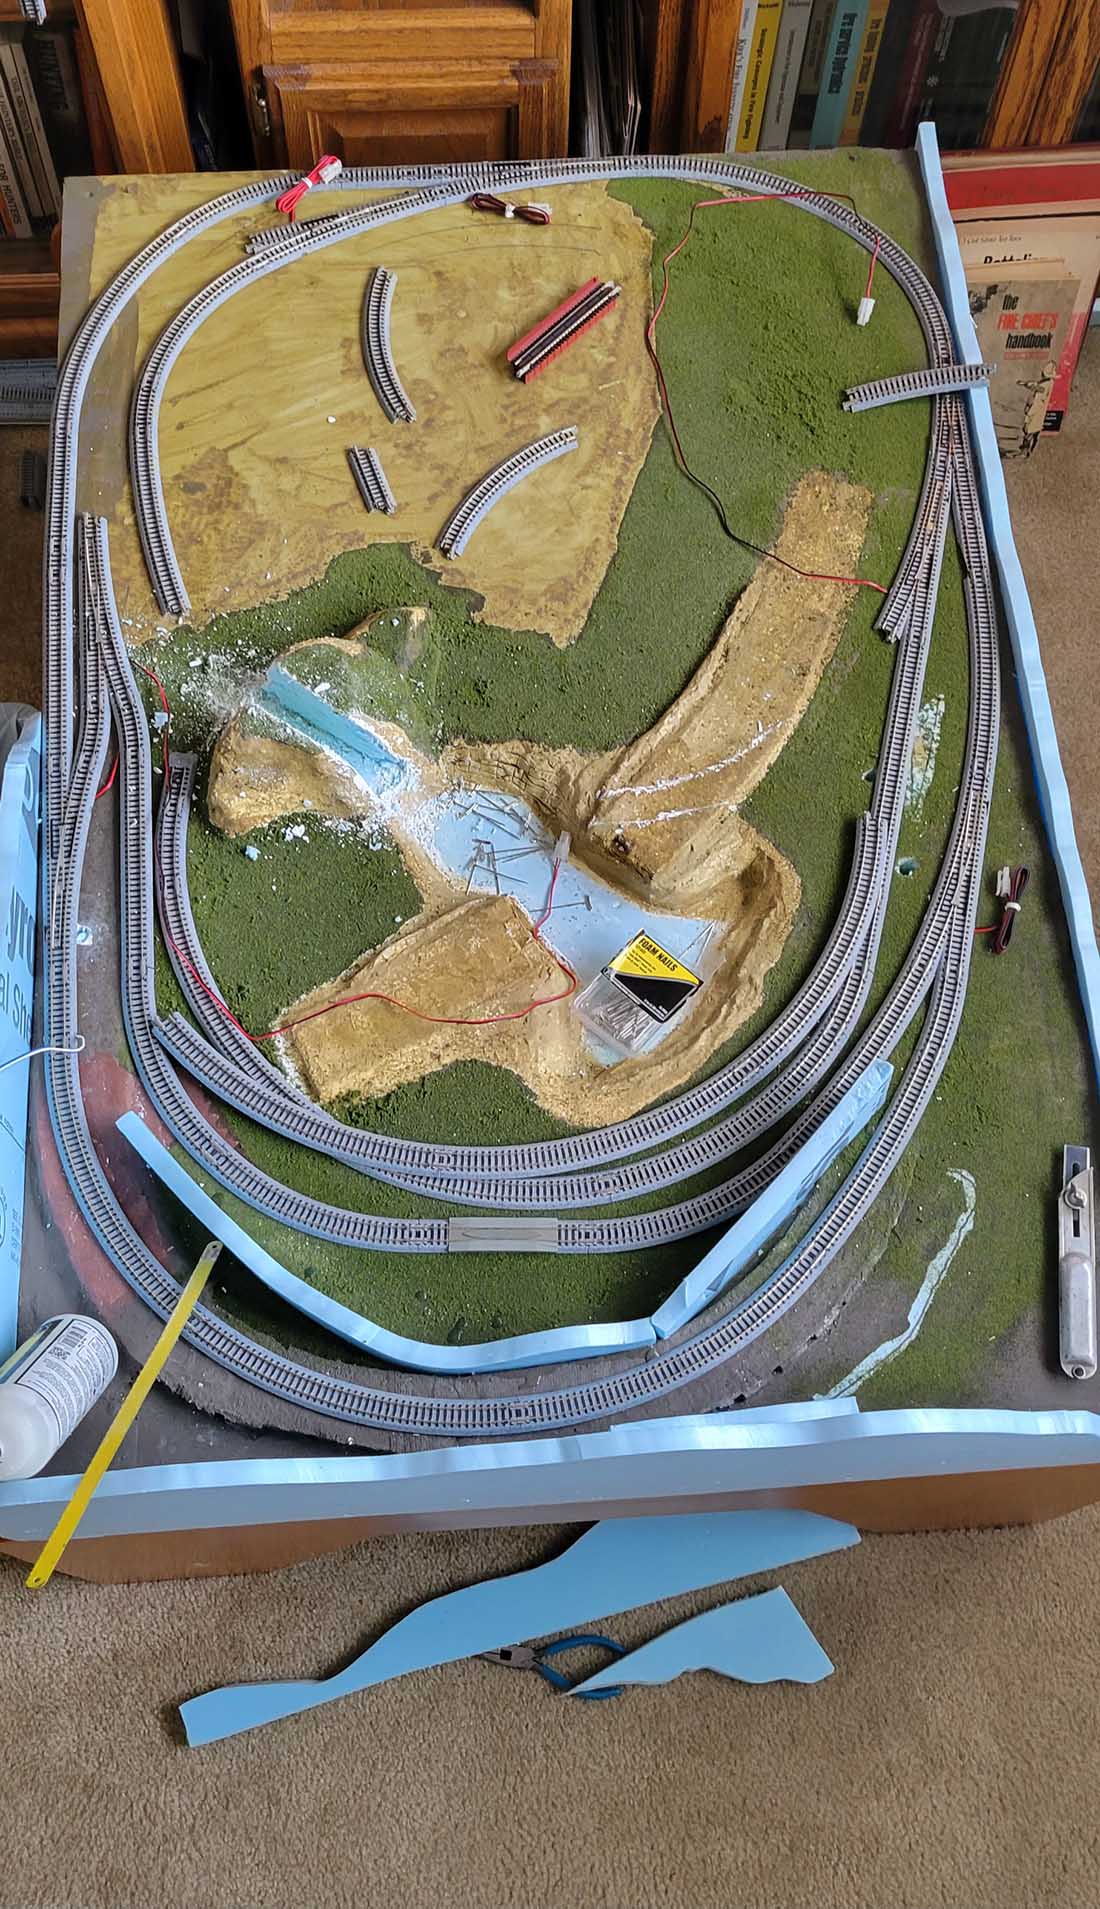
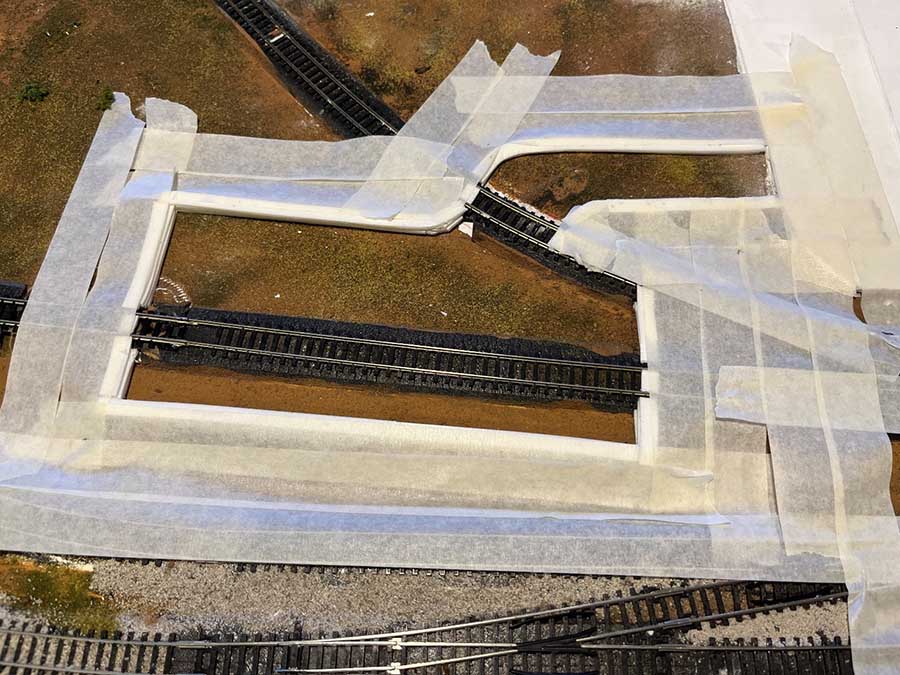
The next big project is to mount 28 Blue Point switch machines, under all the points. (Turnouts)
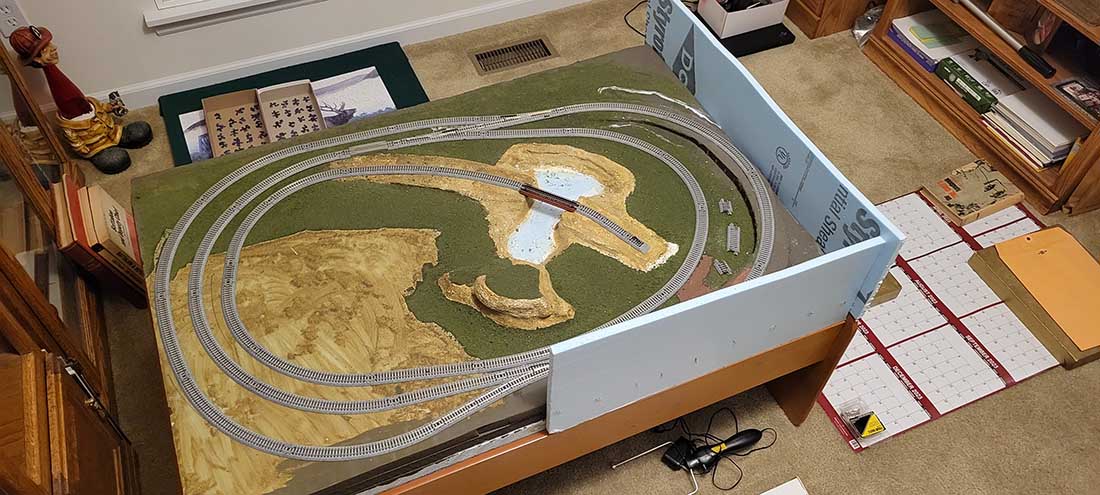
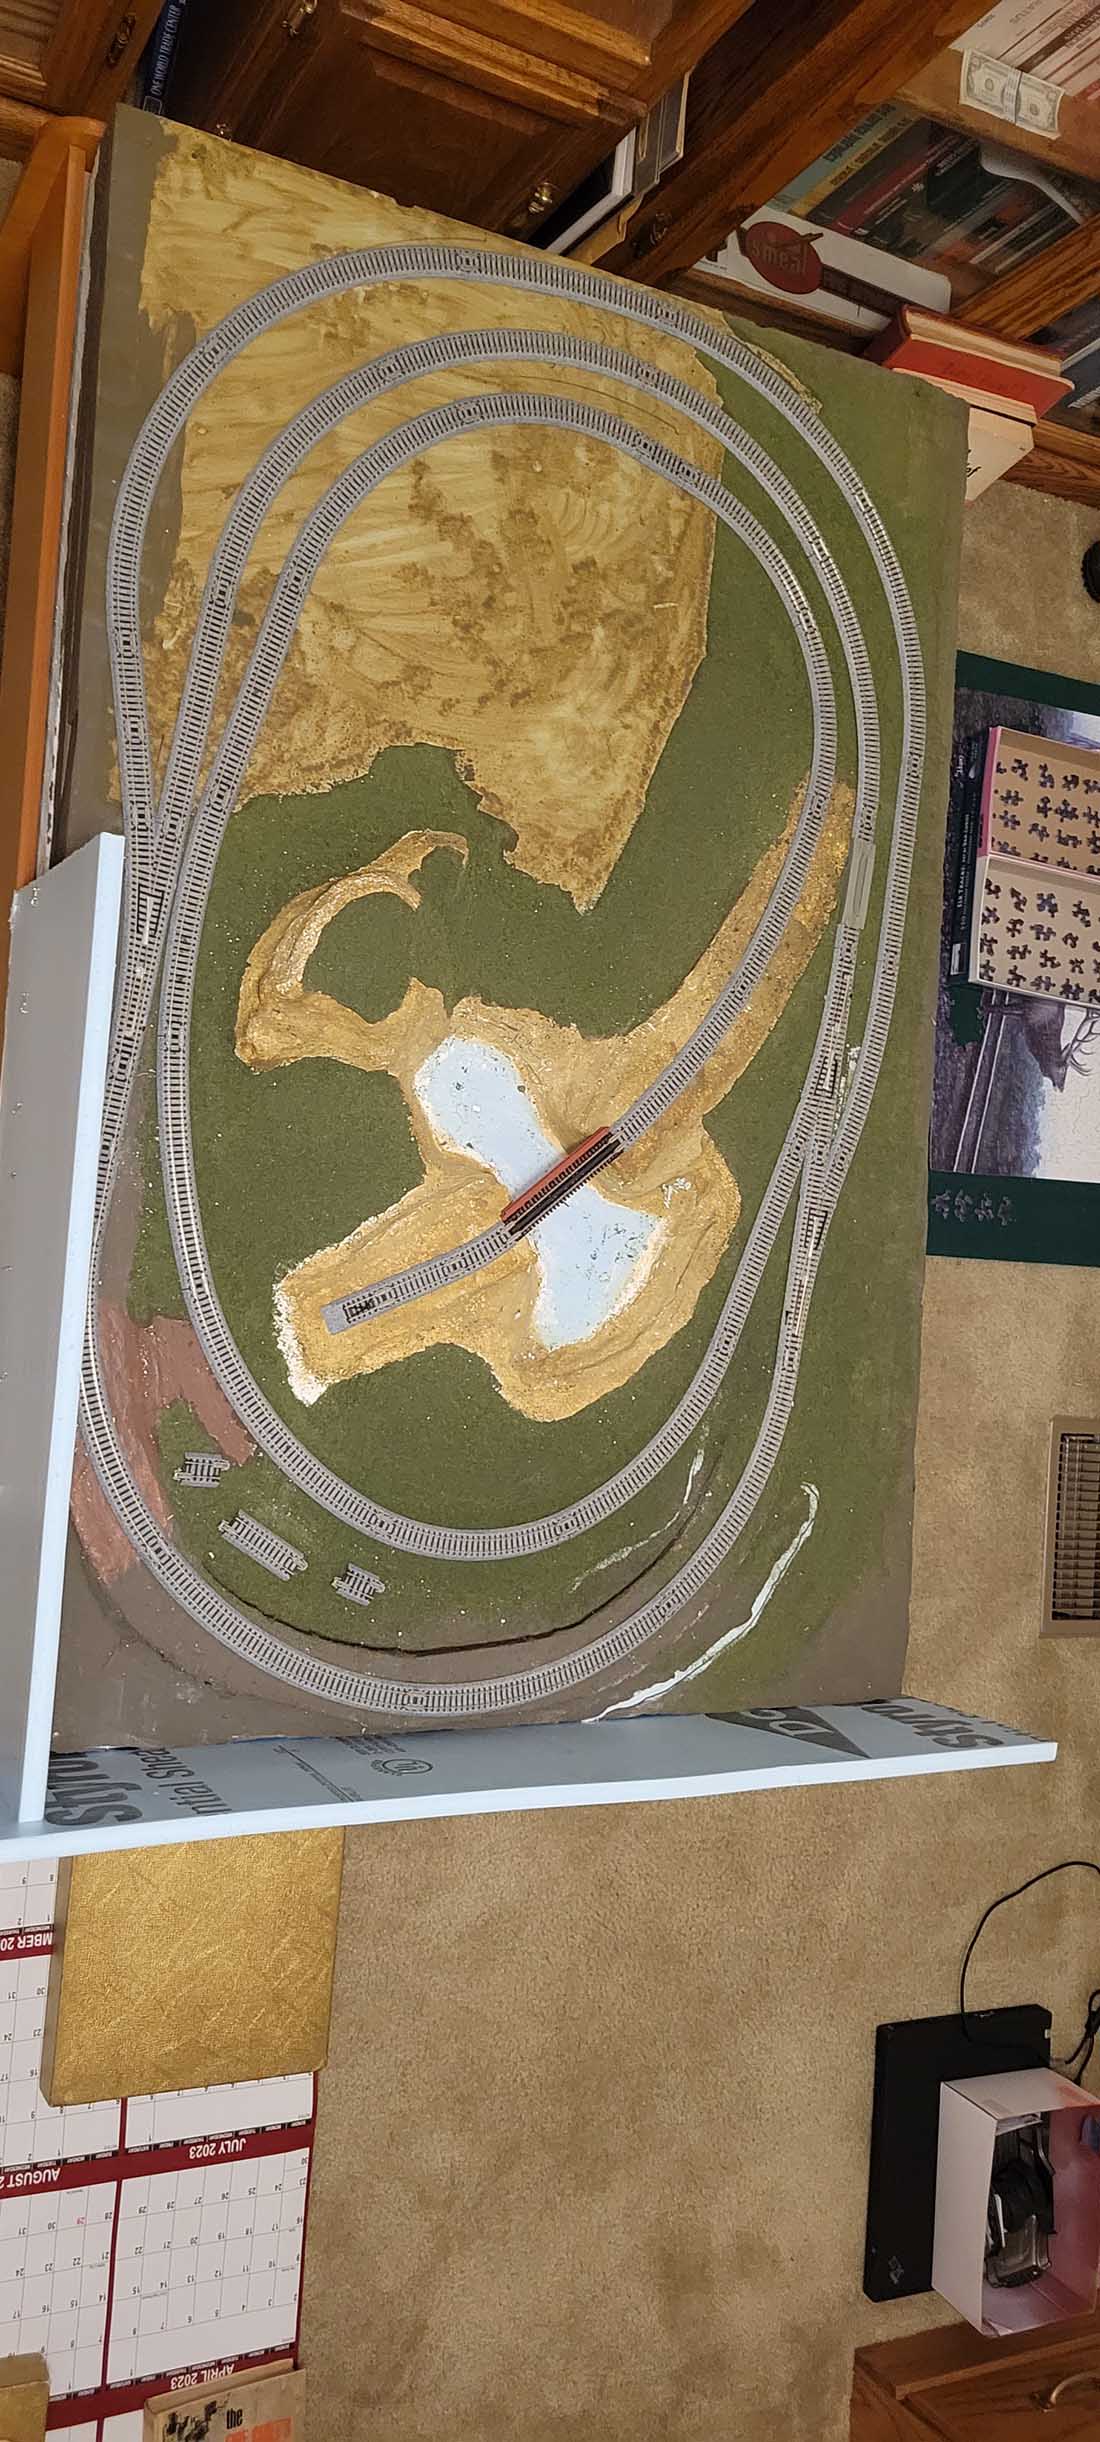
This is where I was fortunate enough to think ahead when I built my layout to allow for access under it. I mounted casters on the bottom of the cupboards to allow them to be moved to be able to work underneath it as seen below. Work in progress.

This photo below shows the tight space I have to work in/under at the corner.
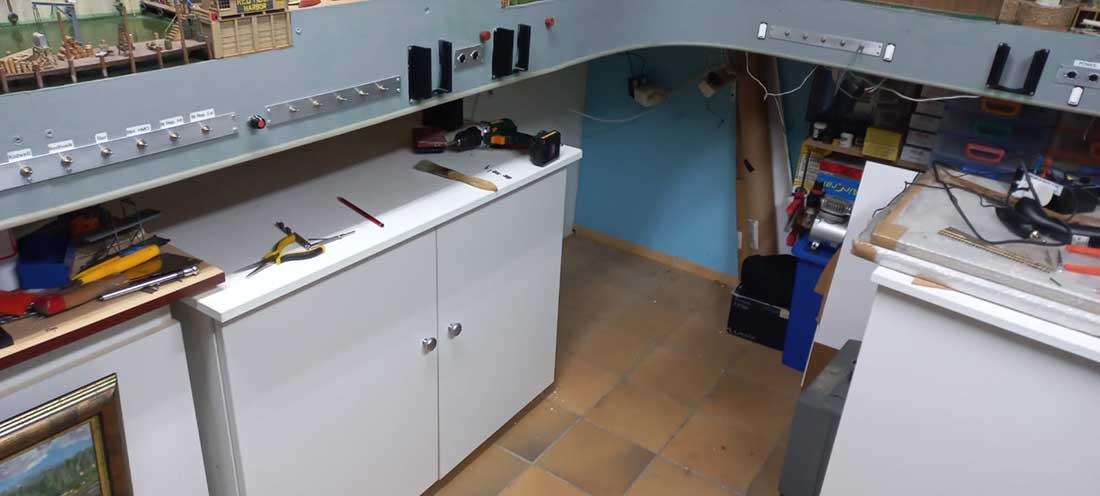
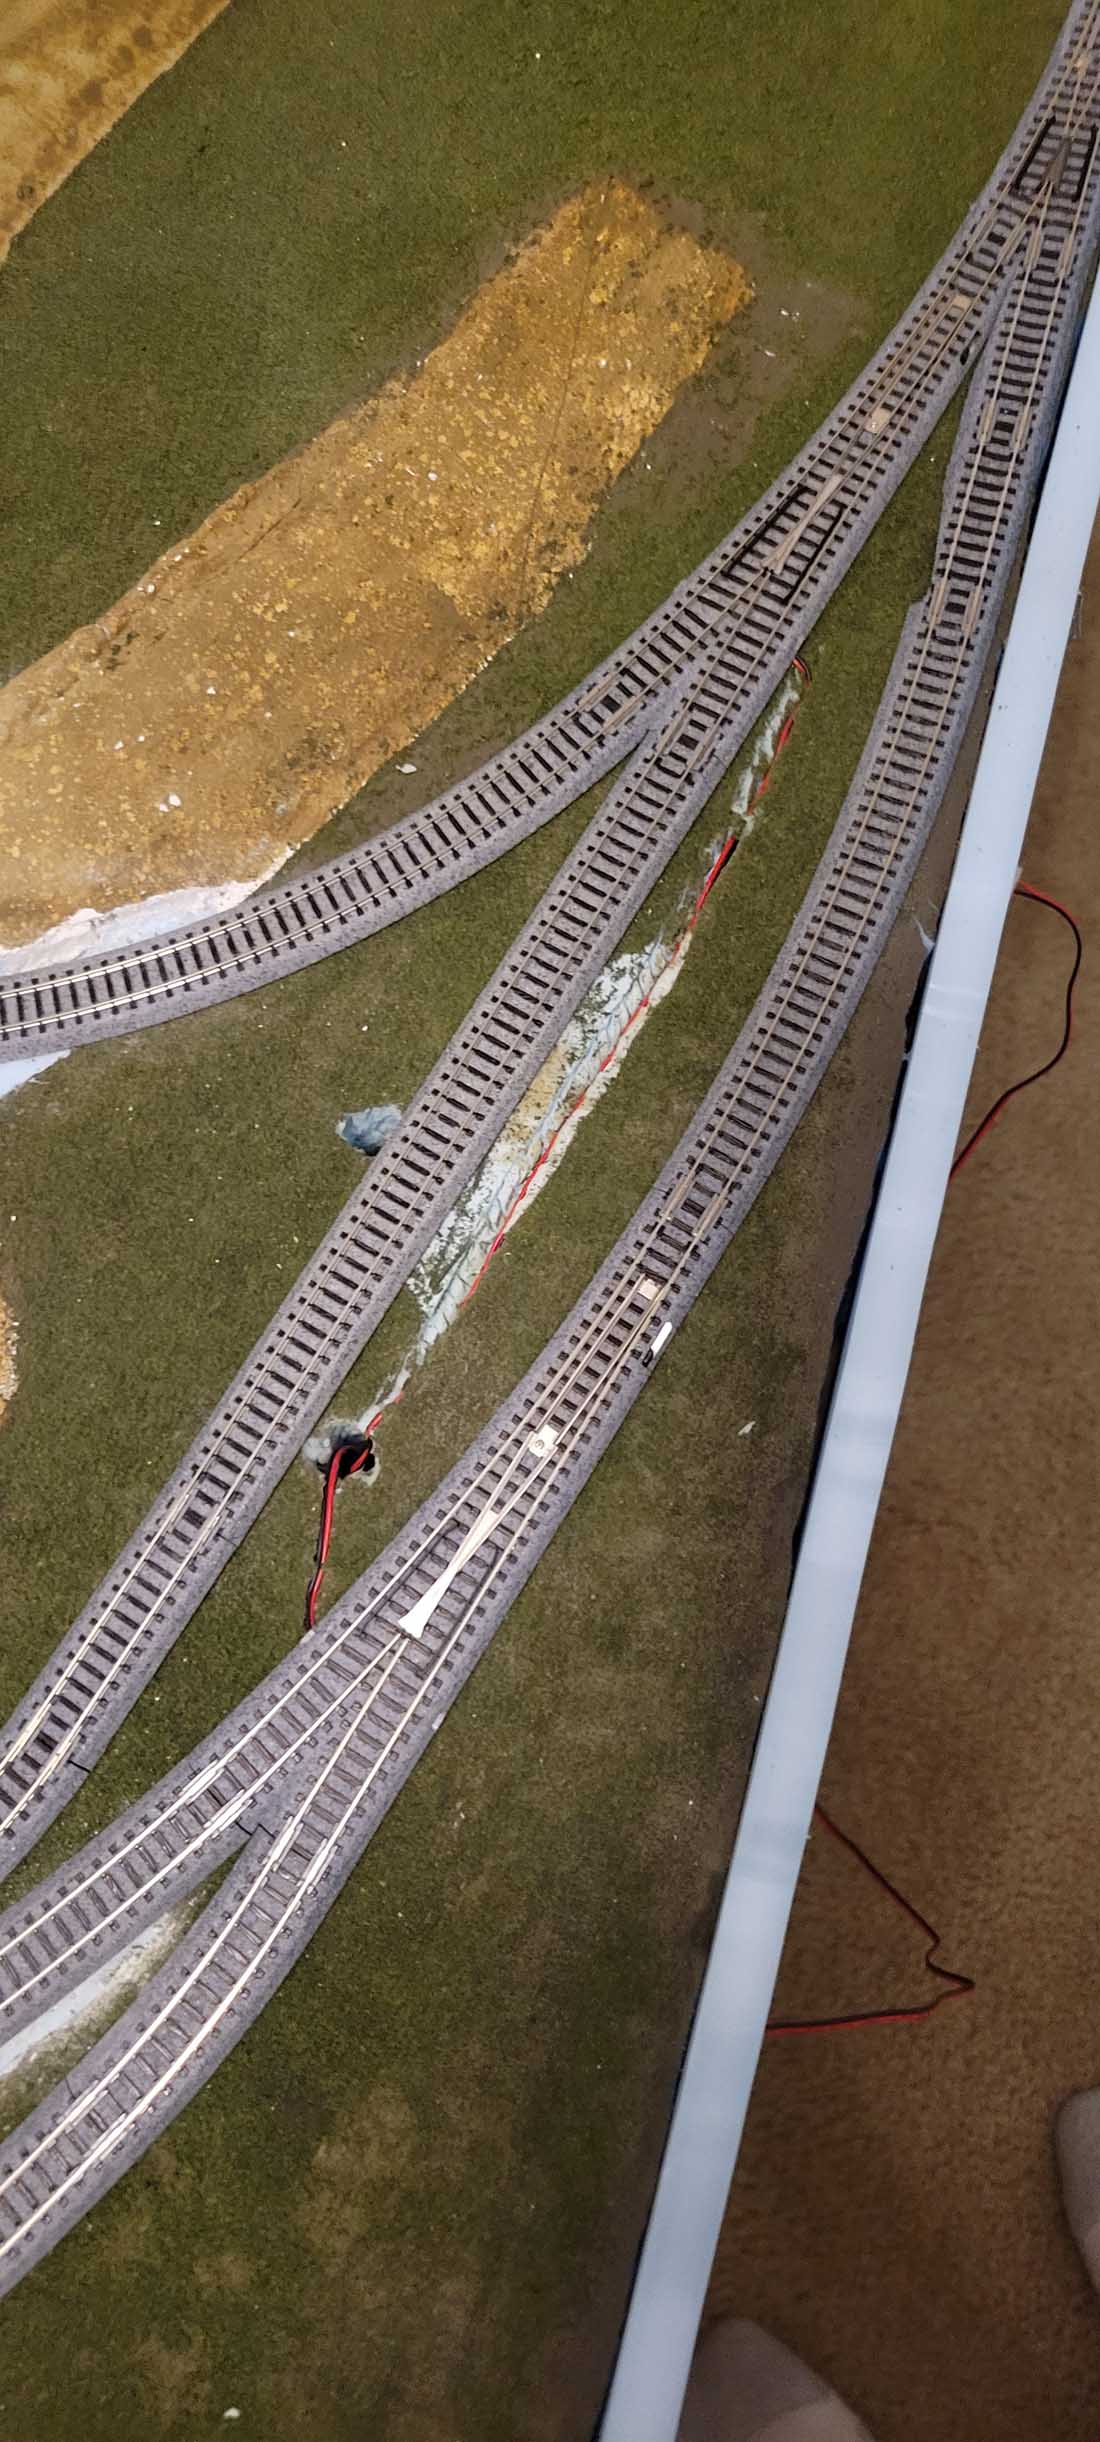
Topside the wires from the Blue Point switch machines can be seen coming through the points above.

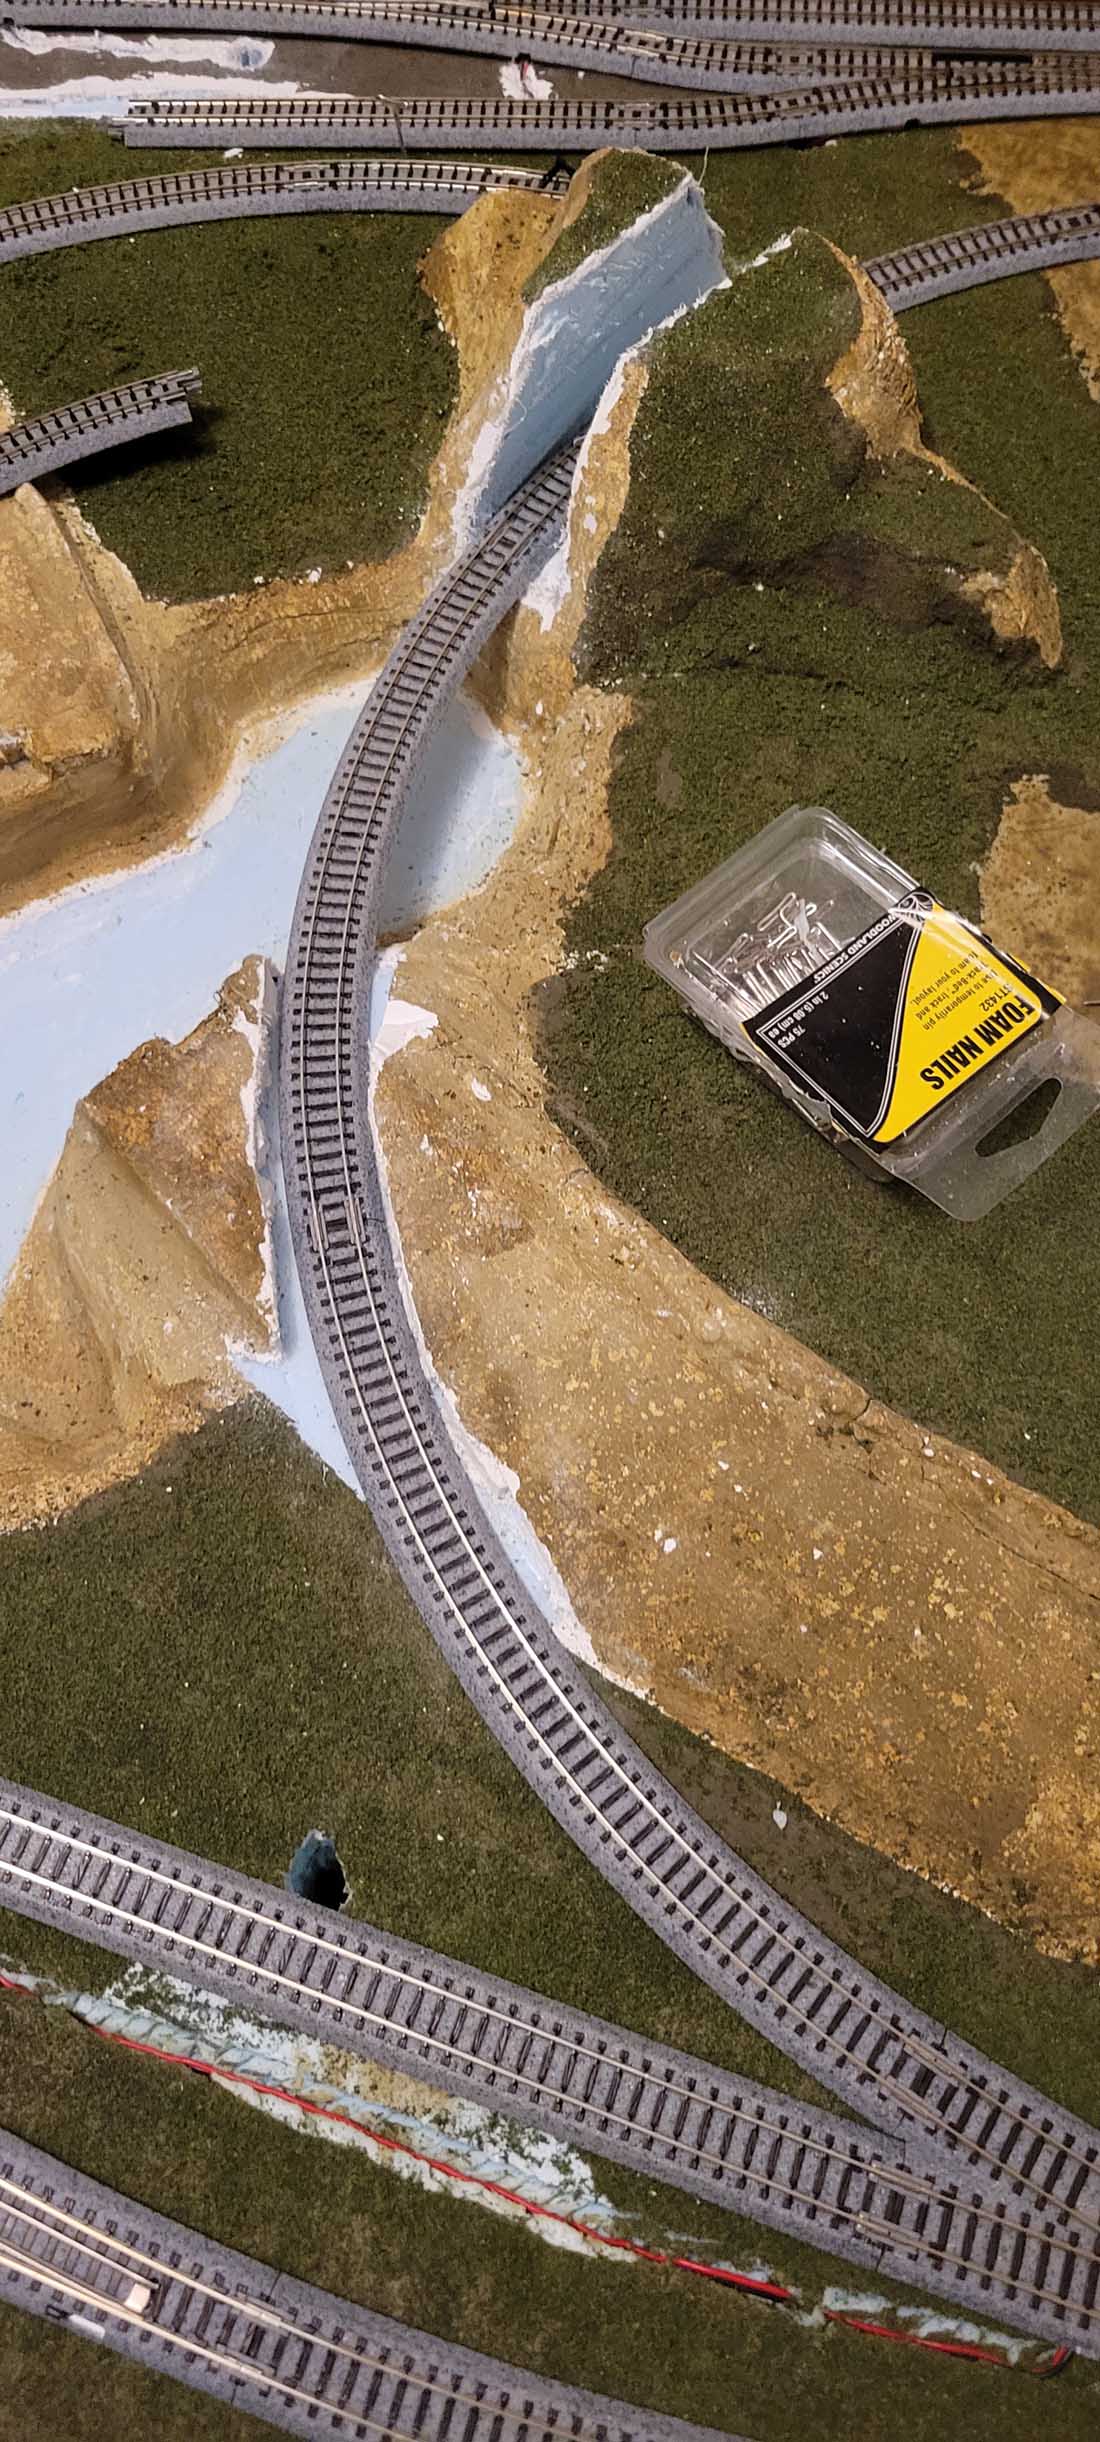
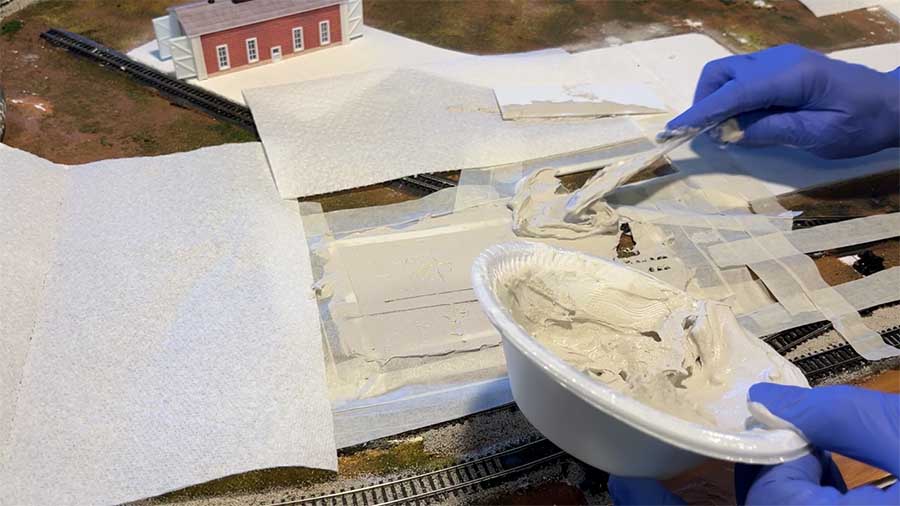
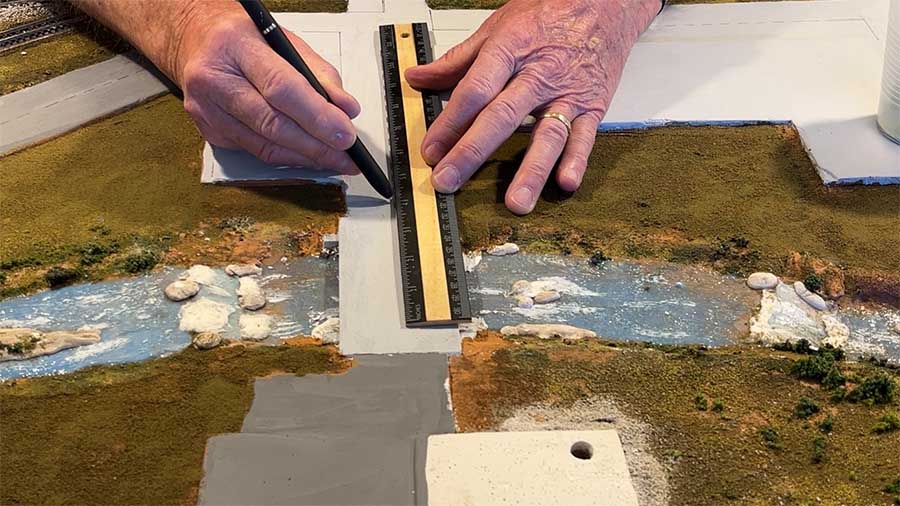
Slowly getting the track back in place except for the dropper wires to the buss wires underneath. The white piece top middle is the supplied template to use for positioning the point motors underneath.
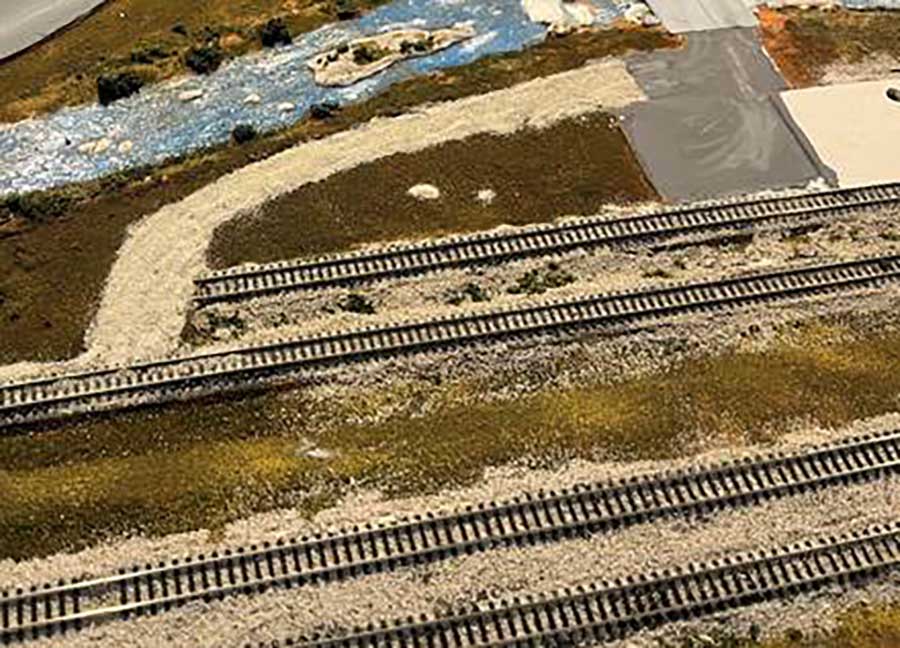
This is as far as I am right now.
Until next time.
Brian – the HOn3 guy in Knysna.”
A big thanks to Brian for sharing more of his HO scale train buildings.
That’s all for today folks.
Please do keep ’em coming.
And if today is the day you get started on your layout, the Beginner’s Guide is here.
Best
Al
PS Latest ebay cheat sheet is here.
PPS More HO scale train layouts here if that’s your thing.