Model train risers

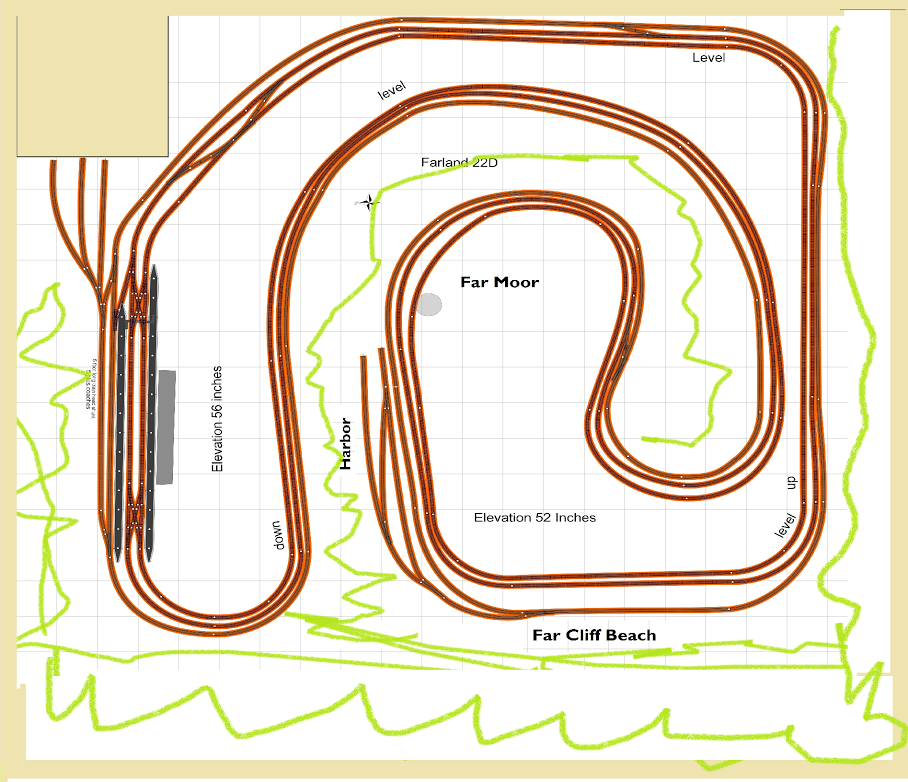
We’re starting with Ken today who had made good use of some model train risers to make sure his incline will not be too steep:
“Hi Alastair,

Greetings to you and all your readers.

I have been reading your blog regularly and always look forward to what everyone has to say.

I have seen so many good ideas along the way that I will be using on my layout.

I started a new layout in December of and have been making slow progress. I thought I would send a few pictures and maybe get some comments from some of your good readers.

The layout will be mountainous with tunnels and bridges.

It is of no particular place only to say that it is a fictitious town in the northern mountains of Pennsylvania USA because we have a cabin there.

The railroad used to run behind our cabin and one could hear the triple diesels coming from a long way off as they pulled a long line of coal cars up the incline.

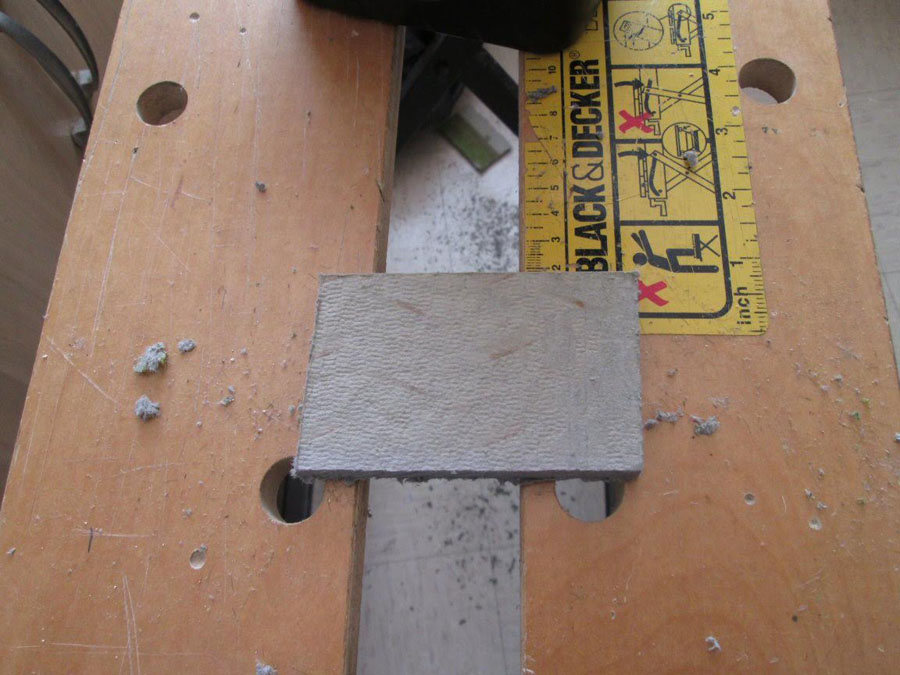
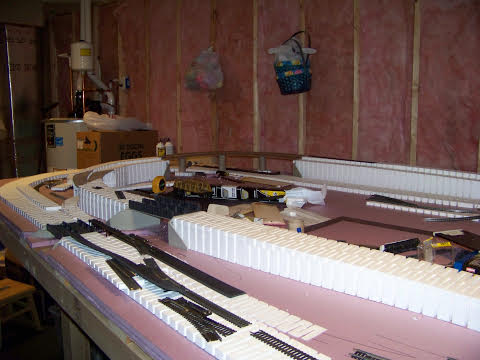
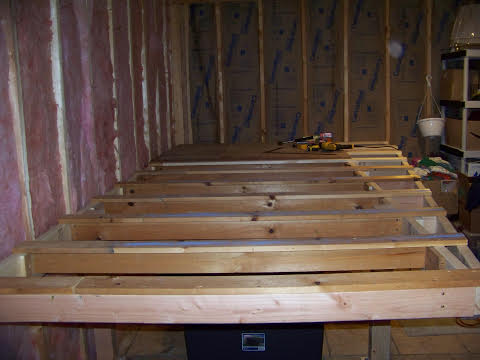
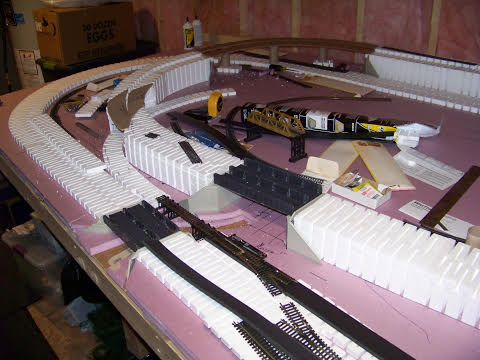
Below are some pictures of the progress. The first picture is of the bench work.

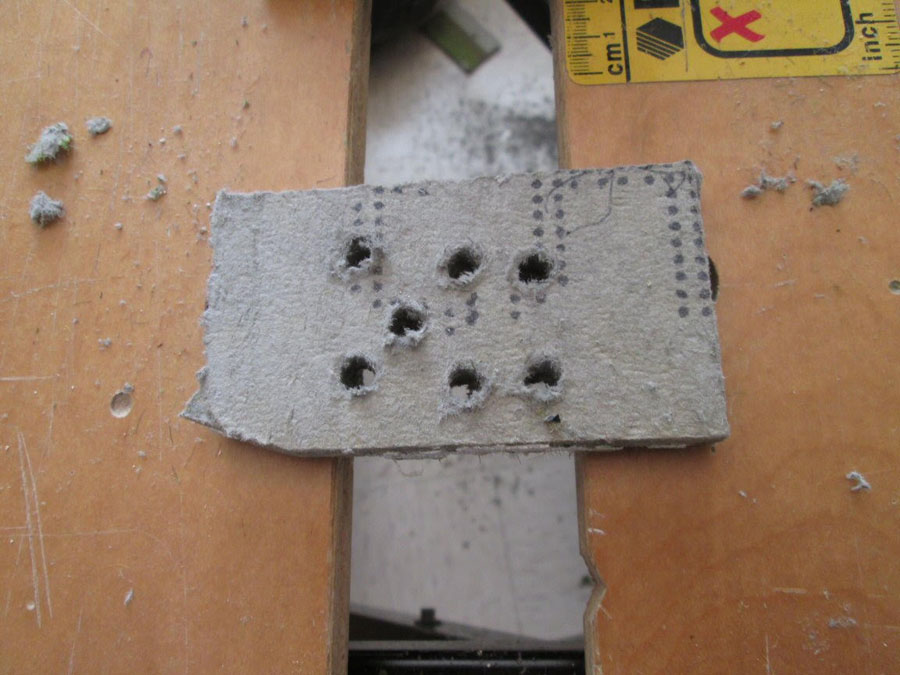
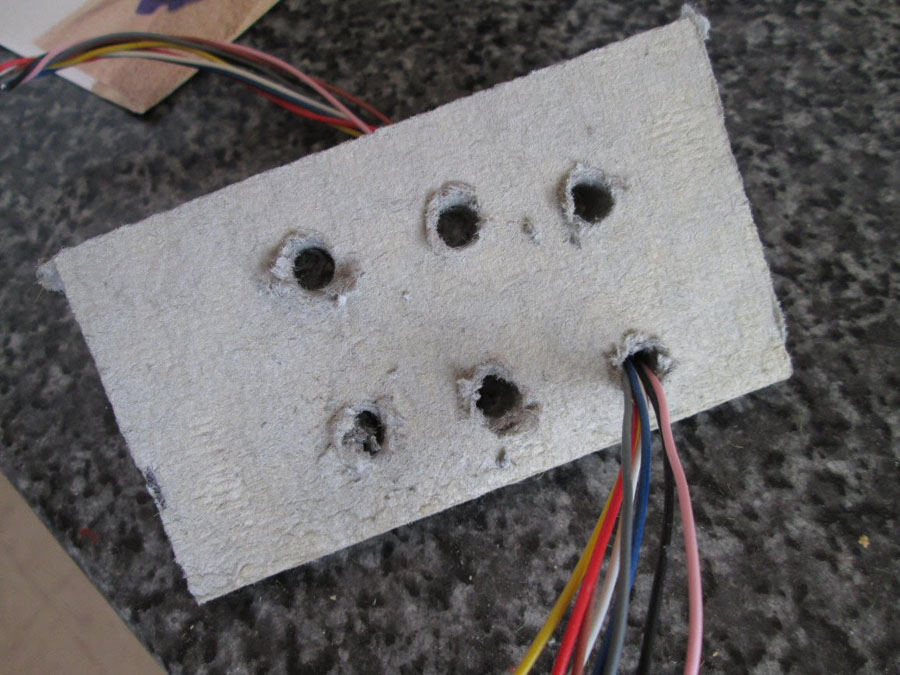
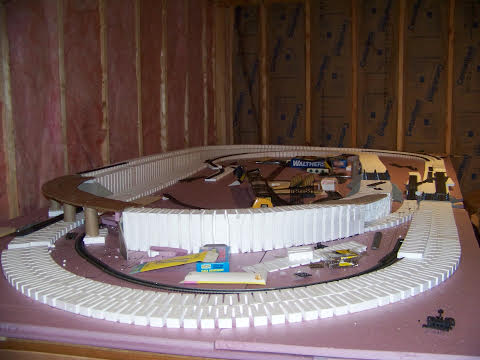
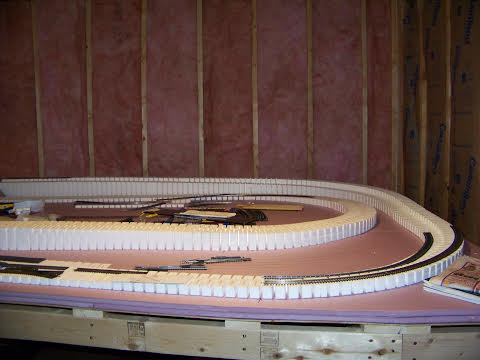
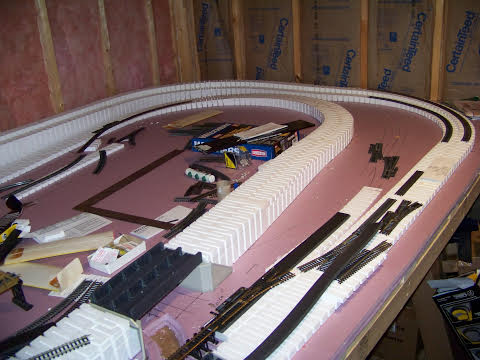
The rest of the pictures are of the sub terrain and bridges. The template for the curved bridge is laid in place to give an idea of what it might look like.

Keep in mind that mountains and tunnels will follow after track is laid.

Ken from Pa USA”

HO scale track work

HO scale bench work

Model train risers

Model train risers

Model train risers

Model train risers


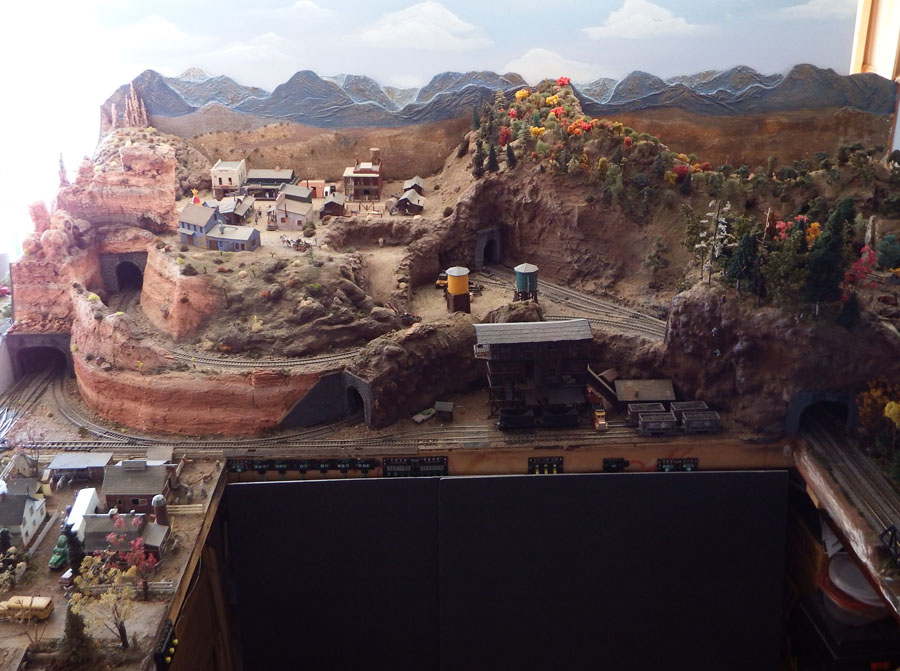
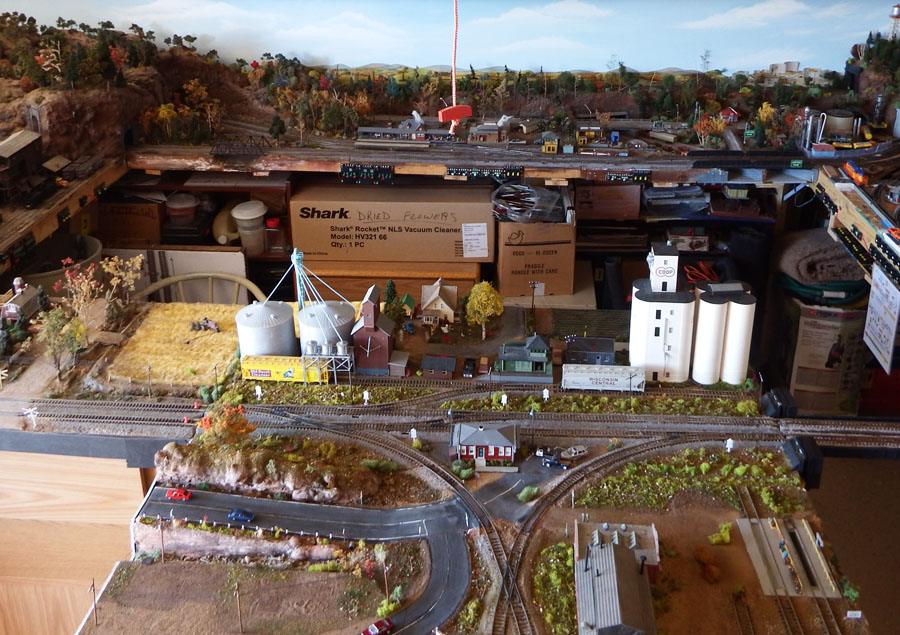
“I am a modeler in Arizona, USA .

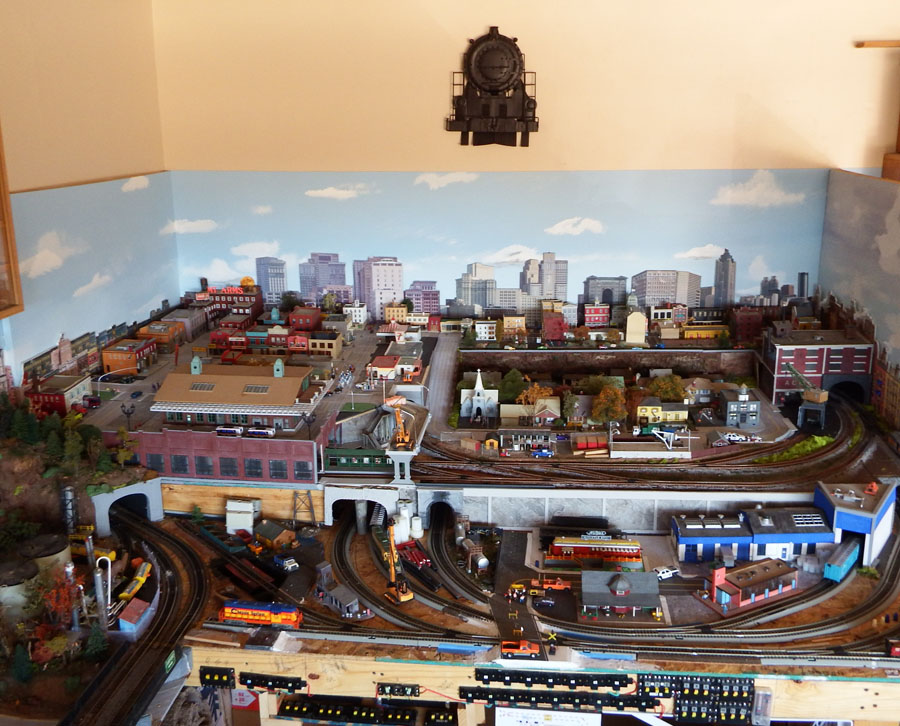
My layout is based on running two trains in opposite directions at once, but I can run multiple trains because of the block system that I have built in. Each section (4×8) or modules have their own transformers and power supplies, so I can stop and start trains on different parts of the layout.

The layout isn’t for any specific time period, location or railroad, but I like BNSF locomotives and have older and newer diesels running at the same time.

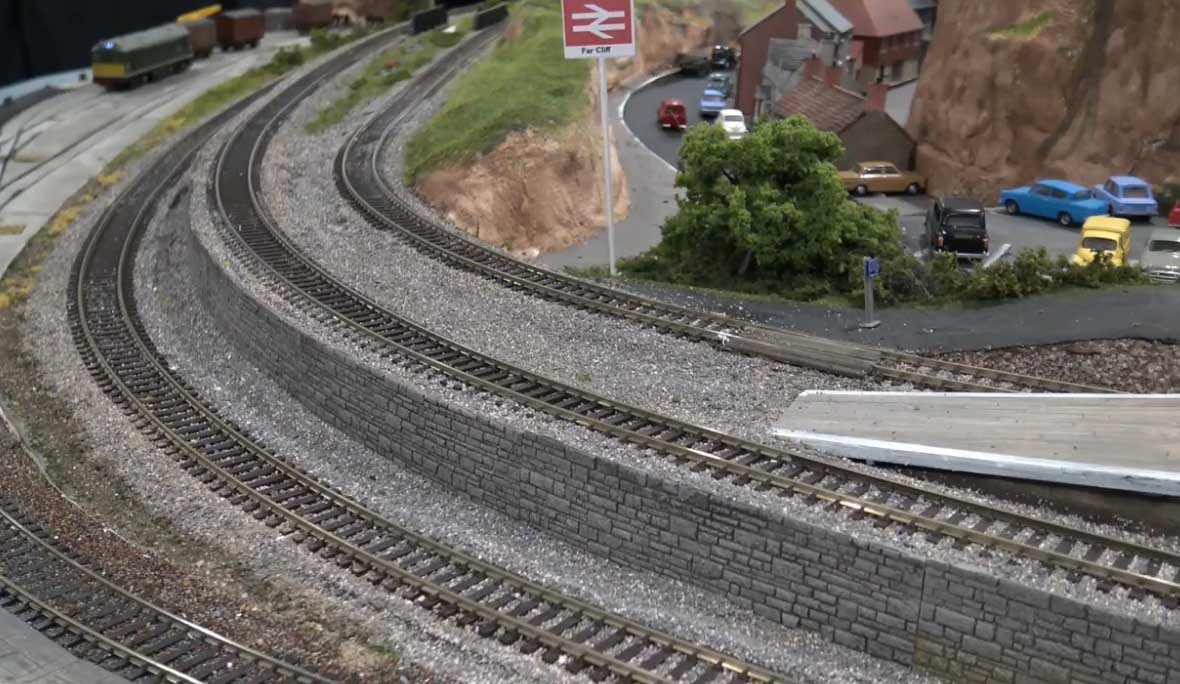
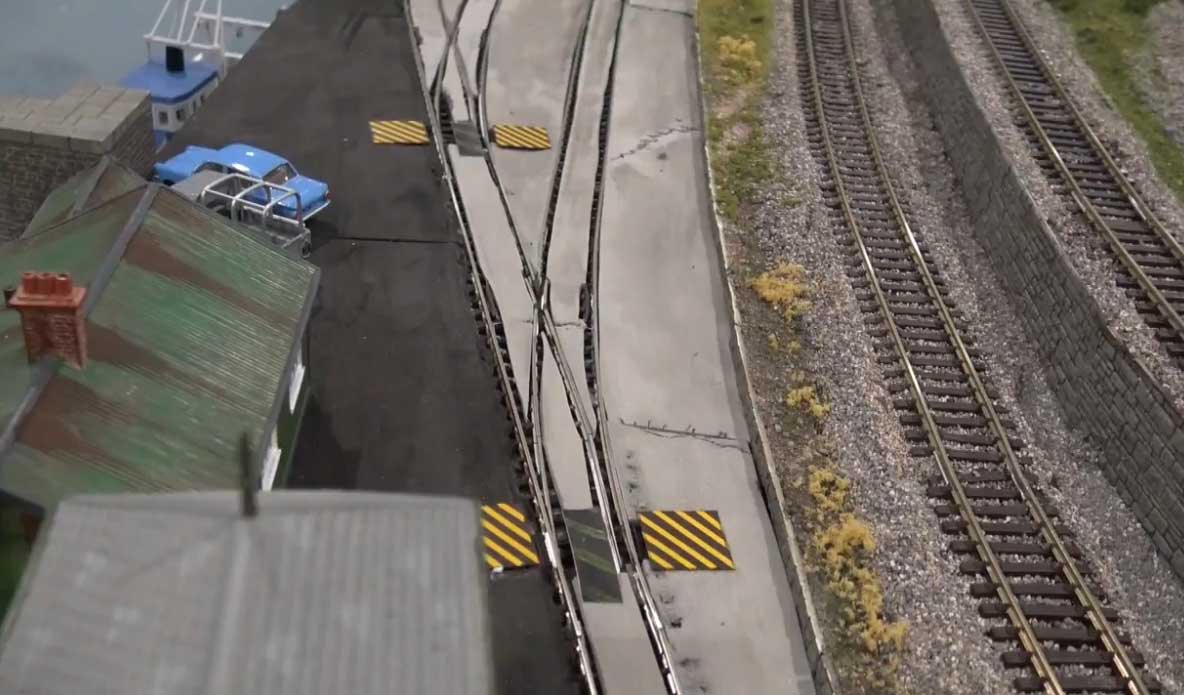
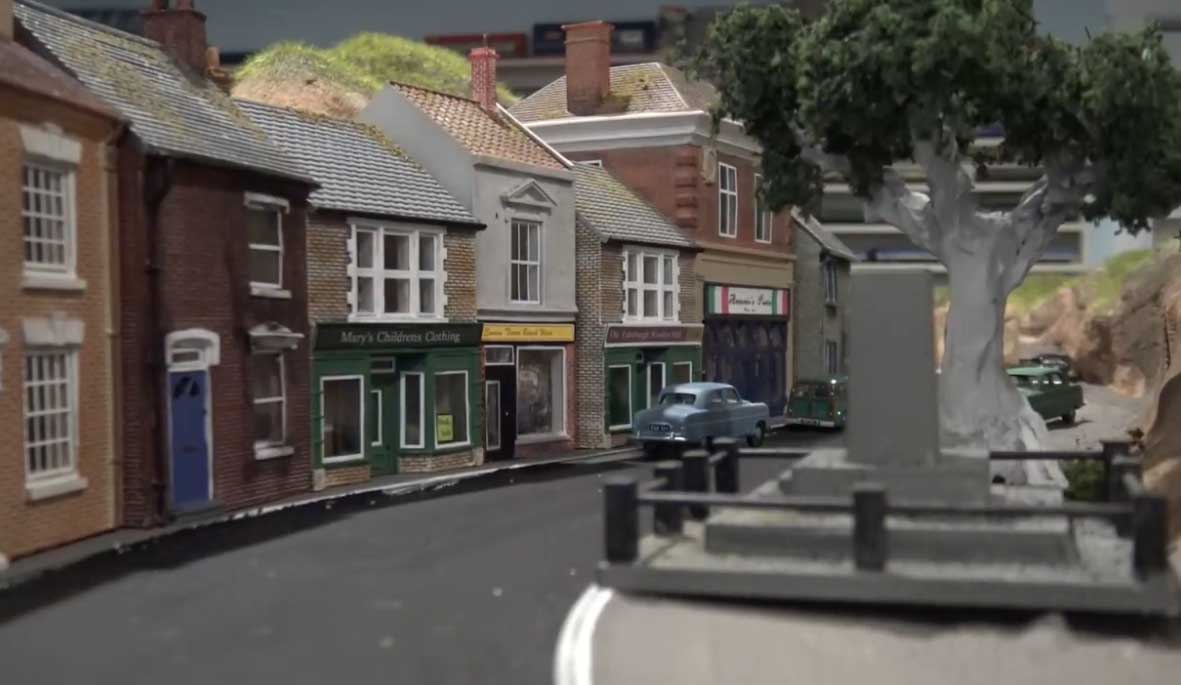
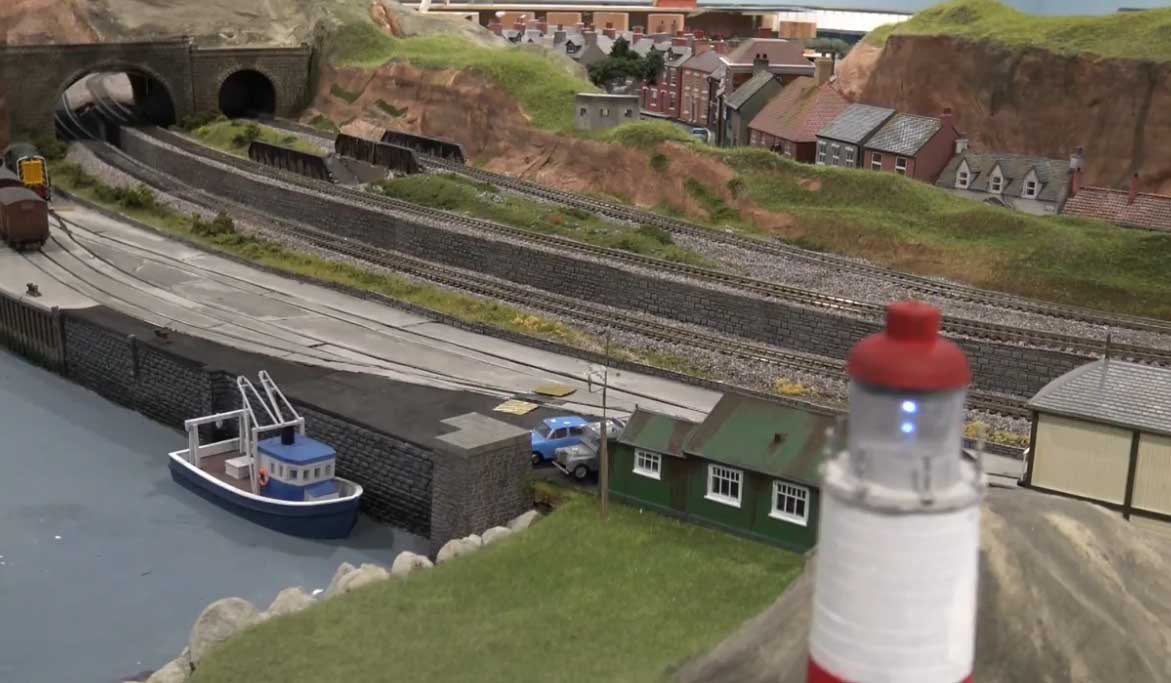
I enjoy building scenery and try to have interesting scenes in different locations such as a traffic accident, old west town, fishermen and bird watchers and a parade down main street.

I will sent more detailed photos of different locations and scenes when I photograph them or pick them out of my collection of pictures.

Bob”

HO scale 4x8

HO scale backdrop

HO scale 4x8 birds eye view

HO scale 4x8

A big thanks to Bob and to Ken for sharing how he’s using his model train risers.

Two things stuck out for me: Ken’s layout shows in spades it’s all about making a start.

Slow progress is no barrier at all – tinkering and pottering is half the fun, as Bob shows, just enjoy it.

That’s all today – but don’t forget the Beginner’s Guide if your starting to feel left out.

Best

Al

PS Latest ebay cheat sheet is here.


Model railway scenery

Rob has been in touch again with another layout showing the start of his model railway scenery.

“Hi Al,

The original Farland which was started in 2011 was my first attempt at building a layout.

I was a great learning experience. Mostly I learned what worked and what didn’t. I started small and gradually added section by section until I had the whole thing. I think people can go under my tab in the Hall of Fame on you page and see the video where I describe the growth of Farland from a 4 foot x 8 foot layout oval to what it was in the end a twisted dog bone.

It was easy that way, adding section by section, because it was done many times along the way. The problem was that every time it seemed done, I expanded and added something else. The problem I encountered, however, was there was no plan. It all just happened and as a consequence there were serious running problems which were constantly reducing the joy of just running.

This time I decided to plan first and build later. The tear down and construction into a finished space was precipitated by my lovely wife. When people came to visit the layout, she would wince at the raw basement area it was in. Not to mention the jury rigged lighting and all the rest. She sort of bribbed be saying if i was willing to tear it down, we would contract to have the area it was in finished off, into a good work area for me.

It worked and I started planning the whole basement with a bedroom and bathroom in it. We only built the train room and hallway, but with the way it was done, the rest could be completed in the future.

Once the plan was done in the fall, I went to our local building department and got a permit to do the work in my name. Then we went looking for a contractor to actually do the work. While the construction ensued, I spent my days working on a track plan. It was time well spent, in my opinion. Reviewing the plan multiple times allows one to find the problems and solve them before track laying begins.

Here is the plan I eventually started to build and what you see in the videos.

model railway scenery ballast

model railway scenery track side

model railway scenery town

model railway scenery harbor

The light tan are the walls and the greenish scribbly line shows where one can walk. I left out the desk and cabinet area at a bump out in the right hand bottom.

Rob of Farland Howe”

Latest ebay cheat sheet is here.


A big thanks to Rob for sharing his model railway scenery pics – I like the way he takes the time to explain what he’s doing, and why he’s doing it.
That’s all for today folks.

Please do keep ’em coming.

And if today is the day you get started on your layout, the Beginner’s Guide is here.

Best

Al

PS Latest ebay cheat sheet is here.

PPS More HO scale train layouts here if that’s your thing.


Model railroading wire

Ray’s been in touch with a simpel way to keep your model railroading wire tidy.

Like all ideas, the simple ones are the best.

“Hi Al.

Today I was mulling over changing my layout for the same reason as D Dave, ease of access.

Well I decided I would have to do something about the hundreds of wires under my boards to make them neater and tidier. Working in DC means I do have 100s of wires under there going in all directions an electrical spaghetti junction, it’s horrifying really.

So what could I do? I decided I would start from scratch this time and rip out all the old wiring, some dating to earlier layouts that aren’t needed for my present layout.

You know when you have one of those rare Eureka moments.

In my layout I use Sundeala boards so have a lot of offcuts kicking around. So I cut up a 2.5 nch strip 4 inches long as below…

Next a 1/4 inch drill and drilled 6 holes in it leaving room at the top to screw to the battens. I made quite a few out of the long strip I had so I now have numerous drilled blocks that I will screw to the battens.

Model railroading wire tidy

In the picture below you will see I threaded 8 wires through one of the holes but it would take quite a few more this will bring a lot more order under the board at no cost. A simple and rewarding ten minutes. For anyone starting up in DC then it would be a really handy tip.

Model train wire tidy

Hope this is useful to others.

Happy Modelling

Eric (Leeds) UK”

Next on to Dave and his eternal quest to making entry to his layout easier. I think he’s on to something (his last post is here).

“I have also added a comment to try and reply to some of the comments… re heights and suggestions members have sent in.

The next one is showing me at the end going in via the old office chair and using a Gimbal should go well … and should make a few smile.

Regards

Dave”

Latest ebay cheat sheet is here.

A big thanks to Dave and to Eric for sharing his model railroading wire tidy. Some great tips and a few smiles too.

That’s all for today folks.

Please do keep ’em coming.

And if today is the day you get started on your layout, the Beginner’s Guide is here.

Best

Al

PS Latest ebay cheat sheet is here.

PPS More HO scale train layouts here if that’s your thing.