Pete’s been in touch. He shows us how to airbrush model trains:
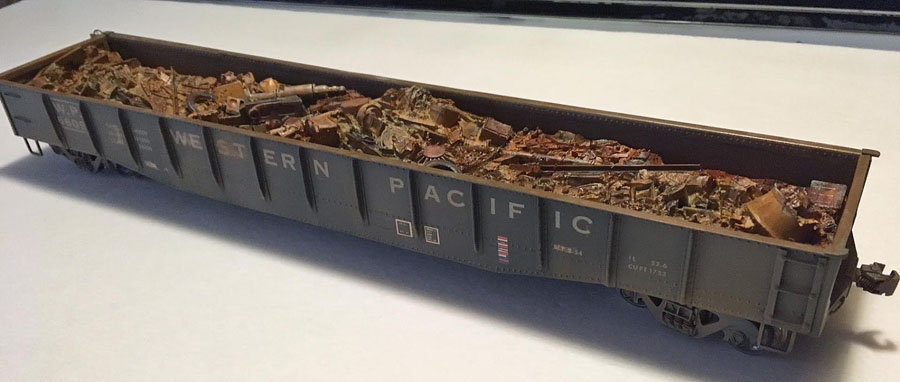
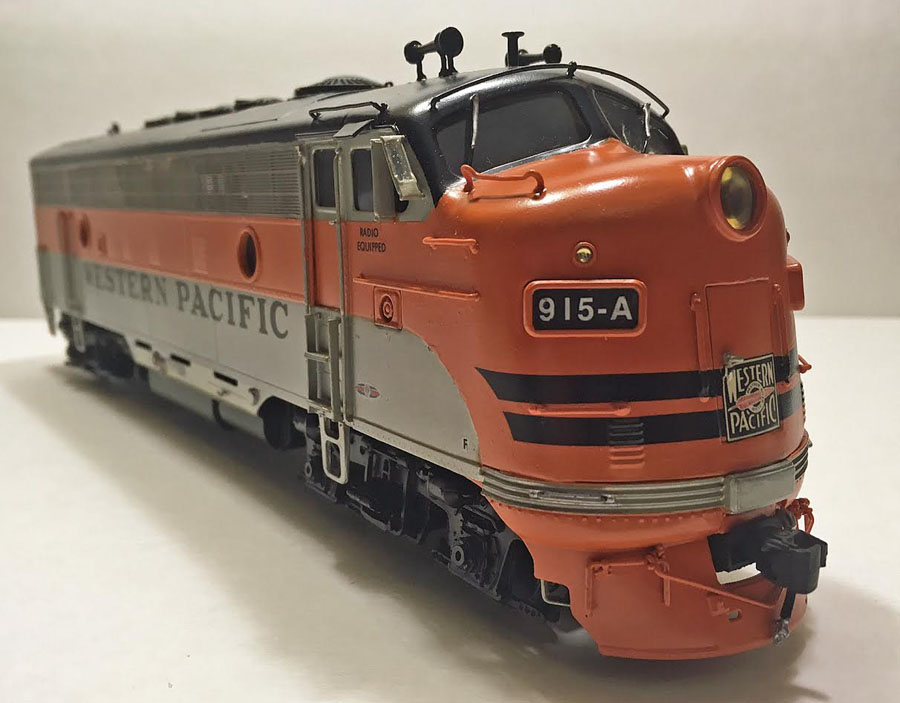
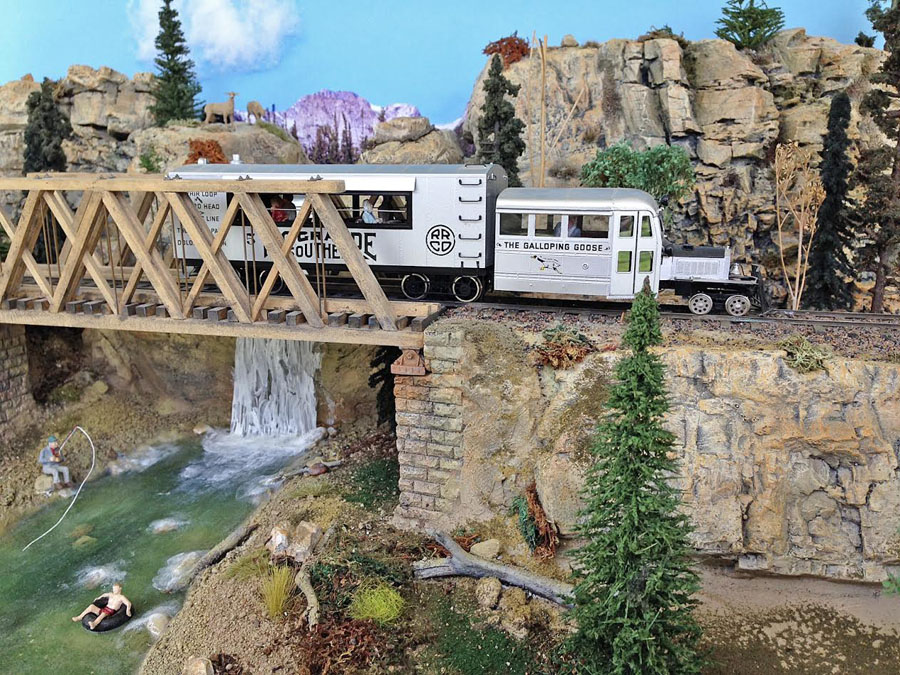
“Here’s a brass gondola I airbrushed and decaled, something I’ve been doing for years to my trains.
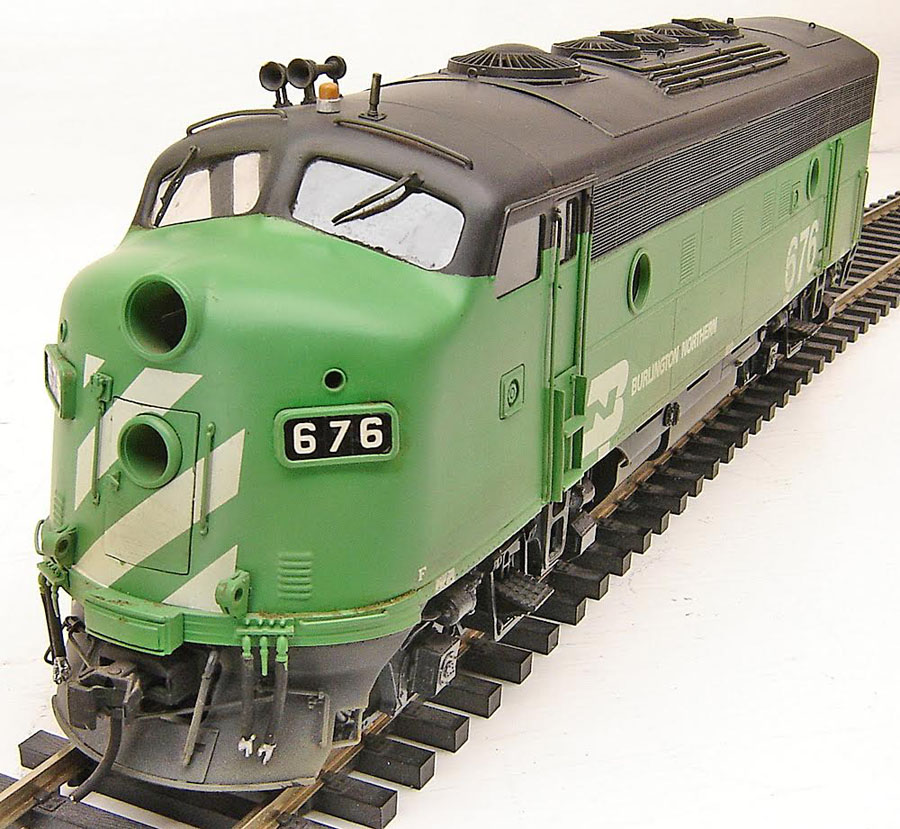
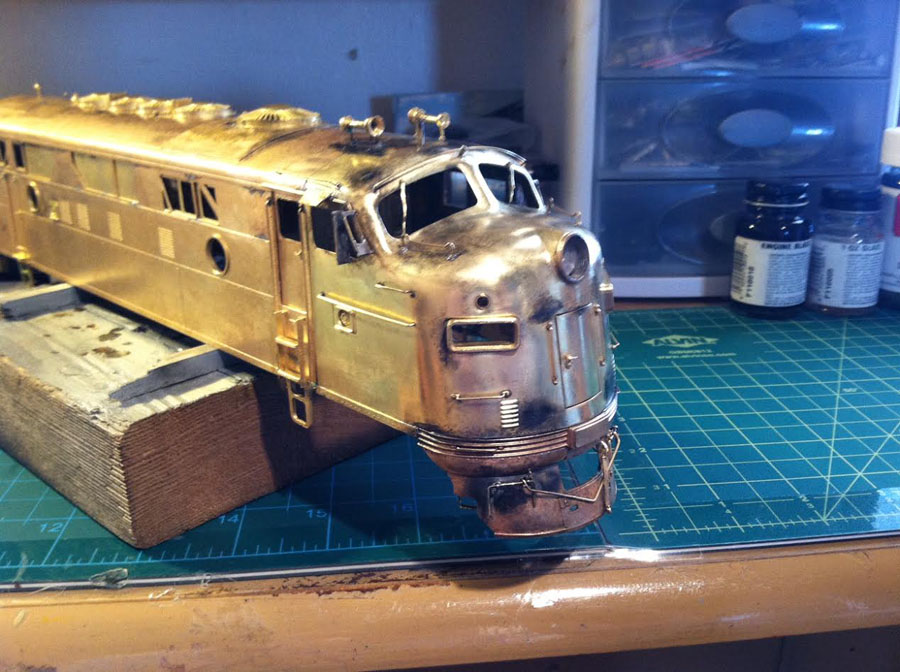
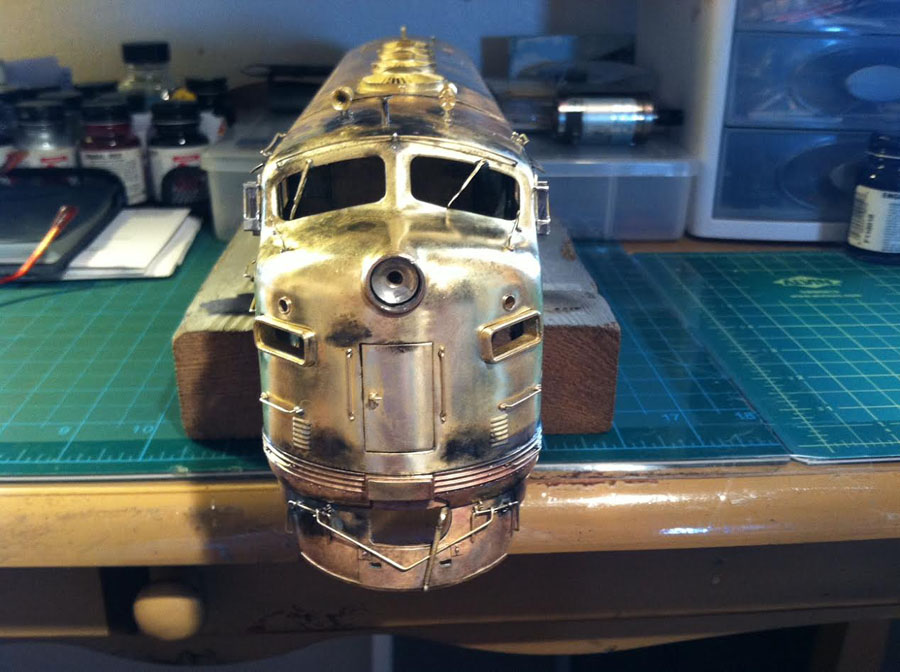
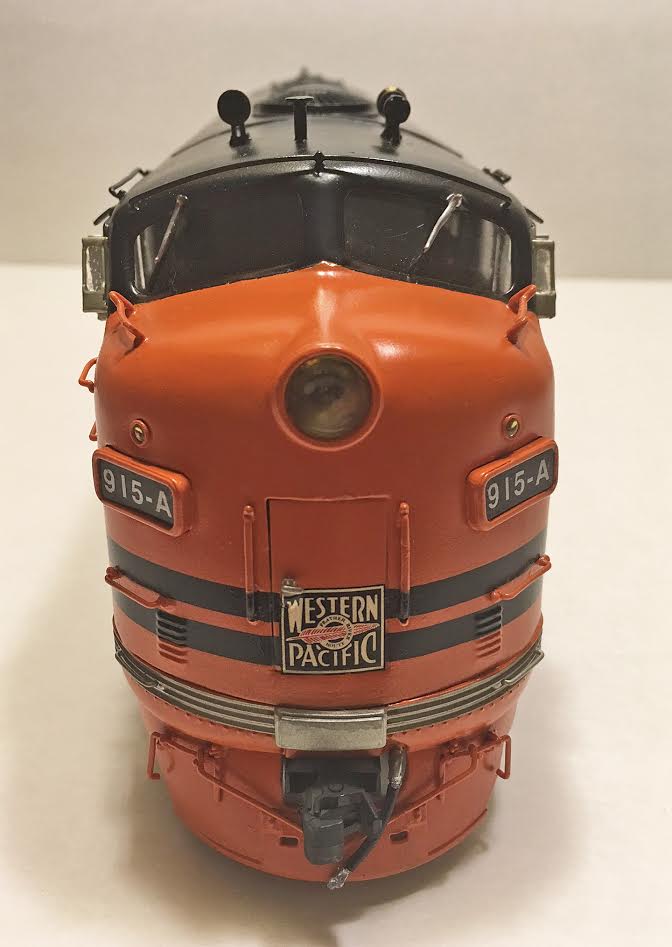
The junk is a combo of many things. Plus an OMI 2nd generation A unit completely coverted from a Burlington scheme to WP with all the redone hand rails, window shades and roof detail including and new P & D pilot and nose door. Hope you like?
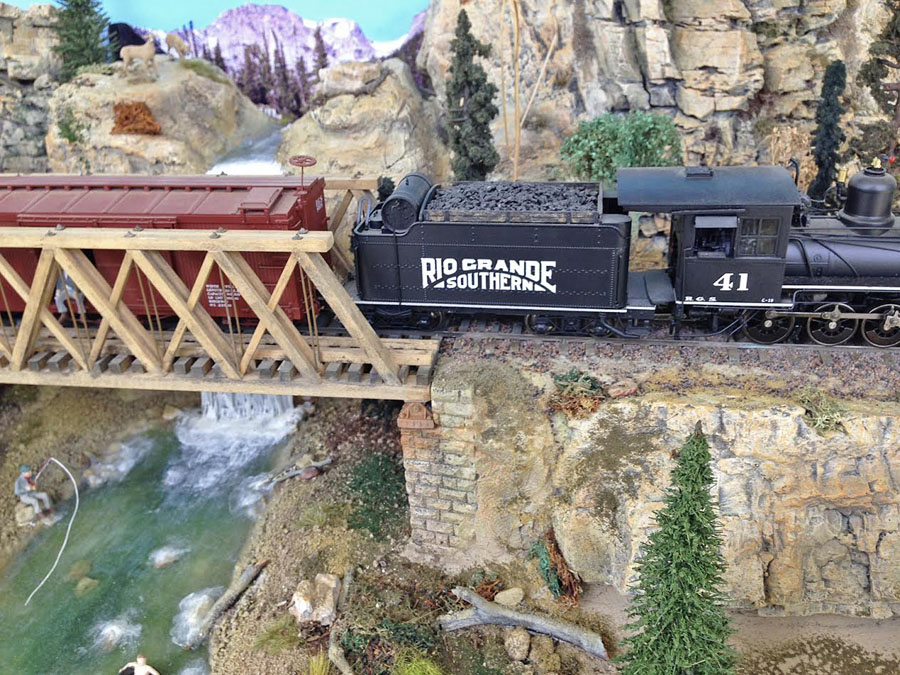
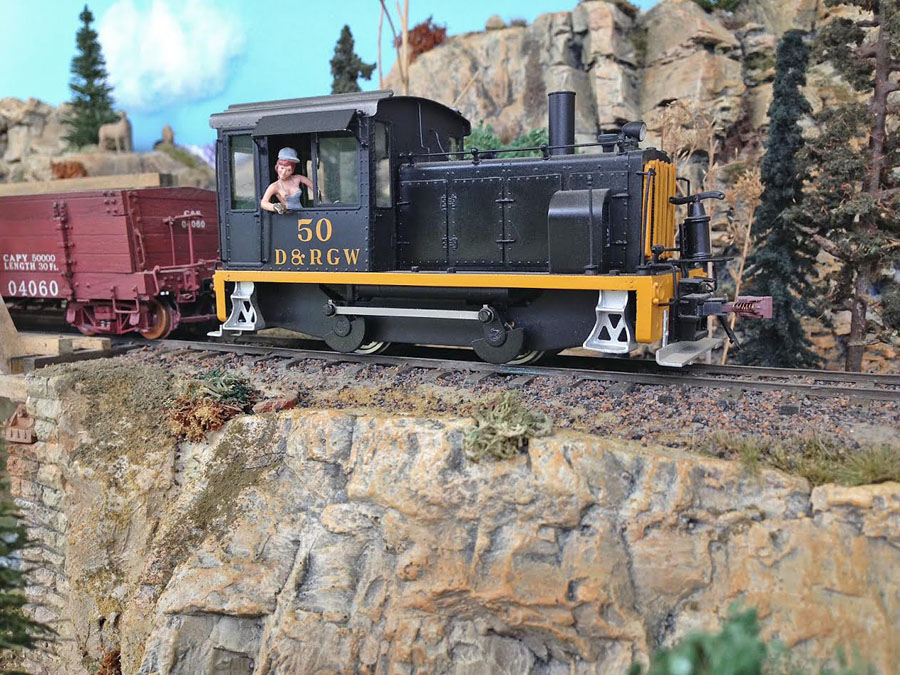
Here’s a sample of my On3 too.
Peter”
Wow! Would love to see more of Peter’s work – really impressed with the airbrush model trains pics.
I was curious about the ‘Galloping Goose’ so I had a look on youtube and found this:
Now on to Jim, who has appeared quite a few times on the blog now, and for good reason too:
“Greetings, Al.
It’s getting hot here in the Southwest so working on my layout in my non air conditioned garage is limited to the early AM.
As with any model railroad, there is always something that could be at should be done.
At this point with mine, it’s just the little things.
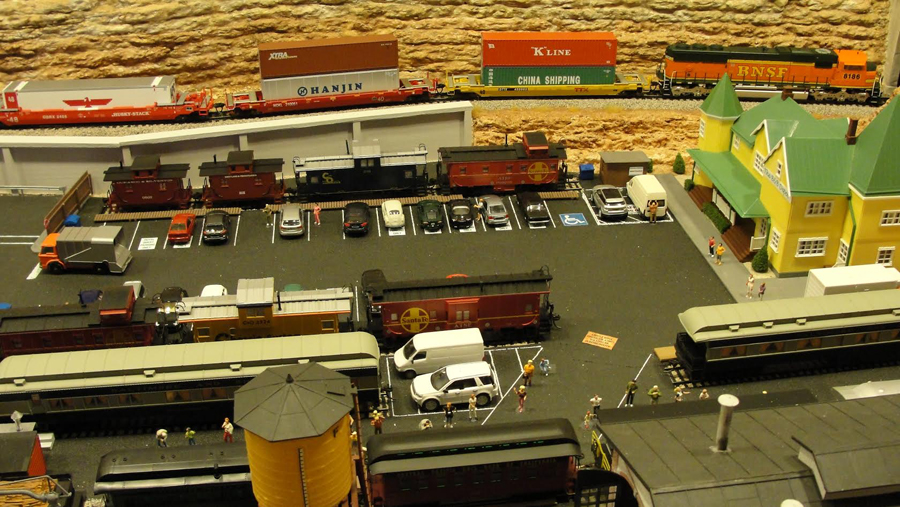
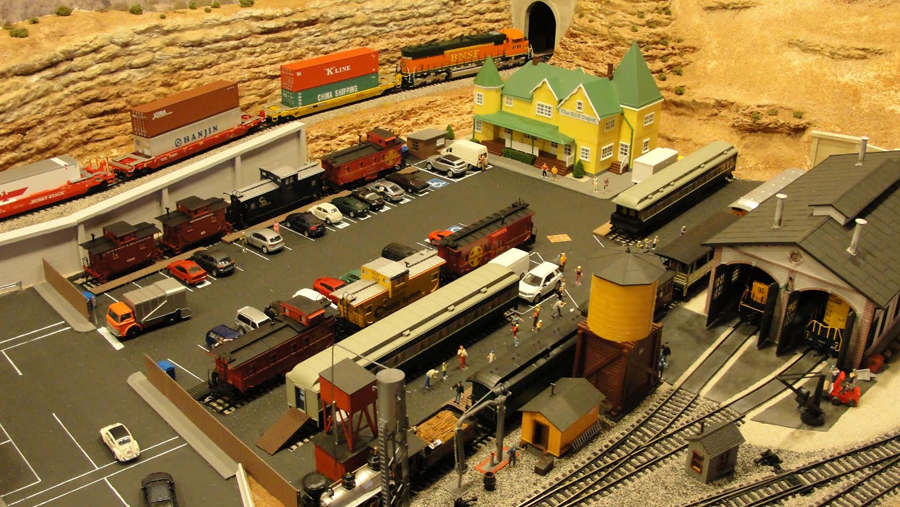
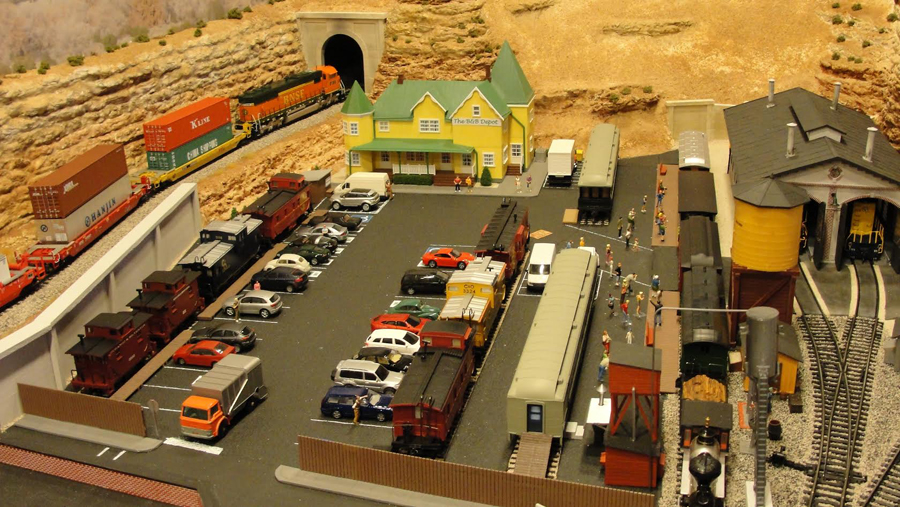
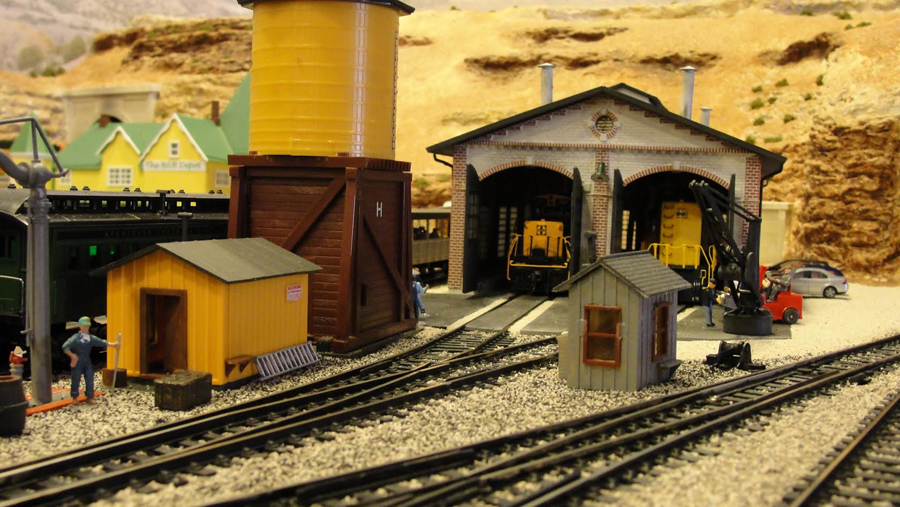
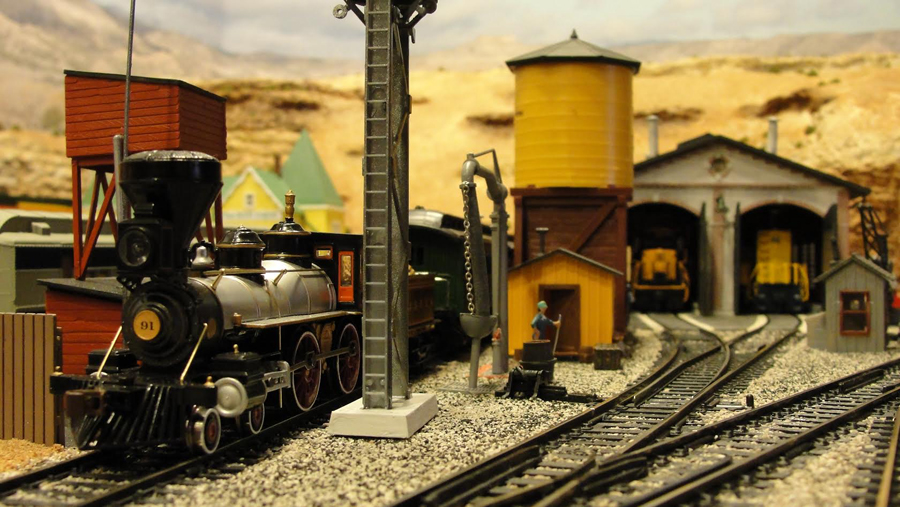
But for now I thought I’d send some pics of the B&B Depot/Excursion enterprise.
Lawrence has been in touch – he’s working on a Suspended model train from ceiling.
“Al
I don’t know if you will show this and following emails as they will be radically different then the norm.
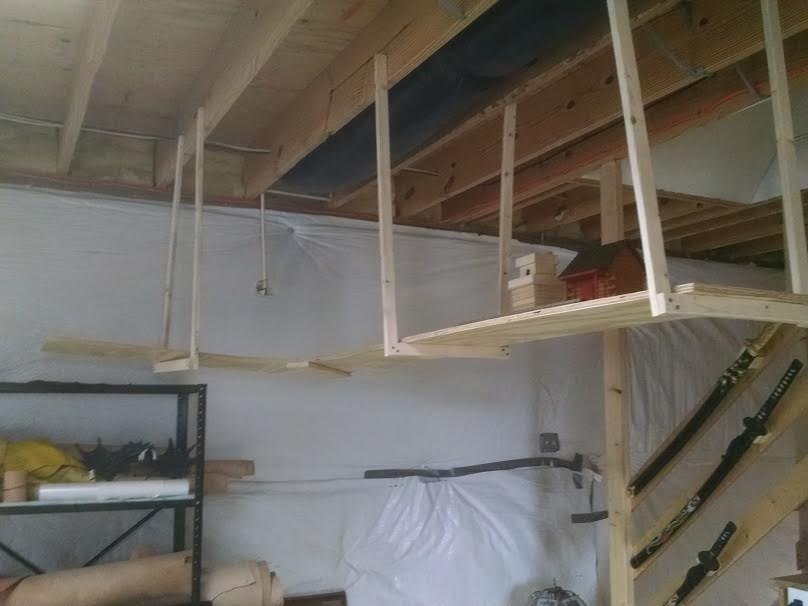
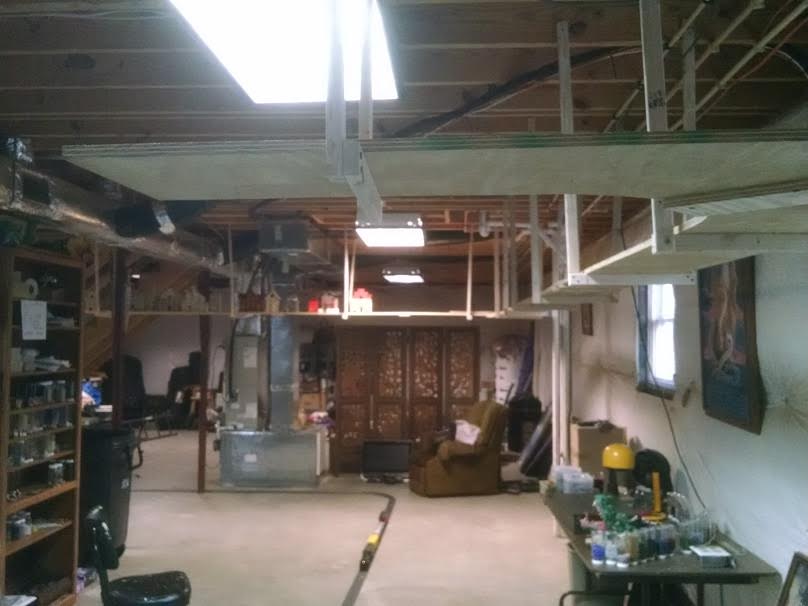
It is a 96 feet long overhead (six feet off the floor) single track system around half of my basement. Overhead because the multiple hobby (leather, chain maille, archery, etc) workbenches are around the wall. This is only one of my many hobbies.
I am not after reconstructing a specific city. What I want it to display the things that are interesting to me. Because it is six feet above the floor I will not be adding a lot of the scenery that is normally seen as it will not be seen from the floor.
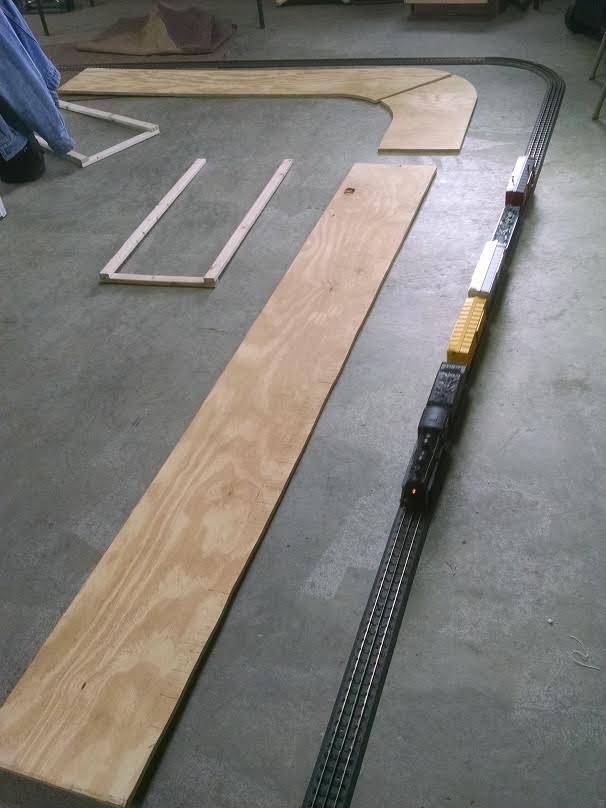
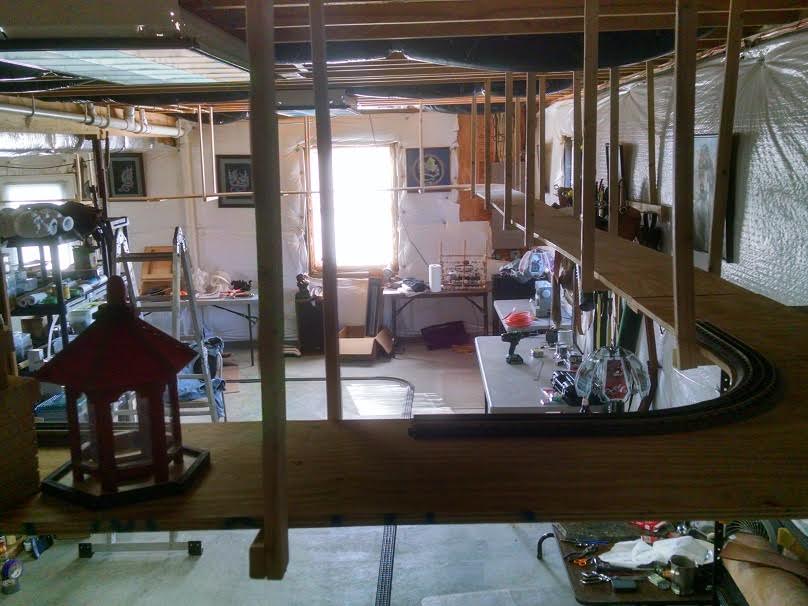
The train used is a O gauge Realtrax Christmas kit, expanded with one rolling stock and about 80 feet of new track. Hanging the track base from the basement rafters was a real trick. The track had to be wide enough for the train, some houses and all the wiring (on the top, out of sight, instead of underneath). So layout all of the wood and track needed on the floor first. To ensure all the hanging hardware, the base, and enough of and the right track was available.
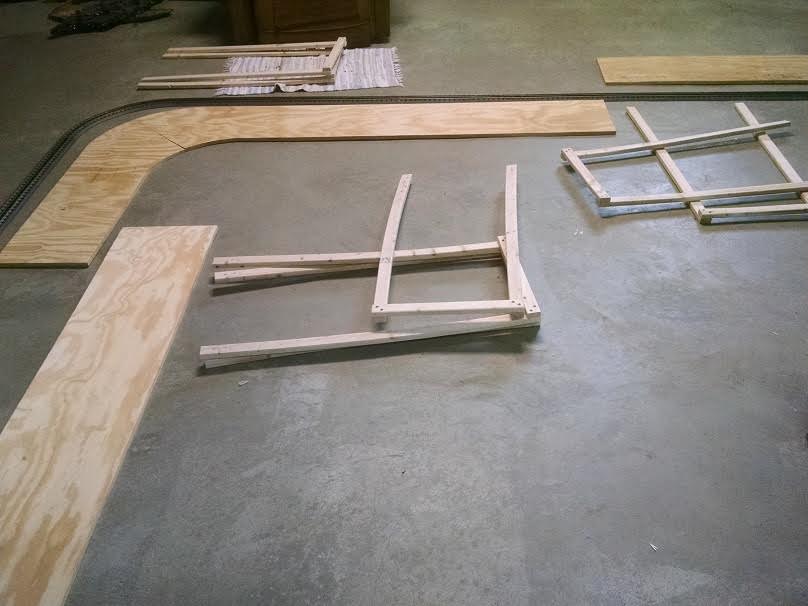
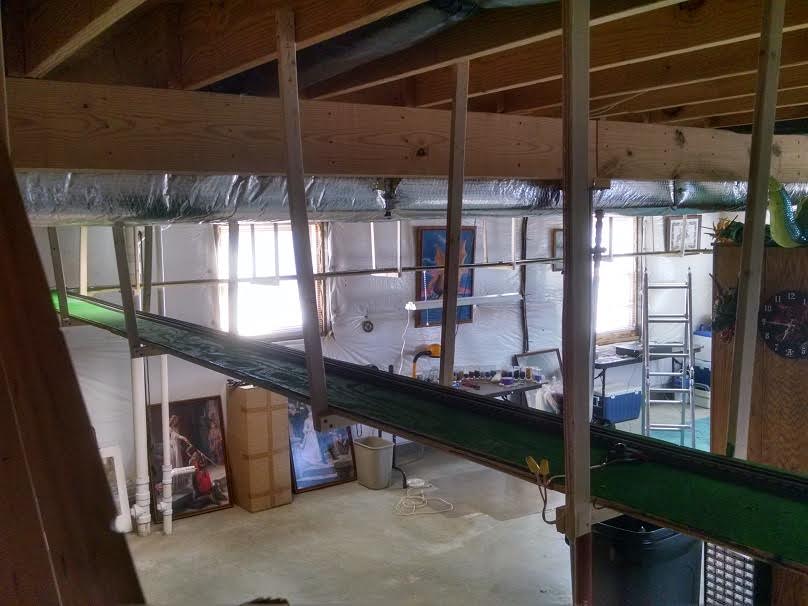
Then the process of mounting the hanging rails and piece by piece of the track base around the room. Painted the upper base green, no grass as it will normally not been seen anyway. Still process of painting the rest a gray for a visual eye disappearance. Put down the track with an electrical connection at each corner. Put the wiring down on the back edge upper side and connected all points. Tested the track with train and then screwed the track in place. Not being too critical on the mounting of the hanging pieces I have some high spots and low spots – great with small ups and downs.
Phase 2 (next email) is the background appearance to the train. Simple, cheap, and very different.
Lawrence”
My word, a suspended model train from ceiling, 96 foot layout! Can’t wait to see how it pans out – a huge project.
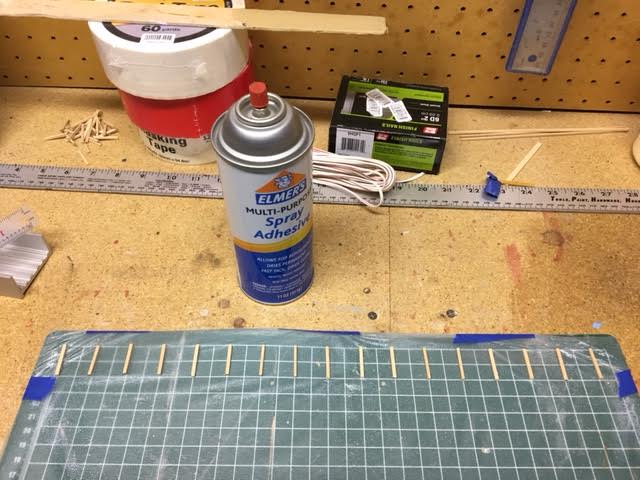
I wanted to make a fence from balsa strips I had, but wondered how to keep everything in alignment.
I have a cutting board with lines on it. I taped cling wrap to the face hoping the wrap would keep the posts in alignment so I could attach the rails.
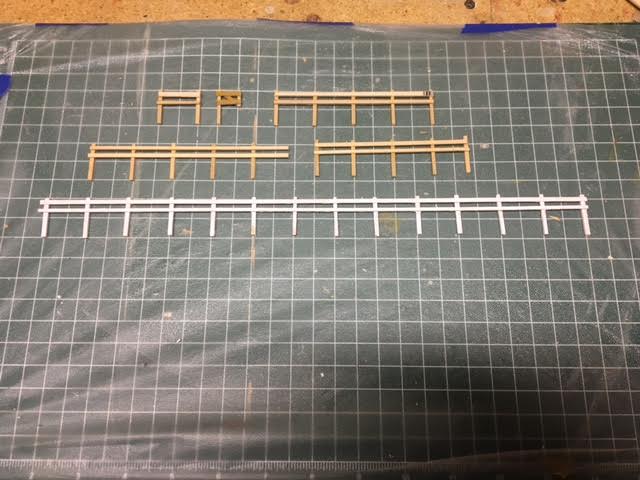
That didn’t work, so I sprayed the wrap with spray glue. I could then line up the posts and glue the rails to them. When dry I could peel the fence from the wrap.
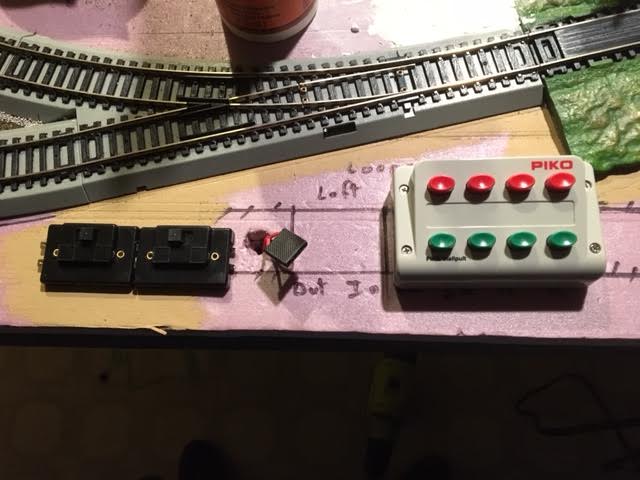
I didn’t like the cheap Bachmann switch controllers that came with the switches, so I bought a Piko switch controller. Much better quality.
I had been using an eye dropper to apply the diluted white glue solution to smaller areas of landscaping, but it didn’t hold much glue mixture.
While at the pharmacy I noticed a child’s medicine dropper that holds up to 5ml. It was packaged with a medicine spoon which I found useful in spreading turf in concentrated areas.
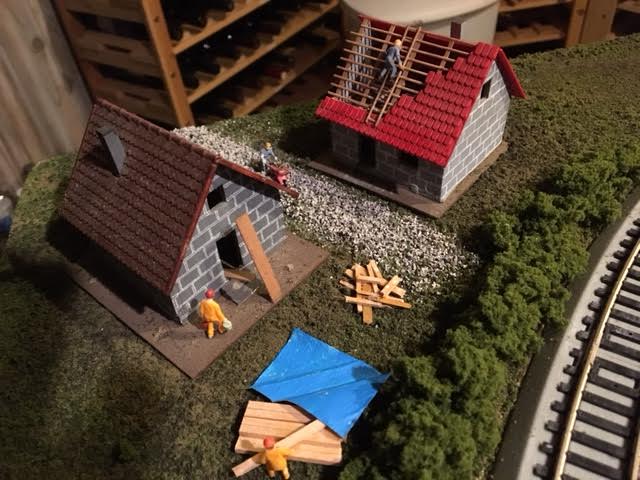
And on the layout, a developer got a deal on some land by the tracks and is putting up two small houses.
That’s all for now.
Jack”
A big thanks to Jack and Lawrence for sharing his suspended model train from ceiling.
Steve’s added some HO scale railroad figures to his layout… and something else has appeared too:
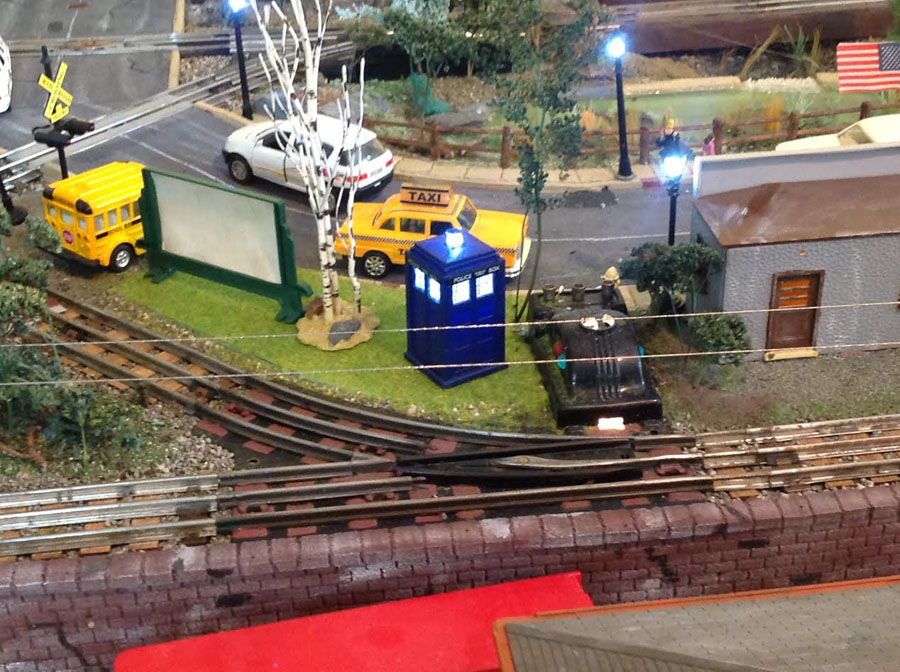
“Just a little surprise on the layout.
The other day I heard a grinding noise coming from the train room so I went in to see what was going on. Well I found a blue box all lit up. The strange part is I never put it there. I am still trying to figure it out. Picture in closed.
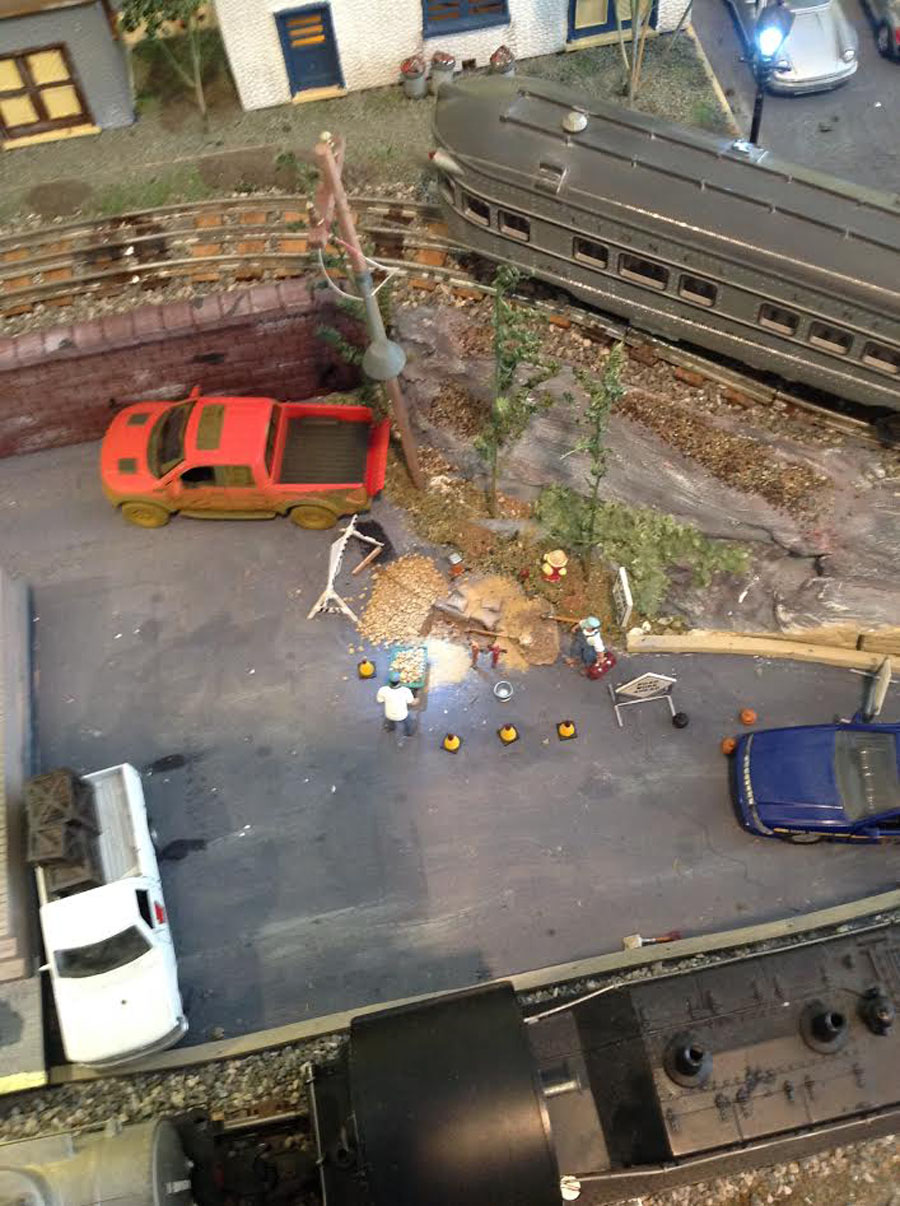
In the meantime I have some crews running water lines to the community.
Will be sending more soon
Steve from Toms River.”
Strange blue light? I had to look at Steve’s pics twice before I twigged. Did make me smile though.
It’s another great example of ‘your layout, your rules’. If you want to add Dr Who’s tardis, that’s fine. And if you want to add some HO scale railroad figures, that’s fine too.
And now the latest from Rob and his fantastic layout update:
“Hi Al,
In my latest video we look at methods for power feeders to the track, the magic wheelie stool, cutting the last spice in what will be the fast line because the tightest curve is 24 inches plus radius, a little soldering, cutting track pads, and running my Intercity 125 at high scale speeds. Not as fast as she will go, but fast enough for a real jolt of fun.
We go under the table and connect wires the easy way and discuss cutting track for a diamond crossover. Tricker than you might think. The layout is coming along nicely and bnow only one loop left to build and I can start the scenery planning and land forming.
I think some of your viewers that are new to the hobby will get some ideas or hope they will.