Hall of Fame member, Cameron, has been beavering away on his new layout again, and shows us how to how to wire a DCC model railway
(If you missed his previous installment, it’s here.)
“Dear Al,
More as promised.
Lanarth – Part 8 Electrics
Scale 1:76. 00
DC
Track Peco HO Code 100
Location – British, Southern Railway, Western Region
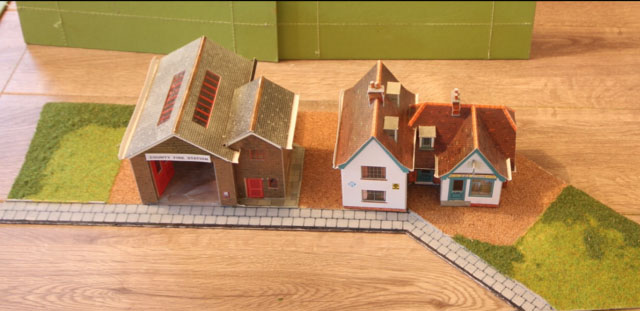
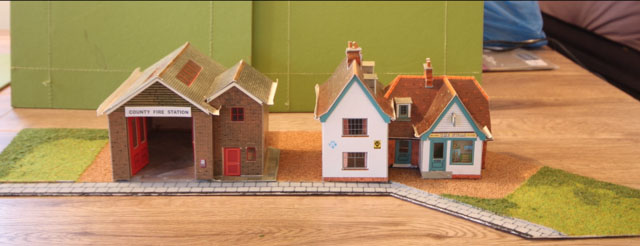
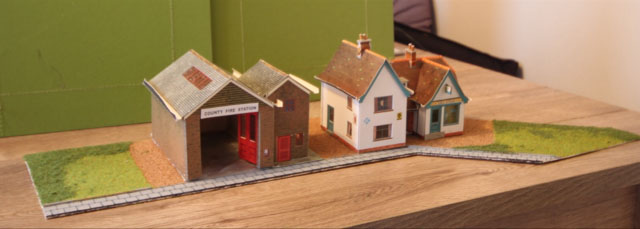
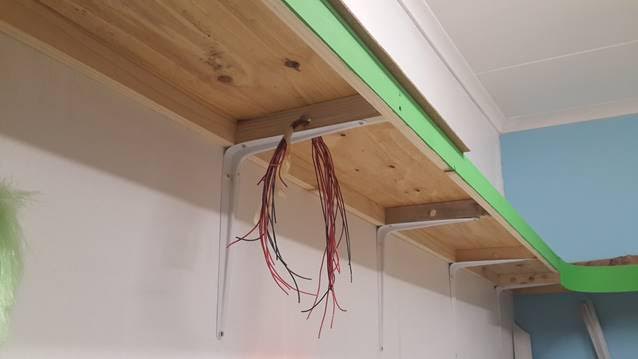
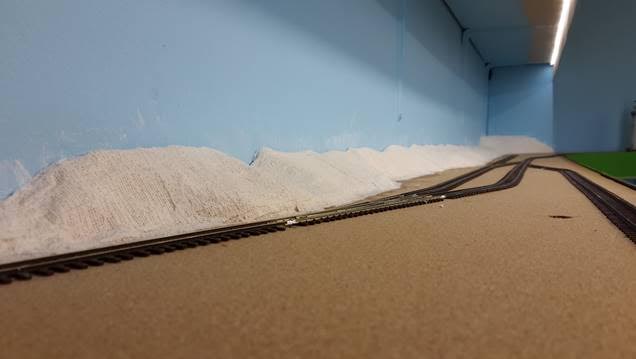
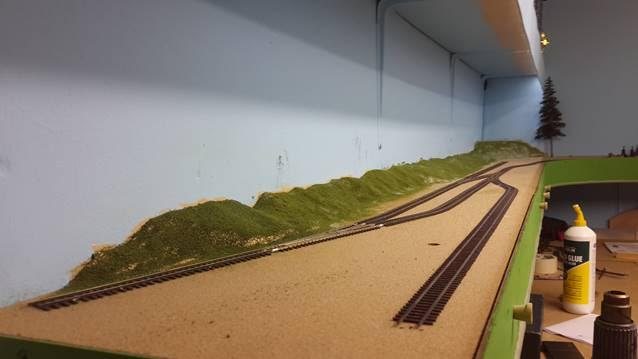
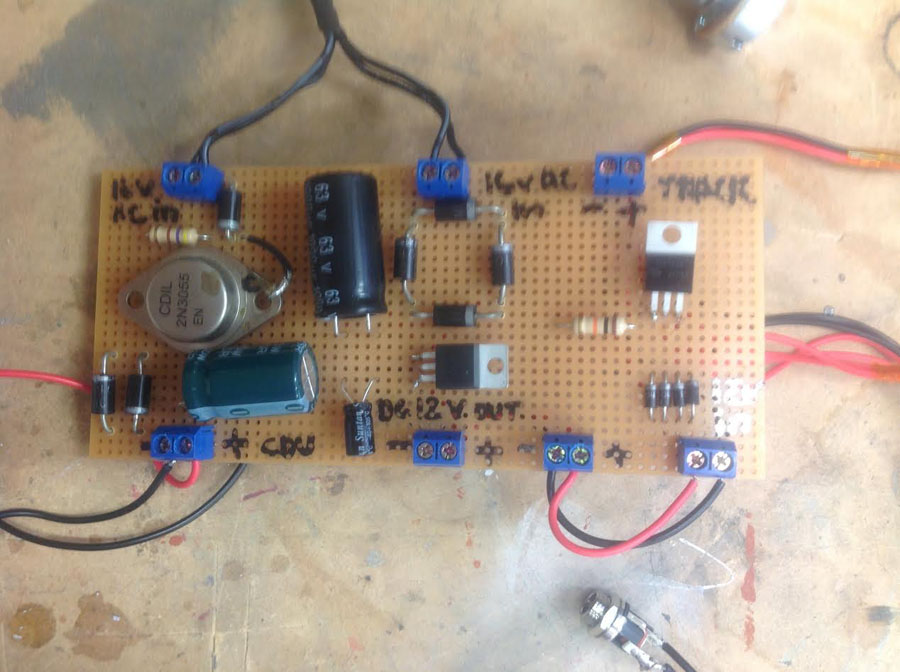
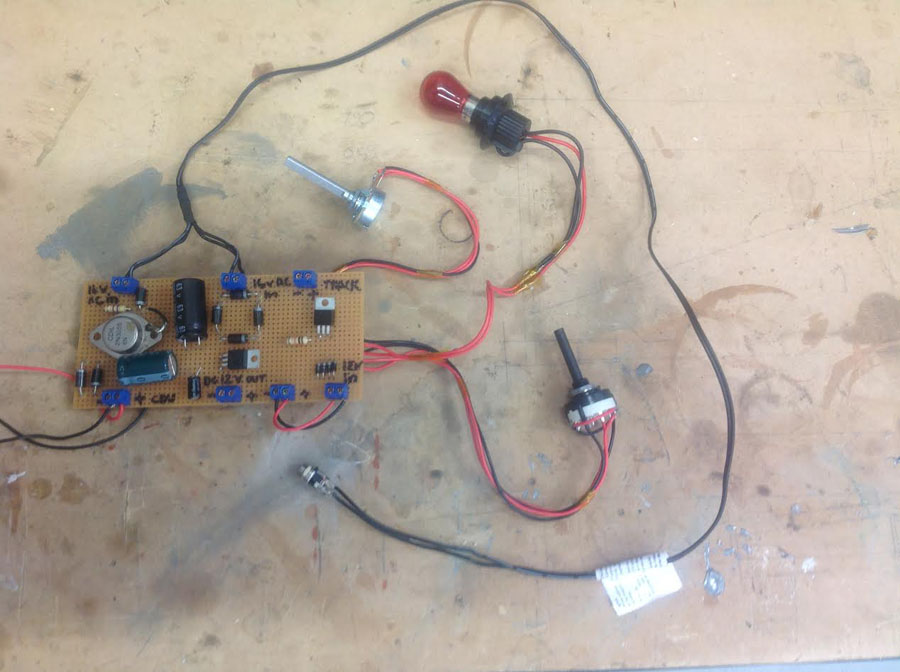
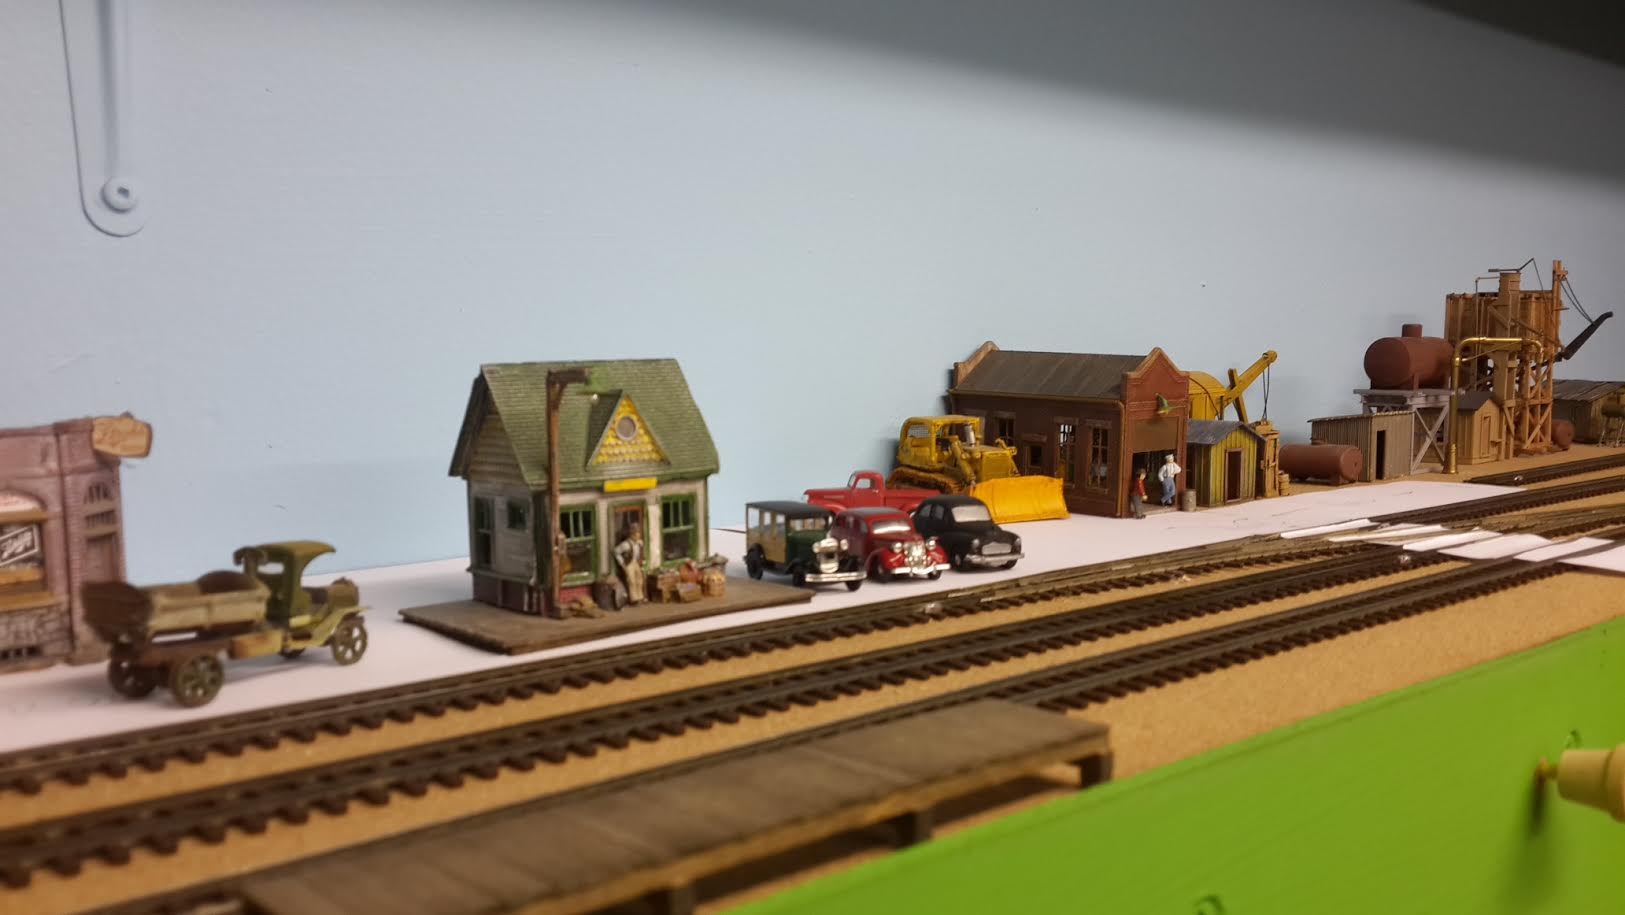
With the bulk of the structures done and the track down it was time to turn my attention to the electrics. As with rest of the layout I thought I might try and build this from scratch as well.
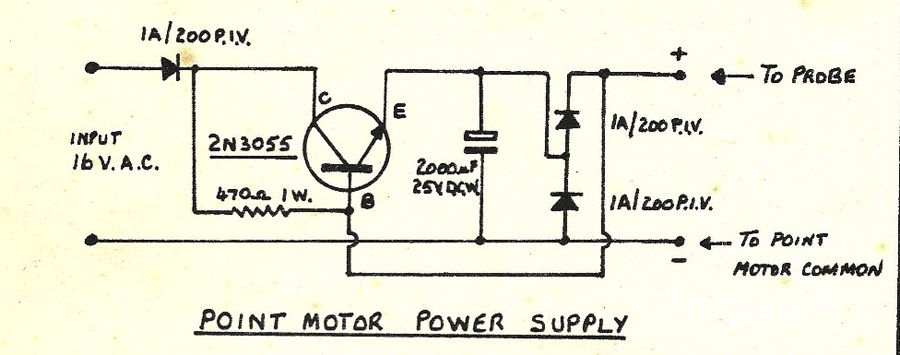
One of the members of our local club provided me with a simple circuit diagram for a controller and a capacitor discharge unit.
I did not know a lot about building circuits so took the diagram to the local electronics shop to get the correct parts then assembled them as per the diagrams.
Through good luck more than good management the circuits all worked well. One advantage of doing this myself was that I was able to combine several electronic circuits onto one board.
The final board has the following:
– A speed controller for the track power
– A capacitor discharge unit for powering the points
– A bridge rectifier to convert AC power to DC
– 12 volt power for the layout lighting
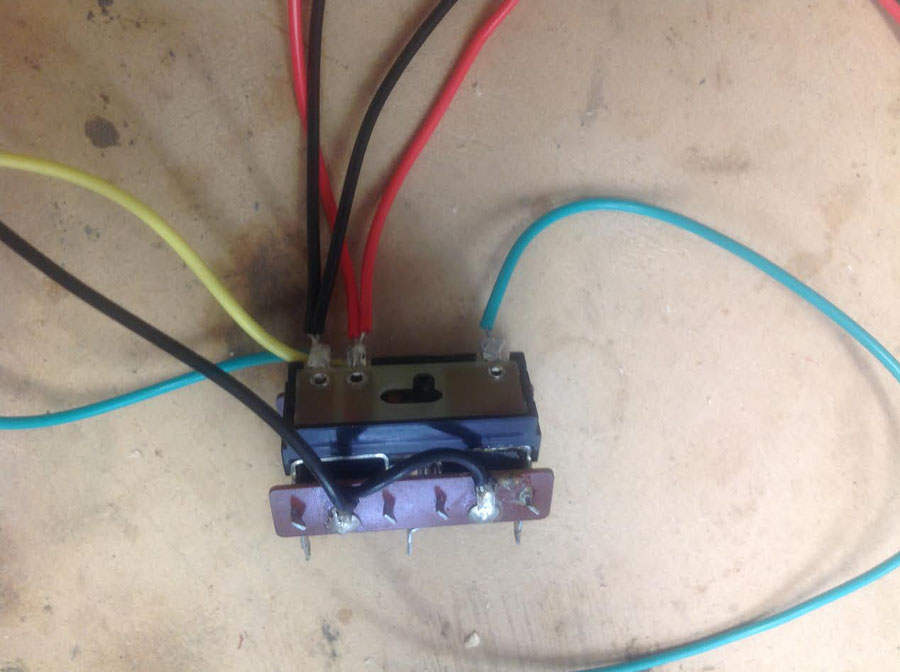
All this is supplied by one 16 volt AC power pack that came off an old laptop.
The total cost was less than $40 AUS and I suspect that if I had bought the parts online it would have been even cheaper.
The points are Peco Electrofrog. The point motors are Peco as well with switches to control the frog polarity.
Electric frog points are important on a small shunting layout like this as the locomotive needed is quite short and generally moving at slow speeds through the points.
Regular points like Peco Set Track have a small sections of plastic rail in the middle of the frog that interrupt the power to the locomotive as it runs through. This is not normally an issue with larger locomotives moving at speed but will cause a smaller locomotive travelling slowly to stall.
Cameron”

I do like Cameron’s posts – it’s wonderful to see his approach on how to wire a DCC model railway, and the layout coming to life. I particularly liked the way he took his circuit diagram to the electronics shop – genius!
Next, on to Jim:
He’s been in touch again (his last post is here).
This time he’s sent in a camera train video of his wonderful layout:
“Greetings, Al.
I’m really less than a novice at this but I just wanted to share and contribute to your site.
Jim”
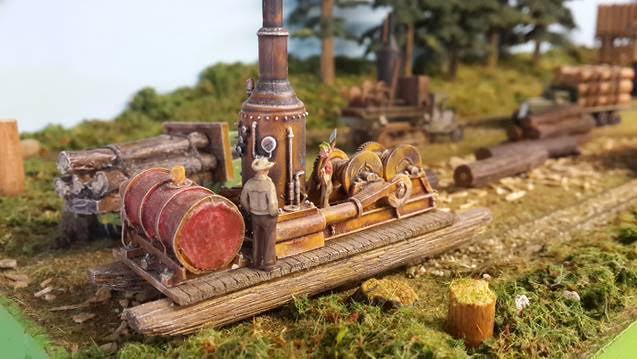
And lastly, Hall of Fame member, Brian, keeps us posted:
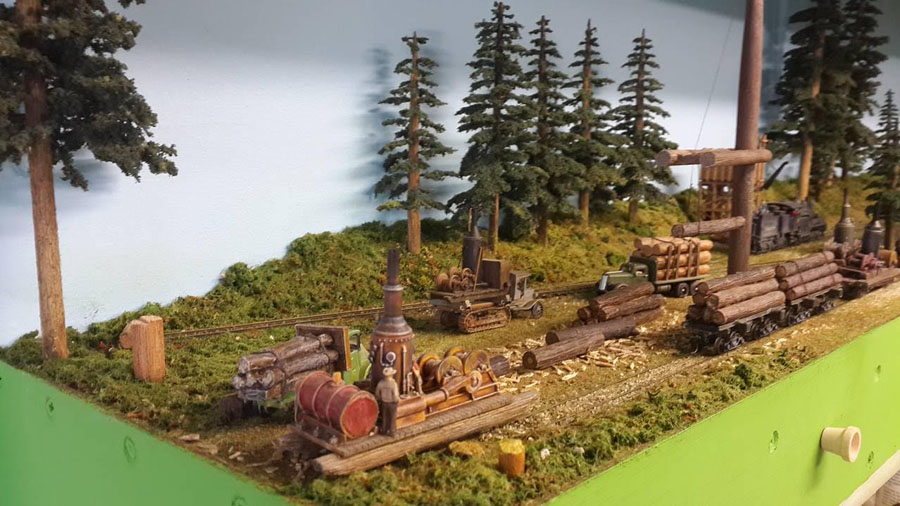
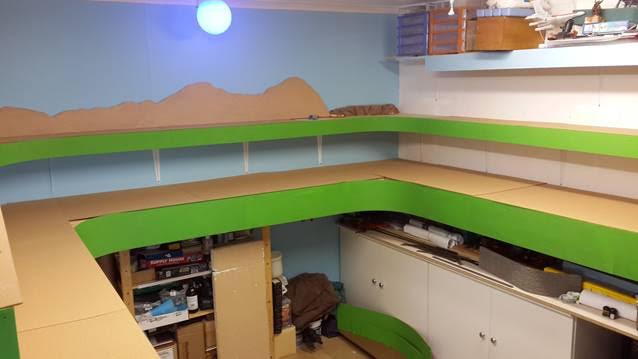
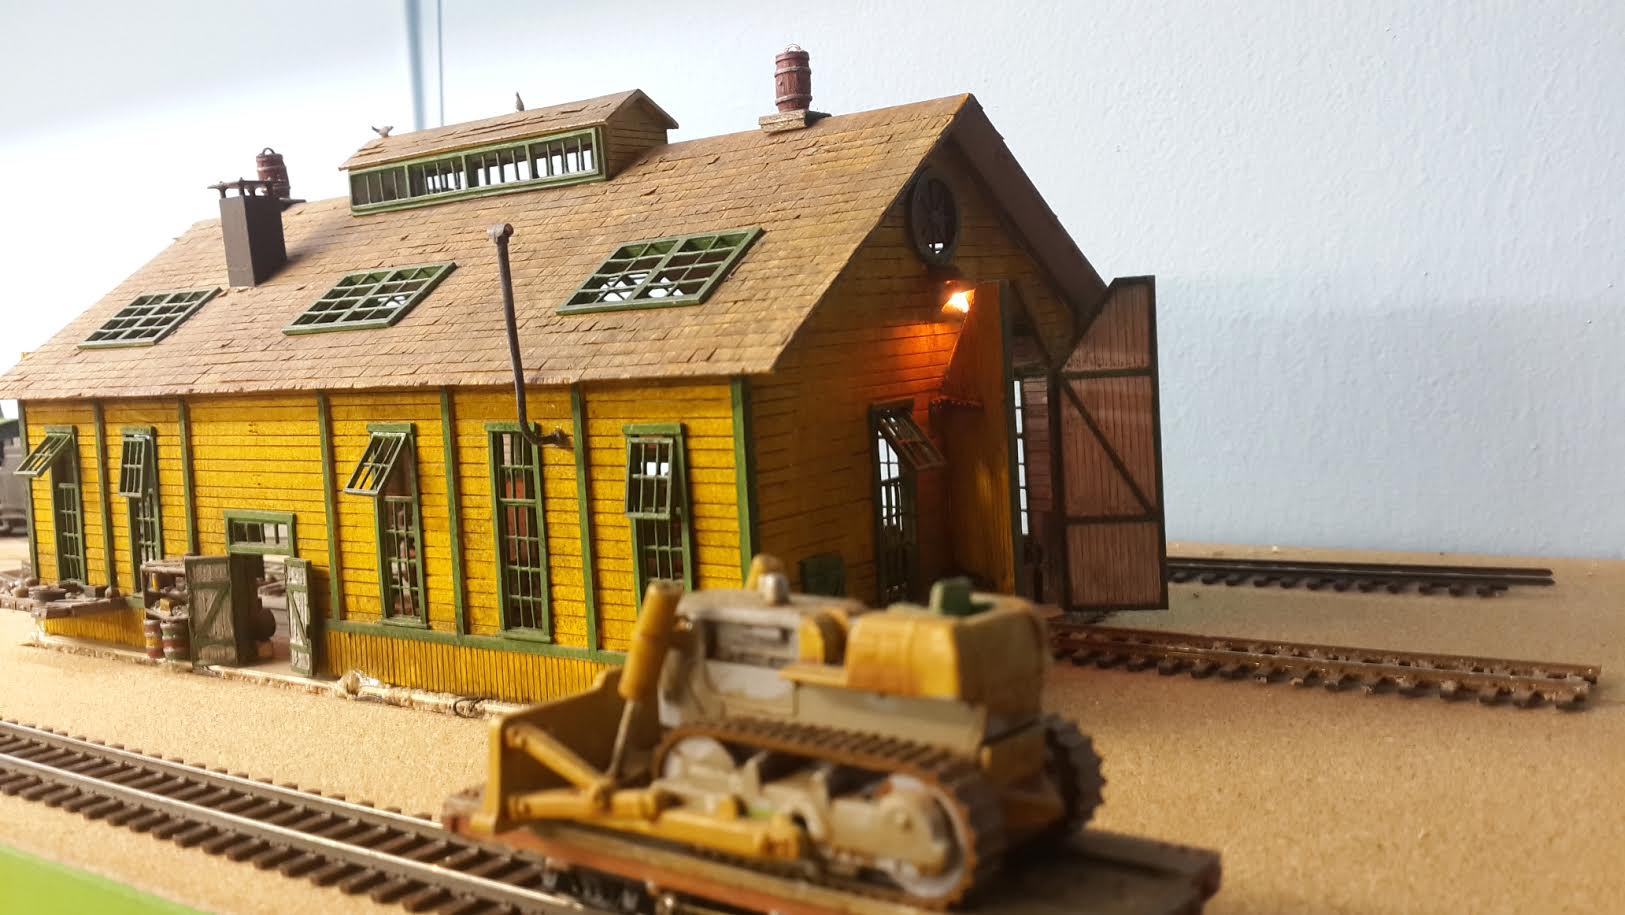
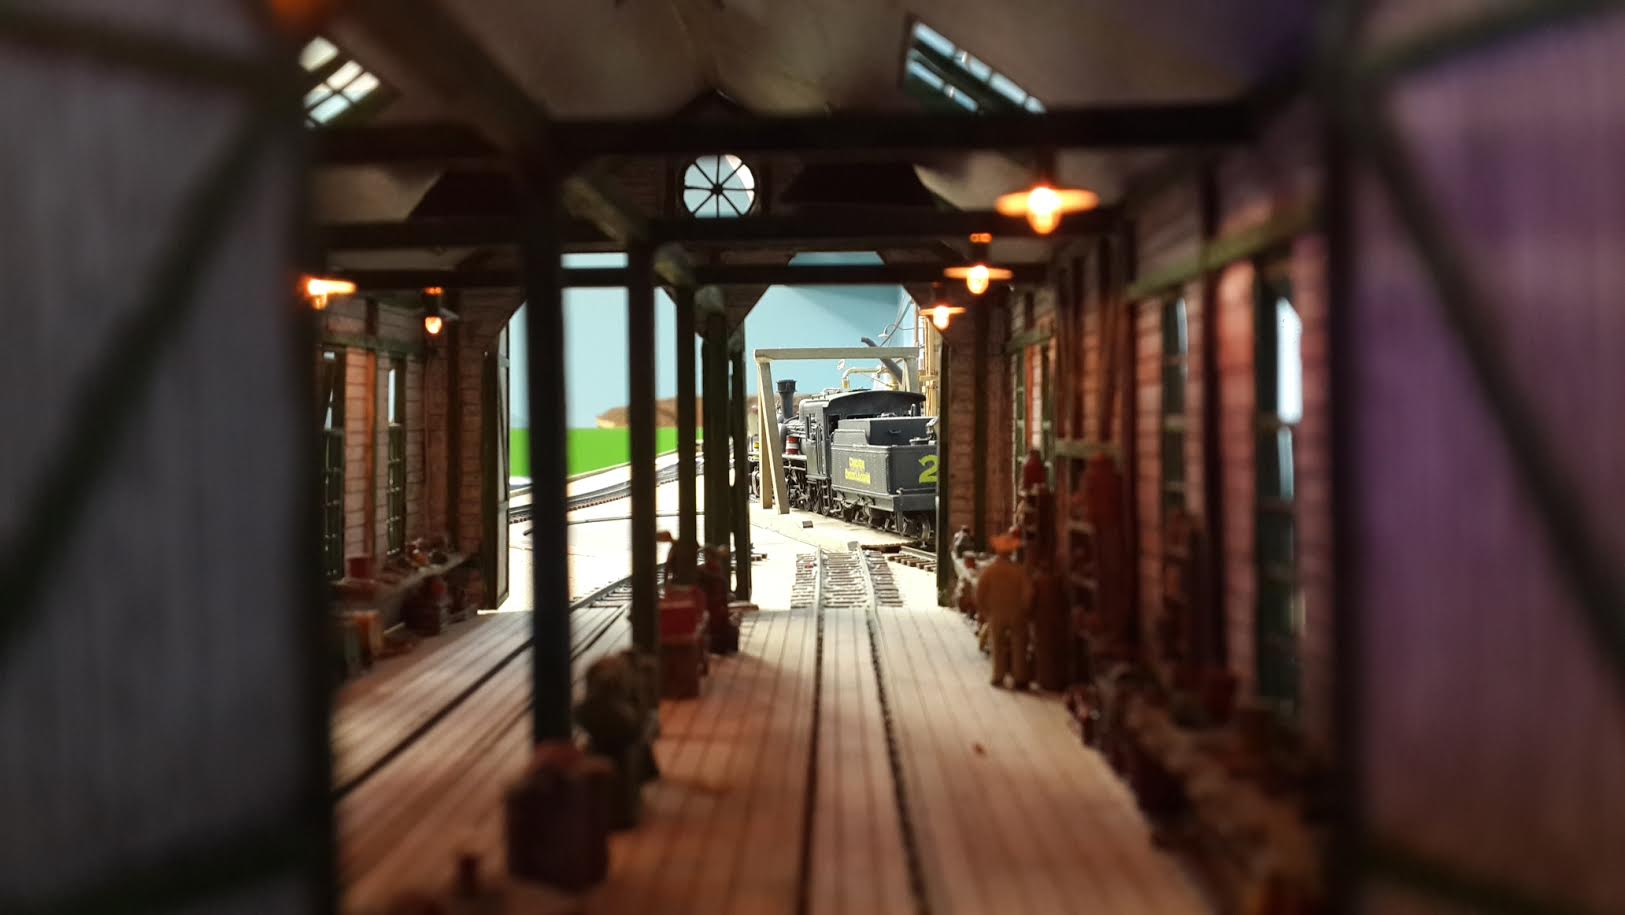
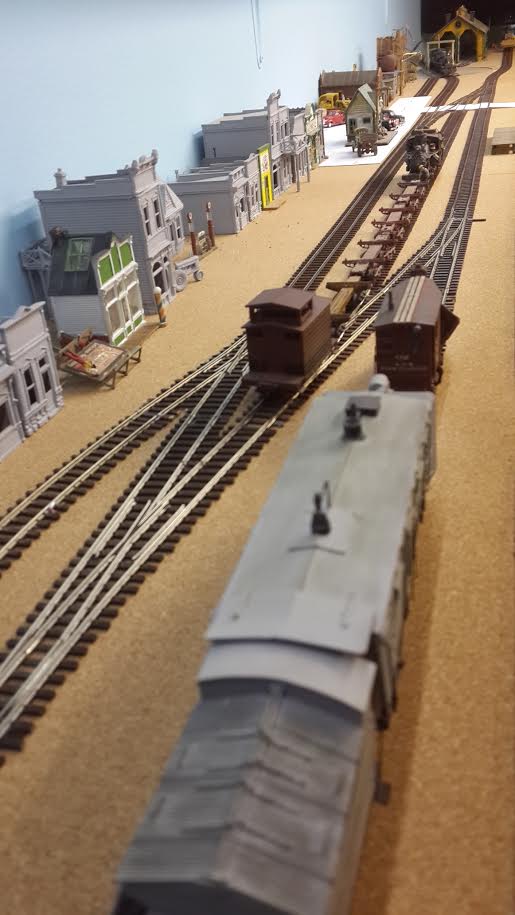
“Hi Al, the next section of the layout has all the track and points laid down, wired and fully operational. The middle section of the ‘U’ is also complete and ready for the sawmill, logging repair shed and extras to be added.
Busy with the town, engine facilities, yard and station. White paper is where the gravel road will be. Once satisfied, will begin with the scenery.
That’s all for now and keep up the good work.
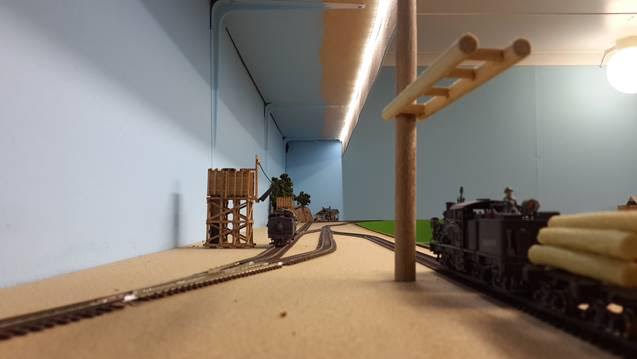
Ps, the 2-6-6-2 locomotive just fits on the turntable with no room for error. (A modified HO Atlas turntable with HOn3 track wired on to it and a Tamiya gearbox mounted underneath the hut to power it).
Brian”


A big thanks to Cameron for showing us how to wire a DCC model railway.
That’s all for today folks.
Please do keep ’em coming.
And if today is the day you get started on your layout, the Beginner’s Guide is here.
Best
Al
PS Latest ebay cheat sheet is here.
PPS More HO scale train layouts here if that’s your thing.