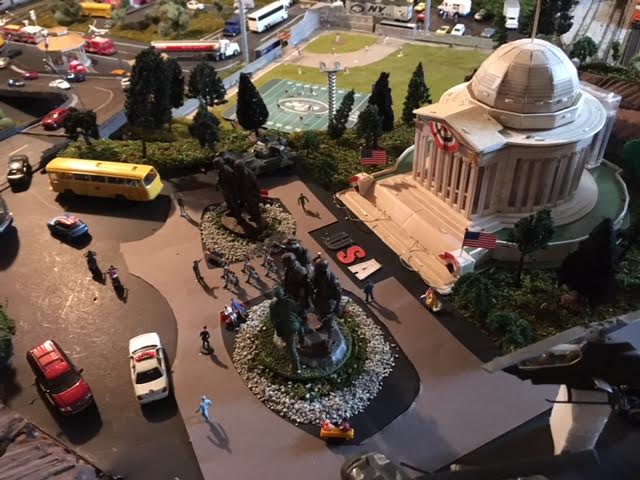
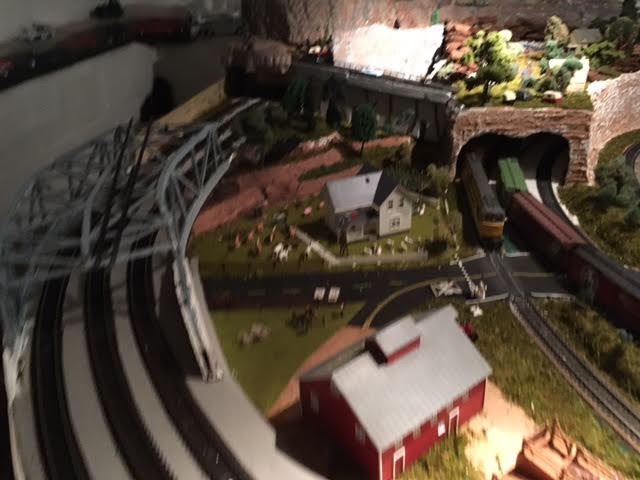
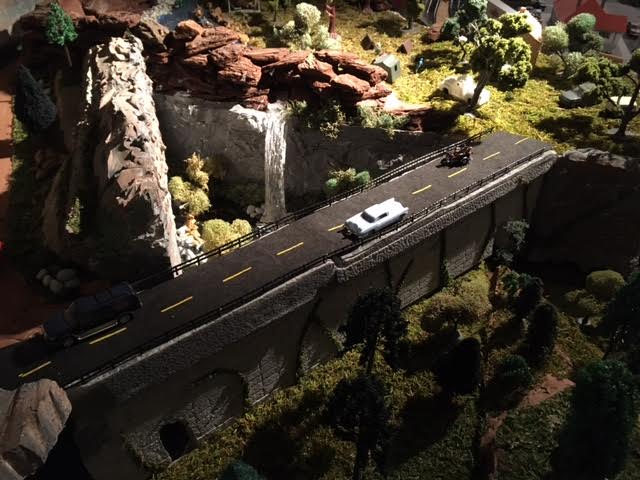
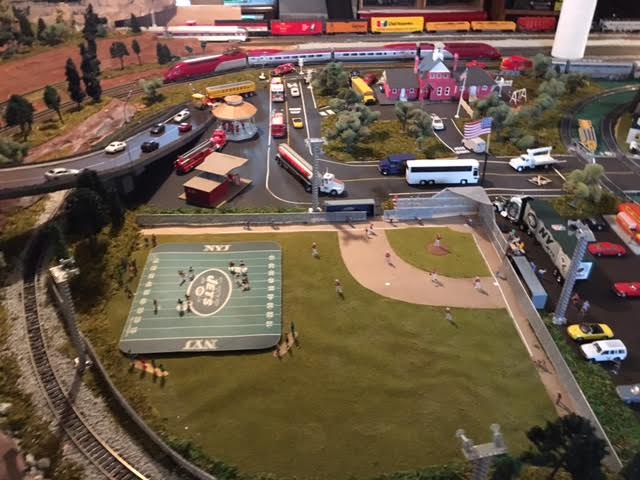
Eric’s latest N scale layout update

“Hi Al

My N gauge 2016/17 Project shown early January has reached a point where I am happy to show off the improved scenery and running sessions under improved lighting.

But knowing how everyone wants information on the layout, I will get to that first.

The baseboards at their widest measure approximately 90” * 72” (229cm*158cm) they are built using Sundeala (Compressed newsprint) model board and work round a built in wardrobe with a solid wall, plus an access hatch. The track I use is Peco Setrack and their flexi track, the underlay is ready gravelled with added matching gravel between the tracks. I also use a 1.5 turn helix at the right of the layout to get the height.

Tracks are accessed by lifting away portions of the scenery, for instance the four plaster panels that make up the moorland on the left, are not fixed so lift away. To the right over the helix the castle panel lifts away and in the centre the lake lifts out. One thing I will mention here is that I do not plan a new layout by planning ahead on paper but do it in my head allowing me to alter things to fit as I go along, so don’t ask for a track plan please.

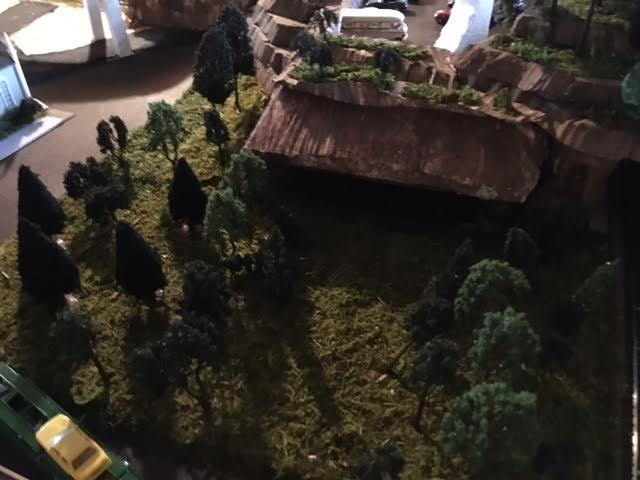
Now the layout has the mentioned moorland to the left with sheep and horse riders, with tracks circling around the lake/ camping grounds below, that seem to have come together quite nicely with boating, shop, toilet block and bungalow and even an adventure playground for the kids to enjoy when I populate with more people / tents etc.

To the right a brand new top board over the helix has a rather nice little ruined castle on top of it’s rocky perch which has turned out better than I hoped. The castle is a Noch item ordered through Amazon as I haven’t seen them on normal retailers websites. The castle appears to be made of cork but nicely moulded.

The two tracks run along the long section to the front of the layout with 8 sidings and twin track engine shed with the twin tracks showing behind. As someone mentioned on the last post it is difficult to tell which tunnel the train will emerge from which adds to the fun, unless you are looking for a derailment J

I hope you will excuse the occasional shakiness as it is difficult to keep the camera steady as you move around

Note in the back left by the hill a small lake and to the right of that note the start of a feeder stream for the big lake. There is still a lot to do but so far I am delighted by the results to date. Let me know what you think.

Eric (Leeds) UK”

Latest ebay cheat sheet is here.

“Hi,

Sometimes the simplest things take a great deal of time. All I wanted was a bunch of lines scribed on a piece of aluminum. Being retired means I can do whatever I want as long as I don’t spend any money. Years ago I made an X-Y table to fit on a drill press. It never worked as it was not strong enough to work as a milling machine. I need eight pieces to fit in square holes on the side of a “O” guage model diesel. The lines need to represent louvers and are fifteen degree slats in real life.

Here is what I made using a support for a dremmel tool. The aluminum square tube was an interesting piece of junk I saw at the steel store. Yes I wasted a buck. I brought it home not knowing what it might become. I used a couple of 2×4 boards and cut semi circles out of the sides at about 15 degrees and made slats to go at the top and bottom to clamp on to the drill press. I used 3/8 threaded rod to hold the whole thing together. T-Y table uses a forty thread per inch screw so that each division of the collar id one thousandth of an inch. I carefully milled the aluminum until I got what I thought might work. I will cut squares out of the section to then glue into holes I will make in the model. Making this by hand using automotive bondo was just too crude and did not work well.

Rob”

That’s all for today folks. Thanks to everyone – especially Eric, I enjoyed his video.

And if it’s got you chomping at the bit to get started, don’t forget the Beginner’s Guide.

Keep ’em coming folks.

Best

Al

O27 model trains

Tom’s been in touch with is O27 model trains:

“AL

It has been A while since I submitted something but I finally have enough completed and of a good quality that I can show it. I work with O27. It was what I had the most of and it goes back years for me. This post will be about my new control panel. Me layout is DC. Someday I would like to try DCC but all my locomotives are old and DC.

Pict 1—this is my track layout so you have an idea of what I am working on.

o27 track plan

Pict 2—this was my temp control panel to test track and switches. I made It from old switches and wire I had on hand

o27 model trains control panel

Pict 3—this is the new panel and transformer. You can’t see it in this picture but just to the right is a small transformer that can be used to run a train in the yard to build a train.

o27 model trains contol panel

Pict 4—this was a test wiring for switches with LEDs. All my switches are old Lionel O27 #1122 I picked them up for good prices at train shows and rebuild them.

I took them all apart and rebuilt them to work on a separate power supply. I don’t need the track power on to work the switches. This works nice because it gives me time to set the switches up in the direction I want to go. It was a lot of work but worth it.

One of my biggest problems was how to operate the switch and have the red or green LED stay on. The switch is a momentary single but the LED is a fixed low voltage.

There were a few ways to do this but I was thinking about the price. I have 18 switches so it adds up fast.

I used a DPDT momentary switch with one side working the switch and the other half tied to a double coil DPDT latching relay that controlled the LEDs. I played with this for months but it works perfectly.

o27 model trains wiring

Pict 5—this is the new panel it is a sandwich of a piece of plastic, a picture of my track layout done on Auto Cad and a piece of hard board.

Each track section has a DPDT center off switch that changes the transformer side and has a duel color LED, blue or yellow to show which lever works that section.

All the uncouple tracks have been rewired so they work with a SPDT momentary switch I think there are 16 of them.

o27 model trains

Pict 6—this is the panel wiring as you can see there is a lot going on. I have had a few small problems with a solder joint coming lose and a LED go bad and let me tell you it was not fun to fix. No really I enjoyed it.

model train wiring


O27 model trains:

Pict 7— this is the new panel with lights on you can see the LEDs are a little Bright I am happy with the panel it does everything I wanted it to do.

Now that I have it complete there are a few things I would do different on the next one. I would have made it just a little bigger. Some of the switches are very close together and it was hard to wire.

I should have given a little more thought to the wire layout it got very congested back there. I should have used more different color wires and the LEDs are a little bright.

o27 model trains bus wire

That’s it for now. I am working on pictures of the whole layout and may have more next week

Steve from Toms River ”

Next, on to Paul:

“Hi Al,

Here is a photo of 45543 in 1960s condition after I weathered it.

I used a thin wash of grey, black, and brown water based paint mixed together, to create the grime and dirt and soot.

I also painted on the stripes, which warn that the locomotive is not run under overhead electrification.

I used insulation tape to guide my paint brush, when I did the stripes.

Paul”

Now on to John:

And lastly John has been in touch again – yesterday I said I had only every published two shunting puzzles. John replied with” “At the close of this installment I noticed you said that you have only published two shunting puzzles…

I know you have published 3 or four of my little layouts.. Shunting puzzles each…

You mentioned you were going to publish my “Lostend Foundry” layout )another puzzle featuring your cutout scenery but I do not recall seeing it published… Would you like me to resubmit Lostend Foundry?

Sincerely,

John from California”

Apologies to John – and yes, please resend your Lostend Foundry (I get so many mails it’s hard to keep up sometimes).

In the meantime, here’s one of John’s previous posts.

A big thanks to Tom for sharing his O27 model trains.

That’s all for today folks.

Please do keep ’em coming.

And if today is the day you get started on your layout, the Beginner’s Guide is here.

Best

Al

PS Latest ebay cheat sheet is here.

PPS More HO scale train layouts here if that’s your thing.


N scale cabinet layout plans

John has been in touch with his N scale cabinet layout plans:

“I am 78 been playing with trains for about 75 of those years the lay out I have now started about 15 years or so ago

The HO is my main inters two main building are plastic two are wood kits the rest is scratch built

The N gage is housed in a cabinet the idea would be great for an office or small apartment

If you are interested in more pictures I can take as many as you like

John”

N scale cabinet layout plans

N scale cabinet layout plans

My HO:

model train

model railroad

model train

John’s cabinet railroad reminds me of Steve’s layout – he built around his sofa in his living room.


“It’s too cold to do much with my South Wales layout in the garage, even tho it’s insulated and heated.

I’m actually in the process of changing the back scene to give it a makeover, but have not operated it since before Christmas.

I have re- vamped the shunting puzzle I built 18mths ago, it’s been standing on edge for over a year. I bought a DCC diesel to use on it and created a factory back scene. I’ve also put some ground cover to make it more realistic and I can operate it at my desk indoors, in the warm.

The points are operated by brass rods above the baseboard but hidden under a plinth with a Nissan hut on top. A second hut hides the DCC control box. The 3 uncouplers are operated by coffee stirrers which are pivoted to push the ramps up.

I’ve had great fun using it and it’s good for keeping my old brain ticking
over.

The DCC sound makes it more interesting too.

Hope you like it

Best wishes

Alan

Far Nissan hut has power cable visible. Outlet other Side to bus bar”

shunting puzzle

shunting puzzle

shunting puzzle

(All images are clickable by the way).

A huge thanks to John for sharing his N scale cabinet layout plans, and to Alan too.

Alan got me thinking, I’ve only ever published two shunting puzzles, this one and Cameron’s.

That’s all for today folks.

Please do keep ’em coming.

And whether it is scenery or running trains that is your thing, the Beginner’s Guide is here.

Best

Al

PS Latest ebay cheat sheet is here.

PPS More HO scale train layouts here if that’s your thing.