I think Dangerous Dave was one of the first members in the Hall of Fame. He also gives the Beginner’s Guide a big thumbs up, so if you want to get going on your layout, don’t take my word for it, take Dave’s…
That’s all this time folks because I’m really up against the clock.
Got another installment from Cameron today on his shunting puzzle construction.
His last one is here – but one or two have got in touch saying there is a mistake in the electrics (have a look in the comments).
“Dear Al,
More as promised.
Lanarth – Part 9 Uncoupling
Scale 1:76. 00
DC
Track Peco HO Code 100
Location – British, Southern Railway, Western Region
Coupling and uncoupling happens frequently on a small shunting layout. For a Inglenook shunting puzzle, like the one I was building, it occurs even more.
My other layout uses Kadee coupling hooks and because I wanted to use the same stock this new layout needed to accomodate them as well.
Kadee offers permanent magnetic uncouplers but these are not suitable when you are constantly going back and forwards over the uncoupler at low speed. At slow speeds they will disengage even when you don’t want them to.
The other option they offer is an electromagnet operated by a switch. These work well but are expensive and require a lot of electrical current to work.
After some pondering I came up with a simple solution that is not electric.
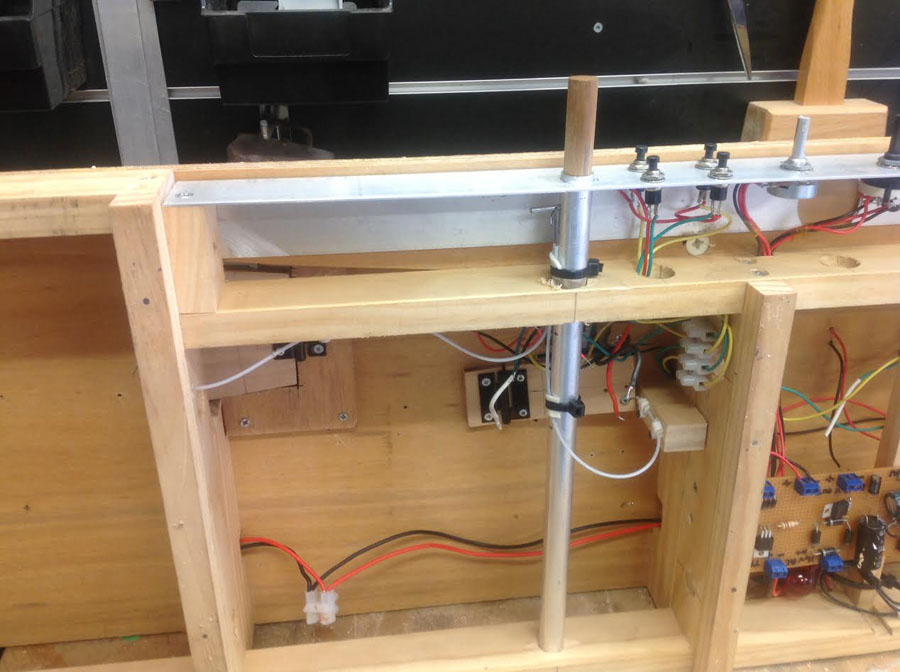
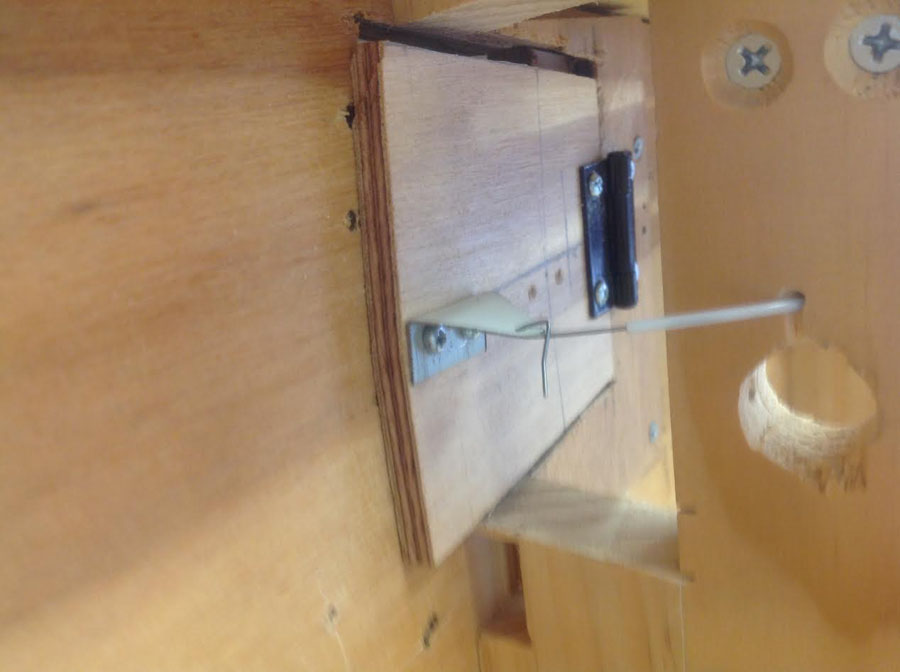
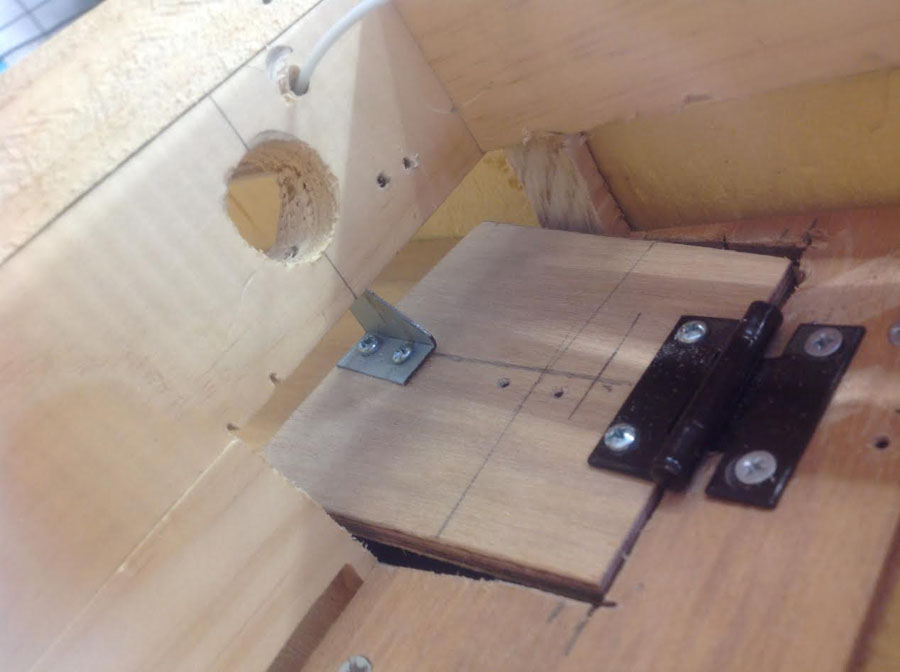
I utilised the Kadee under track magnets and mounted them under the board on a hinged flap. With the flap down they don’t activate the couplers but once the flap is up you can uncouple.
The flap is operated by a wire in tube method. Both the wire and tube can be purchased quite cheaply at model aeroplane shops.
For my layout I have a push rod that moves the wire in tube. The push rod is simply a timber dowel in an aluminium tube.
I found that I could bring both wires to the same push rod so the one push rod operates three uncoupling locations.
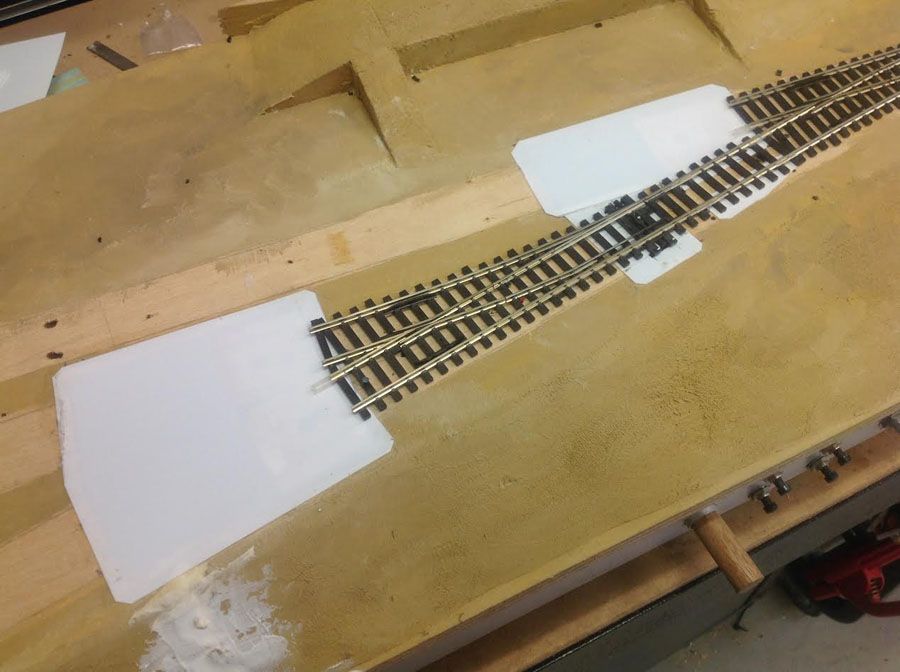
You can see the uncoupling locations as large white plastic patches on the layout photo bellow.
The wire in tube is the thin white tube under the layout that runs from the push rod to the flap.
Apologies in advance if this post is a bit confusing.
Hopefully you can get the idea from the photos.
I am very happy with the result and it works surprisingly well.
Cheers
Cameron”
I think Cameron’s shunting puzzle post today demonstrates in spades how there is always more than one way to get the effect you want – and if it costs less than an expensive option, even better…
Now onto Jack:
Jack’s been in touch with some thoughts on building your first model railroad:
“Hi Al,
I have been reading your blog for some time now, and finally started a 4 x 8 HO layout for my 7 and 9 year old grand daughters.
I followed the video “Building Your First Model Railroad”, figuring I’d build the Madison Central as it is described. Once I got into it, I found ways to modify it.
I added another track loop at one end and a mountain and tunnel. My wife had given me a ferris wheel some years back and I wanted to use it, so the downtown area on the Madison Central was deleted, to be replaced by an amusement park. I wasn’t going to do a lot of detailing, but the more research I did, the more possibilities I found for adding detail, and the more excited I was to get going.
The point is, you can follow the video and have a decent first layout. But if you use your imagination, you can make it your own. For me it was a way to stop the procrastination and start modeling.
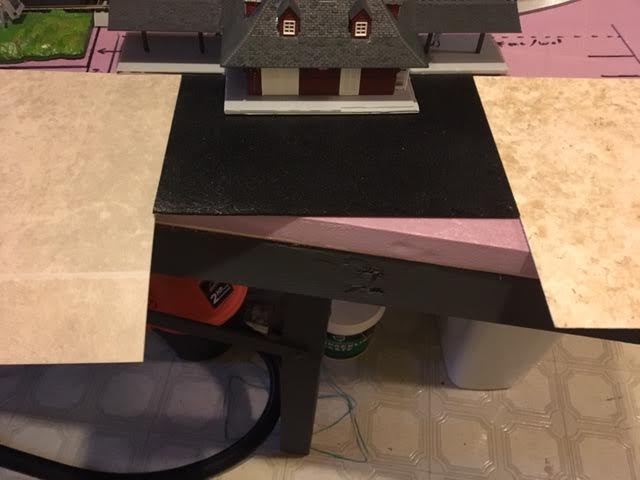
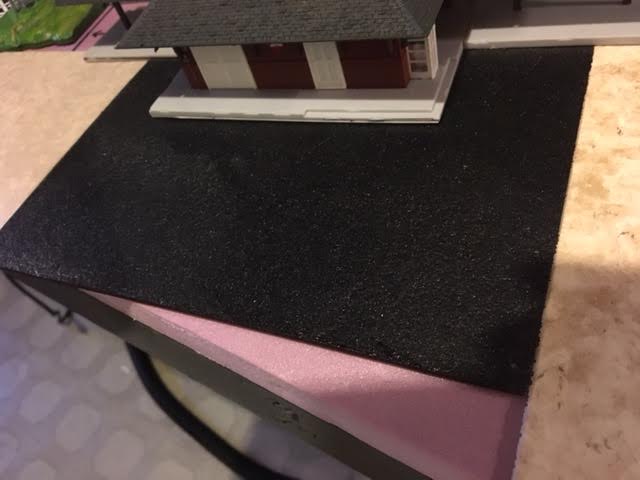
Now for my tip. I was at Home Depot and saw they had free 6″ x 9″ linoleum samples, some of which resembled concrete, stone and wood. I took 8 of these and when I got home I noticed that the back side was textured. I sprayed the back with black paint, then a thin coat of Rust-Oleum Aged Iron textured paint (thanx to Kathy Millat and her blog). Looks like macadam. I’m using it for streets and parking lots. The material is flexible and cuts easily with a knife or scissors. Here are a couple photos.
Jack In Pennsylvania”
And lastly, Hall of Fame member, Rob, has sent in his latest ‘how to’ video for his new layout:
“Hi Al,
My new video – In it I install a Tortoise motor for point/turnout control and explain the tools required and an effective technique for getting one installed.
I also show the new control panel I am building and a great little economical and portable paint booth I have discovered. Plus of course a little running. I demonstrate the smoothness of the foam inclines by running a steam locomotive up the ramp with 5 coaches behind it at very slow speed. I have not tested it to see how many coaches it can pull on the 2% incline, but it is more than 5.
Well, if i am going to ever get this layout done, I better start cracking on it.
Thank you so much for all that you do.
Rob”
A huge big thanks to Cameron for sharing his shunting puzzle construction, and to Rob and Jack too.
just short video as a carry on from last weeks showing a change to that siding as was pointed out it ran too close to the main line, also I have moved some track on the other side, now we have a smoother run to the curve, and I have now added a couple of Peco points motors, the side mounted ones which is a cheap and easy way to add powered motors to your points (turnouts )
May be of some help to modellers wanting to add points motors the easy way.
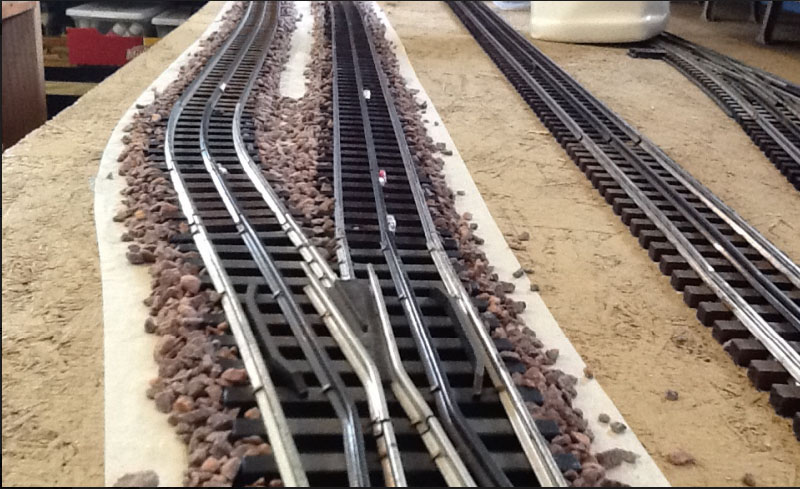
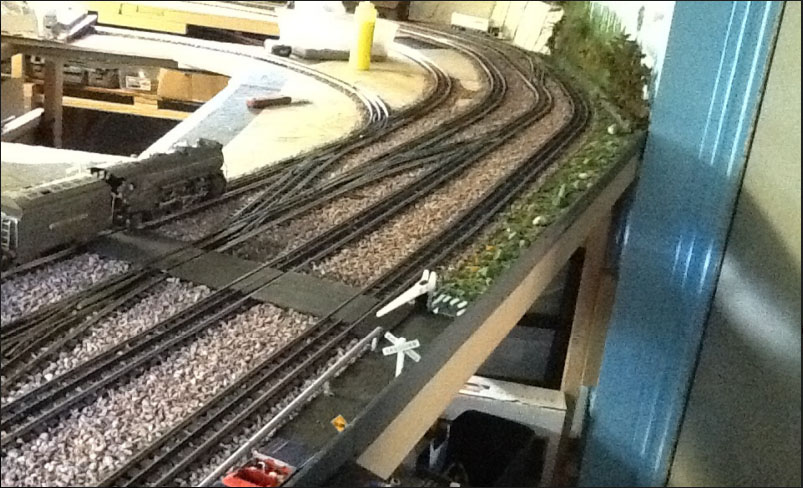
Duane had commented on ballast and I use chicken grit on an O scale railroad. Larger and I believe more realistic then the finely ground Woodland Scenics or using shingle grit. A 25 pound bag is less the $15 at a feed supply store. I have about 700 linear feet of track and used less the 4 bags.
Some pictures are attached.
Ernest”
“Hi Al,
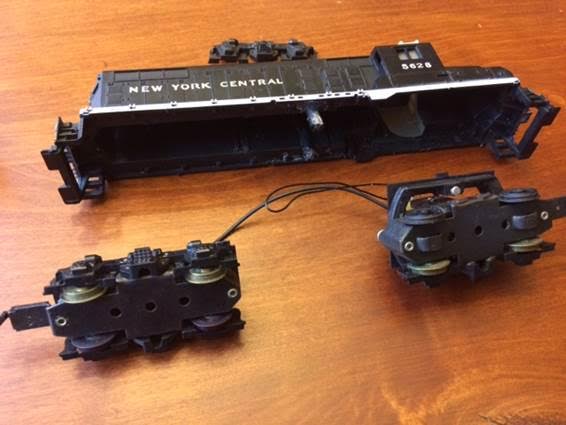
I retired a few years ago and want to set up a model railroad for my grandson. In the mid-sixties I had a small HO layout that I boxed up and have not used since then. I unpacked the box around Christmas and discovered the engine won’t run. The engine was made by TYCO and I don’t know if it’s worth trying to repair. I took the shell off and there’s no obvious way to lubricate it. Any suggestion would be appreciated.
Thanks,
John”
A huge thank you to Dave for another helpful vid – I have no idea how he finds the time. If you’re new to the site, Dave is a member of the Hall of Fame, and also cast his eye of the Beginner’s Guide and gave it the thumbs up.
That’s all this time folks. Please do keep ’em coming.