Got this in from Sam on weathering rolling stock – and it’s a cracker too: looks great and saves a load of money:
“Hi Al,
Thanks for the constant flow of info – really gets me inspired when I can’t really be bothered!
I’ve been working on a ‘how to’ guide for wagon loads, inspired by some of your readers. Thanks to many useful posts on your site I have been encouraged to experiment with many aspects of model railway systems.
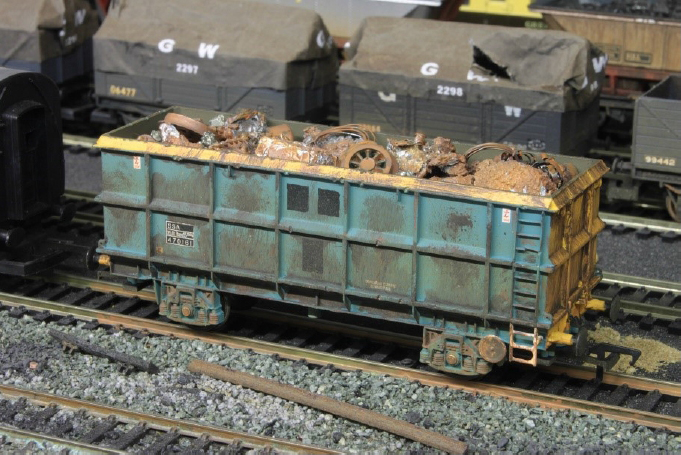
Due to the expense and often the lack of realism with plastic ‘loads’, I have come up with a fairly easy and certainly very realistic method of creating bespoke loads for your rolling stock. Hope you find it useful.
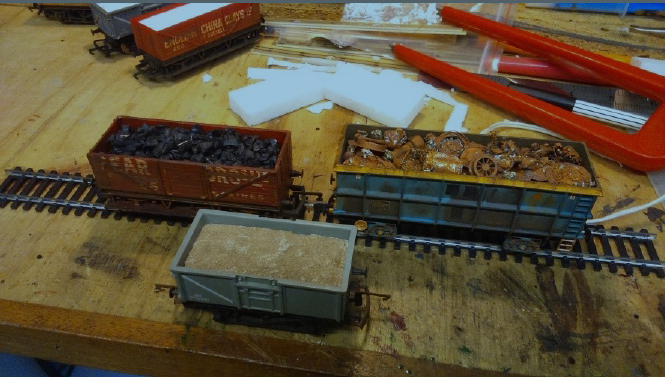
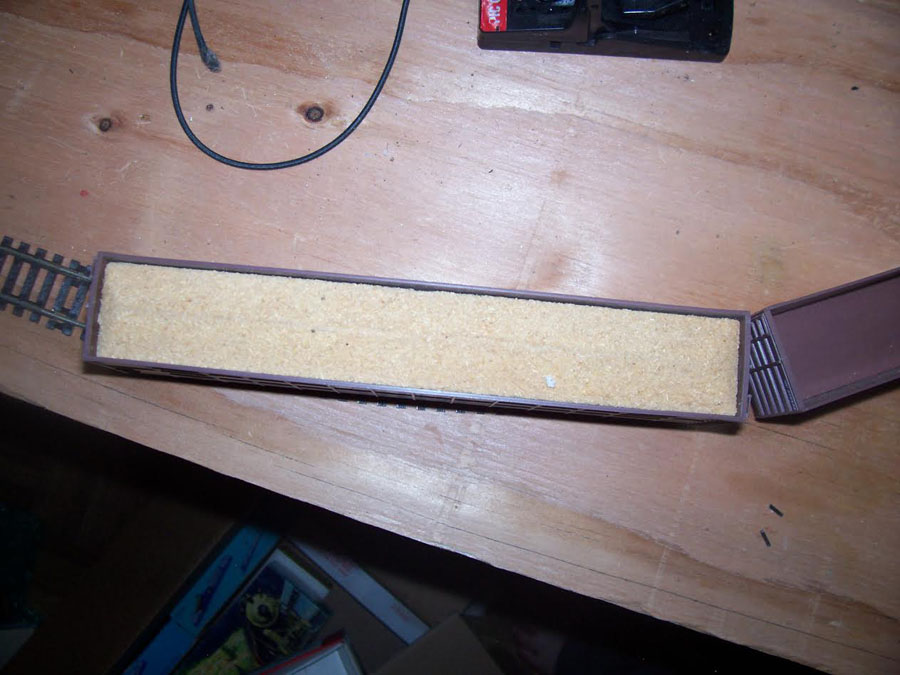
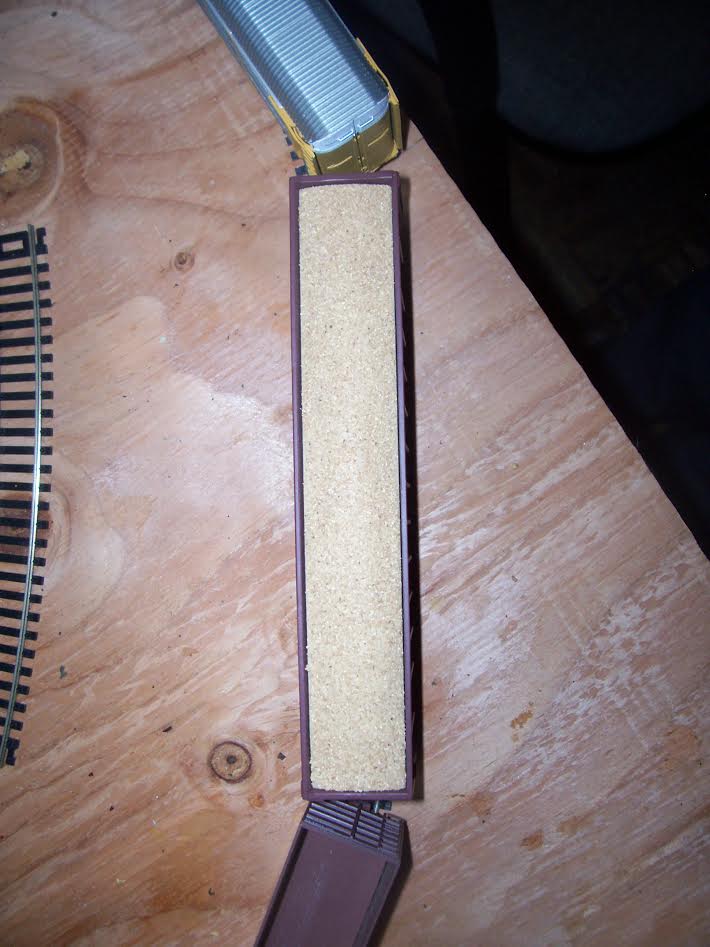
All you need is some expanded polystyrene, cling film, a hot wire cutter and of course some empty wagons.
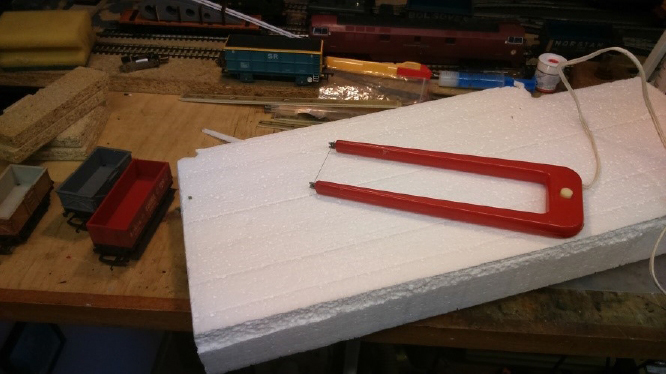
To cut the polystyrene neatly and accurately I use some wooden blocks to hold the wire at the correct height then simply push the block through.
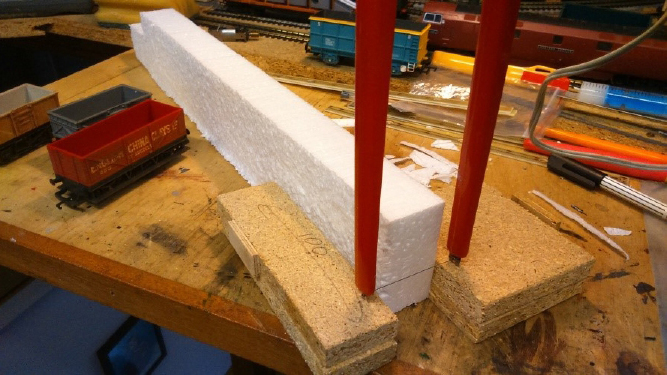
Use a metal rule to guide the hot wire cutter when trimming to length.
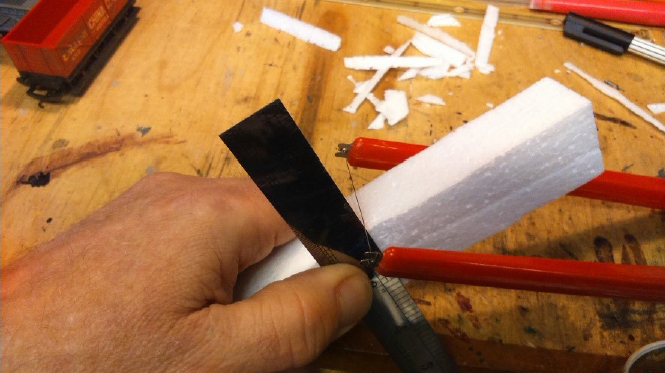
Shape the blocks or leave square depending on your load.
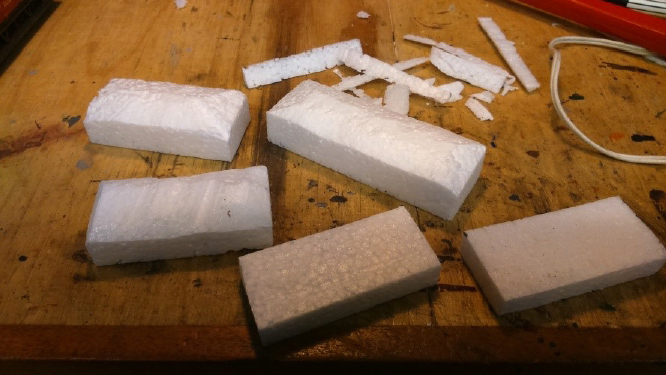
Make sure they fit snuggly in your waggons but not too tight.
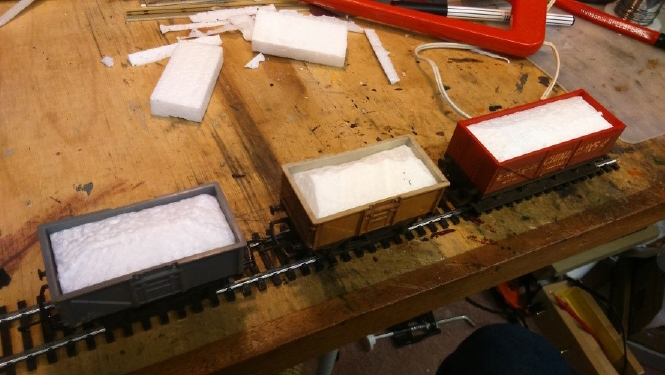
Lay the cling film over the wagon and carefully push the polystyrene block down into the wagon.
Wrap the excess around the bottom taking care not to pull the block back out. This will stop the load getting stuck to your wagon (unless you want a permanent load!)
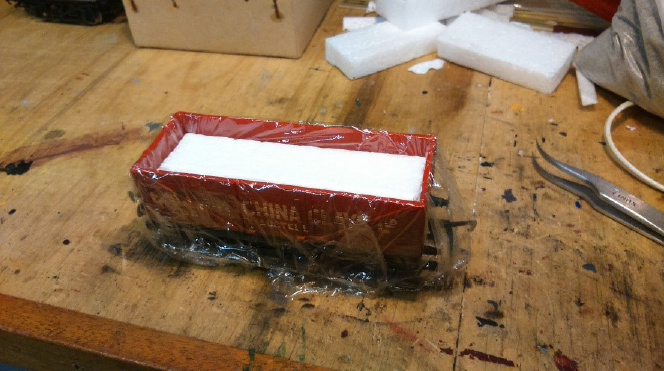
Add your load.
Stones, large coal pieces, rocks etc. can be dropped onto a film of PVA, then watered down PVA can be painted on to hold the load in place.
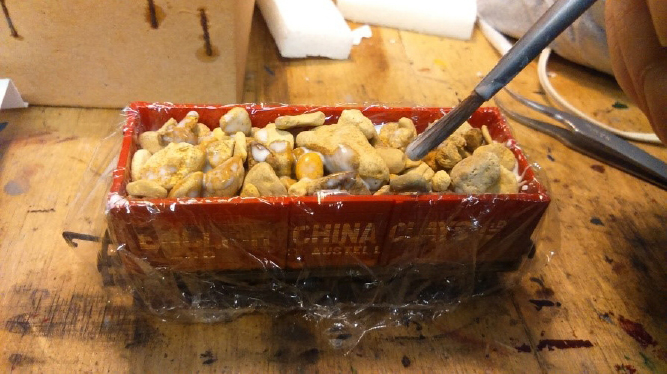
Weathering rolling stock:
Leave to dry fully. This has taken a couple of days in my experience.
You may find although the top is dry you will need to wipe off any PVA that has seeped under the polystyrene block.
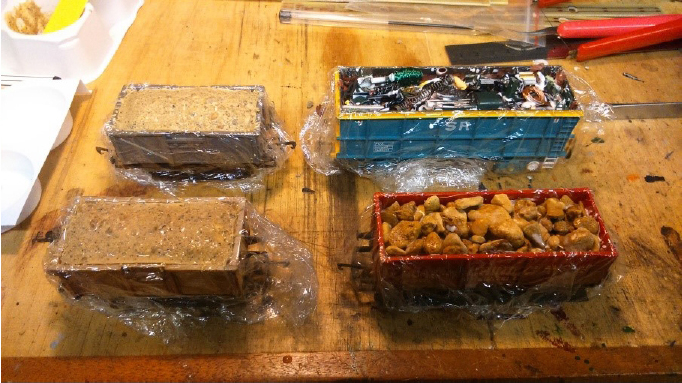
Maybe best to leave to dry some more out of the wagon.
You can touch up any visible white areas of the underlying polystyrene at this stage with acrylic paint and any other acts of realism!
Once dry you can fit to your rolling stock and enjoy.
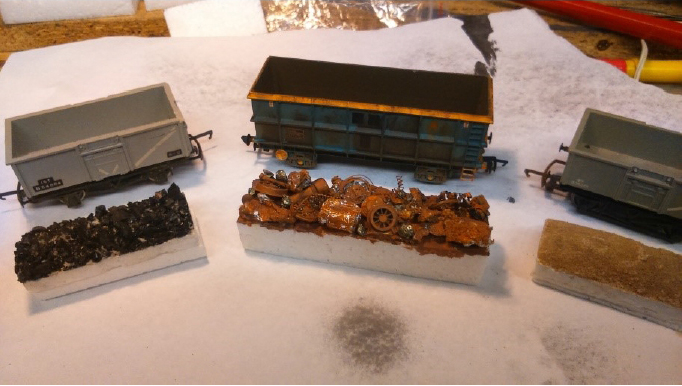
The scrap wagon load was made with bits and pieces from my ‘scrap’ drawer along with bits of wire, old model car wheels, chain and pretty much anything you have. Once dry I painted it with shades of rust coloured acrylic paint.
Sam”
A huge thank you to Sam for taking the time to share his weathering rolling stock ‘how to’.
You can see more weathering posts here: Weathering model trains.
And don’t forget, there are lots more like this in the Beginner’s Guide.
That’s all this time folks. Please do keep ’em coming.
Best
Al
PS
Latest ebay cheat sheet is here.