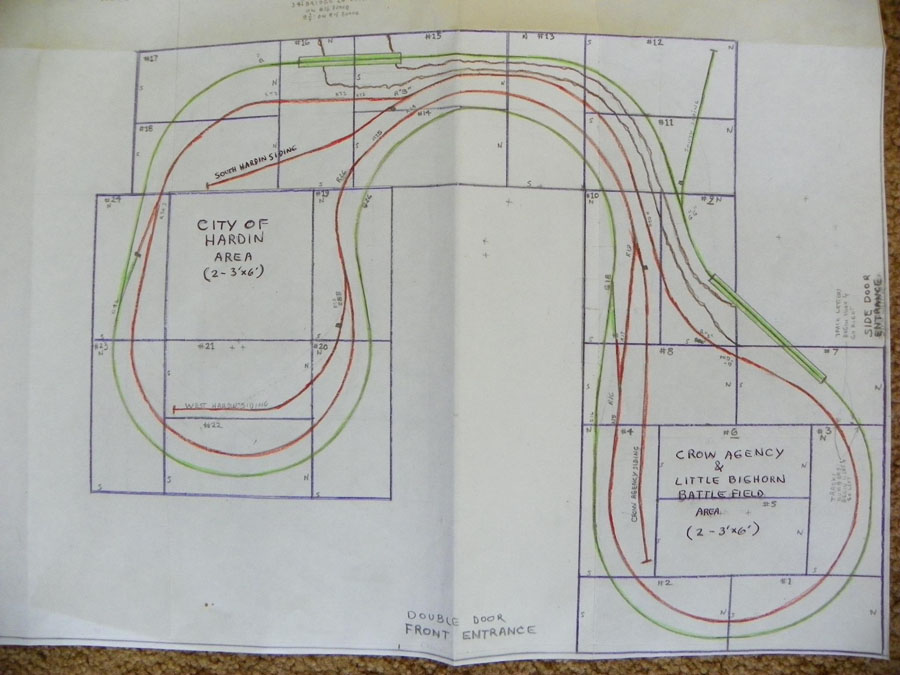
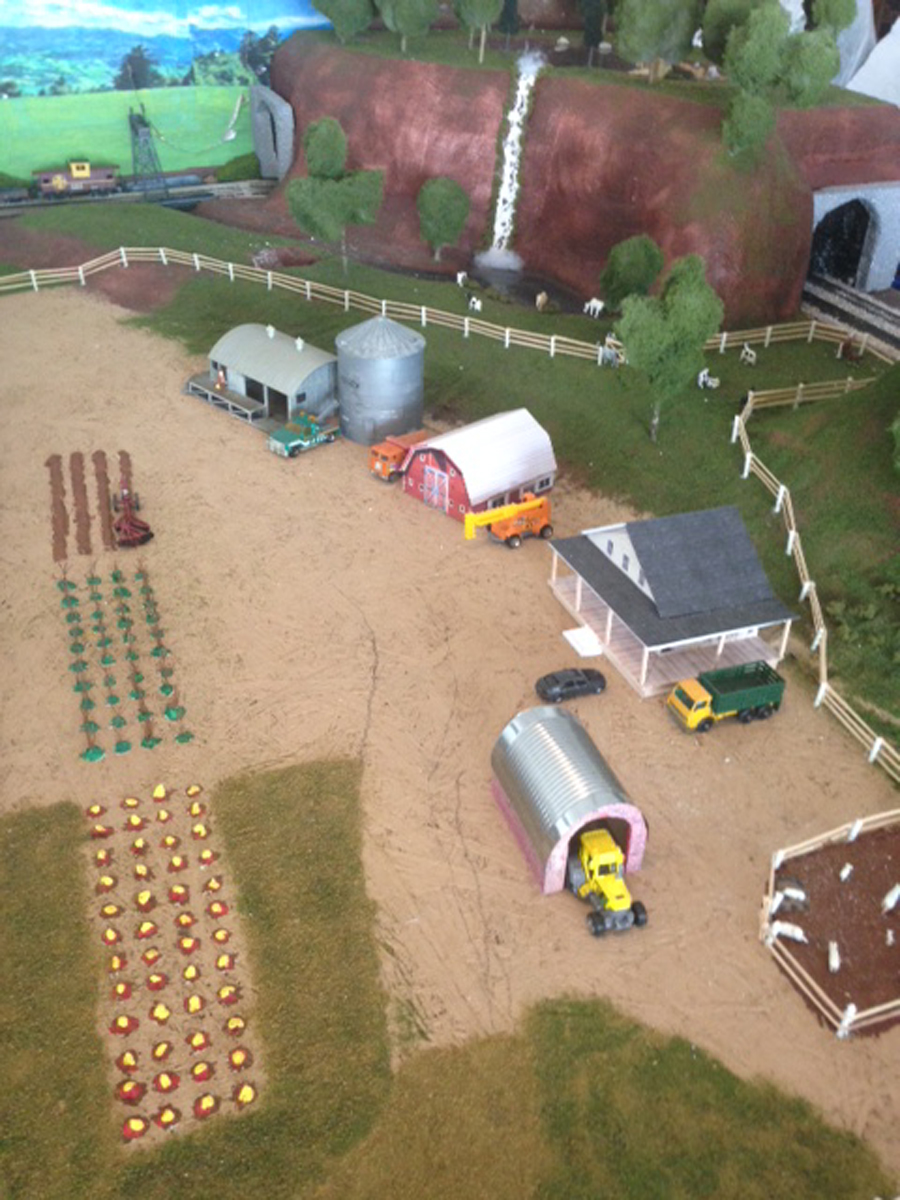
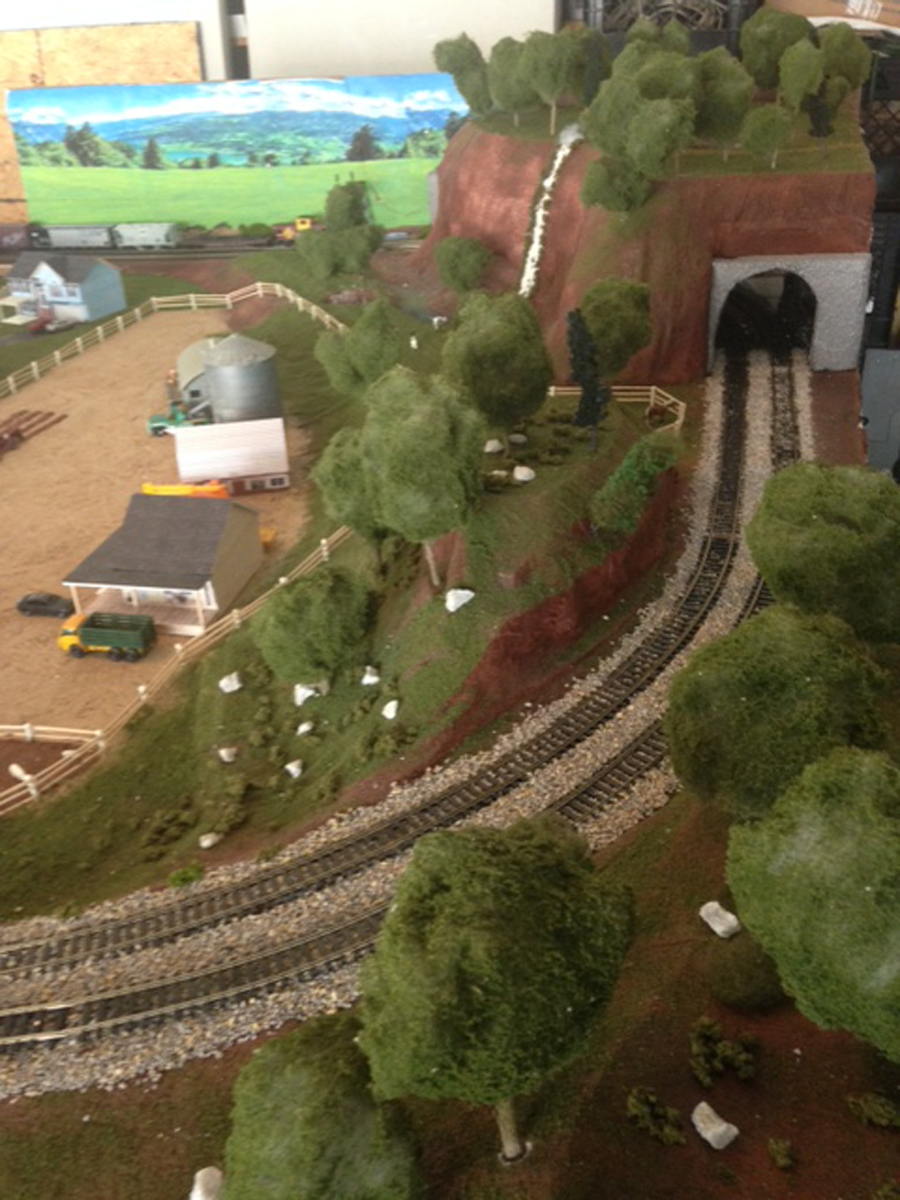
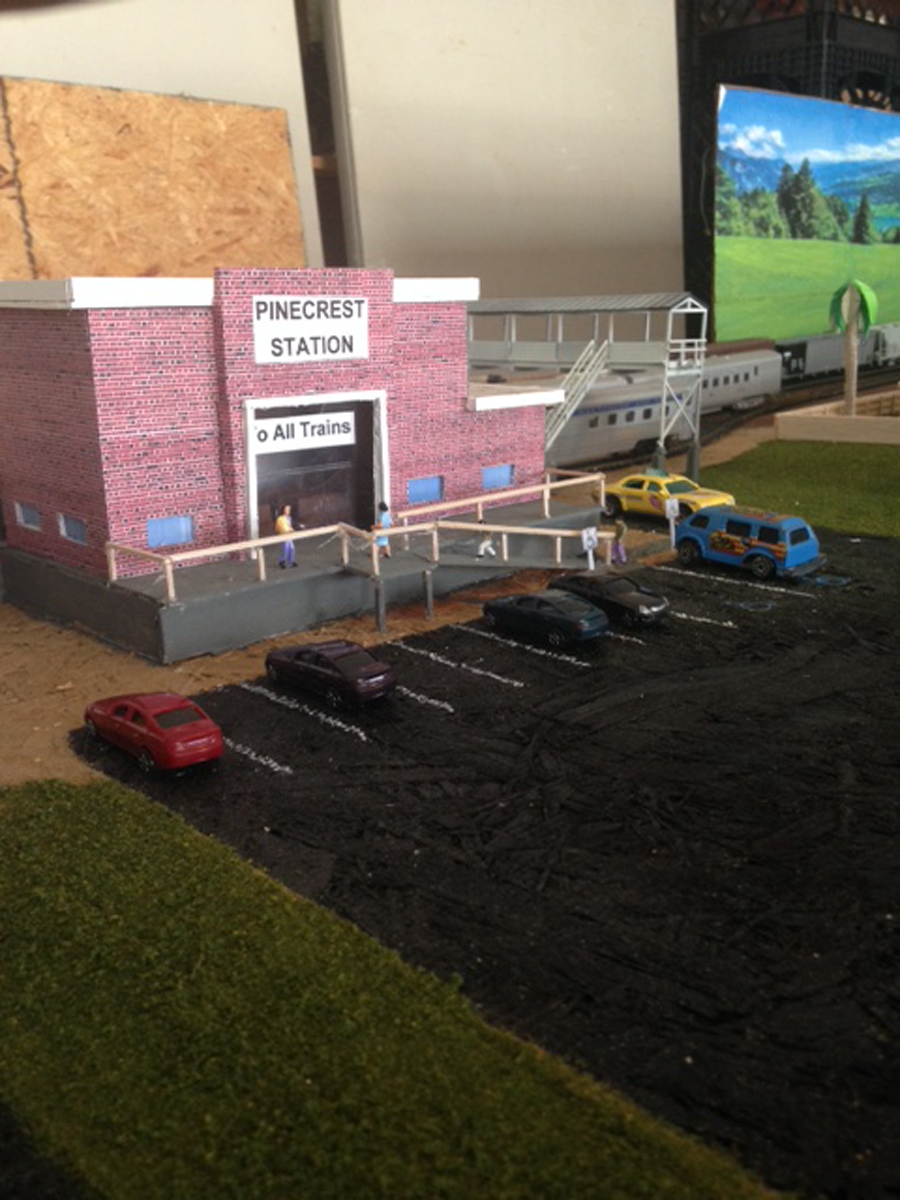
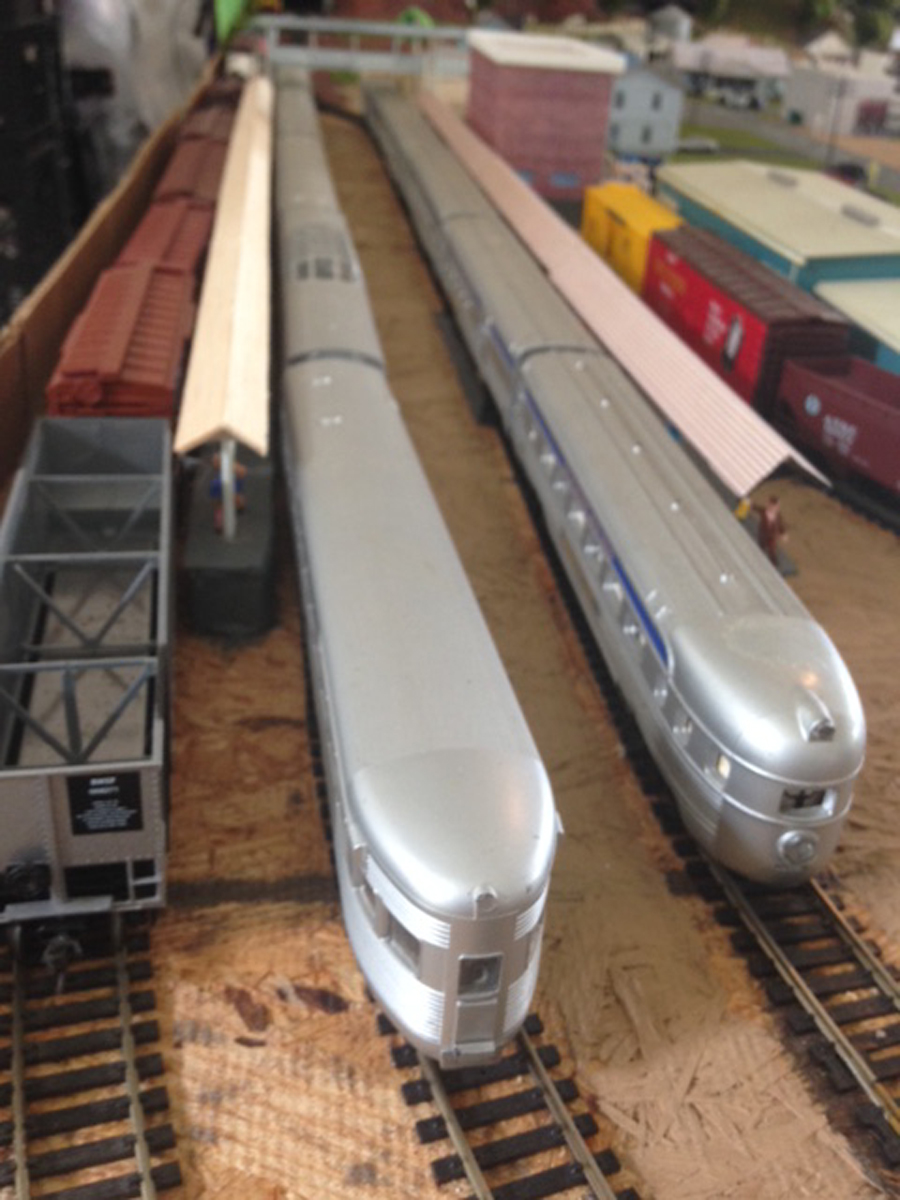
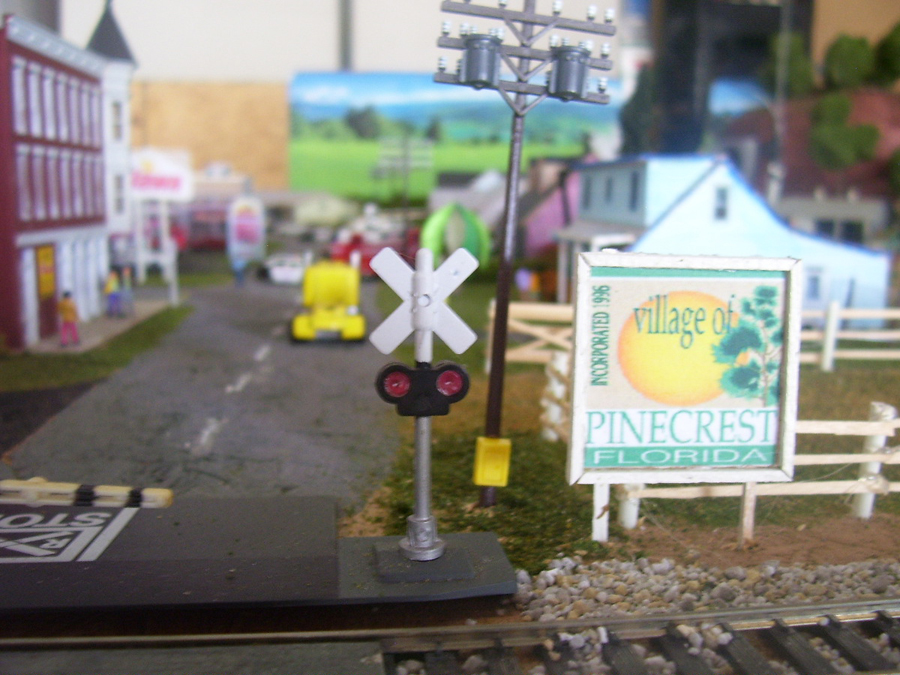
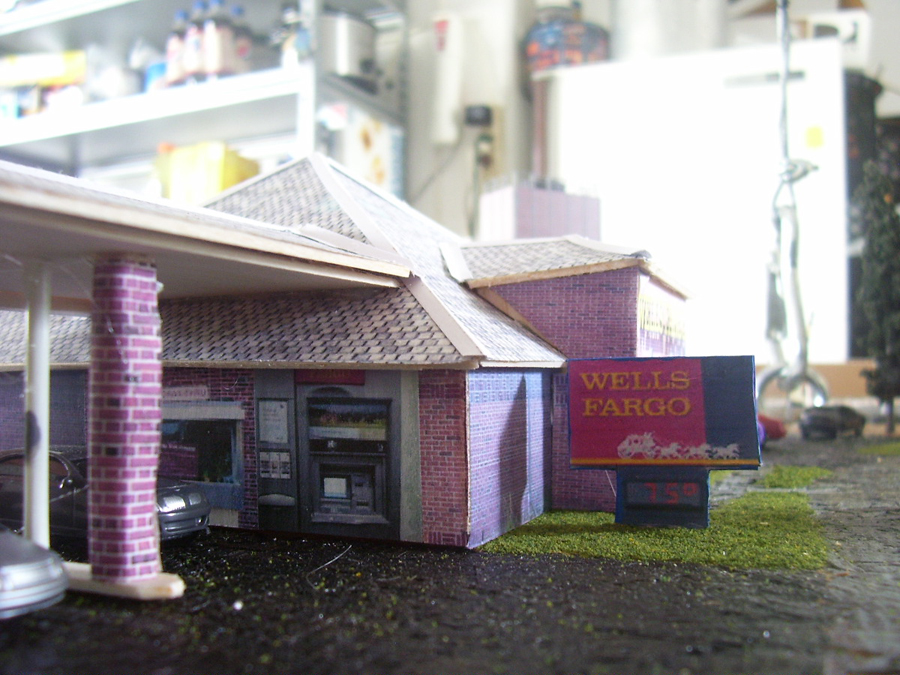
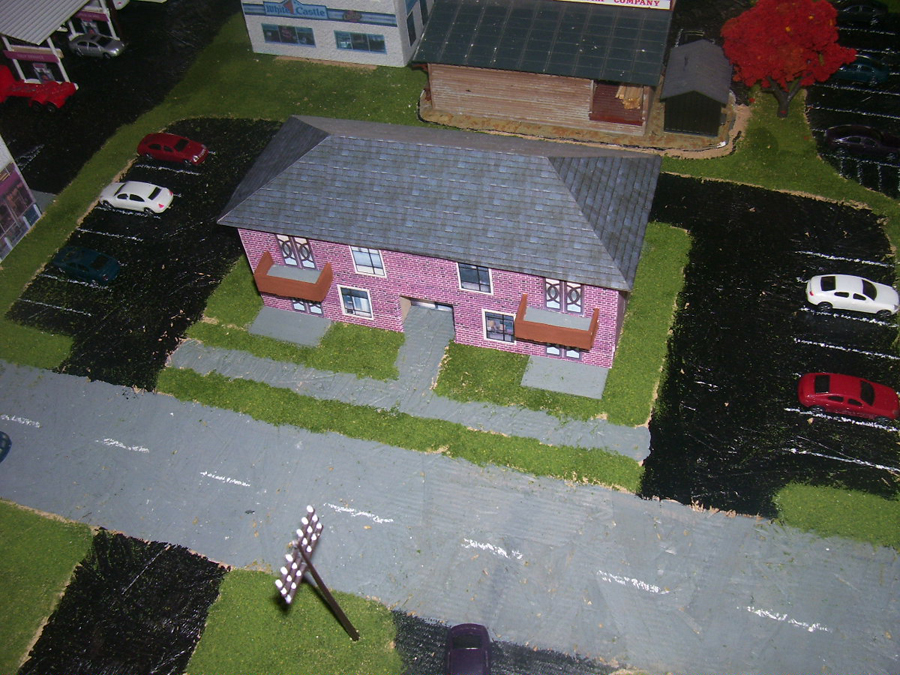
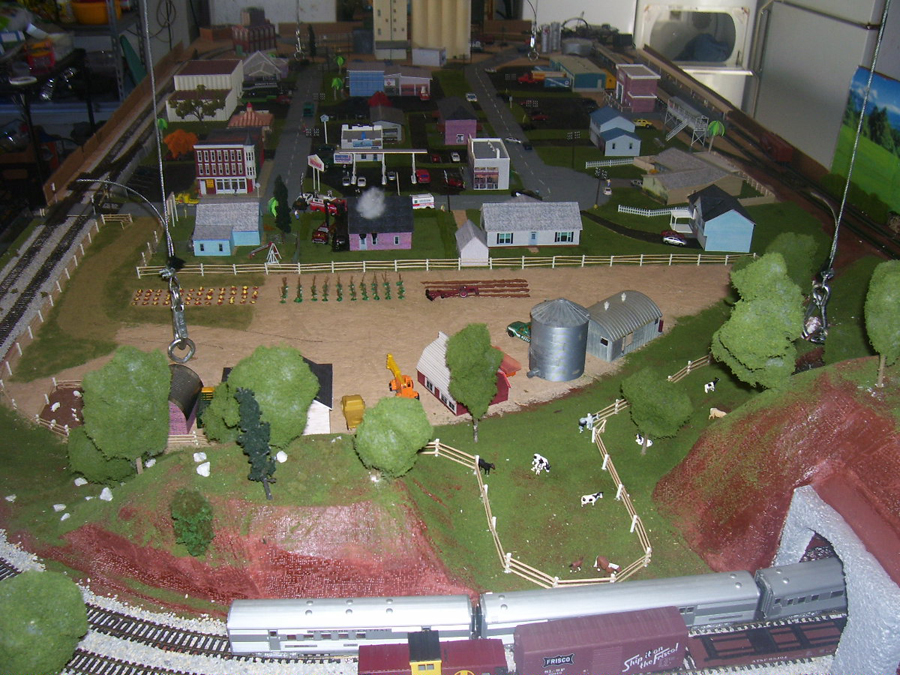
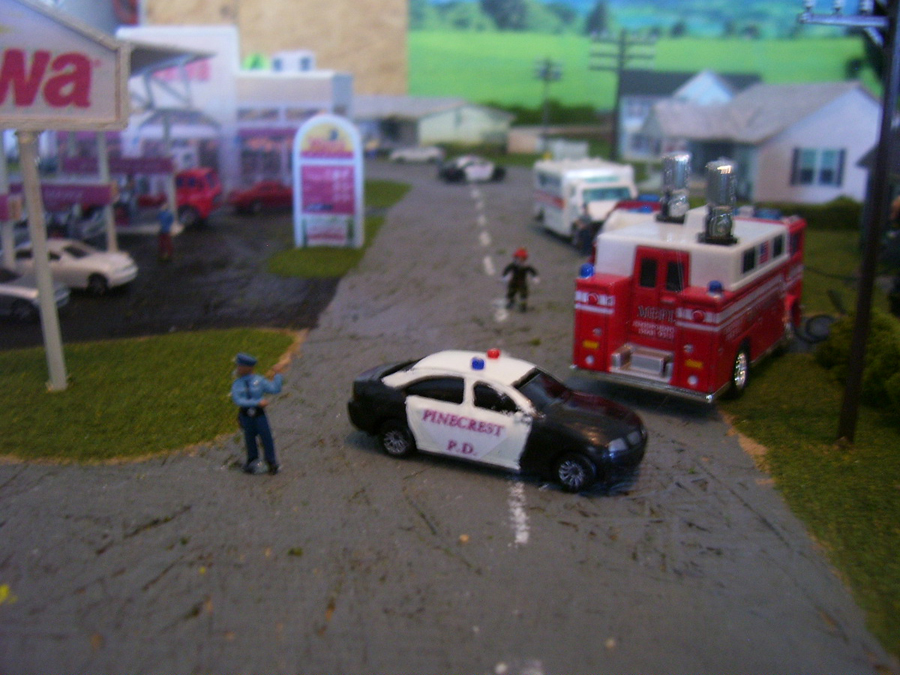
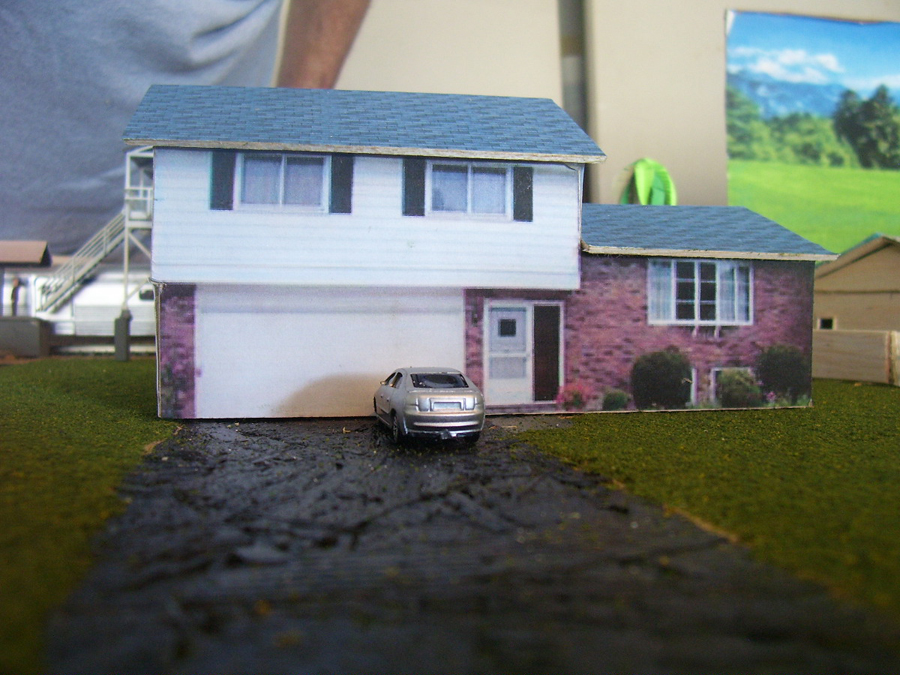
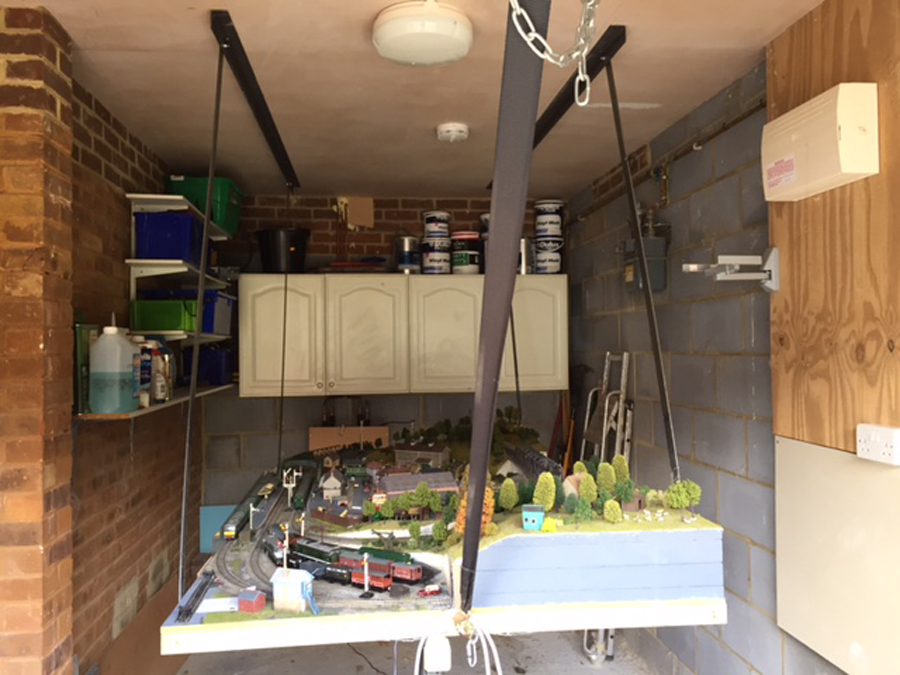
Model train led lights

Rod’s been in touch with some good advice on model train LED lights:

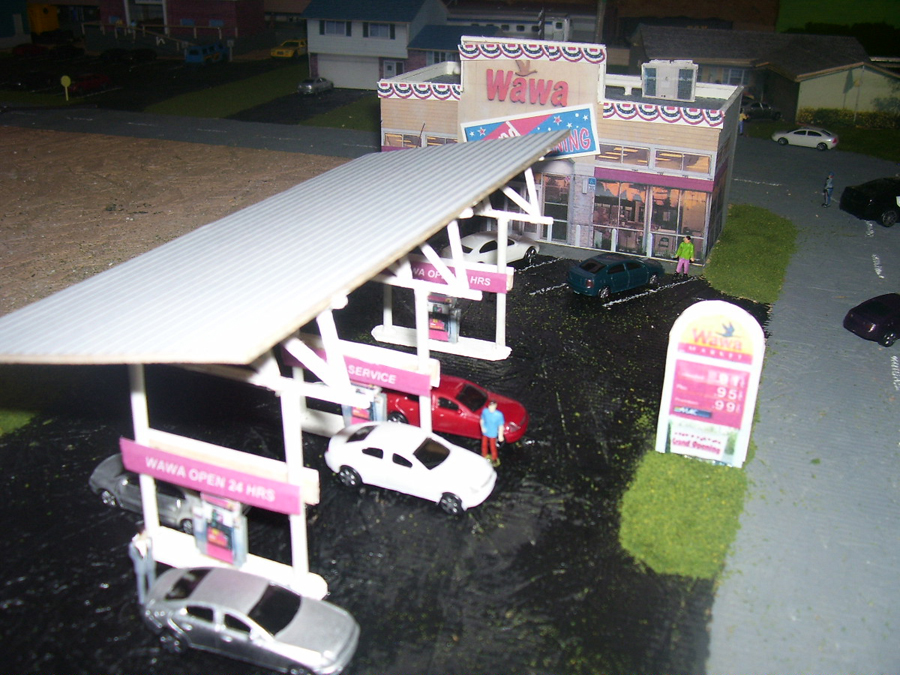
“Hi Al, you say you enjoy updates, well not much to report here but I have been adding some LED platform lights and a first set of 12v DC streetlamps.

They had to be wired in pairs to keep the intensity and the heat under control, these have been deemed a success so I shall have to get another pack for the rest of the layout, luckily the Italians are fairly sparing with their streetlights.

However I am rather sorry now that I didn’t make provision for adding lights in some of the buildings, it would be too much of a faff now they’re done and installed I fear.

I am just now trying to fathom a mystery cross feed in my fiddle yard sidings, every now and then I get a train moving when it should be isolated by points, resulting in some “interesting” (ie alarming but not really expensive so far) sideswipes.

I suspect it comes of stock with metal wheels bridging gaps somewhere, but to identify it I really need a full wiring diagram.

Like an idiot I didn’t do one as I was going along, thinking I’d remember. Blowed if I do!

Rod”

model train LED lights

You can see Rod’s full layout here.

And if you can help Rod, please leave a comment below.

Now on to John:

“It’s been 20 yrs in the making, just never had the “gumption” to do it.

I always thought that because of the seasons we have that the maintenance would be a real pain.

Now that I’m retired what else do I have to do but put the effort in. Really, my adult son’s doings, I think they want to keep me busy !

I’ve shared what you have sent me on all the projects under way and that got them psyched. So my wife and I went away for a brief vacation and the boys went to work.( I’m still trying to figure out what they did that I haven’t found out about ! lol lol )

I will send you progress pictures and videos as we go. Awaiting for some what will be nice additions, Bridges and more rolling stock. Waiting till it all gets balanced and secured before we break out the real expensive toys.

Really a big work in progress every time I speak with the boys there always either a slight change here, siding there, new track coming for extension areas, I never know.

This I do know it will be a triple bridge extending over the pond stream, a tunnel which was planned years ago when doing the pond, a small rail yard and long runs with limited switches although there are a few manual/ powered.

So I guess you can call it an “Over under 8″. Hope to have track laid in beds this weekend ? Lot of rain is to be coming for the next three days as well as a holiday so I’m not sure why that does to the schedule.

Keep the ideas coming !

John”


Lastly, on to another John:

“Dear Mr. Lee…

Thank you for sharing my cardstock boxcar…

I have now done a locomotive…

A few details need to be added…

Sincerely, John from Cali..

John

Chatsworth California USA”

model train locomotive

model train locomotive

If you missed John’s last post, it’s here.


That’s all this time folks!

A big thanks to both Johns and to Rod for sharing his model train LED lights advice.

That’s all for today folks.

Please do keep ’em coming.

And if today is the day you get started on your layout, the Beginner’s Guide is here.

Best

Al

PS Latest ebay cheat sheet is here.

PPS More HO scale train layouts here if that’s your thing.



Model railroad layout – Tracy’s

Tracy has been back in touch with his model railroad layout. Here’s his first post if you missed it.

And best of all, here’s the layout he made from the leftovers of the first one!

“These are all of the pictures I have of my lake and river The same layout 1and 2.

As you can see the second time went much better.

Hope you enjoy.

Tracy”

model railroad layout river

model railroad layout river

model railroad layout river

model railroad layout river

model train locomotive

model train locomotive

model railroad layout

model railroad layout

model railroad layout


Model railroad layout:

model train layout

model train lake

model train lake

I think Tracy’s water scenes are fantastic. He’s got them looking spot on.

Next, on to Steve:

“I would like to thank everyone for their comments model builders know how important that is. There were some questions asked I will try to answer.

I attached a wire diagram for the switches circuit you have to add resister to the LEDs depending on their voltage. Different color LEDs have different voltages. Red and yellow are 2.5 volts and green blue and white are 3.2 so you have to wire accordingly. If you put a resistor at the supply some of the colors will not work. You have to treat each LED separately. Just make sure you have enough amps in the power supply.

My layout is 2 boards one 5 feet by 9 feet and 3.5 feet by 10 feet.

I do go to the train shows in Brick and Toms River. I got a lot of my track and switches there. Shows are a good place for parts and equipment at good prices.
O27 is O gauge the 27 is the turn radius but the track is lighter.

When I say my system is D.C. Not DCC I know mine is really AC but most don’t think of AC as a system.

Steve from Toms River.”

(Stephen’s last post is here)

A big thanks to Tracy for sharing his model railroad layout, and to Guenther and Steve too.

That’s all this time folks.

Please keep ’em coming.

Best

Al

PS More HO scale train layouts here if that’s your thing.


Need buildings for your layout? Have a look at the Silly Discount bundle.

N scale southern pacific layout

Dean’s been in touch again with the Progress on his N scale southern pacific layout, the Piedra Blanca and Pacific Railroad.

“A while back, I submitted some videos of my N-scale 4ftx6ft layout constructed using the Woodland Scenics Scenic Ridge kit.

Woodland Scenics has developed some interesting construction methods and materials based on Styrofoam foundations put together with hot glue, covered with plaster cloth, then finished with ground cover and trees.

The system is easy to use, very forgiving (errors and changes can be quickly fixed or covered up), and leads to a strong but light-weight layout.

I’m using a similar system that was much cheaper but still strong and easy to make.

Primary construction materials are ½” or 3/4” Styrofoam insulation material from a local big box store.

The Styrofoam is cut with either a hot-wire cutter, or table saw (for precise cuts), then glued together with a hot-glue gun. Track is glued to rubber track-bed which is then glued to the cut Styrofoam roadway.

When I built the original layout, I added more switches and sidings for future layout expansion.

The first part I added was a 1′ x 3 1/2′ addition shown at the bottom of the photos below. The main line comes out from the right of the original layout and makes two turns towards the rear of the layout while beginning a 3% climb. The main line eventually had to cross over the original lines. Along the back of the layout I added a hidden 3-track fiddle yard for setting up and storing trains.

To begin the expansion, an L-shaped member and supports for the track were cut and glued together. (See first photo.) The track was supported by Styrofoam roadway which was glued to the supports.

The two wires visible are #12 feeders (connected to a DCC controller) with smaller wires leading to the track. All track pieces are soldered together except for switches and bridges which are held in place using sliding rail joiners (so they can be readily taken out).

The feeders go all around the layout and wires are soldered to each track section. Rubber track bed was glued down with Elmer’s glue and the track pieces were glued to that with the same cement.

A road was built from 1/4” foam core from a hobby store. Foundations in the middle of the layout are for buildings.

N scale southern pacific

The next step was to add the surround. This was another piece of Styrofoam glued to the support members. At the curves, I cut slots about 2/3 into the foam and every 1/2” to allow it to bend around the smooth corners. The ¾” PVA plumbing pipe and fittings was added so that I could later run in switch wiring to the hidden yard.

model train

The next step was to form the rolling hillocks with wadded newspaper and cover with plaster cloth soaked in water. This is a typical method used by many. On the right are supports for the tunnel portal and a foundation for a rock wall running along the back of the original layout.

model train

Then the track was ballasted, the ground painted and textured using usual materials. This next photo shows the start of the rock wall on the right side of the original layout. At this point the roads were textured with fine sand to simulate gravel.

N scale southern pacific layout

The final photo below shows the town buildings and station back in place, the added tunnel portal, the completed rock wall, and the cover for the hidden yard.

N scale southern pacific


N scale southern pacific layout:

And here in the last photo is a better view of the town. Two freights, one starting up the long haul to the western division on the new line, the other coming back from the eastern division, meet at Piedra Blanca.”

n scale model train

Brian has been in touch too – to answer some questions on his shelf layout:

“Hi all, an explanation of ‘my’ shelf layouts.

The upper level will be a logging operation (moving wood to a sawmill) loosely based on the Westside Lumber Co. on the west coast of the USA where on one side of the layout the trees will be cut down and loaded onto log cars for a trip to the sawmill on the same level.

On the other side will be a small engine terminal with a turntable and two stall engine house plus a small yard.

The locomotives that I use are Shays and Heislers (logging locomotives). These locomotives can run with trains in forward or reverse.

There will be a runaround at the tree felling area in order for the train to have a loco in the front on the return journey. There is no connection to the lower level.

The bottom level will be based very loosely on the Denver & Rio Grande RR (locomotives and rolling stock only) and will have a full engine terminal facility on one side and the harbor on the opposite side terminating at the wharf. Again no connection between the levels.

In reality, I will have two different layouts to operate independently from each other. The layouts are designed to have two operators for each level all running on DCC.

Yes, the wharf was salvaged from my previous layout where it terminated against a wall. There was a mirror at the end and because you could not actually see the end of the wharf but only in the mirror hence the mirror images on the buildings. These will be changed once placed in the new location where one can see the actual end of the wharf.

In a few of my previous posts, one can see all the photos of the building of the wharf and explanation.

If you peruse through all my previous posts, there are numerous photos of my buildings, locomotives and rolling stock on my previous layout. All (?) will be used on my new layout.

The reason for building a new layout is that we retired and moved to a different town 500 kilometers up the coast from Cape Town.

I will send Al a plan of my layouts in the near future.

Cheers Brian”


A huge thanks to Brian.

There’s quite a few shelf layouts on the blog now, here’s a few of them:

ON30 shelf layout

Small shelf layout

HO scale wall shelf

Shelf layout HO scale

Alan’s shelf railway

Peter’s N scale shelf layout

Thanks also to Dean for sharing his N scale Southern Pacific layout. I do love to see these layouts come alive over the months, and it’s also wonderful to see how folk approach things differently.

Please do keep ’em coming folks.

That’s all for today folks.

And if today is the day you get started on your layout, the Beginner’s Guide is here.

Best

Al

PS Latest ebay cheat sheet is here.

PPS More HO scale train layouts here if that’s your thing.