HO scale box car scratch build

John’s been in touch with his HO scale box car scratch build:

“Dear Mr. Lee…

I believe I sent you a set on building an On30 gondola from card. If I am mistaken, please let me know as I can send those also.

Here is the beginnings of the boxcar build. I have now built 8 cars from cardstock and I will soon be moving on to a locomotive (or two) and a caboose (brake van for those across the pond).

This is the beginning… A boxcar from a box…

This is the box and squaring up the salvaged material.

Also the beginnings of the frame.

Note, I double the cardboard for some applications, four times for the side sills, and up to eight for others.
I use American pennies I find on the ground for weight… 24 for most 18 fro other.

These are “Old School” models… What is not seen is not detailed either.

Sincerely

John from Cali”

ho scale box car

ho scale box car

ho scale box car

ho scale box car

ho scale box car


HO scale box car scratch build:

HO scale box car scratch build

HO scale box car scratch build

HO scale box car scratch build

HO scale box car scratch build

HO scale box car scratch build

HO scale box car scratch build

HO scale box car scratch build

HO scale box car scratch build

A big thanks to John – he’s also shared another post on box cars:

HO scratch build box car

“My name is Anton Bruce Sr, I’m 59, and I live in Burbank, California, USA. I have been a “train nut” since I was…about 13? I have had layouts in one form or another, but I had not had one in several decades – no room for it!!! Until about a year ago…

I NOW have a layout – just a 4′ x 8′ HO layout that my grandsons have been “helping” with. I figure that a simple 4×8 will give them a taste of the hobby, and let them know that yes – this whole “train thing” (to quote my wife) can be a whole lot of fun if we work on it together. They take pride in it, and of course they just like to see the trains run. My younger grandson (he’s 11) thinks it is “so cool”. All three of us decided on the track plan, and the scenery is mostly their ideas – and their work. I left the more “serious” work, such as electrical wiring, to myself. Gotta be safe, you know…

Granted, I and my grandsons are nowhere near the ability of some of your contributors, and the layout is nowhere near “finished”, but hey – we do our best and have a boatload of fun doing so. And when you’re doing this with the grandkids…isn’t THAT the whole idea?

Anton”

4x8 HO layout

4x8 HO layout

4x8 HO layout

model train layout

model train layout

p1030031

p1030032

p1030033

model train engine house

model train locomotive

model

“Hi Al.

I have sent you a few photos of Megan, my half size Savage Little Samson traction engine.

I have a friend over from the UK who is a steam enthusiast and fellow model engineer so as the sun was shining and it was very warm here in Brittany we decided to have a steam up. Very pleasant tootling around the country lanes. We only saw one car all afternoon.

I have nearly finished “Elsmia”, my second Little Samson which after tests will be for sale if anyone is interested.

Once finished then concentration on the 00 Layout. I insulated the loft space this morning to keep the place warmer over winter and cooler in the summer of course.

Regards.

Roger in France”

steam traction engine

steam traction engine


A big thanks to Anton, Rog and to John for sharing his HO scale box car scratch build.

I loved Anton’s pics – purely because making a layout is fun – but making one with your your little smashers, what beats that?

That’s all for today folks.

Please do keep ’em coming.

And if Anton has inspired you, the Beginner’s Guide is here.

Best

Al

PS Latest ebay cheat sheet is here.

PPS More N scale layouts here if that’s your thing.


Cheap model railroad sets

Andy has been in touch with is take on cheap cheap model railroad sets – he’s done a great job too:

“Hi Al,

Firstly I’d like to say how much I enjoy all the tips from your subscribers and seeing their work.

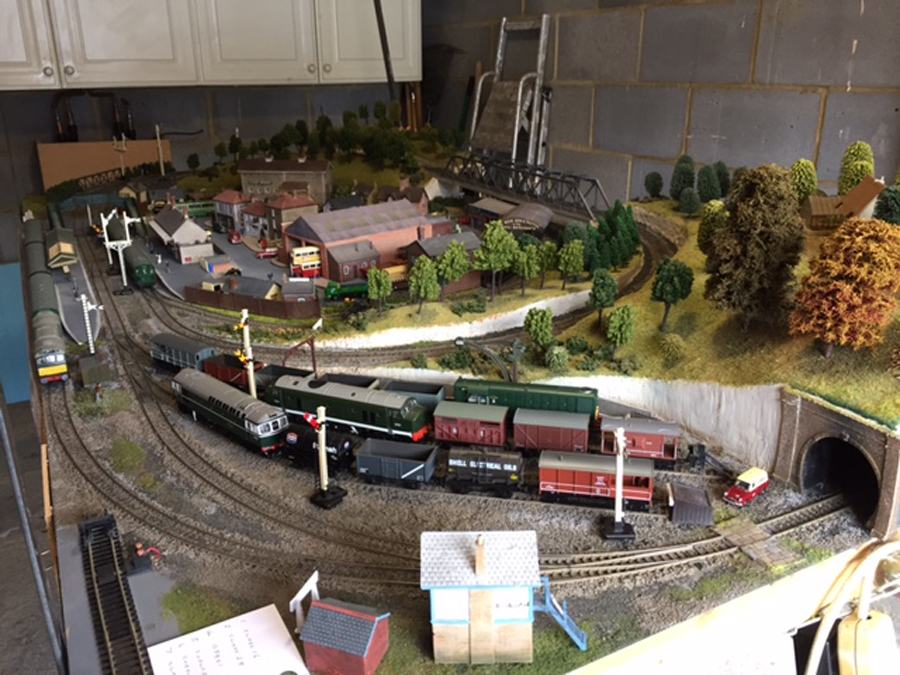
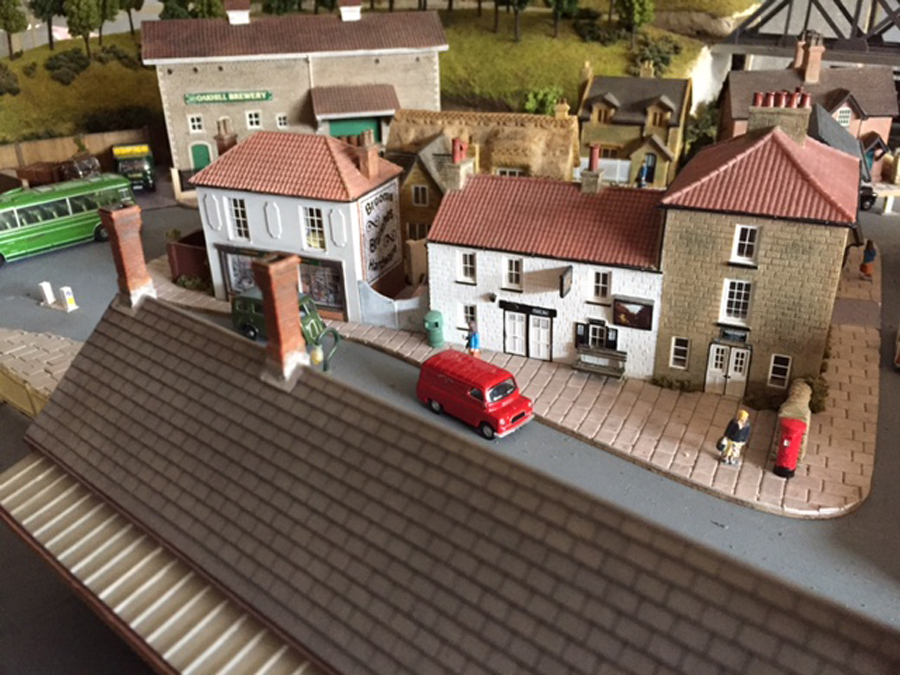
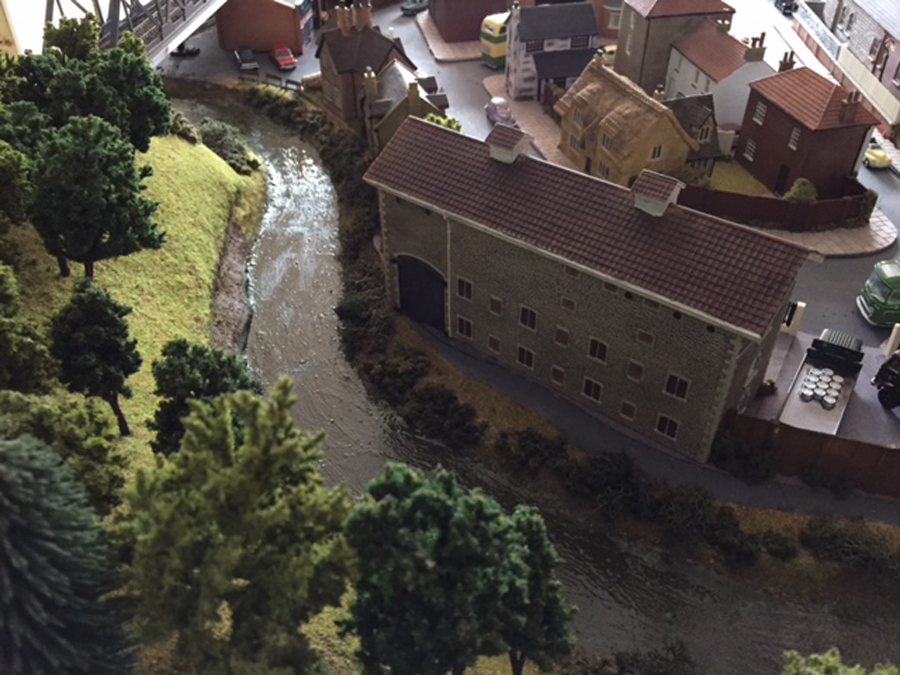
I started my layout two years ago this month on the premise that it would be a “pocket money layout” so everything is either scratch built or used/repaired.

It measures about 15 feet by 5 and is built on two dining tables which I got from a charity shop for £5 each and covered in MDF offcuts from a local joiner. The photos show how far I have got so far (still a lot to do) and I hope they show what can be achieved on a budget.

I have spent between three and four hundred pounds to this point (less than £5 per week) and the enjoyment I have had far surpasses the expenditure.

I hope you like what I have done, as I not a purist by any means!

Thanks again for all the ongoing tips and info

Andy (Ferryhill County Durham)”

Cheap model railroad sets

Cheap model railroad sets

Cheap model railroad sets

Cheap model railroad sets

model railway

model railway

model railway church


A huge thank you to Andrew for adding to the cheap model railroad sets on the blog. It just goes to show, you can build a layout on a shoe string budget… though once you’re bitten by the bug…

Now on to Brian:

His latest layout is really starting to take shape now. I still have no idea how he gets so much charm and character in to them.

“Hi Al,

progress on the layout. Gone is the snow (styrofoam) and greenery and shrubs now in place as well a the start of the trees.

The hole in the layout (middle right) in the bottom photo is where the Spar tree (log loader) will be situated to load the logs onto the empty log cars.

Cheers – Brian”

model train logging

model train logging

model railroad logging

model railroad shelf

image1

image4

If you are unfamiliar with Brian’s layouts here are some of his previous posts:

Brian’s logging locomotive

Brian’s wharf

Brian’s wharf buildings

Thanks to Brian and to Andy for his addign to the cheap model railroad sets on the blog.

That’s all this time folks.

Please do keep ’em coming.

And don’t forget the Beginner’s Guide if Andrew has got you thinking. It’s full of money saving tips.

Best

Al

PS Latest ebay cheat sheet is here. Still going strong.


Bob’s LED lighting tip

Got this in from Bob:

“Hy Al, I have found a neat little circuit to lite LEDs. I use a dual LED with both Red and Grn and common anode (+).

What I needed was a way to switch from red to grn without having to have a relay as I only had a single switch SPST available. I connect the anode to a 2k resistor to +12 Vdc, and one ot the LEDs to Grd. Then I connect a 1.5K resistor to the other LED to a switch to -12 Vdc. When the switch is thrown the negative LED lights and the positive LED is backward biased. When the switch is open the positive LED lights. The resistors may be decreased for more light output.

My switch is an over the center crank that hits a pin to make the connection. This is very low cost switch machine for a lot of switches.

The Best

Bob”

And Bob’s tip got me thinking – there’s been a number of posts on them over the years.

Matthews lighting ‘how to’ is excellent.

And so is Dave’s.

Mark sheds light on a few tips too.

And if you want to light up your coaches, have a look here.

In fact, the list is endless. There’s years and years of posts now…

Hope you’ve found them helpful!

That’s all this time folks, it’s all becoming a little thin on the ground so please do mail me if you have anything you’d like to share.

If you want to search through the archives by the way, you can if you’re a Beginner’s Guide member.

Best

Al

PS Latest ebay cheat sheet is here. Some cracking deals about at the mo.