Model railroad rock mold – Brian’s

Brian’s been in touch with much more than just a model railroad rock mold.

He shows’s how to make a mold for many shapes – walls, logs, workbenches…

In fact he shows us step by step how to create the molds.

So whether it’s a model railroad rock mold or whatever, here’s how to do it:

“Hi Al

Here are photos of some of my rubber moulds (I must have about 80 different ones) the small trackside shanty moulds, I have about 4 or more of these as they can be put all around the layout and I can never have enough of these, just paint them different colors.

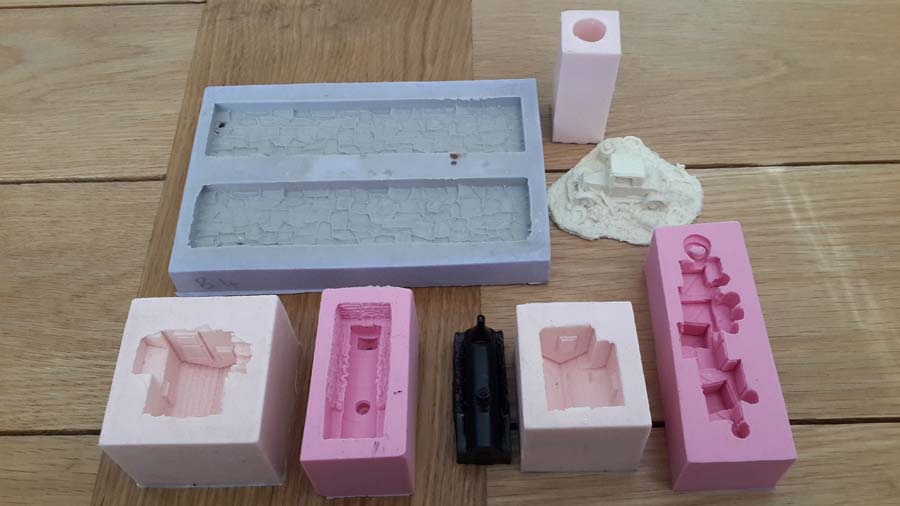
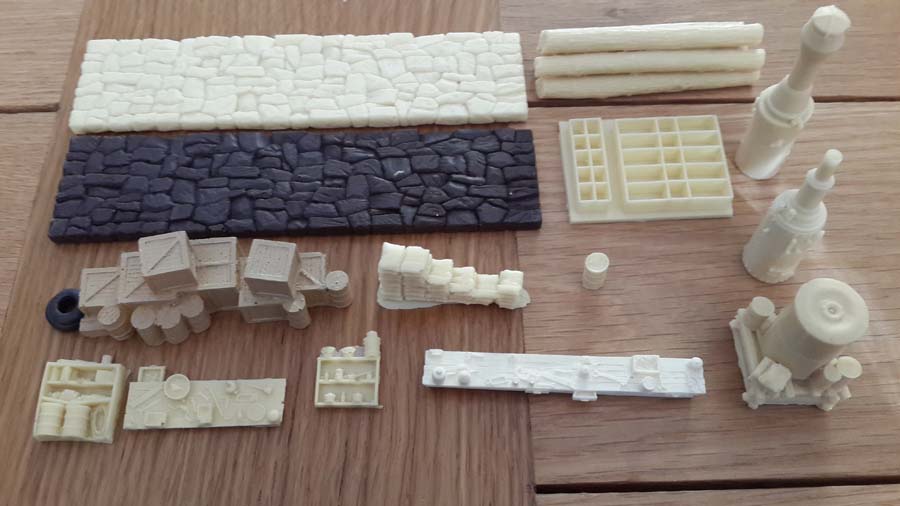
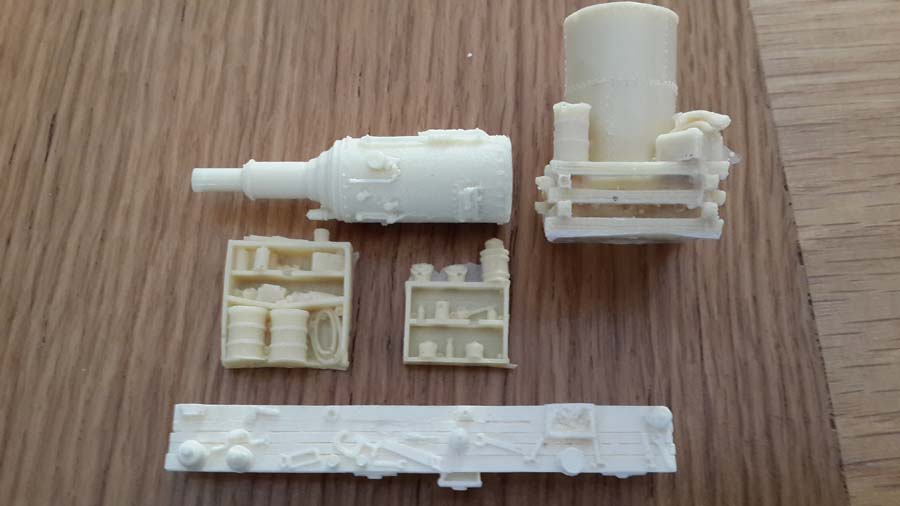
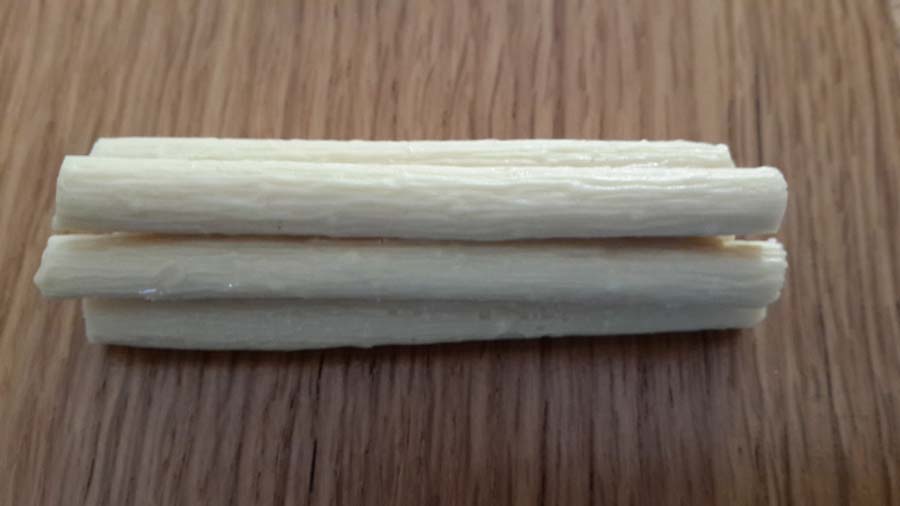
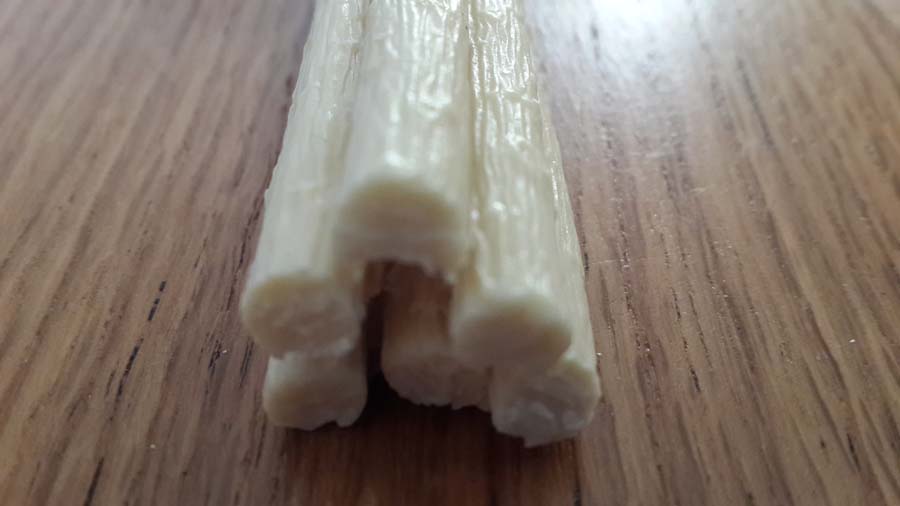
The items shown in the rest of the photos are:- vertical boiler, black horizontal boiler next to its mould, rock walls, shelving, drums, logs for my log cars and used at the log loading area, workbenches and wall racks to name a few. Will send photo of the shelving filled with odds and ends.

model railroad rock mold

model train scenery mold

model railroad rock mold

model train scenery

model railroad rock mold

model trains

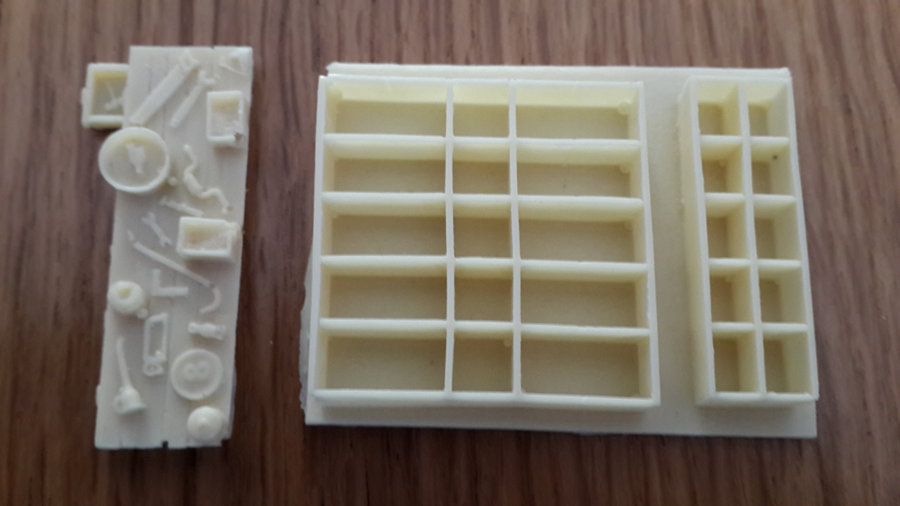
This photo shows 3 of the items made in my rubber moulds that have been painted and placed on my layout. I have different ones all over the layout where required.

model railroad rock mold

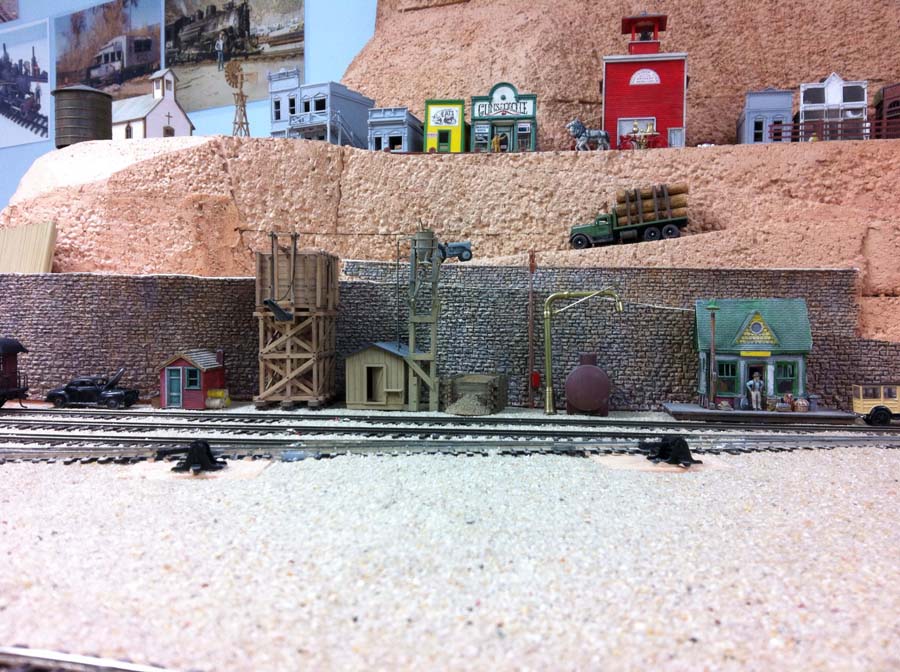
From L to R, a small trackside shanty (red), a small sand bin for the sand house and an oil tank carrying oil for my oil fired locomotives.

model train scenery mold 2

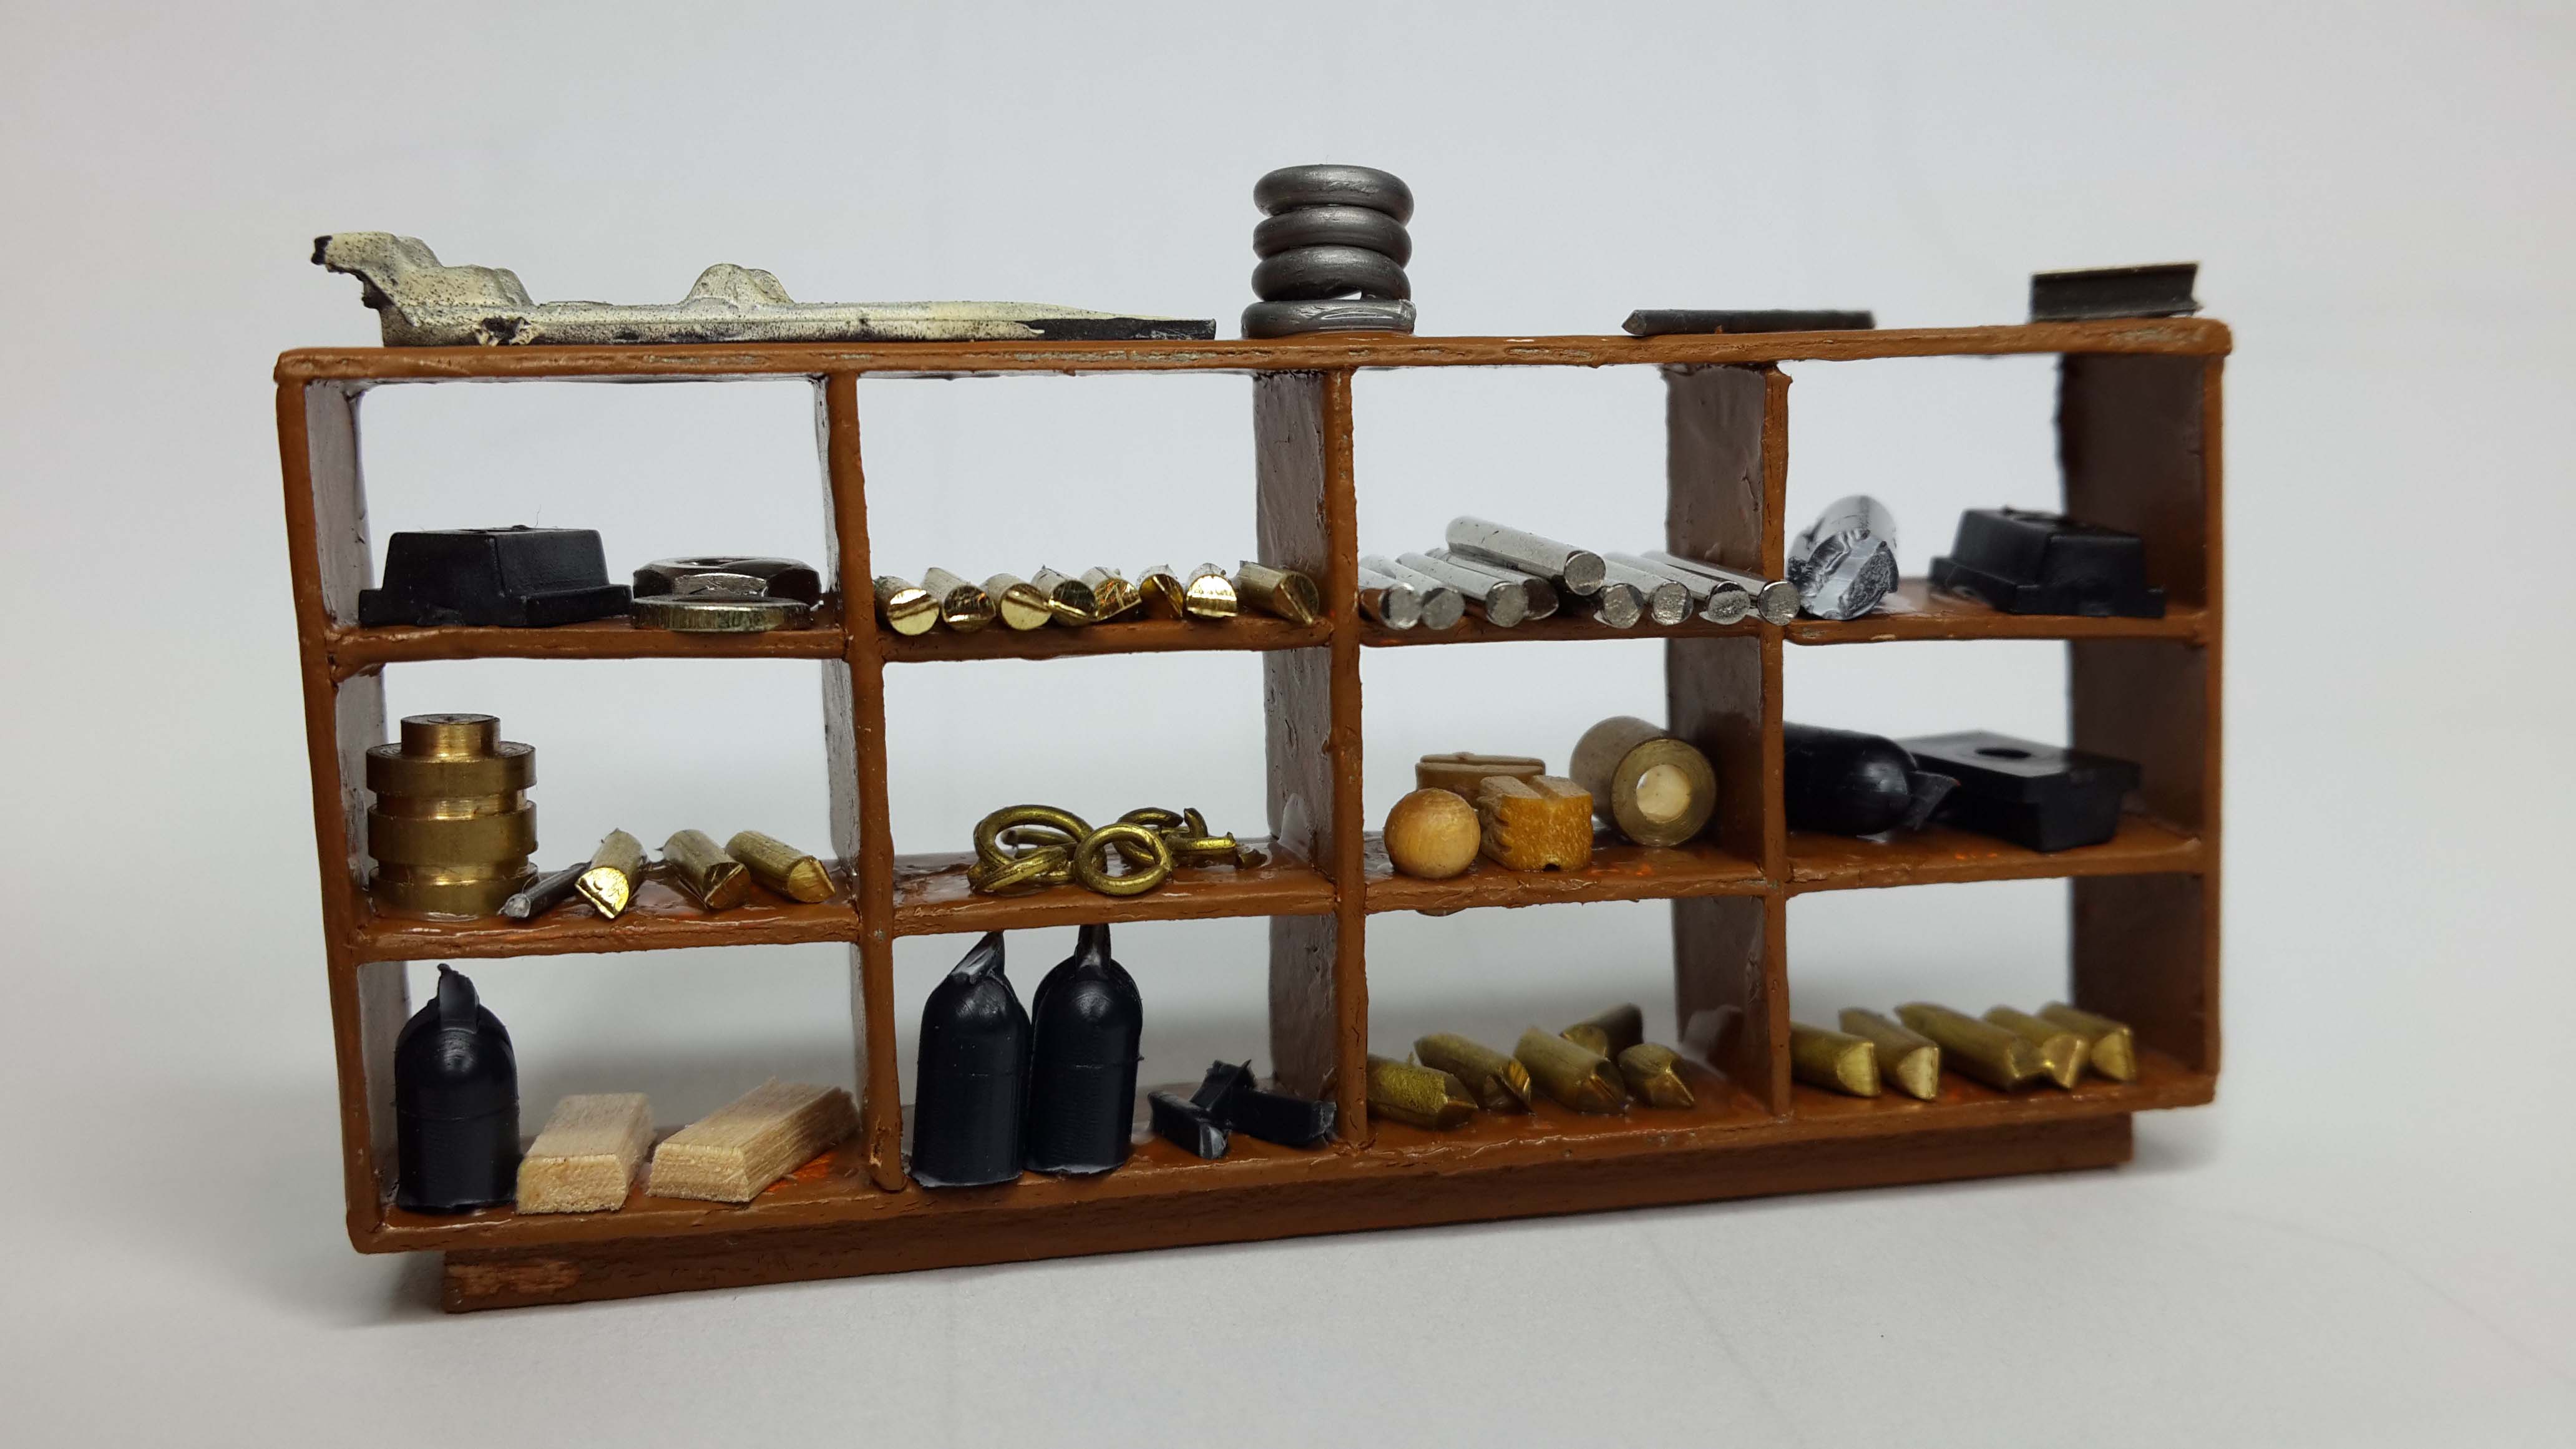
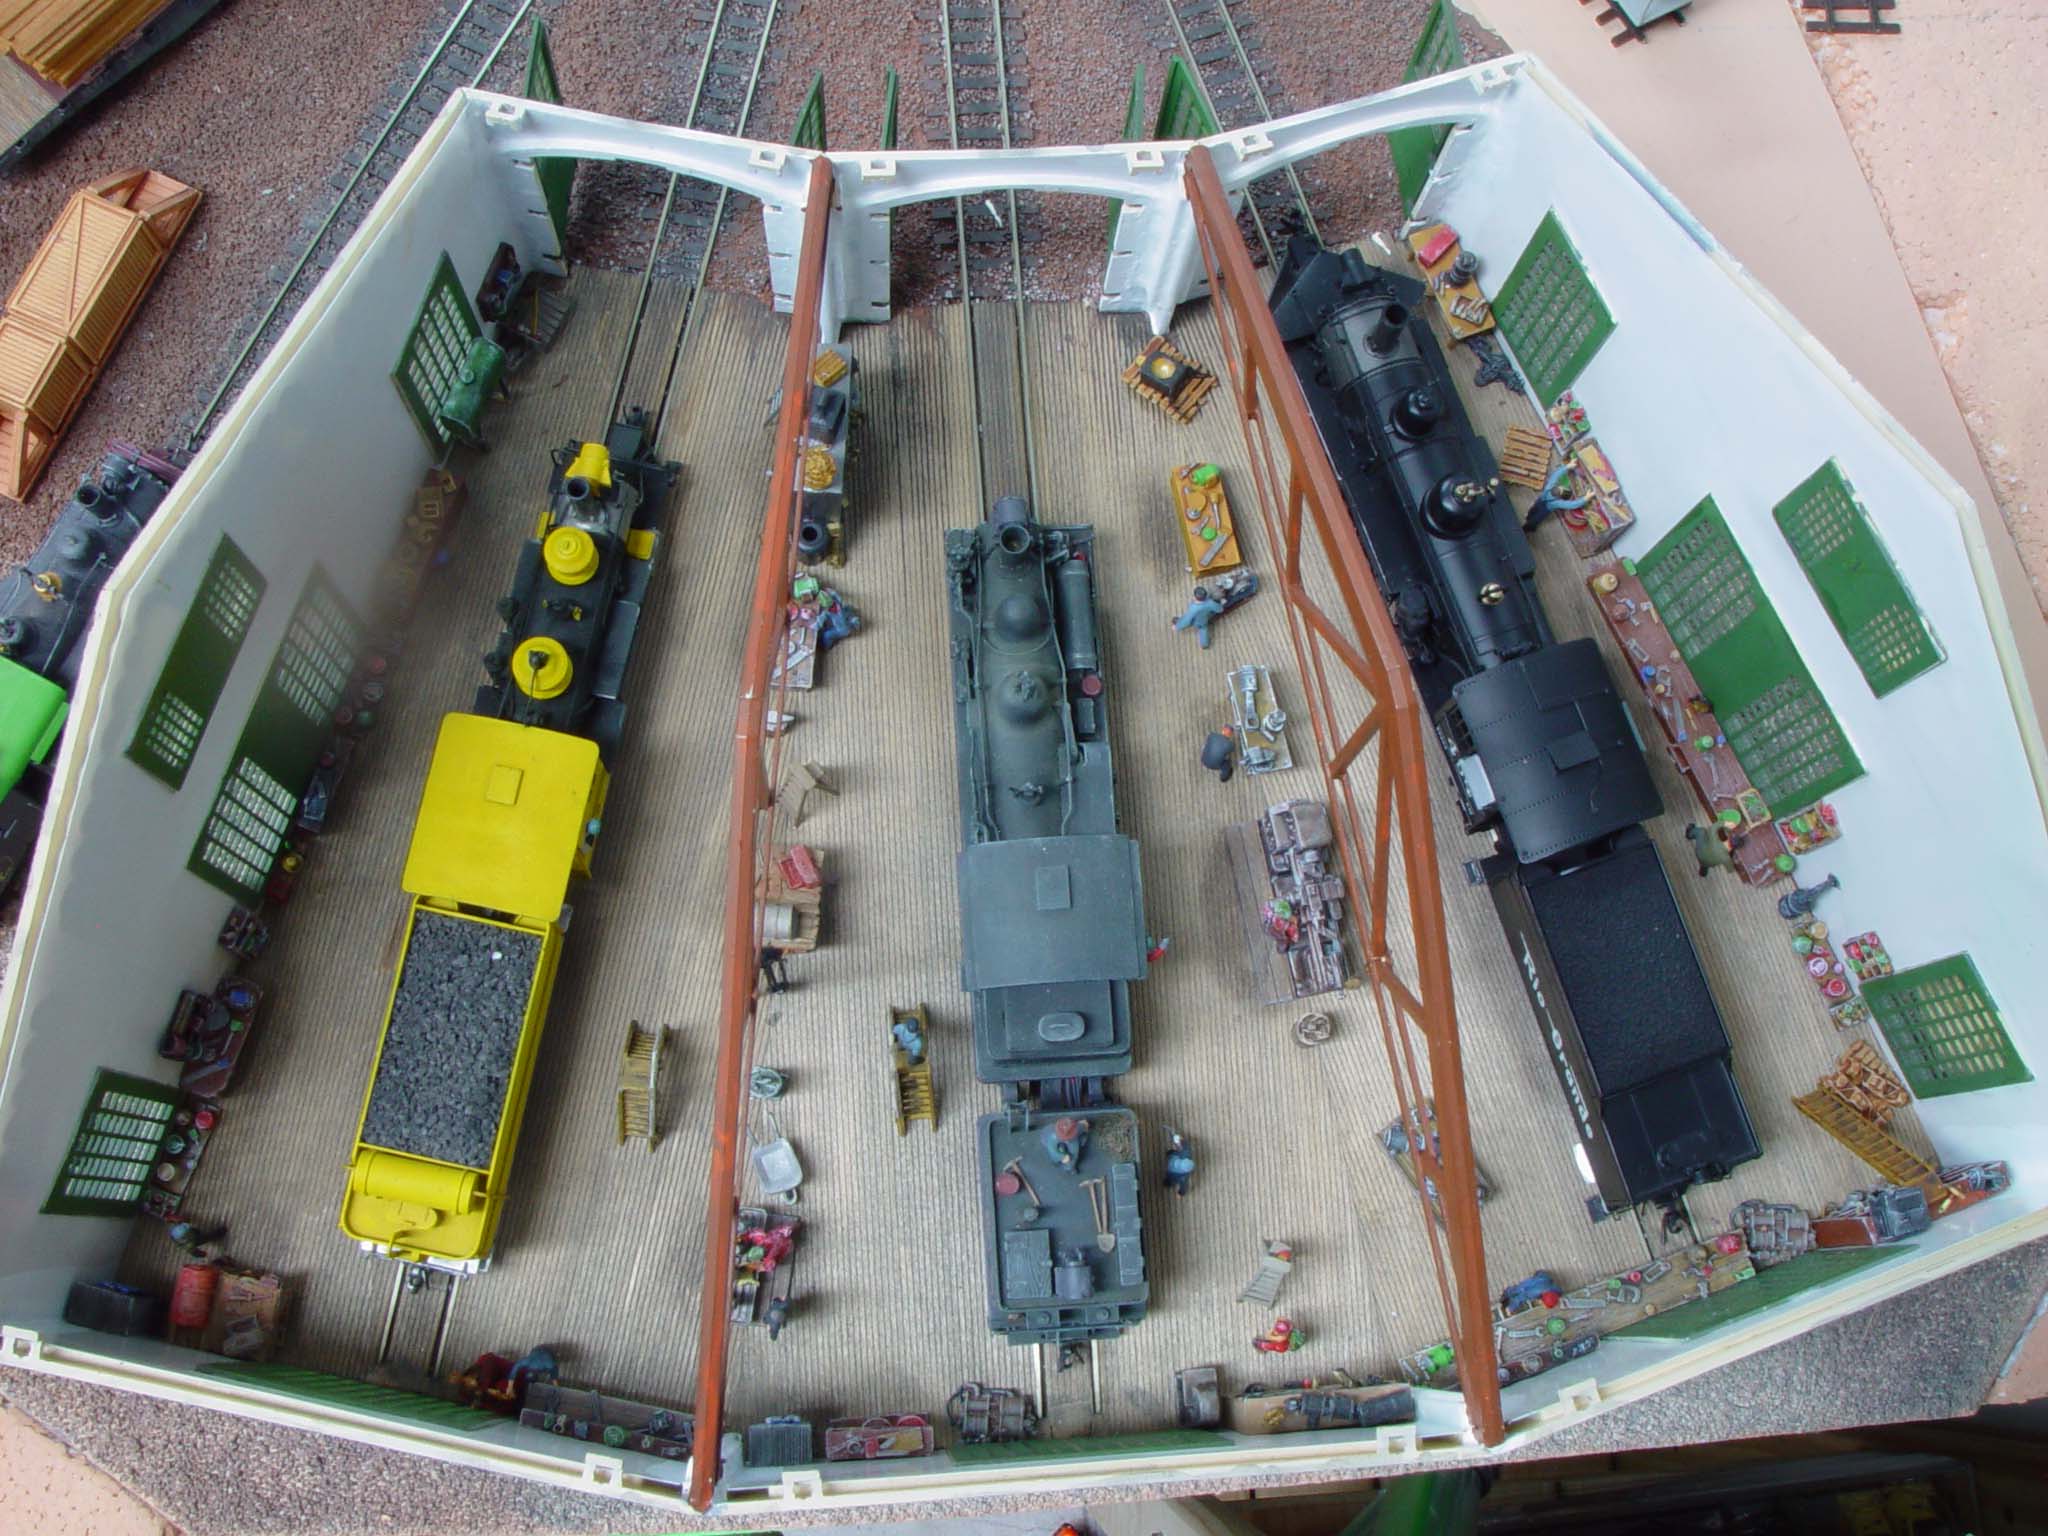
A resin cast shelf rack filled with odds and ends and some of the details (castings) inside a 2 stall engine house.

Everything on my layout is in HO scale in case anyone asks.


Making molds

Method 1: the cheapest one with readily available silicon.

Once a master is made – does not matter of what material it is made of, I mount it on prestick (blue tac) usually, to any flat surface (I use a piece of glass). I bevel the bottom edge up towards the master. I normally have a few masters ready for this process. Helps when waiting for the silicon to dry.

Use a paint brush and paint a thin layer of Vaseline over the whole master as well as the blue tac and be sure to get it in all the crevices. This acts as a release agent for the silicon.
I use clear silicon (bathtub sealer) from a tube and squirt it (starting at the bottom and work it in with a lot of pressure) all around the master working up to the top and seal it across the top. Put it on fairly thick all the way up and on the top. Then play the waiting game for the silicon to dry (usually about 3 to 4 days).

Once the silicon is dry, it is very easy to peel it off the master. (Vaseline).

I use mainly plaster of Paris to fill the mould and make as many products as i see fit. The mould will last indefinitely (I have some from 30 years ago and still as good as new). The use of plaster of Paris allows me the put dents (if for instance if it is a motor vehicle and remove fenders, bonnets, doors etc. It is also very easy to stain or paint as required.

Method 2: a more expensive way and not so readily available product.

Use a 2 part silicon (pink) usually bought in 500mil tins with the equivalent hardener. Be careful of shelf life.

Again mount the master on a flat surface and build a box around it leaving about one inch all around it as well as above it. Make sure that it is ‘watertight’. When this is done, mix up the two part silicon according to the specs of the product and then pour into the mould box right to the top of your box. This usually takes about an hour to dry. After that, remove the box completely from the master and you will now have a mould.

You can fill these type of moulds with a 2 part epoxy or plaster of Paris. Be aware that these moulds do not last as long as the ones described above if using epoxy.

I will try to find the photos of some of the moulds that I made and send in for posting.

Hope this help in making rubber moulds.

Many thanks and keep up the excellent work.

Cheers for now

Brian”


A huge thank you to Brian for showing us how to make a model railroad rock mold or any type of mold.

Now take a look at the ebay cheat sheet, and look at the price of some of the scenery – I think Brian really is on to a winner. And it looks stunning too.

I hope you can all see why I put Brian in the hall of fame. He was also very helpful with the guide too.

What’s more, Brian is really quick off the mark when it comes to answering questions. So feel free to post some below.

Best

Al


model train answers

HO scale vintage engine house – Brian’s

Brian has been in touch with his HO scale vintage engine house:

He’s sent in more pics of his stunning engine house.

I don’t know what it is about his layout, but it just seems to have been from charm and character…

“The double sided tape (the type that I use is literally twice the thickness of normal sticky tape) is available in any art supply store, craft shop, hardware store, office supply store and is not thick at all. Best thing since sliced bread for model building.

Time taken to build the engine house above from start (opening the box, reading the instructions 4 times) to mounting on the layout and operational was about 150 hours (in approximately 4 months) which included taking photographs and writing about the construction.

The yellow color of the engine house was dictated by the logging company Chiefs of Cascade Creek Logging Co. This was a standardized color for all the company’s buildings with one exception, the sawmill as this was always a temporary structure and when the area was deforested, it was torn down and moved to a new wooded area.

I will have a look through my photo collection and see if I have a few photos of my other logging buildings.

Cheers Brian”

ho scale vintage engine house

ho scale vintage engine house

engine shed turntable

Stunning pics – that’s why he’s in the hall of fame.

And now on to something completely different.

I’ve posted a similar video to the one below before.

But seeing as I watched this one from start to finish – I thought you’d enjoy it too (thank you to whoever mailed it me).

Post a comment below if you also enjoyed it!


Latest ebay cheat sheet is here.

That’s all for today folks.

A big thanks to Brian for sharing his HO scale vintage engine house.

Please do keep ’em coming.

And if today is the day you get started on your layout, the Beginner’s Guide is here.

Best

Al

PS Latest ebay cheat sheet is here.

PPS More HO scale train layouts here if that’s your thing.


model train answers

Model train scenes

Mark’s been in touch with some excellent advice on model train scenes.

Please don’t just read today’s missive – please, please post your comments on this one.

I say this because Mark’s words below really are words of wisdom: doing a little of something is infinitely better than doing a lot of nothing – especially when it comes to layouts.

It’s no surprise Mark was one of the first in the Hall of Fame.

“Hi Al.

We recently had a discussion in our model railroad group about why frustration can set in with building a layout.

Among many reasons, the one that stood out the most was “being overwhelmed by the sheer size of the project”.

Everyone agreed that having a good track plan is a must, but everything doesn’t have to be built immediately.

The Tip here is that you can actually complete a “small scenic vignette” with a great sense of accomplishment and, with proper planning, incorporate it in the main layout at a later date.

This allows one to really enjoy (and learn) the entire hobby without the “analysis to paralysis” that ends up with literally nothing being accomplished.

Attached is a link to a very short video of a model train scenes afternoon project that filled in a section of bare plywood leading into a tunnel. (I didn’t know paparazzi were rail fans!)

Cheers!

Mark”

model train scenes


A big thanks to Mark for sharing his model train scenes advice.

And to prove the point, here’s what John says:

“That resonates with me. I was overly ambitious with a small N guage layout I started as a learning tool and it caused immense frustration because I bit off more than I could chew.

I wanted IR sensors, auto reverse polarity, electrified switching, signal lights, etc and in the end I couldn’t get the trains to run.

Ended up ripping out everything and am now restarting (after a year of staring at it) on a very simple oval track plan and will do nothing but get it running first. Then install some IR sensors (above ground) controlling signals, no tortoise switches, and scenery.

I learned that I need to do it in stages first, and rule 1 is get the track working first!

John”

Don’t forget, please post your comments on this one. And if it’s given you the gumption you need to get going, start here.

That’s all for today folks.

Please do keep ’em coming.

Best

Al

PS Latest ebay cheat sheet is here.

PPS More HO scale train layouts here if that’s your thing.


model train answers