Darrell’s been in touch with How to wire model train street lights:
AL:
I have learned so much from your readers and thought I would send you one of my pet projects. My layout is still far from being complete. Much detail to do.
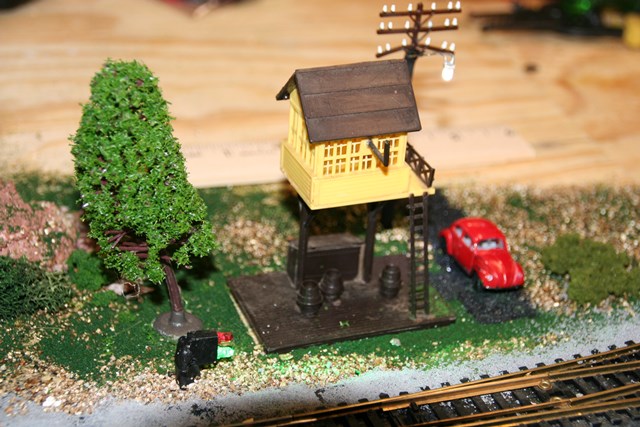
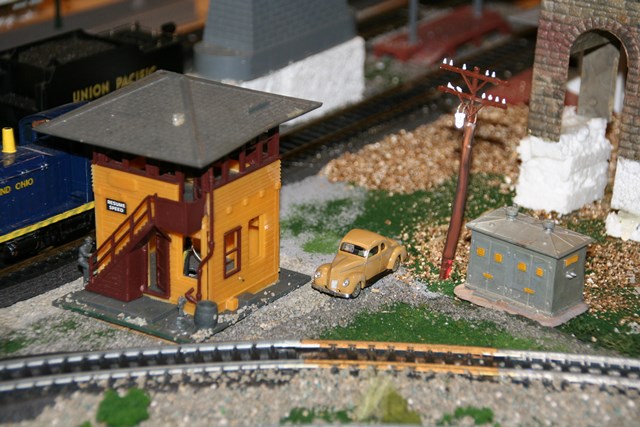
But I always see layouts with street lights, but haven’t seen any with street lights on the telephone poles as in my home town.
This project is so simple and easy it is insane !!!! And you can make these up in less than 10 minutes each, once you do the first one.
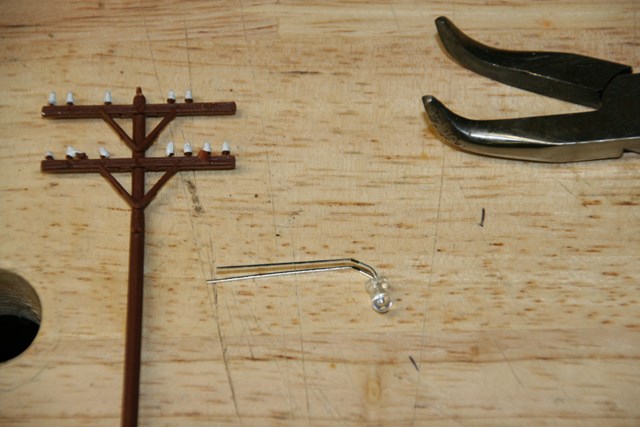
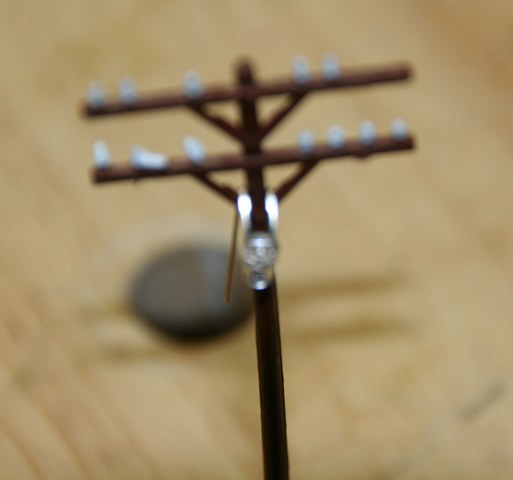
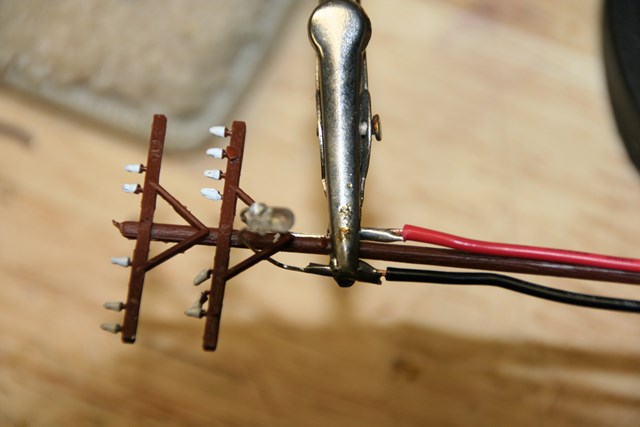
1. Slide LED legs through the side braces on standard telephone poles.
2. Bend the LED slightly so you have a downward angle.
3. Solder the lead wires to the legs of the LED and bend the legs down alongside the telephone pole.
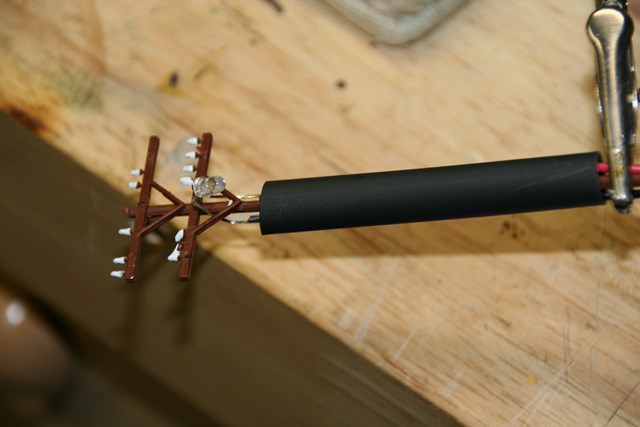
4. Cut the square base off the pole and slide a section of heat shrink tubing over the pole and wires.
5. Shrink the tubing with a hair dryer and paint the pole and tubing brown.
6. Dab a spot of silver paint to the very top of the LED, to simulate the metal dome.
You can adjust the length you want the LED to protrude from the Pole, and experiment with shrink tubing to get the proper size. Don’t worry about the solder joints touching, as the heat shrink and side arms on the pole will keep the legs of the LED just far enough apart to prevent shorting.
Hope you enjoy the photos. Looks great in rural areas too.
Keep those hints and tips coming in !!!
Darrell”
A big thanks to Darrell, it reminded me of this post: Model train street lamps.
Now Schiffy has been in touch with some old pics:
“Hi:
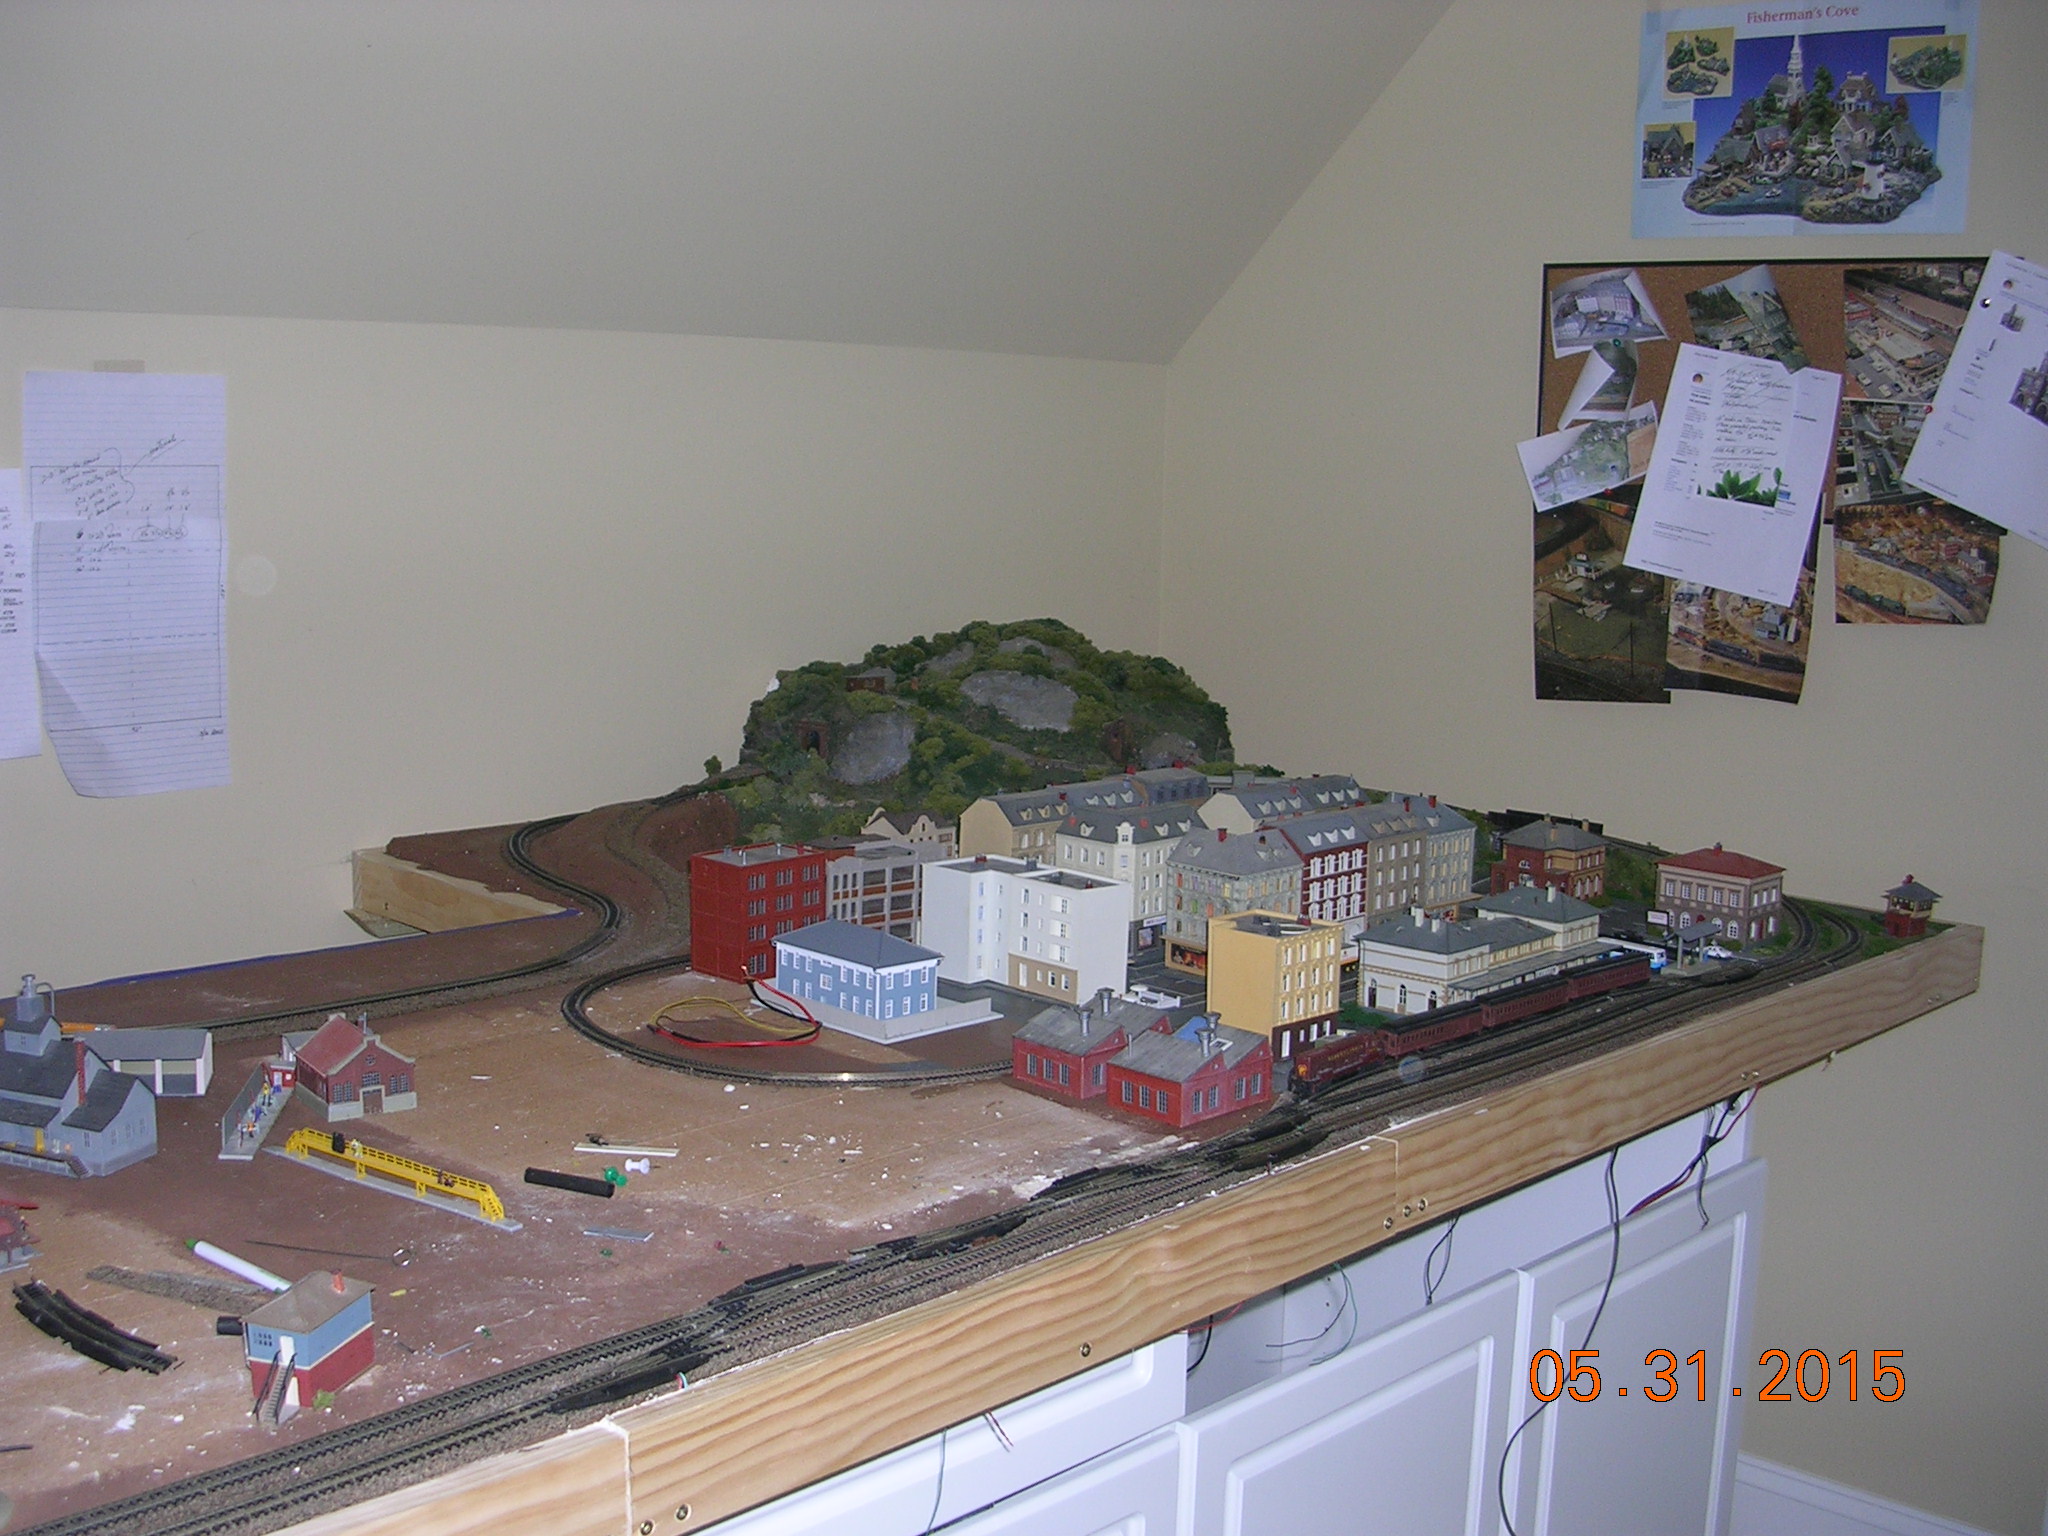
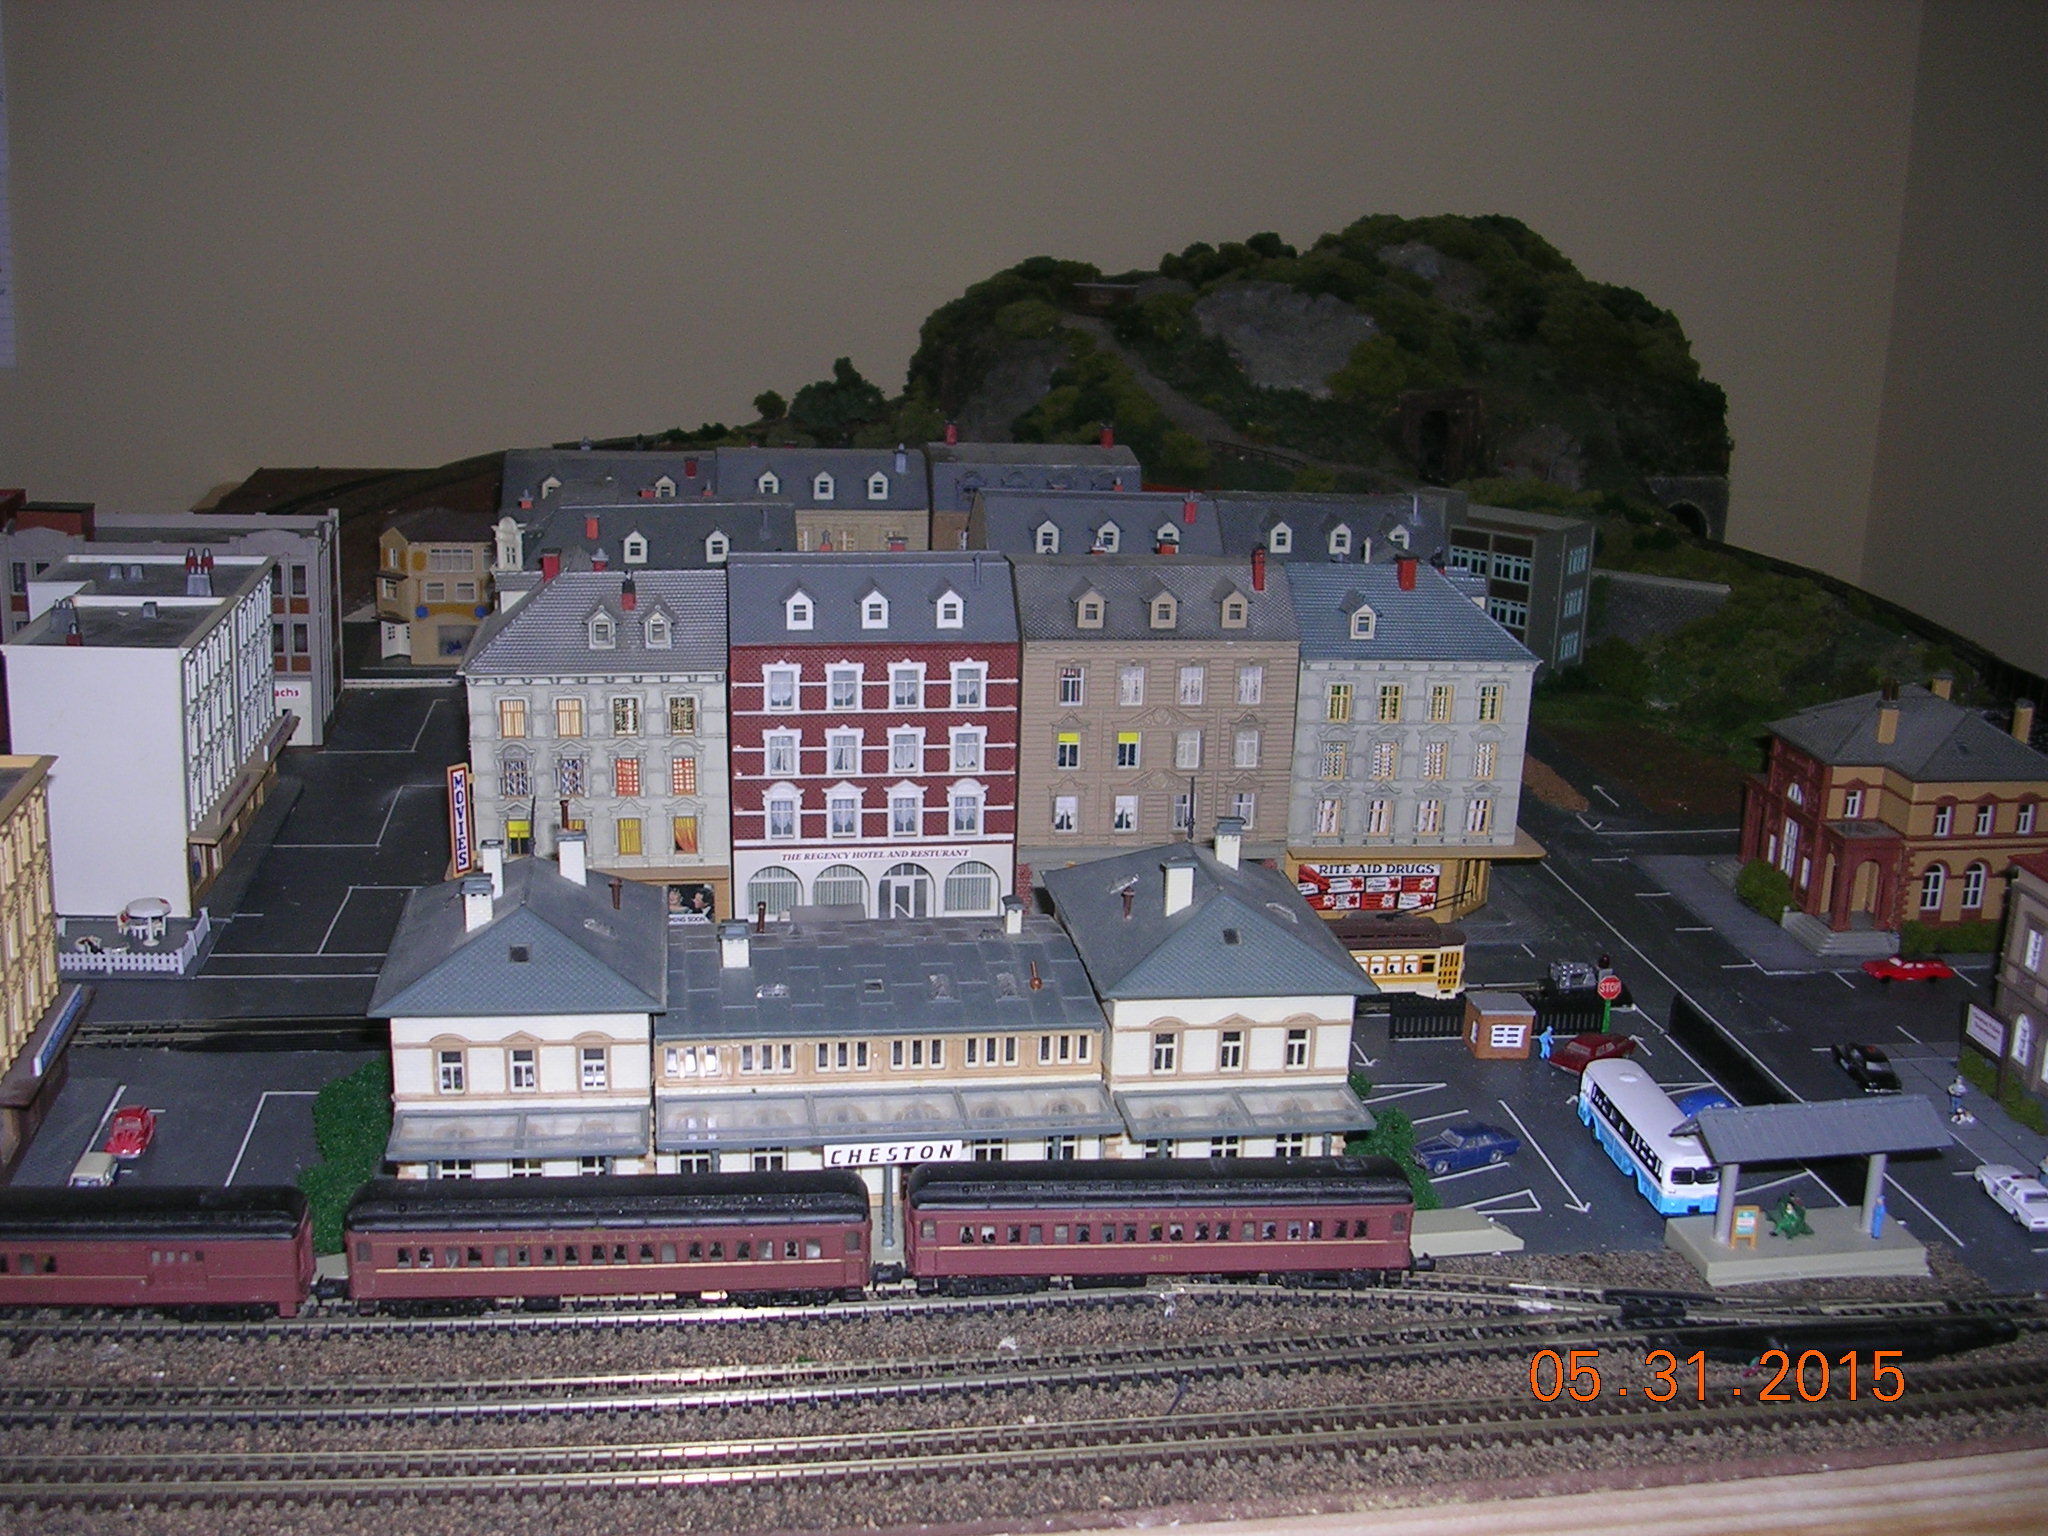
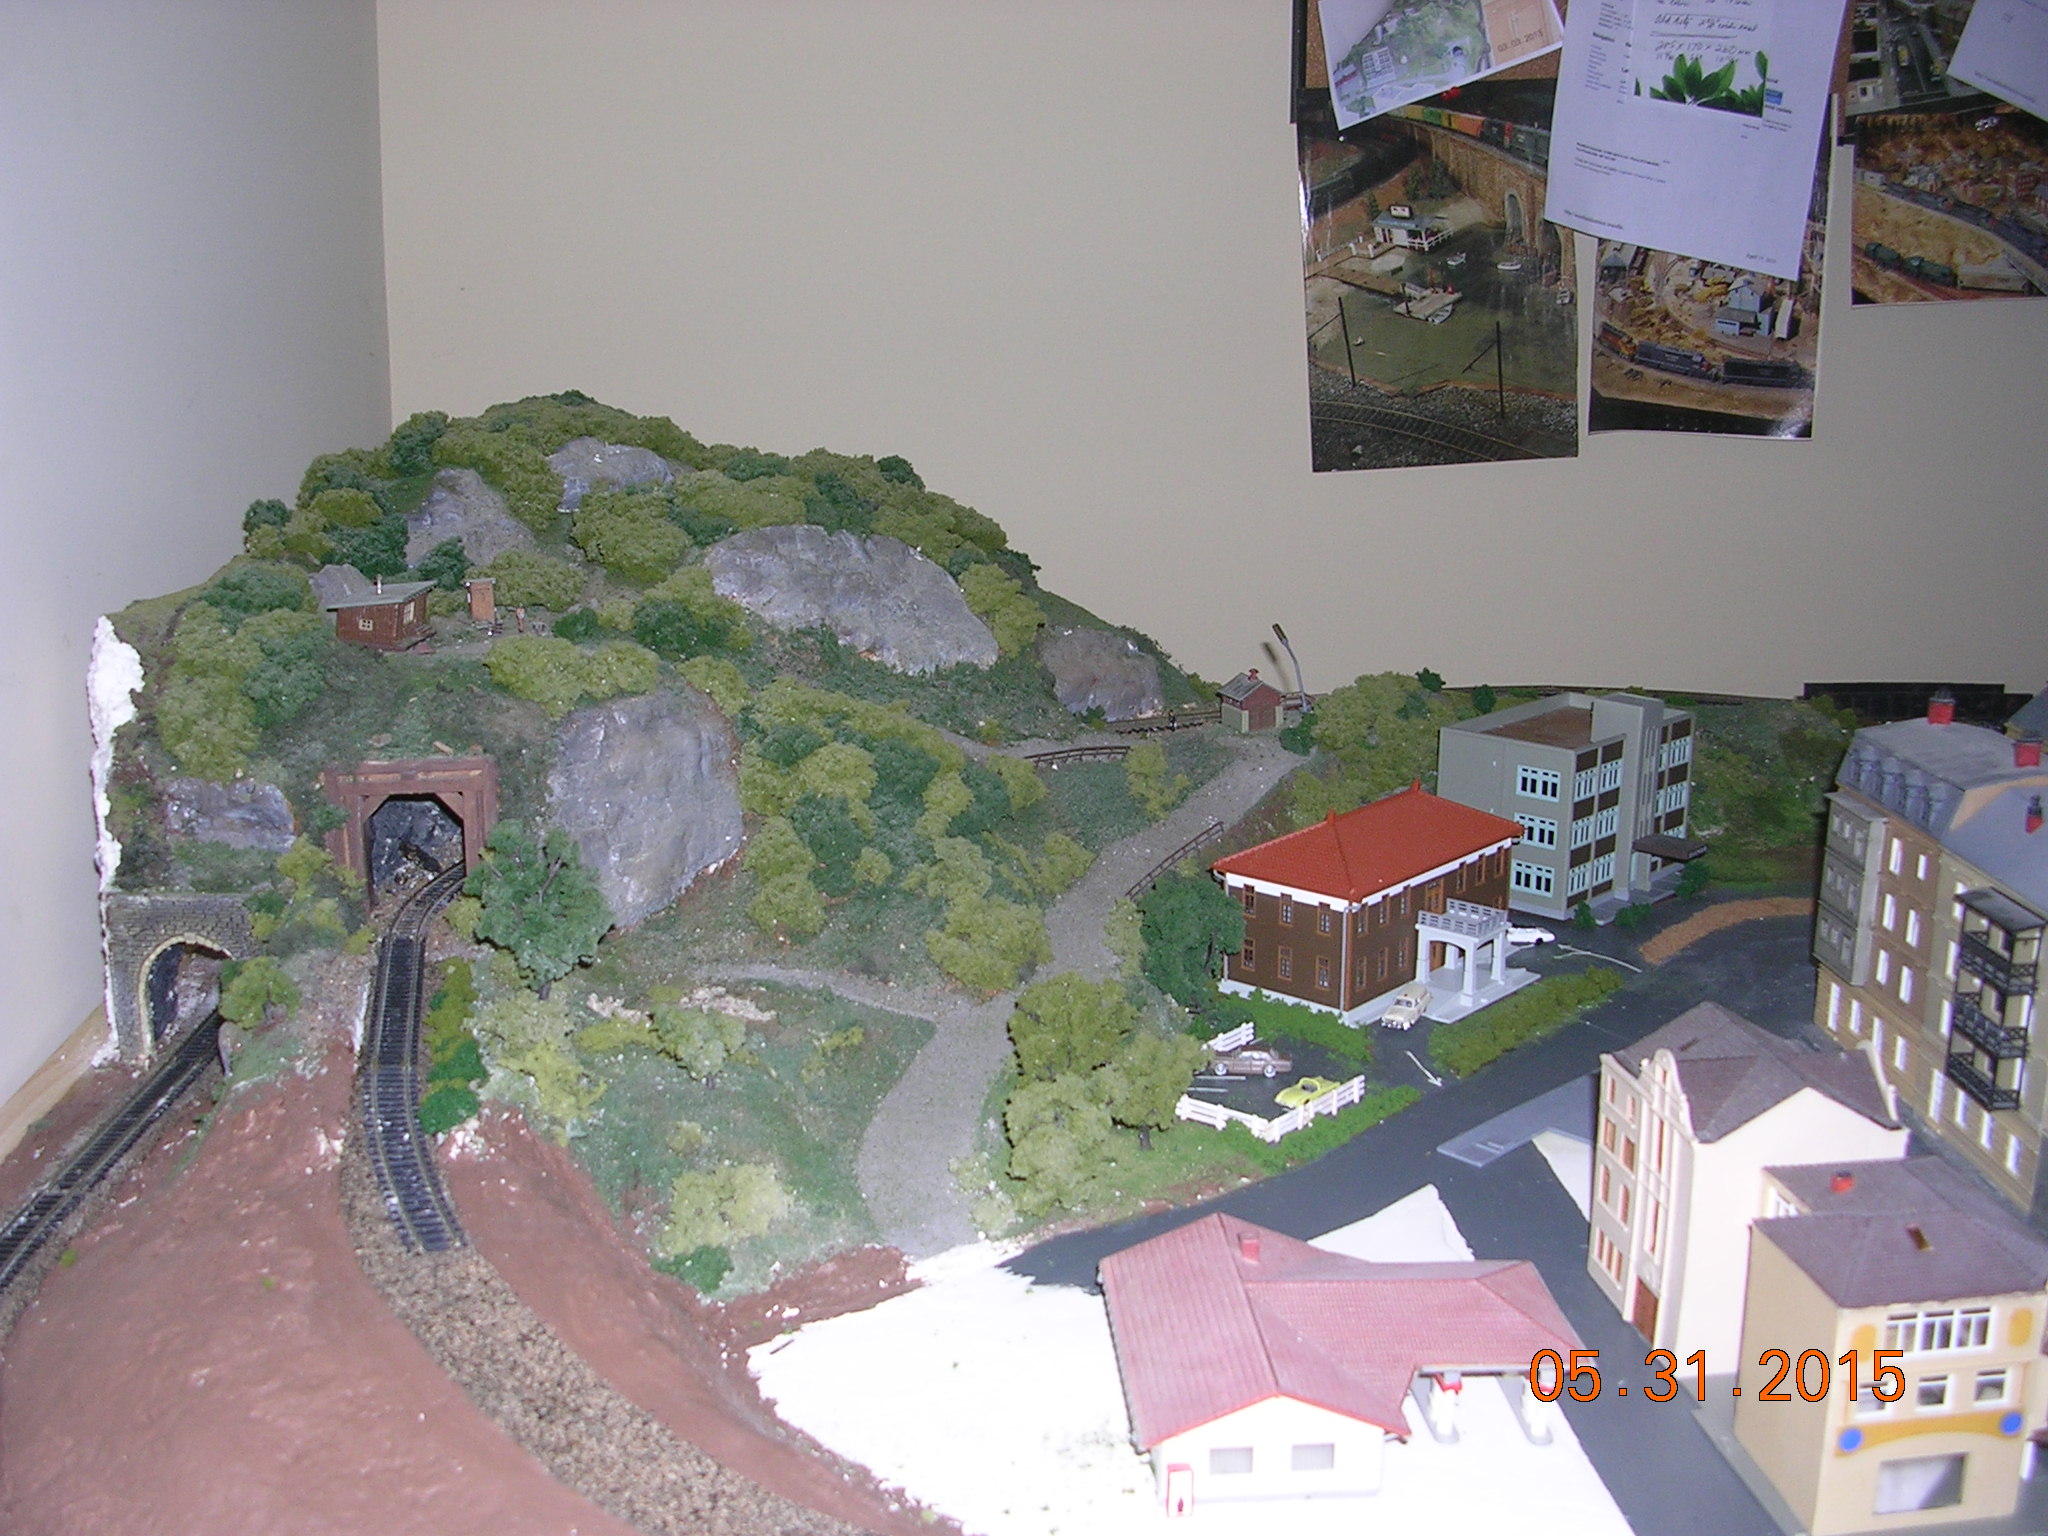
I’ve enjoyed all the tips and especially Dave’s videos. I recently moved to Wilmington, NC from Virginia. I had to tear down my layout (Bristol & Cheston). I made the decision tear it down completely and rebuild. I did save some landscaping that my wife made. I’ve gotten a lot of great ideas from the folks responding to your e-mails. I also gave a lot of thought to the economic activity to help determine the layout design. Moving goods and services between the two towns is important.
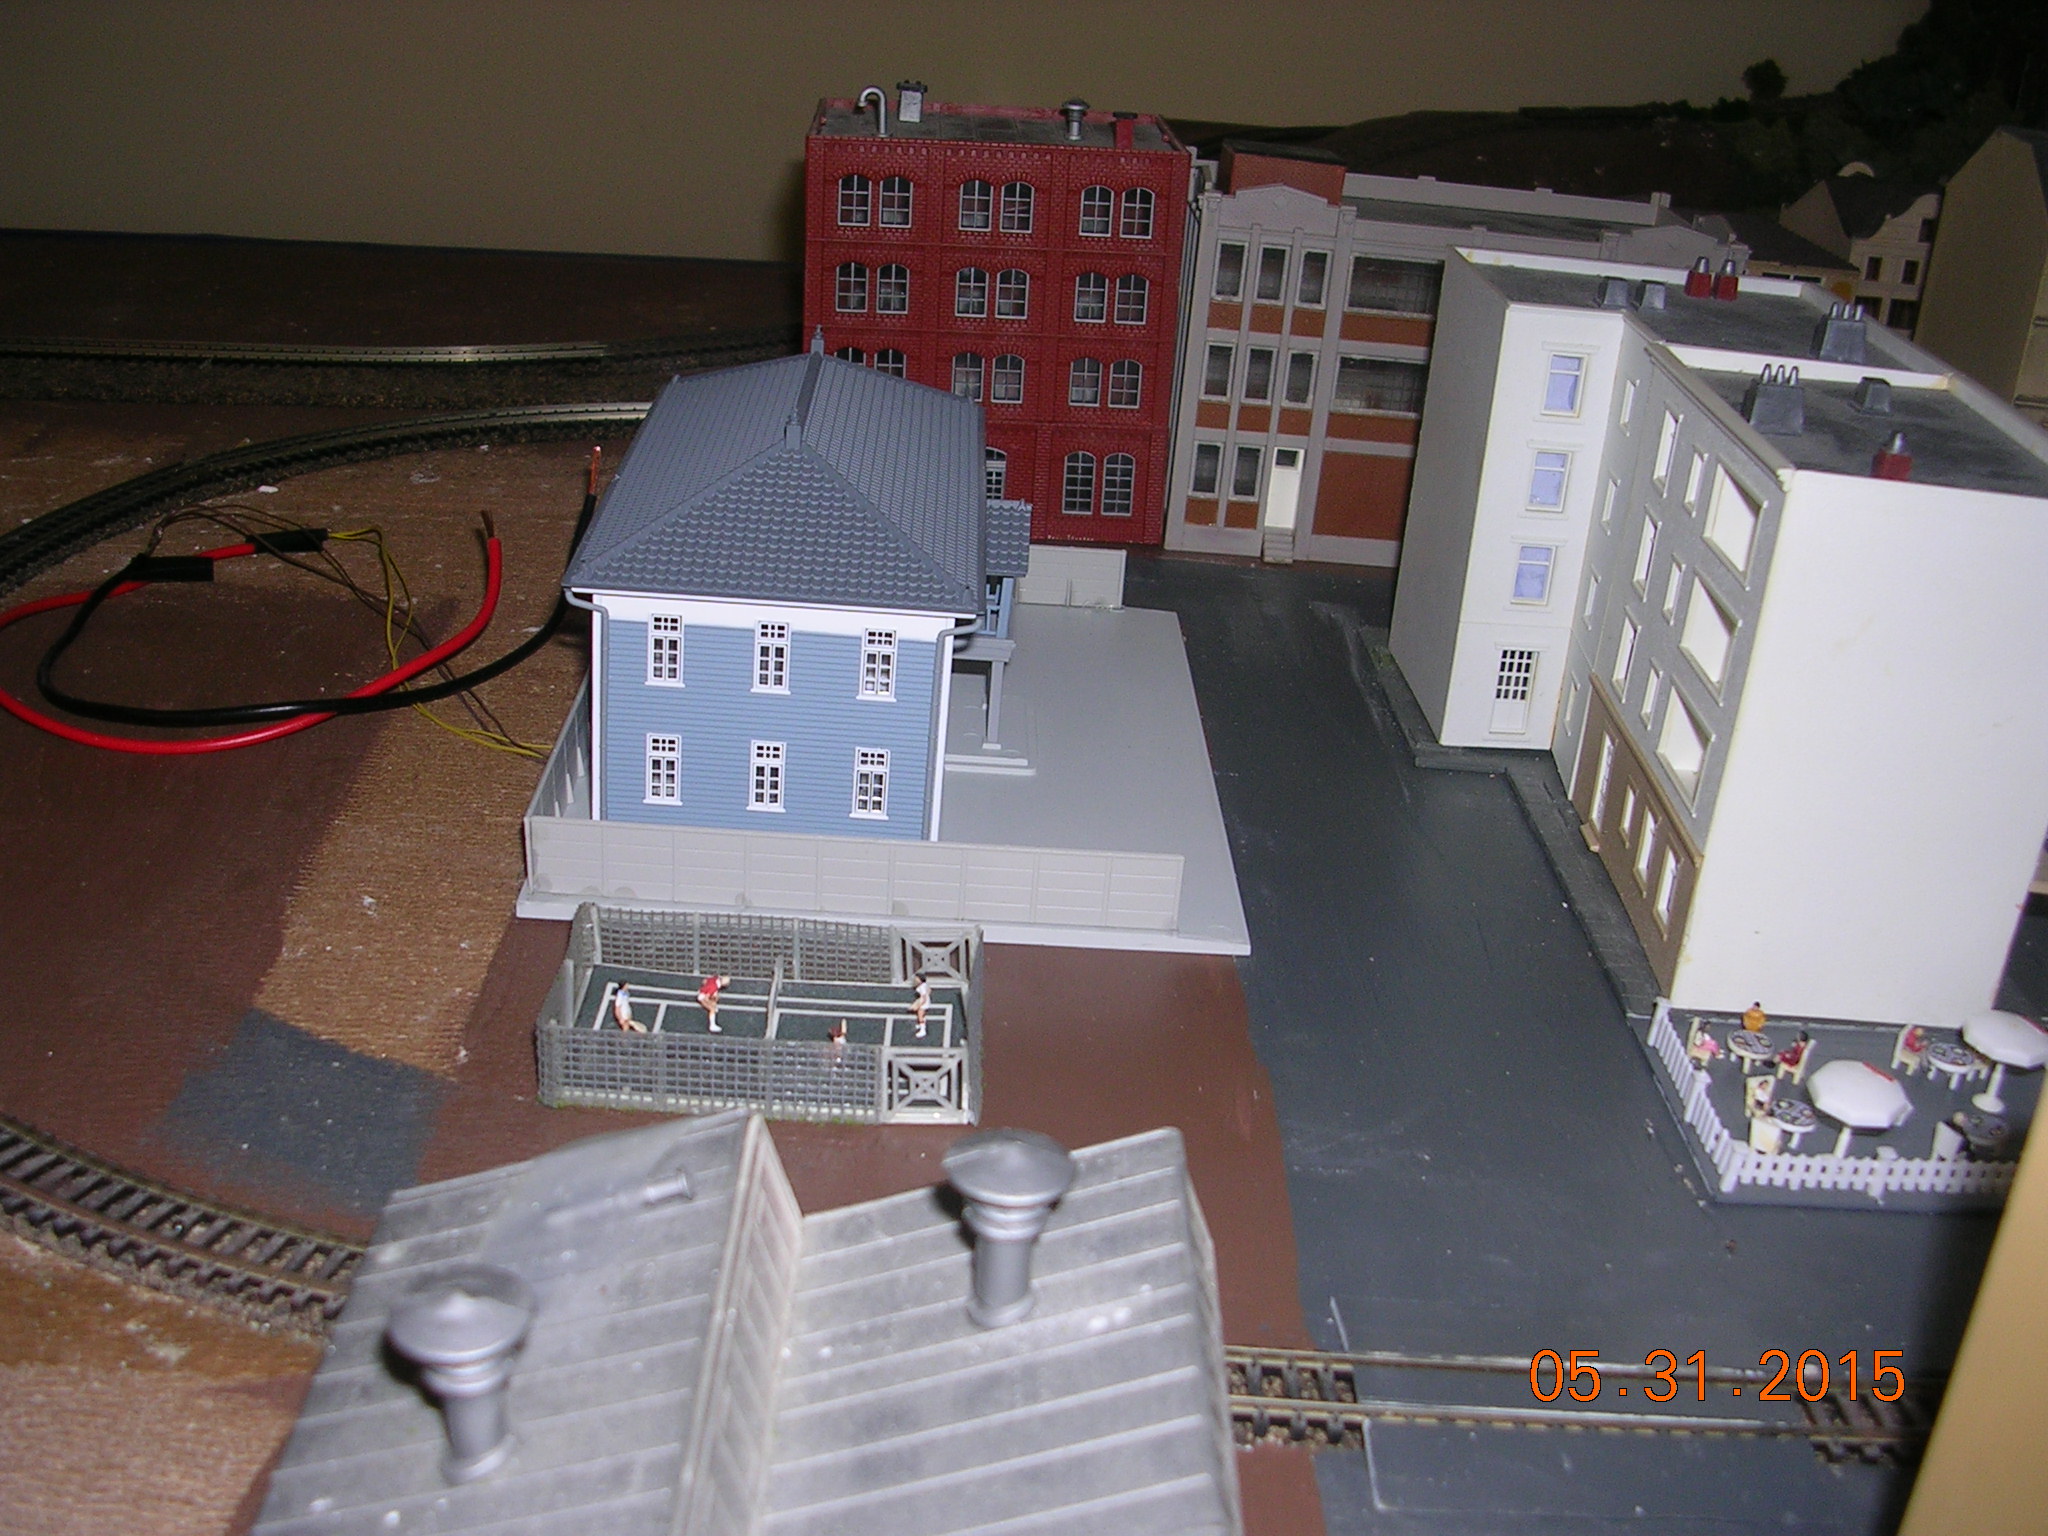
This is an attic layout that when finished will be 4 feet by 15 feet in scale. The base is made of ready to assembly cabinets. I had a need for storage of buildings, supplies, etc. The grid work is made up of 1 x 3 pine attached to the cabinet tops. I cantilevered the top over the base cabinets to get the 4 feet of width. Cabinets are only 2 feet deep. I used recycled 2 x 4 drop ceiling tiles on which to lay track and build up terrain. It is easy to handle and can be carved.
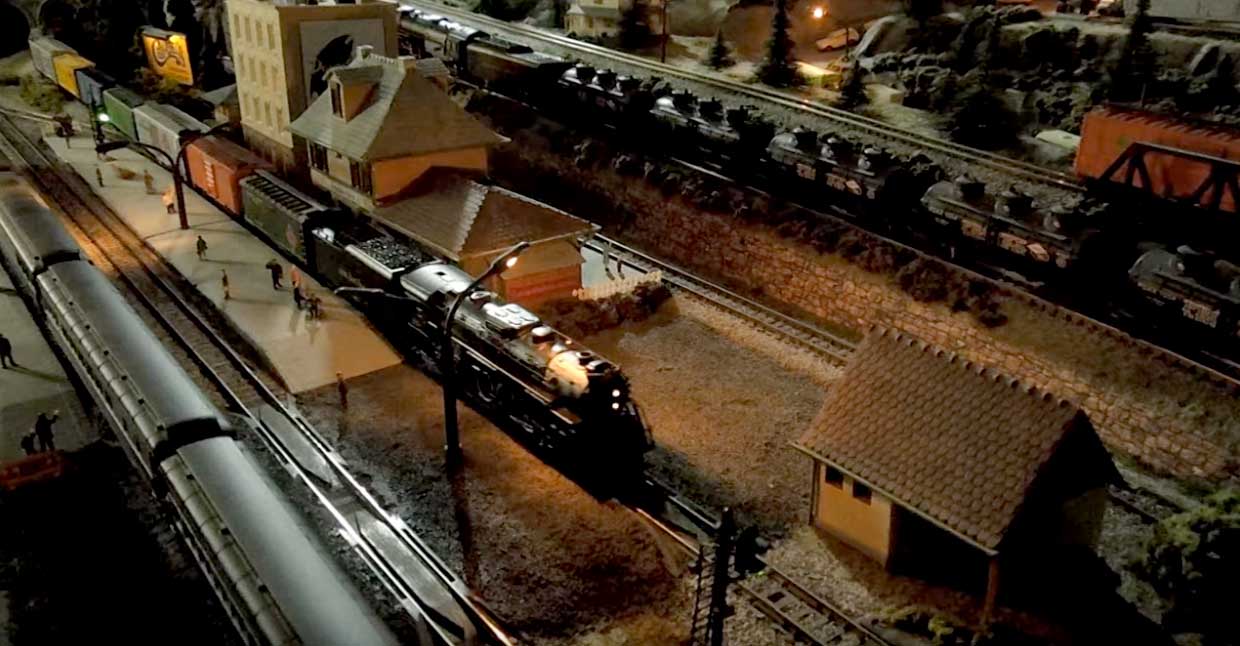
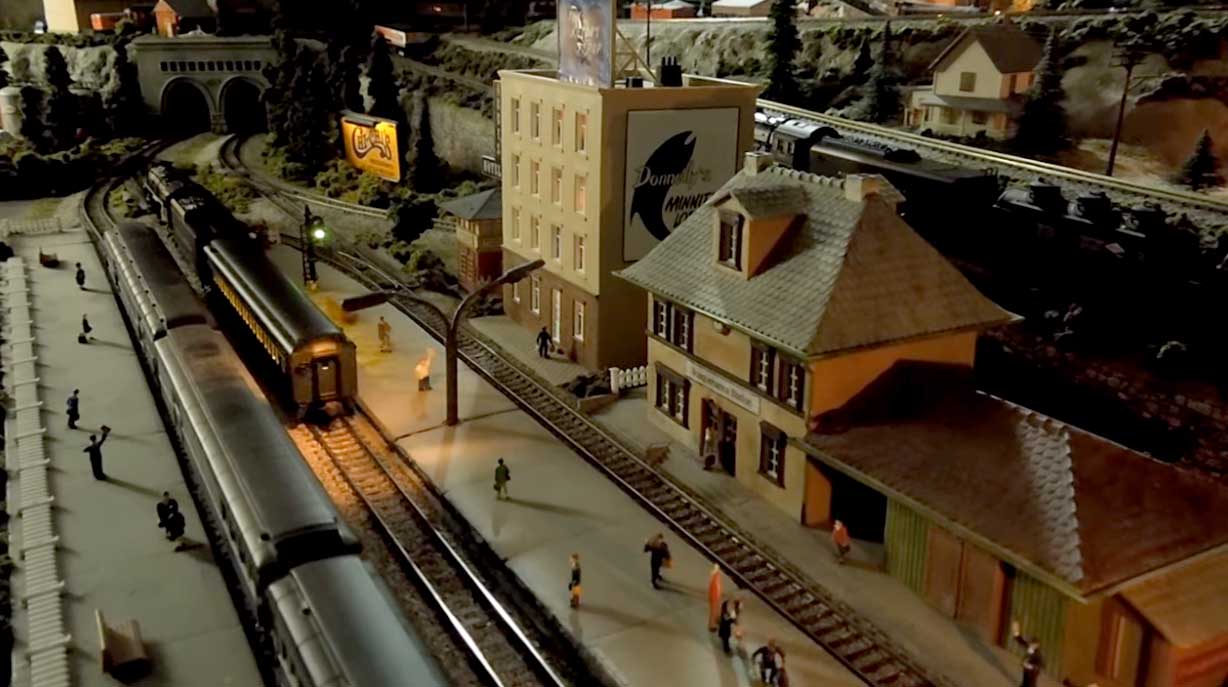
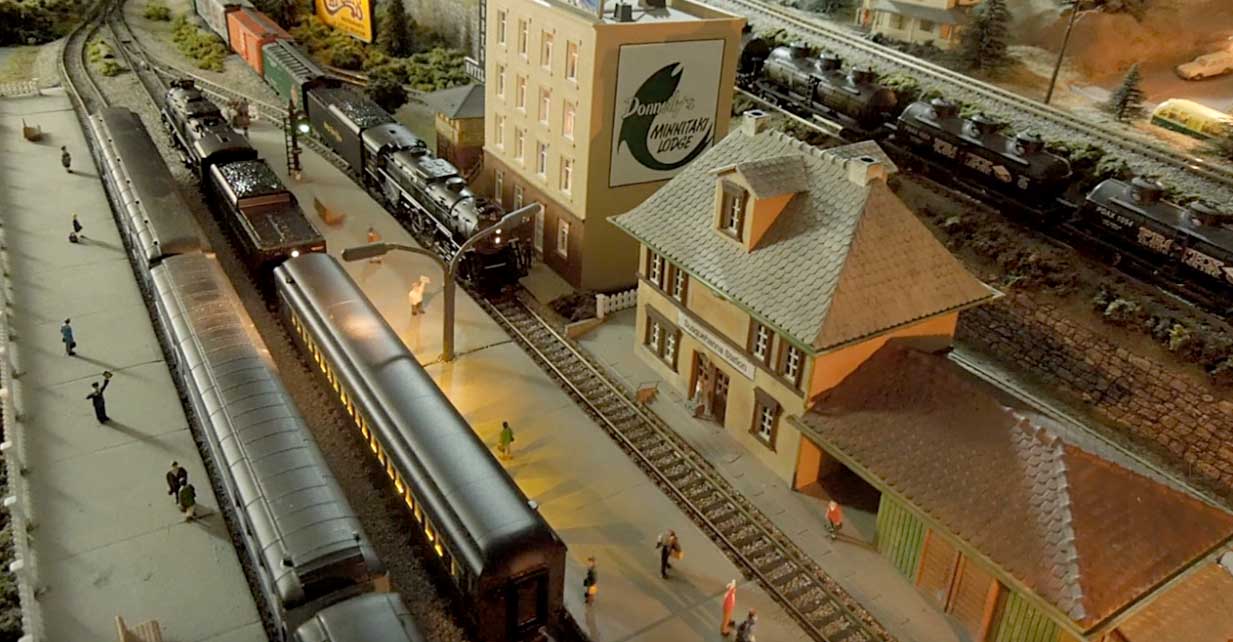
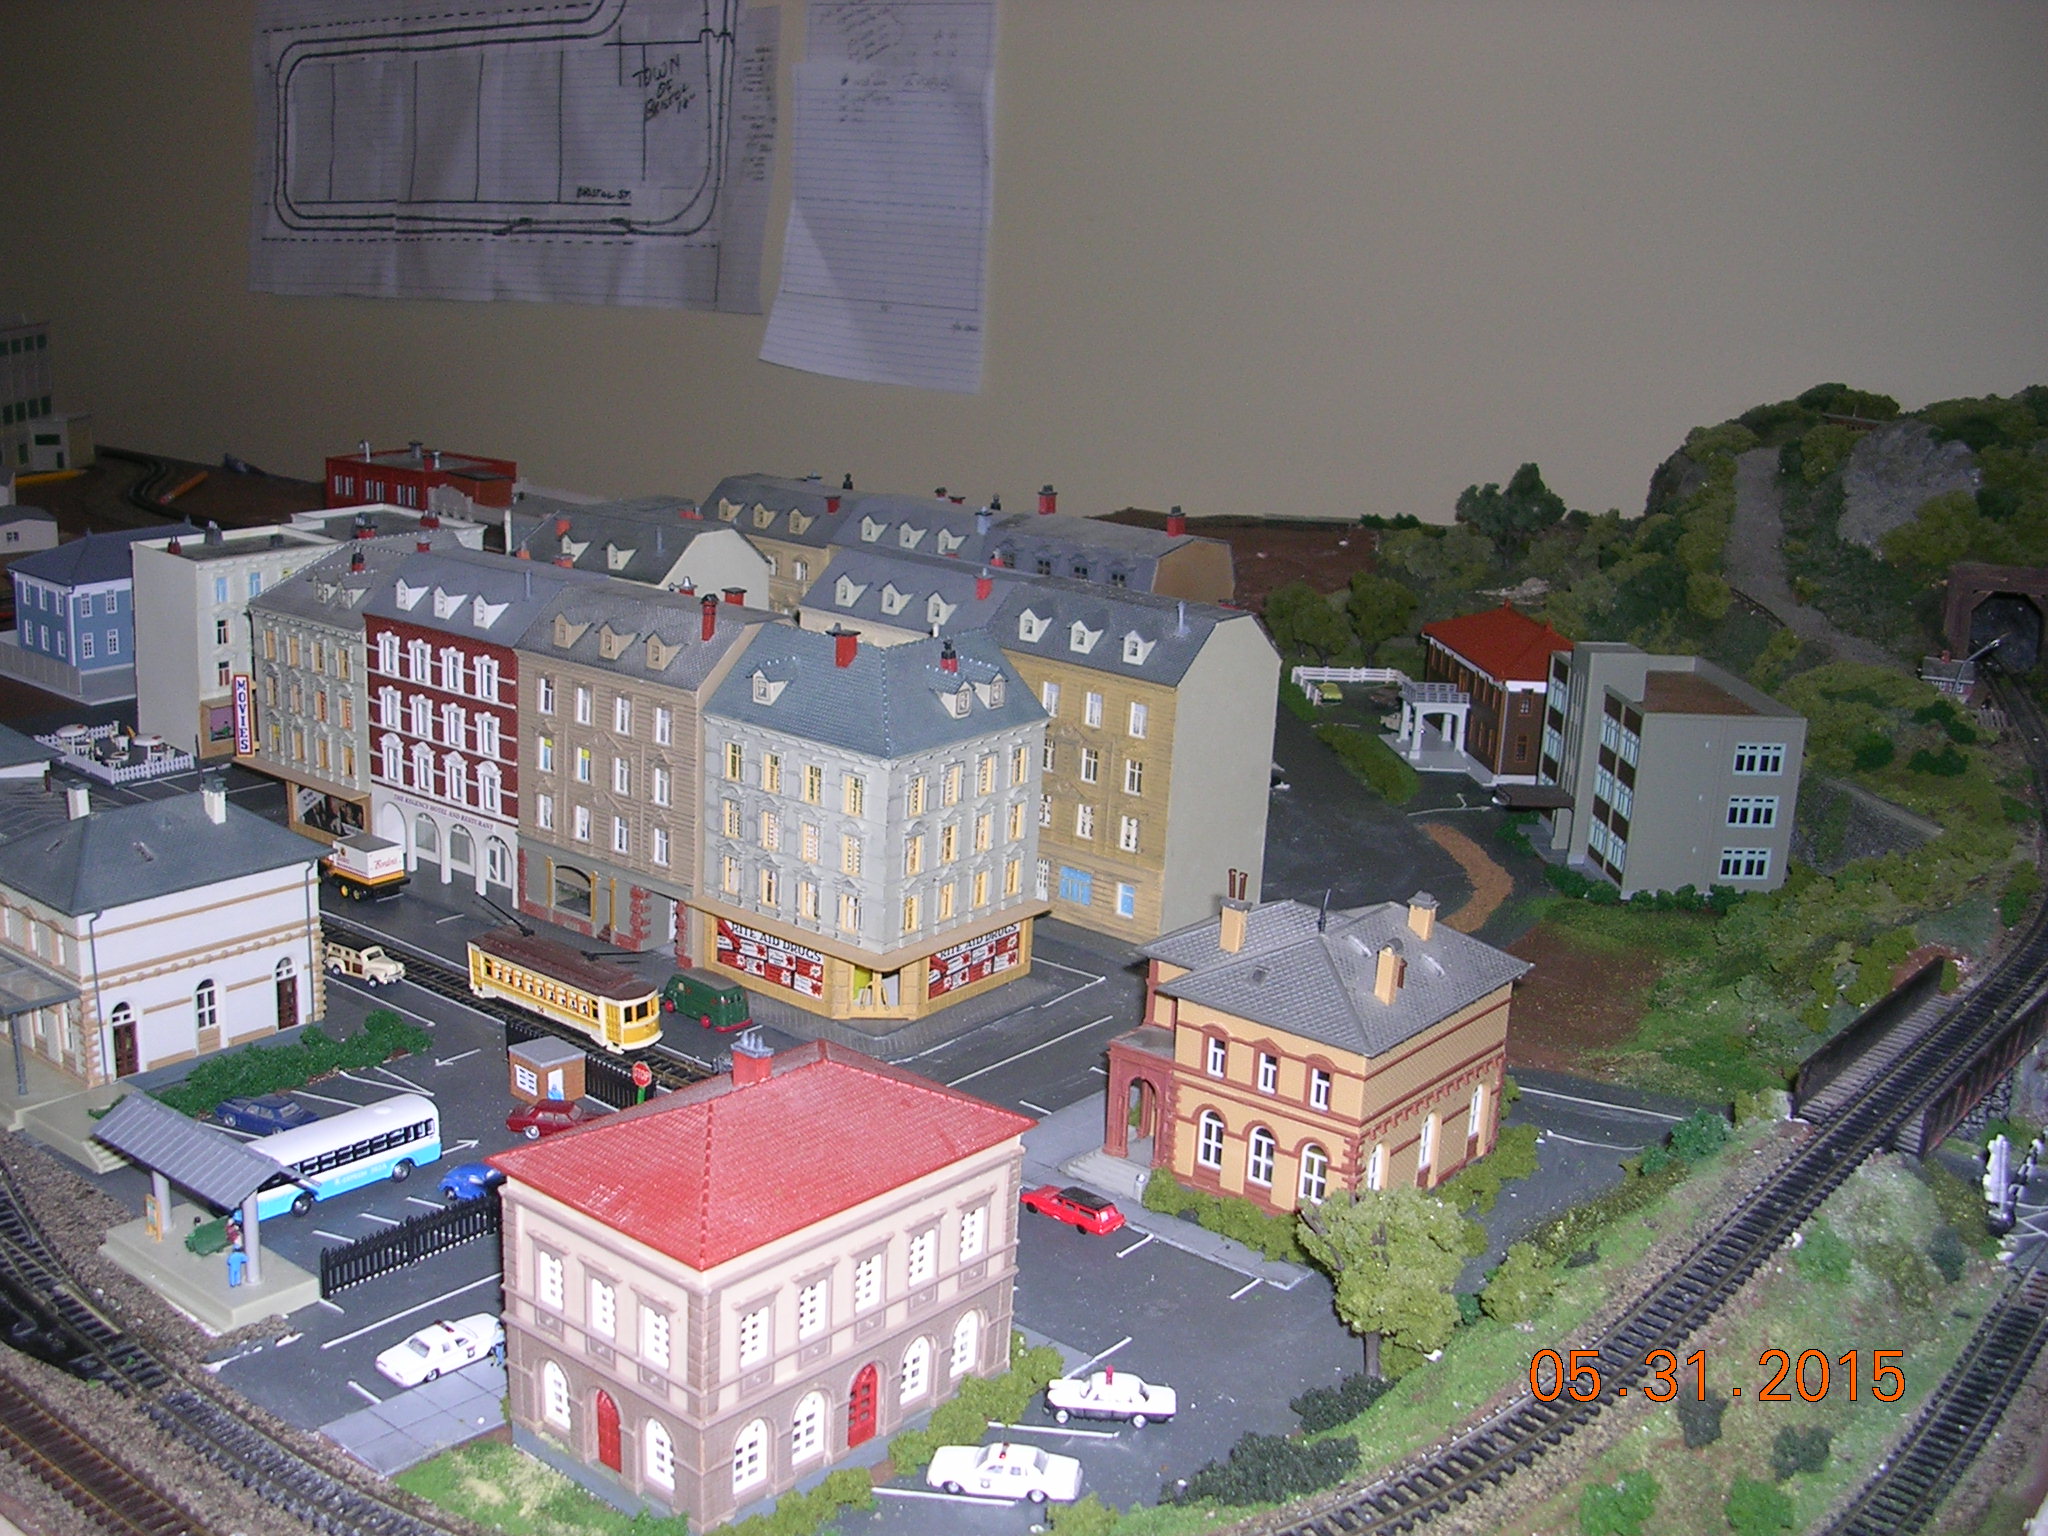
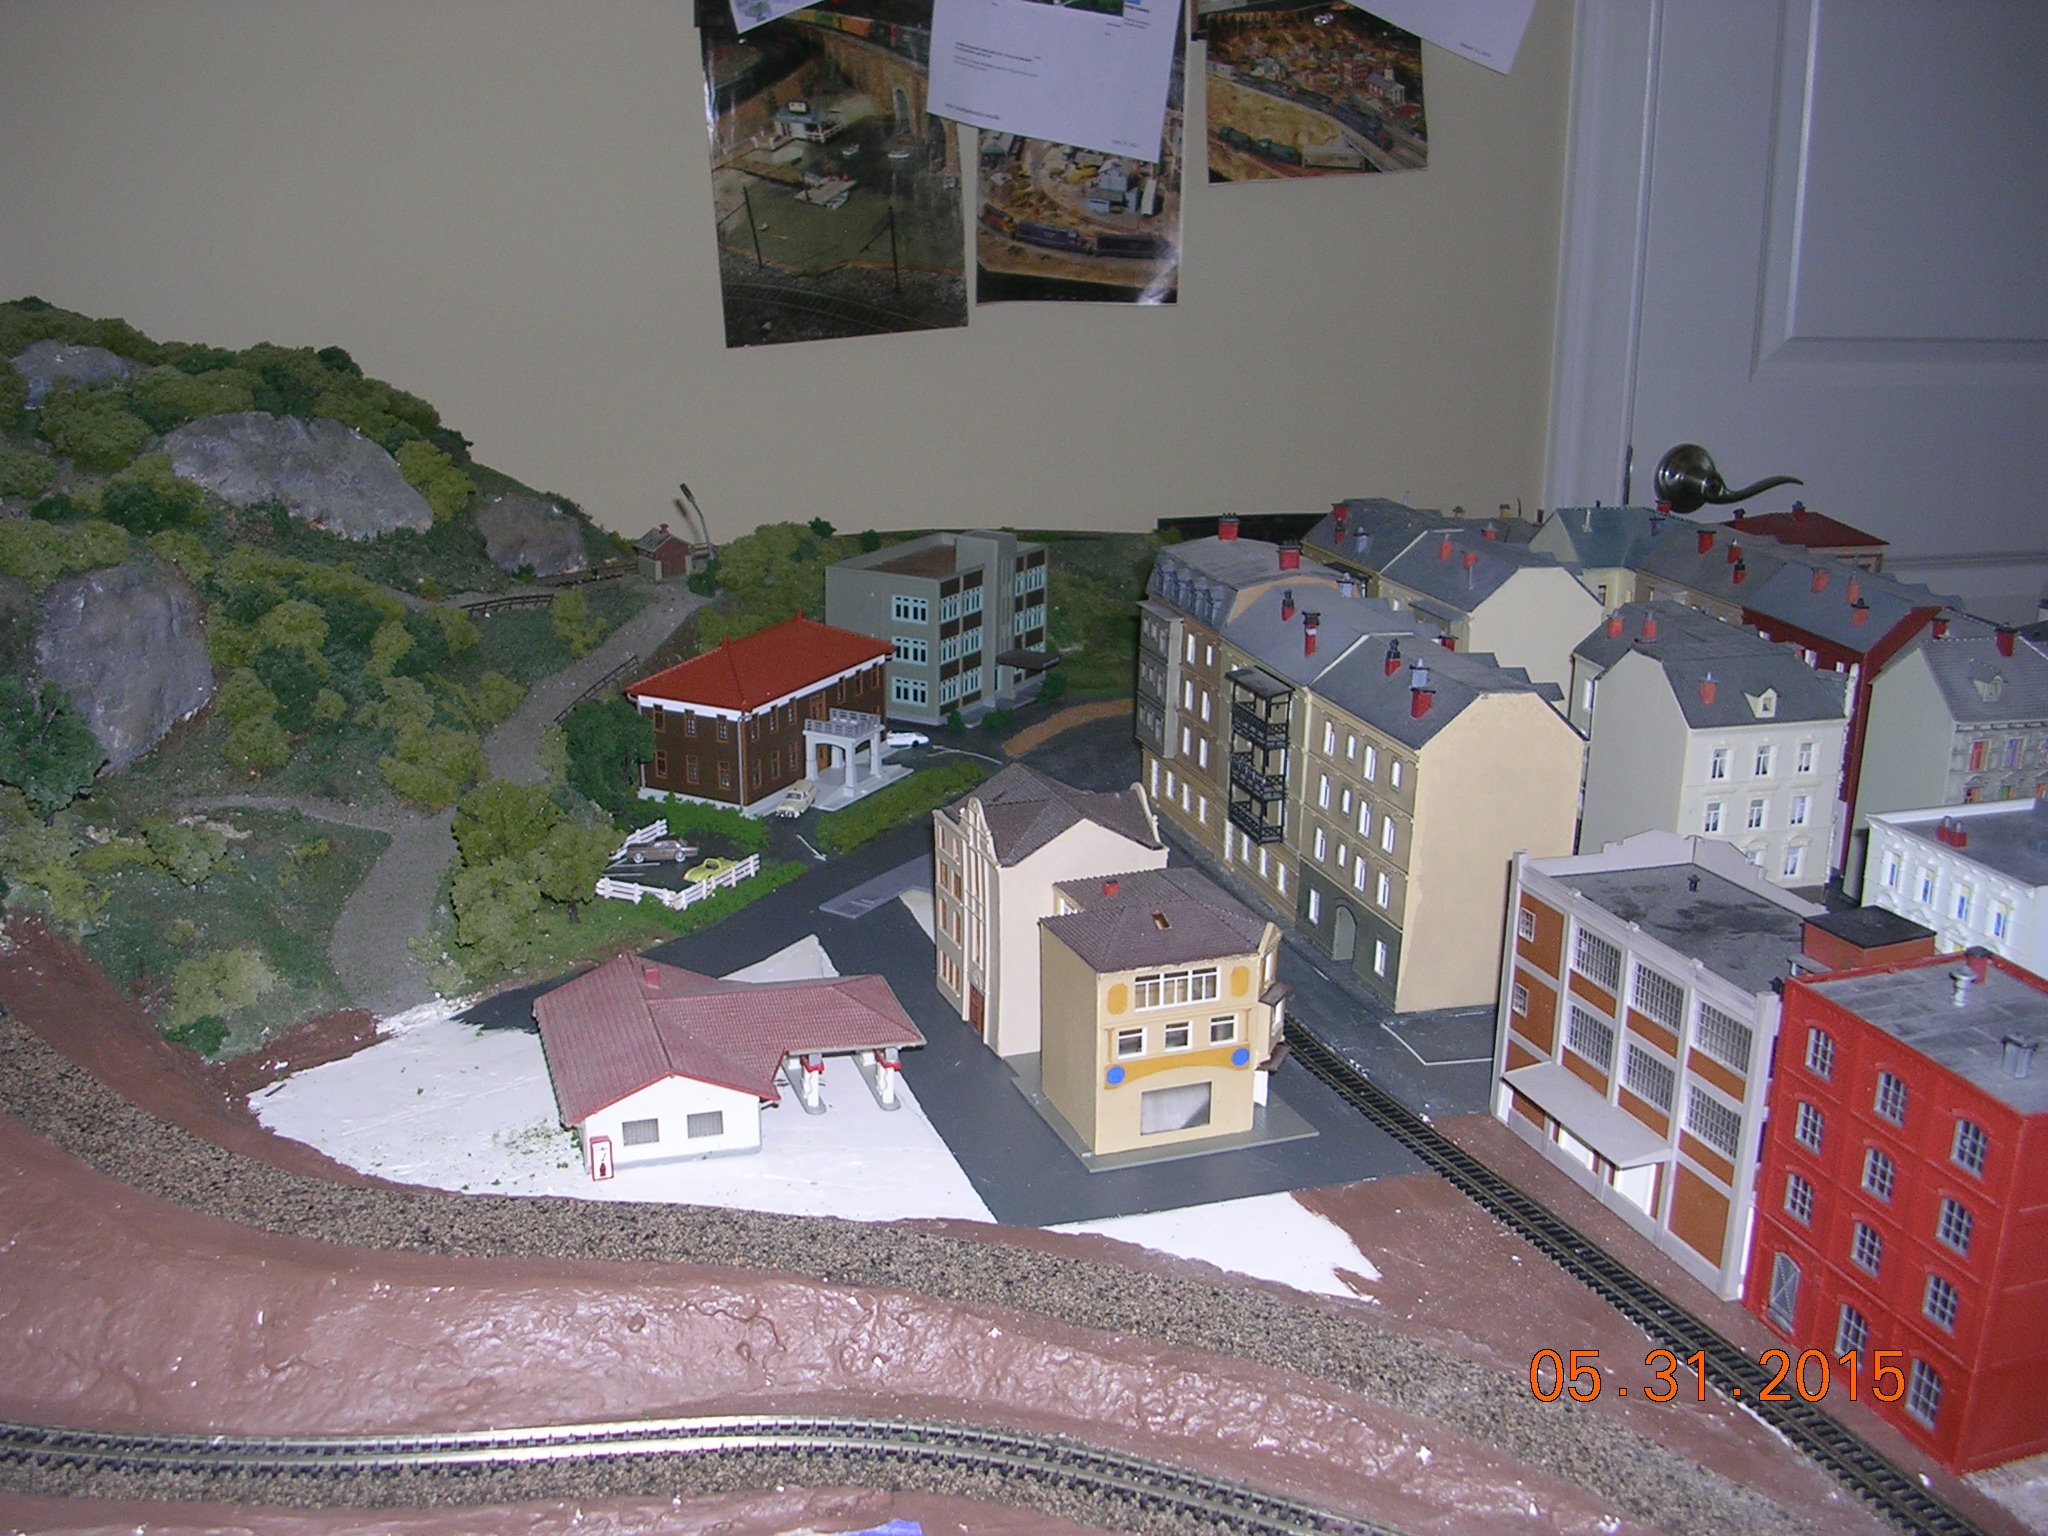
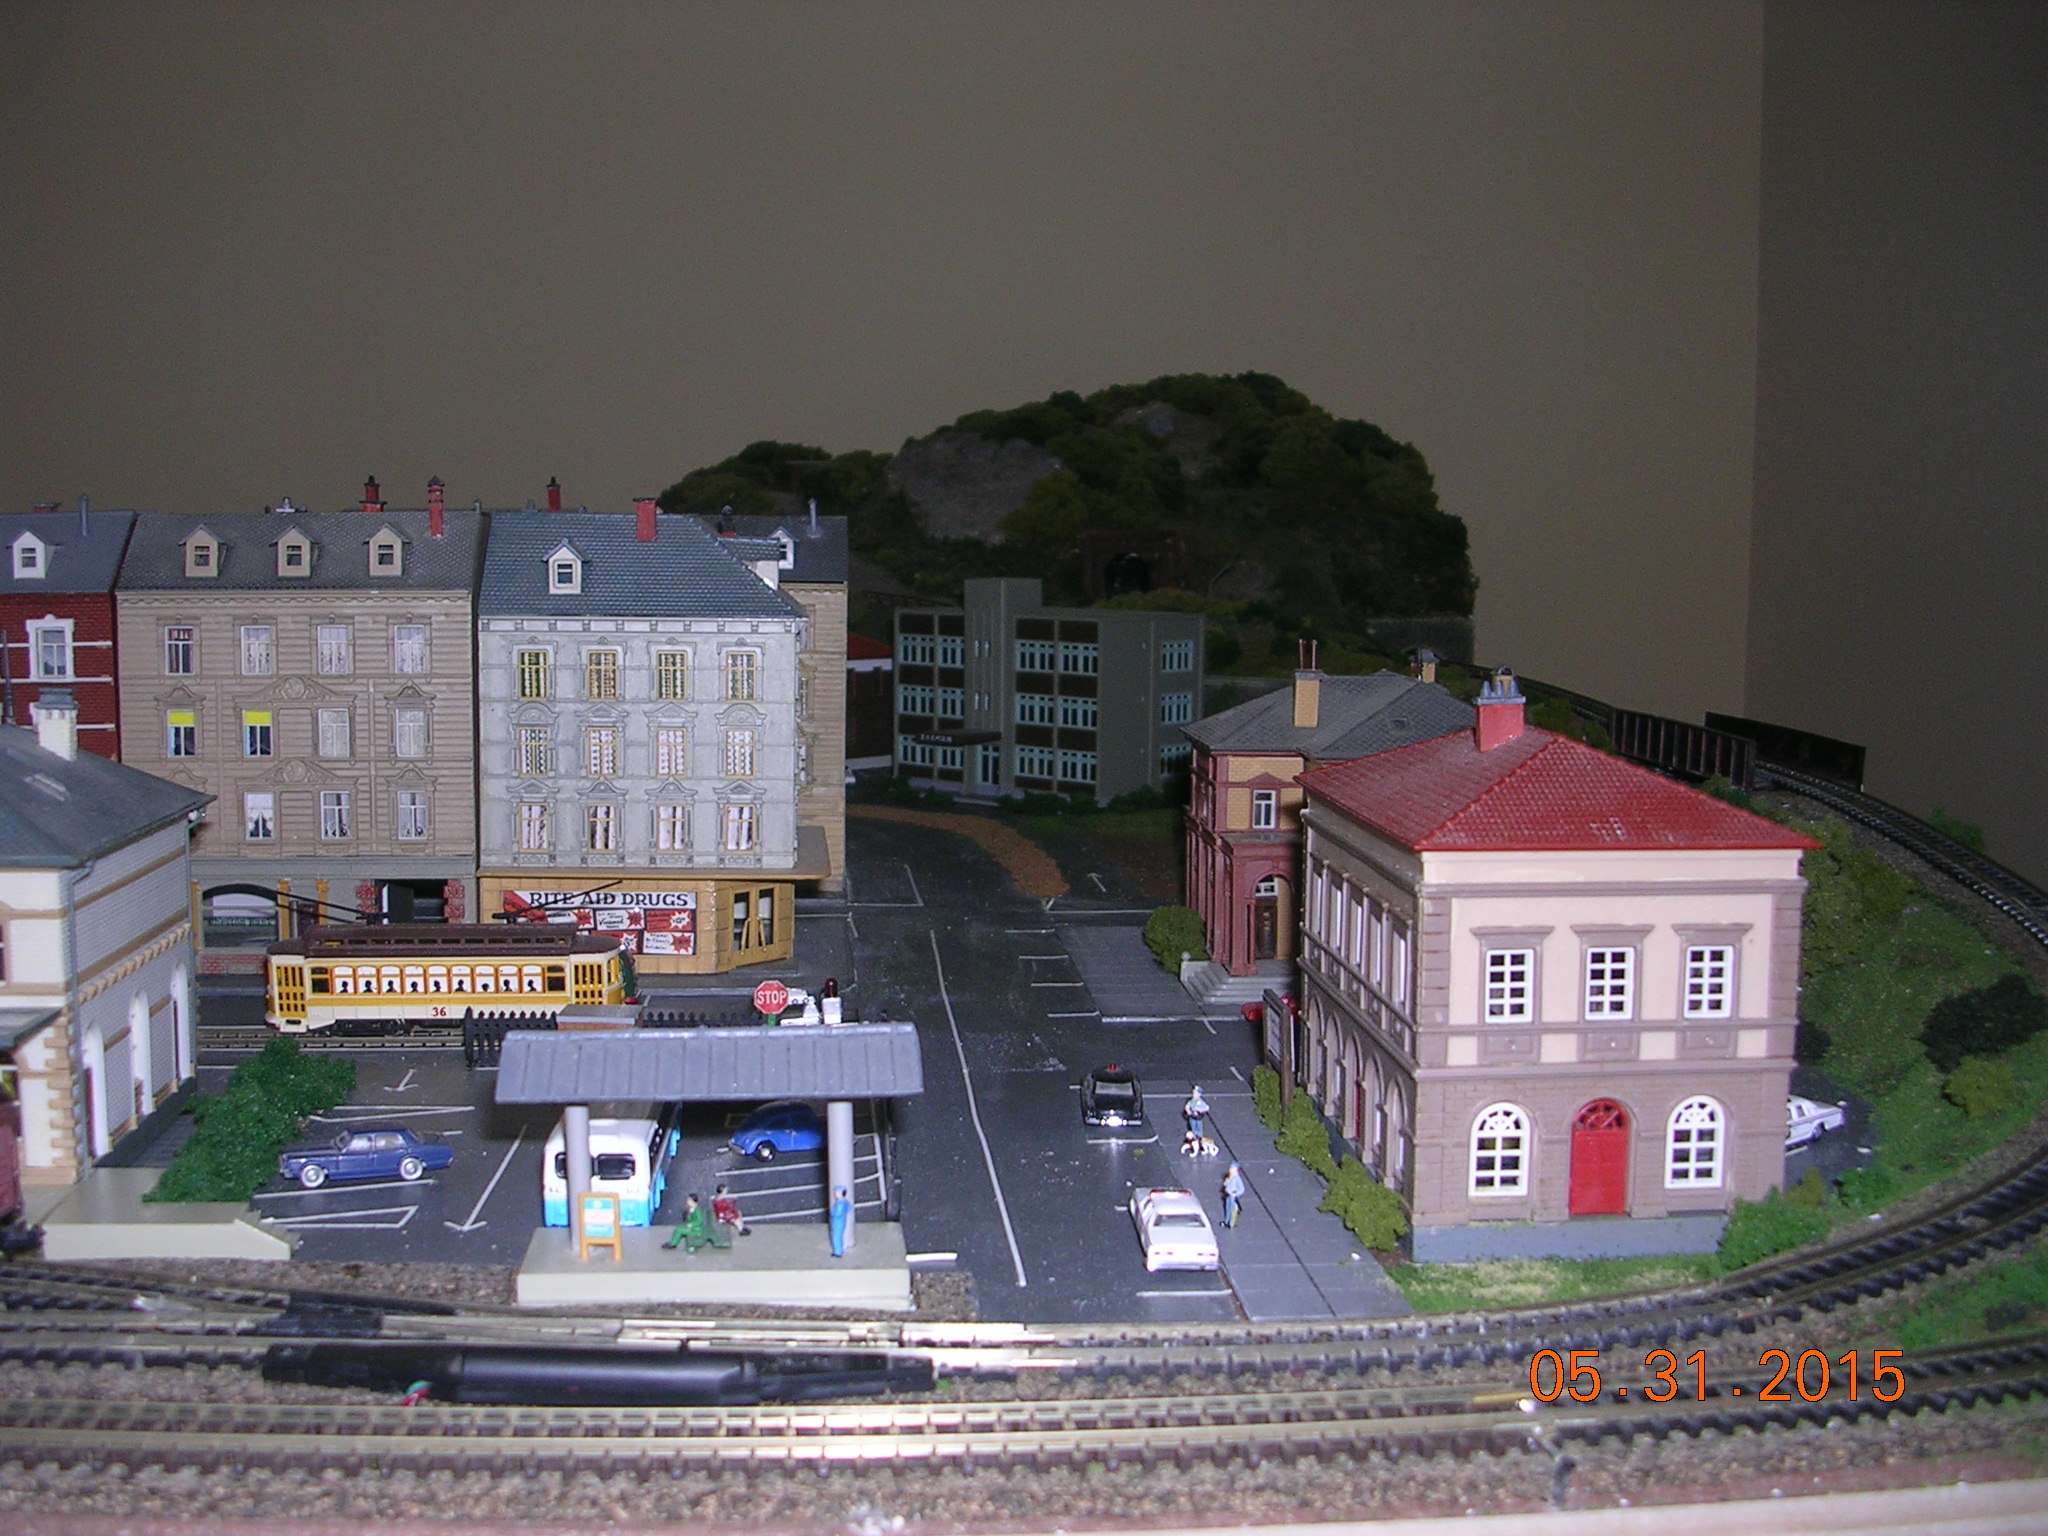
There are two towns. Cheston, the city you see the photos is partially complete. Cheston has a trolley system. There will be an industrial/commercial area to economically support the city. Future plans also call for a small resort town, Bristol, with a waterfront economic activity on the river and some local farming that will supply Cheston and Bristol with fresh veggies and meat products.
If what I am doing is of interest I will be happy to supply details of construction methods and wiring for this DC system. I thought a lot about DCC and haven’t ruled it out. A lot of my locos are not ready for conversion and it would be bloody expensive to buy all new stuff.
Schiffy”
A big thanks to Darrell for his take on how to wire model train street lightsand. Thanks to ‘Schiffy’ too. I do love seeing your creations and solutions, even if they are a few years old.
That’s all for today folks.
Please do keep ’em coming.
And if today is the day you get started on your layout, the Beginner’s Guide is here.
Best
Al
PS Latest ebay cheat sheet is here.