Here’s a reply from Lou on his last post (which is here).
“As far as the mold release, I had the very same issue when originally painting the gesso onto the resin. After my second attempt, I called Joel Bragdon. Here are the steps.
#1 Do not use vaseline. I originally used magic bullet mold release.
#2 From 2 years ago when I used the mold release, this time I used none, which means chances are there was more than enough on the molds from 2 years ago.
#3 I did not use the recommended spraying of Laquer in to molds. I went directly into the mold with resin. Once the resin was somewhat ready to remove, I remove it and never backed it with the foam product only because I already had a very good substrate. I hot glue them directly to the mountain and feathered the edges.
Here’s the trick. Go to the hardware store and pick up TSP (tri-sodium phosphate). It’s a powder for prepping walls. Mix with warm water and scrub the resin. Wait to dry and scrub it again. Make sure you allow to dry and rinse between phases. Once completely dry, mix 1/2 part gesso and 1/2 part Kilz2 latex primer. Paint the mountain.
Once the mountain is completely painted, wait about 20 minutes and go back with a dry brush to eliminate some of the buildup of gesso in the crevices while its still wet. This will keep the crevices real sharp and eliminate buildup. WAIT UNTIL COMPLETELY DRY UNTIL YOU ATTEMPT TO MOVE ON. Have other projects going at the same time as to get your impatience back to the mountain too early Hope this helps.
Lou”
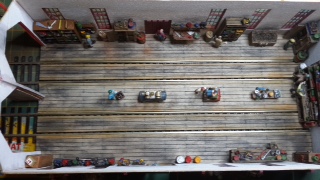
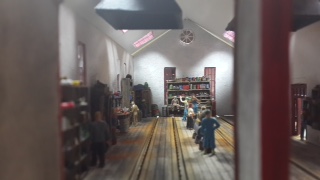
“Hi Al
A few photos of the weathering progress on the 2 stall HO scale engine house.
A little more dirt and grime to be added and finally the interior and exterior lighting.
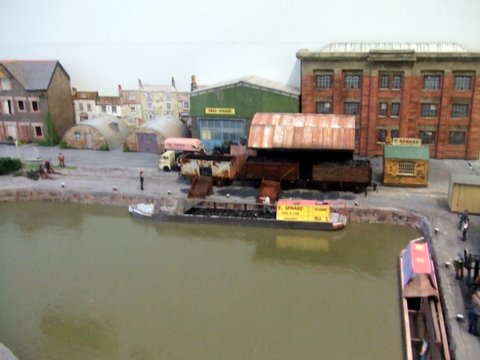
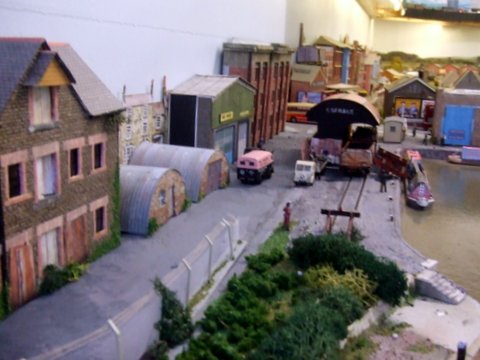
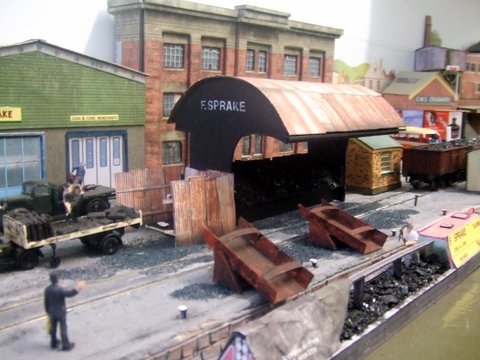
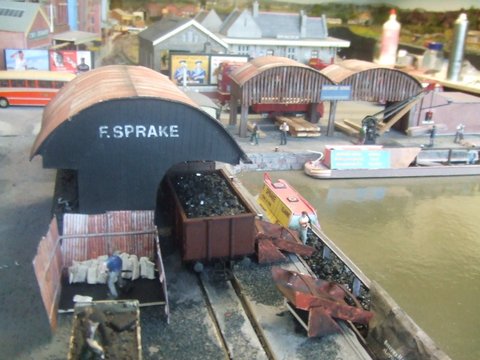
Alan’s been back in touch with his stunning model railway:
“Hello Al,
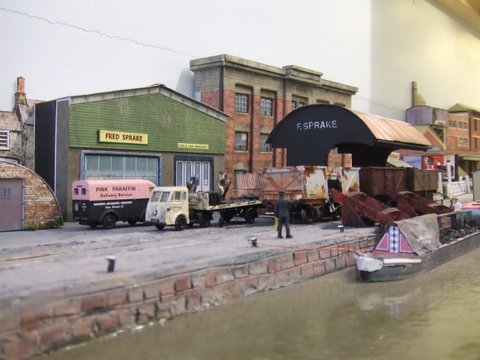
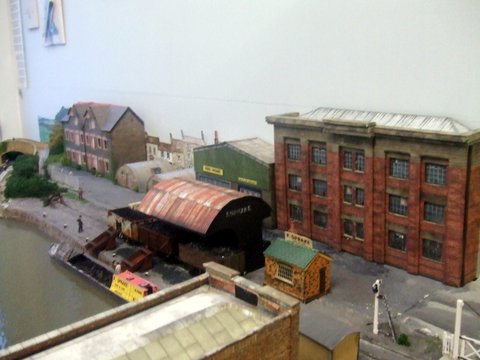
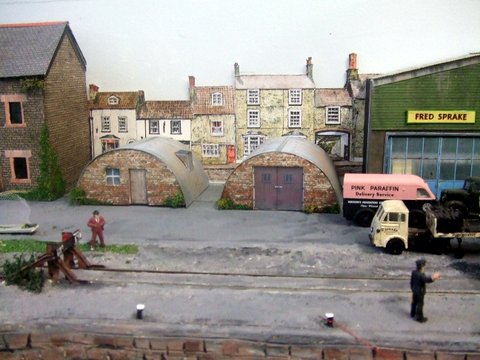
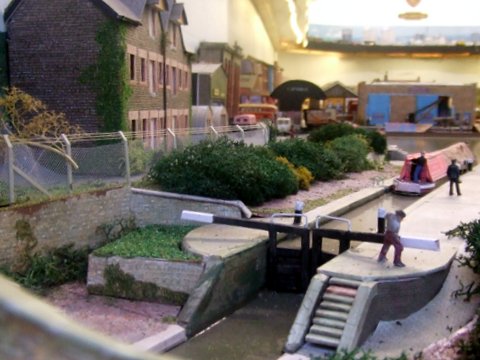
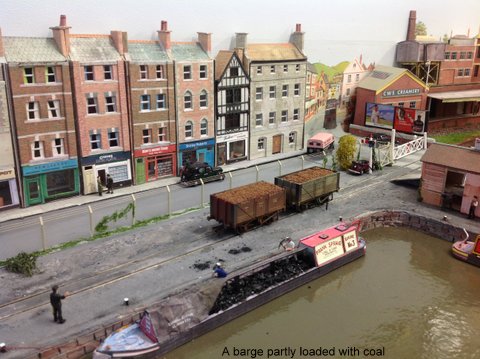
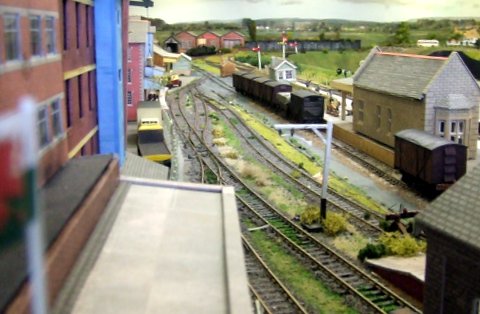
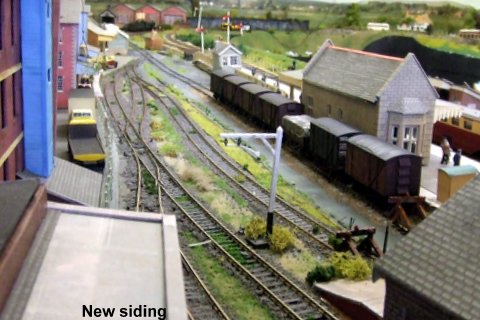
a lot has happened since my last message. New track layout and the canal basin has been transformed.
The first picture is how it used to look, but I wasn’t entirely satisfied with the high street shops right at the end of the ‘town’, there is usually housing or industrial sites at the edge of towns, so I replaced the shops, removed the security fence and built a larger coal yard with shutes for loading the barges.
All scratchbuilt so far including a run-down old warehouse – a couple of warehouse kits, nissen huts and some corrugated iron rusty fencing. I used the latter for the roof of the coal yard building. At right anges to the coal yard is a timber warehouse, again I wasn’t really satisfied with that so again I scratch-built another one using the corrugated iron for the roof.
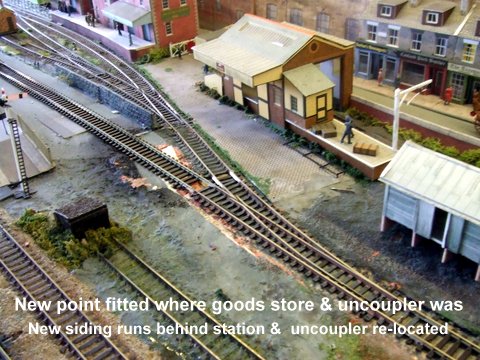
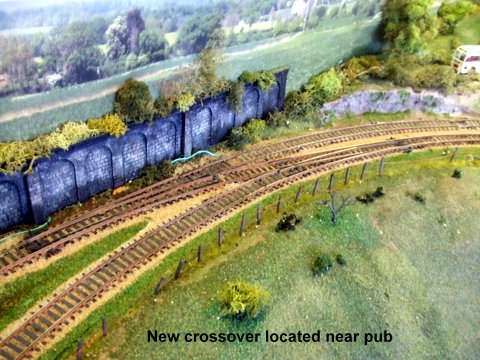
The track now has a crossover between the two lines so that goods trains coming out of the tunnel from the lower fiddle yard can now enter the goods yard without having to enter the station first and then backing into the yard.
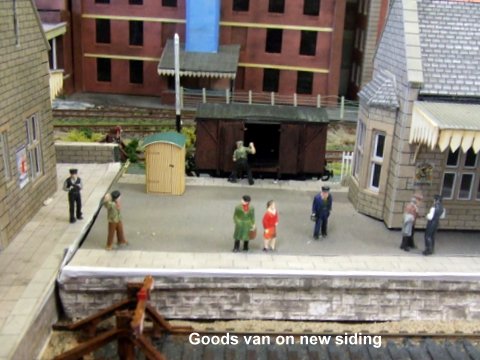
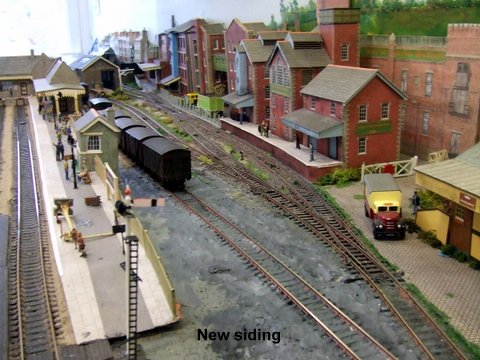
Where the old coal yard was now has a point (switch) to an extra siding which runs behind the station thus giving me more storage space.
Well thats all for now, I hope your followers approve of the changes, I certainly enjoyed building the new structures and the track changes make for a more interesting running experience.
bye for now
Alan, Dorset UK”
A big thanks to Alan for sharing his model railway – I really do enjoy his work, especially the canal part. Keep ’em coming folks.
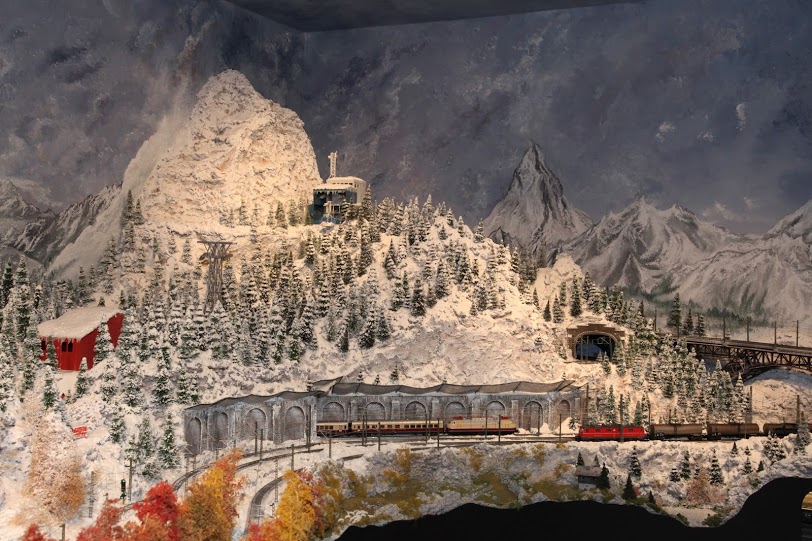
Alan’s been in touch with his tips on How to build a model train mountain:
“Hi Alastair.
Suggestions: ( mistakes made and techniques refined )
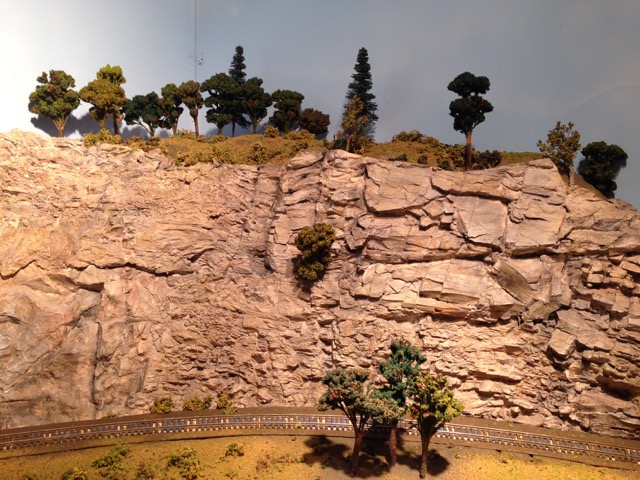
1) Mountains:
a) Foamboard
-Use 1” thick segments carved to profile of mountain; placed vertically.
-Cover with nylon netting…hot glued
-Use either thin paper towel material or ( even better) old rags material cut into 1’ squares soaked in dilute plaster — to apply over netting ( cost effective vis-a-vis orthopedic plaster roll materials ) …creates a shell of the mountain.
-Hot glue smaller pieces of pink foam board to the shell just created —for outcroppings, ledges, waterfalls, etc
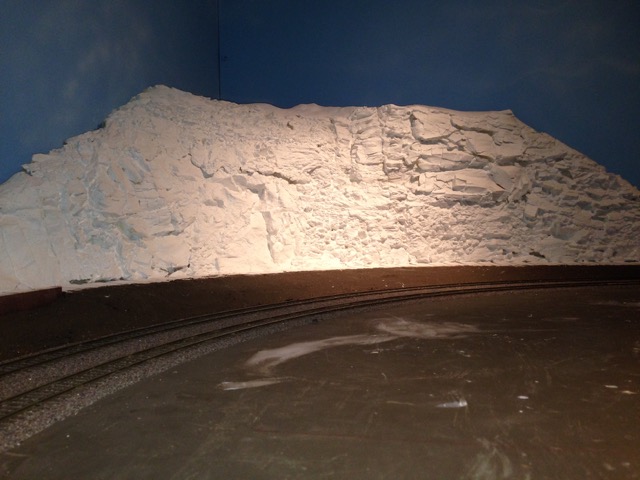
-Sculptomold:
-Buy in bulk…25# or more….
-When mixing sculptomold, use at least 50% cheap gray paint…with the water ( you’ll appreciate the gray paint when drilling holes in the plaster cast to plant trees. )
-After Scupltomold dries, “dry brush” or “wash” various colors ( burnt ochre, sienna, etc )
-Dry Brush acrylic white paint over Sculptomold to bring out the texture of the material….makes the scene “pop”!
-Add snow…commercial or sifted plaster material.
-If prefer greenery, mist matte medium over dried Sculptomold and “blow” fine greenery over the vertical faces of the mountain…
b) Wood Frame:
-Basically same concepts but more amenable approach to cover staging yards, helices, etc. ( see my pix)
-( I have never used the cardboard strip approach….I guess I’m too lazy to cut all those strips )
2) Tunnels:
-Various materials available…plaster casts, etc
-Don’t forget to paint interior of tunnel with black paint “deeply” into tunnel past tunnel entrance.( amazing how far a visitor can see deeply past the tunnel entrance! )
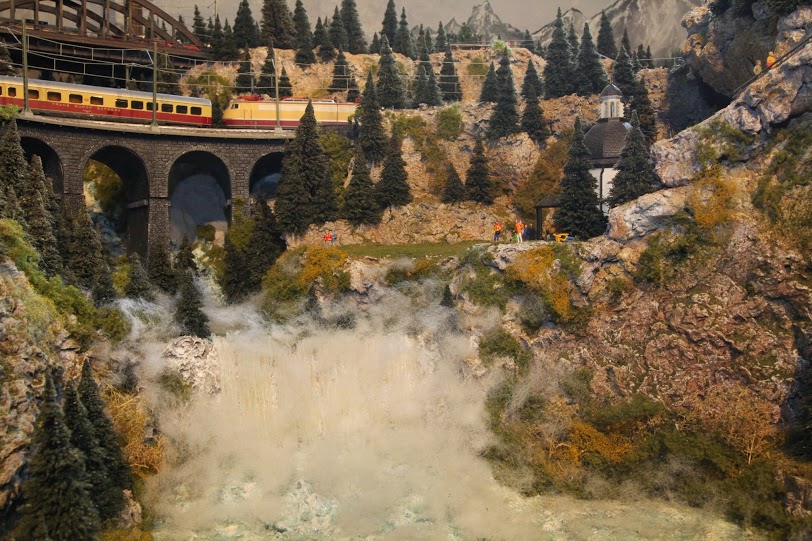
3) Mountain “Relief” against a wall:
-Hot glue a thin ( 1”) segment of foam board against the wall adjacent to the track “scene”.
-Carve / round off – the top edge.
-Apply a thin coat of sculptomold to the face of the foam board and “scenic” as above.
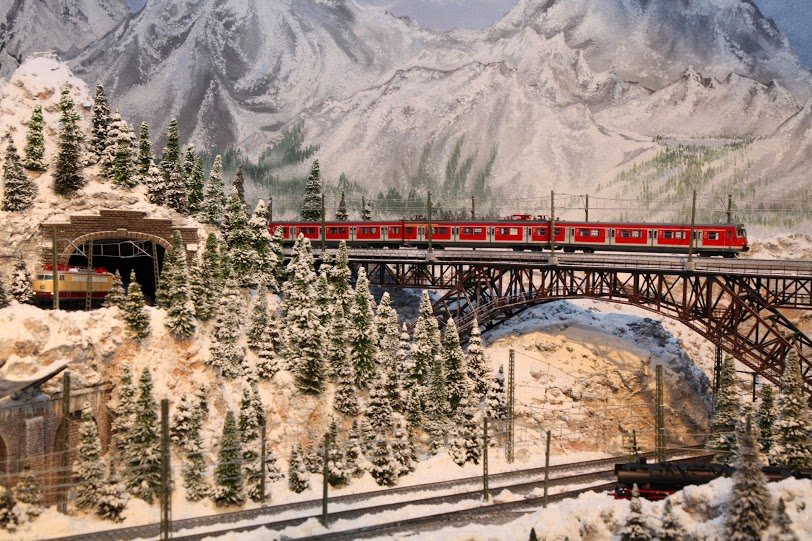
-Amazing how much depth this adds to a narrow scene….( see my pic of the Bietschtal Bridge—just behind the bridge is this technique )
That’s all for now…thanks for the opportunity to share…
Alan”
Next on to Lou, who also has some good advice on how to build a model train mountain.
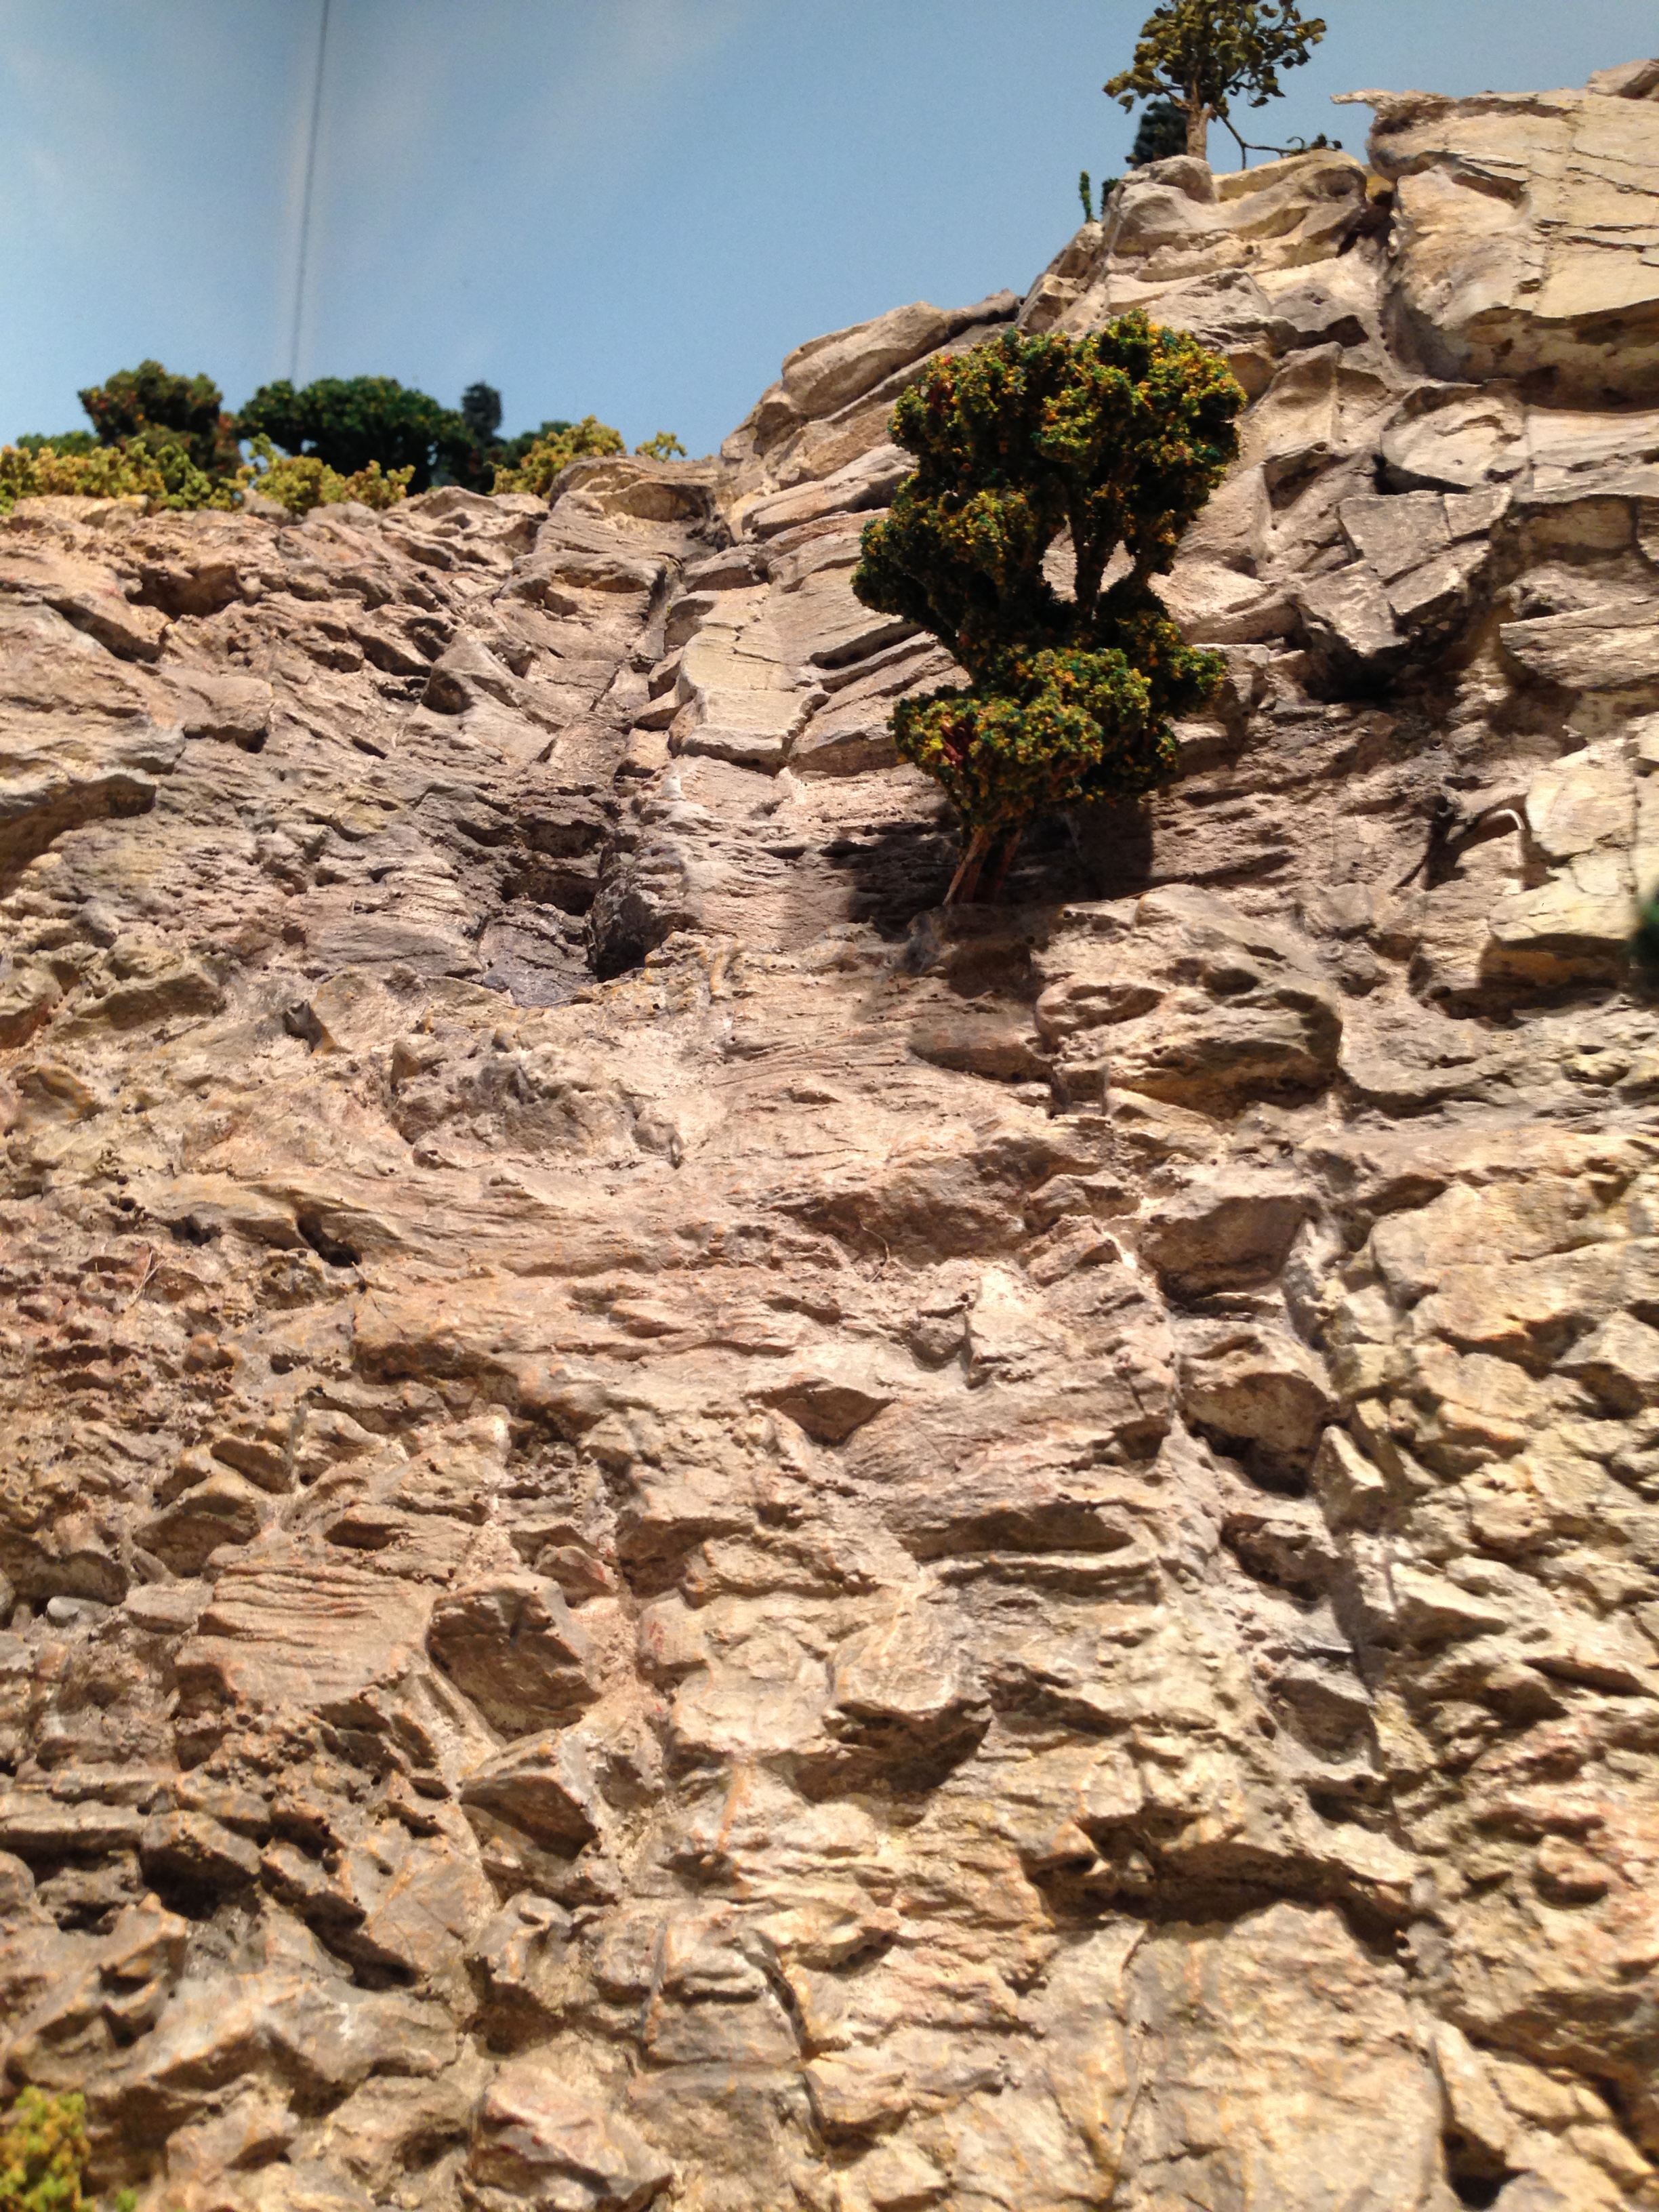
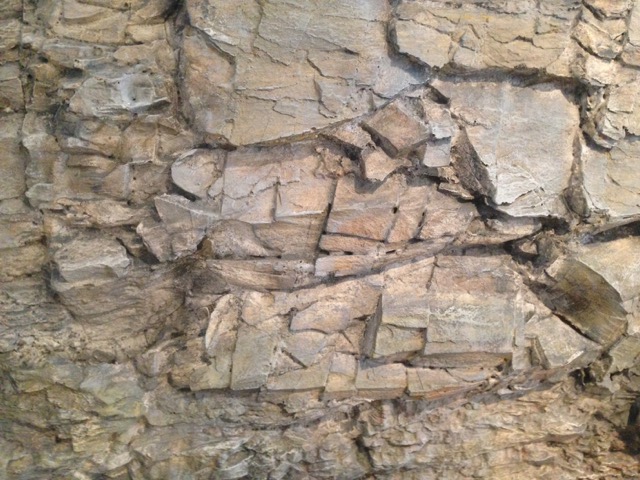
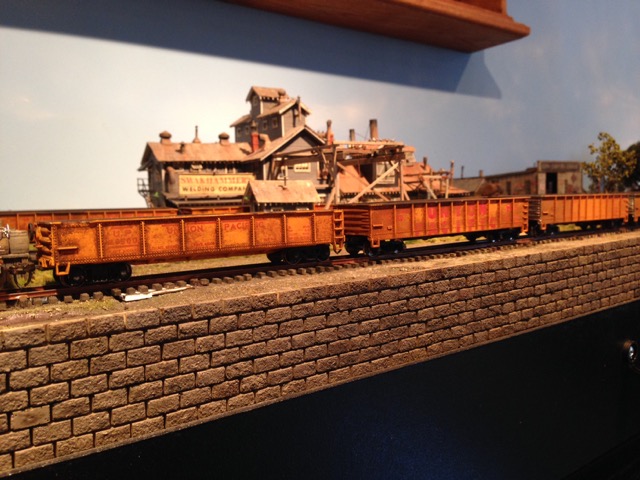
“Depending on the type of mountains you are trying to model, there are different techniques. This is also the case for color.
I have played with numerous ways and my best technique was to use the styrofoam for the base and shape only.
Once the shape was maintained, I casted molds using very large molds from Bragdon enterprises and used a resin for the castings instead of plaster. The resin will give you much sharper edges and detail.
If you choose to use a plaster, make sure you use the same material for the fills from one cast to another, otherwise your color will not match based on the material you are painting.
Once this is done, I painted the whole mountain using white gesso paint mixed with latex Kilz2 primer. At this point, you are now painting on gesso like a normal artist does.
Everything from here started with a black powder that was sponged into the crevices. Once dry, I started with a diluted layer of yellow ocre. EVERY coat must be dry before continuing. After 3 coats of yellow ocre, your mountain is still no darker than a manilla folder.
After the yellow ocre, continue DRY BRUSHING with raw sienna, then a mix of titanium white and paynes grey….again light coats and never covering completely over what you did. Continue with your dry brushing moving toward your darkest color.
A final slight dry brush stroke of titanium white is then placed on the edges to enhance contrast and highlights. This sounds tedious but the result is astonishing..like real rock and not painted styrofoam.
Lou”
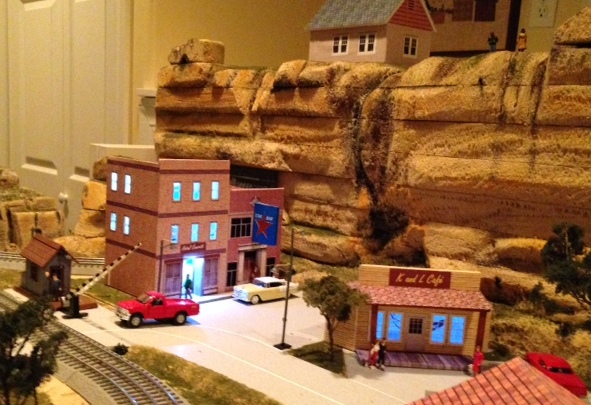
“Al …. I have an O gauge Lionel Fastrack layout. I use battery operated LED Christmas lights for interior lighting in my buildings. A string of 20 lights costs less than $10 and runs on three AA batteries. I cut the string in pieces and add wire as needed to place inside of buildings. Attached is a photo of a couple of lighted buildings.
Enjoy your emails.. Bill”
Lastly, I had one or two encouraging comments on the ‘ai’ video I made of Don’s HO scale steel mill.
So I thought I’d have a go at Fred’s stunning layout too. I thought the running water worked really well: