“Alastair,
I discovered an old photograph of a train that might inspire some of the model makers interested in historic train layouts.
Here’s the background. Before chainsaws were invented, the logging industry in the United States & Canada was a seriously challenging occupation. In the Pacific Northwest there were forests full of monster trees (Douglas Firs) and cutting them down was done by hand.
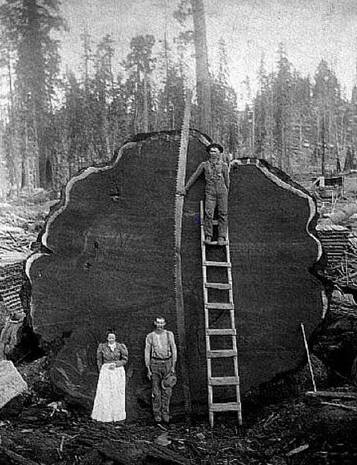
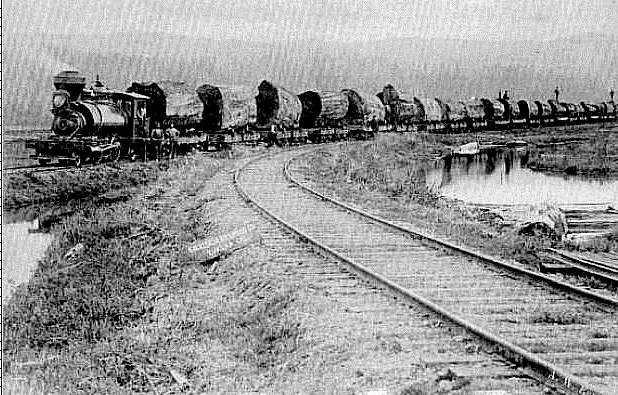
Even more amazing than the fact that these trees were cut down with two man hand saws (the vertical saw in the middle of the photograph) was the fact that somehow it was manual labor that loaded giant hunks of the trees onto flat cars (photo below).
Anyone out there want to create a layout like this?
John”
Thanks to John for sharing – but now there’s a question I can’t get out my head: how did they get the logs on the train?
“I have been busy since November building another small layout. I have hinted at the genesis but now the layout is complete and ready to share.
To repeat an earlier letter, this layout was primarily inspired by individuals who have been complaining that the cost of this hobby is getting to be too much. In response; i decided to see how thriftily I could build a layout. Thanks to your hints, your e-bay cheat sheet, and some very old magazines; I have built this layout for right around $200 USD including trains, track, baseboard, power supply, and scenery.
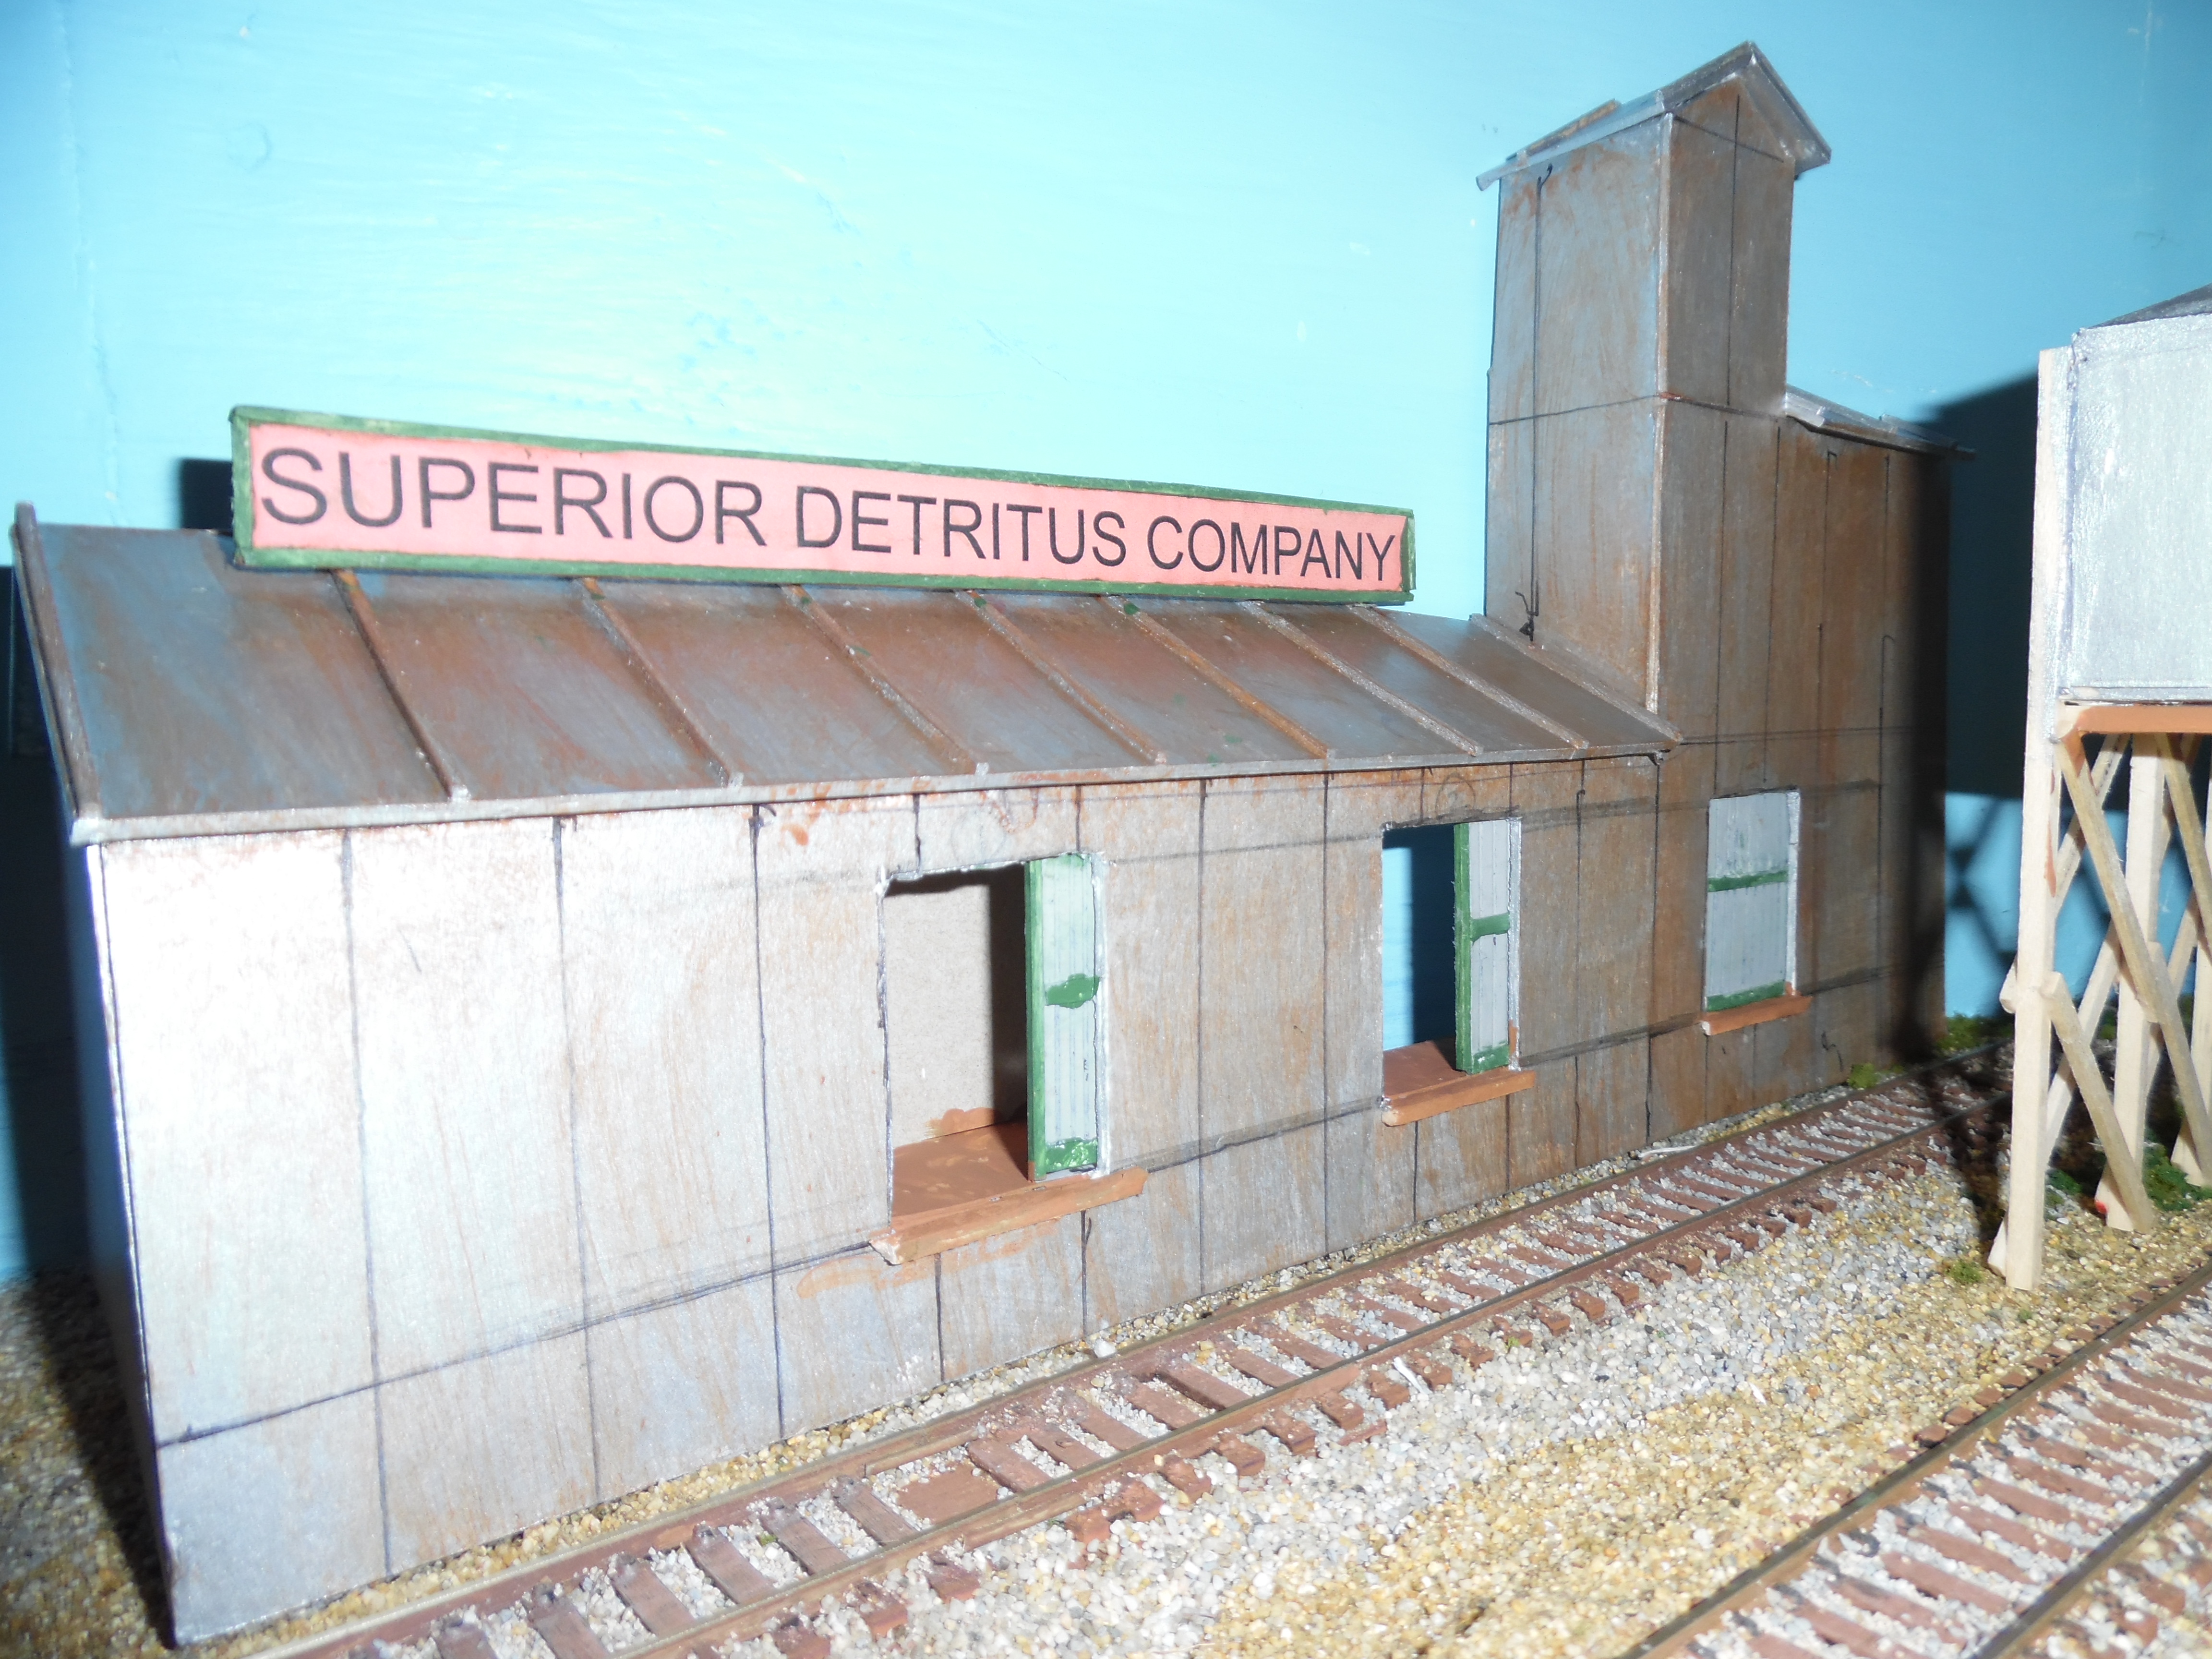
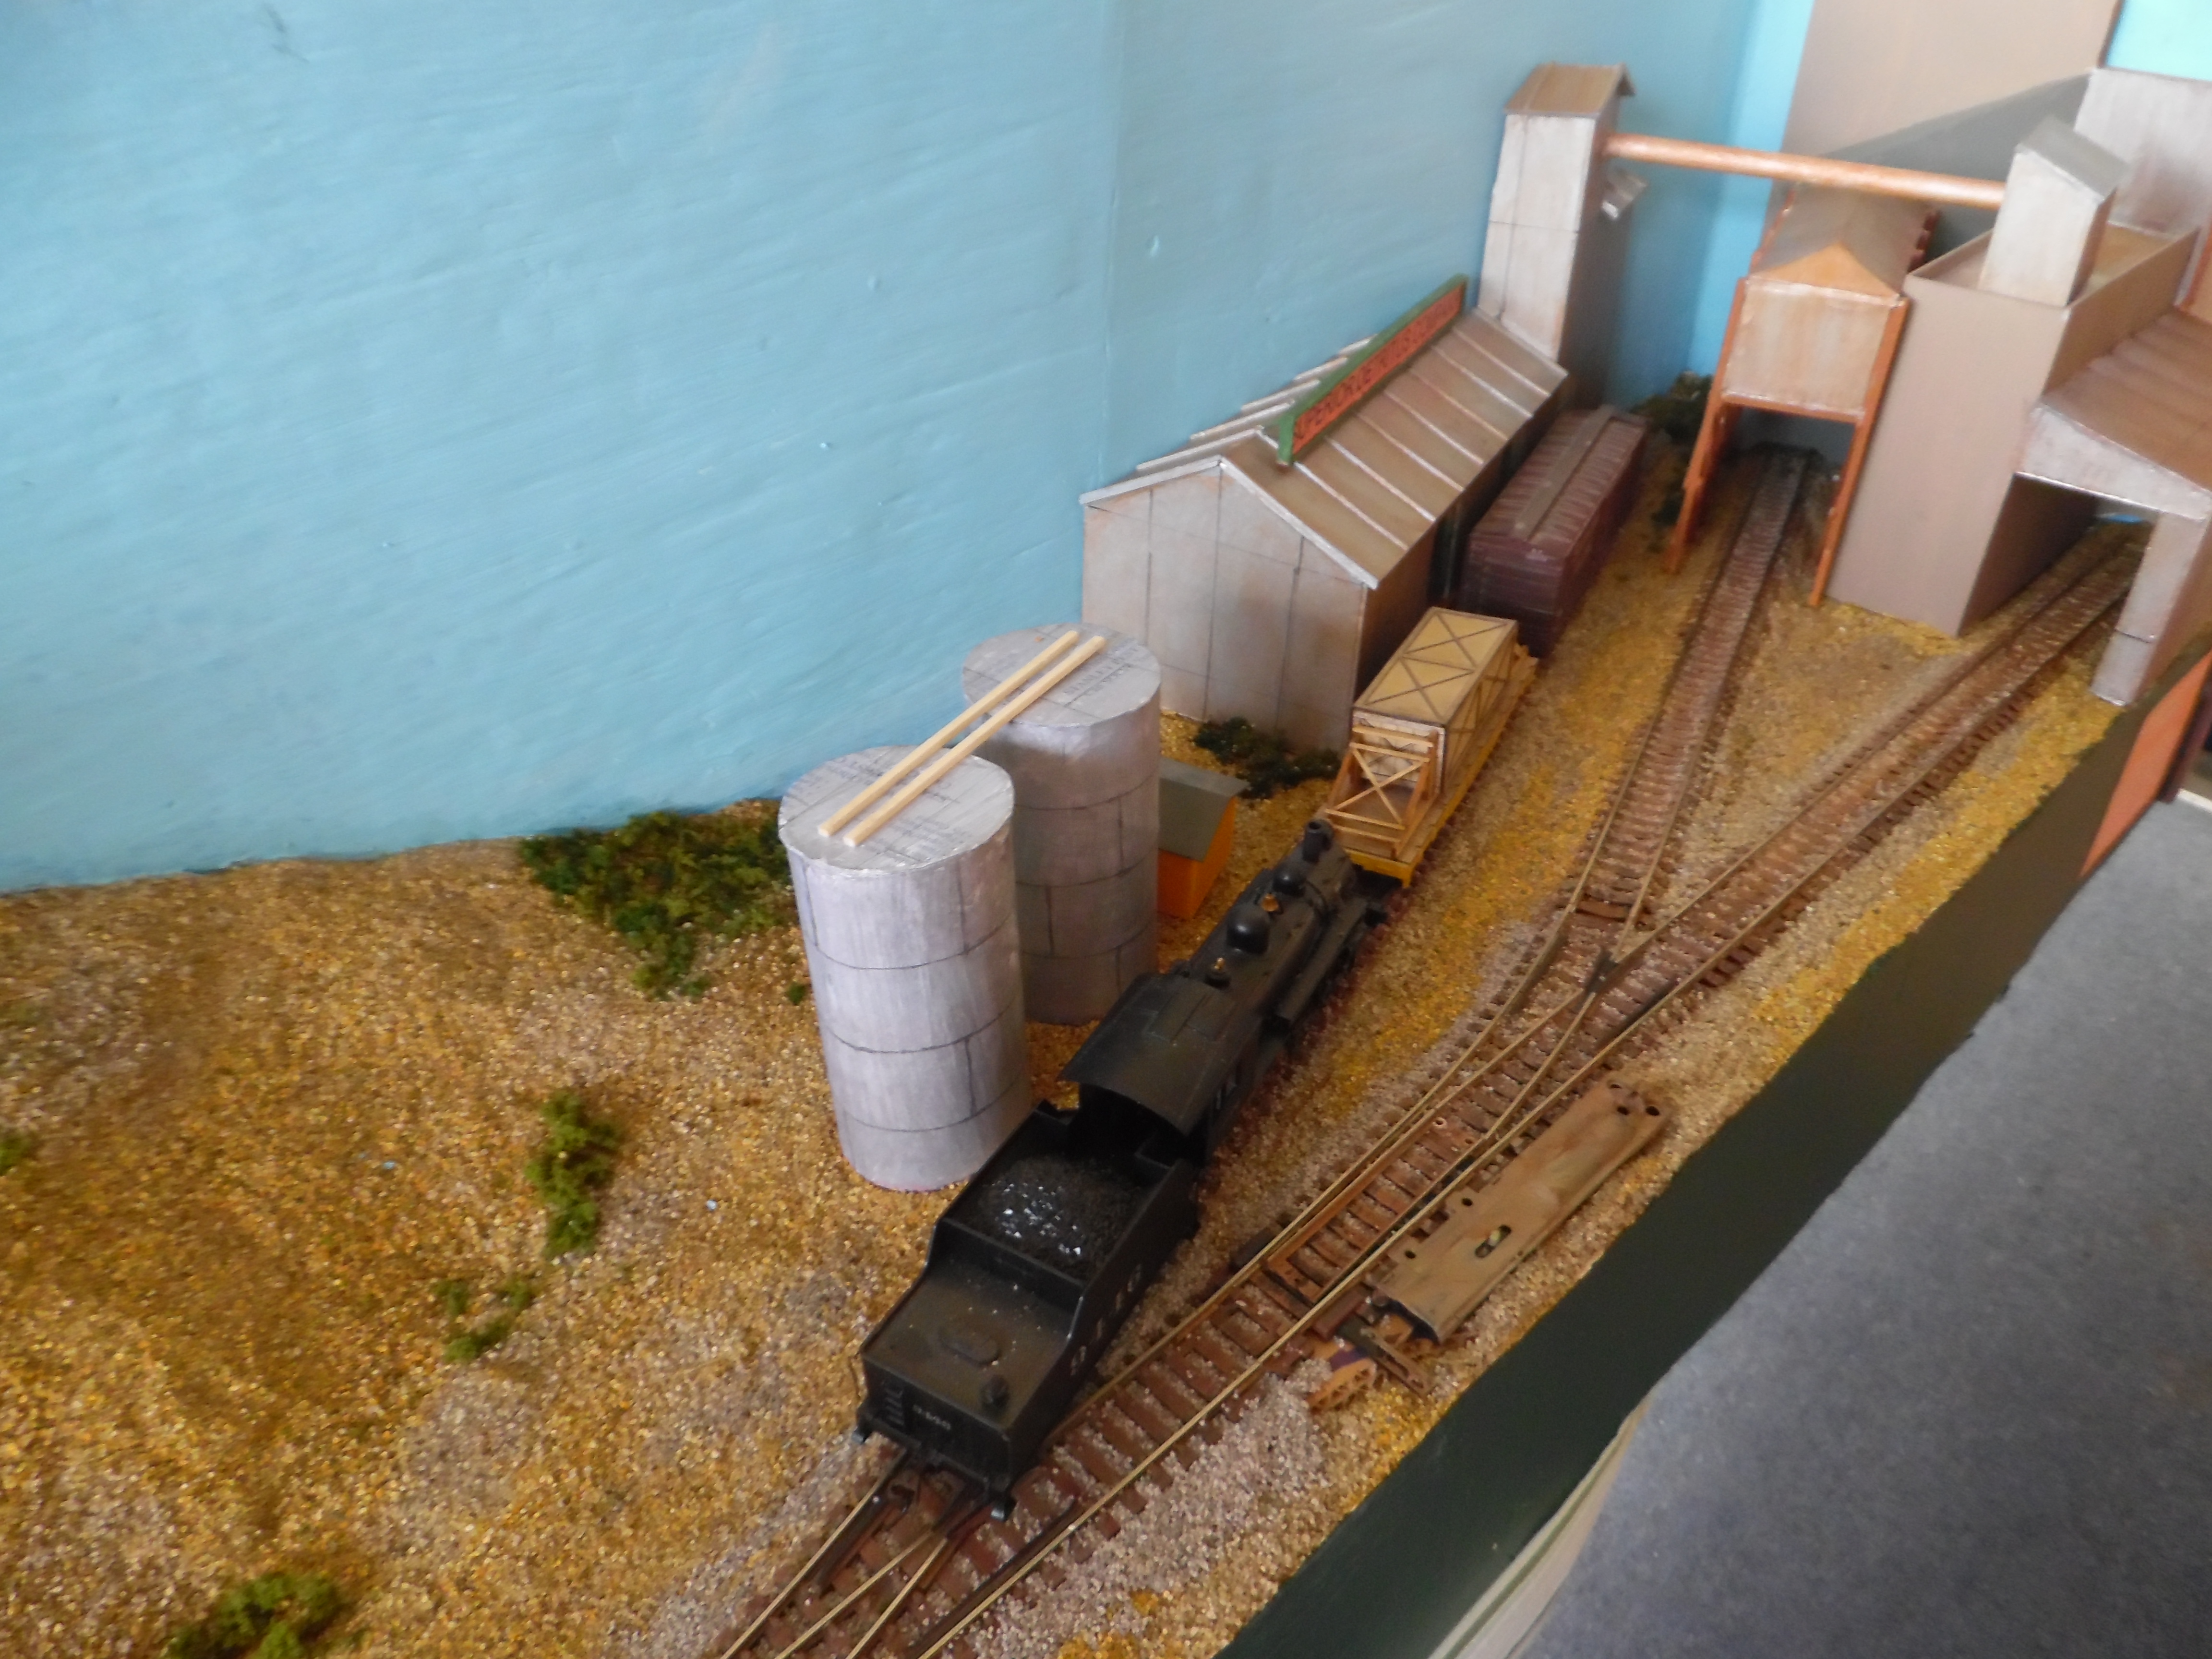
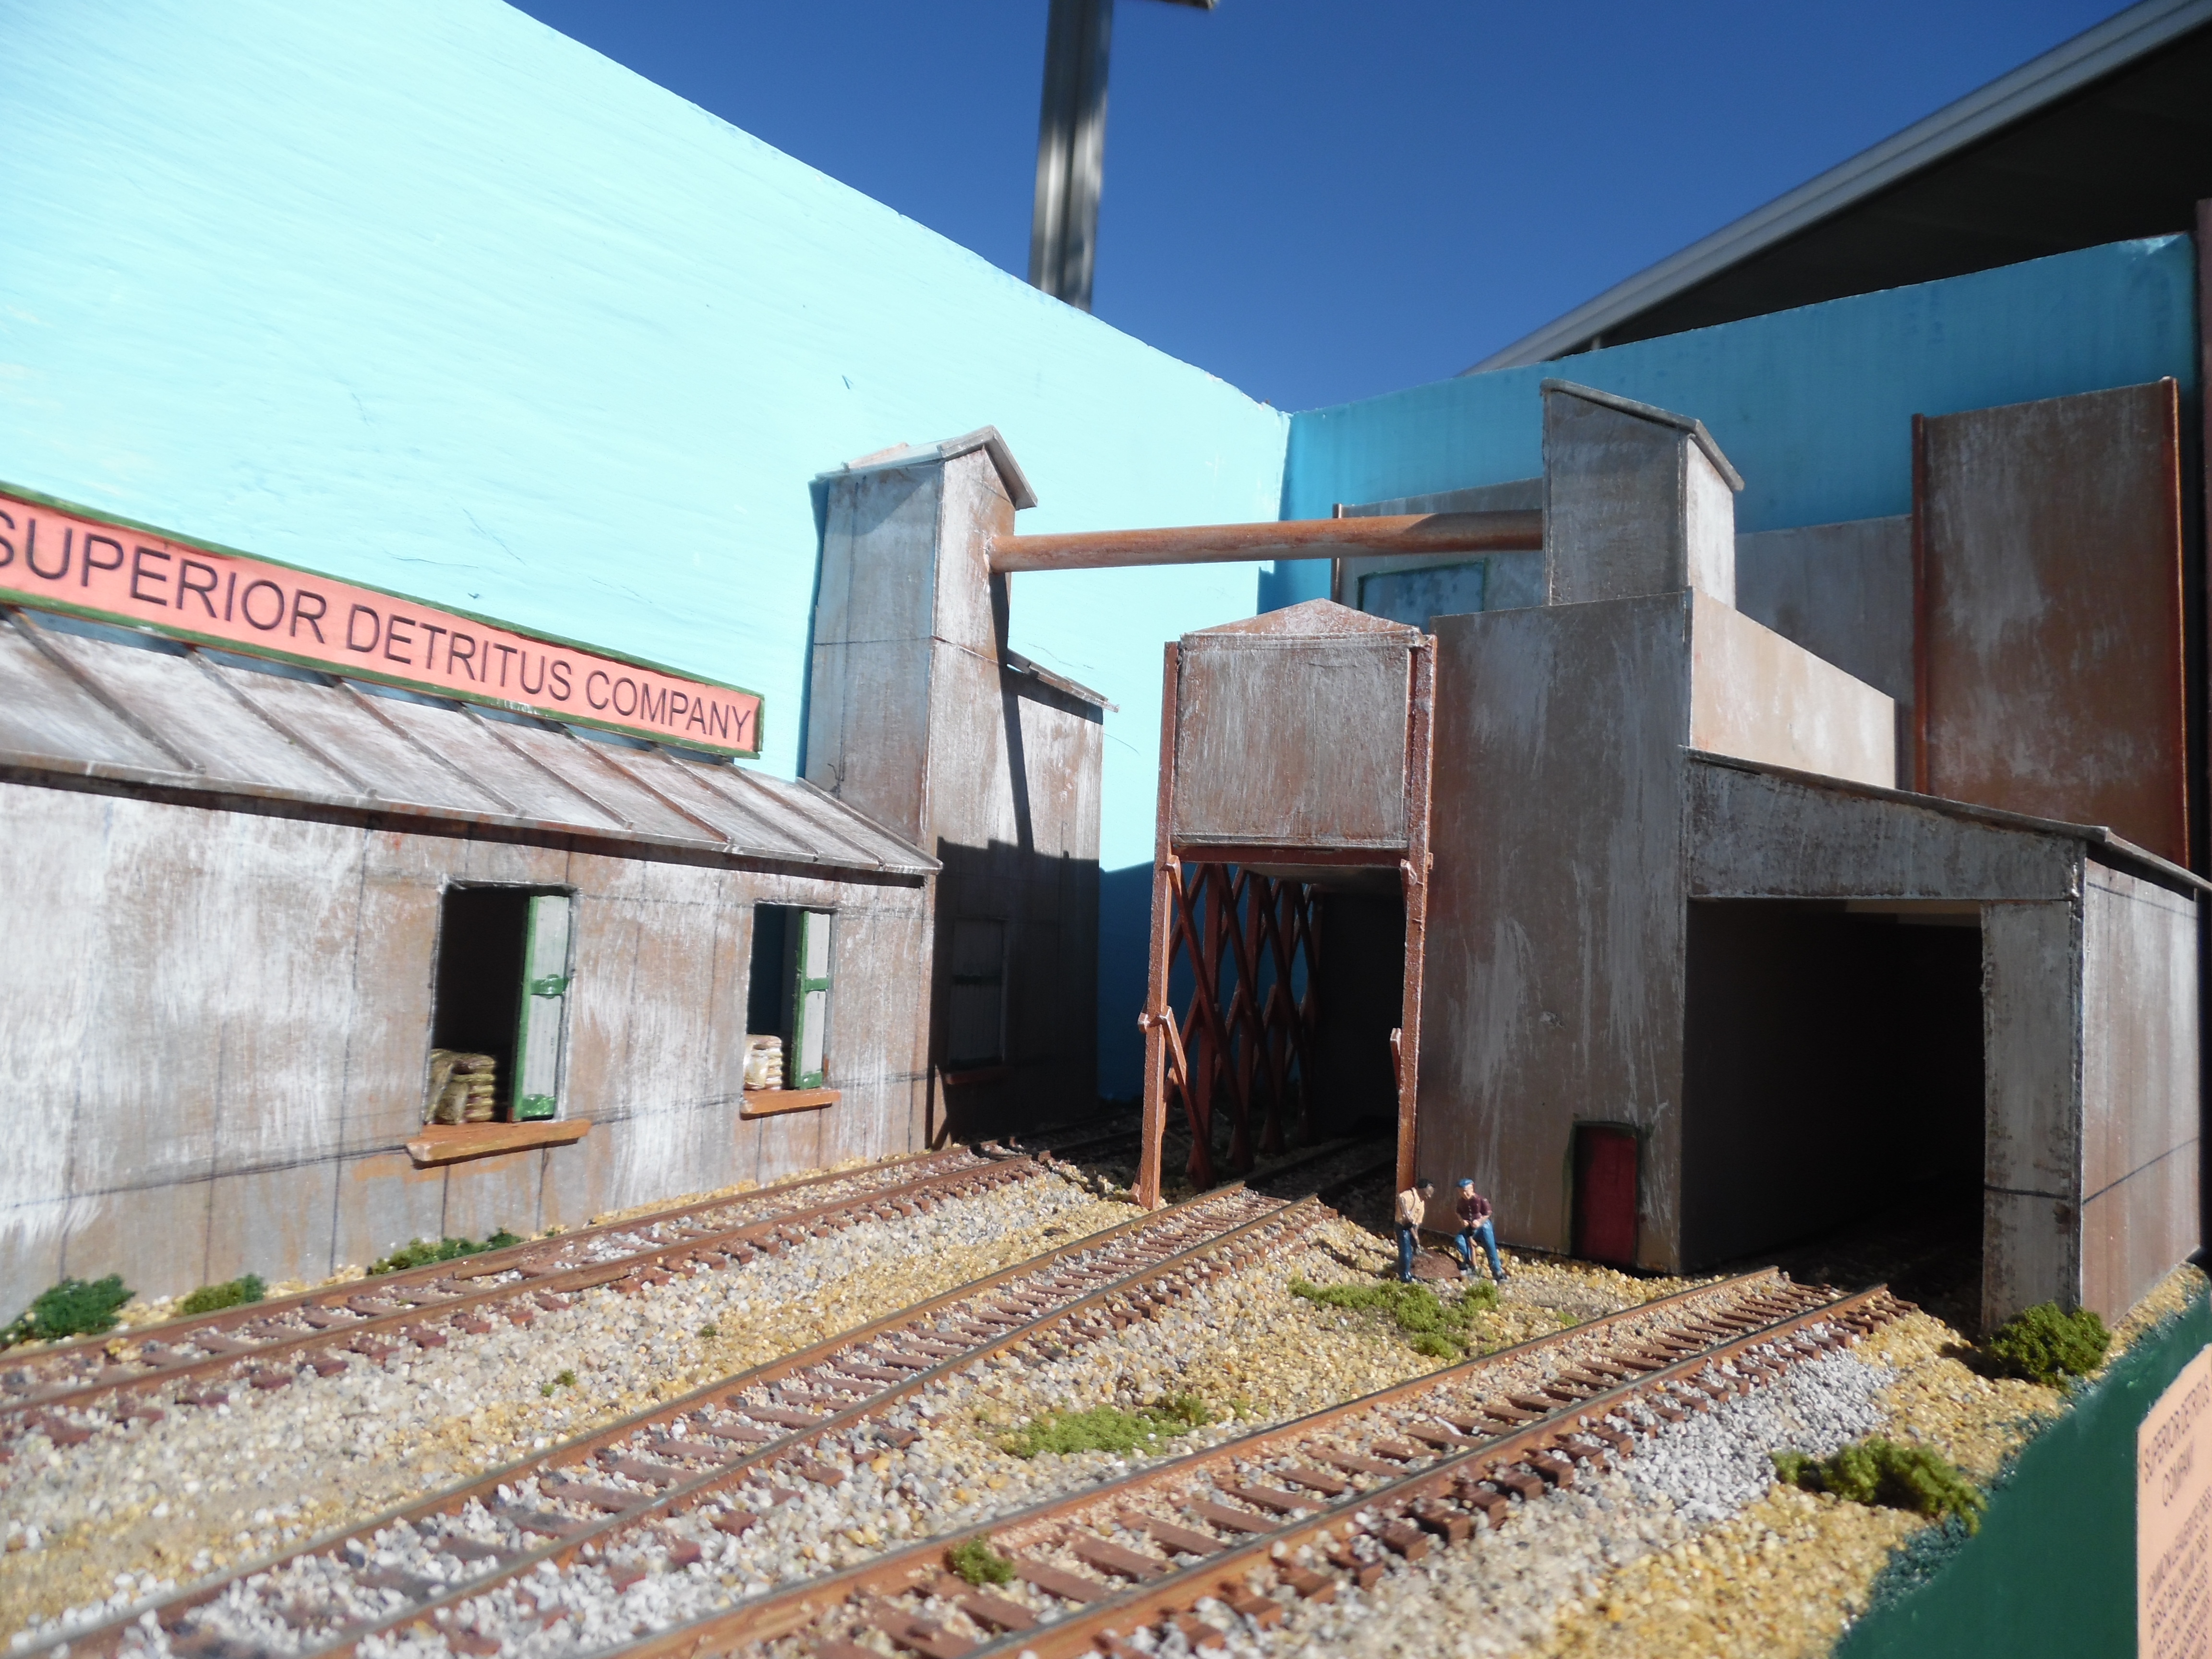
Superior Detritus…..
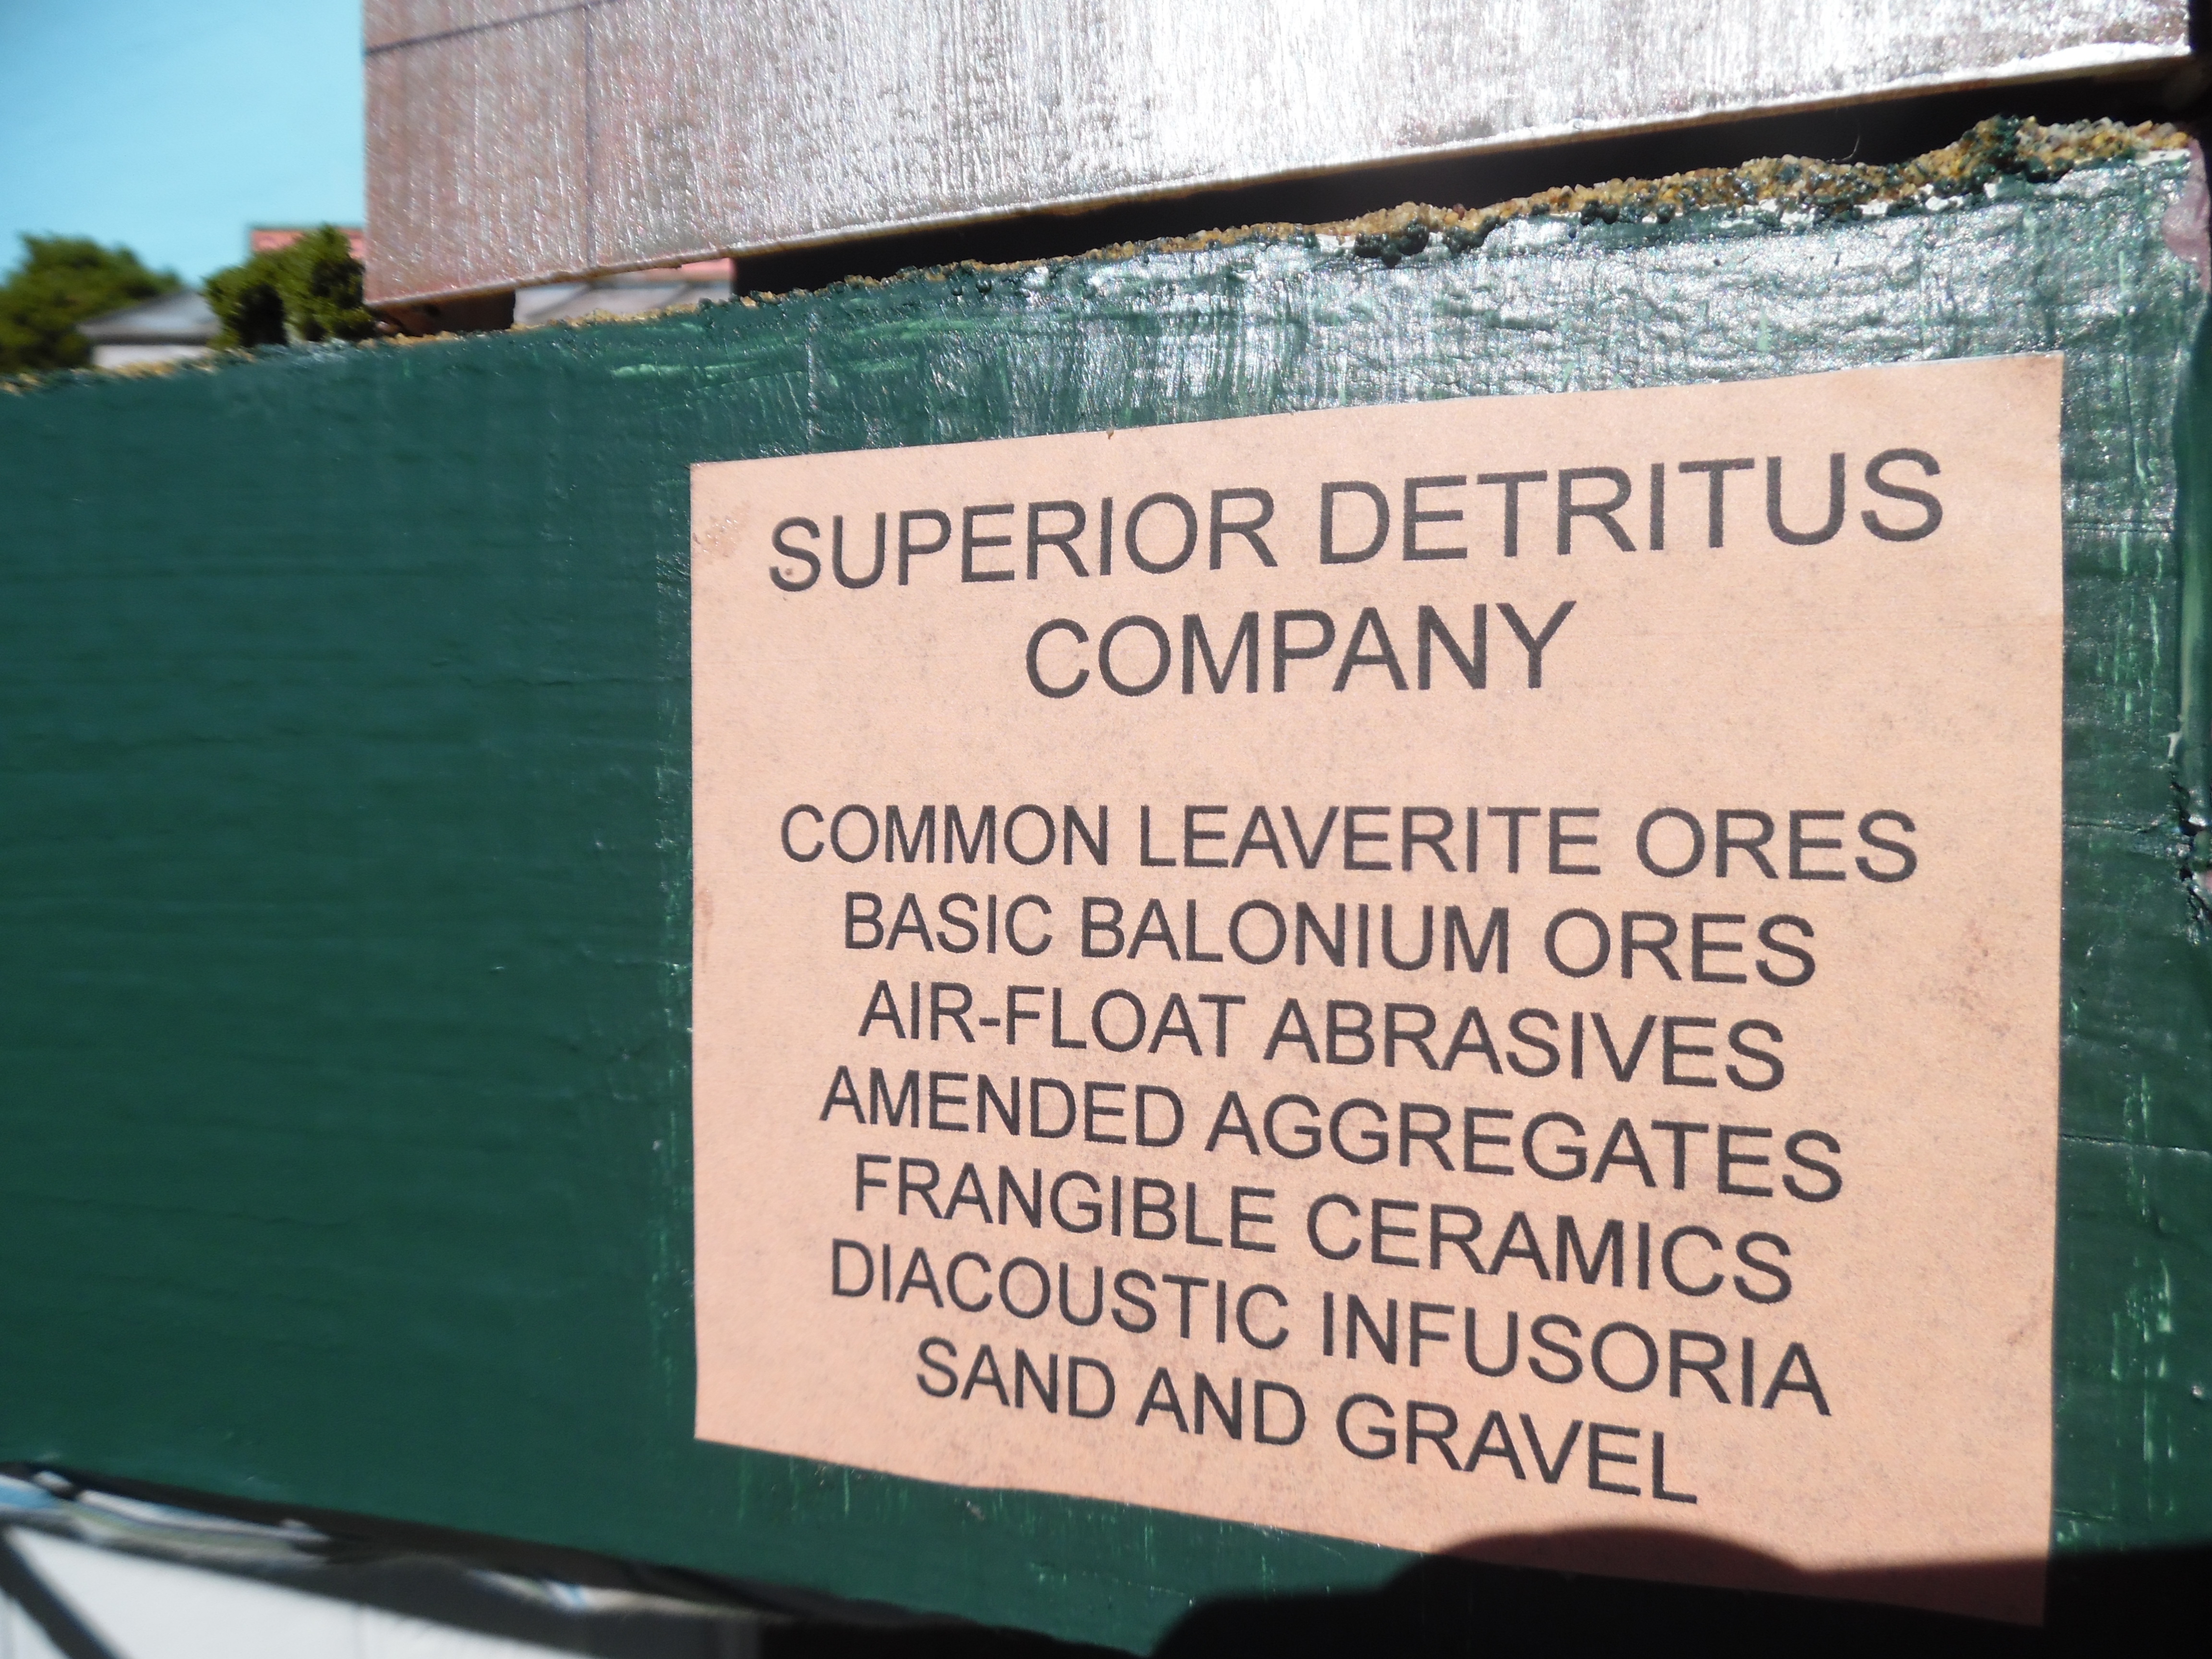
From about 1952 to 1972, John Allen was one of the best known and most influential model railroaders in the United States. In 1955, he wrote an article for Model Railroader magazine that focused on weathering models to improve realism. One of the examples in the article was a little wooden boxcar lettered for the Superior Detritus Company. John Allen is also known for having dreamed up the well known Timesaver switching puzzle. Although John Allen passed away in 1972, his name and influence have lived on. While this layout began as an exercise in thriftiness, the concept grew into an homage to the modelers of the 1950’s and 1960’s with only the track as an anachronism.
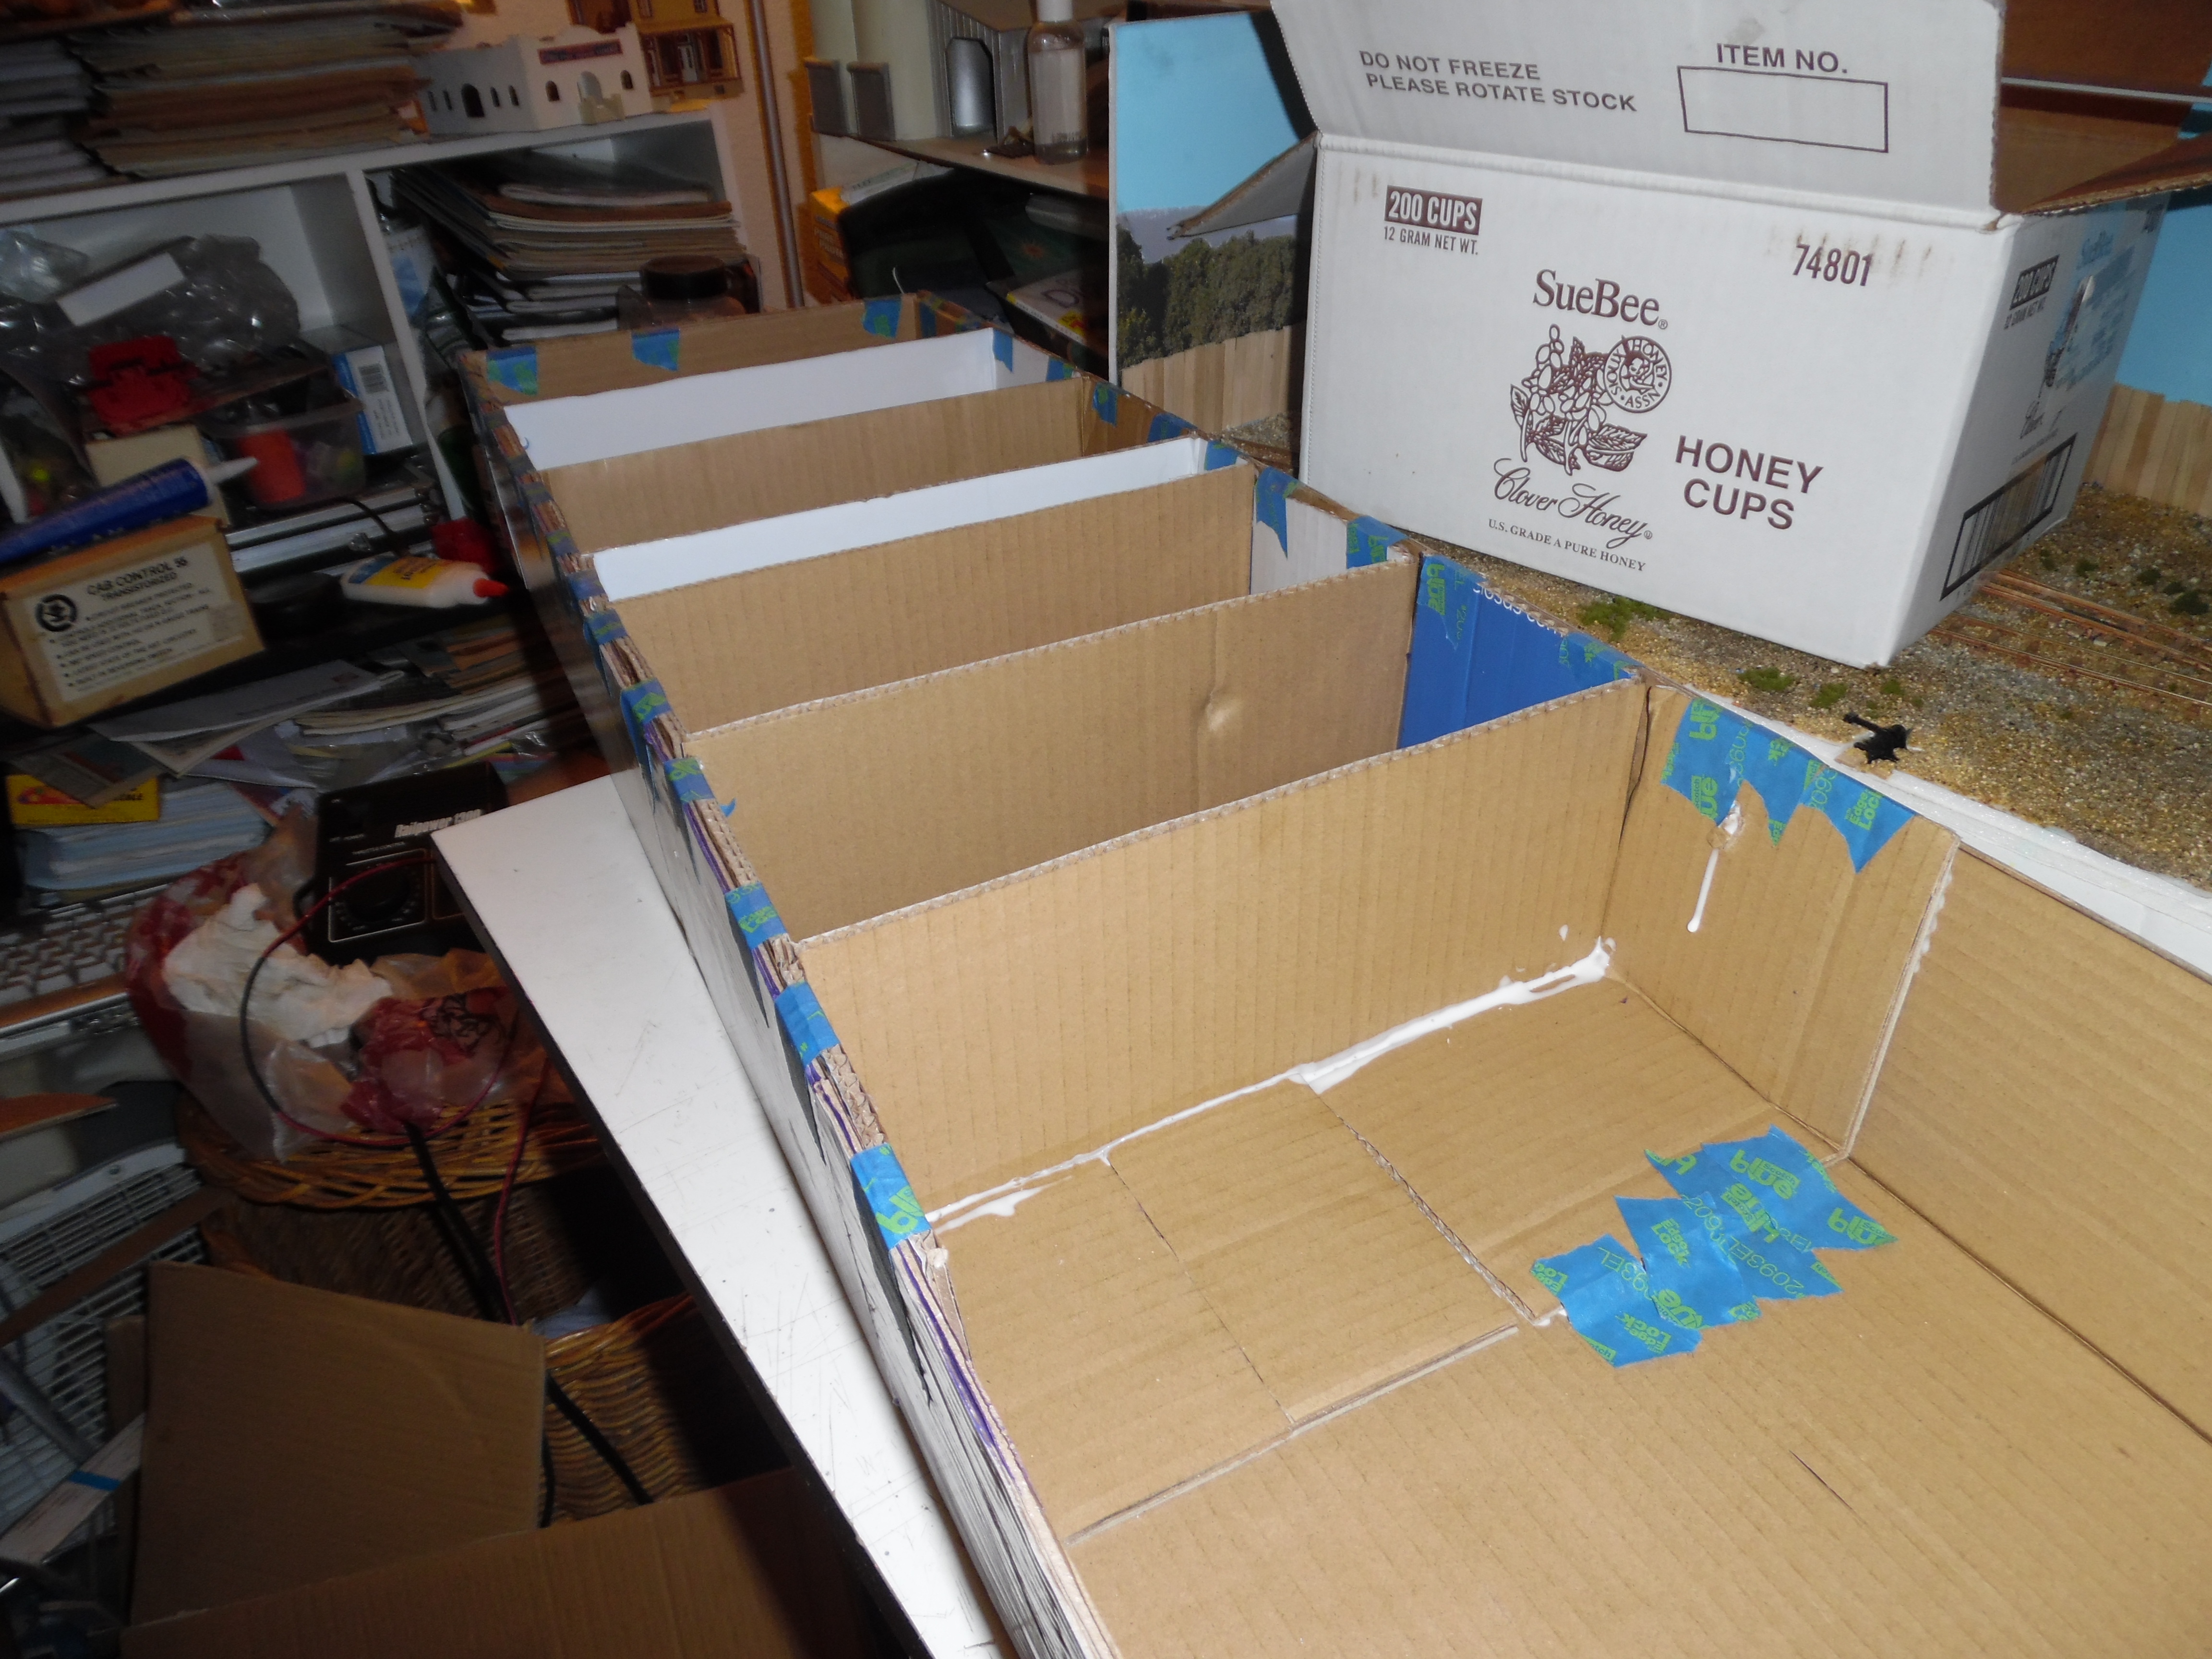
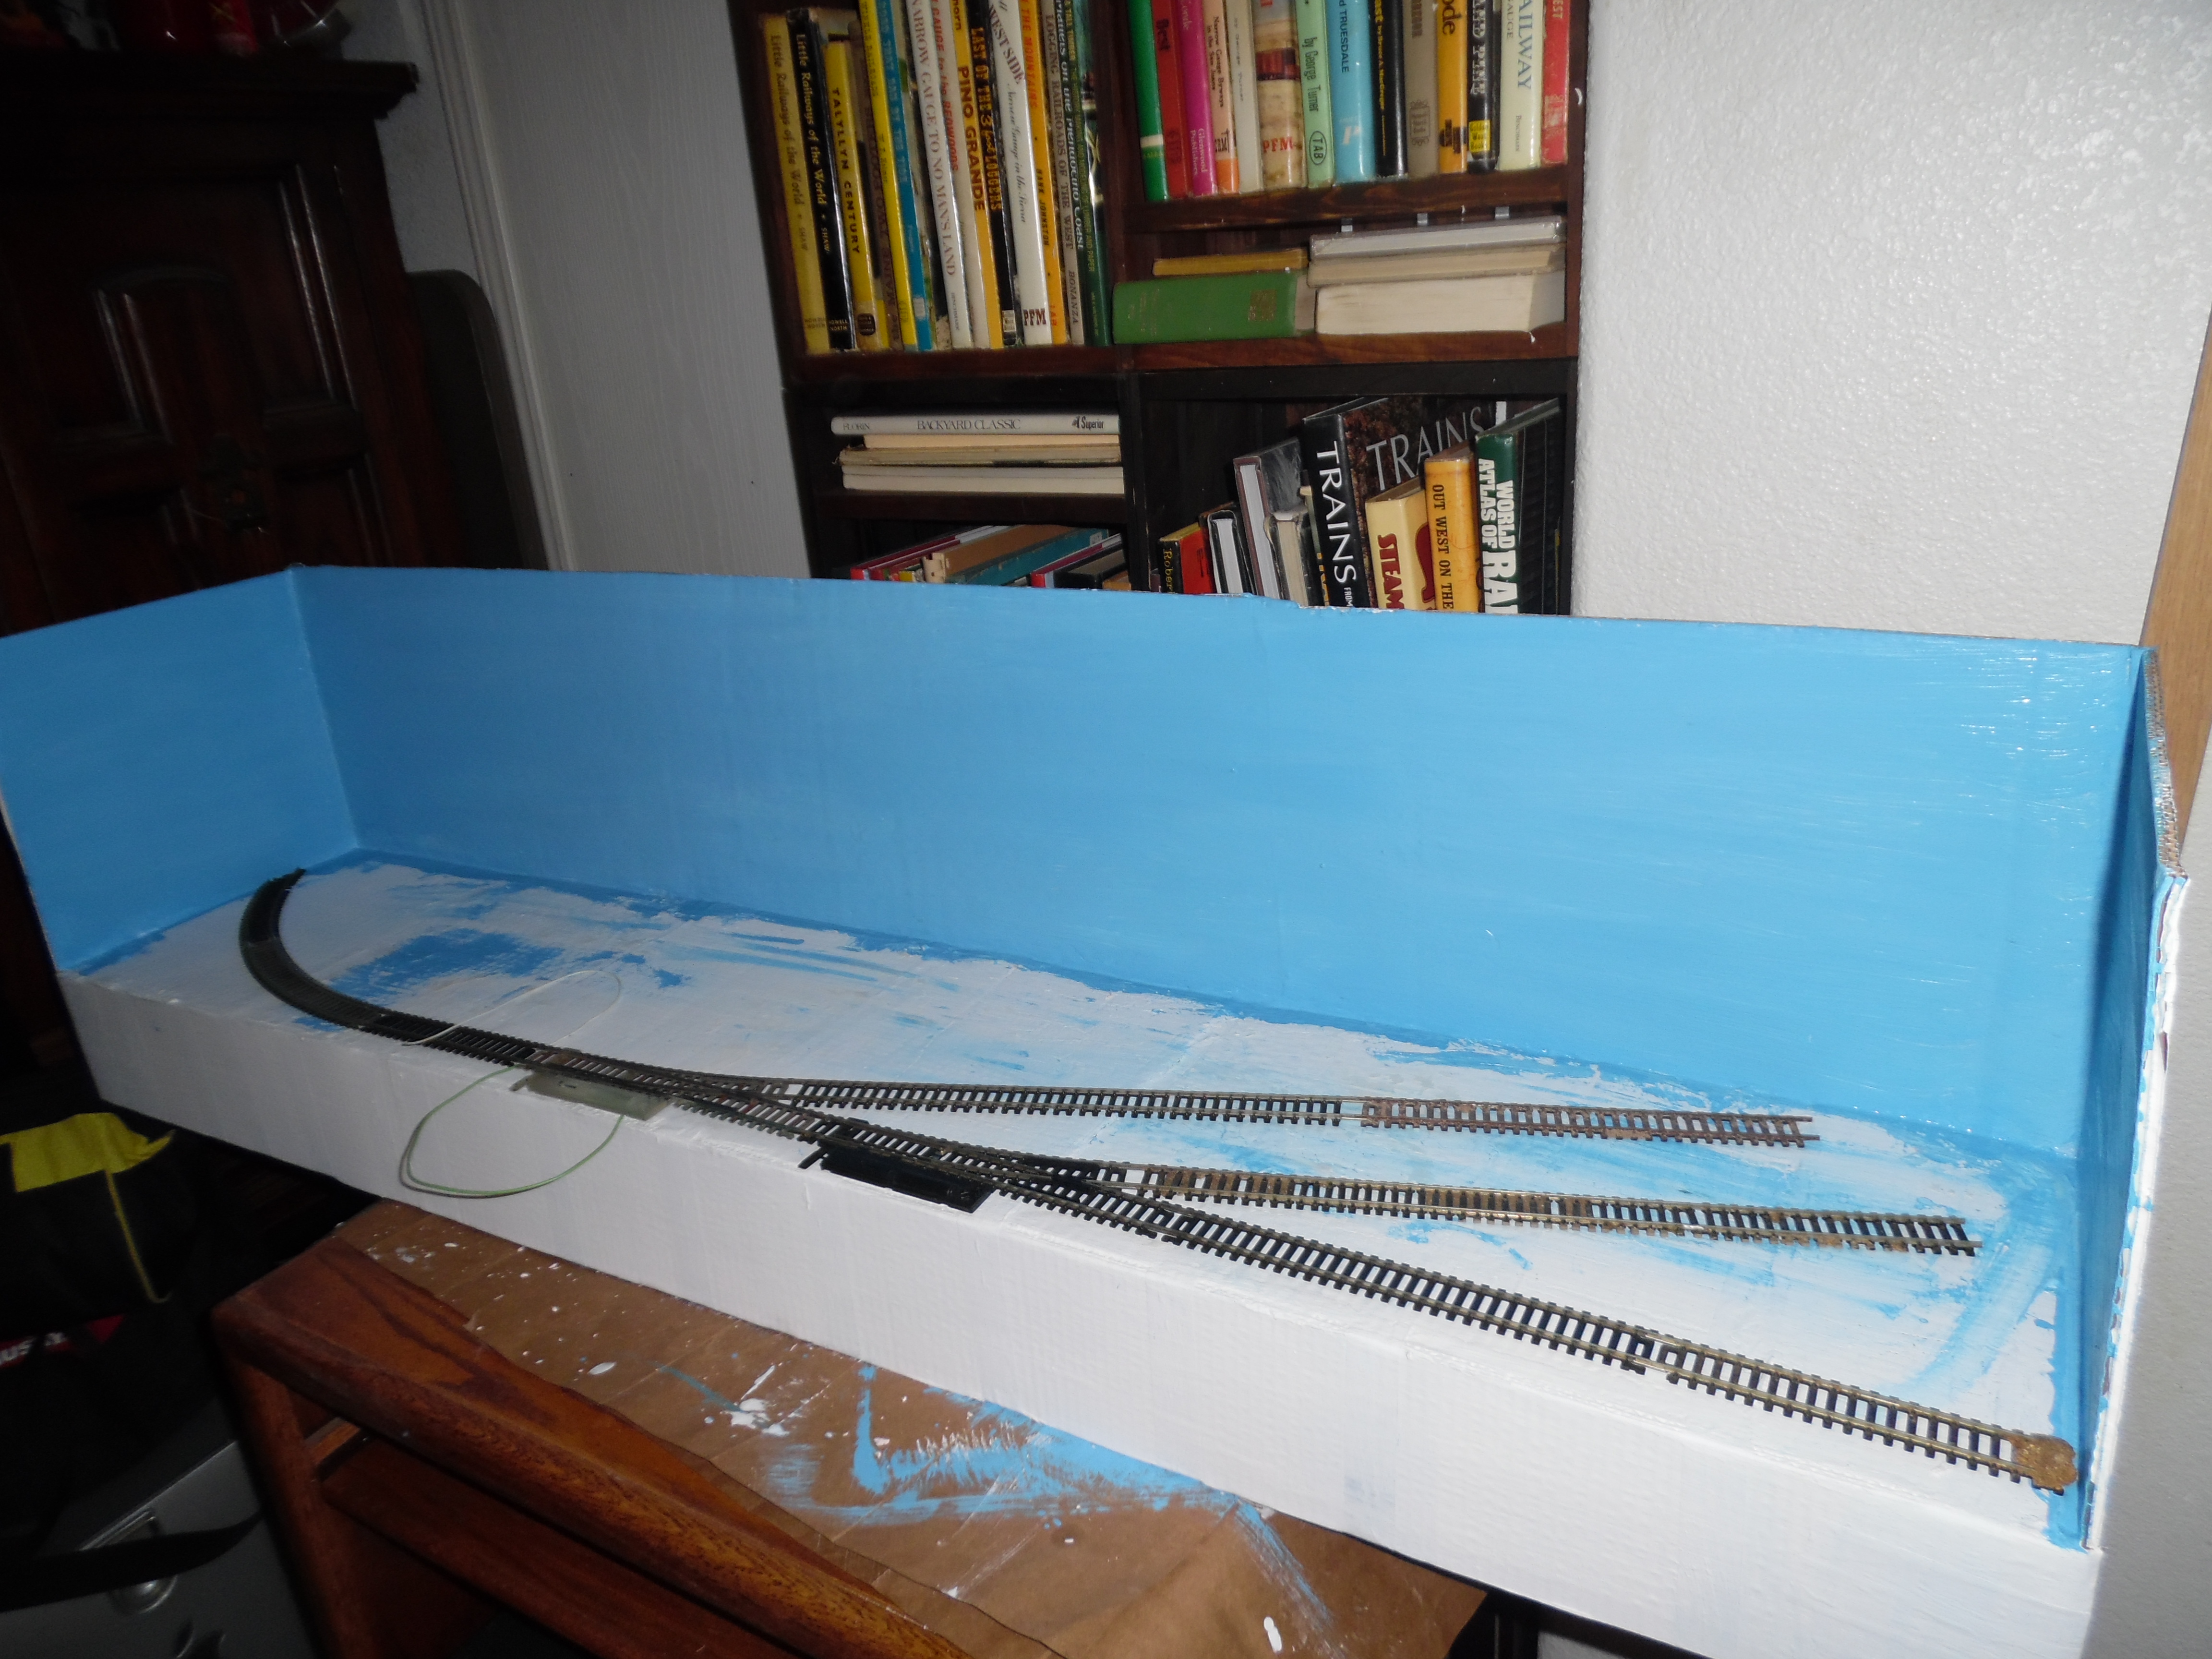
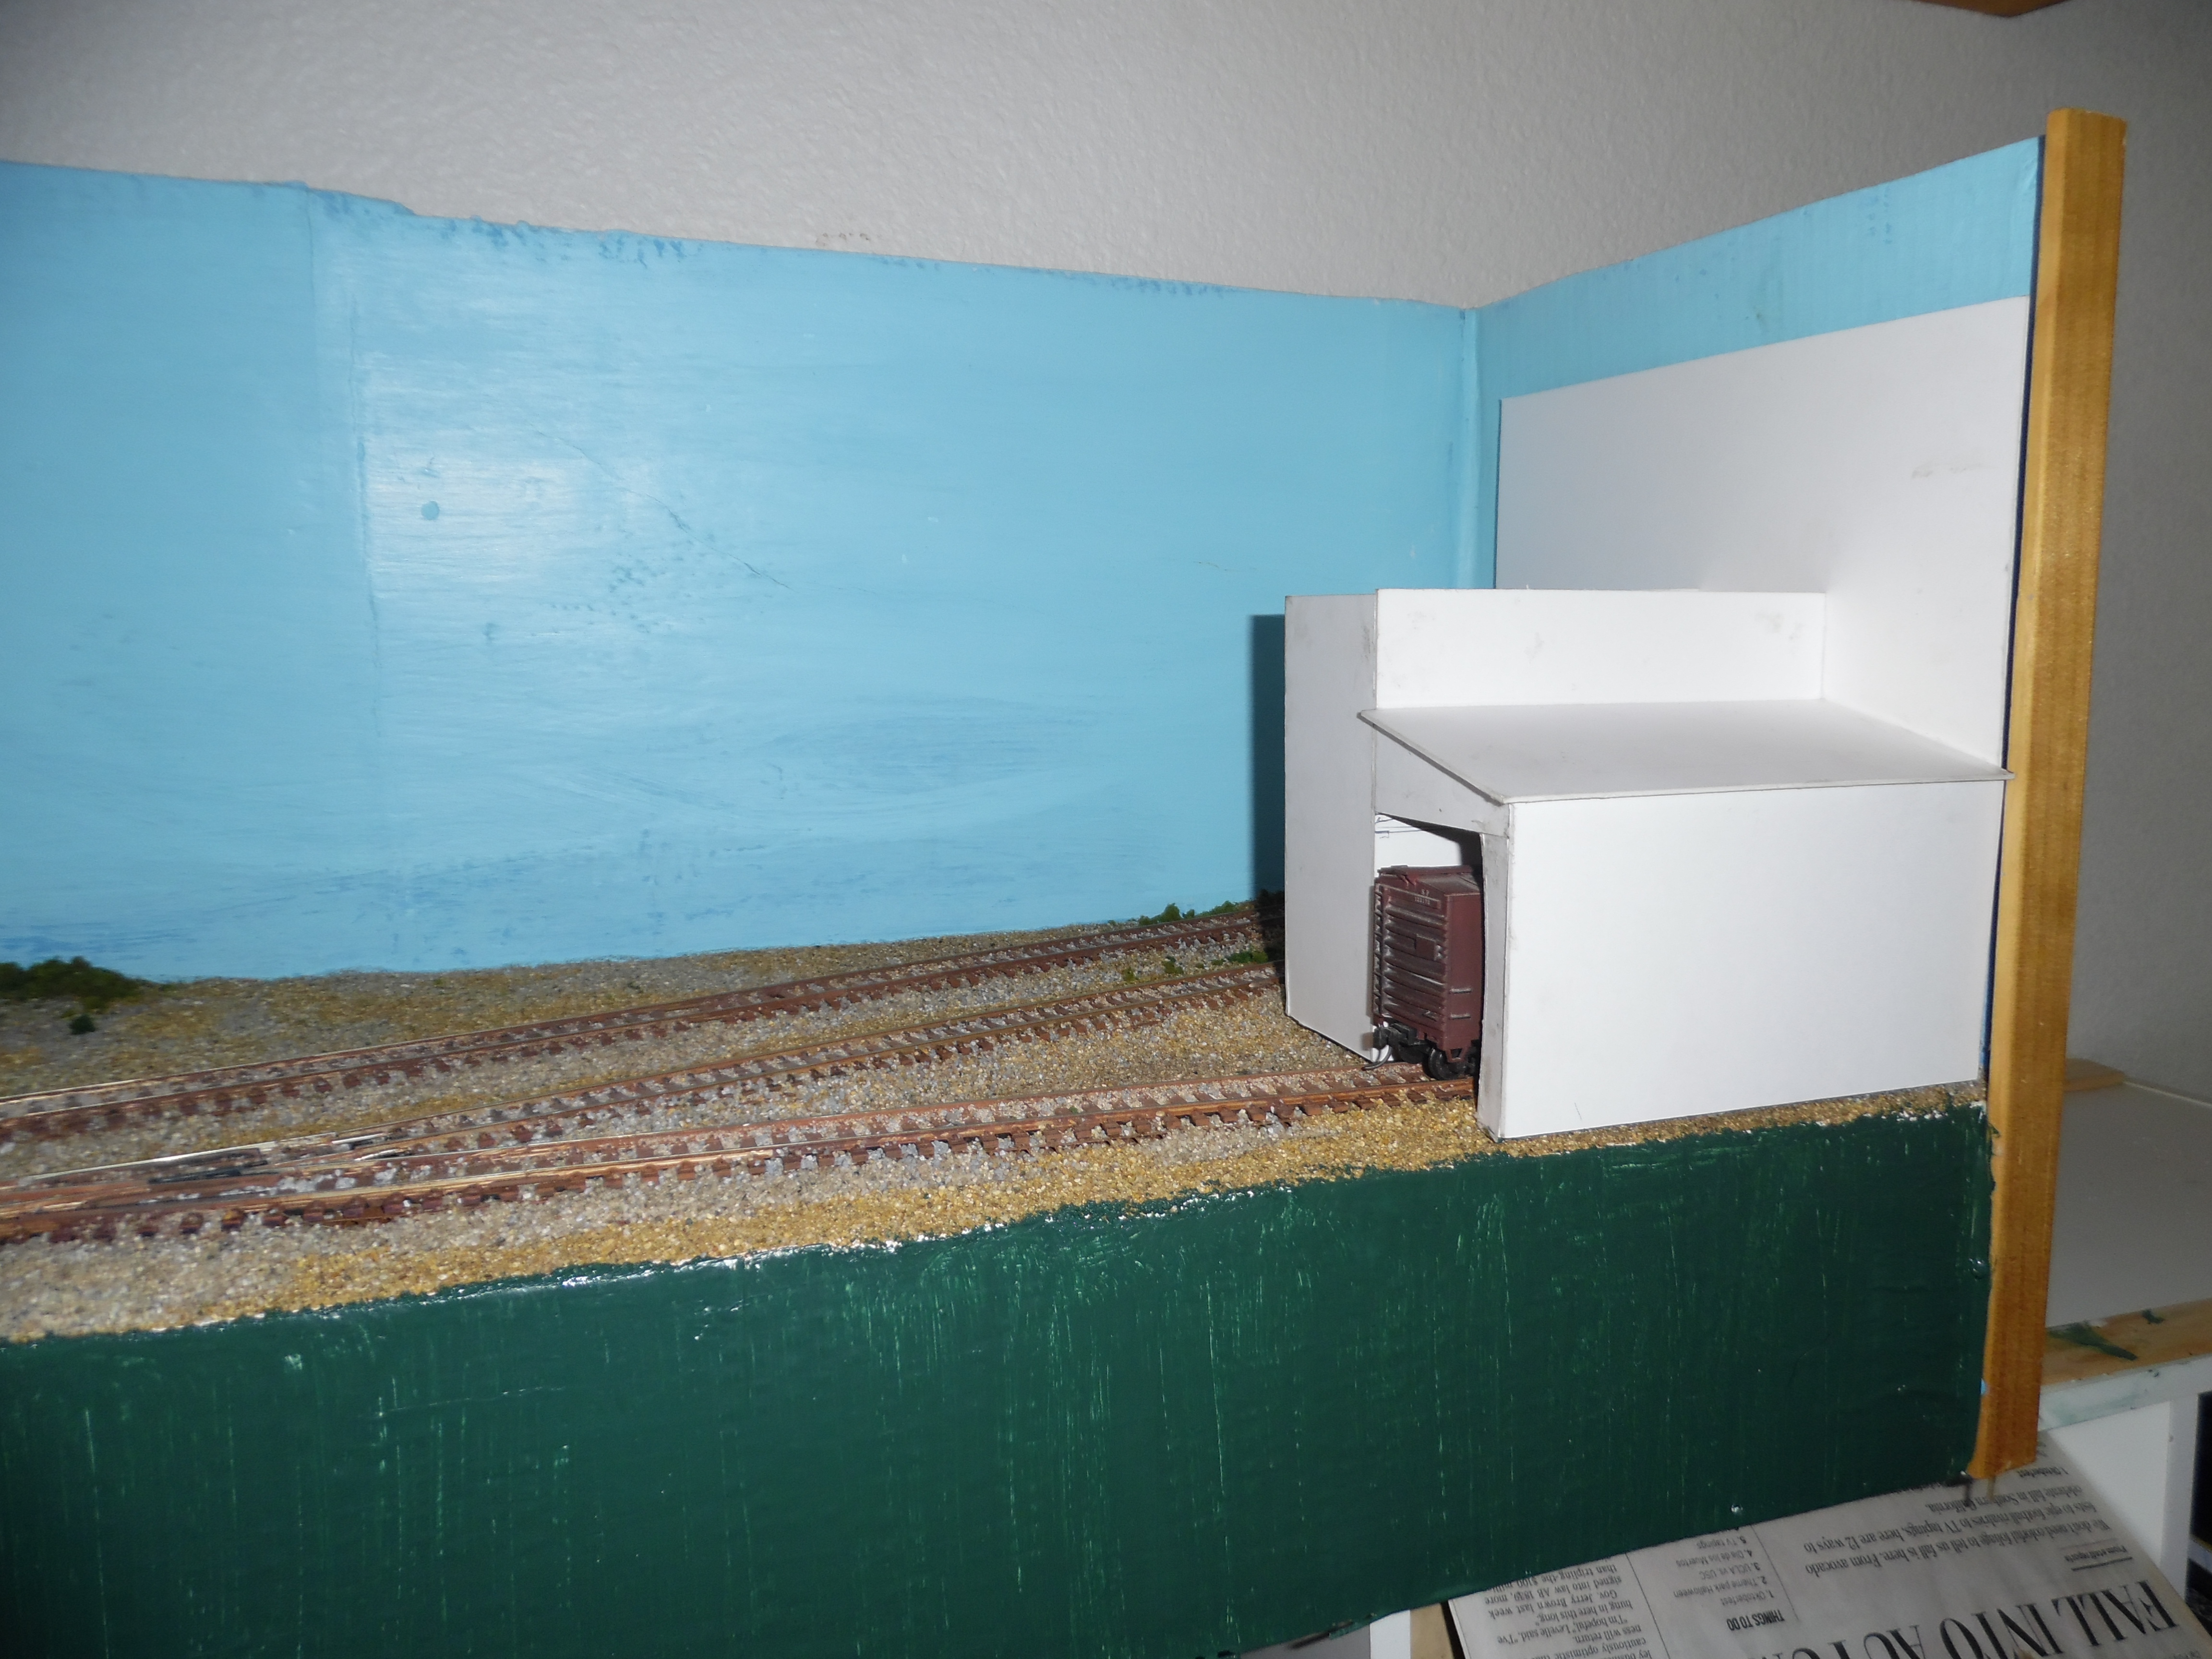
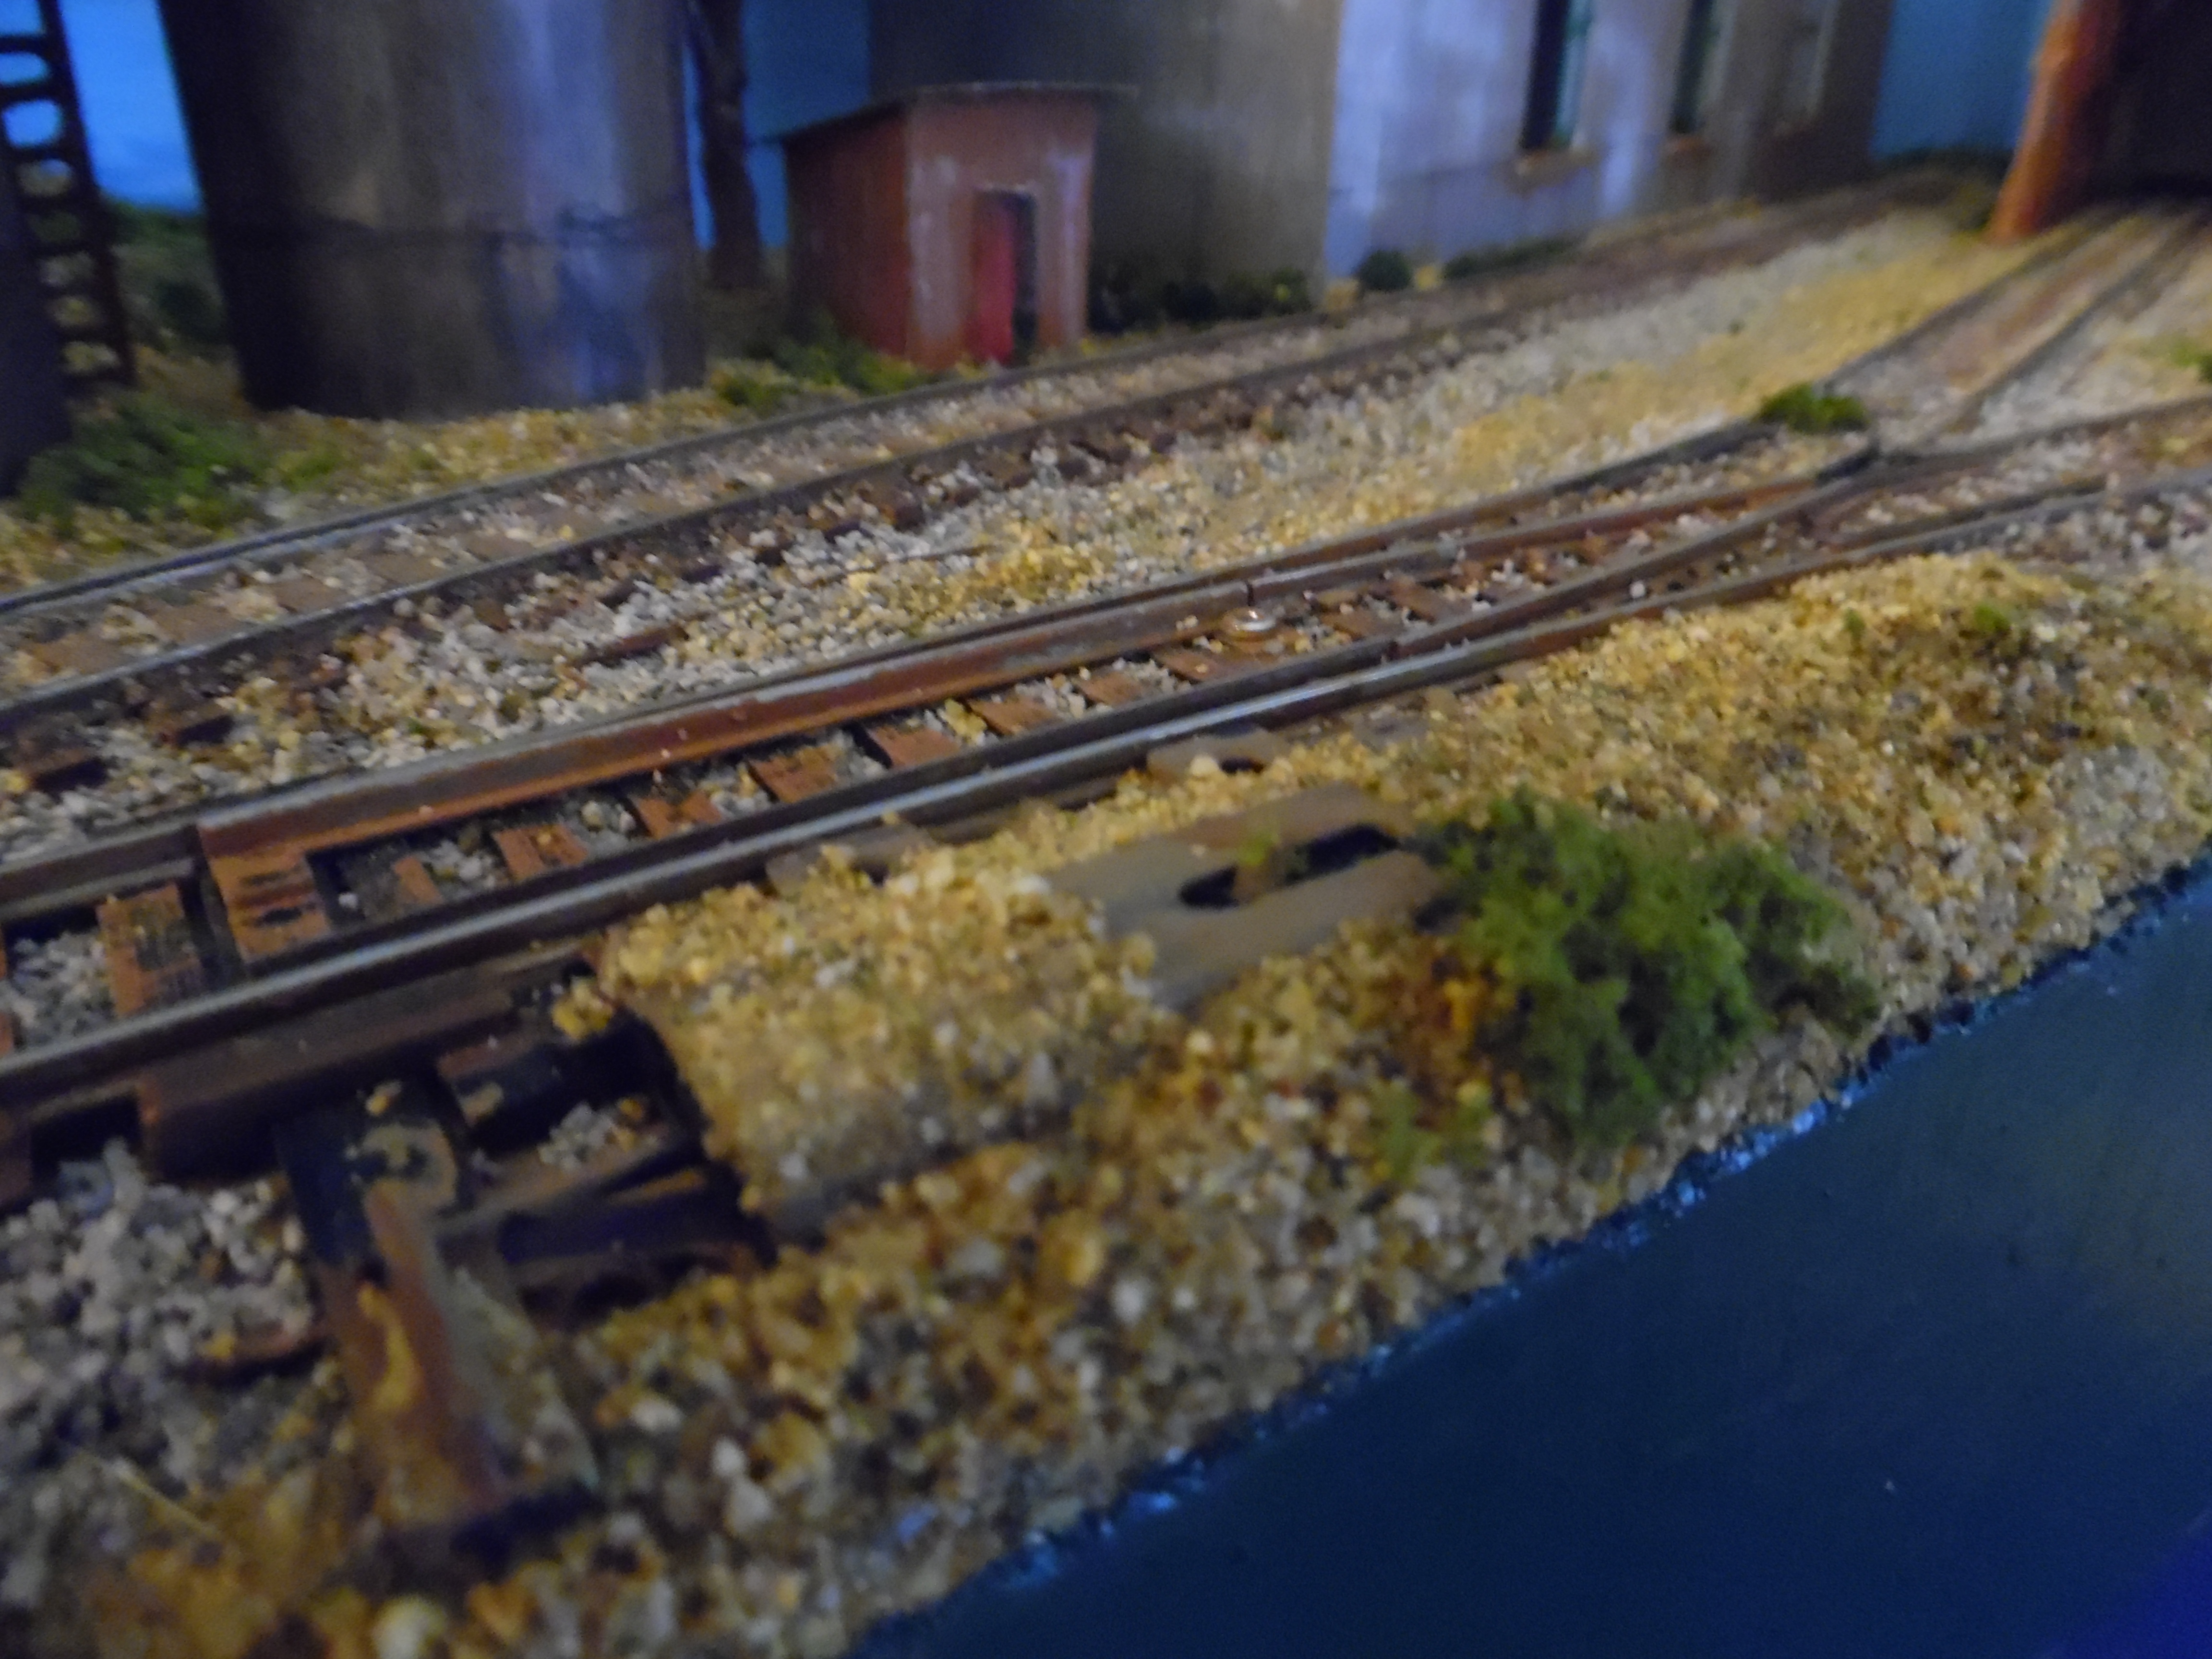
In California, everything is now taxed and usually with a surcharge or two added in. Lumber is one of those items that the state surcharges. To establish the principle of thrifty modeling, the baseboard and integral backdrop for this layout were made from salvaged cardboard. I also used salvaged cardboard for the roadbed under the track. PVA glue is a wonder. Gesso and spackle helped a lot also. The baseboard is about 12 inches by about 50 inches; it was assembled in about 2 weeks or about 10 hours. When one includes track (recycled but worth about $40 if purchased new) and rough scenery, I was ready to run trains in about 3 weeks or 15 hours. One reason I used the cardboard for roadbed was that cork would have set me back about $20.00 USD.
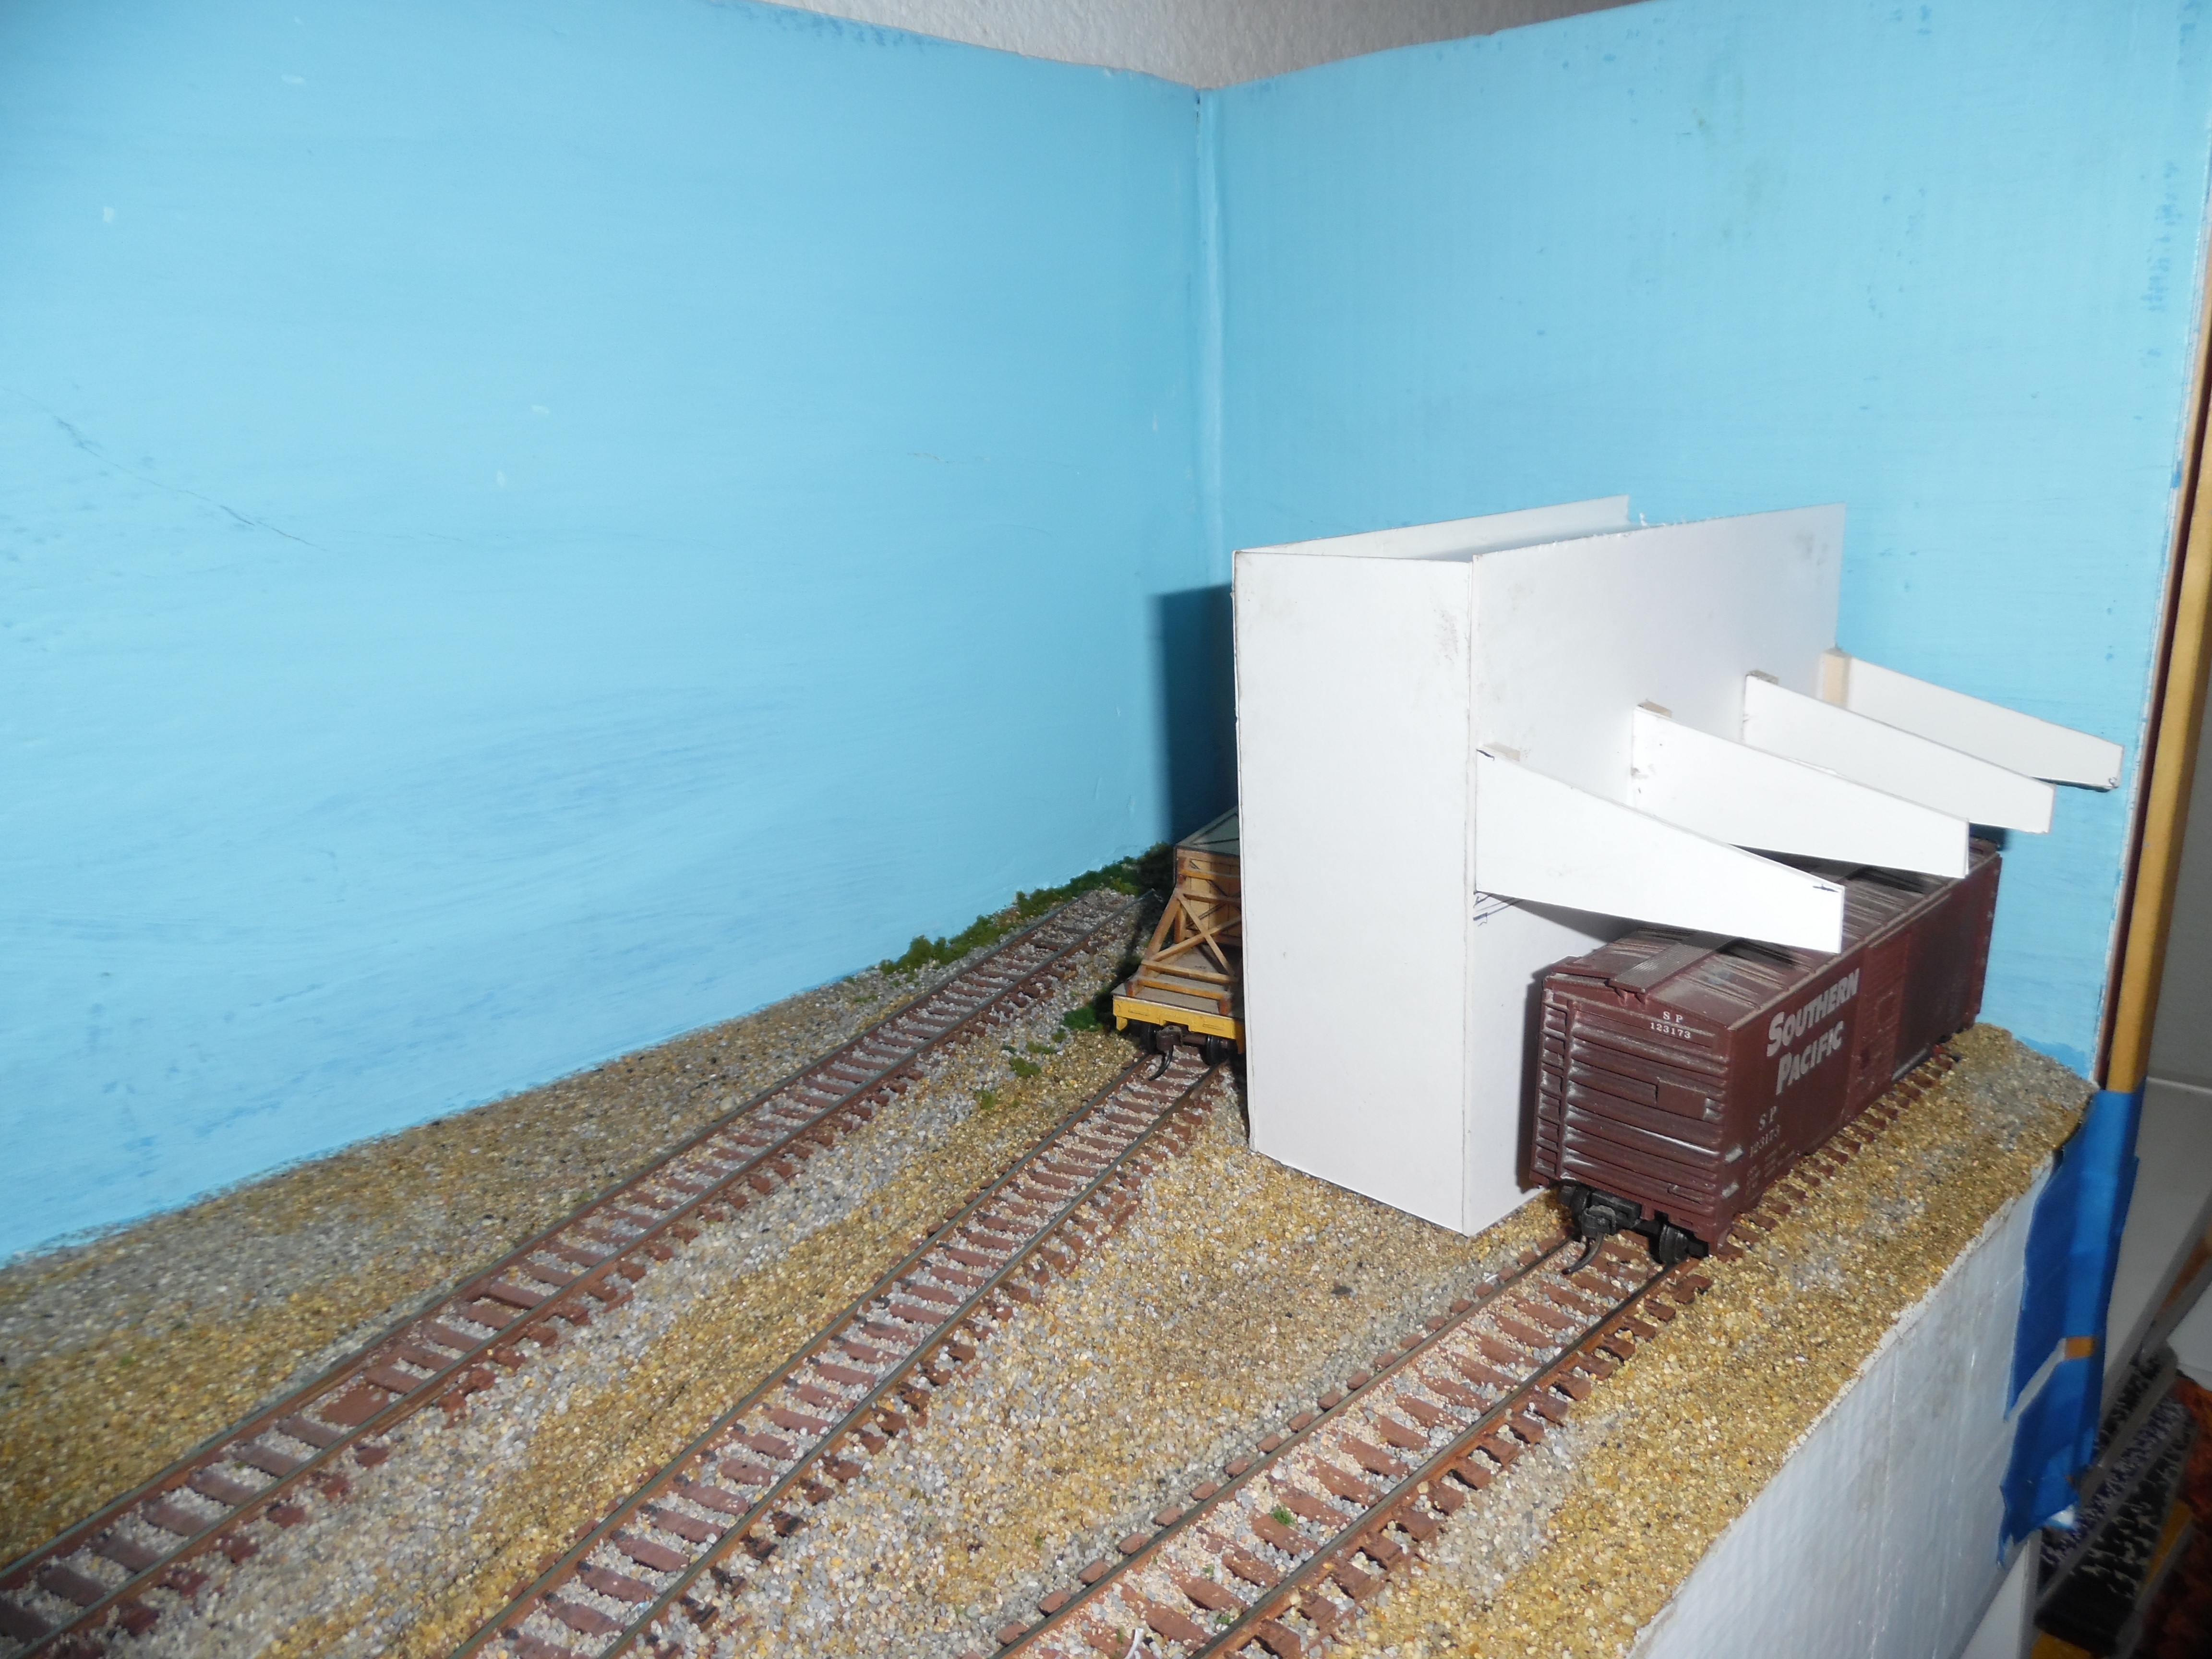
Three weeks after starting, this is what the railroad looked like… (Part 1 of Superior Detritus)
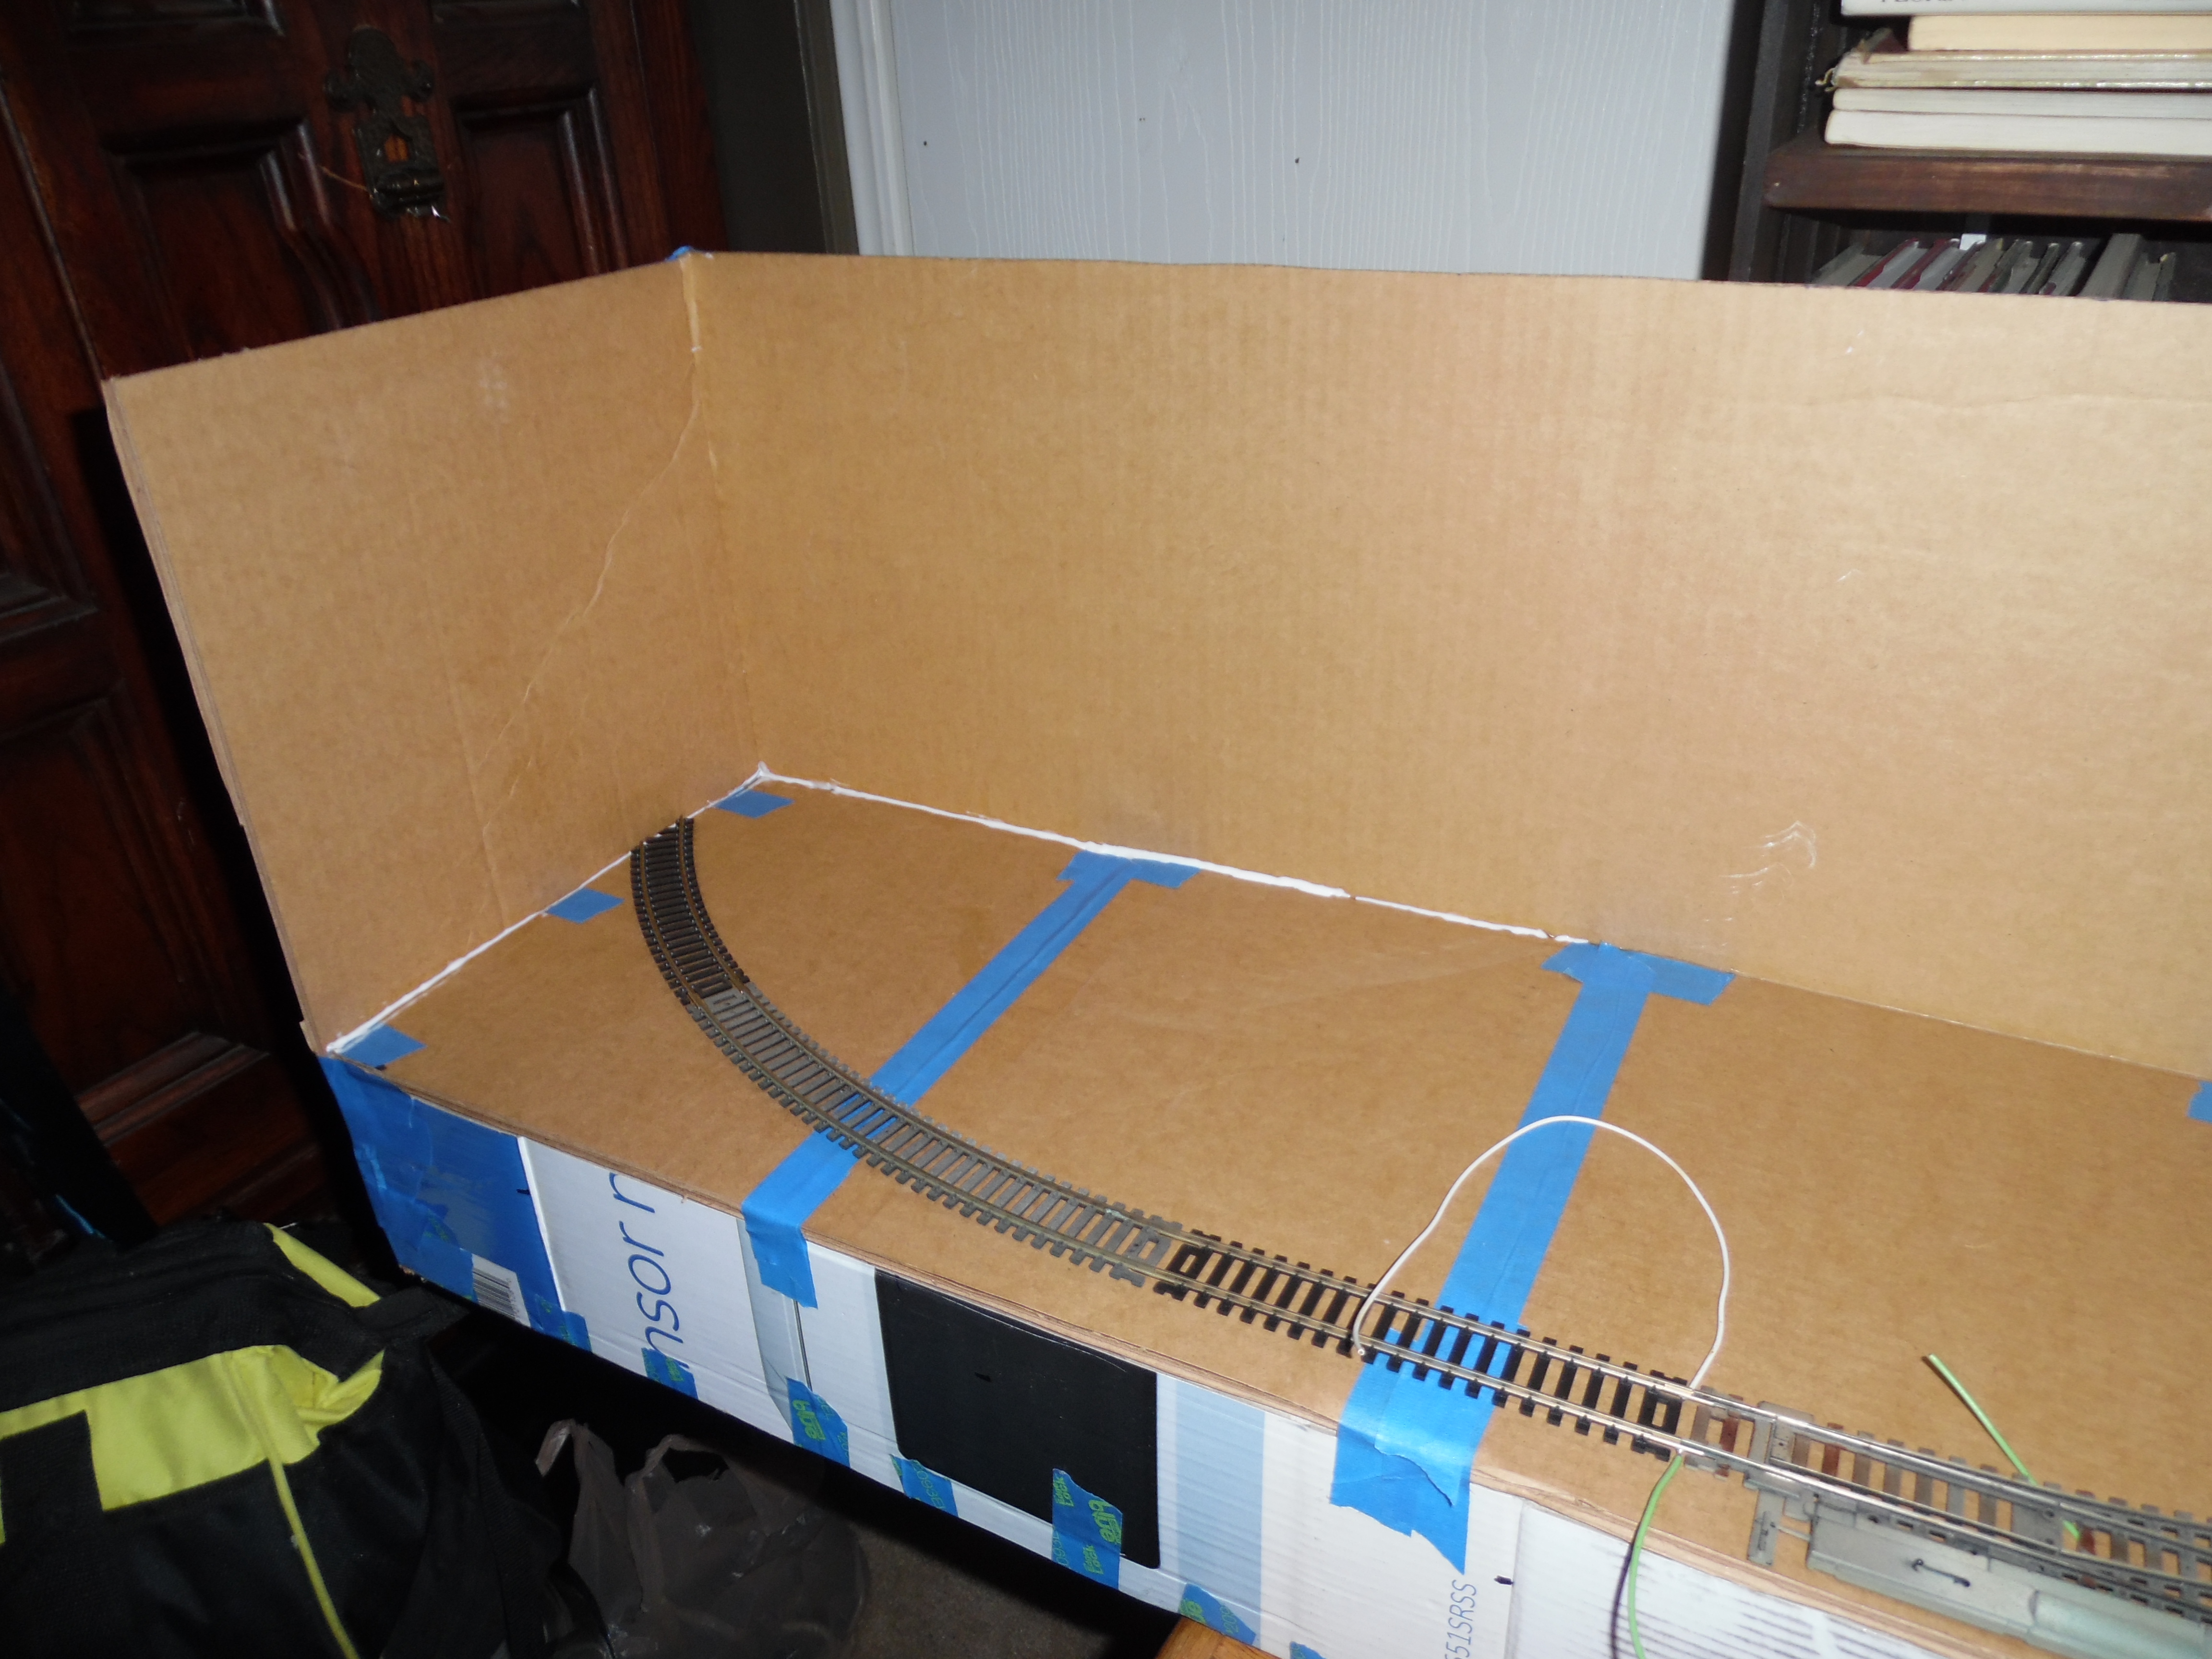
As you can see from part 1, Superior Detritus uses the familiar Inglenook Sidings plan and to be exact, the Little Bezely varient from Andrew Wyman’s site.
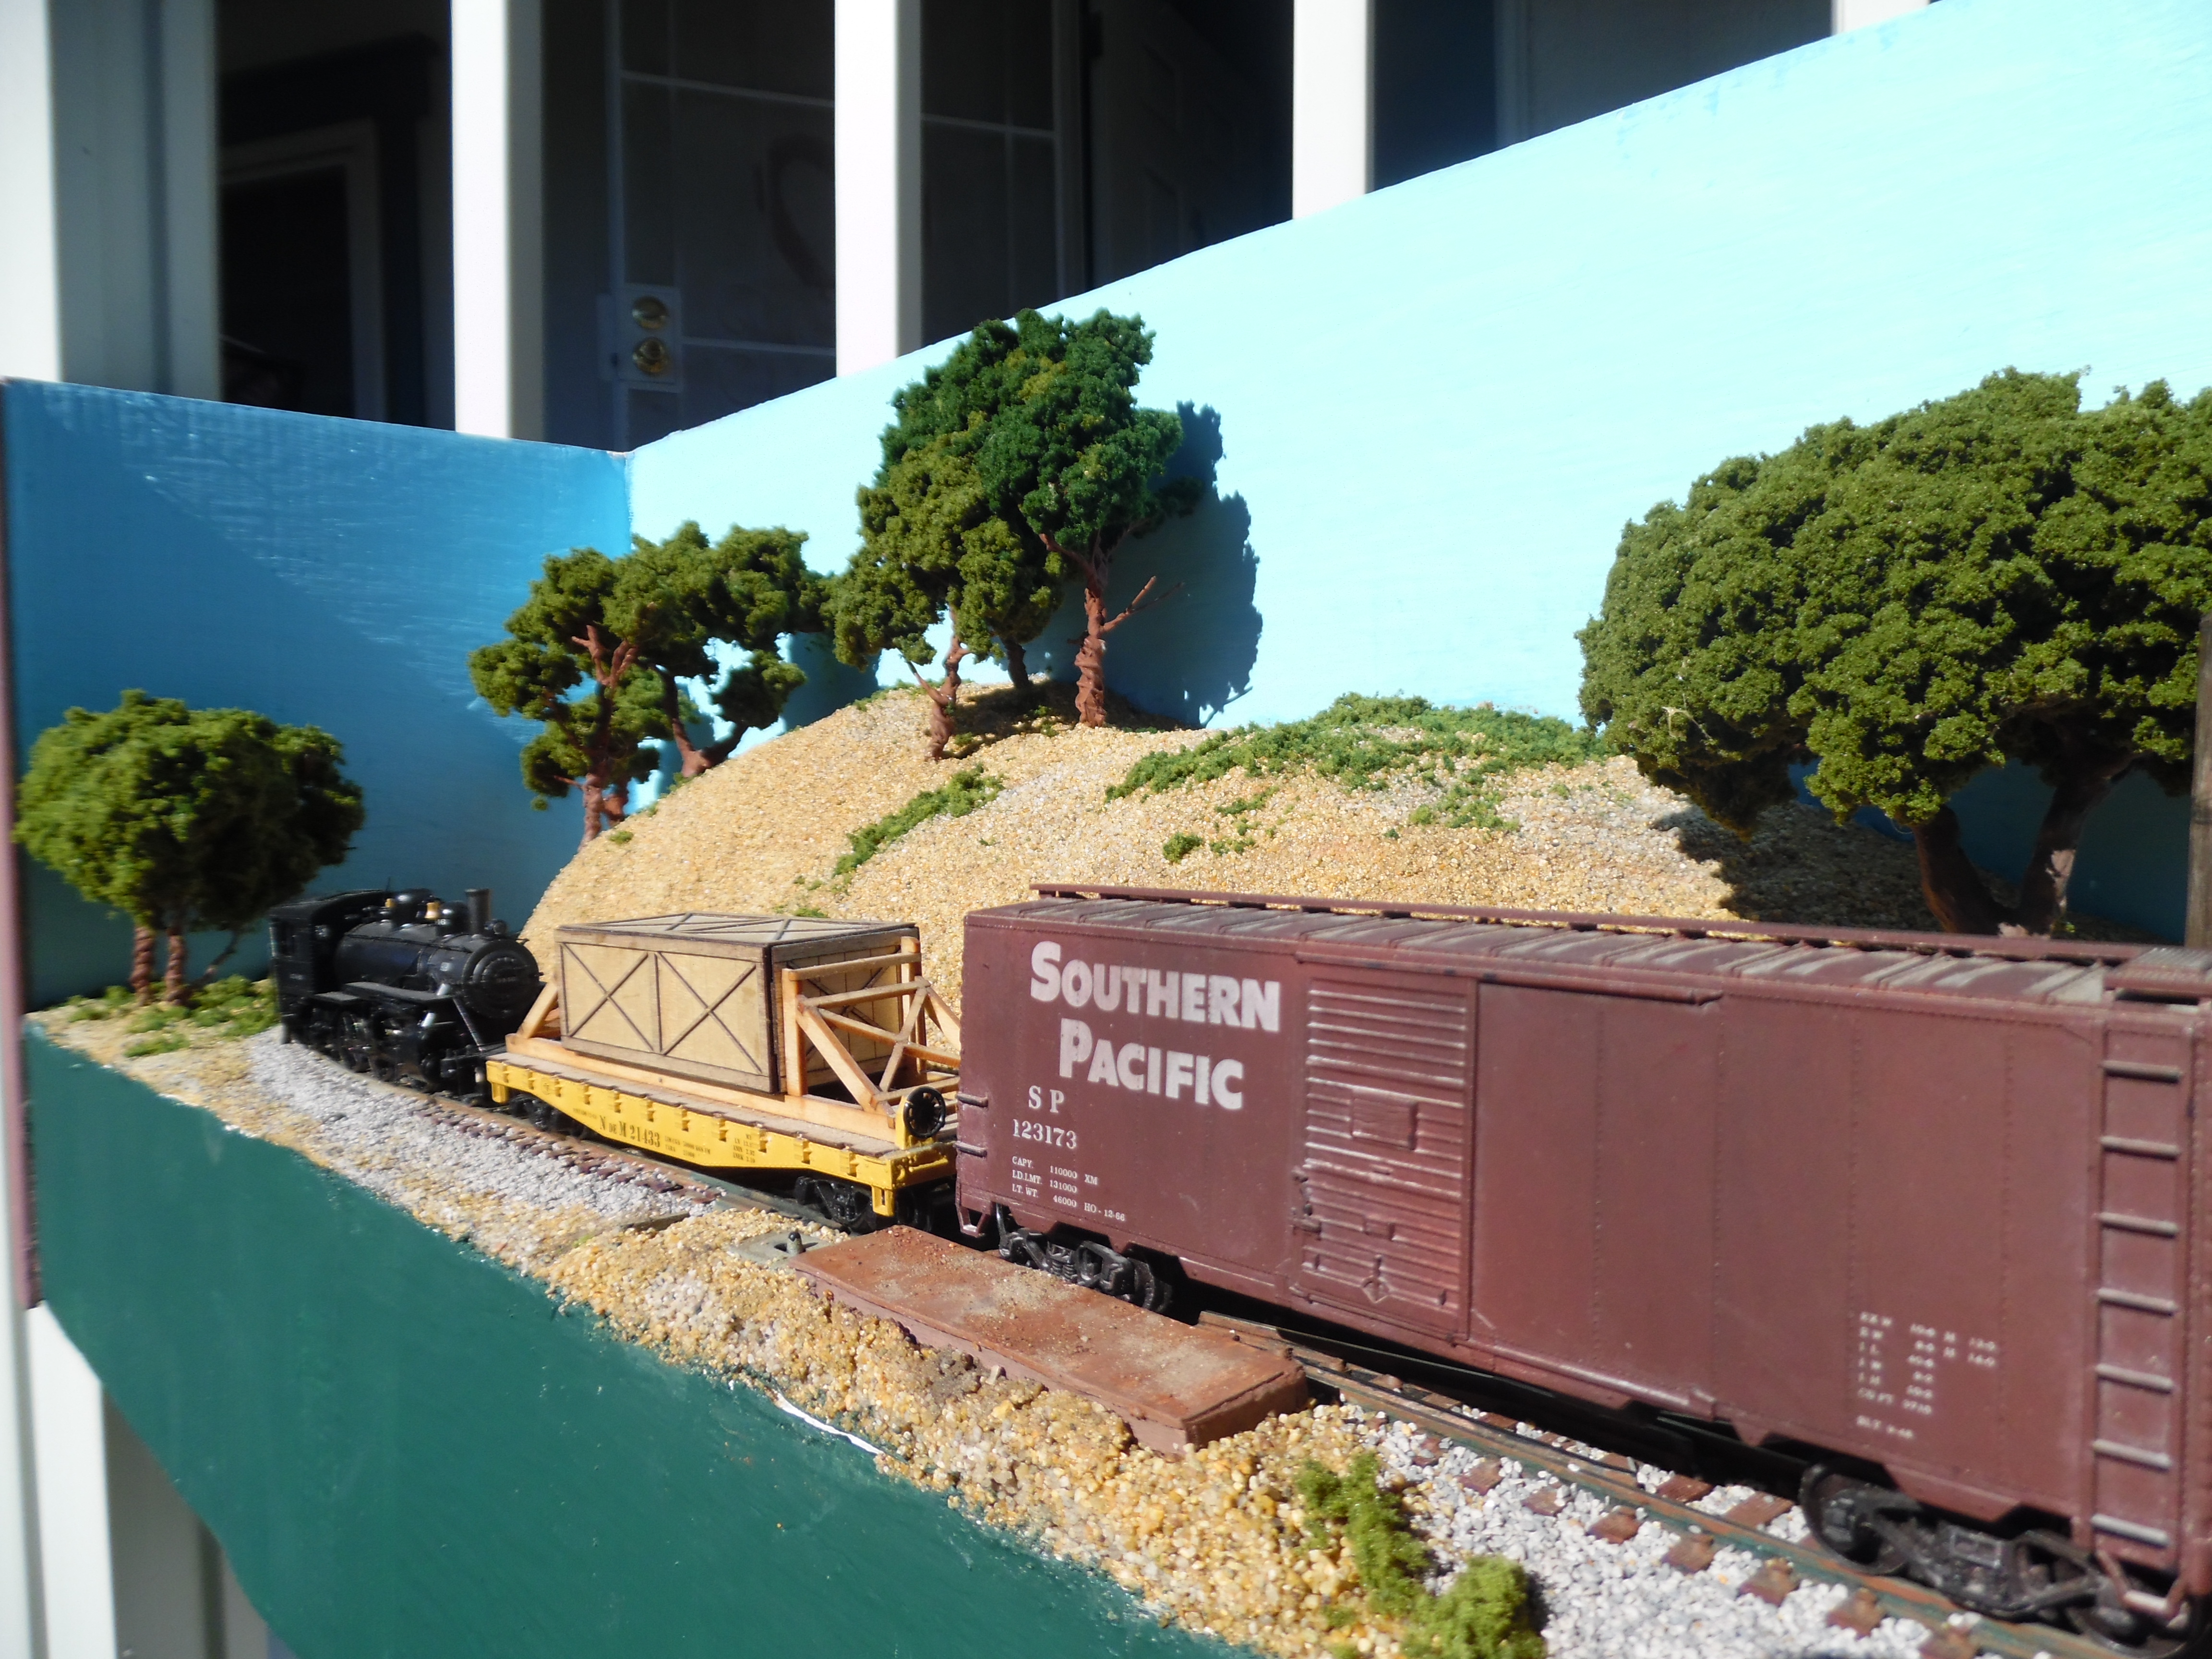
I have found the Inglenook Sidings idea to be a truly elegant solution to having an interesting layout when one is short on funds and short on time. Operating an Inglenook Sidings layout holds interest, takes up tittle space, and the two switches are relatively easy on the wallet also. The track layout is relatively common on real railroads and found in many industrial areas The lack of a passing loop (runaround) does not hinder operations in the least. For Superior Detritus, the main spur has a 3 or 4 car capacity with the other two sidings having 2 car capacities each. Operation of Superior Detritus takes one locomotive and 5 or six freight cars. Careful shopping on e-bay provides all the necessary equipment and a power supply for less than $100 USD as of January 2014.
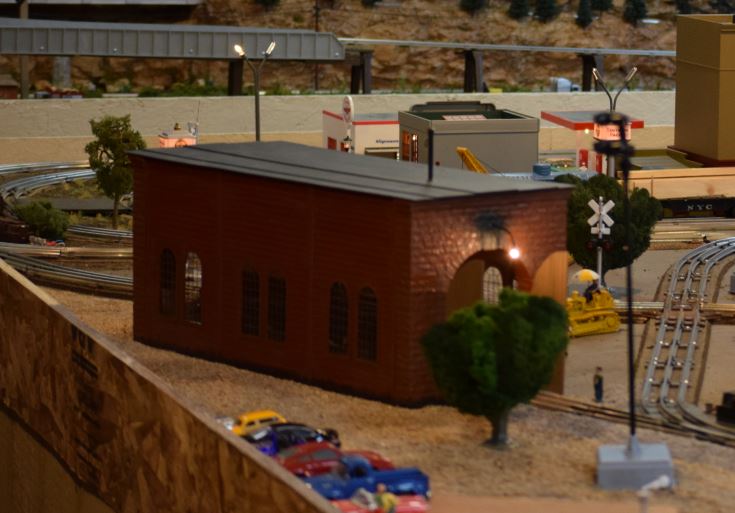
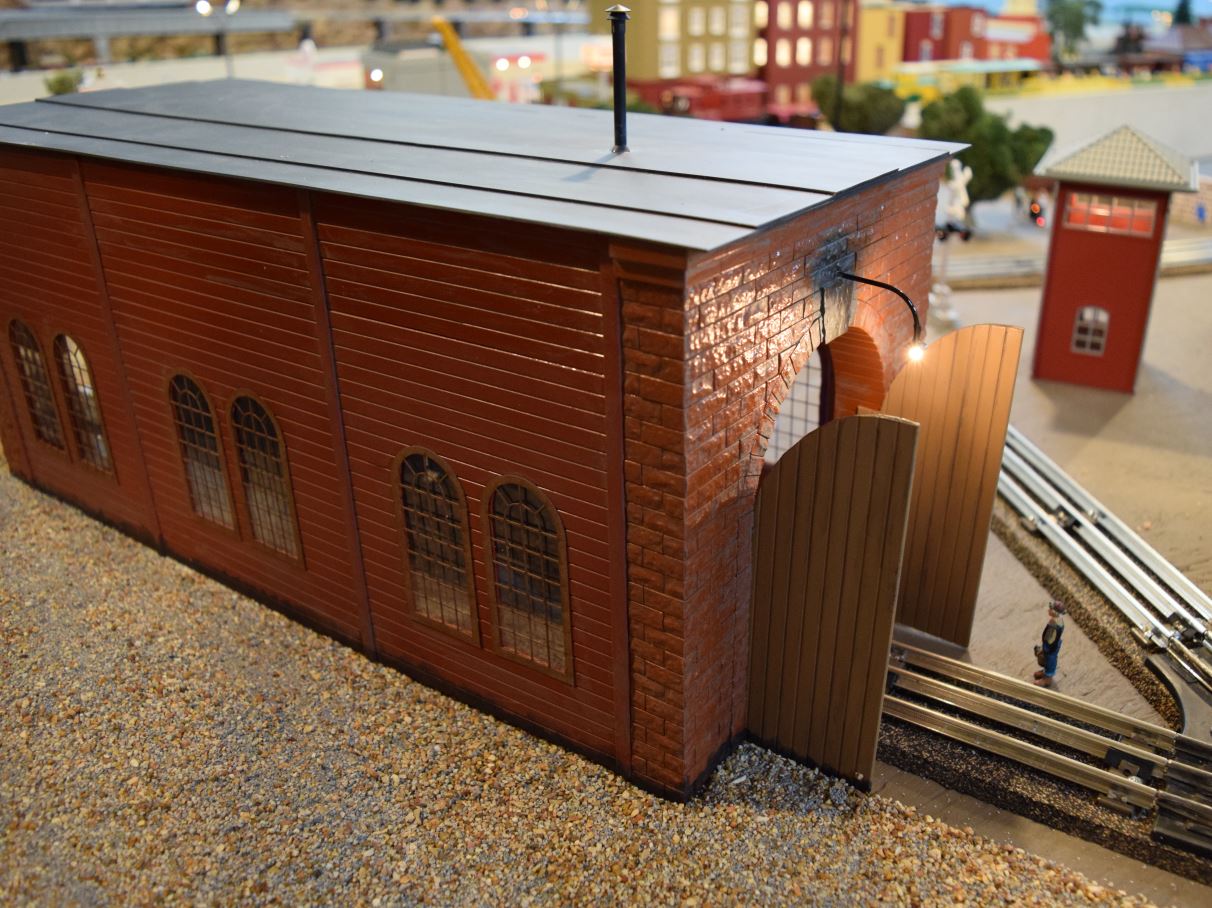
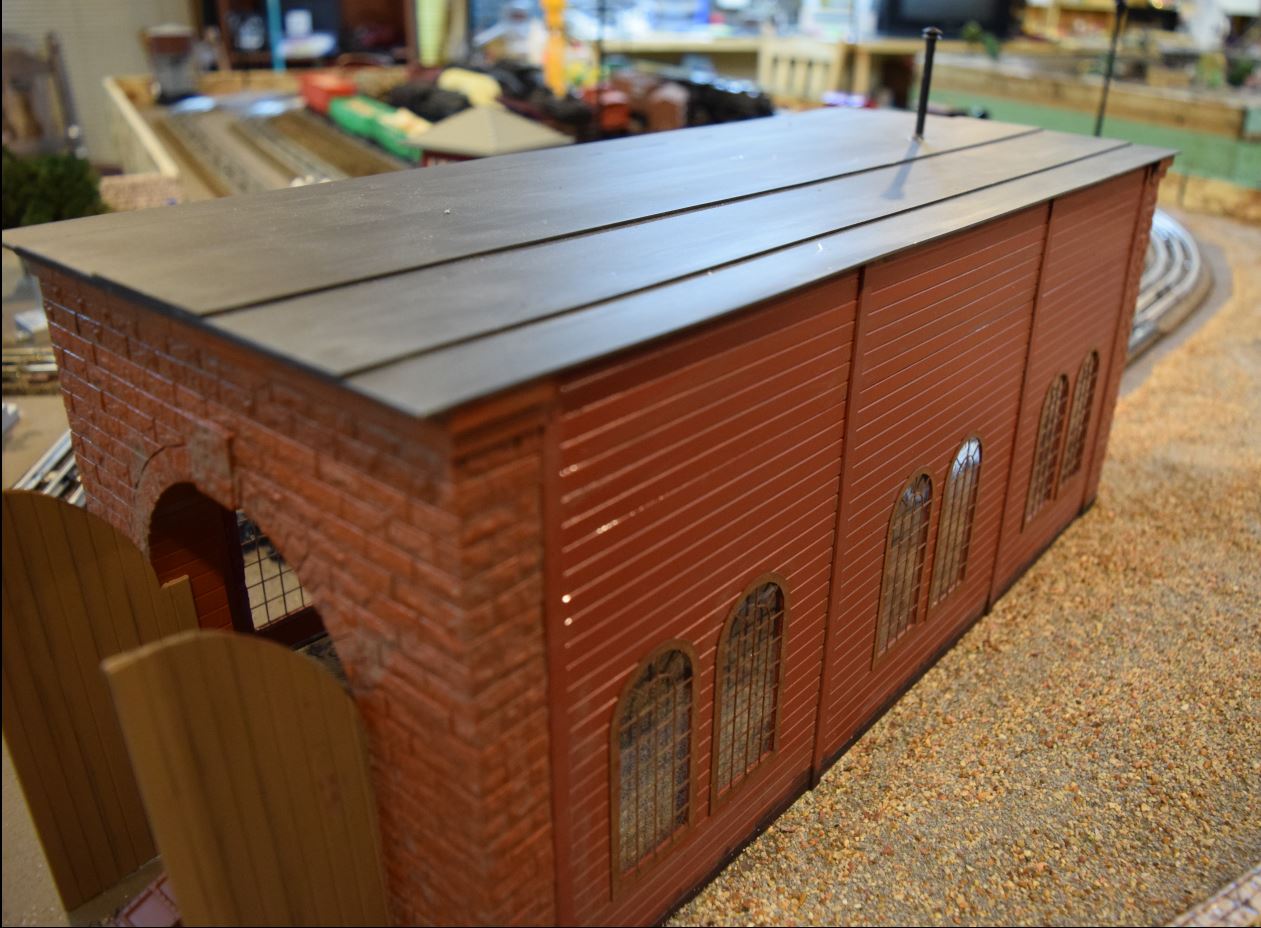
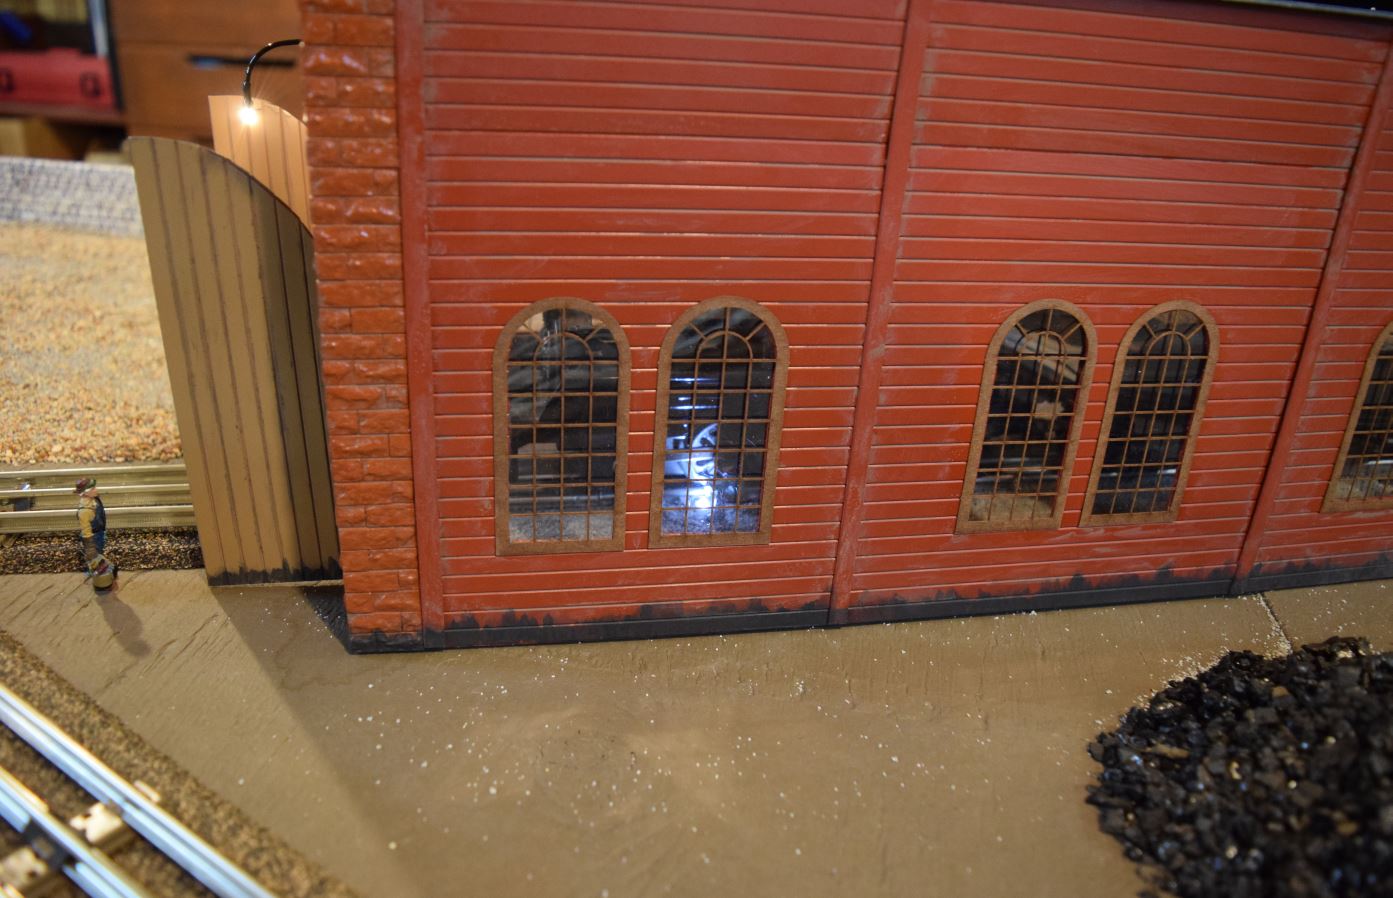
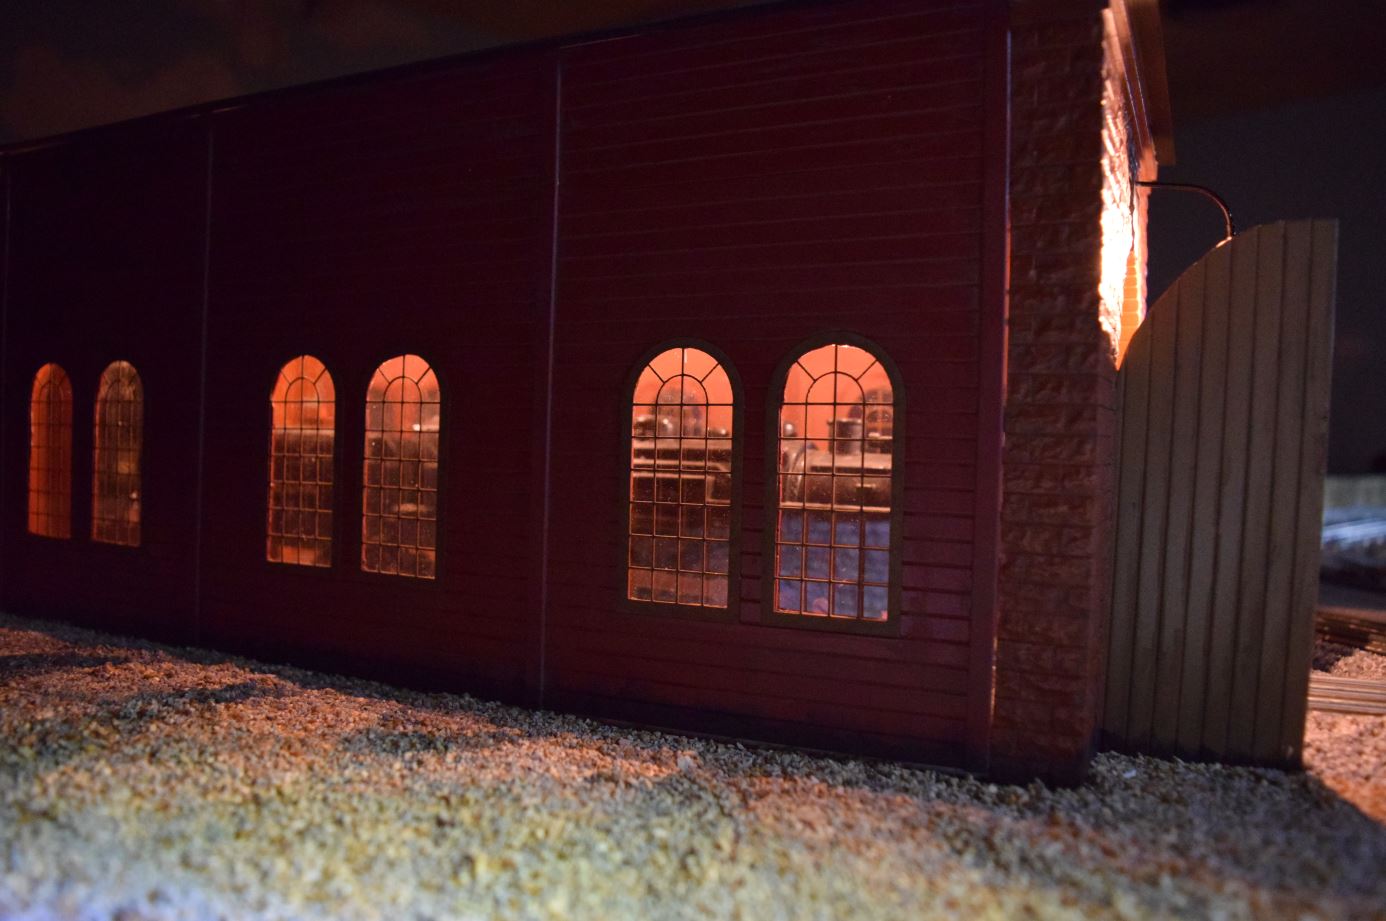
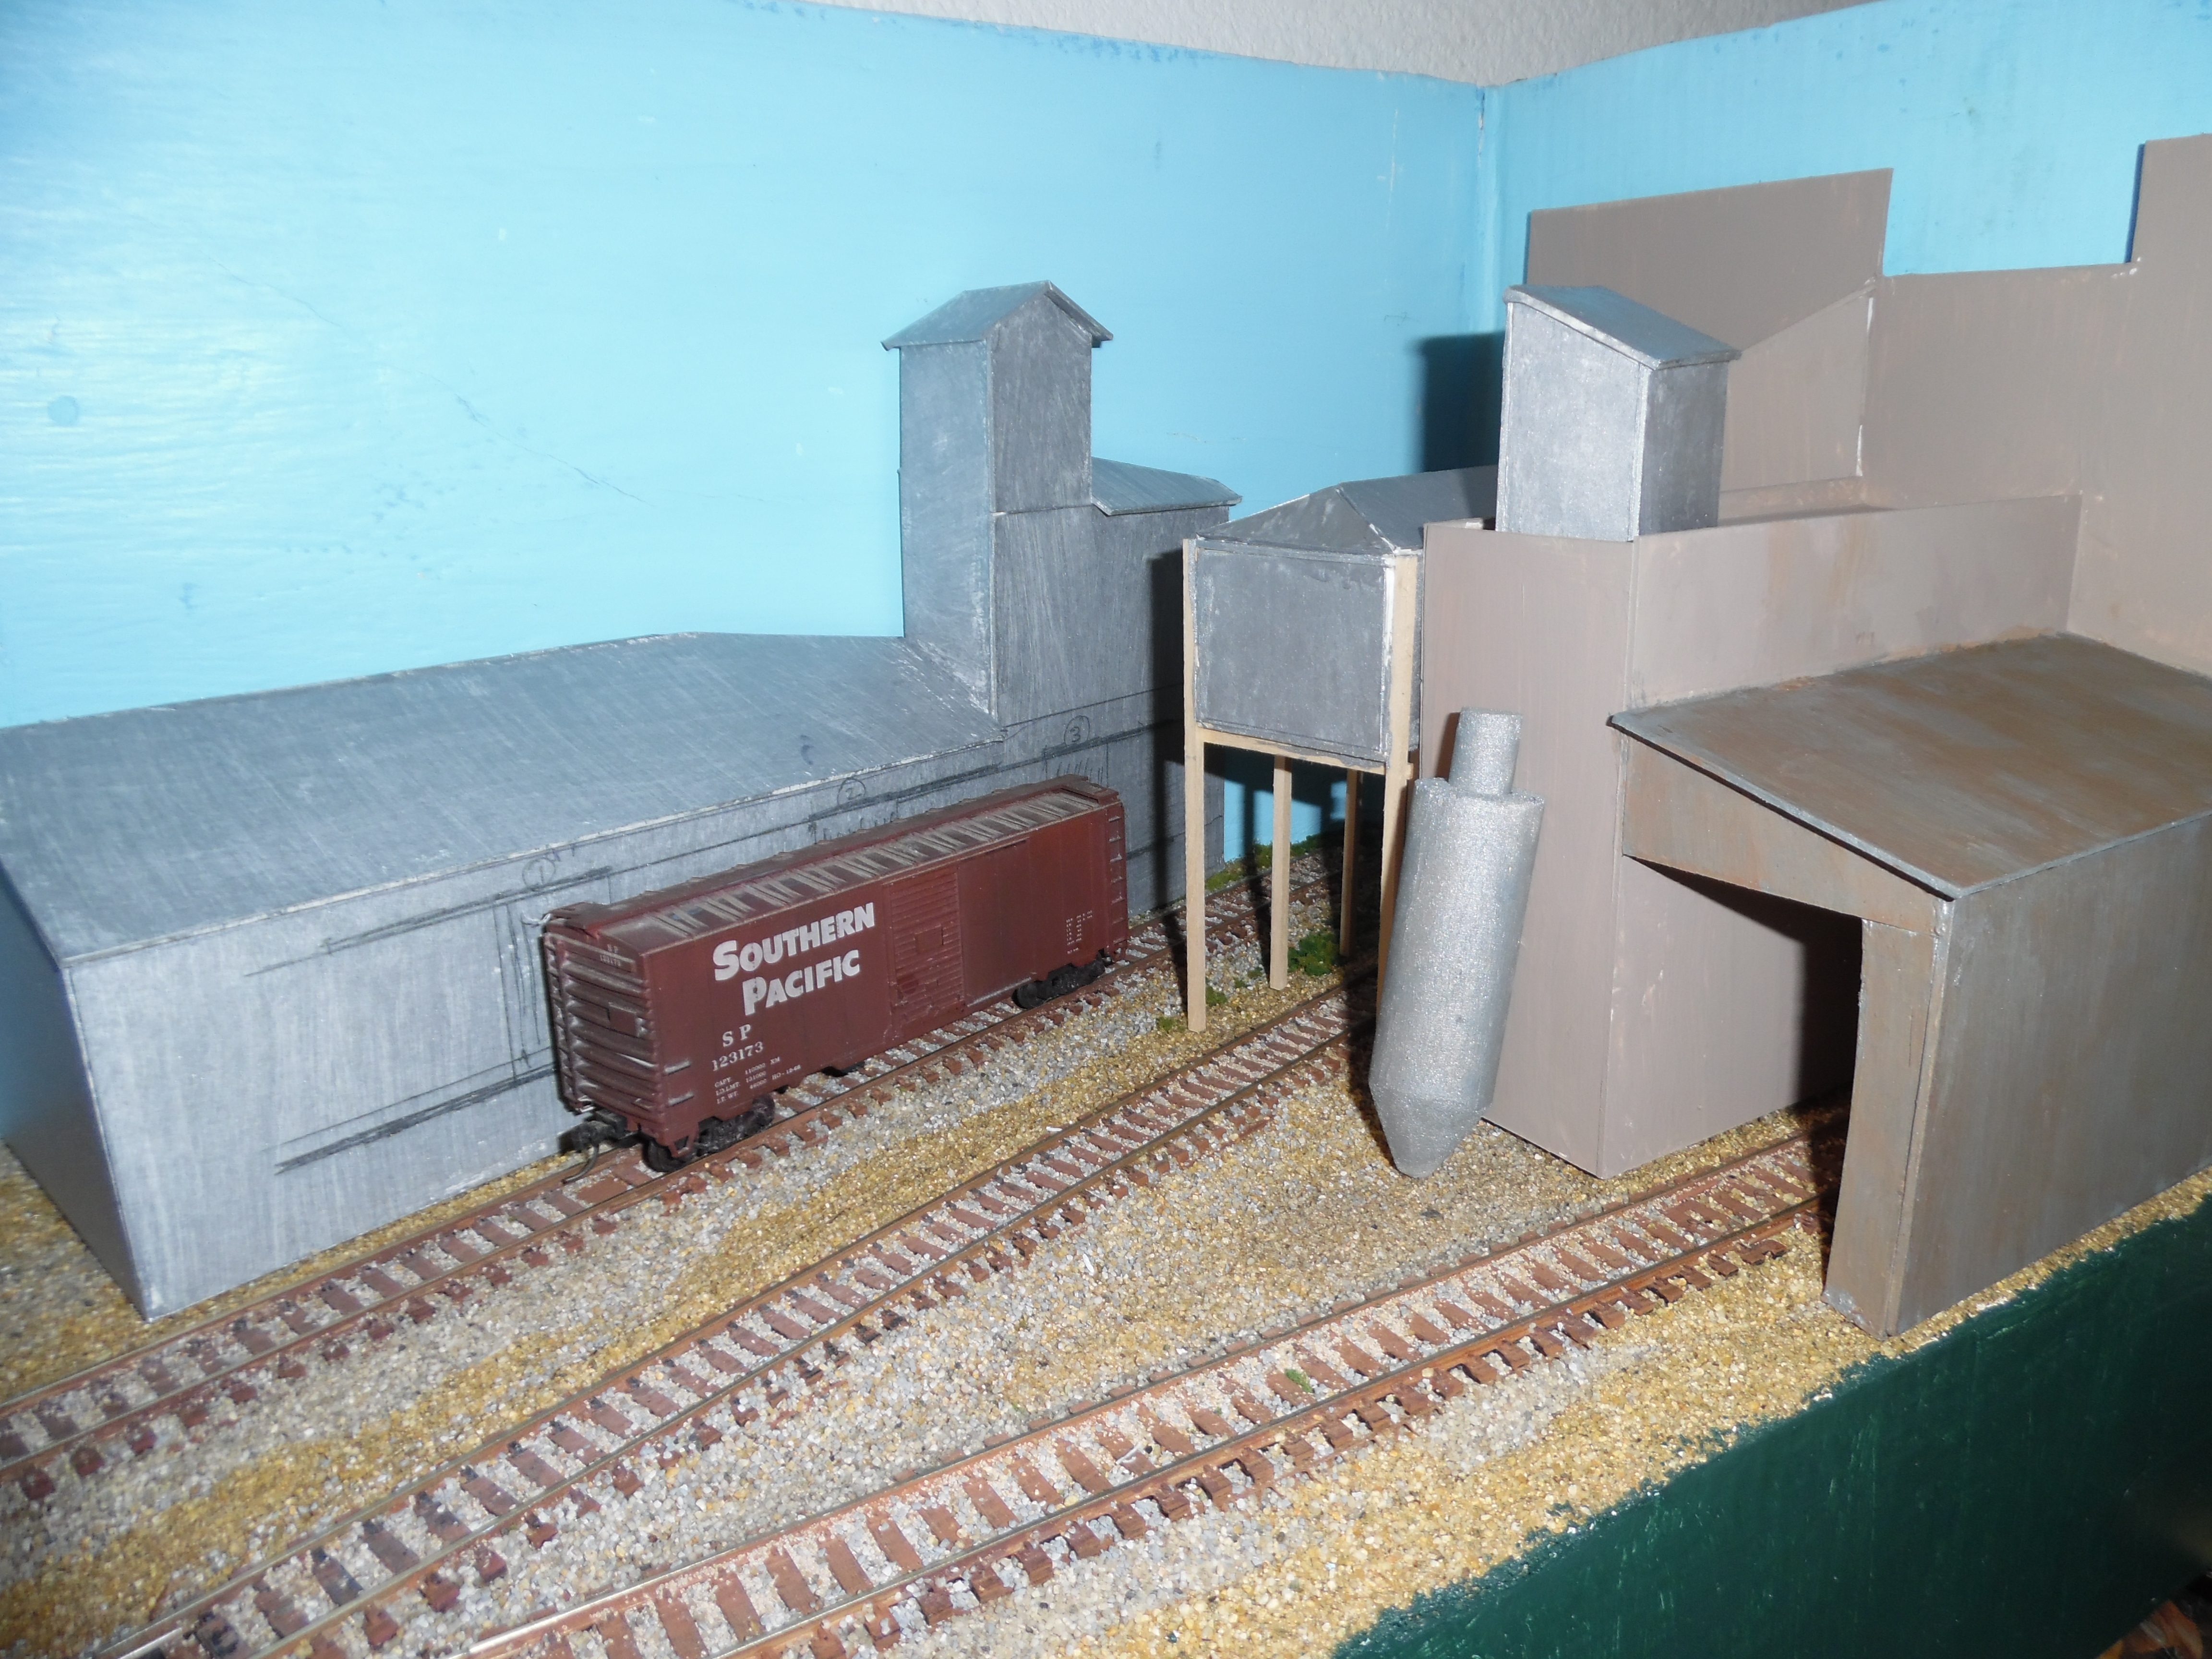
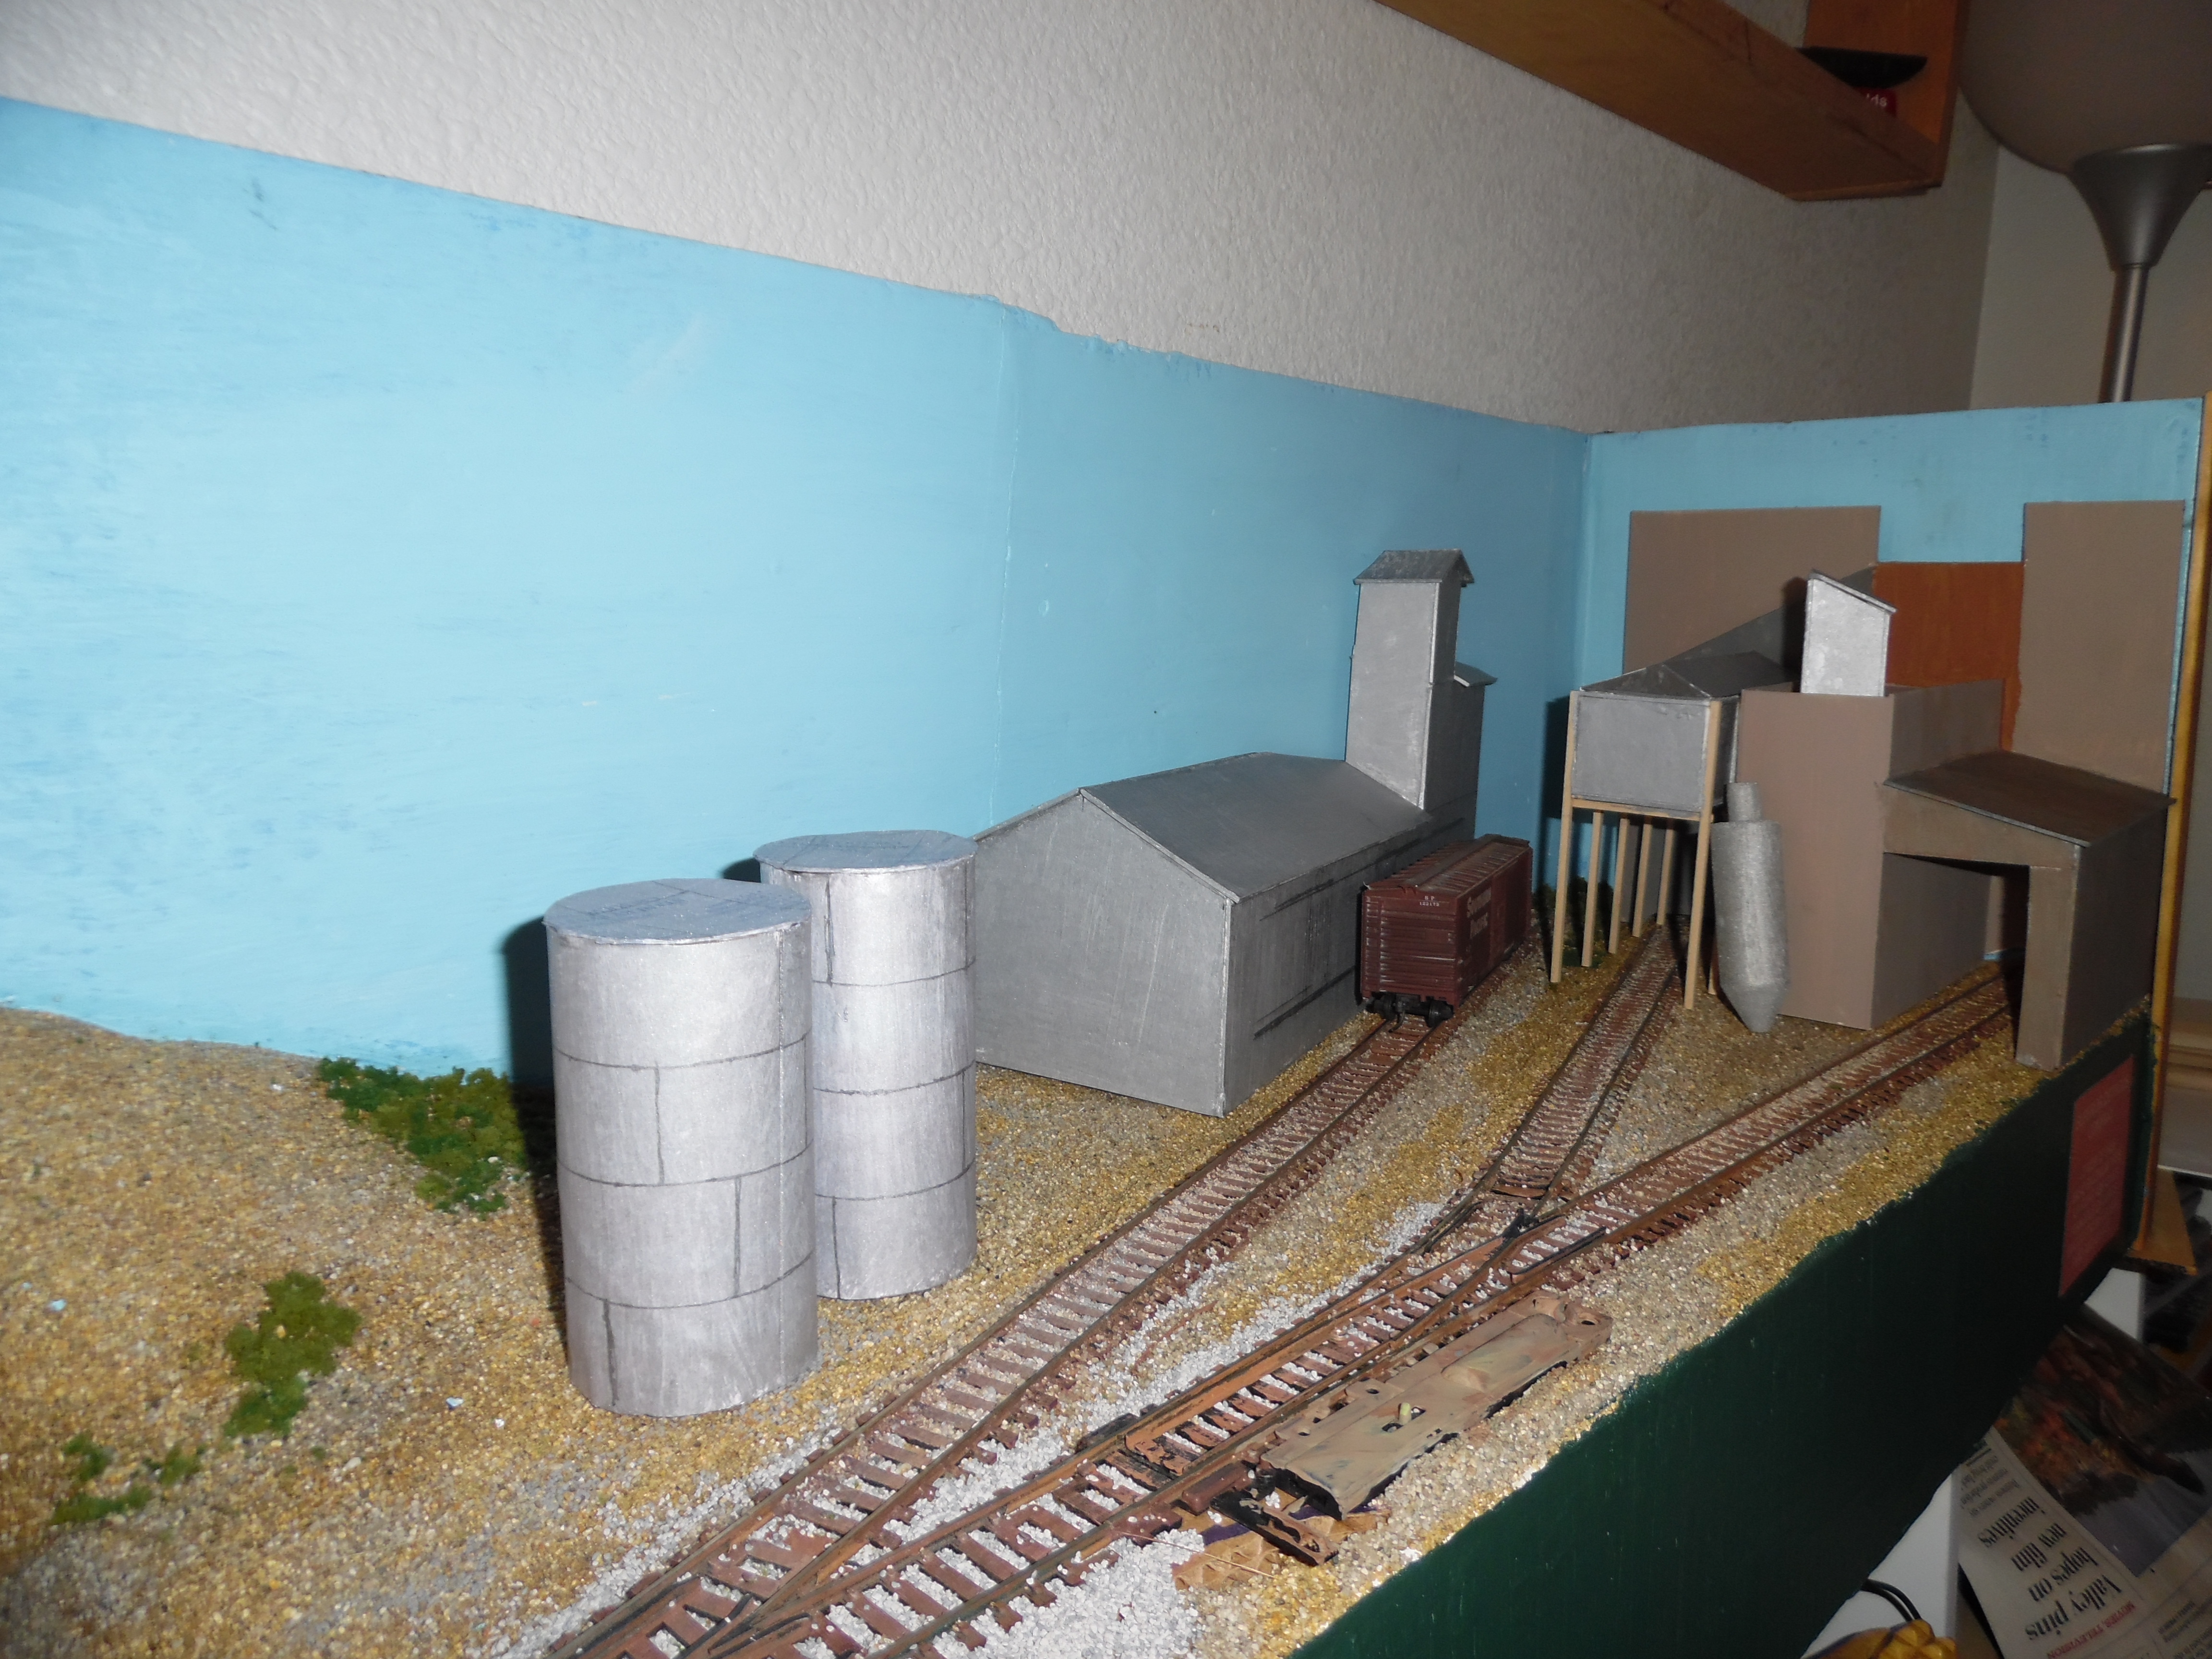
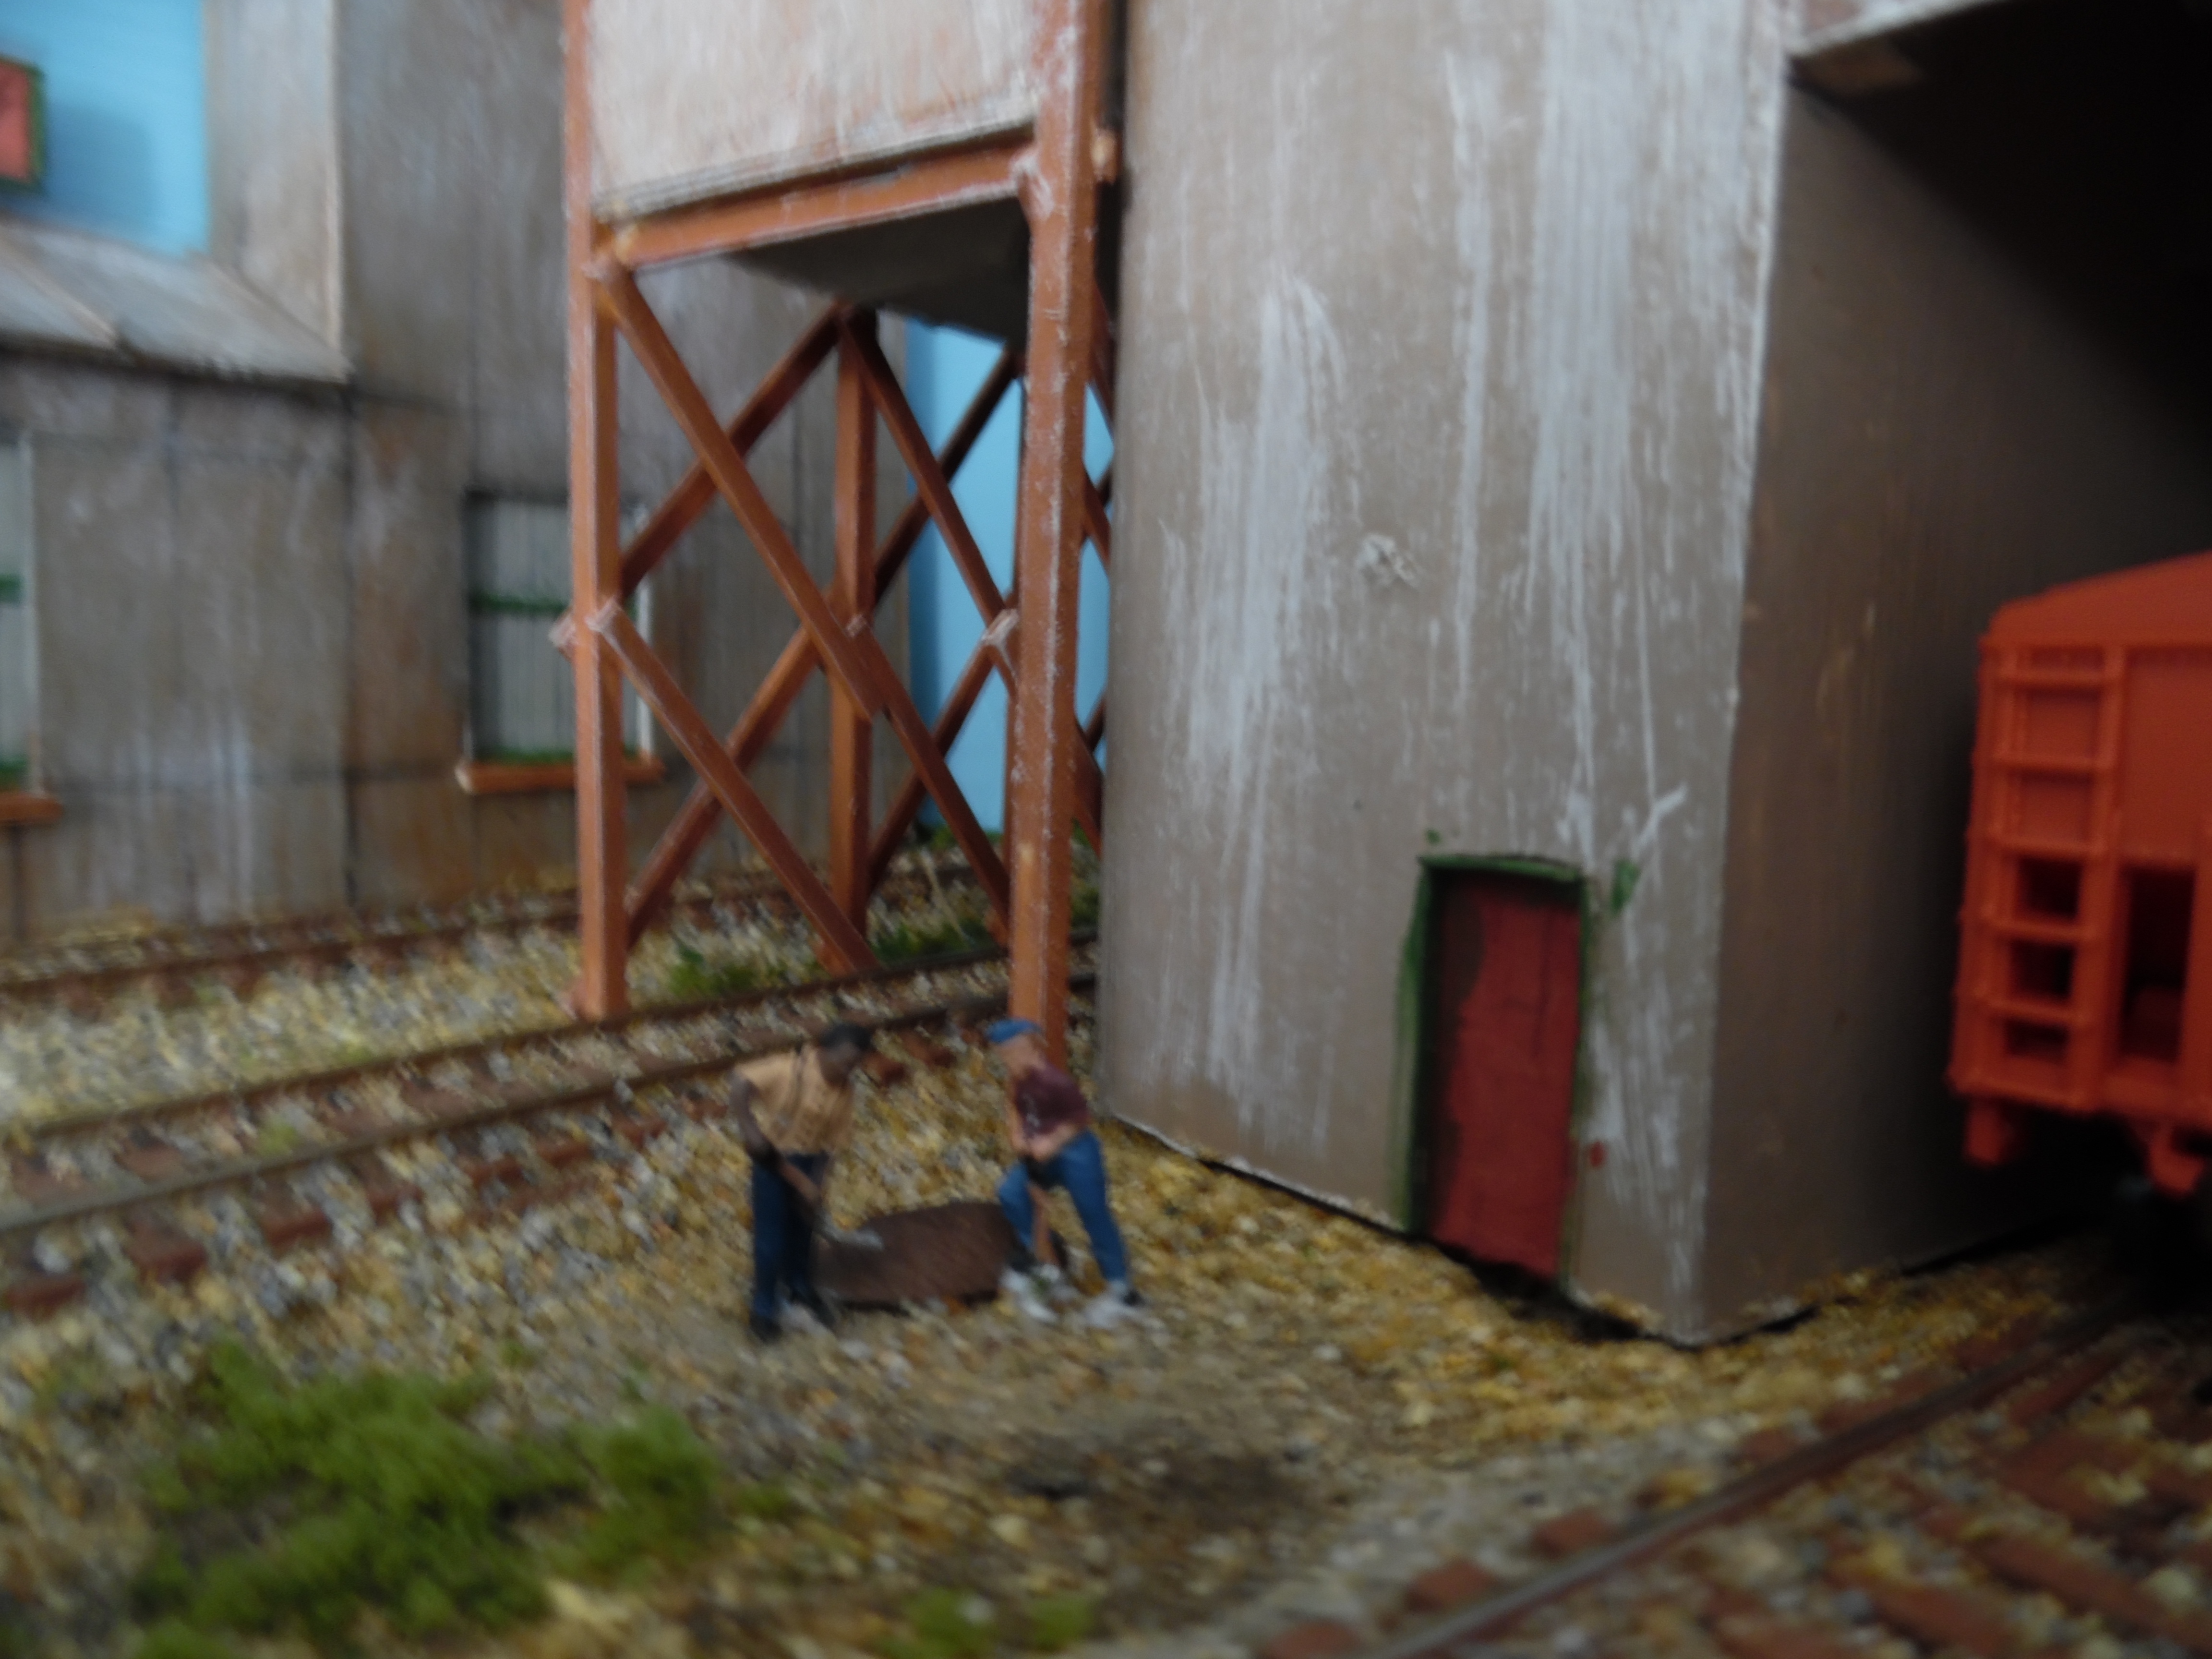
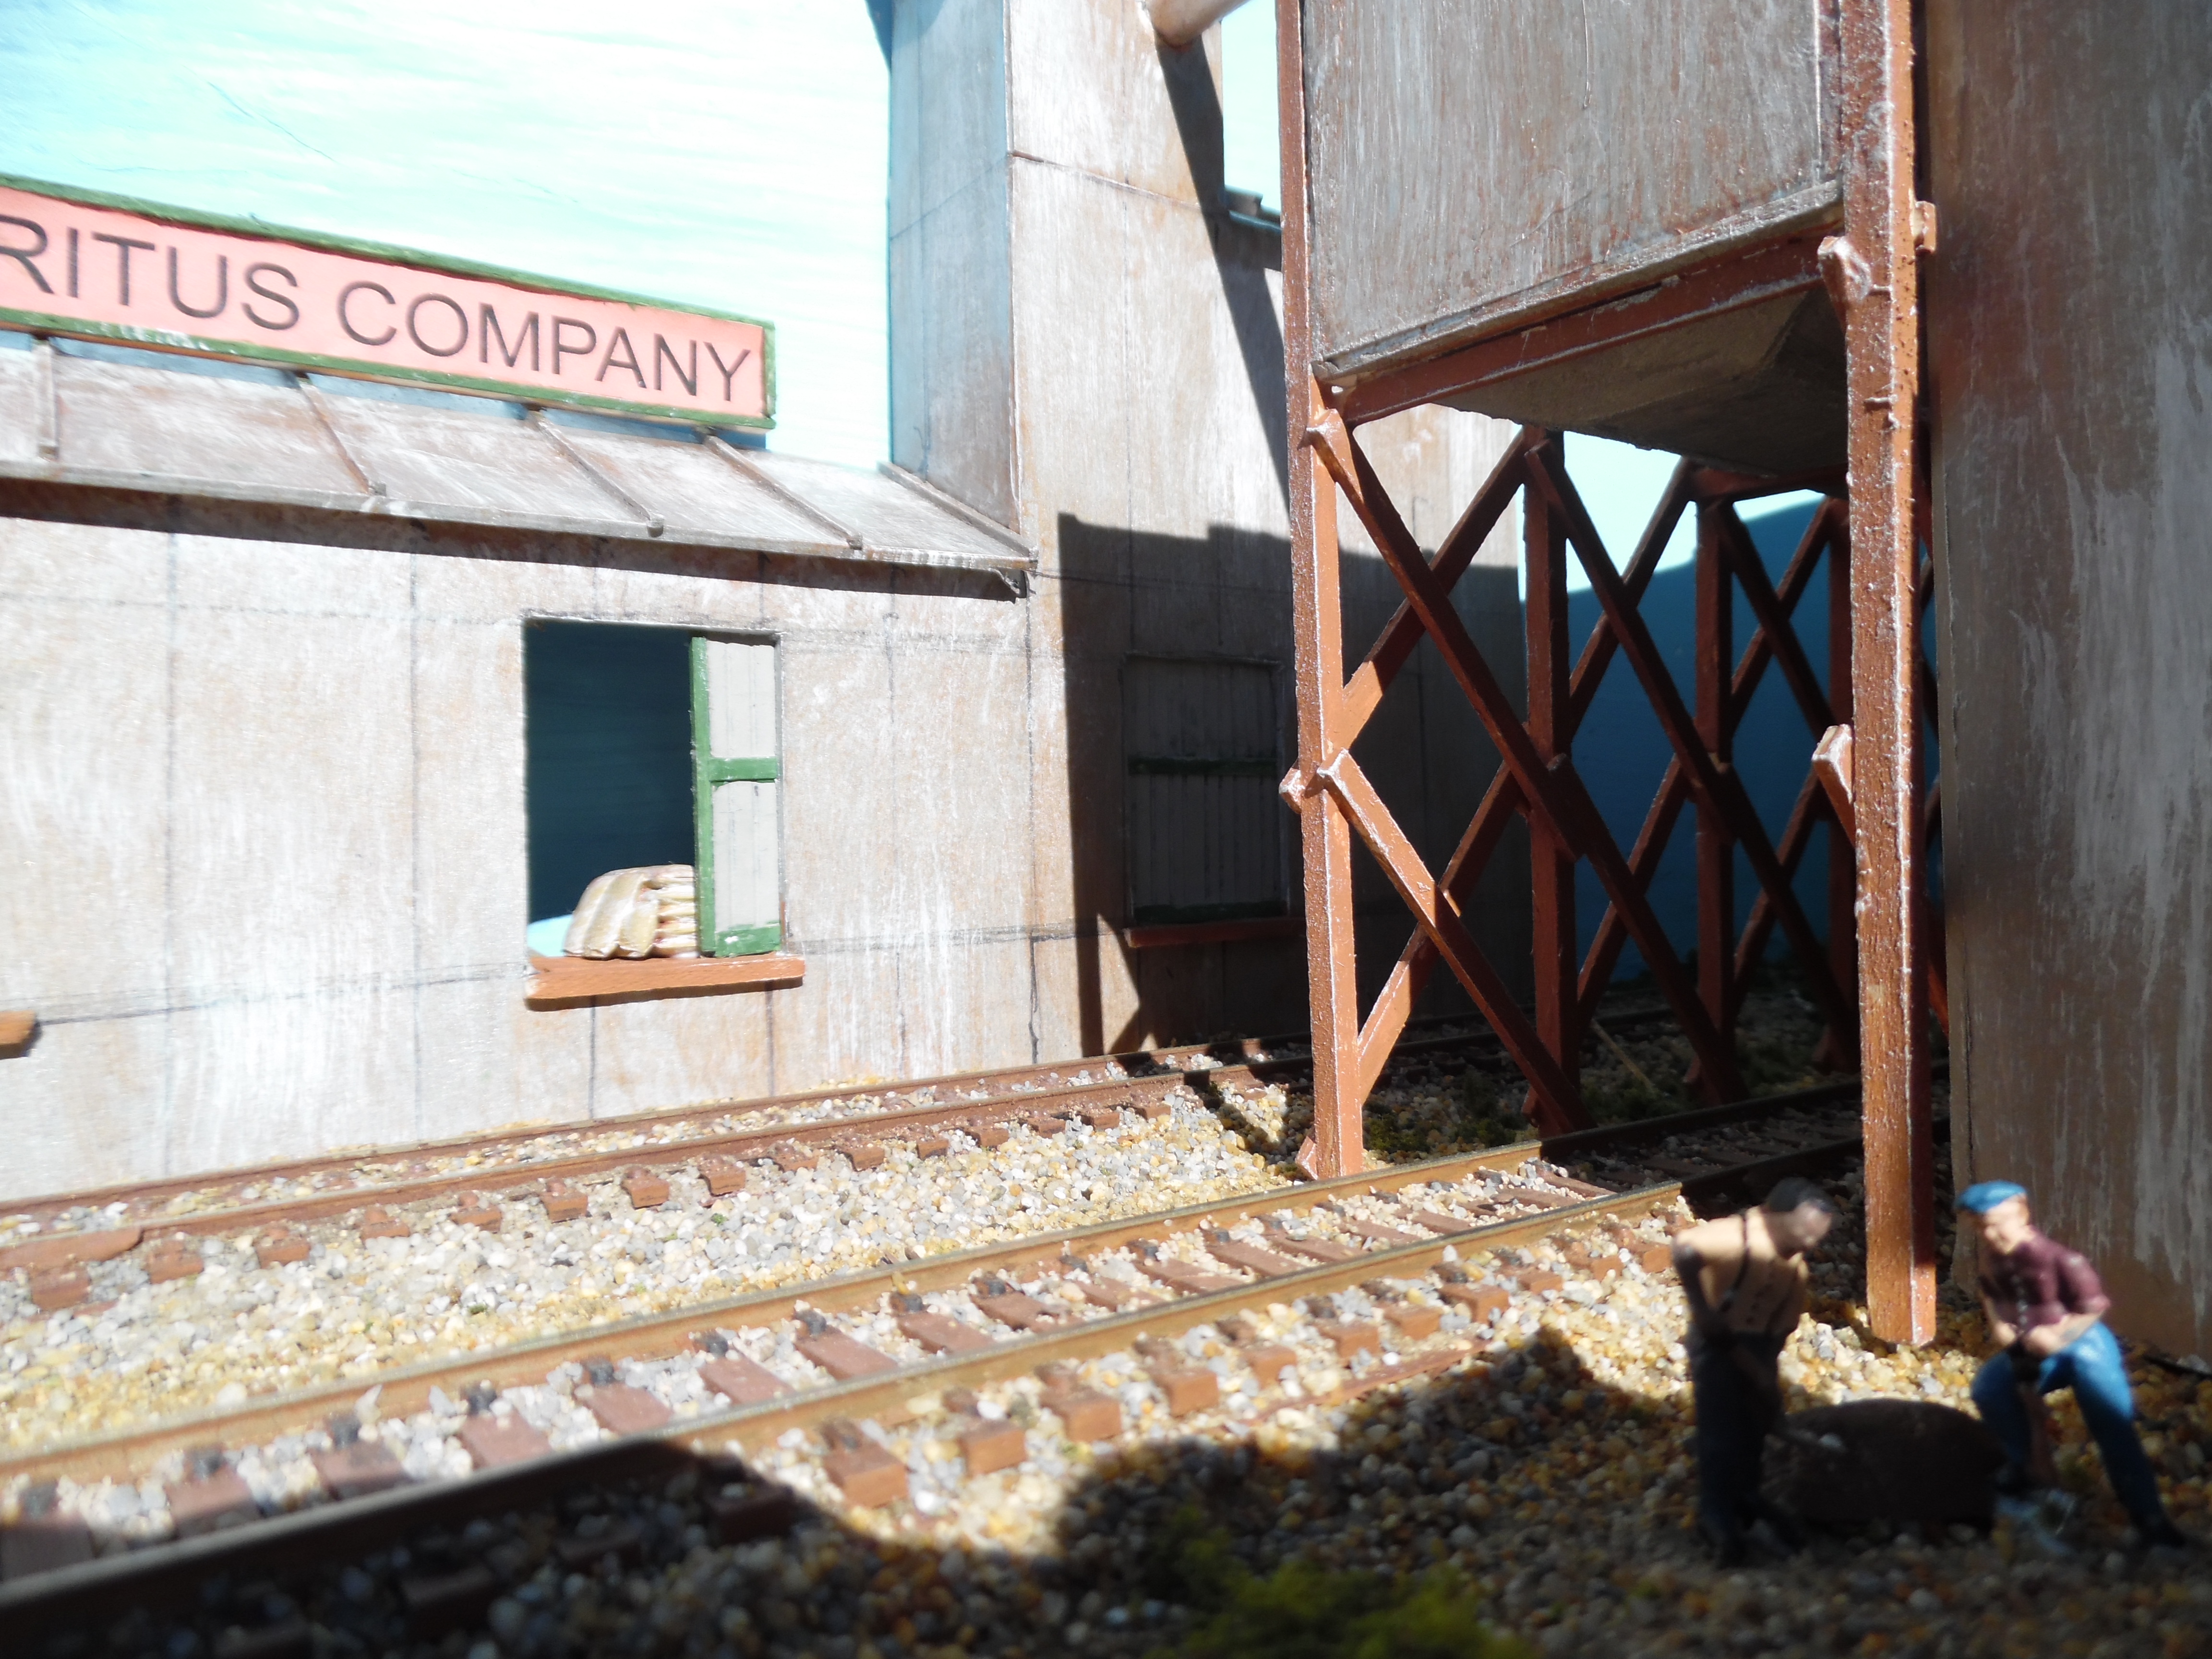
The main destination for Superior Detritus is the processing and packaging plant for all the fine products they offer. The design provides a new twist to the classic operation of Inglenook Sidings; there are now specific “spots” or locations for the cars not being used in the “outbound train.” The plant was constructed primarily from mat board with some balsa and spruce thrown in for good measure. Building this structure took me the batter part of a month to get it all “blocked in”…
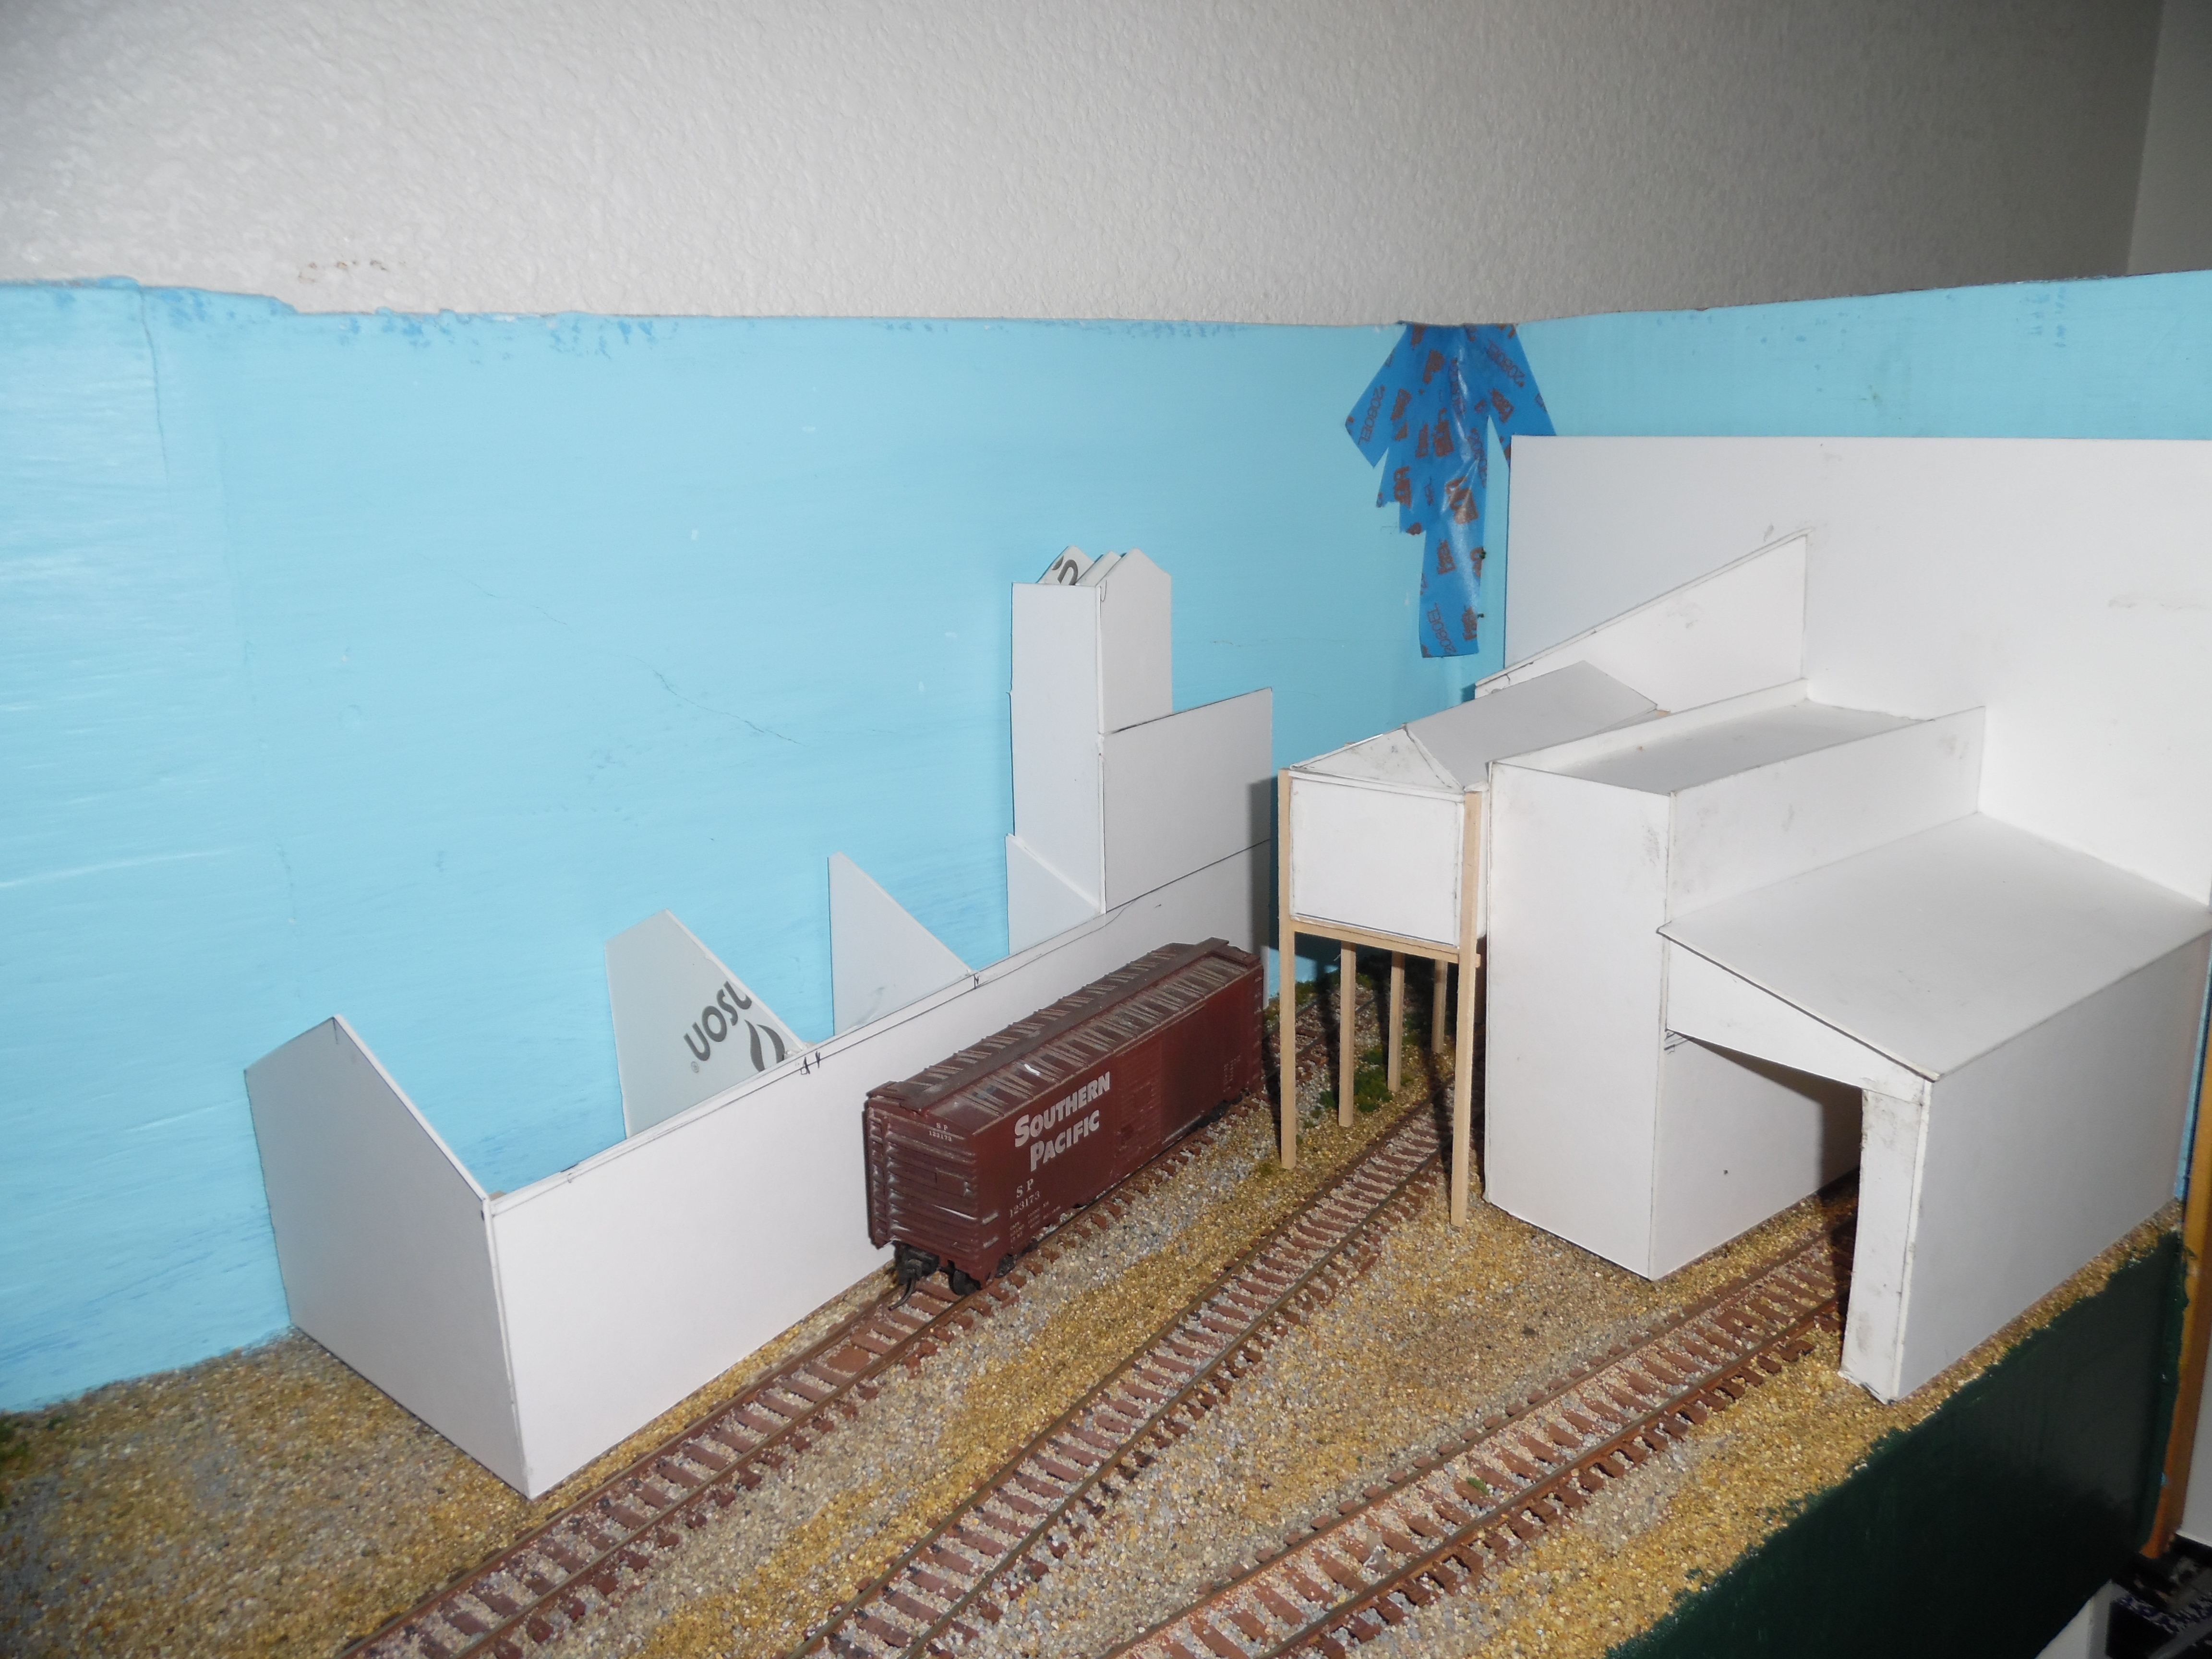
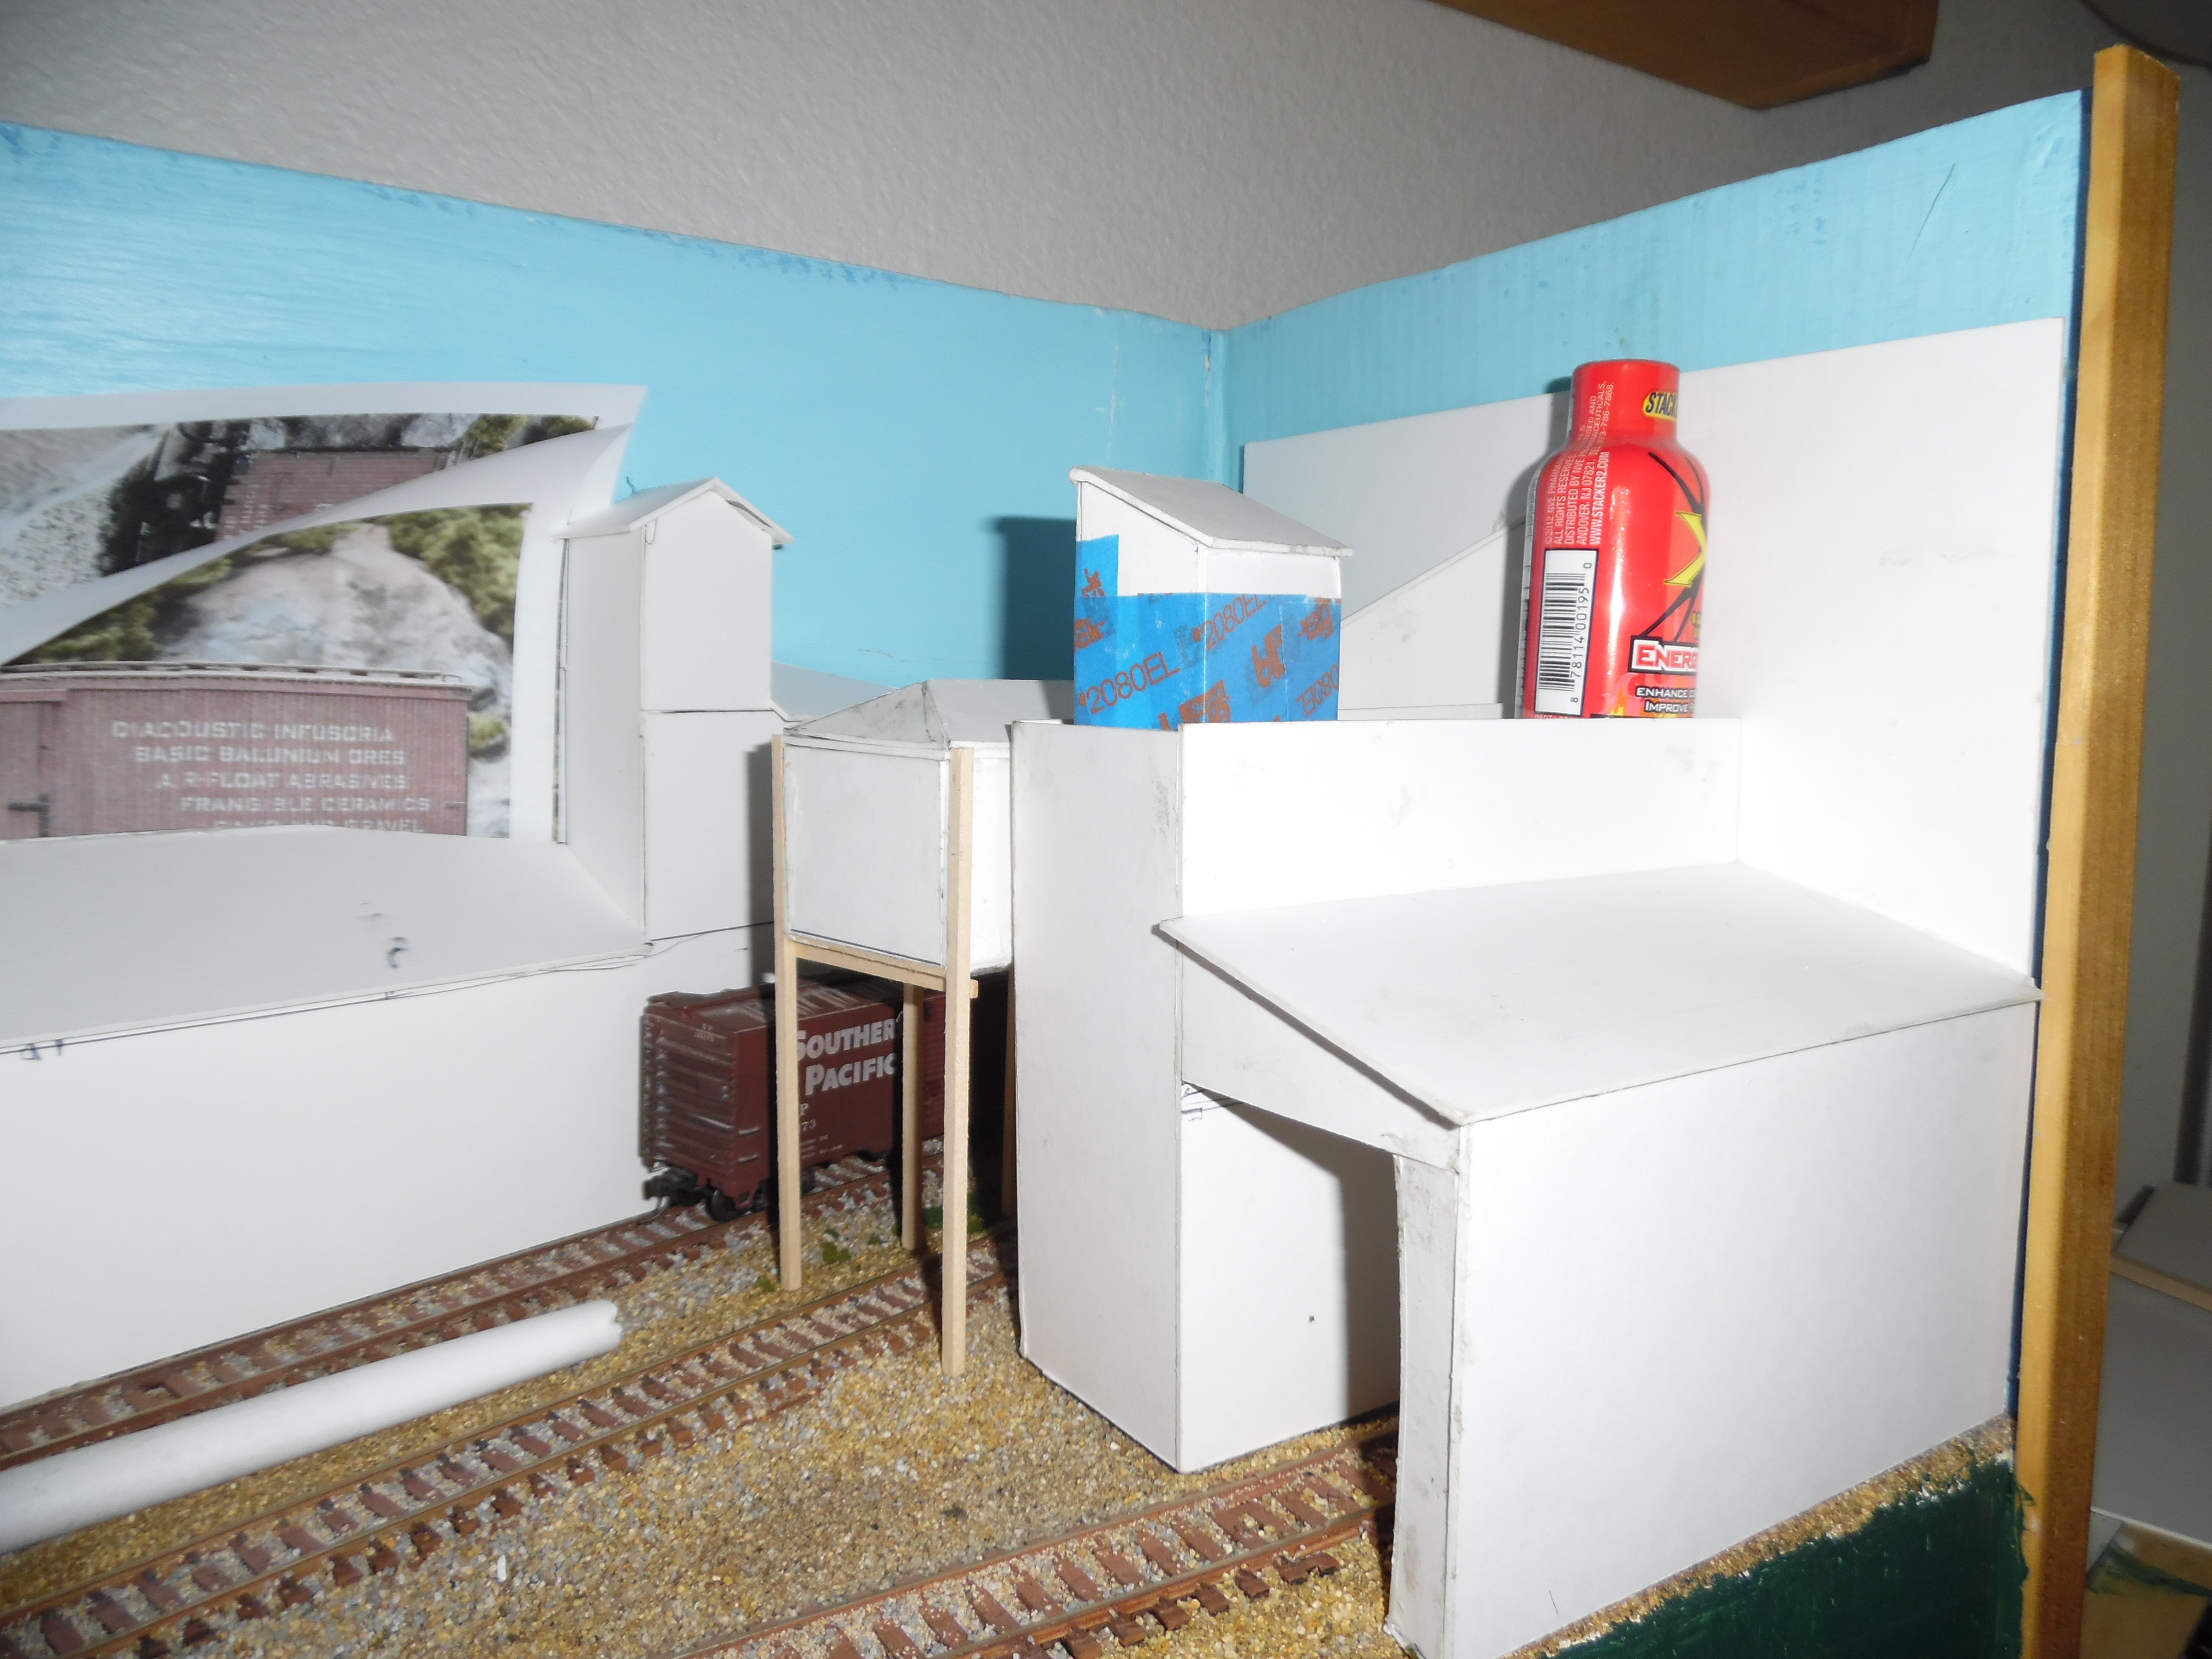
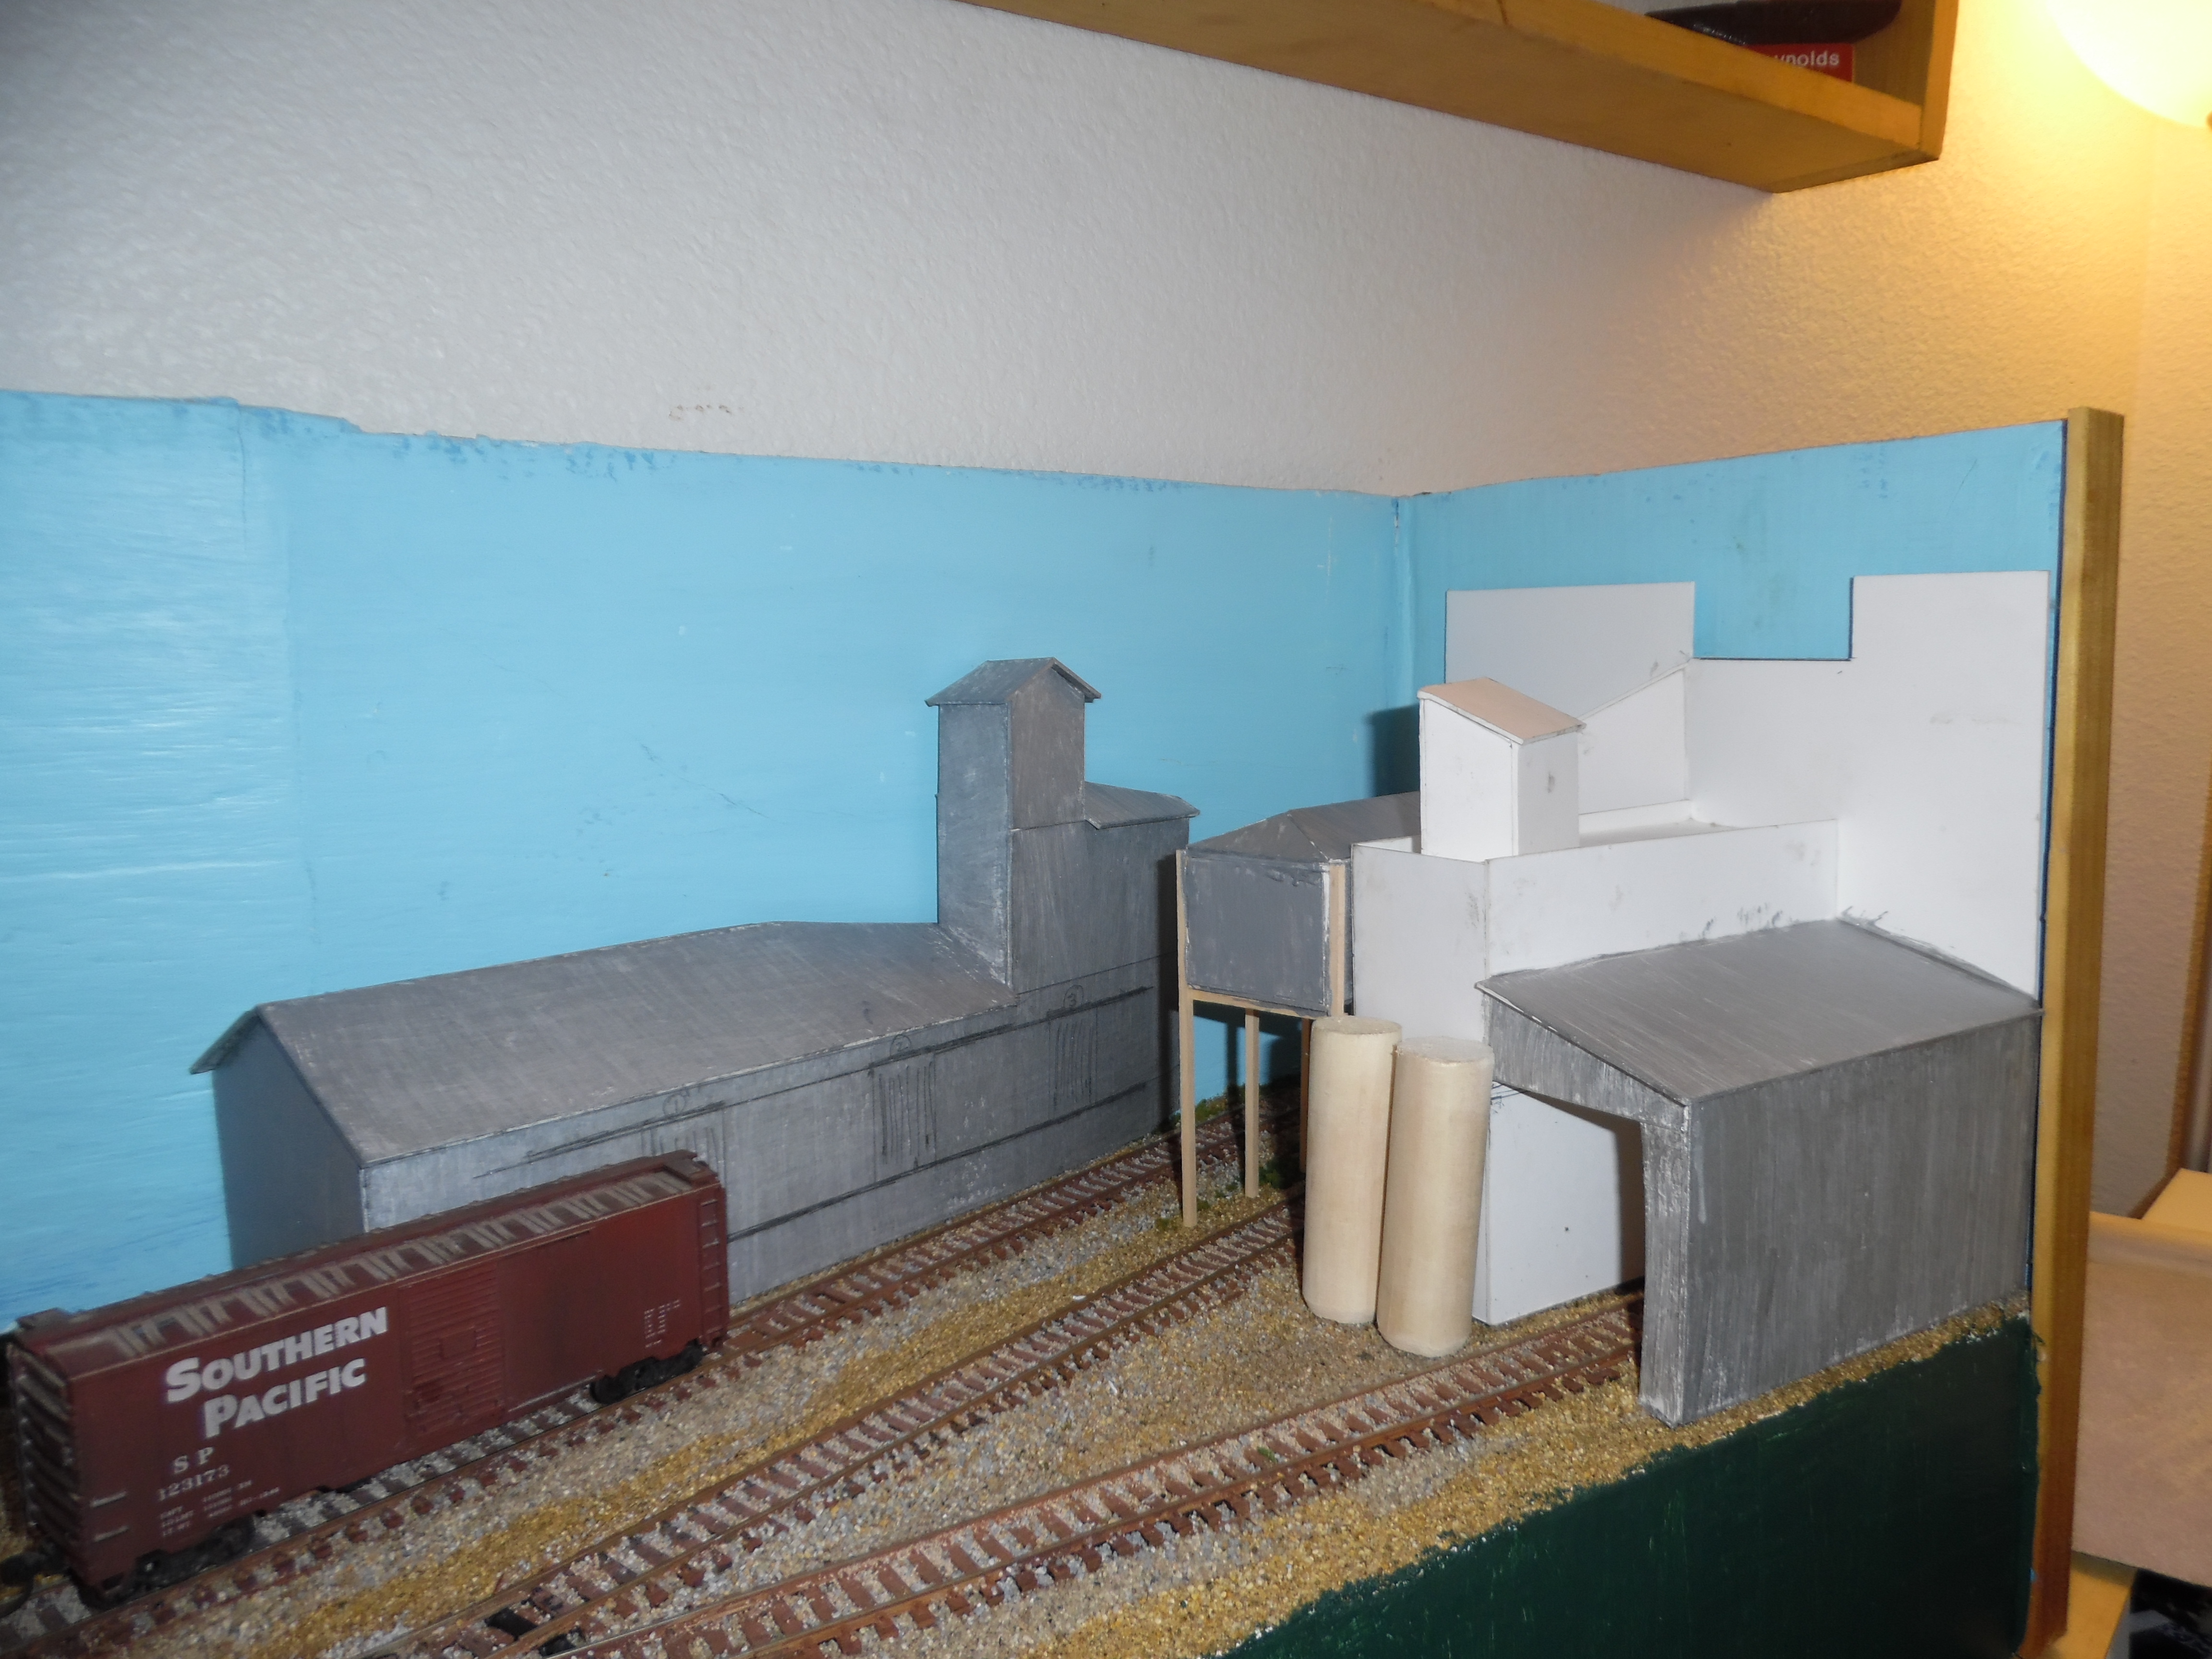
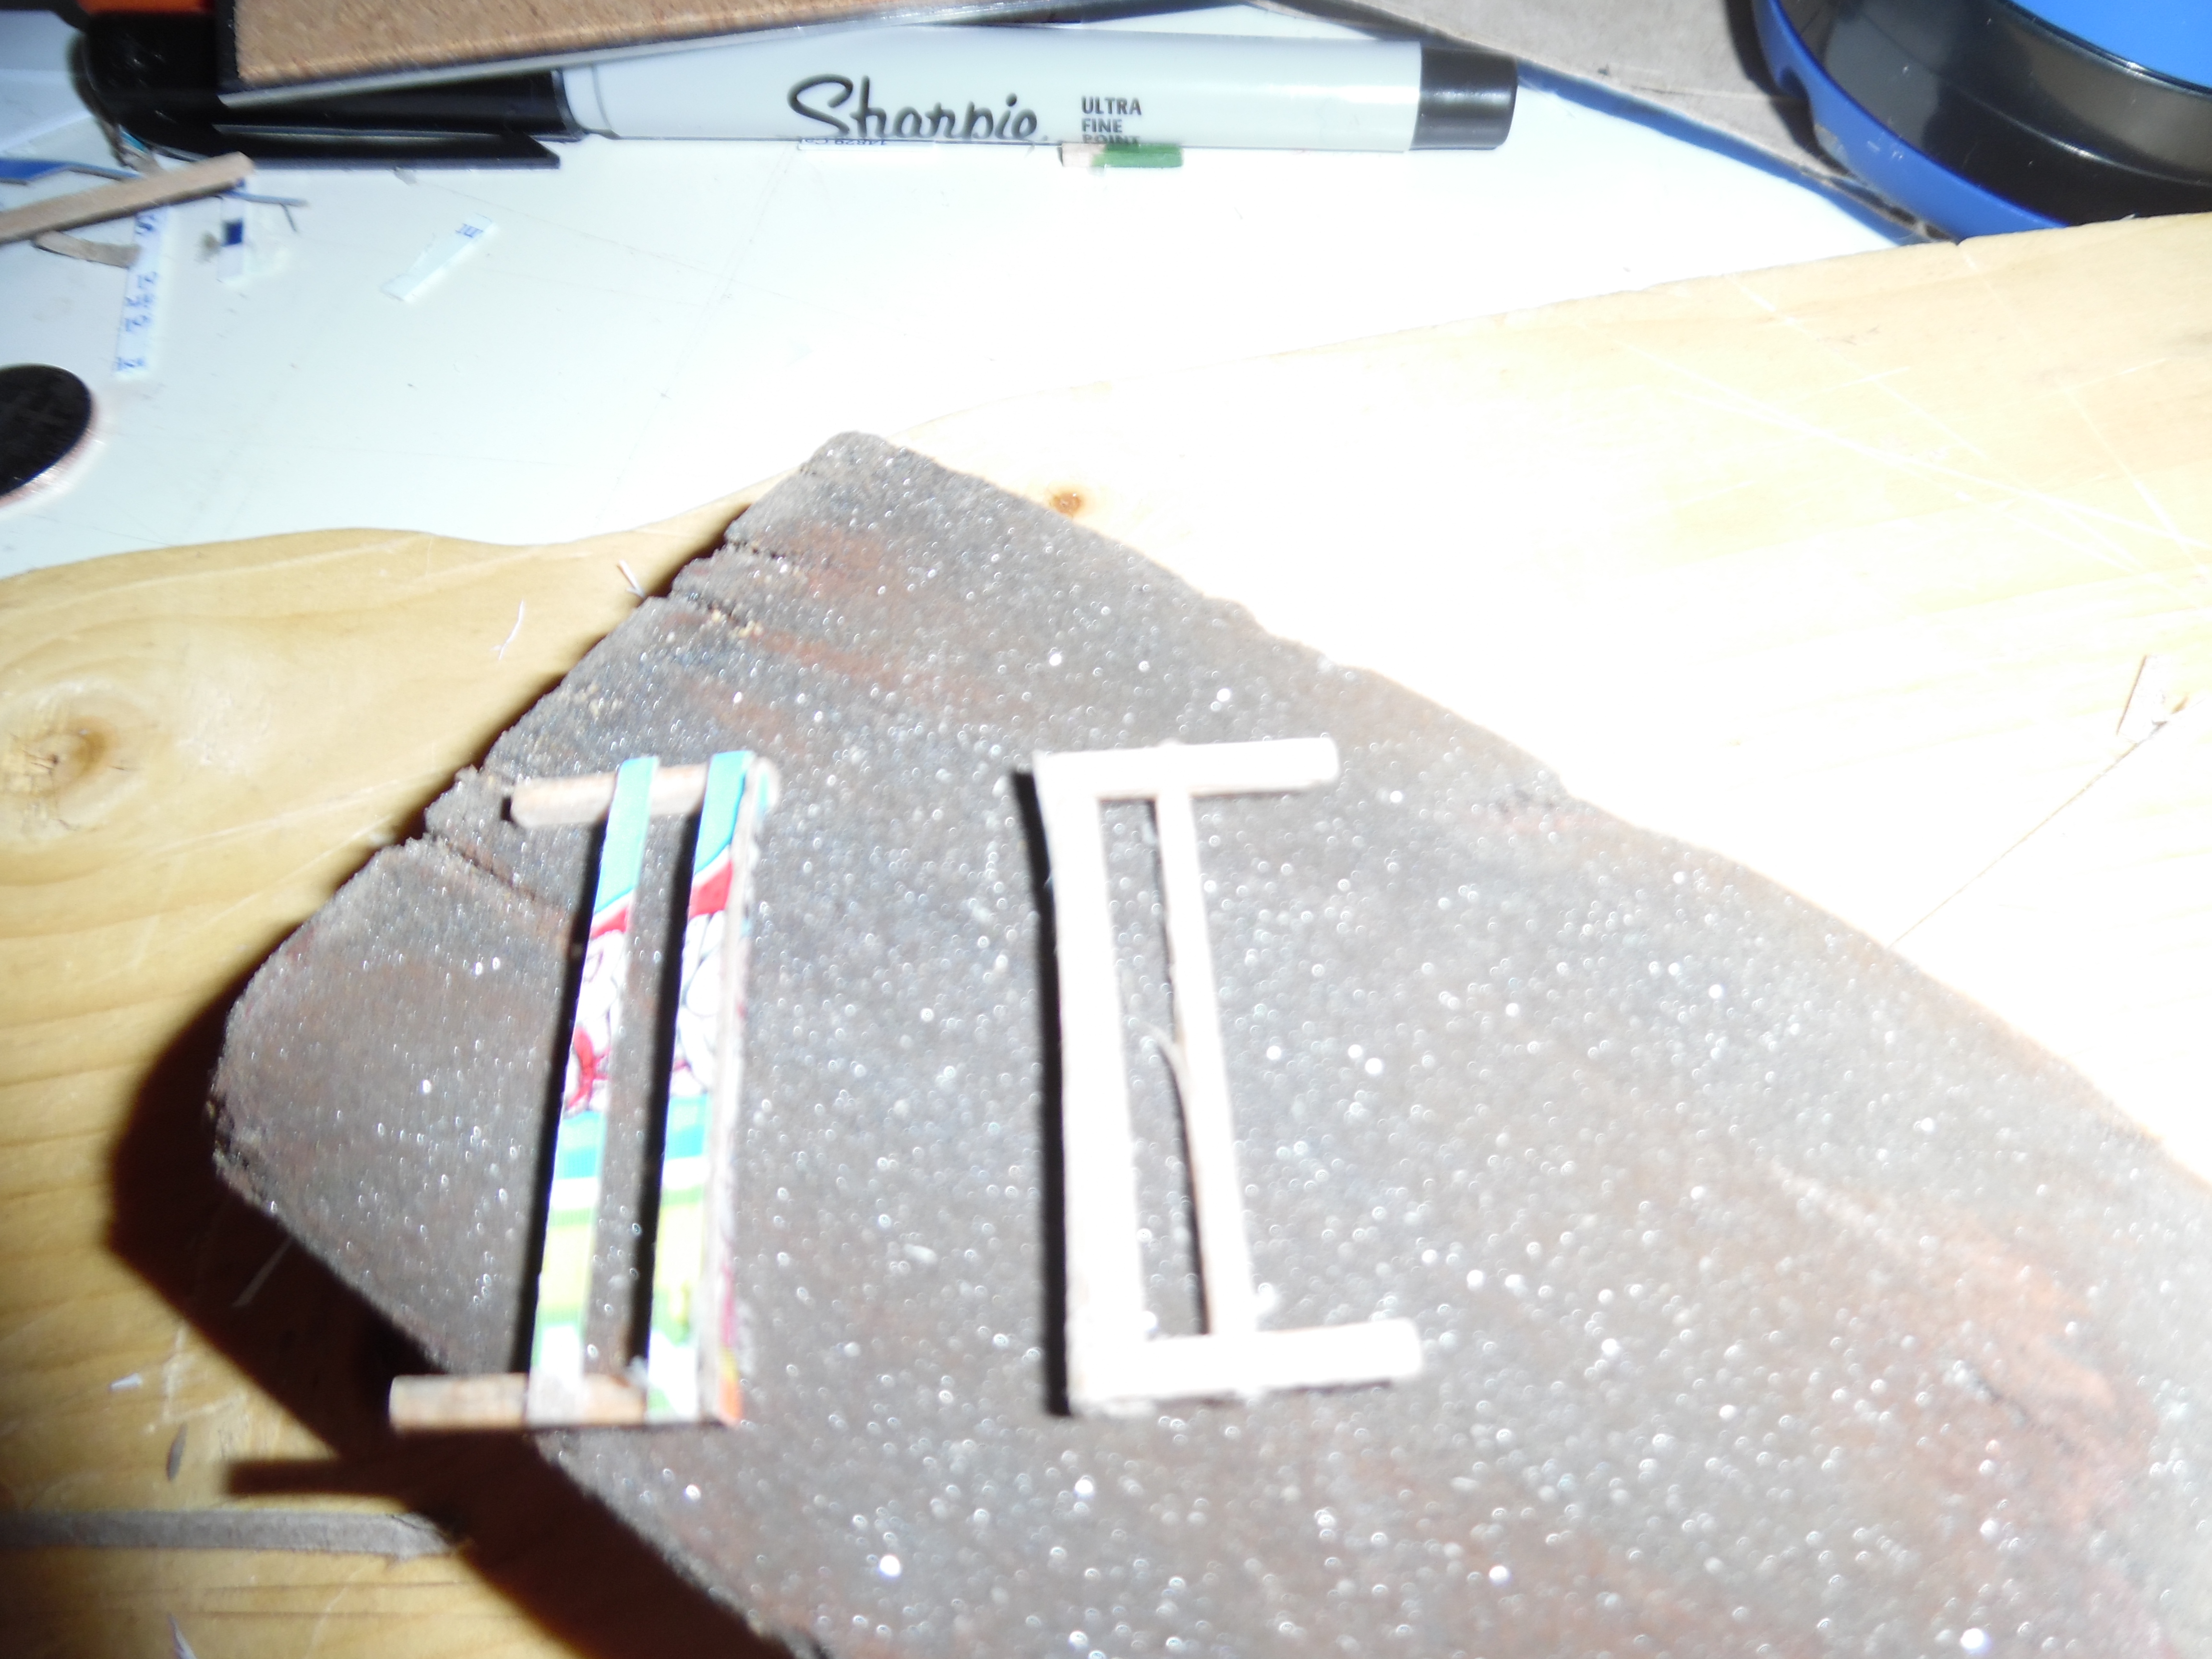
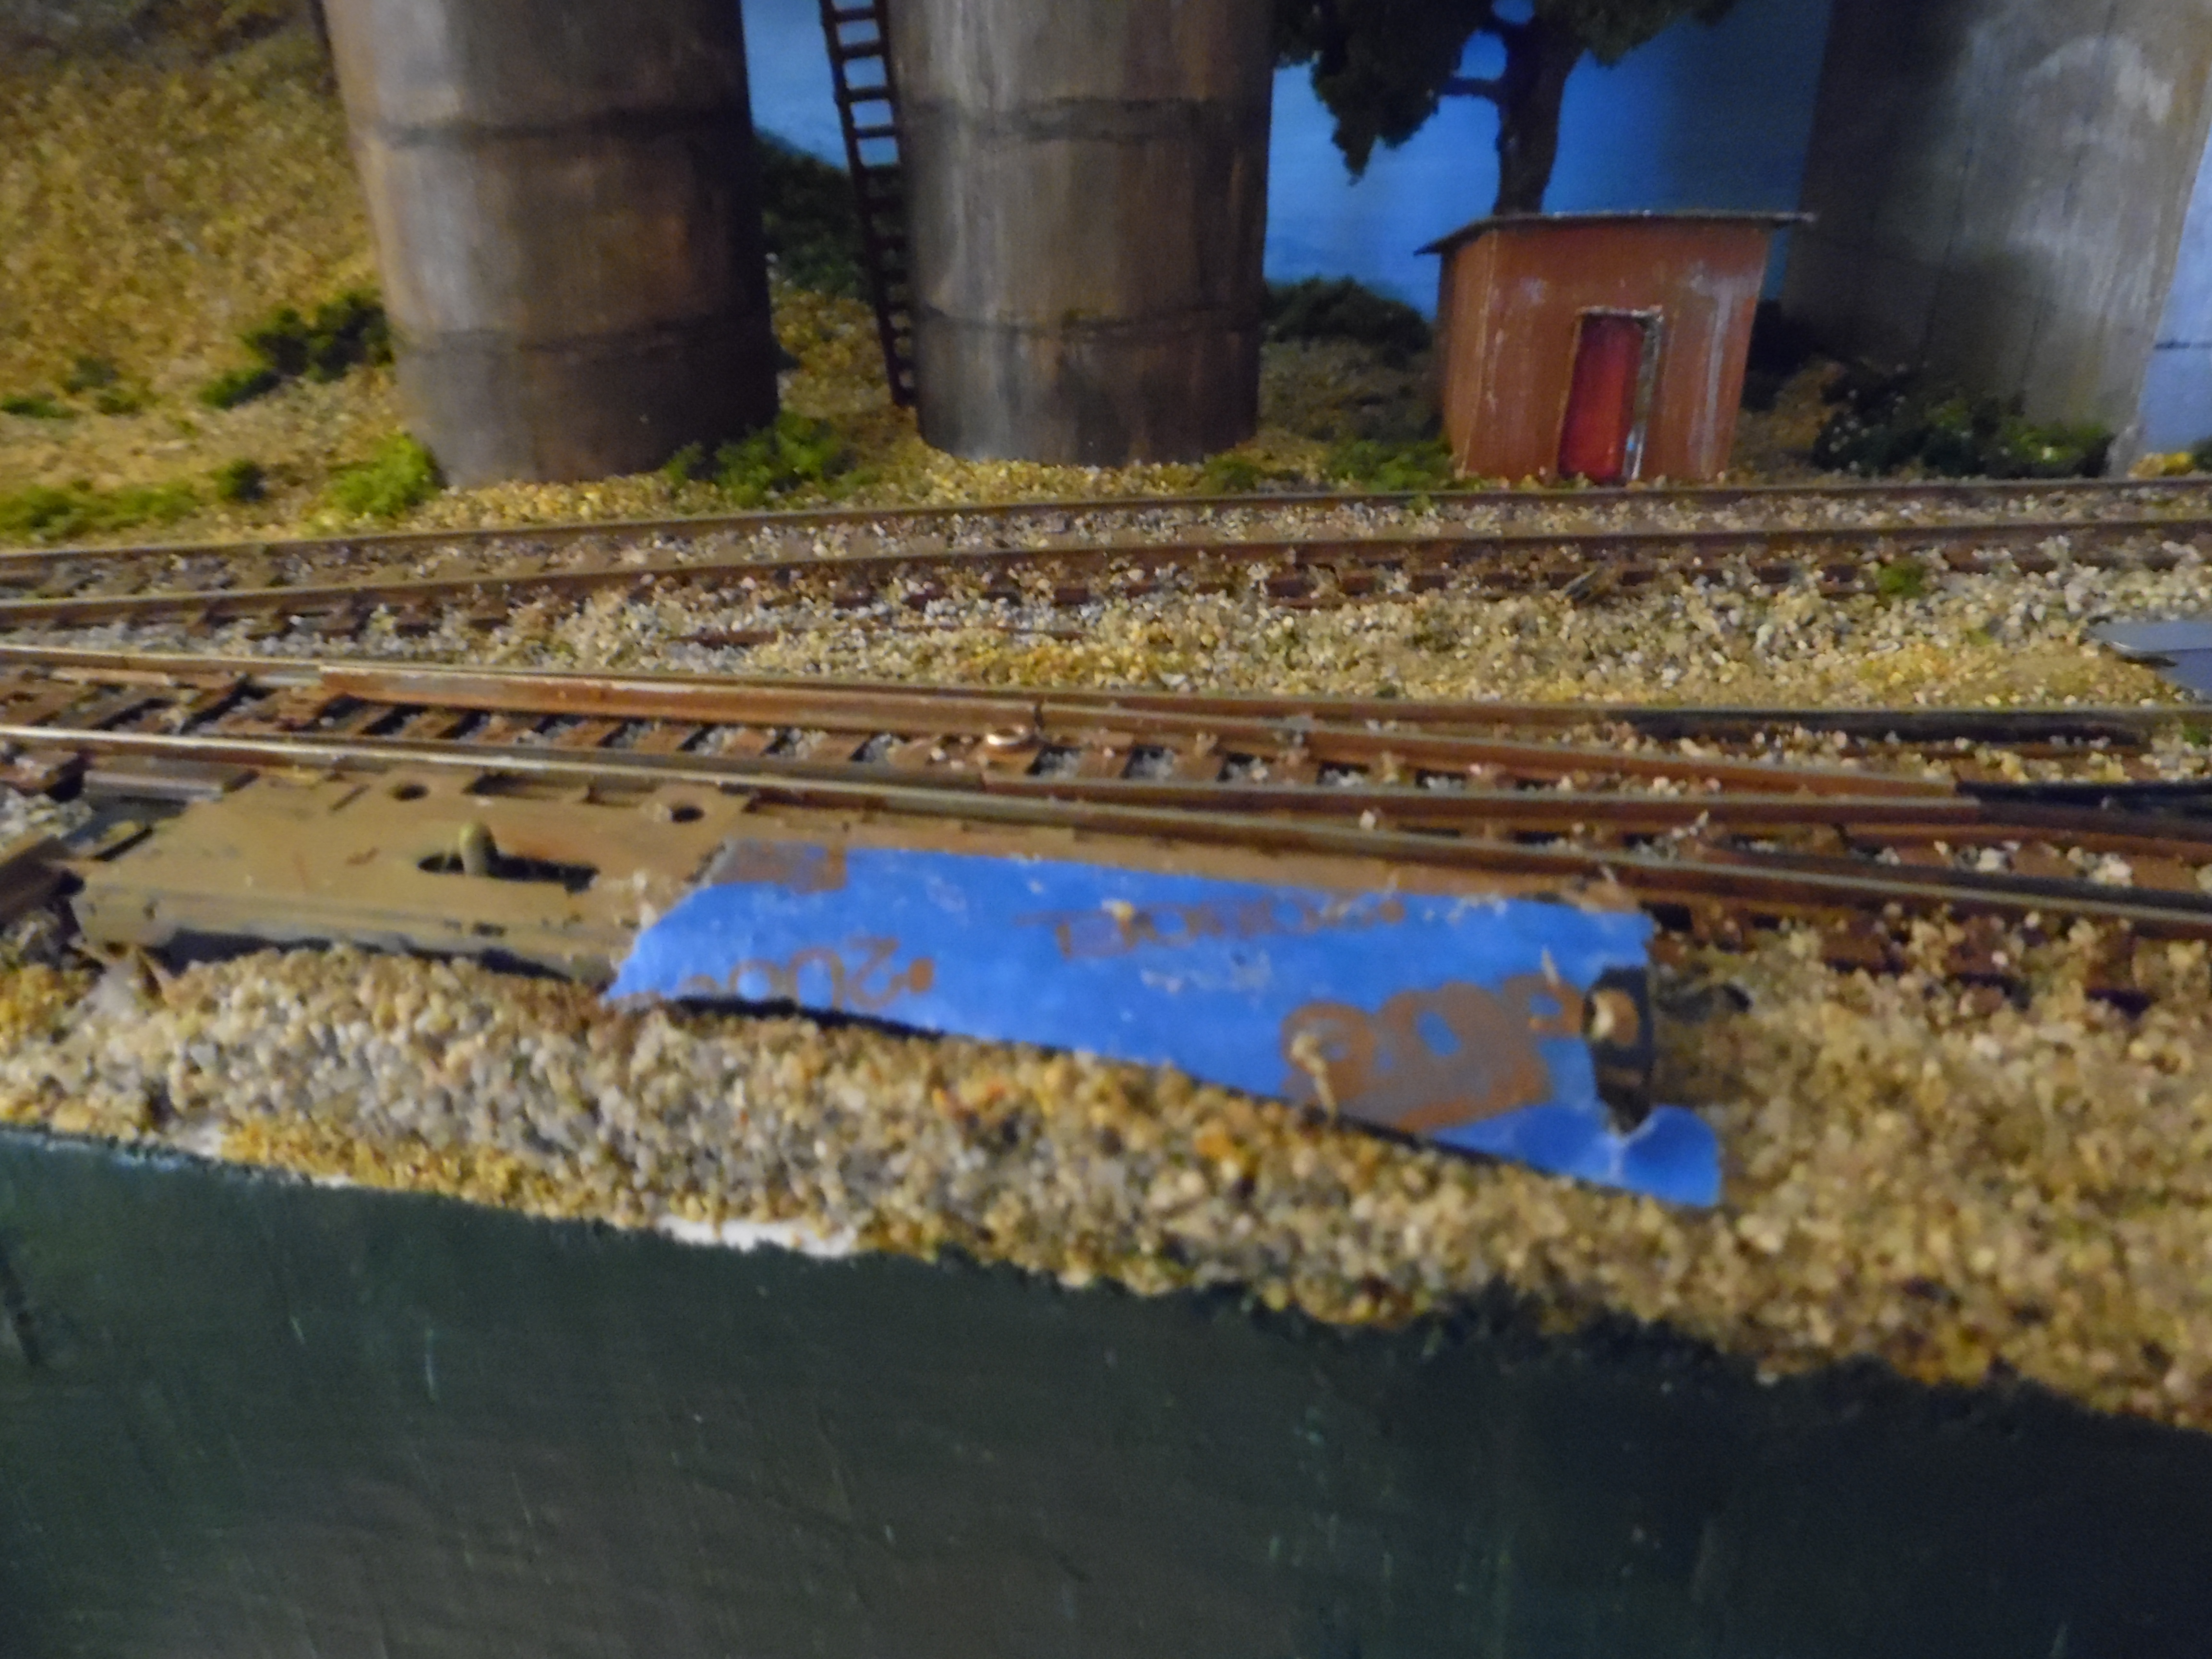
With the basic plan in place and the structure for Superior Detritus “blocked in”, painting and detailing were begun. During this process there were a few missteps as some items I thought about adding did not exactly fit in as planned. Part of the problem is that I was trying to avoid styrene (just a little challenge I added to keep things “vintage”) and Northeastern wood products and shapes are not found at many local American hobby shops anymore. Some detail strips were made from cardboard salvaged from a cereal carton while others were scribed on salvaged business cards. Also a couple of oil storage tanks were made from a couple of toilet paper roll cores.
I started the Superior Detritus project on November 18 and “finished” the project on January 21. As I have shared before, time is a challenge for me and I believe I averaged about 5 hours of work on this project every week for the two months and change I spent building this layout
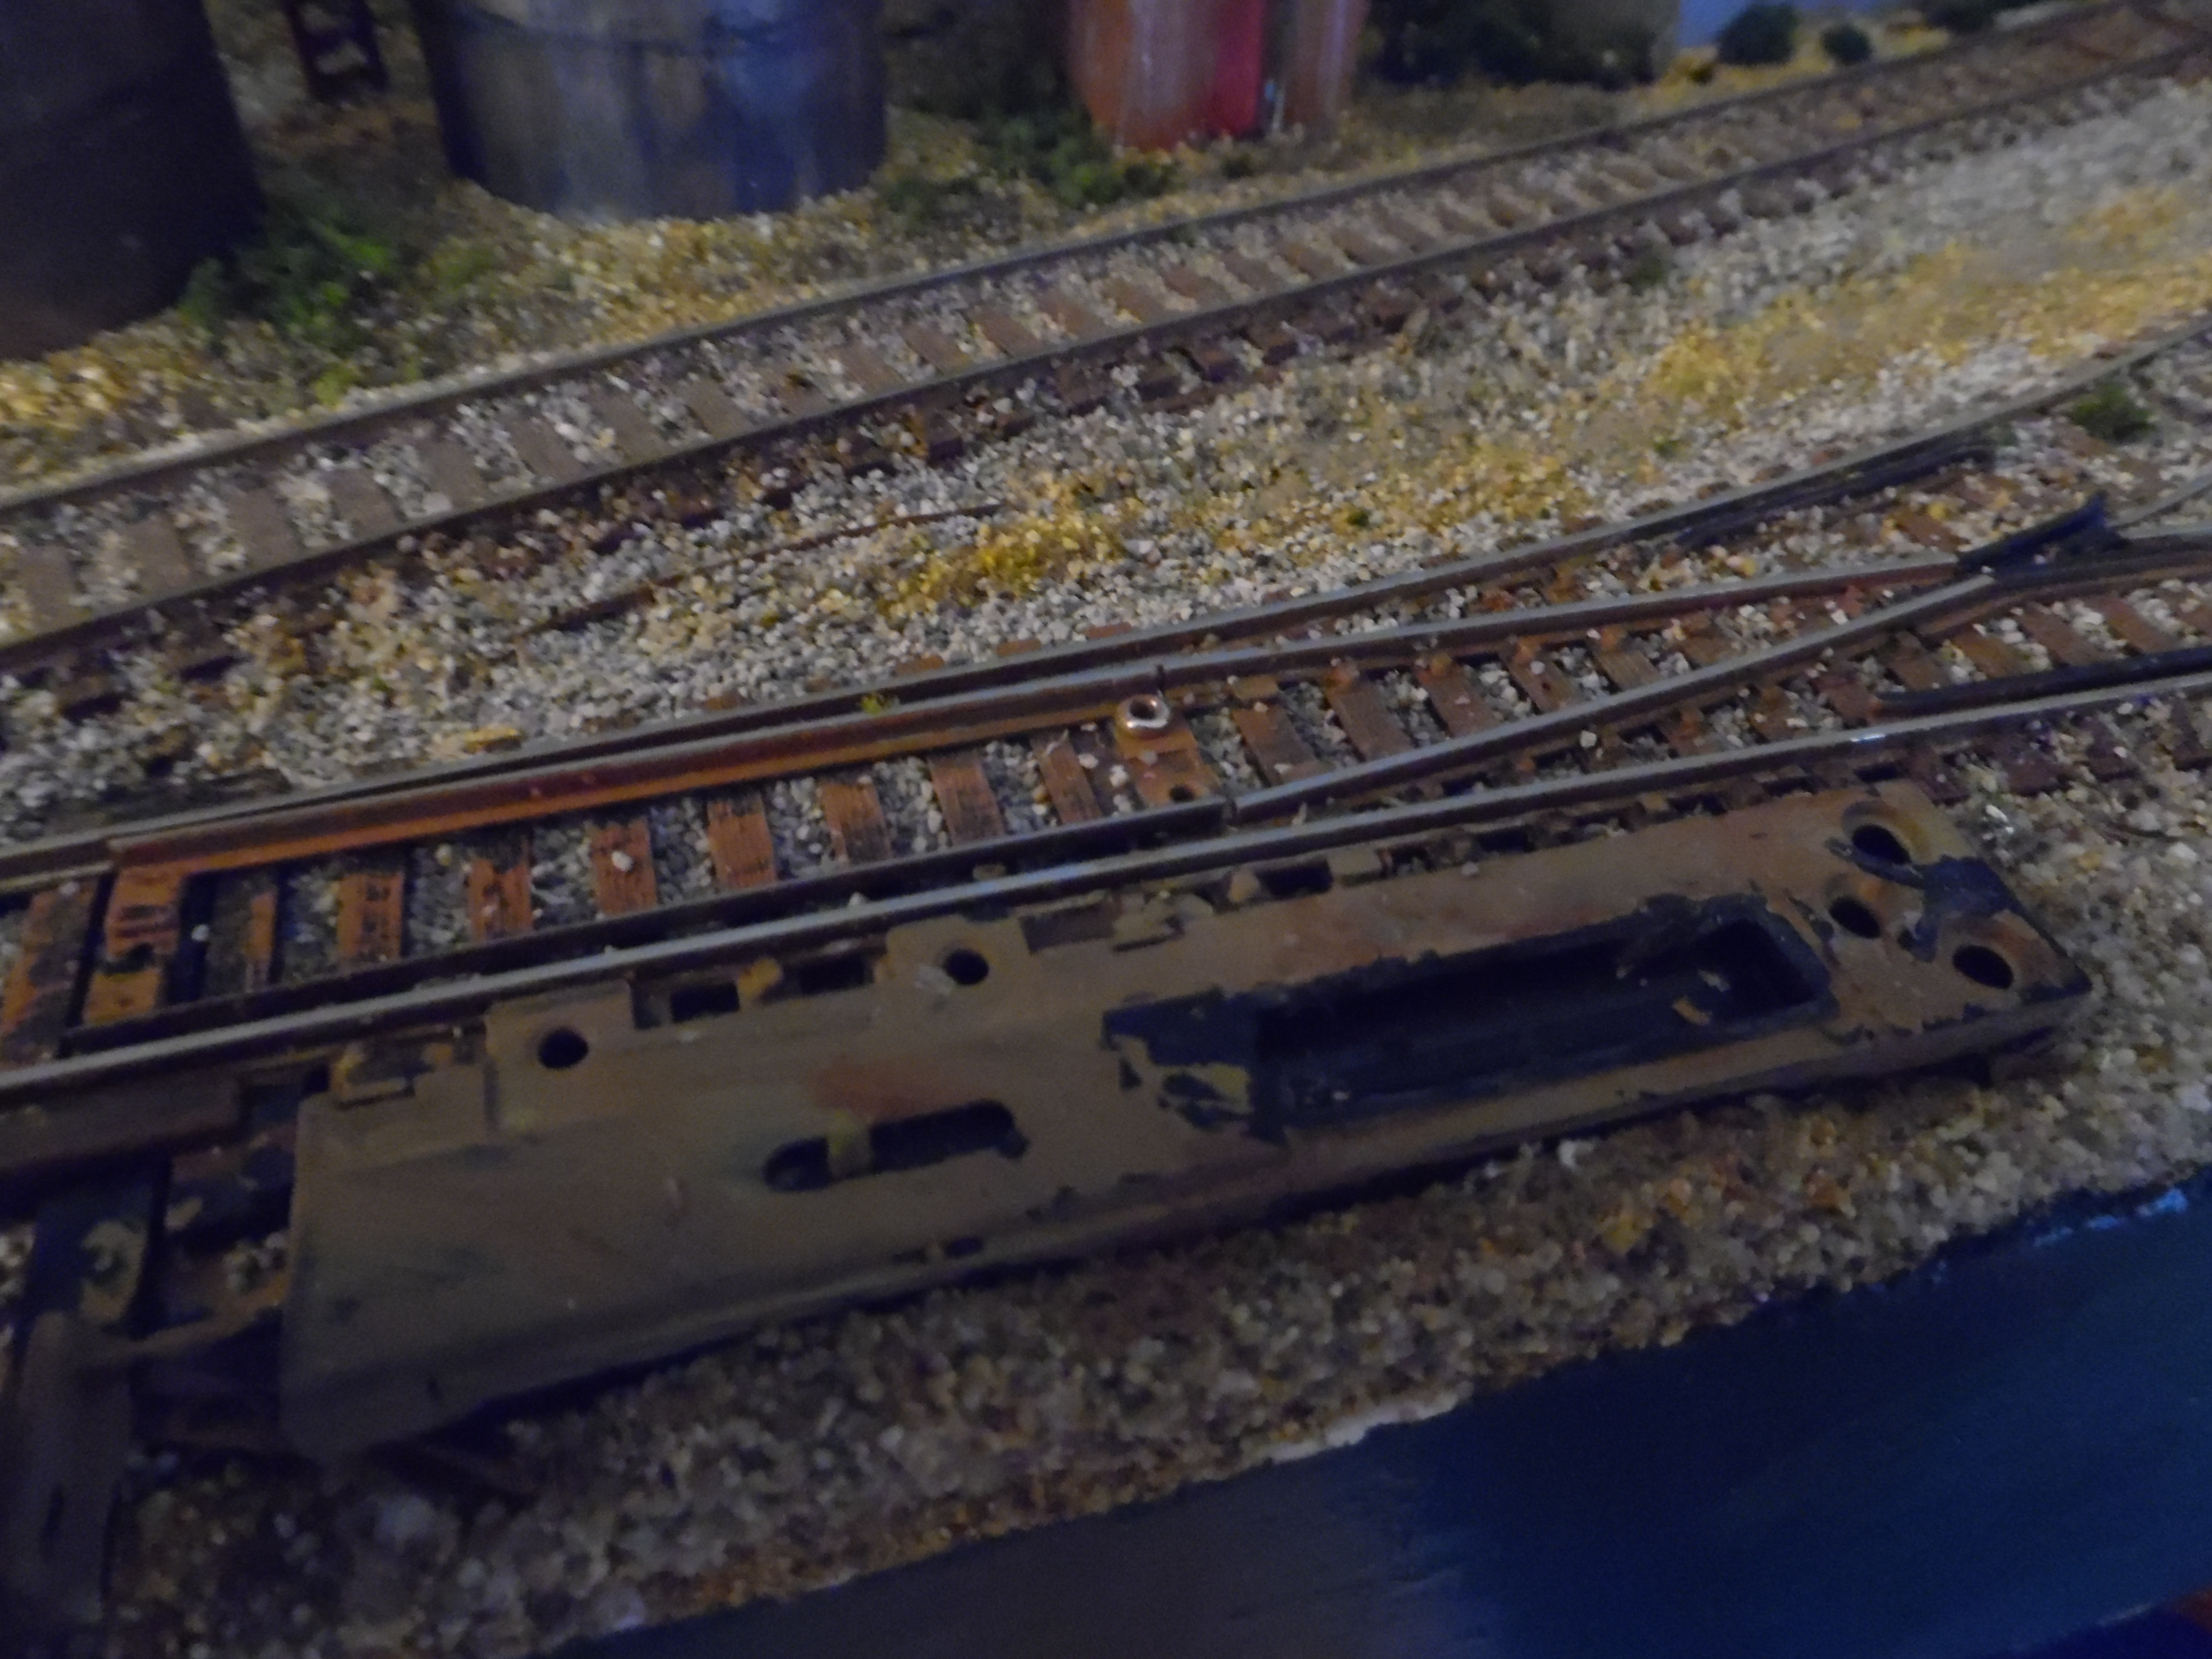
The closer I got to “finishing” this project, the more I notices specific details that became annoying. One of those details was the blatant visibility of the “switch motors” on the Atlas turnouts I used. I generally prefer Peco track but the two Atlas switches were handy and I could not beat the price… “free” out of my spare track box…. This was one detail that had to get dealt with for my sanity. The biggest hurdle in hiding the “machines” was that one of my switches had a “powered” switch motor while the other was manual.
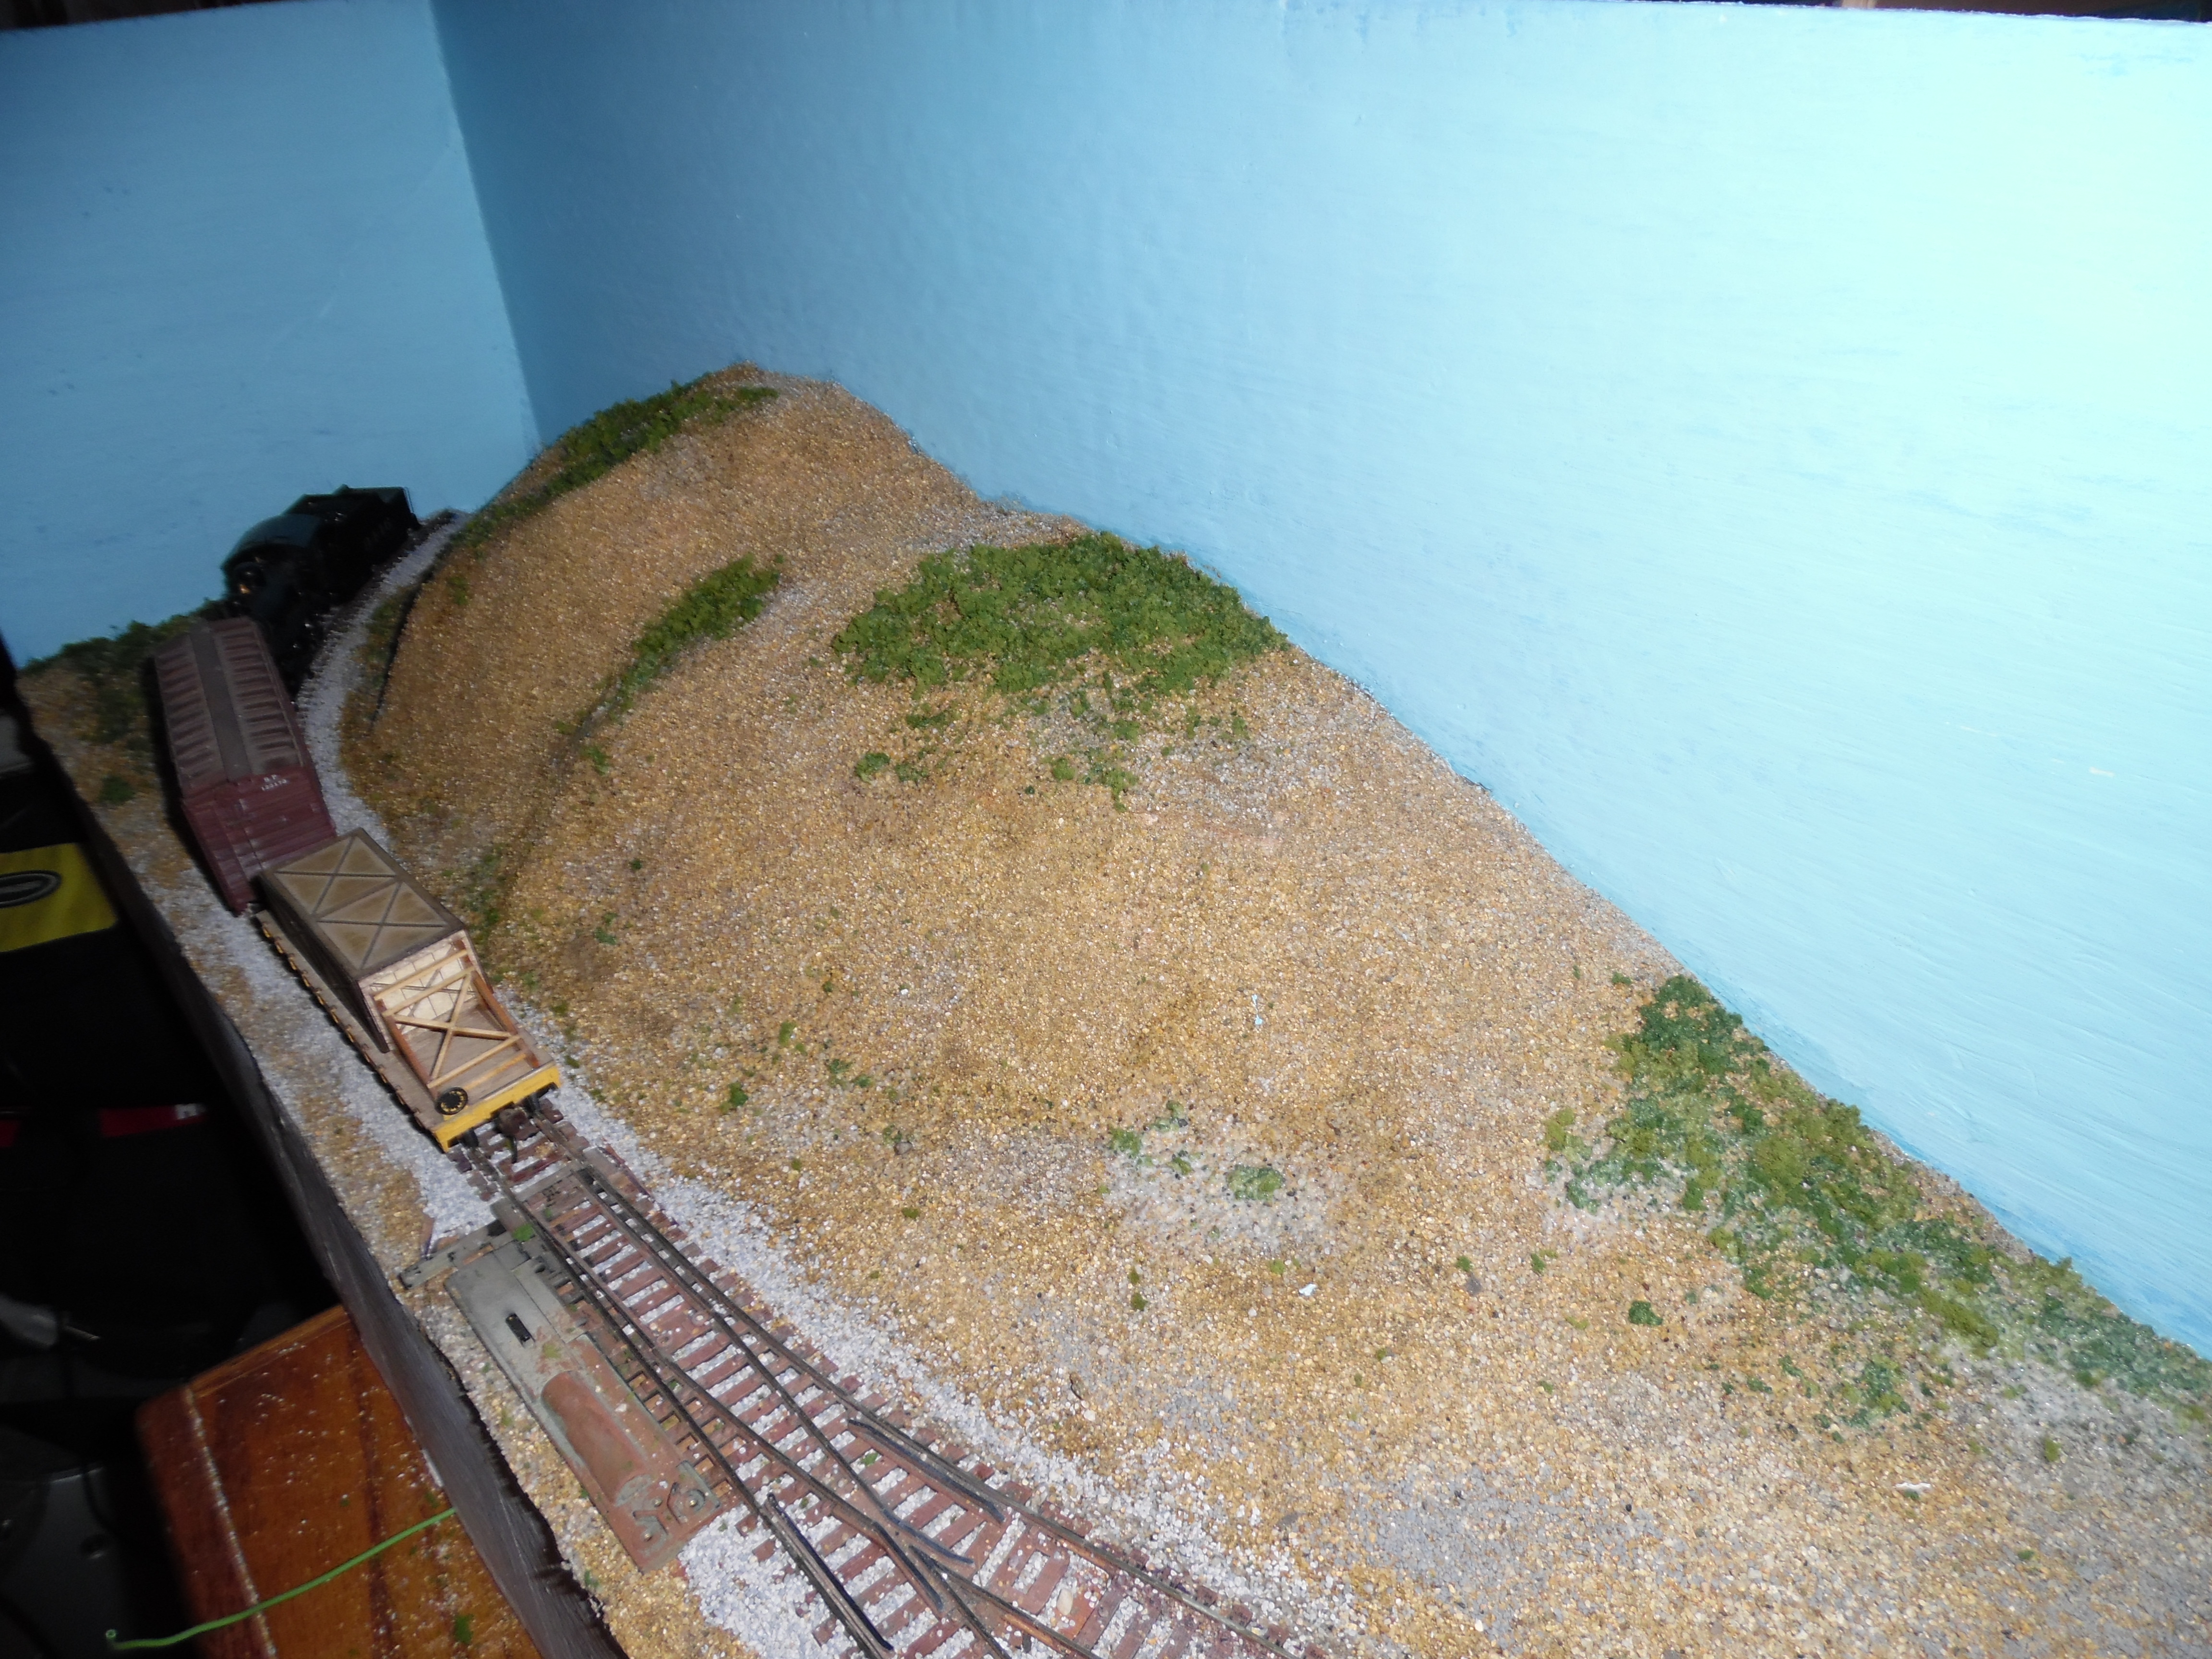
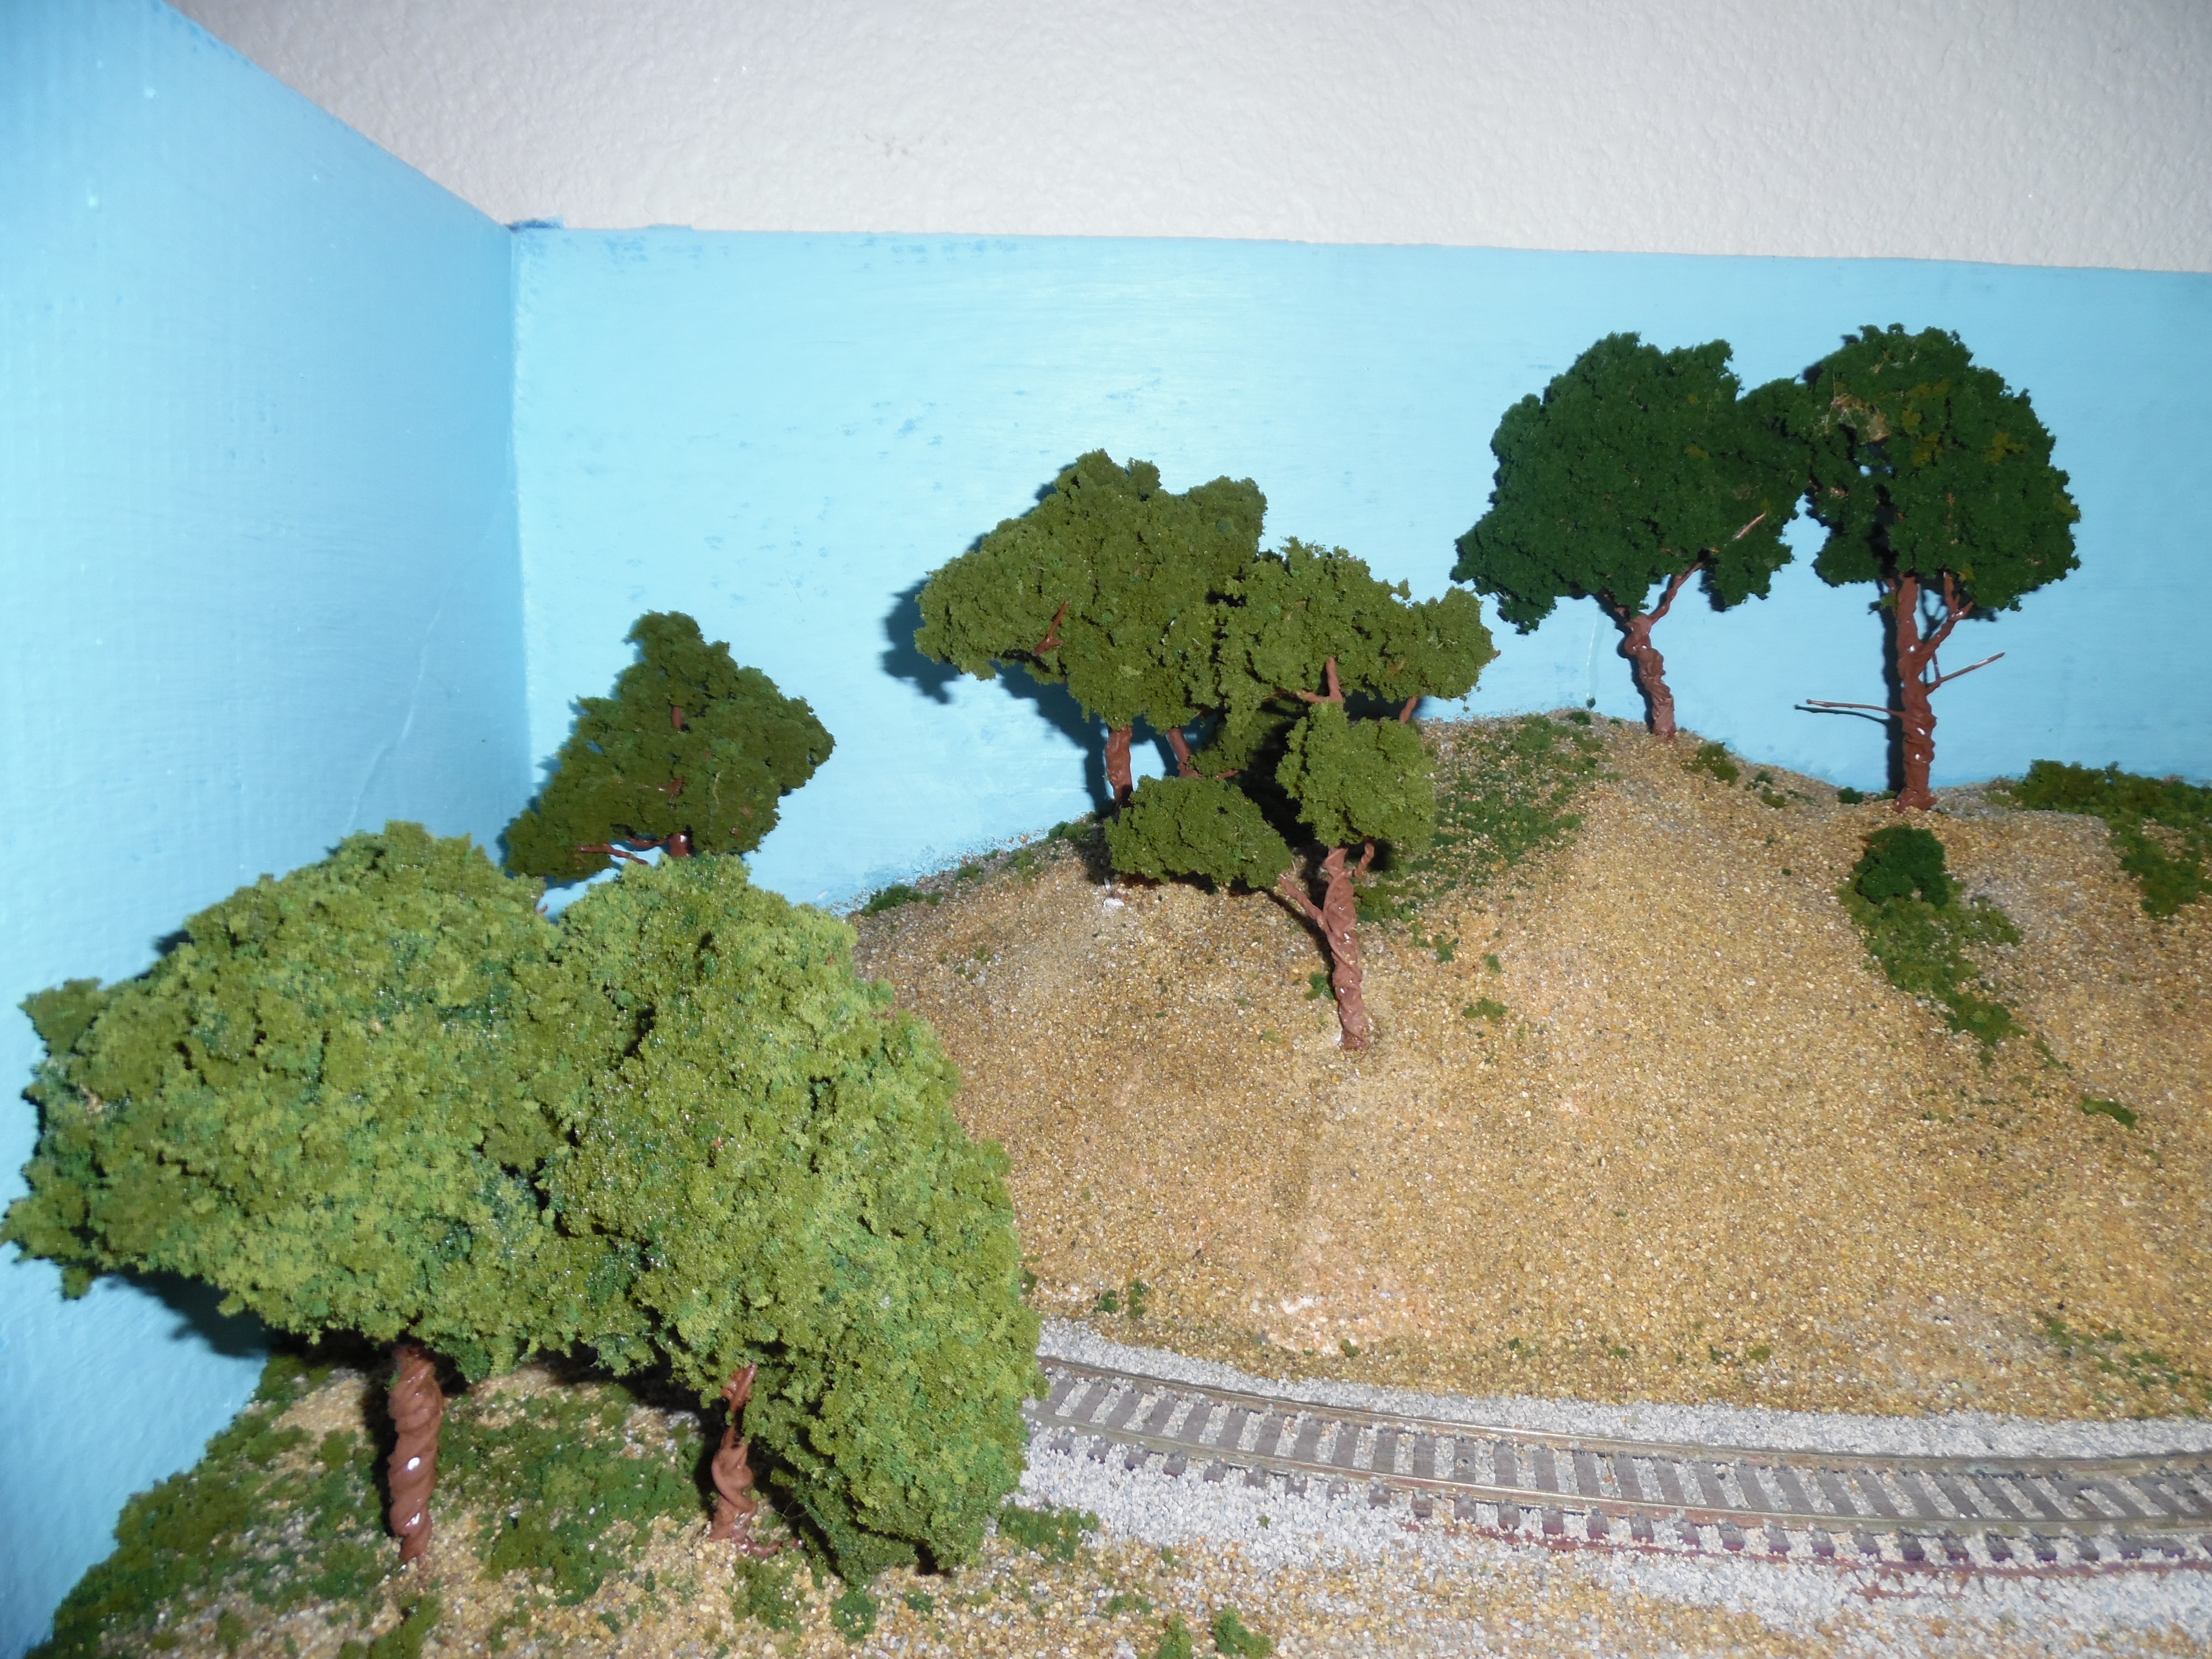
Another detail concerned the trees on the layout. The trees are all “scratch built” in the 1950’s style (I will offer a primer soon). They were made with wire armatures, spackle, gesso, and Woodland Scenics foliage (another anachronism). In planning this layout, before I decided to “go retro”, I noticed that the beautiful, assembled Woodland Scenics trees were $20.00 for three. While they offer some “cost saving” kits for trees, my trees set me back about $25 or $30 for the dozen that are on the layout.
The last detail is people. I did not want to model an abandoned factory. fortunately I found three figures I had left over from some other project.


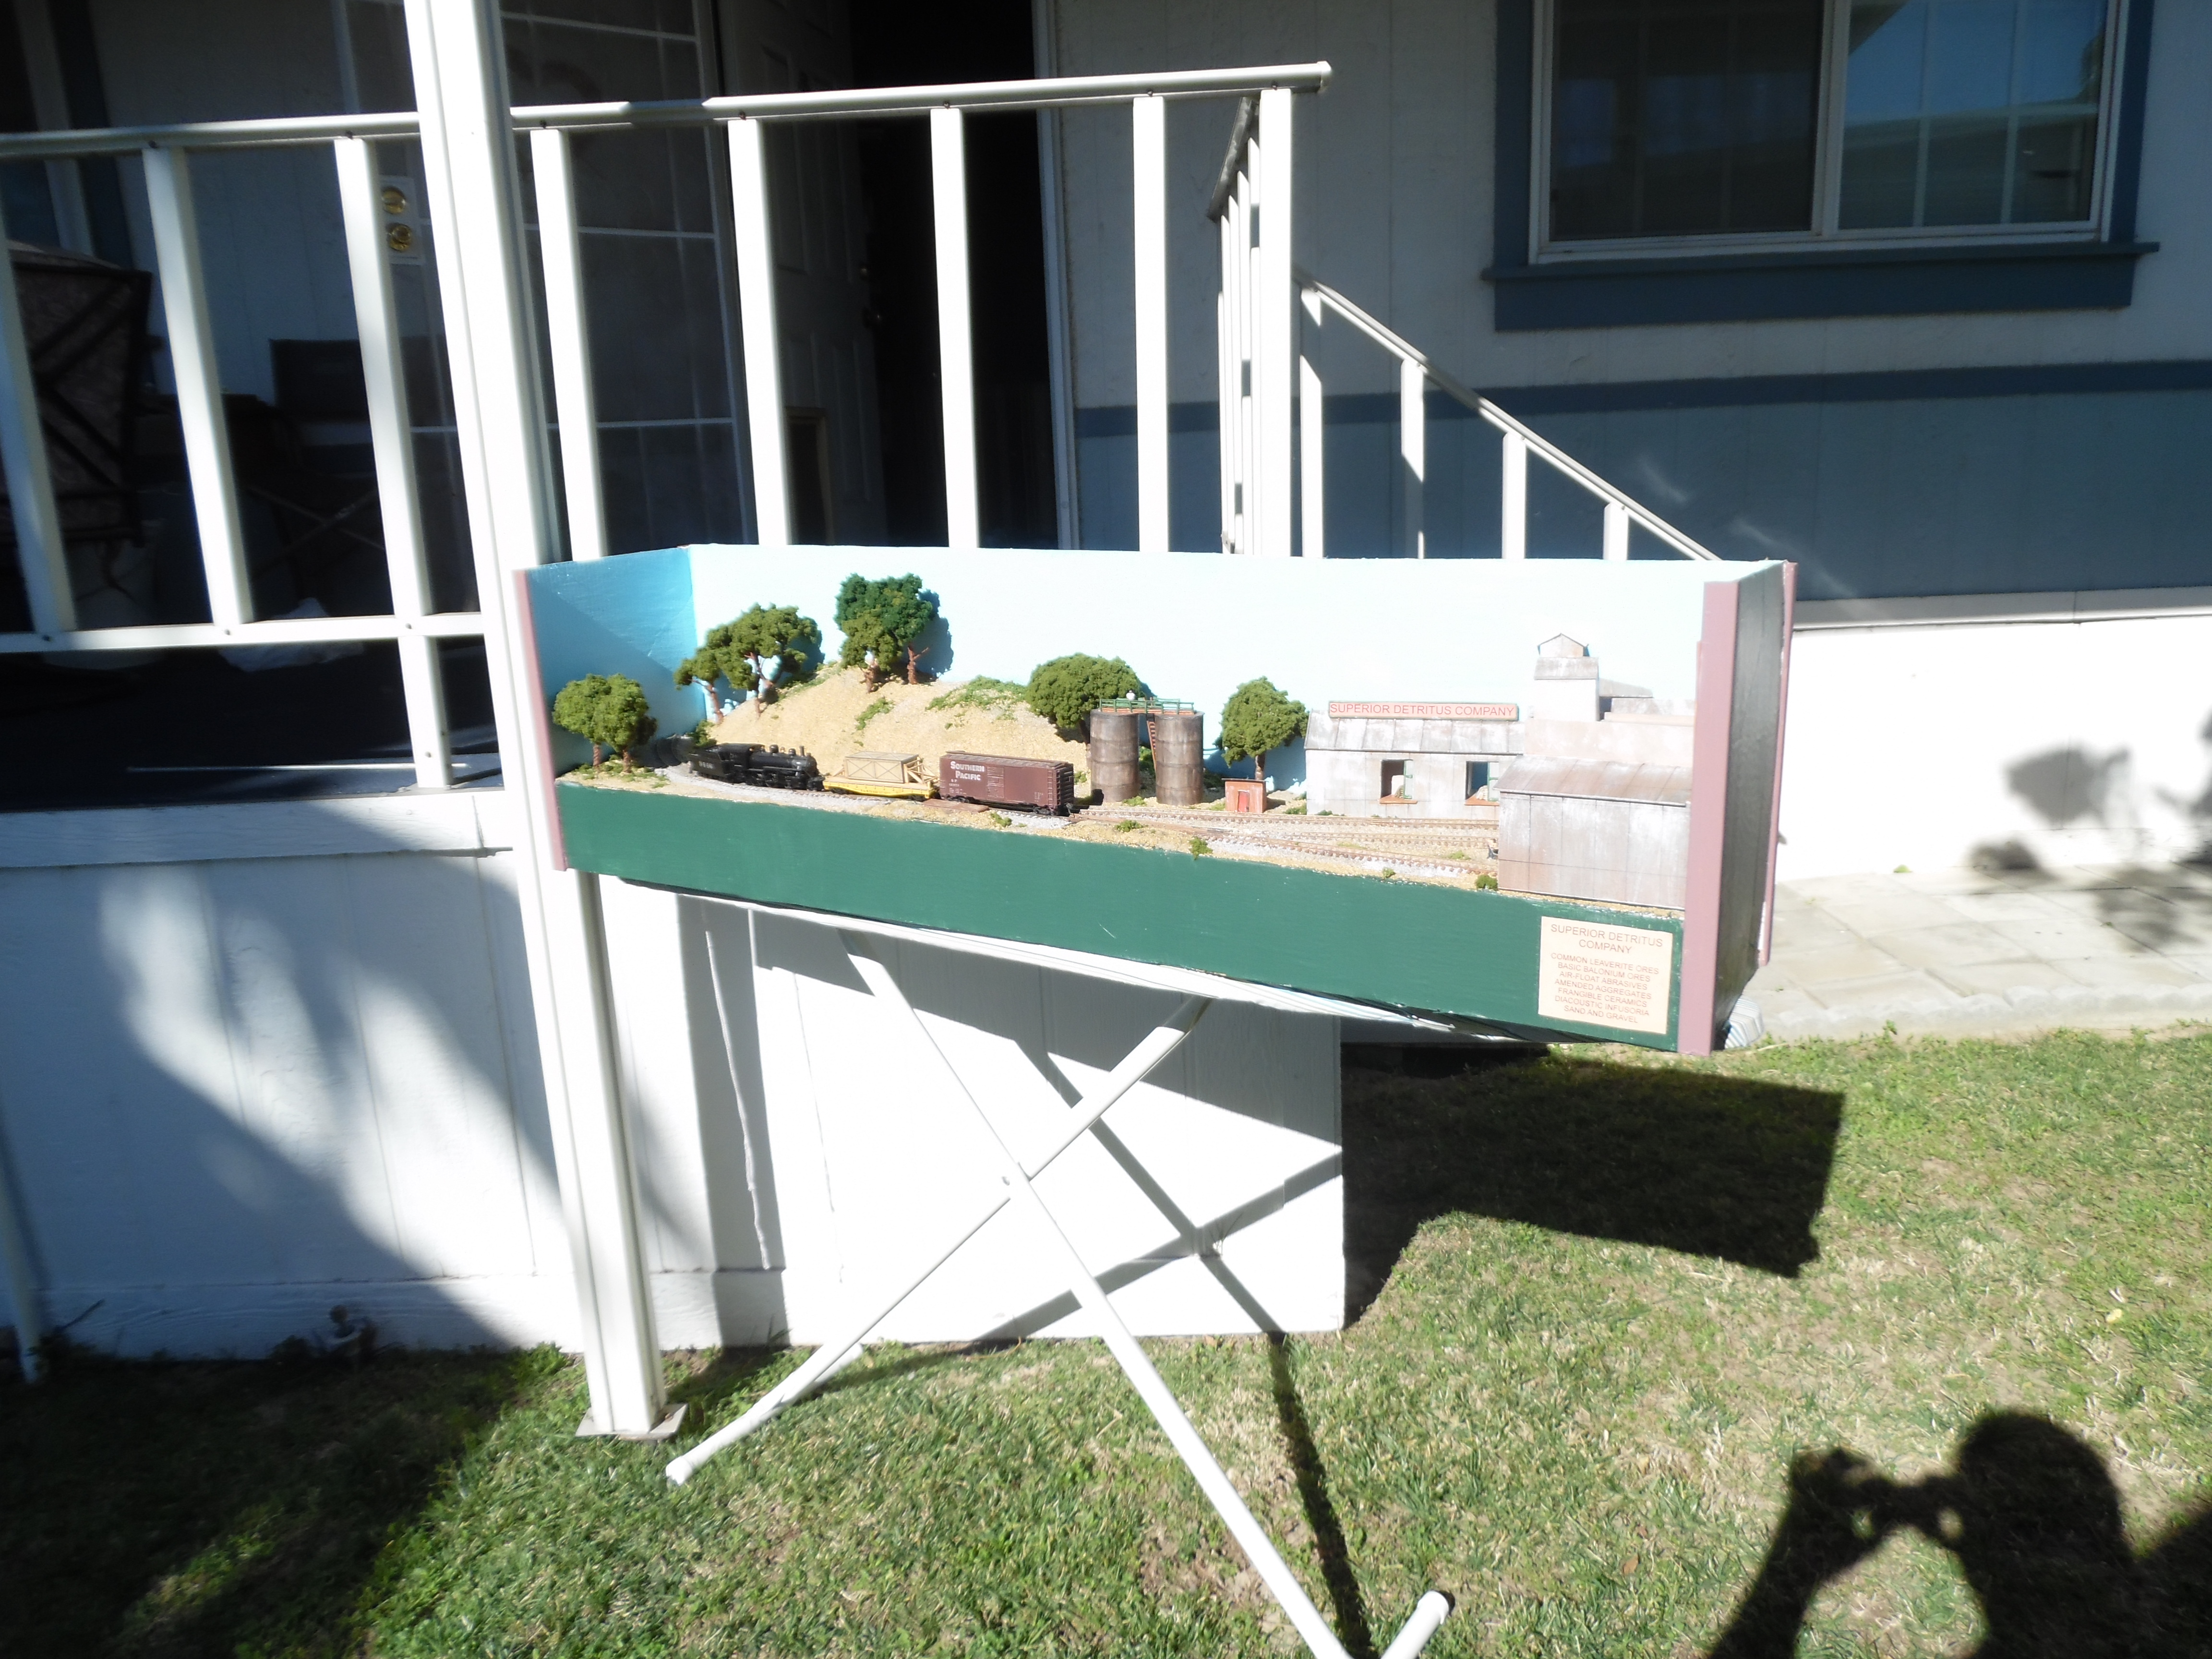
Here are some final photos of my layout. Two are shown to reinforce the advantages of a small layout. The first is the layout the now infamous ironing board. The ironing board began when I read in Railroad Modeller about Ironton Sidings and how its builder presents his layout at shows over on your side “of the pond”. Observing that presentation offered an opportunity to show that a reasonable layout does not need to take up a basement or an attic. The second has the layout standing on end to show it could be stored in a corner of a room, a garage, or a closet. Again an advantage for those challenged with too little space for a “permanent” layout.
Weathering the buildings and a few other small details have helped me finish the layout. It now appears more like a functioning railroad with a purpose. I hope you have enjoyed my little saga in pictures…
Sincerely,
John Reynolds”

Wow! Big thanks to John – really enjoyed that.
Please do keep ’em coming – whatever you’re building. Or even if you’ve just made a start.
And if today is the day you grab the bull by the horns, the Beginner’s Guide is here.
Best
Al
PS Latest ebay cheat sheet is here.