“Dear Al.
I am attaching a few pictures of my HO layout which is still WIP You may like to share this with your subscribers/members.
The main layout is 12 feet x 4 feet. The marshaling yard is a separate 2.5 feet x 10 feet layout but with a railway line connecting into the main layout.
Most items are hand crafted by me. In each picture, I have described some key items that have been hand crafted and are cost effective and quite innovative (I think!). Therefore, I thought it would be of interest to railway modelers like me.
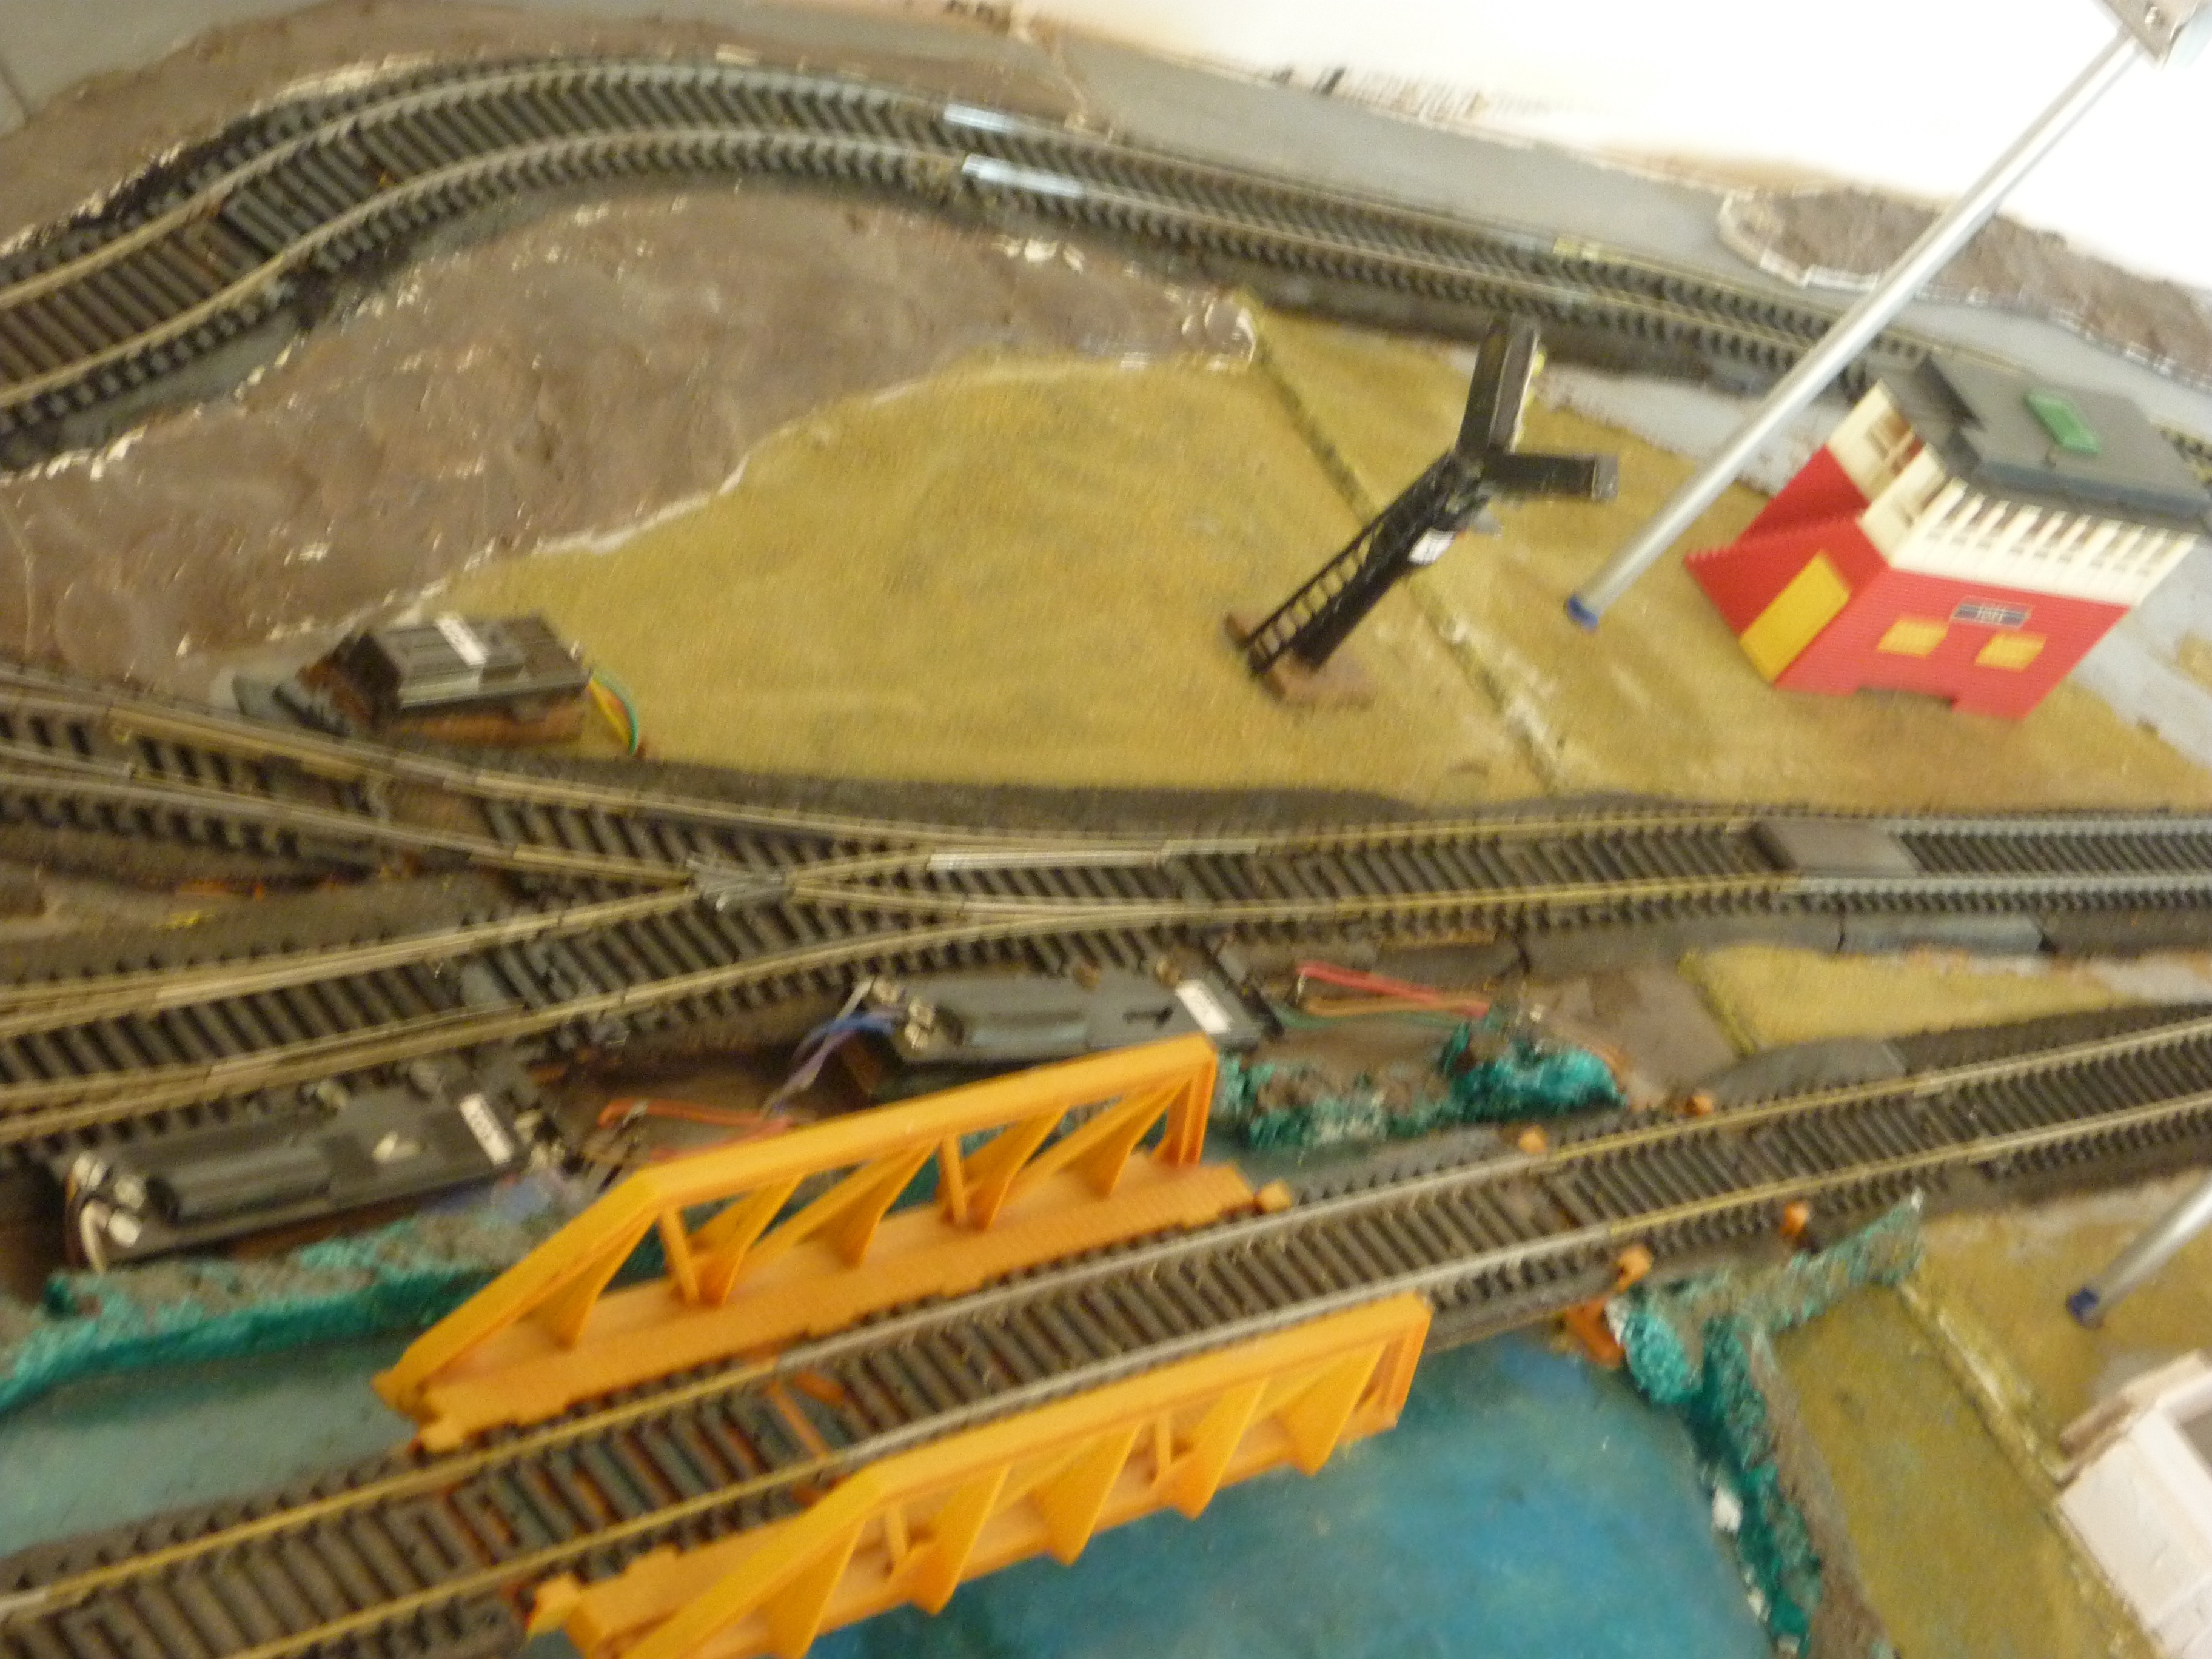
Picture 1 &2: Is the marshalling yard hump with the Kadee magnet for decoupling the wagons. The bund of the lake is of thermocole and painted to give the effect of the lake. The silver color posts are yard lights – the barrel of which is made of ball point pen body and the lamps are 3 V LEDs. The hood of the lamps are made of plastic (made from conduits used for concealing wiring in houses). It cost me ten rupees (Rs.) – ie. (one-sixth of a dollar) to make one.
The white small boxes by the rail side are solenoids built be me using a soft core and copper wire (cost Rs. 15). This replaces the Atlas turnout switches which cost USD 12 a switch not accounting for the SPDT switches to operate them.
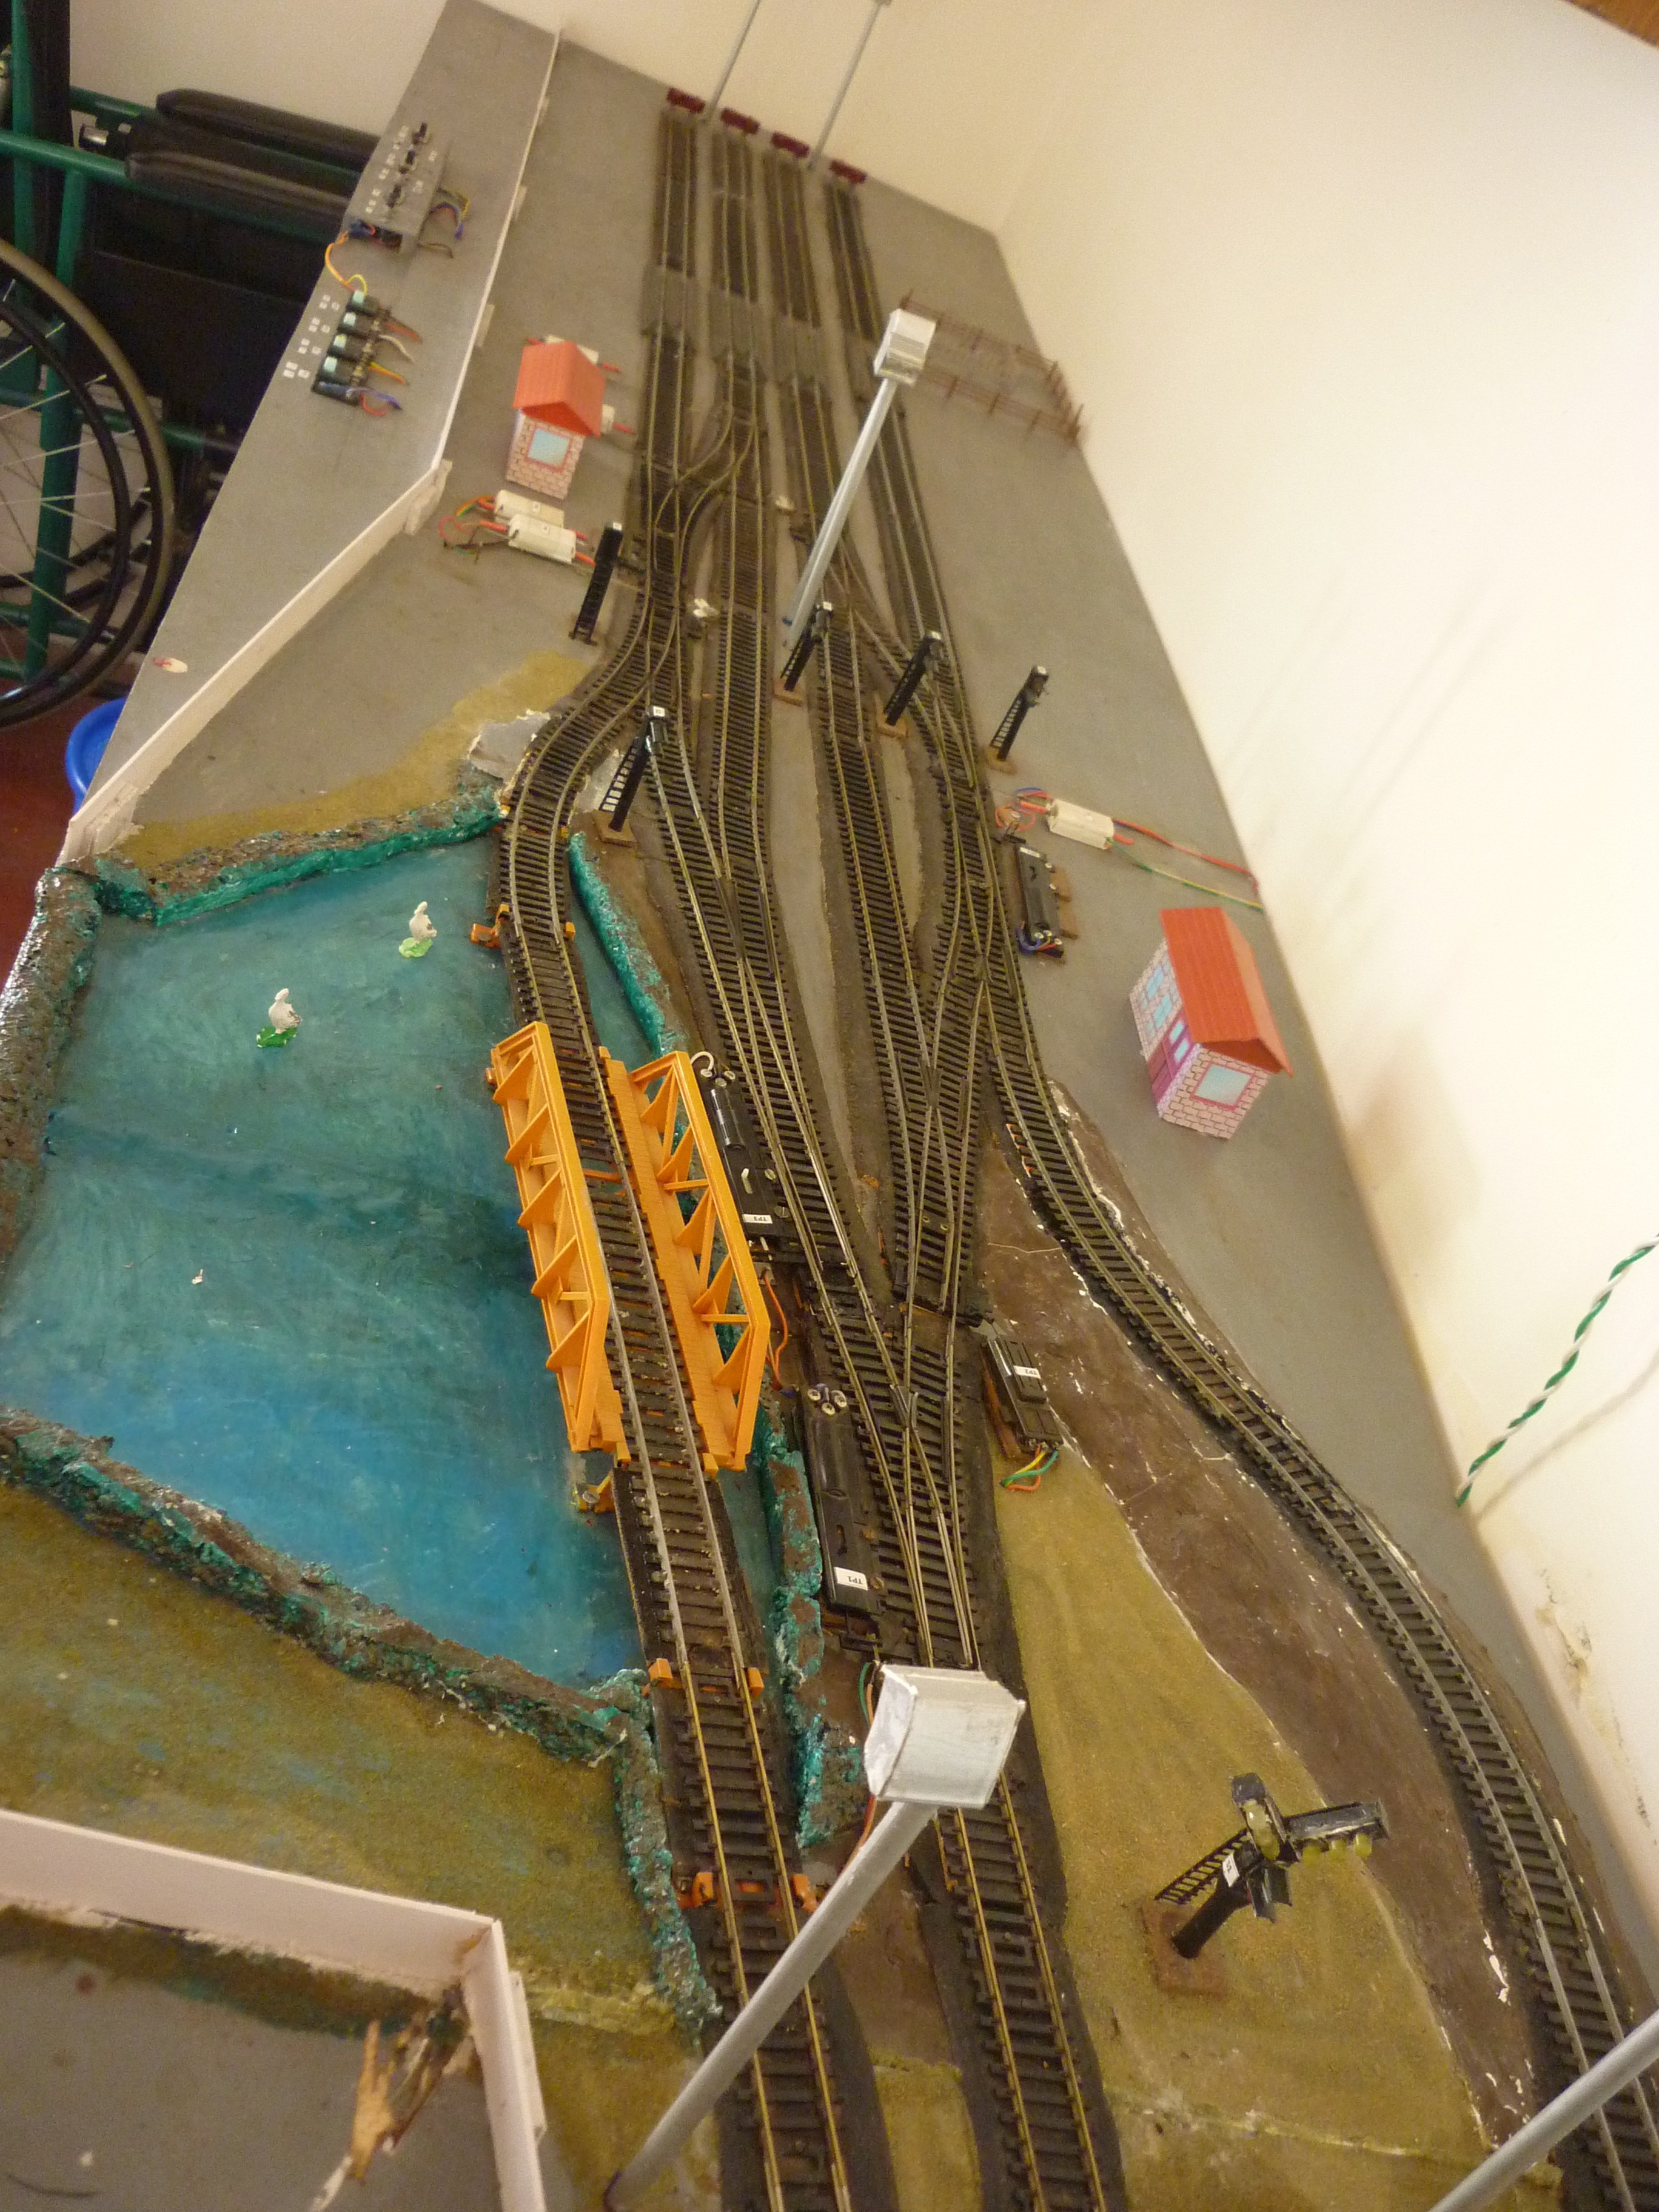
Picture 3: The red structure at the bottom left is the water tank which sits on a building. This is made of scrap pieces of plywood and hand painted. The protrusions on the sides of the tank depict the welded flanges of the water tank. A better view can been seen in picture 6.
Buildings: kits downloaded from internet and made using cardboard
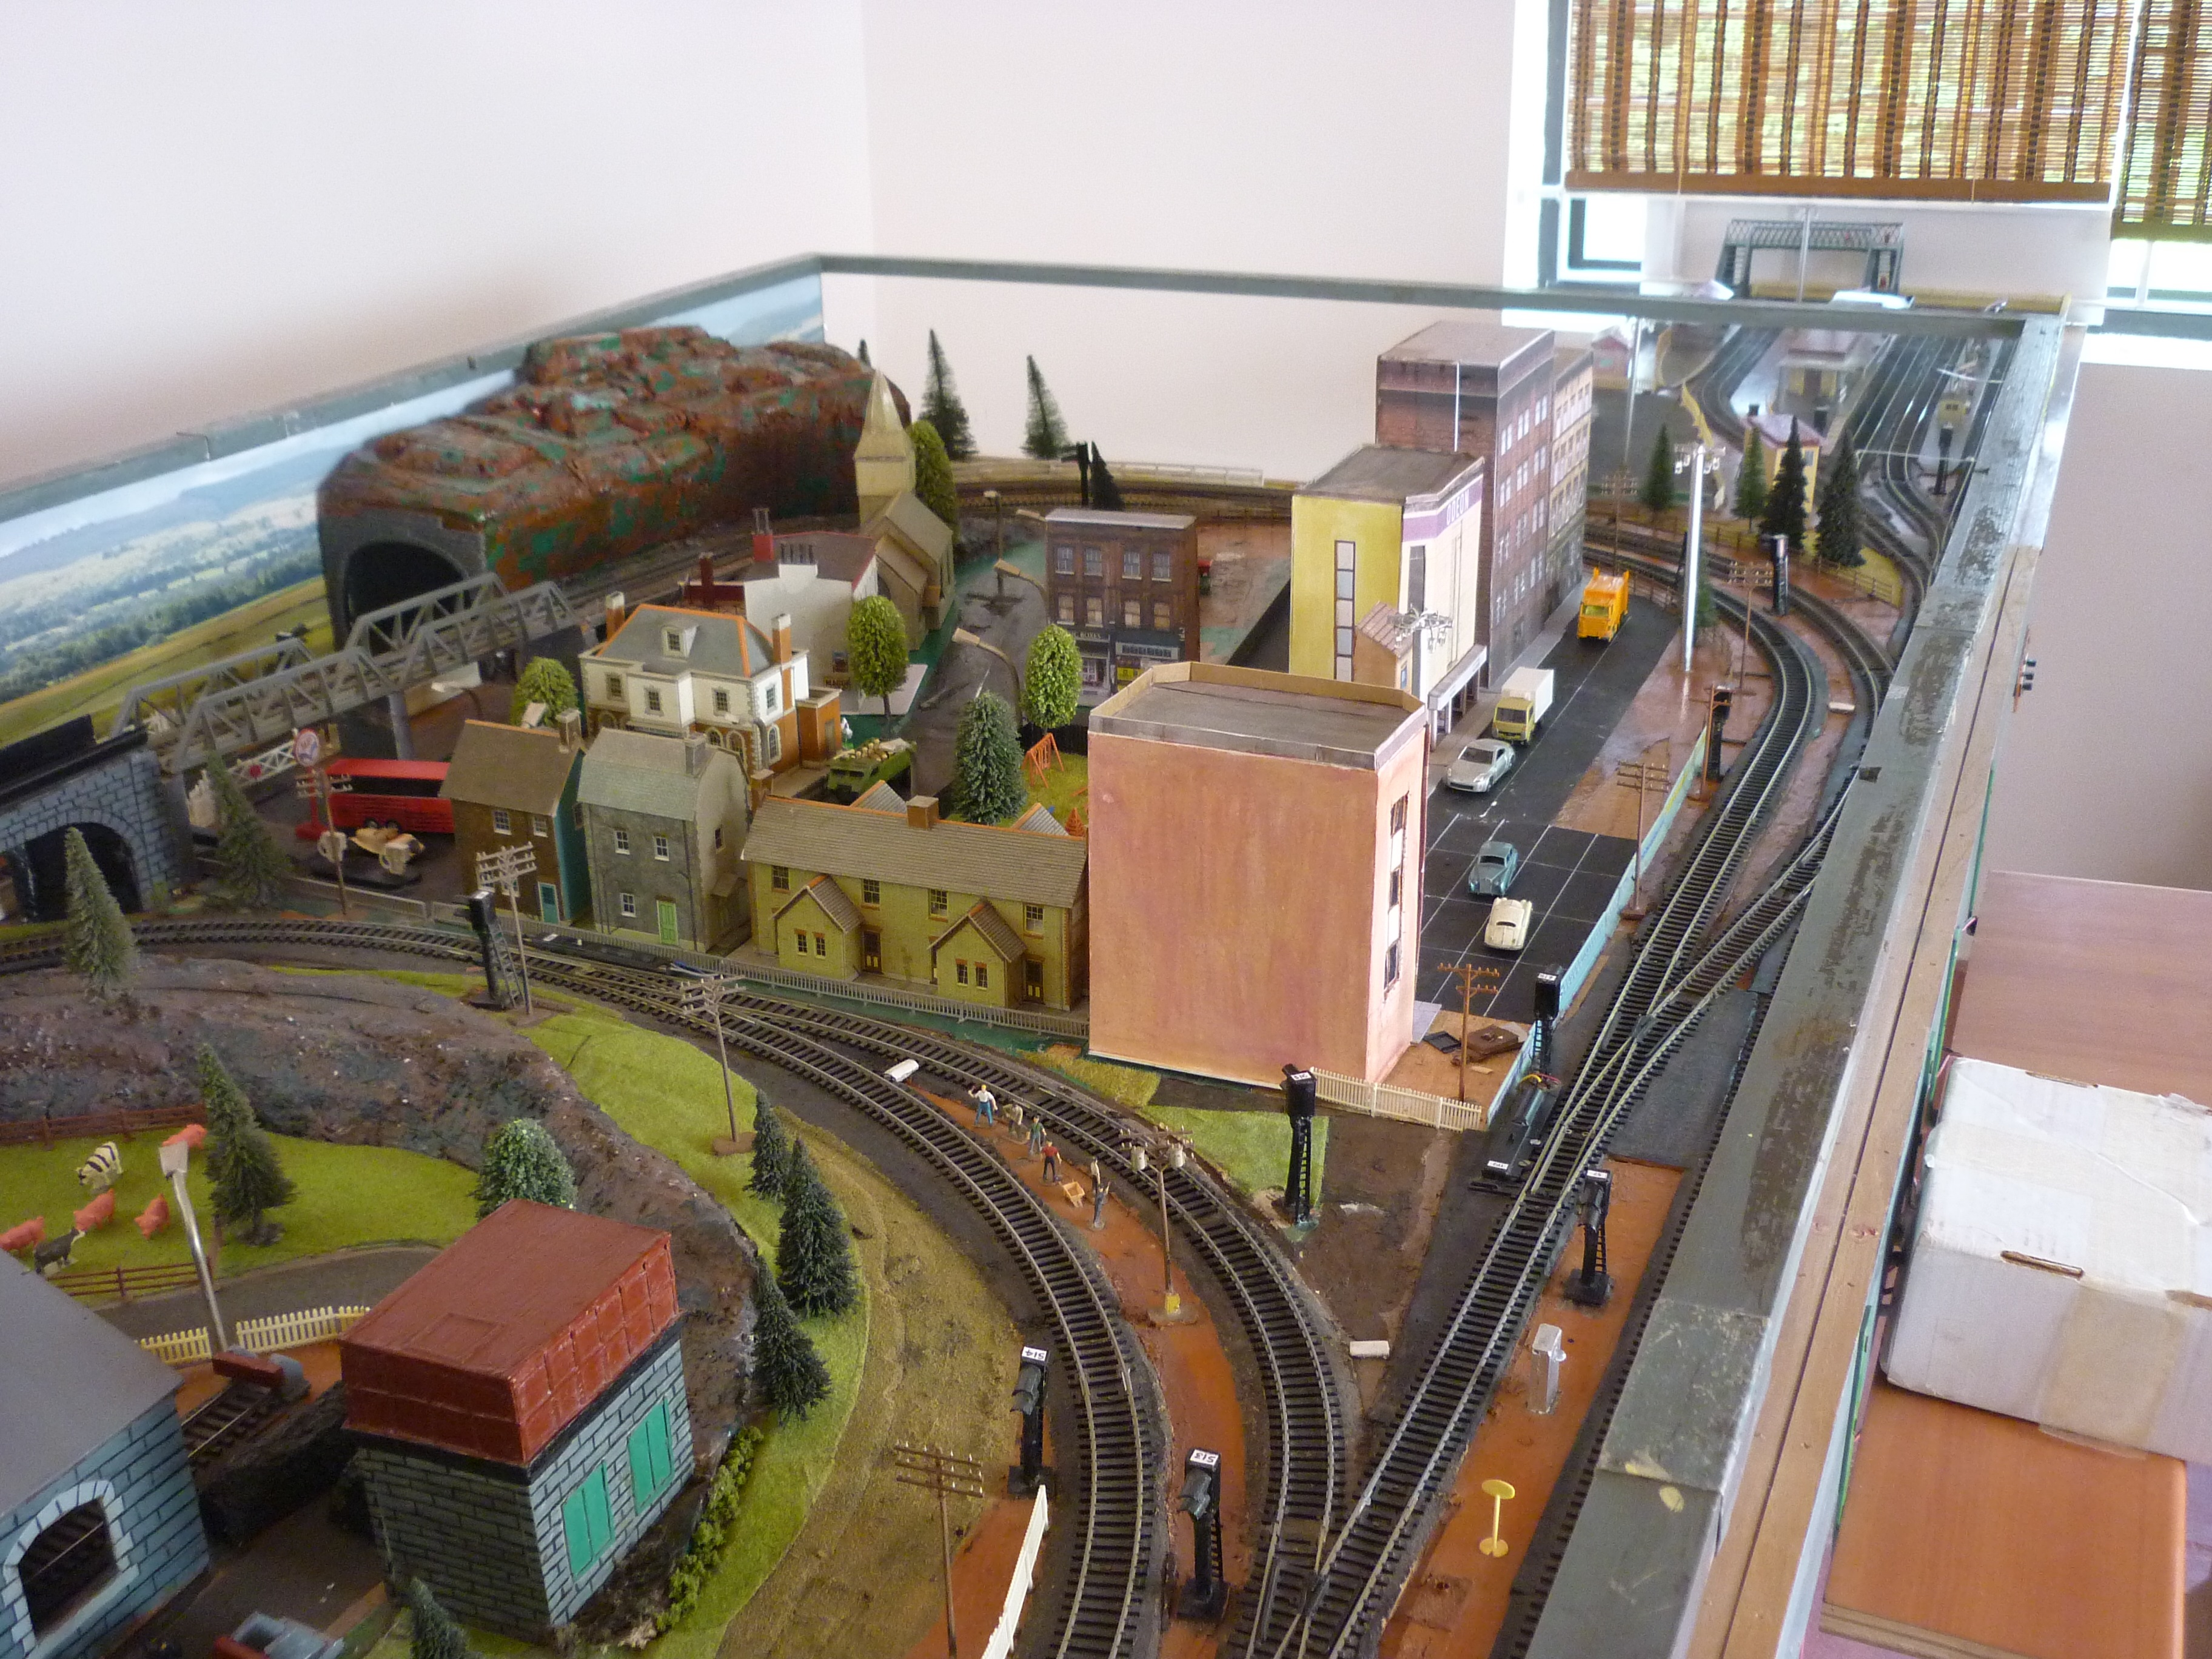
Picture 4: The signal cabin on the left is made from plastic sheet. The station and platforms are hand made from scrap pieces of plywood.
The station and platforms have been made from plywood and the main platform is lit with LED lamps ( located under the roof of the station building.
Working hand-made signals: The body (stem) is made from ball point pen body. The top head is made of plastic conduits used for wiring in houses. The LEDs bulbs are 3 volts. The shade for the lamps are made from ball point pen body (sliced to a third). The ladder is made from broom stick (India specific I suppose), but can be done from tooth picks. Cost to make is about Rs. 5 each.
Working station lamp posts : made of bent used refills of ball point pen. The hood is of the ball point pen body.
Foot Over Bridge: made from scrap material and wire mesh. The individual steps are a single ply cut to size. The silver high-mast lamps are again made from ball point pen body that serves as the post and the canopy on top is a plastic cap made from scrap piece of plastic.
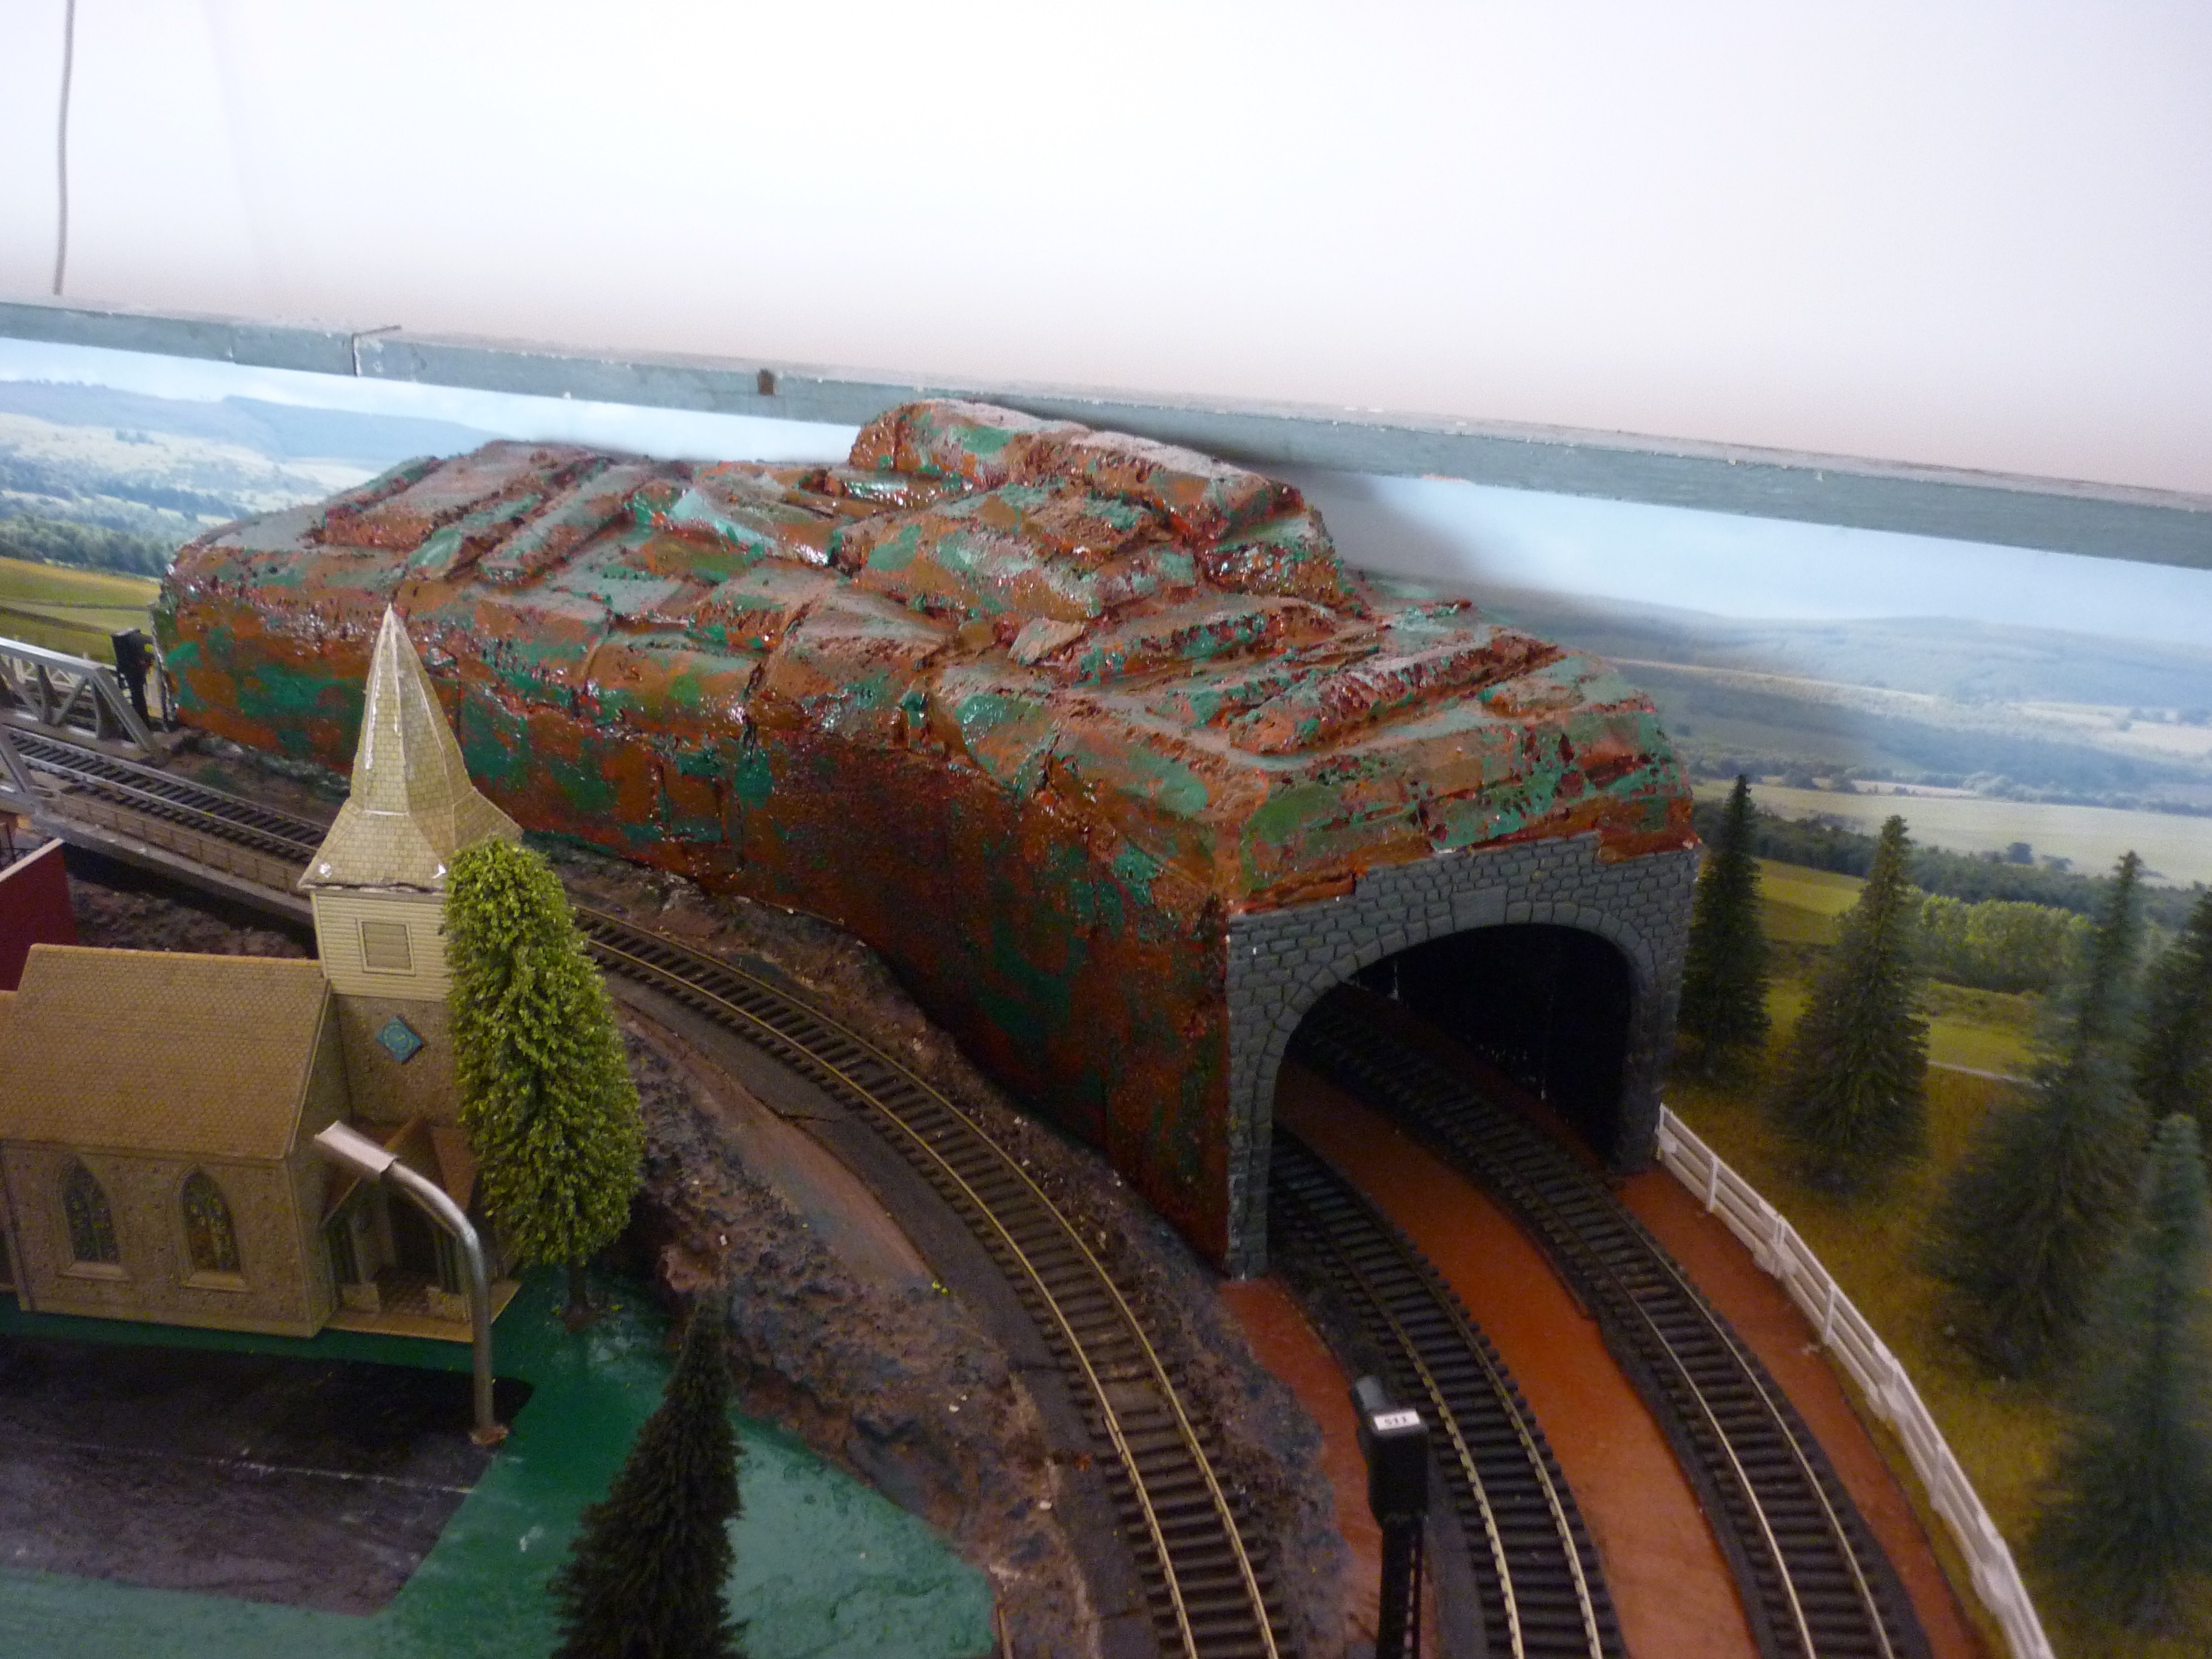
Picture 5: The Tunnel is made from thermocole. To prevent the solvent in the paint from burning holes in the thermocole, the tunnel was painted with diluted PVA and then when dry, was painted with oil paint.
Street lamp posts – again made from ball point pen refills.
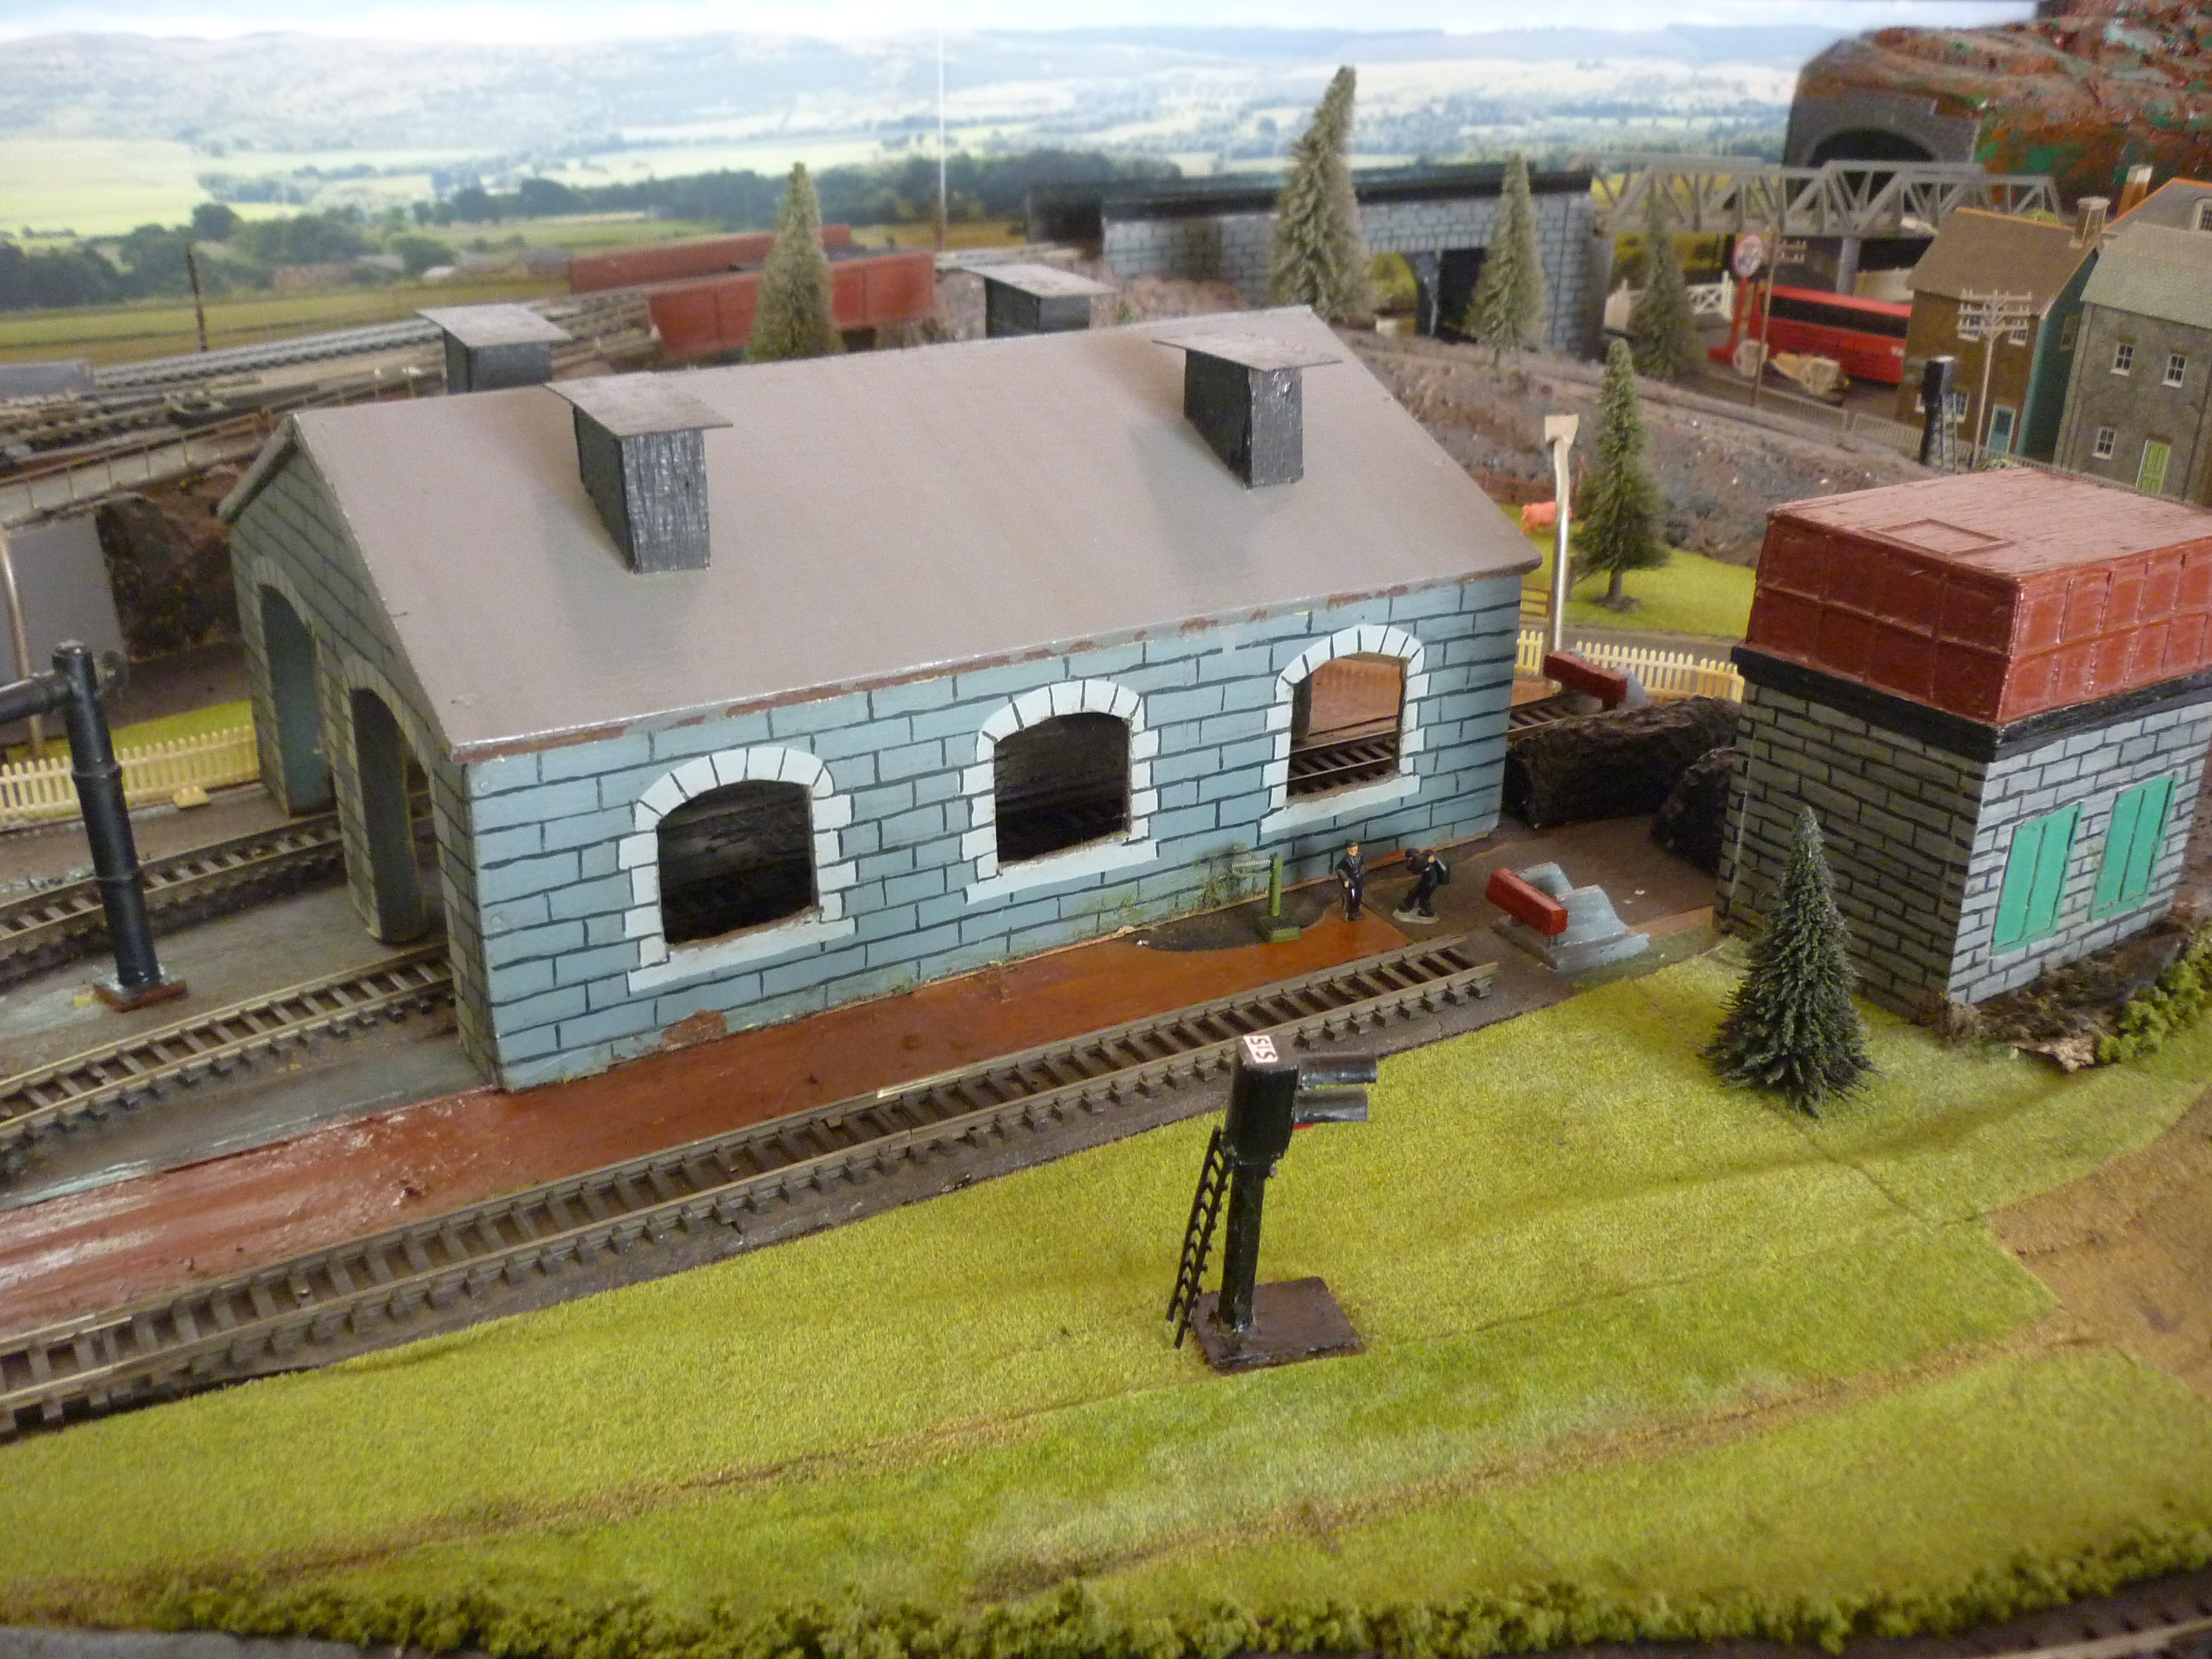
Picture 6: Engine shed made from plywood and hand painted. The bridge in the background was hand-made and hand painted. Again made of scrap plastic and wood.
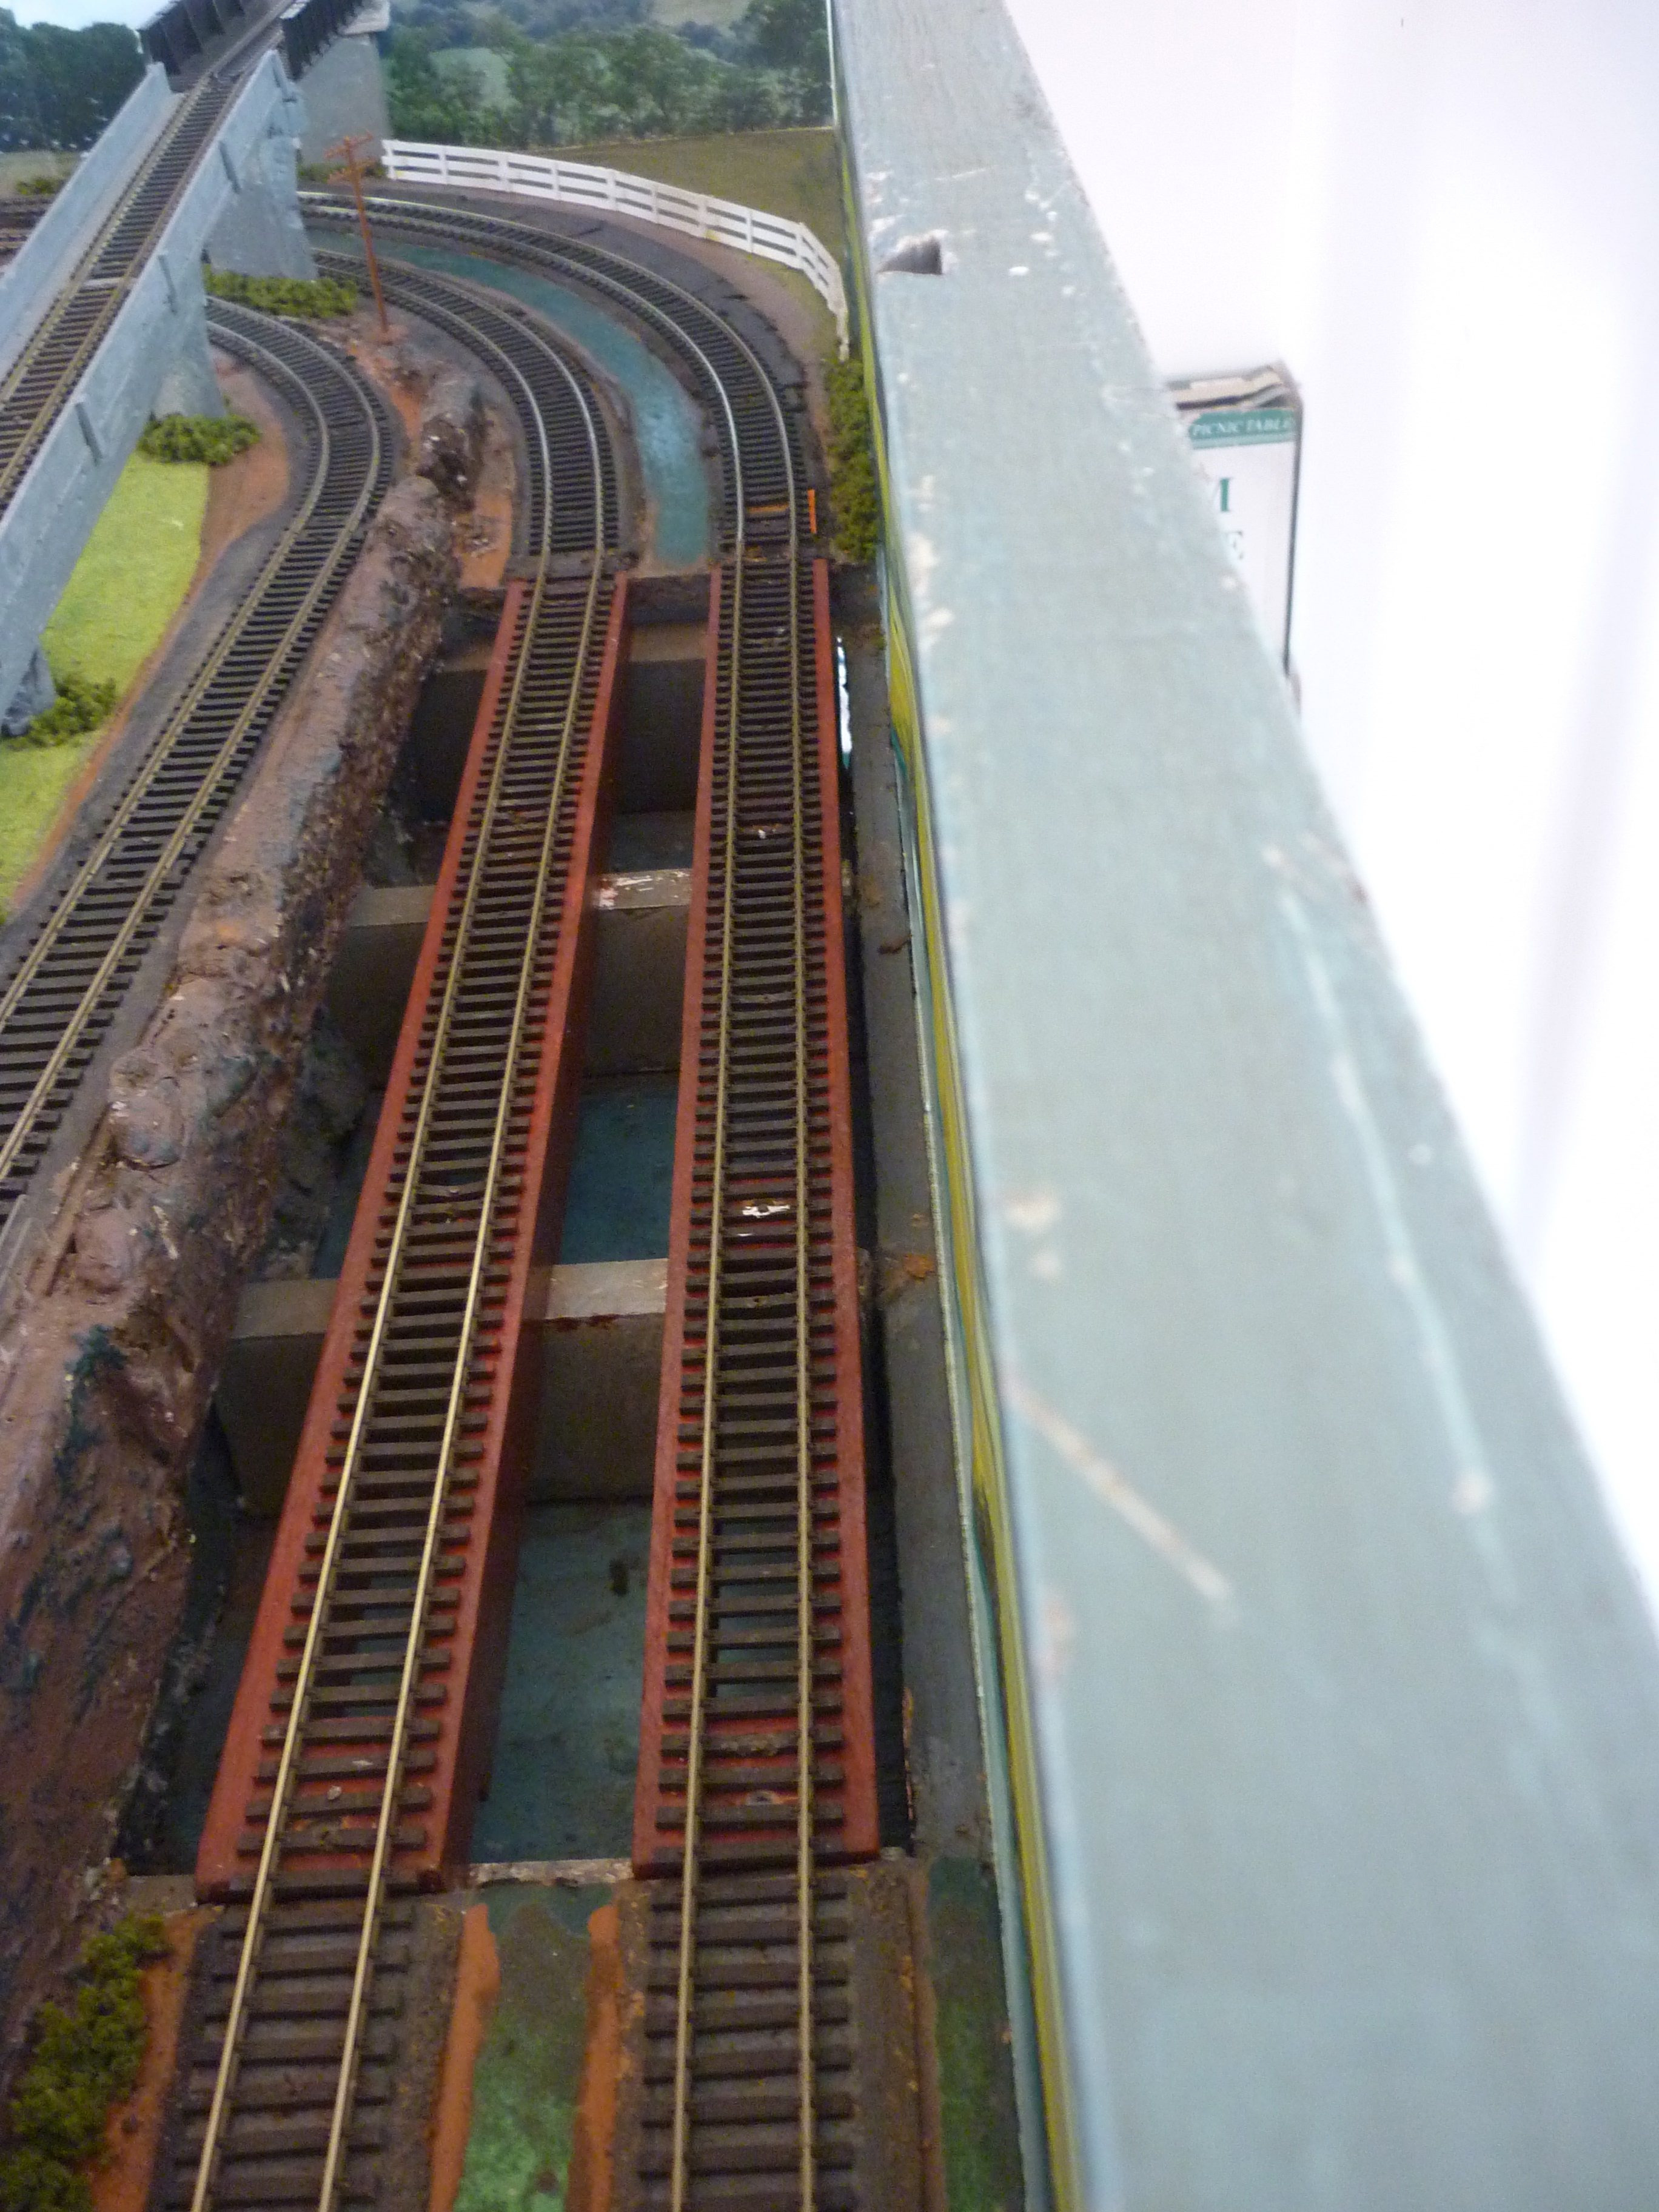
Picture 7: girder bridges – made from plywood resting on 1” thick wood painted in grey to make it appear like piers.
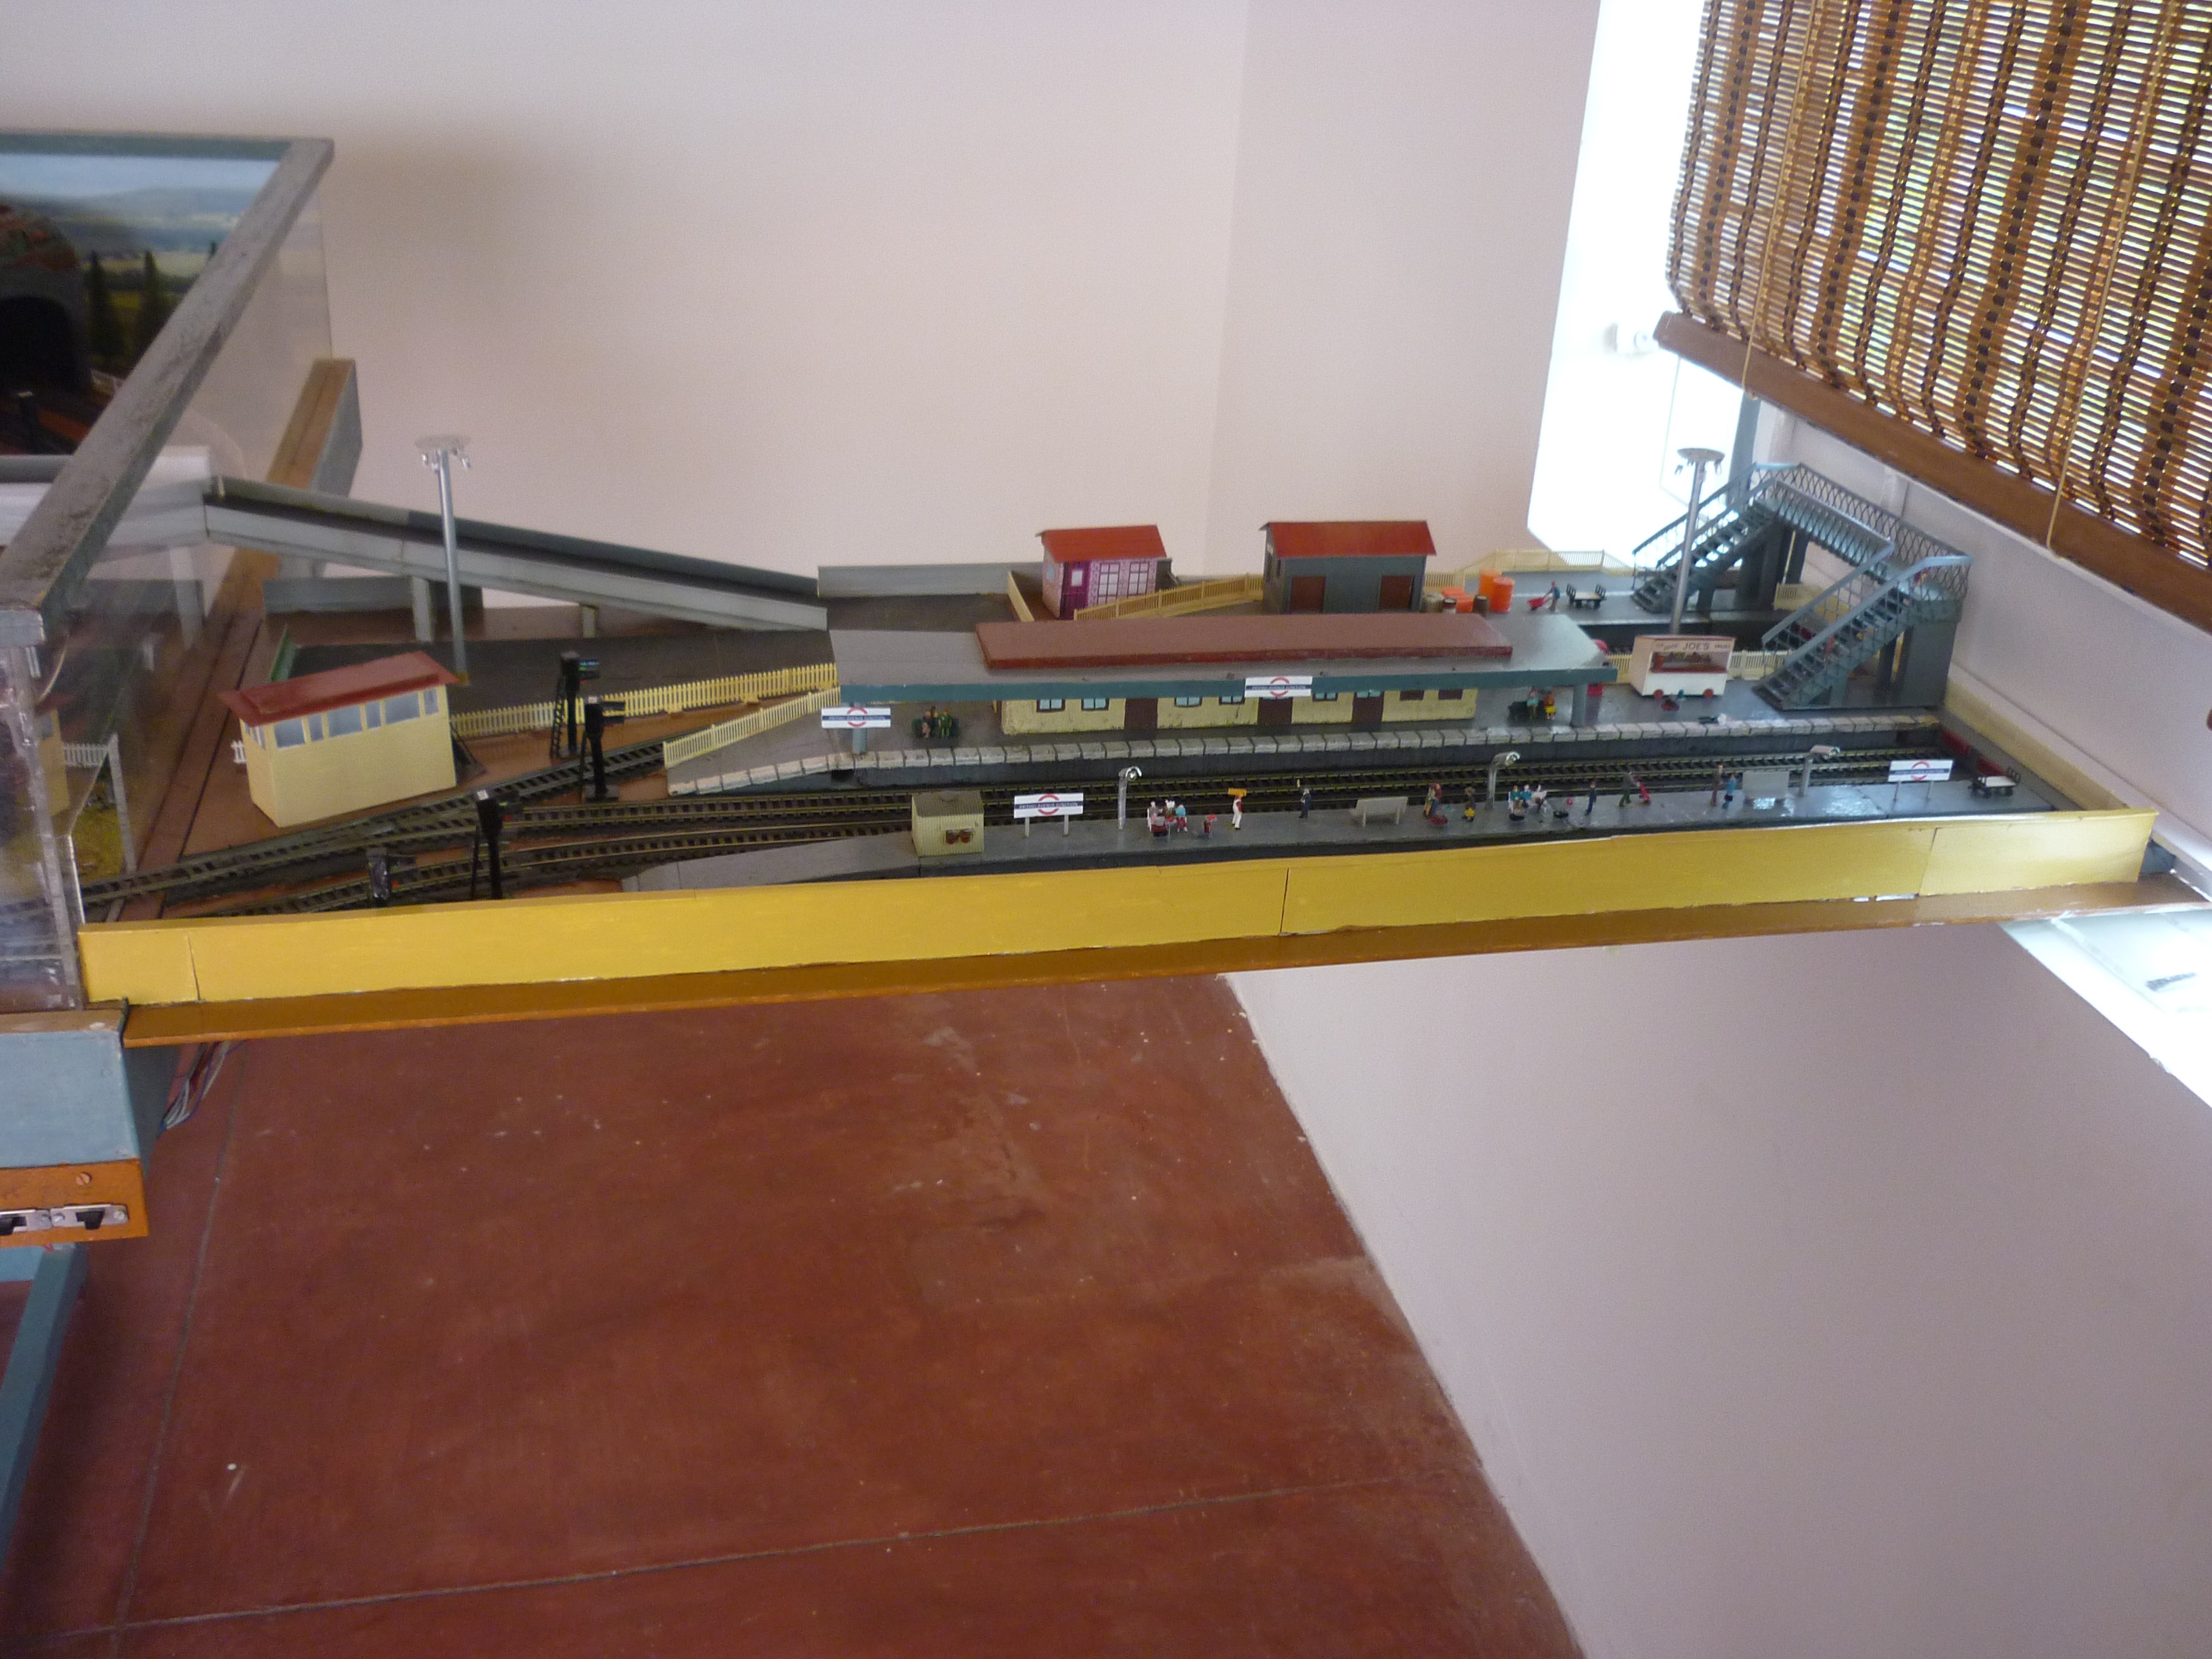
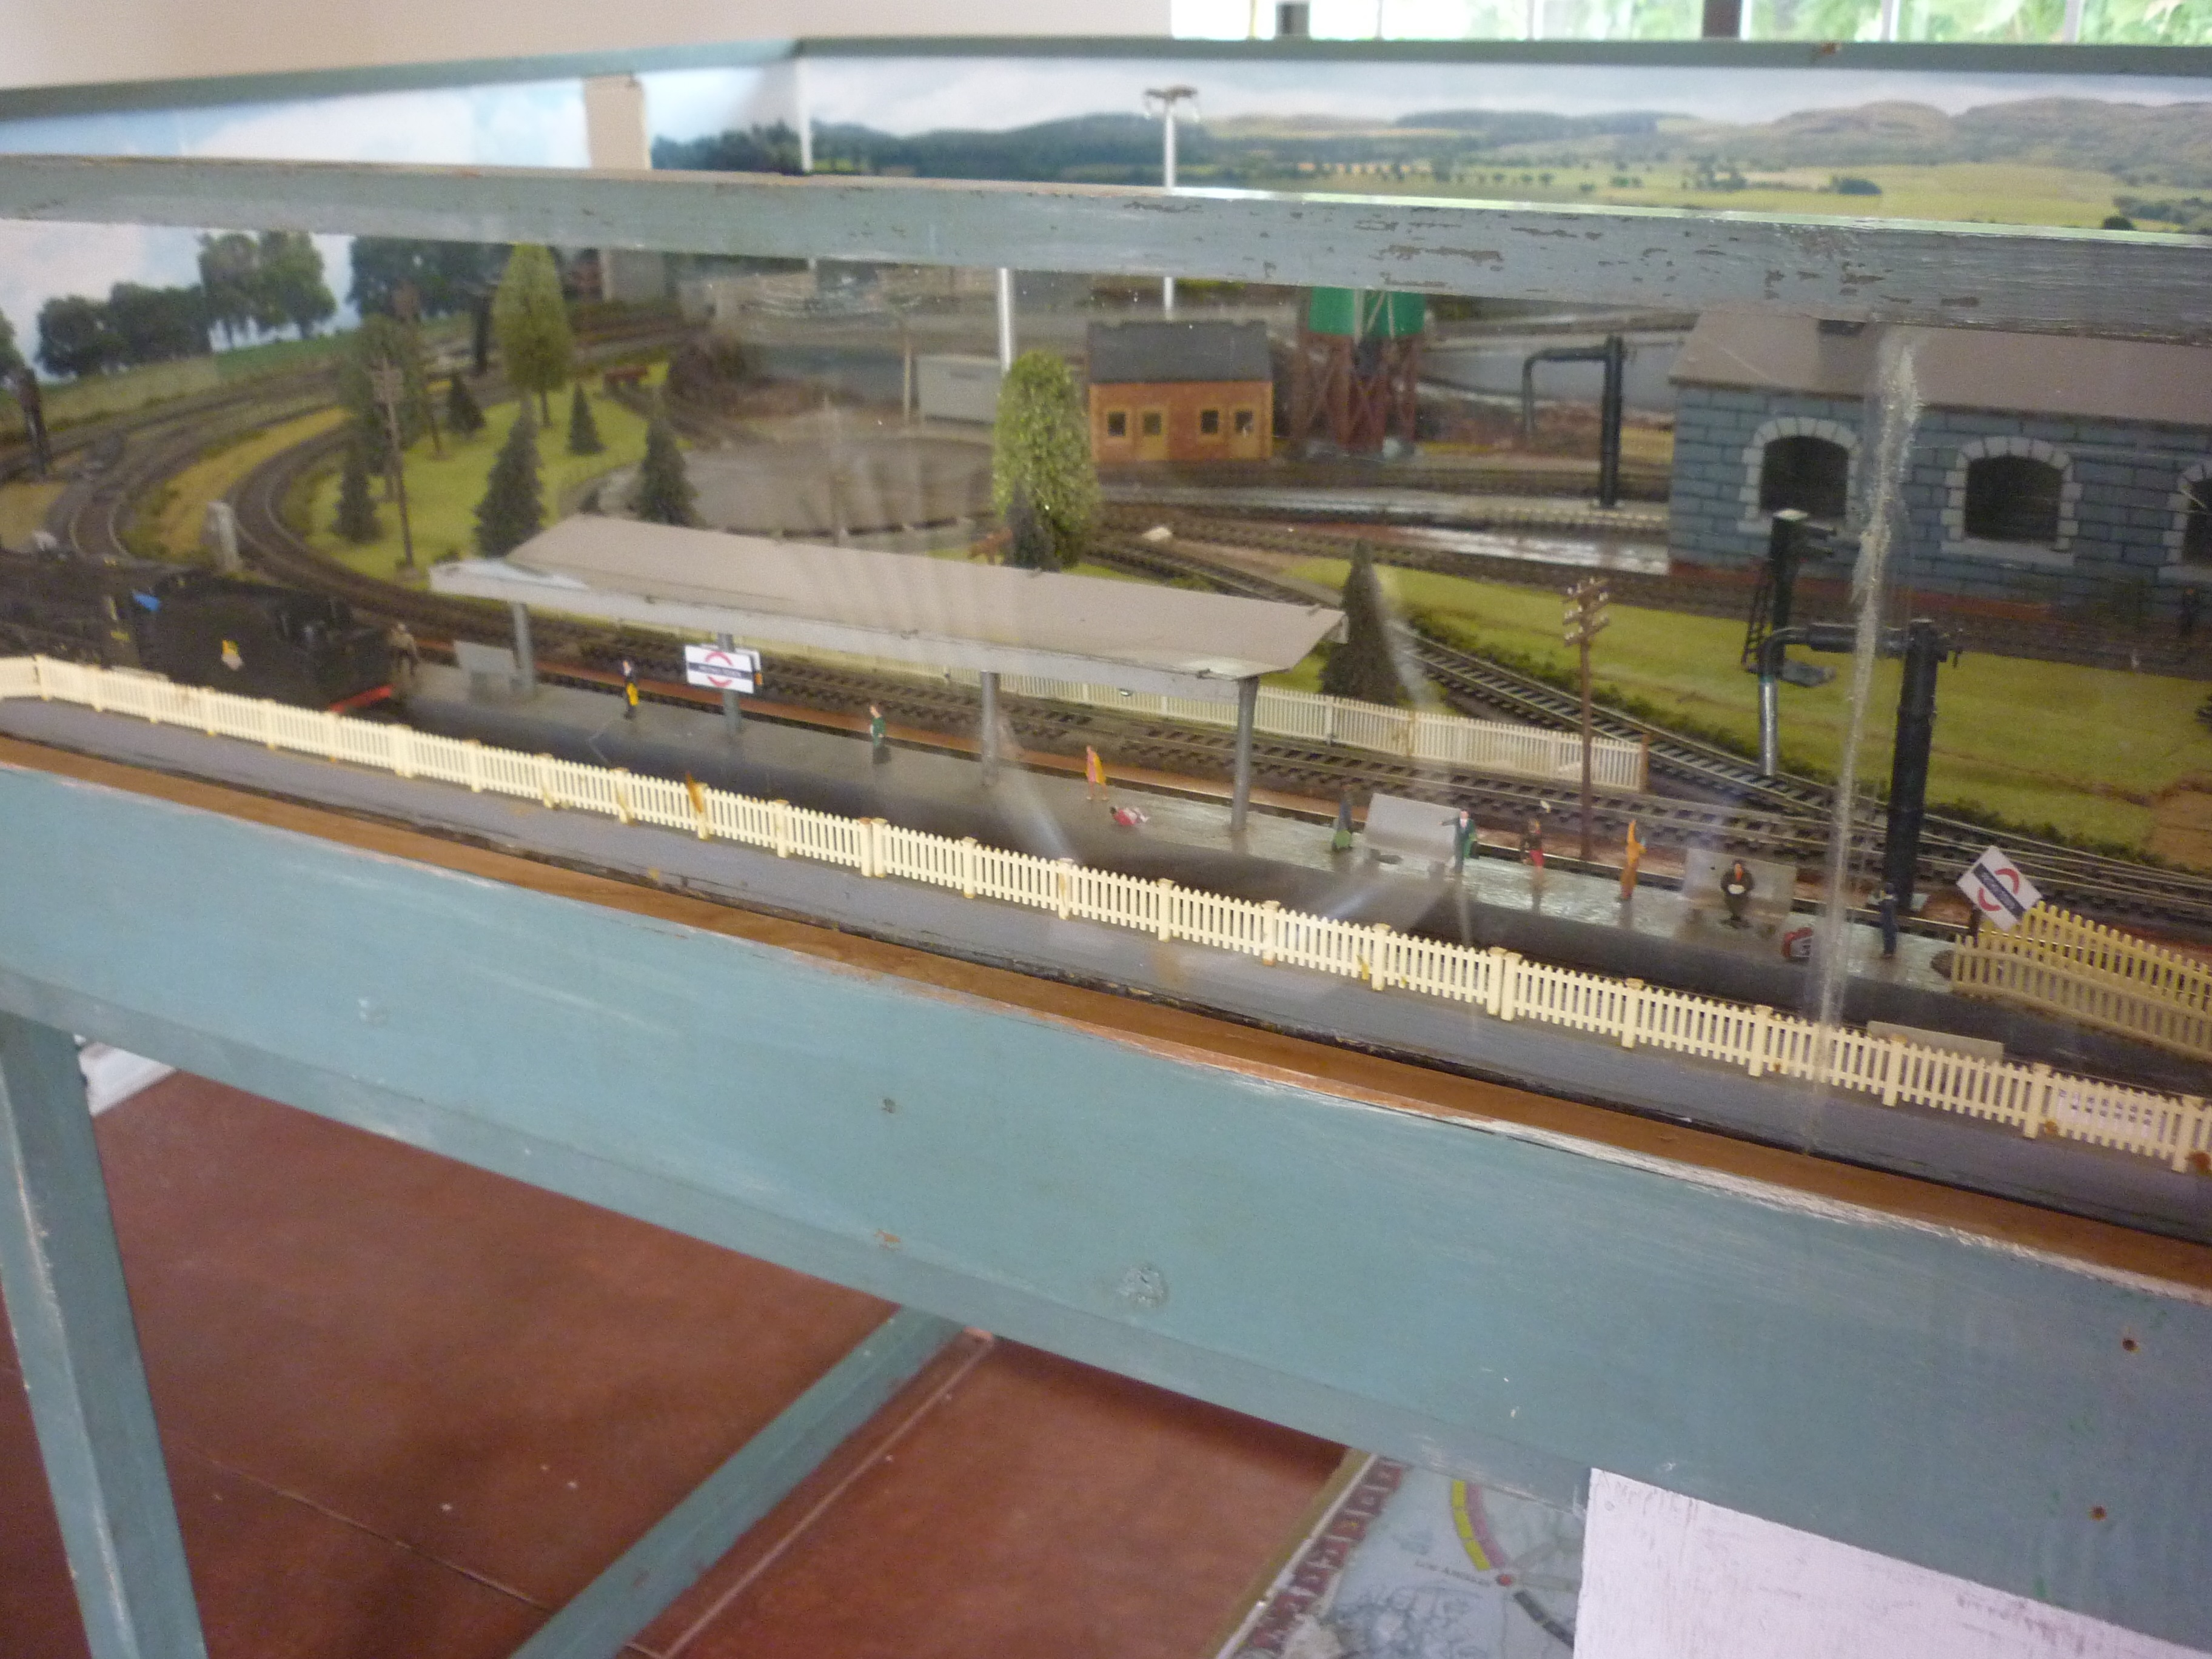
Picture 8: Station and platforms – hand-made with plastic roof. The Lights underneath the roof are wired though the tubular support pillars.
Water crane for steam engines. This is made of tubes of different sizes bonded together with Mseal – a two pack solvent. The rims on the body denote the flanges and are made from paper tape cut thin and wound several layers to the desired rim protrusion level. The water spout is made of plastic sheath.
If anyone is interested in knowing more about any of the handmade stuff, I will be more than willing to share how I did them.
Thanks for viewing the photos and I hope you enjoyed them.
Kind regards
Sundaram”
“Hi Al , just loaded this on youtube, shows that class 33 now fitted with sound, also a bit on how far I have got using the ECOS controller.
Regards
Dave”
Big thanks to Sundaram and Dangerous Dave. Keep’ em coming.
Best
Al