The cheapest way to build a model railroad layout

“Hello Al,

This is Thomas from “The Just Another Damn Hole in the Ground Mining Company”. You might recognize the river. I am finally able to go up to the next level after my surgeries. YEAH.

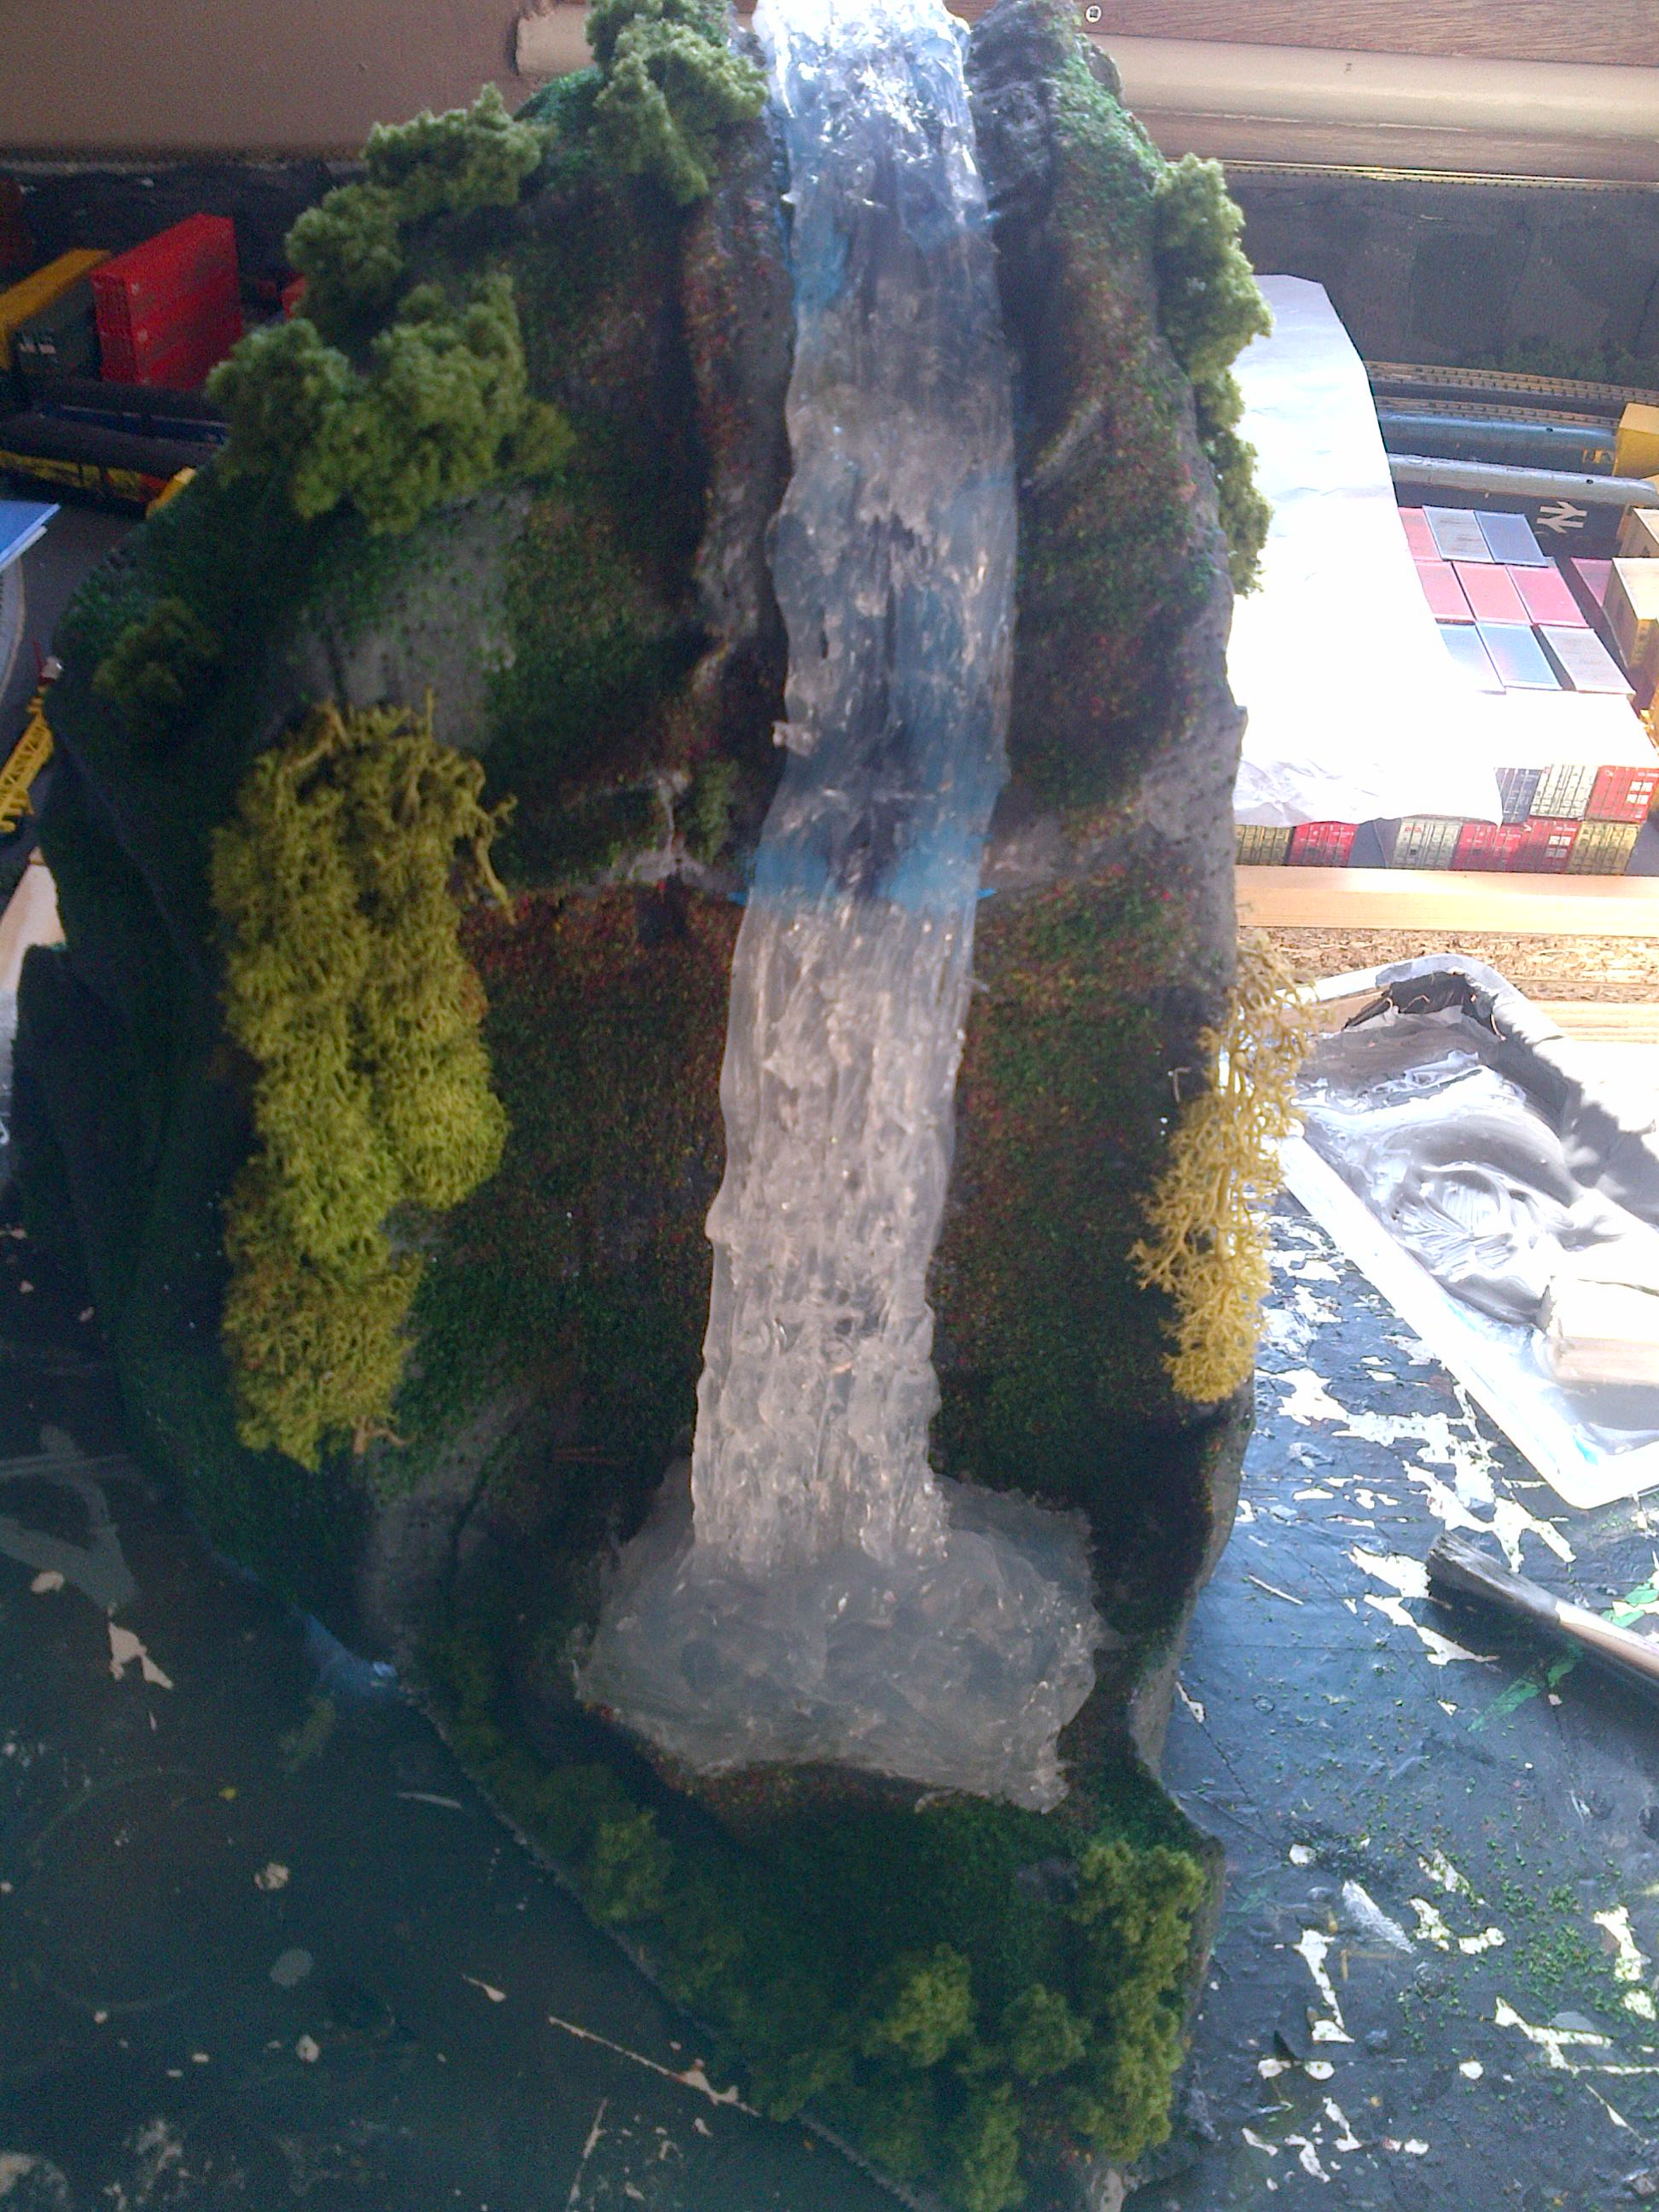
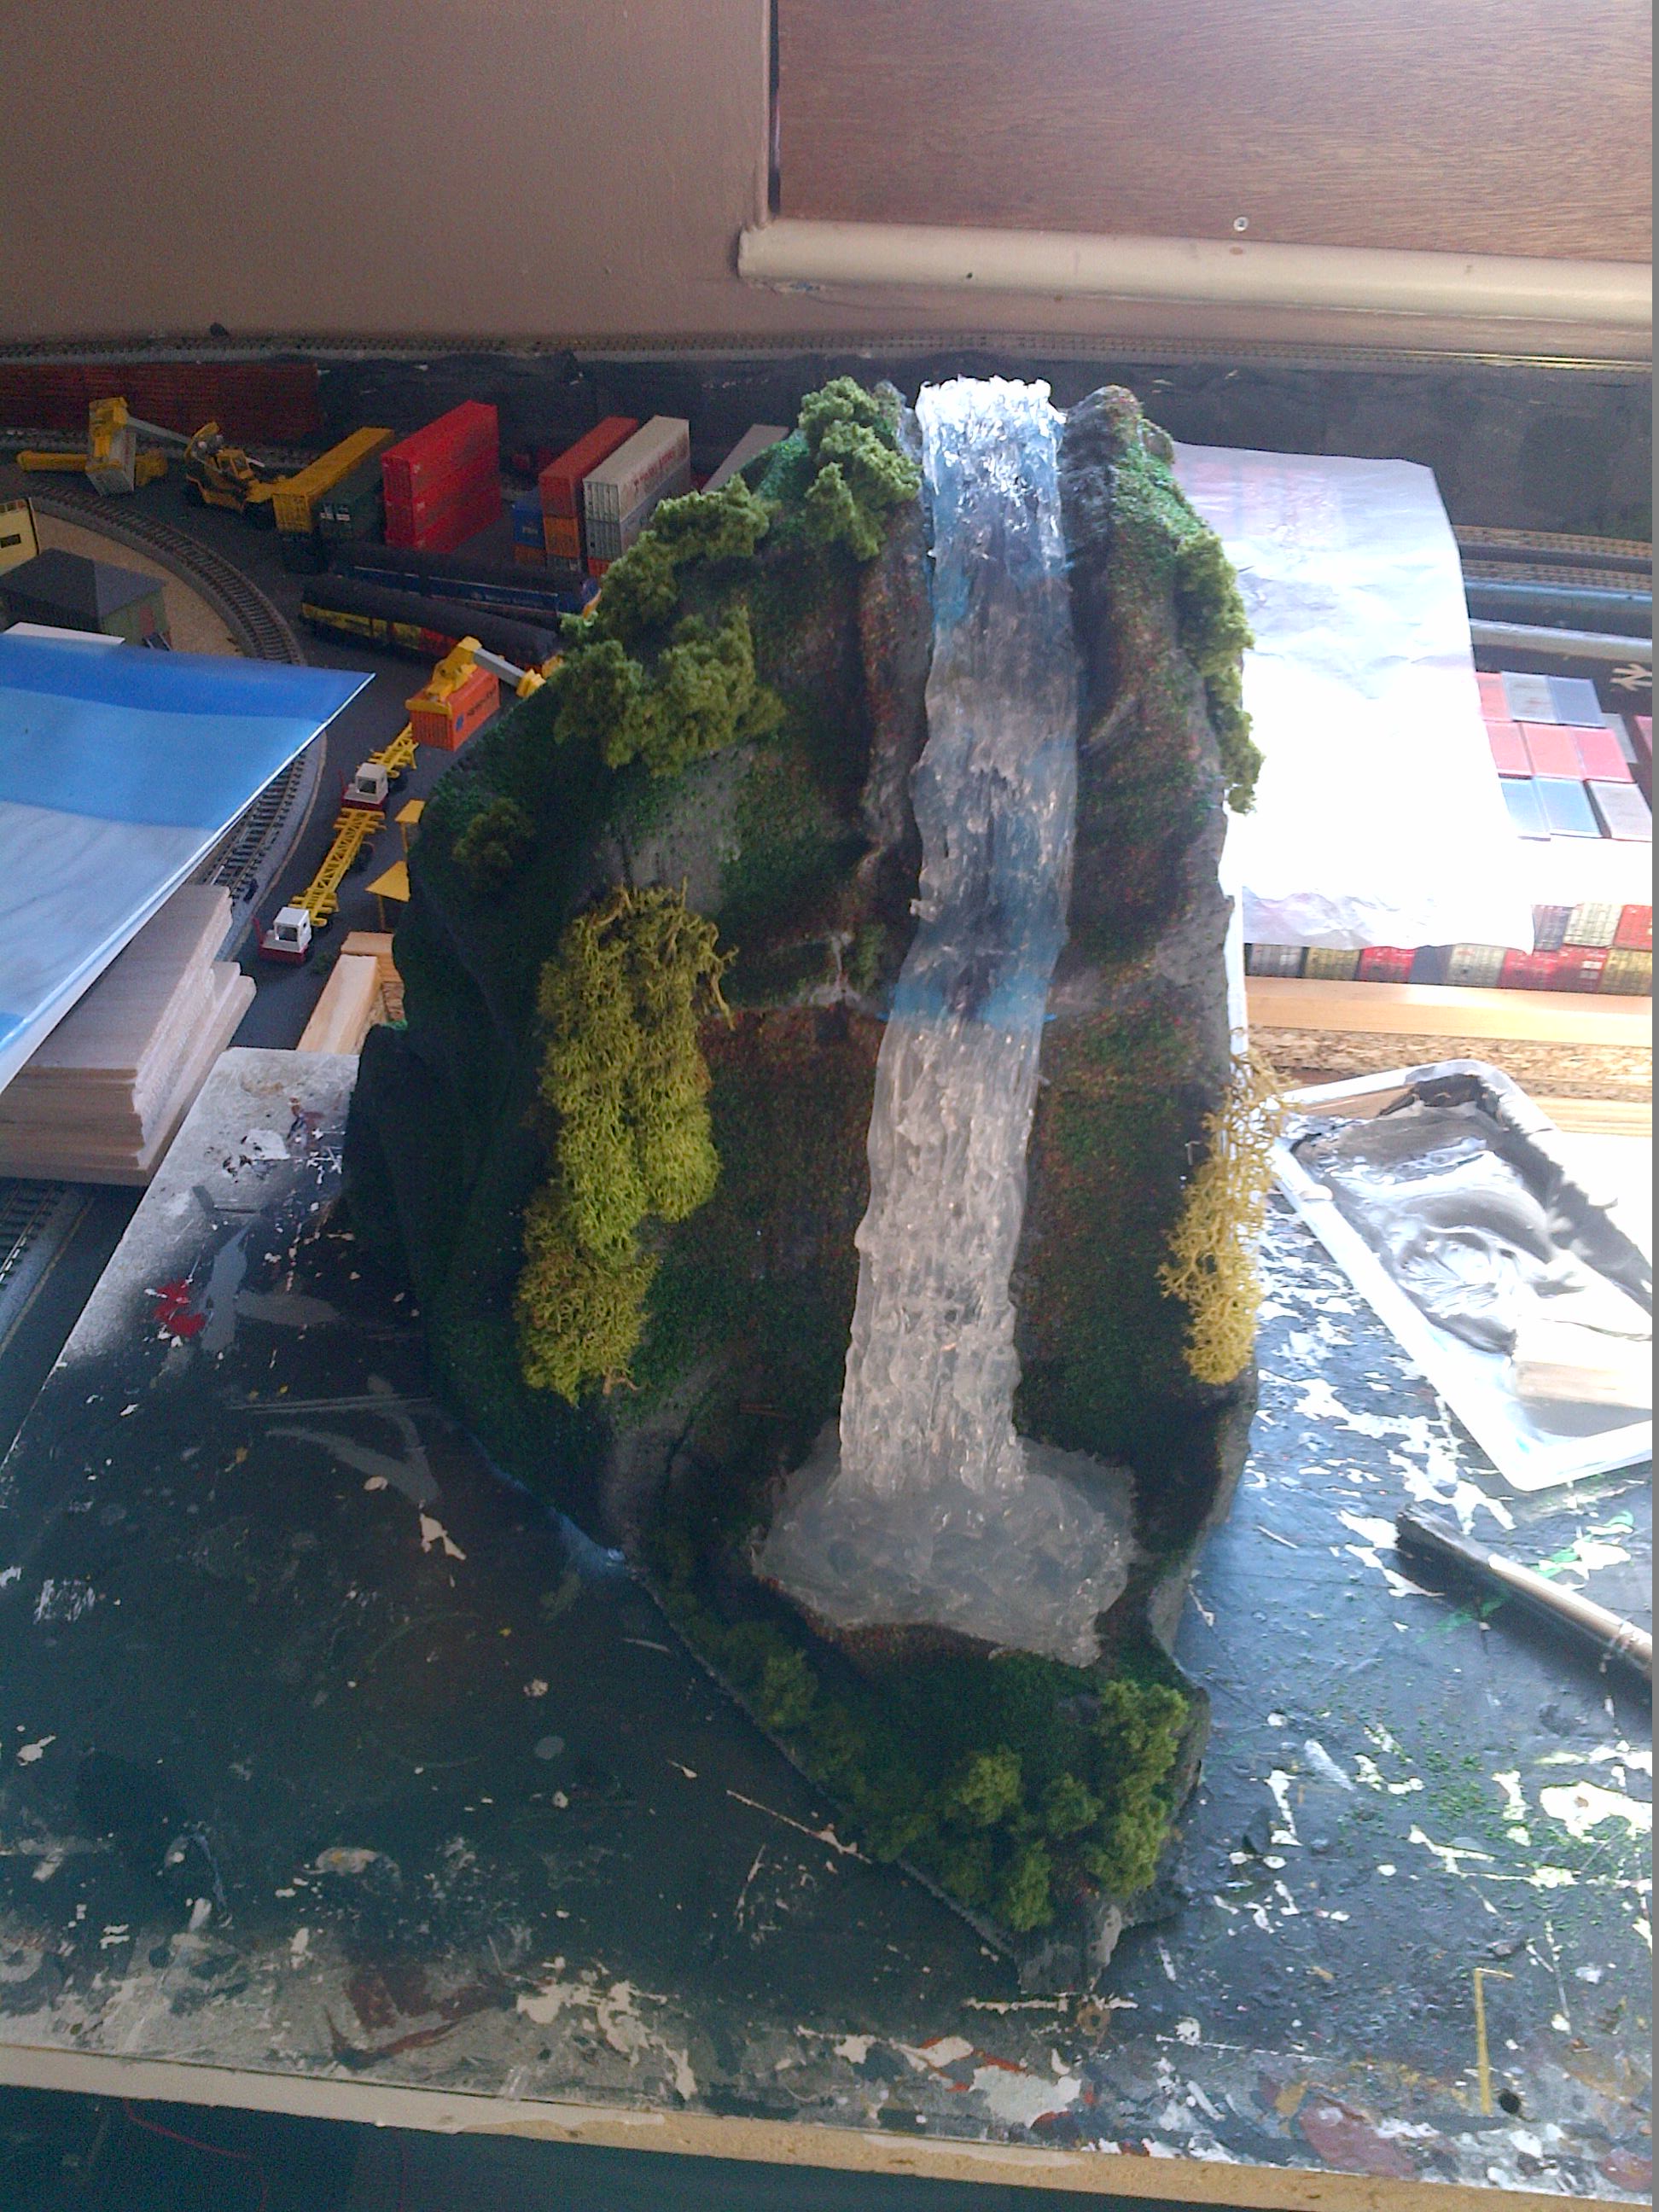
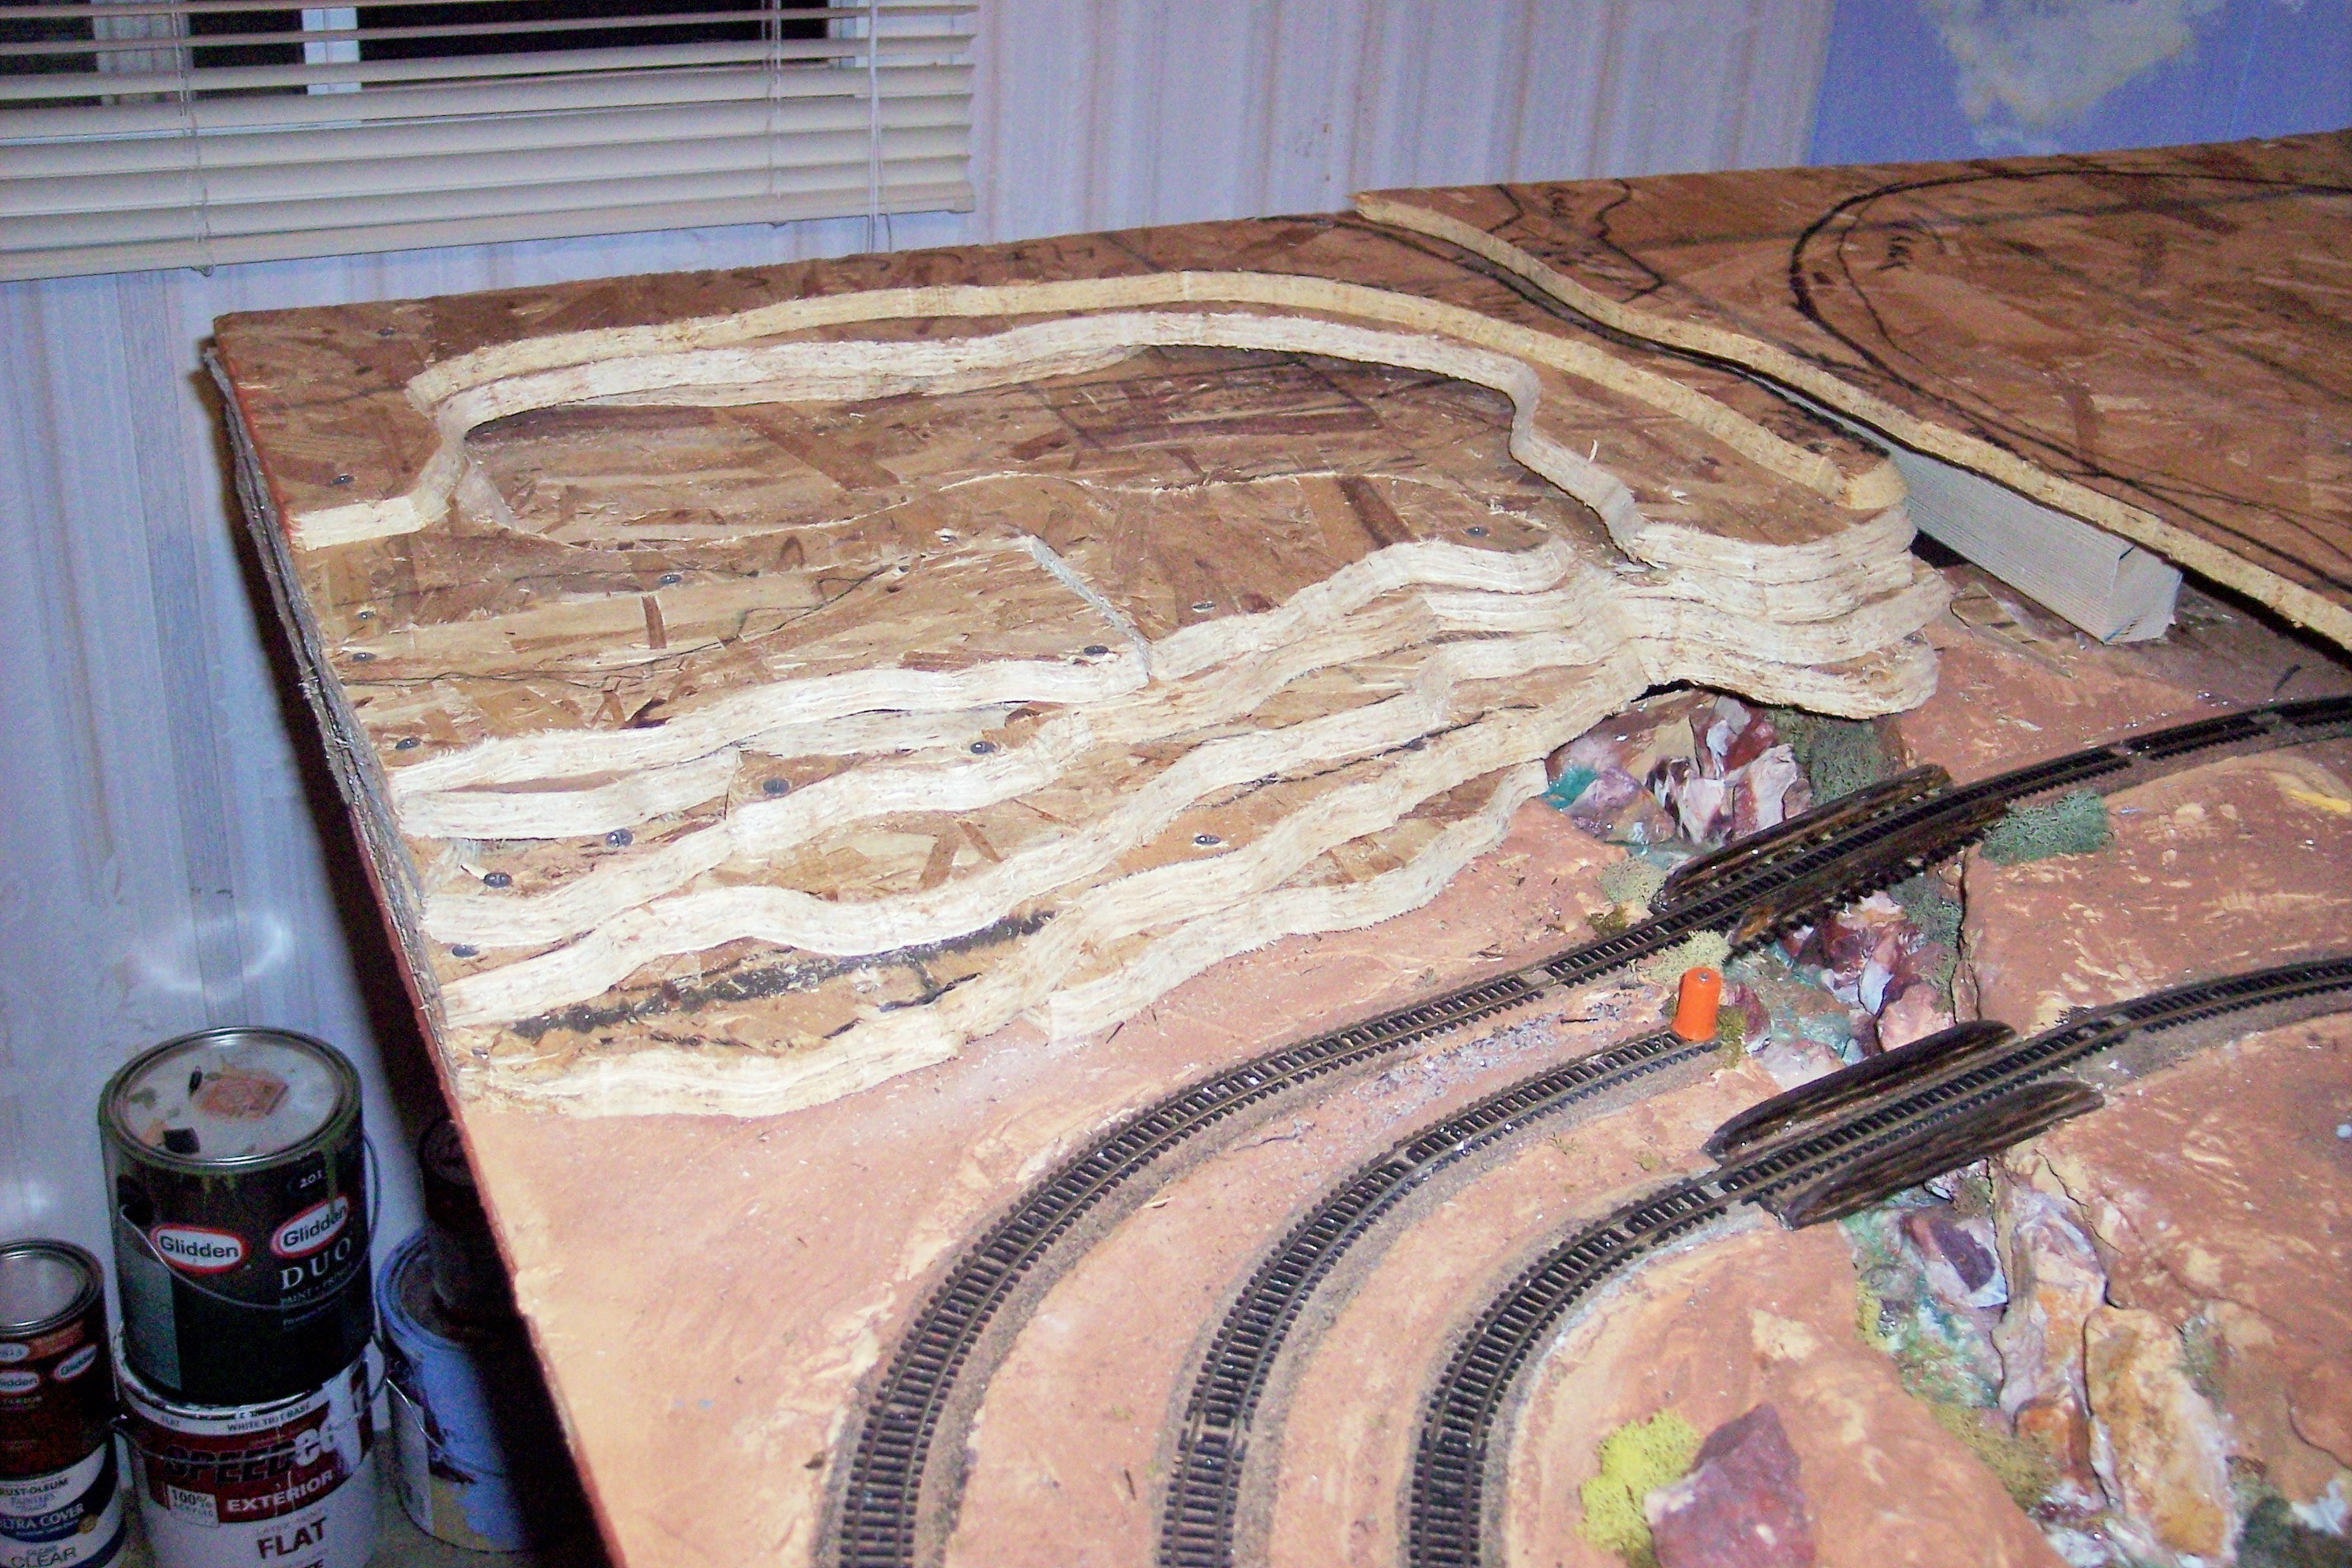
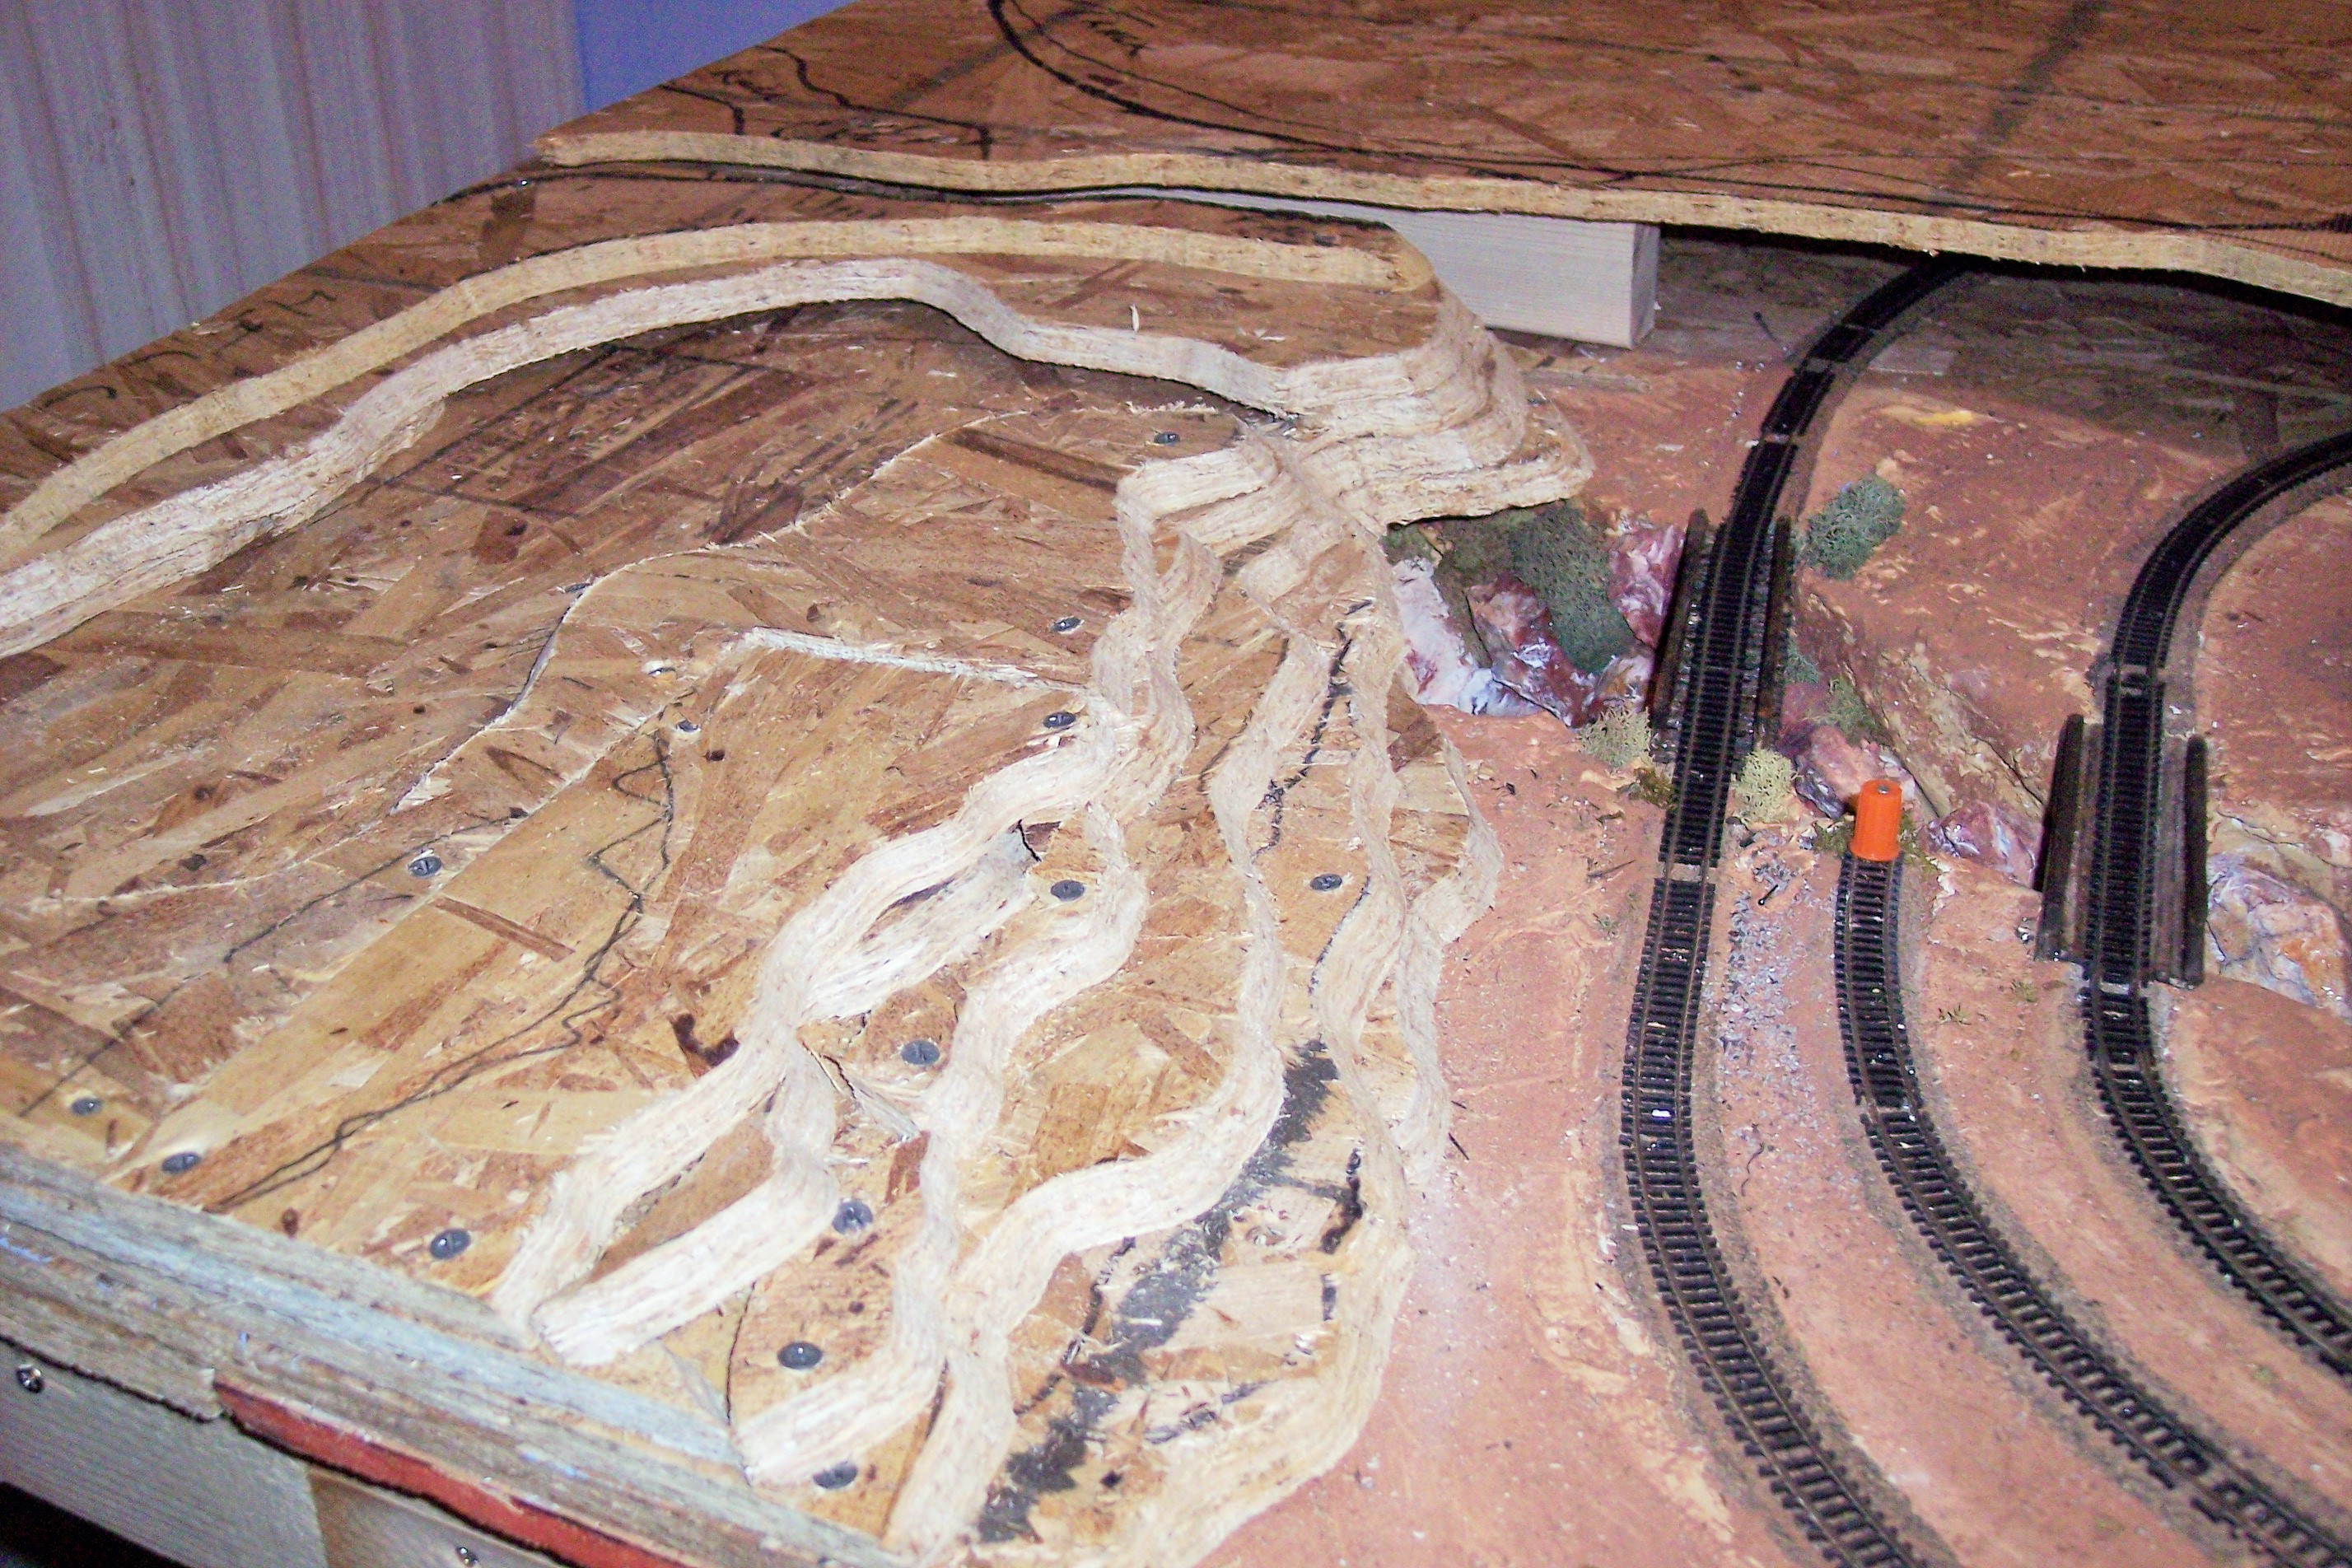
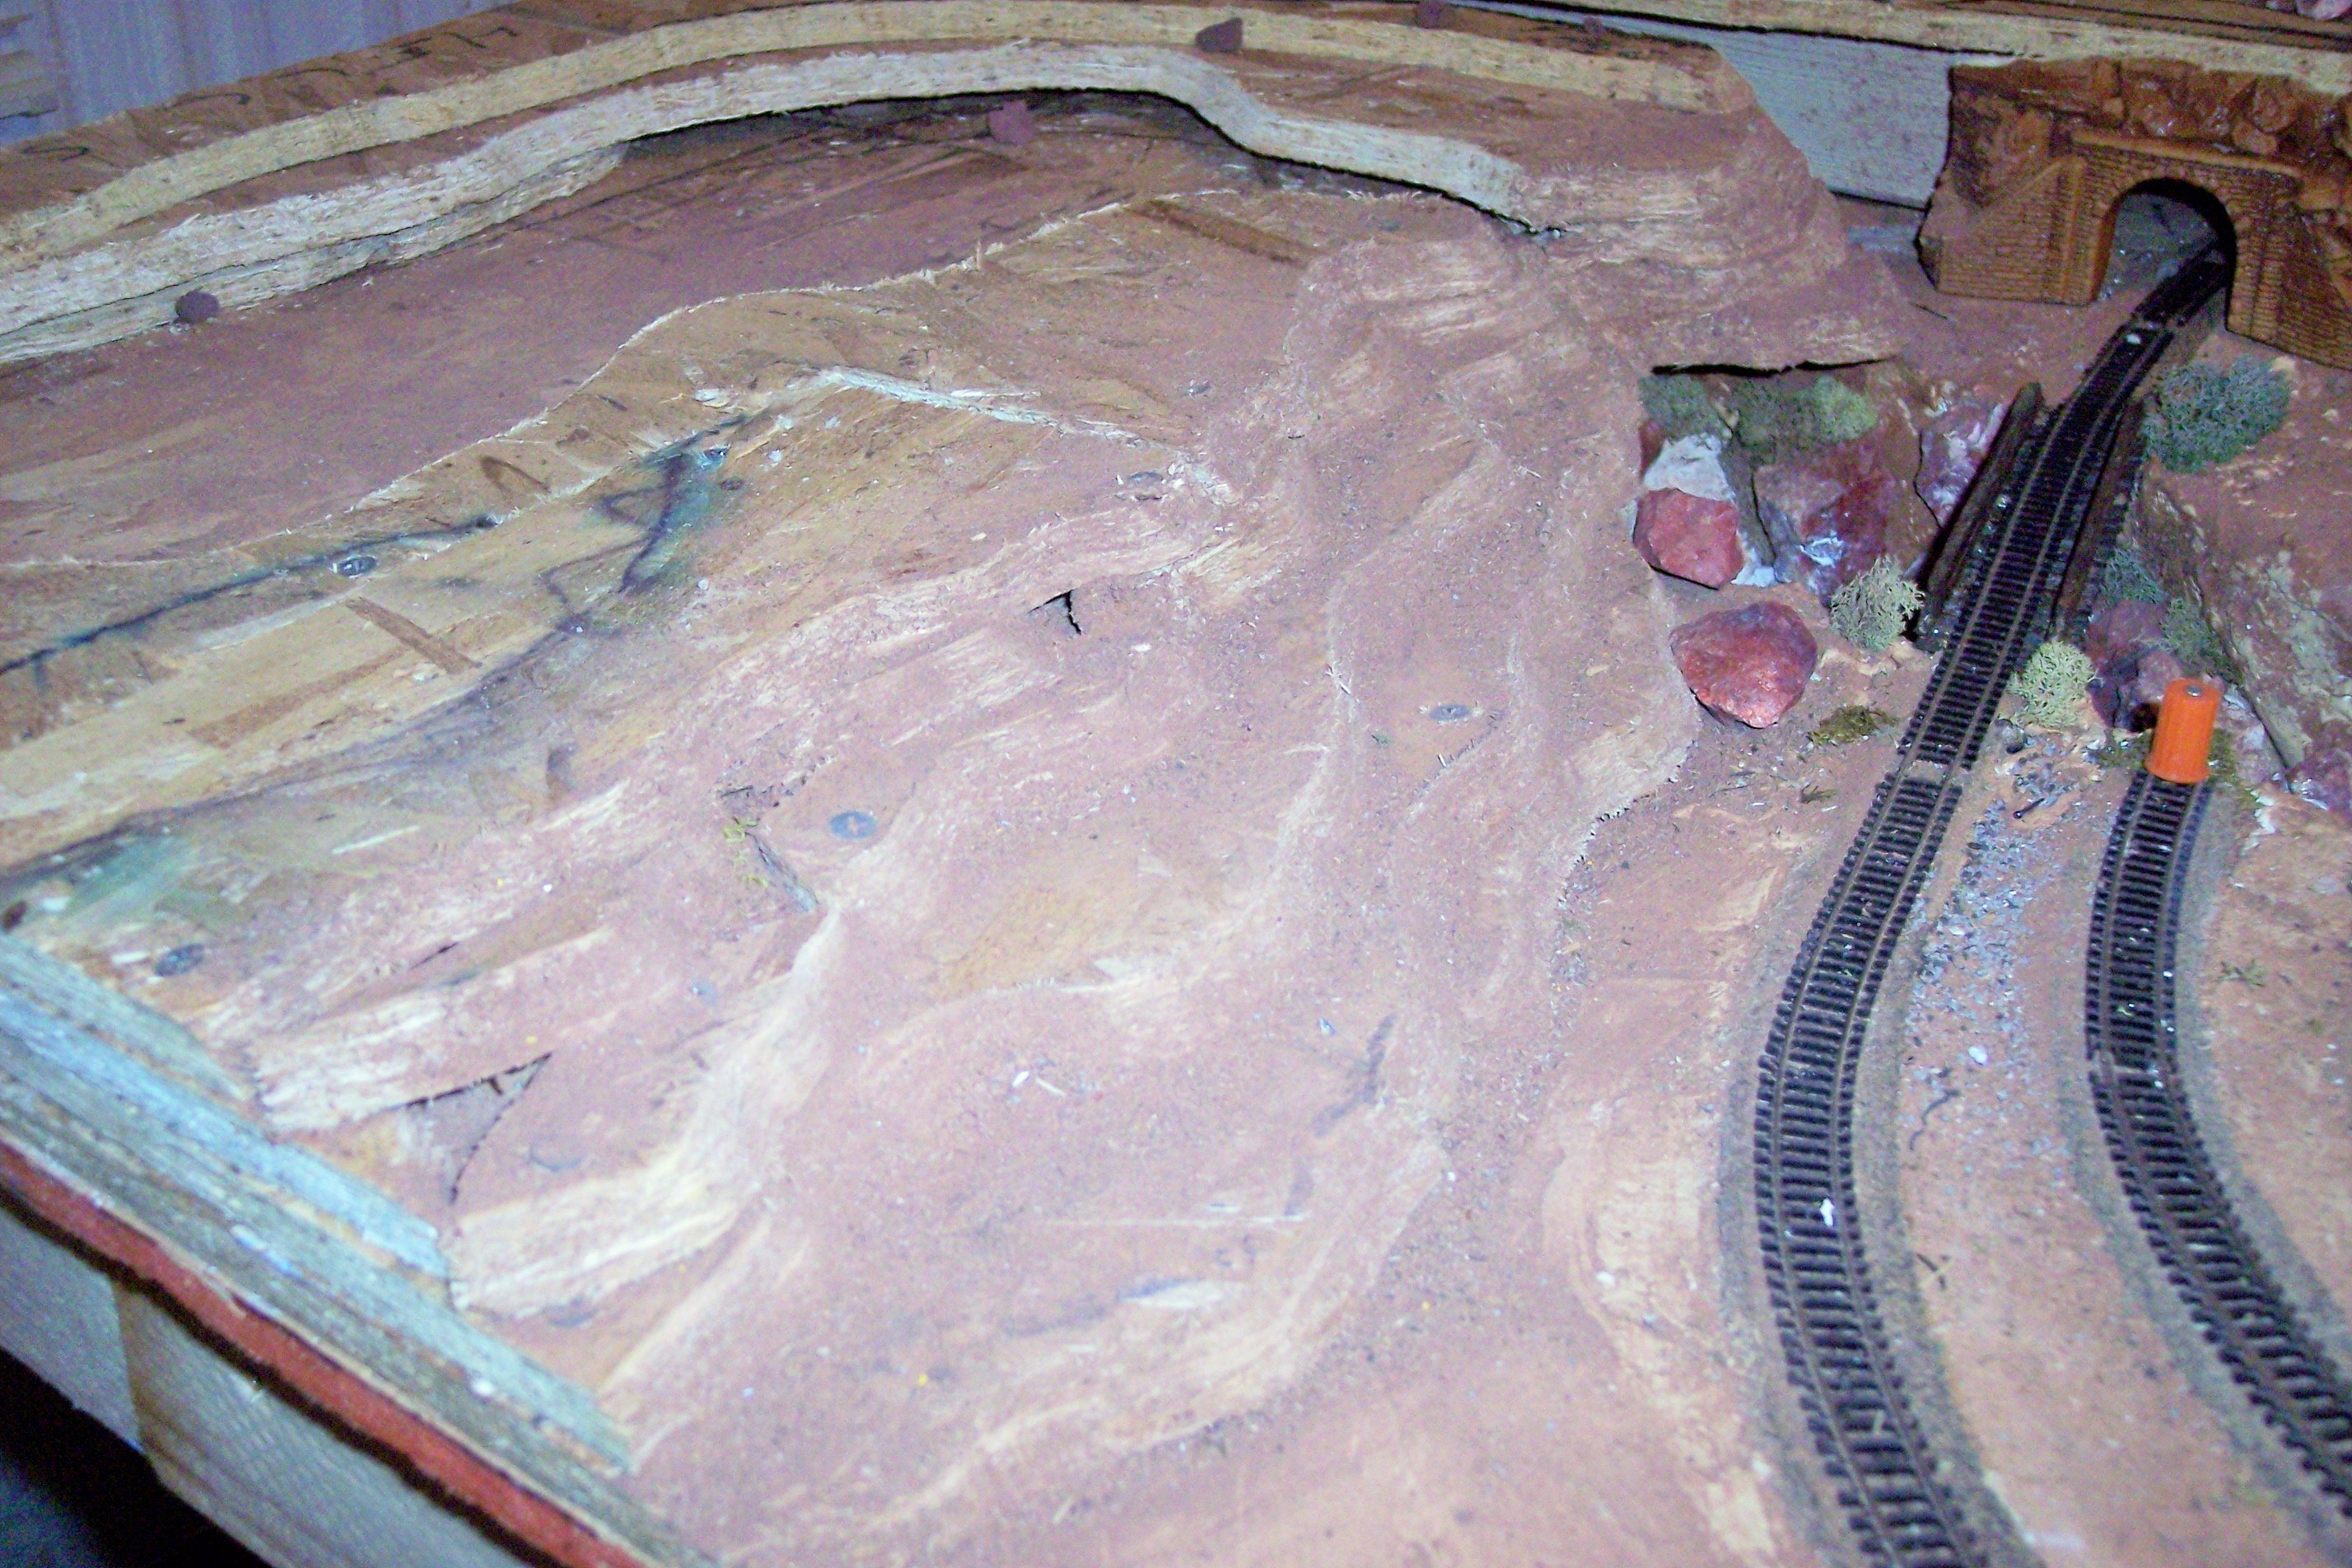
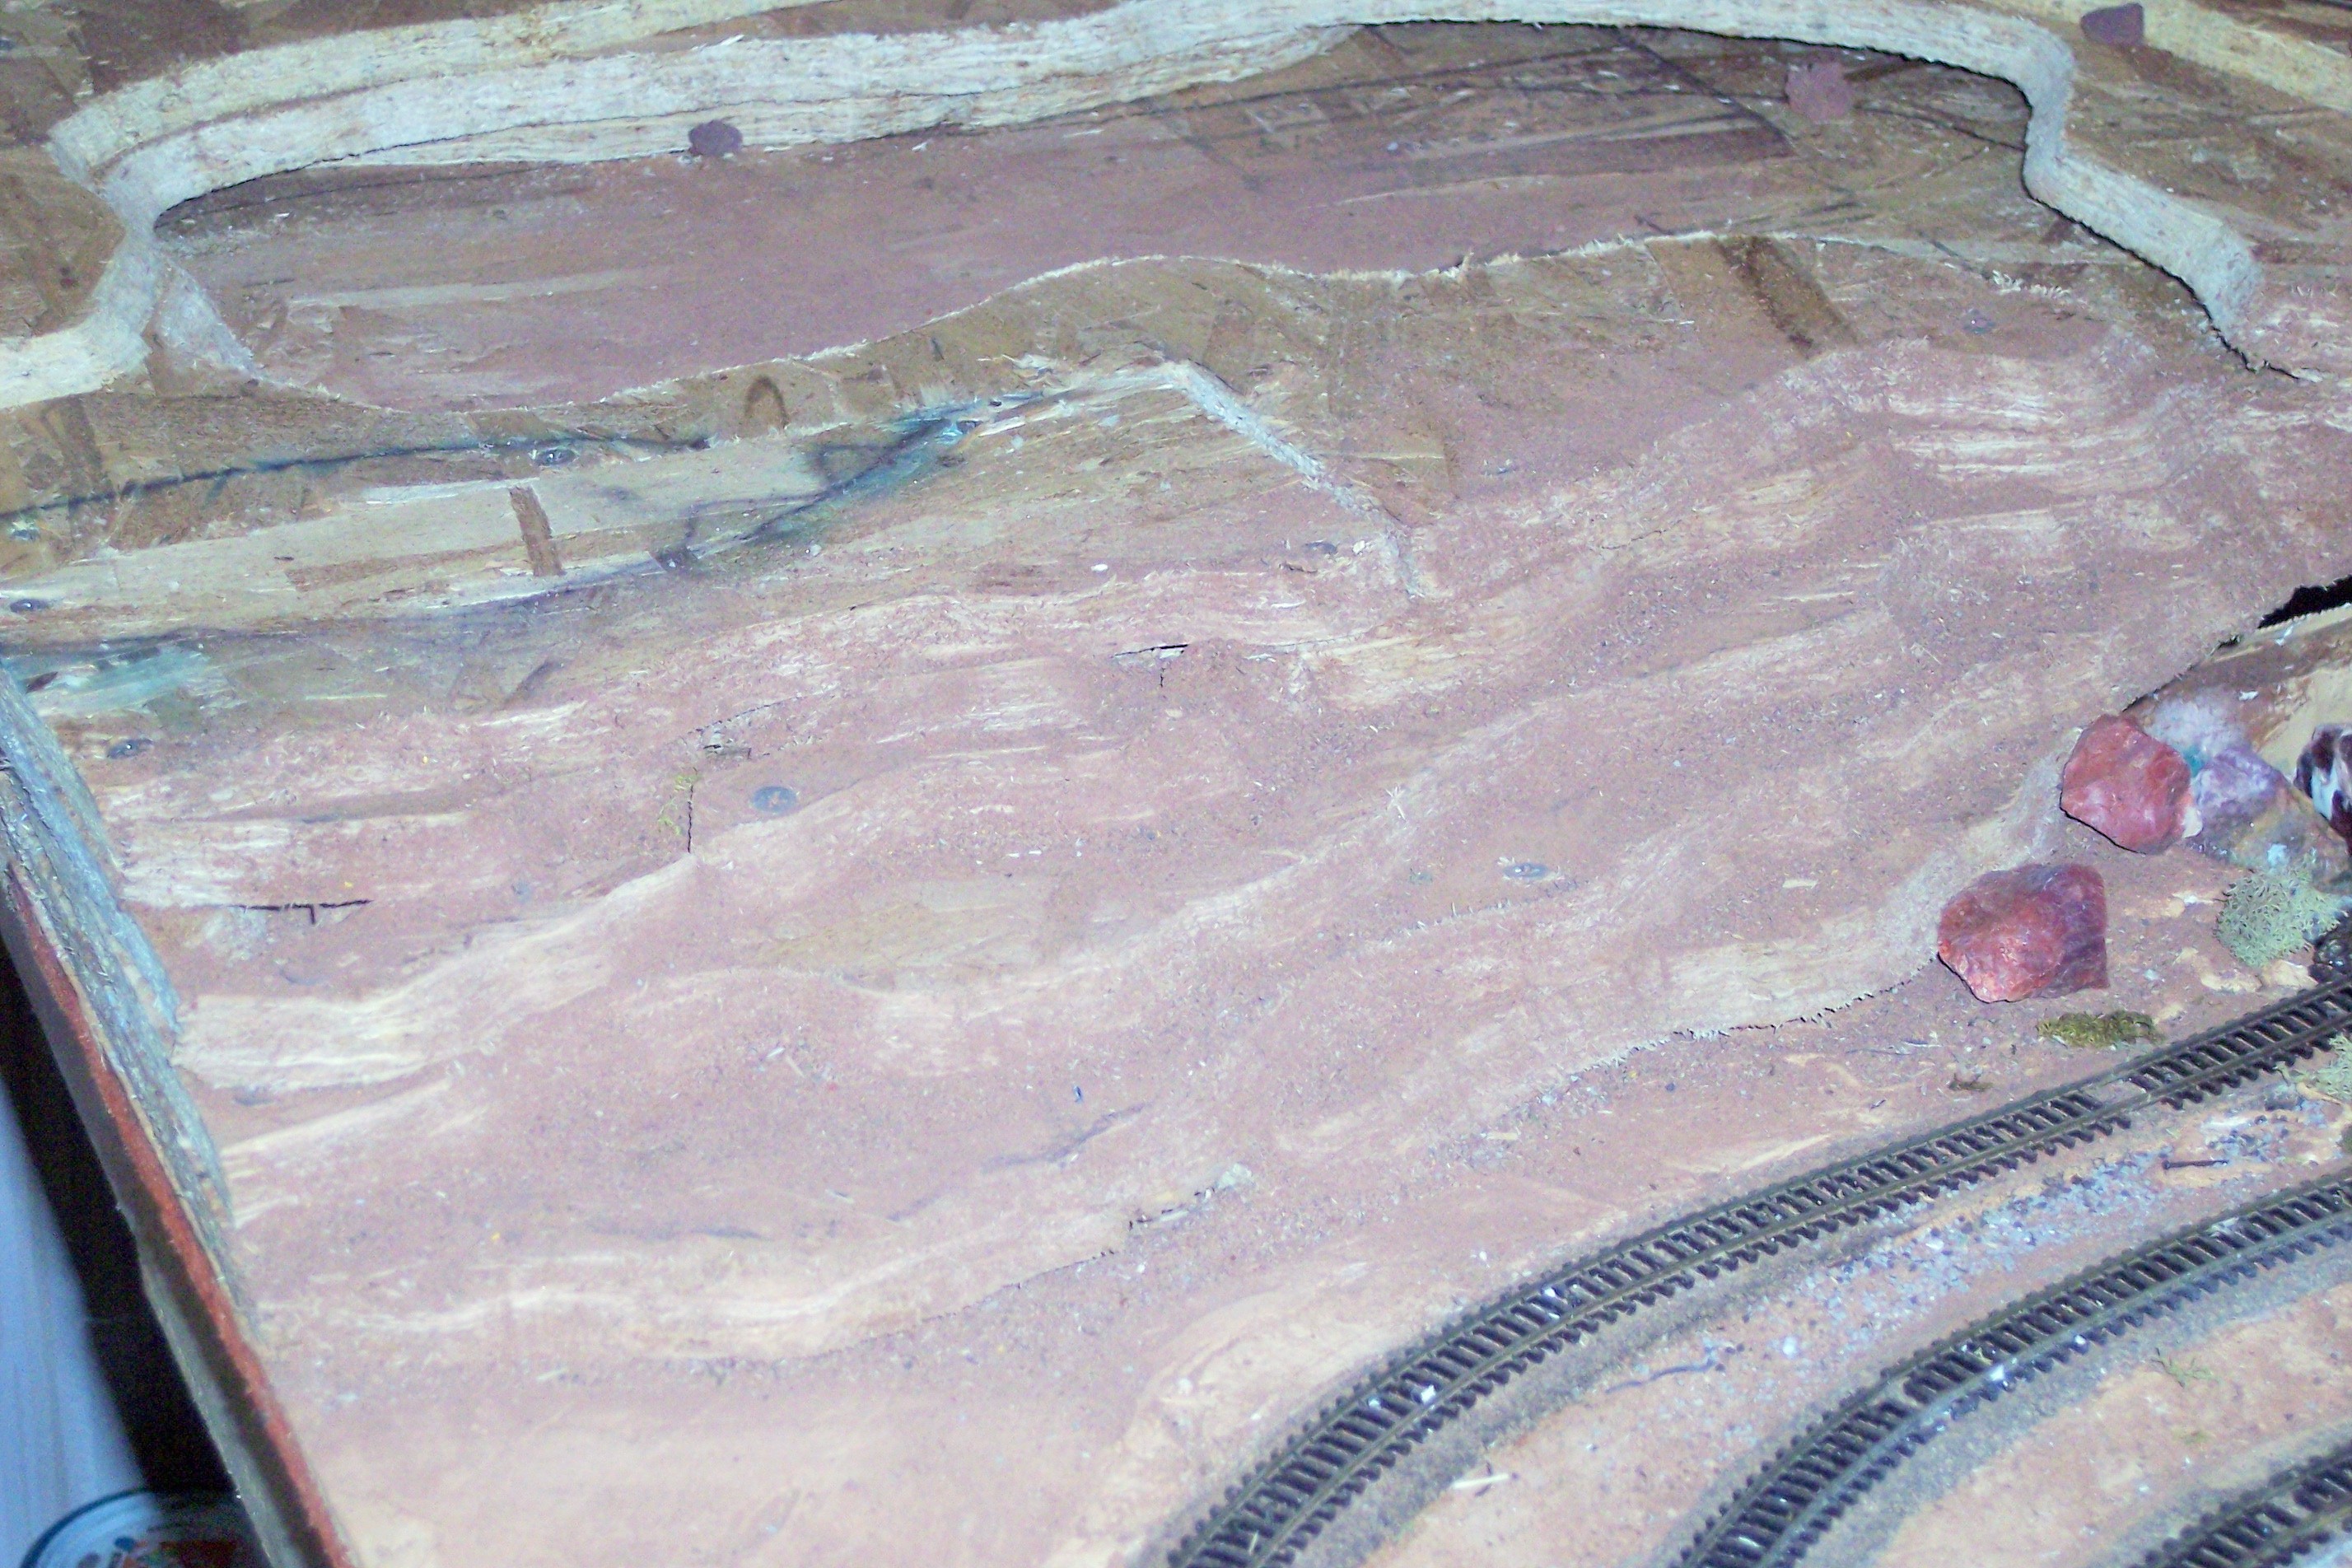
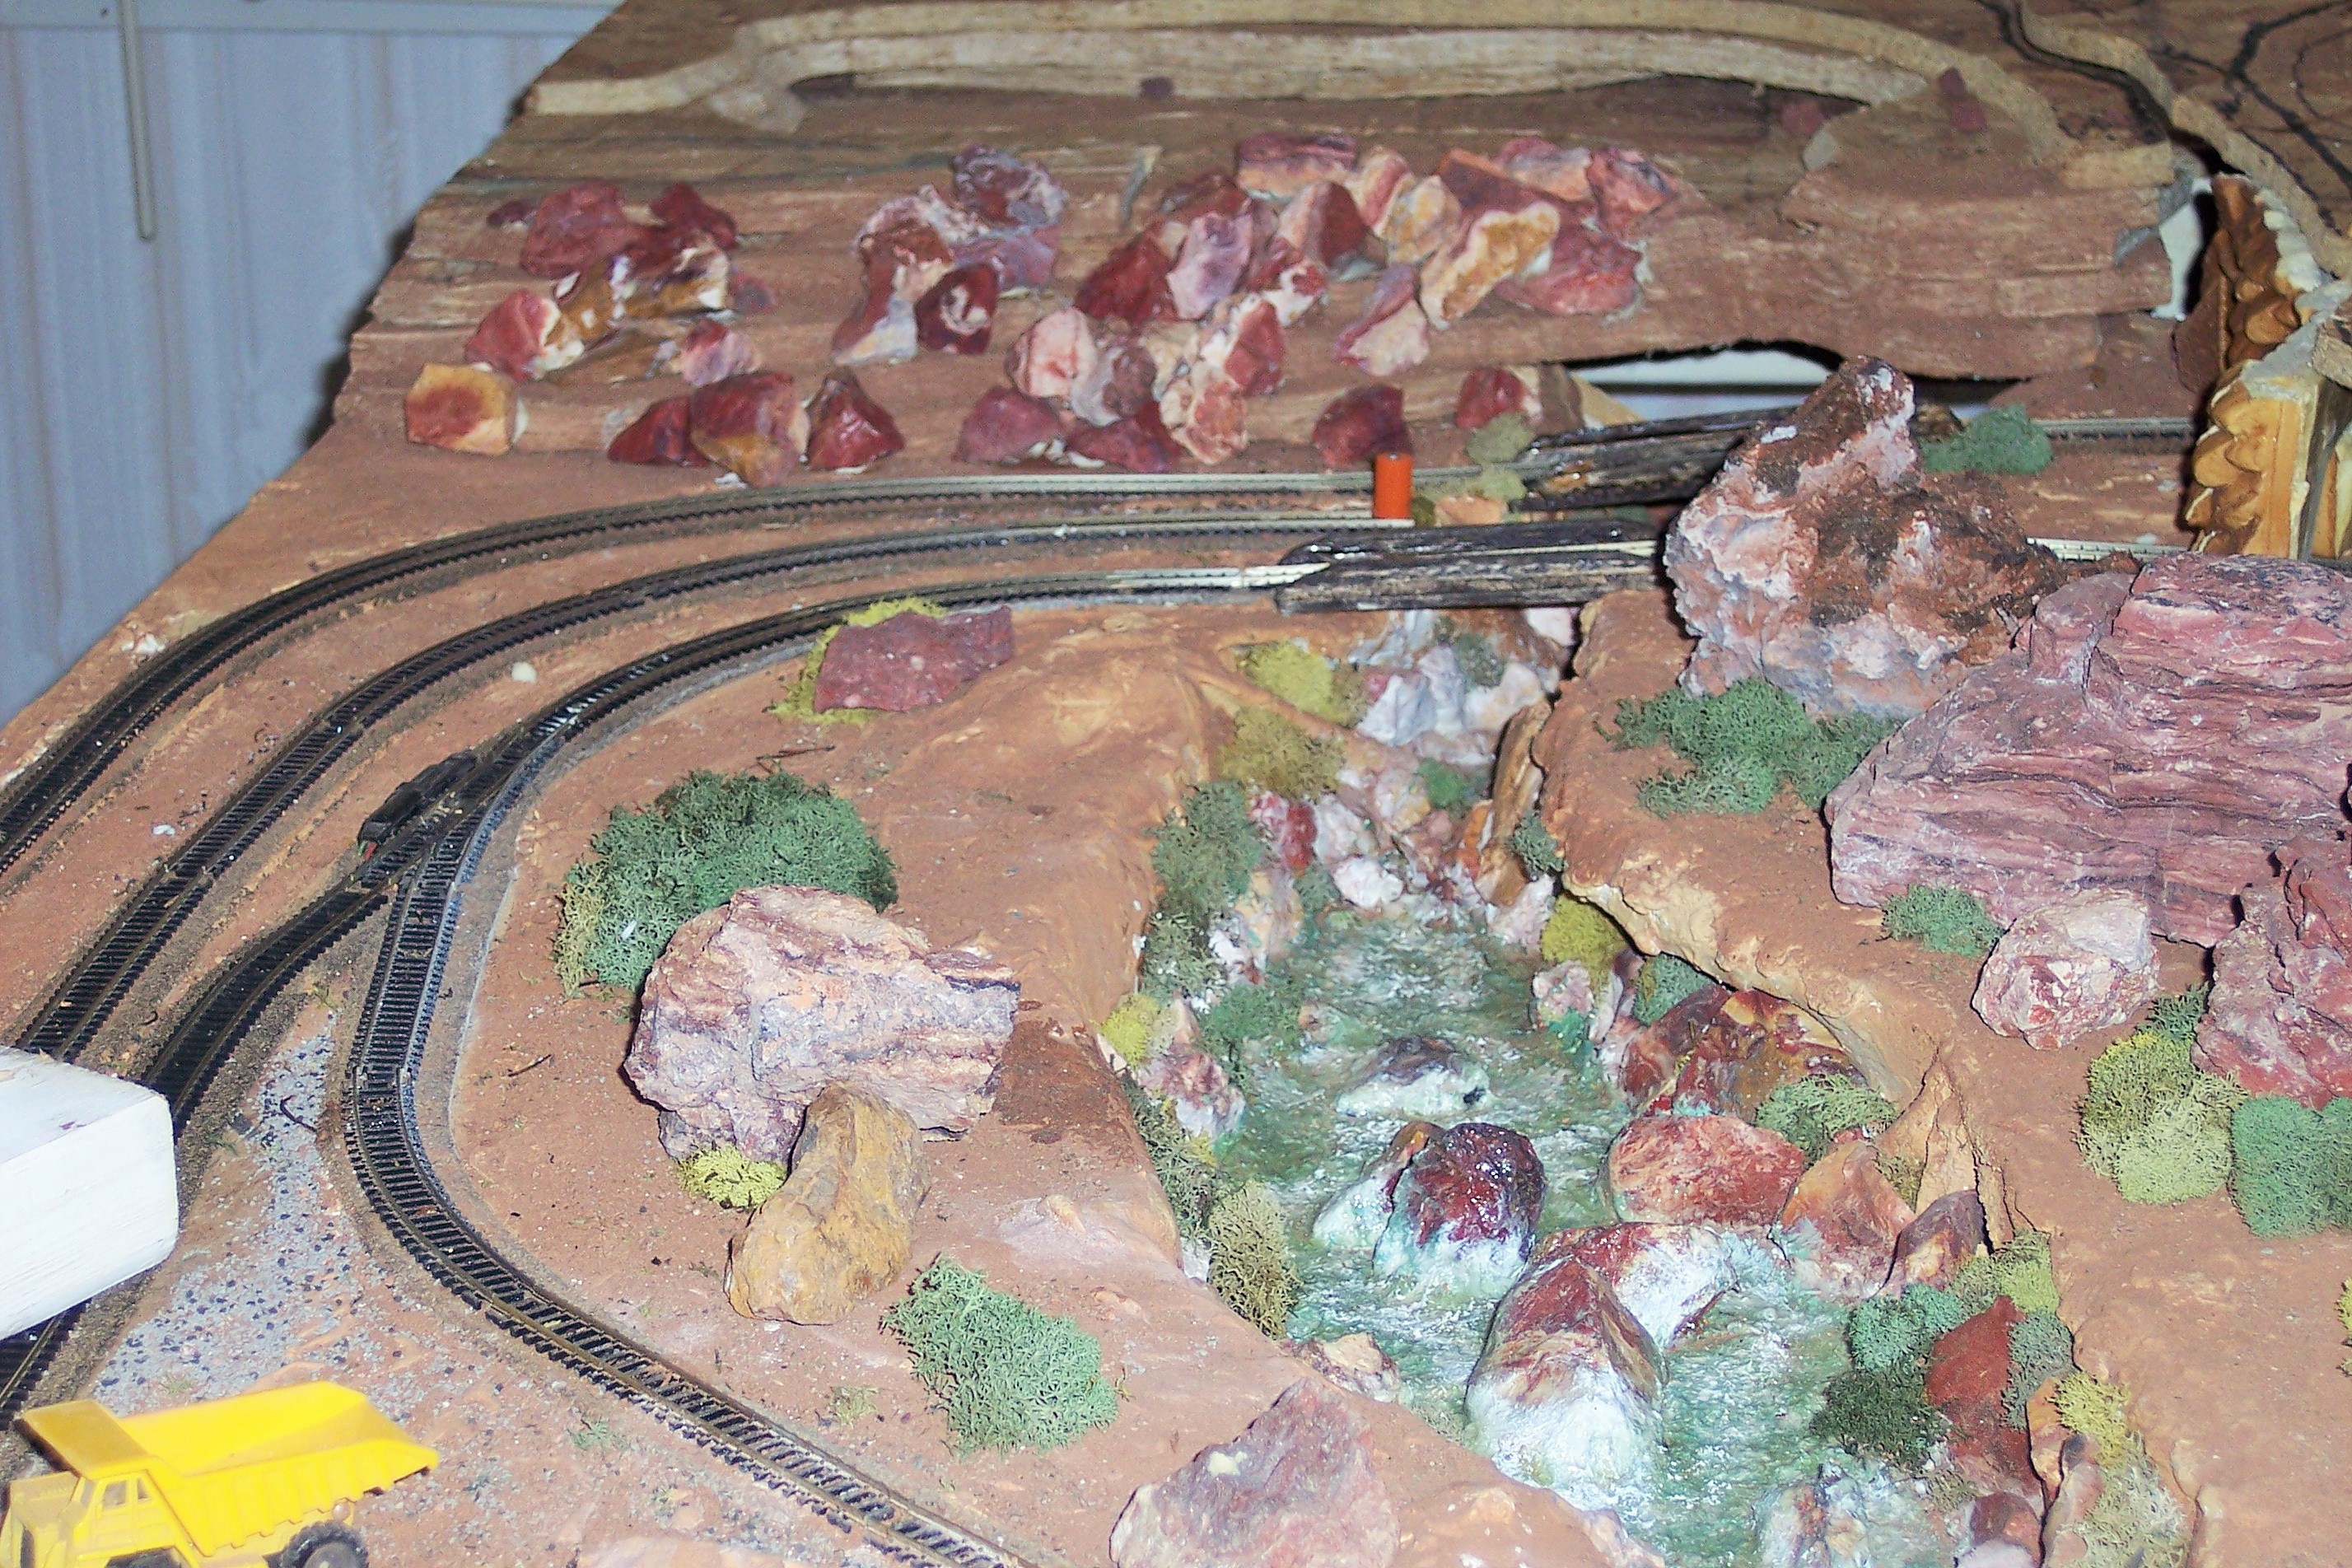
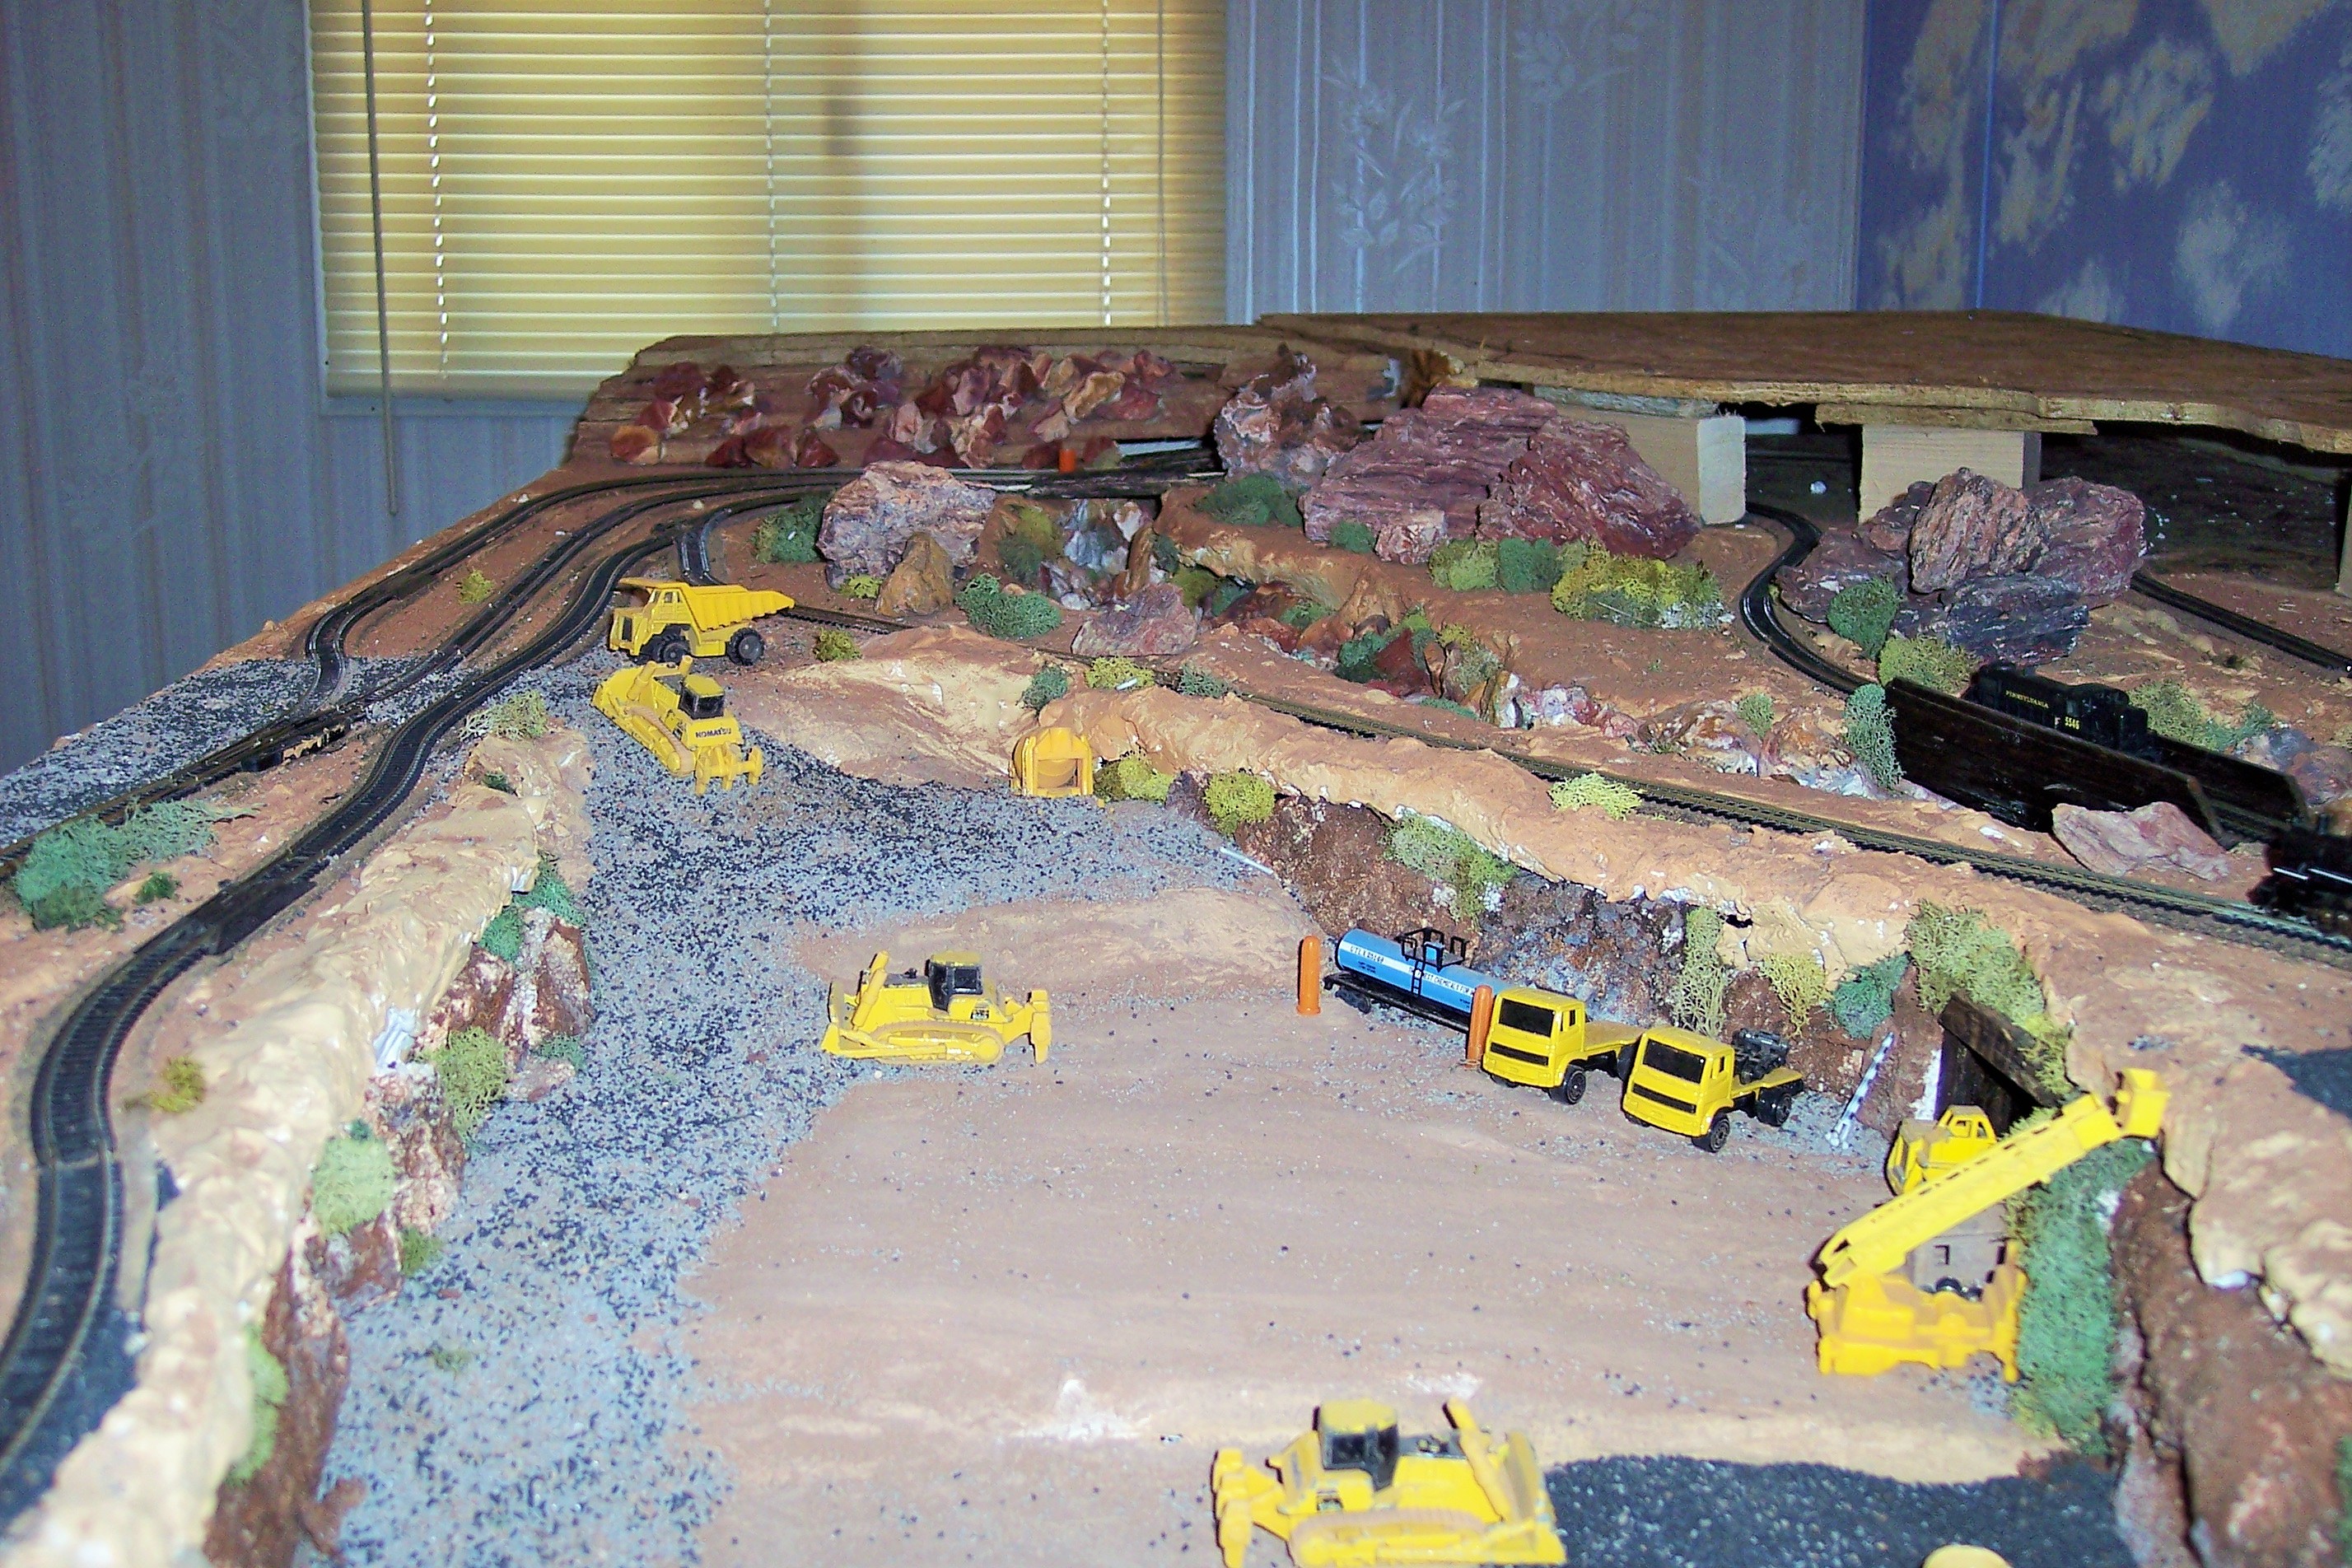
I have started with the rock ledge, with the lake and waterfall. I used OSB to build my layers as you can see in the first 2 pictures. Yes, I know I could have used foam, but I like wood and I get it for free from my local construction dumpsters. If it is in, or right by the dumpster you can take it. No this does not mean you stack up full lumber by the dumpster and take it. LOL. You can get really nice pieces of lumber FOR FREE.

I then spayed the layers with my wife’s hair spray {don’t tell her}, and sprinkled sifted dirt from my yard. Once again no cost to me. My wife had the hair spray anyway, and dirt was FREE. I re spayed the dirt with hair spray a couple more times to make it hard enough to glue to. The hairspray penetrates the dirt and re bonds to the wood.

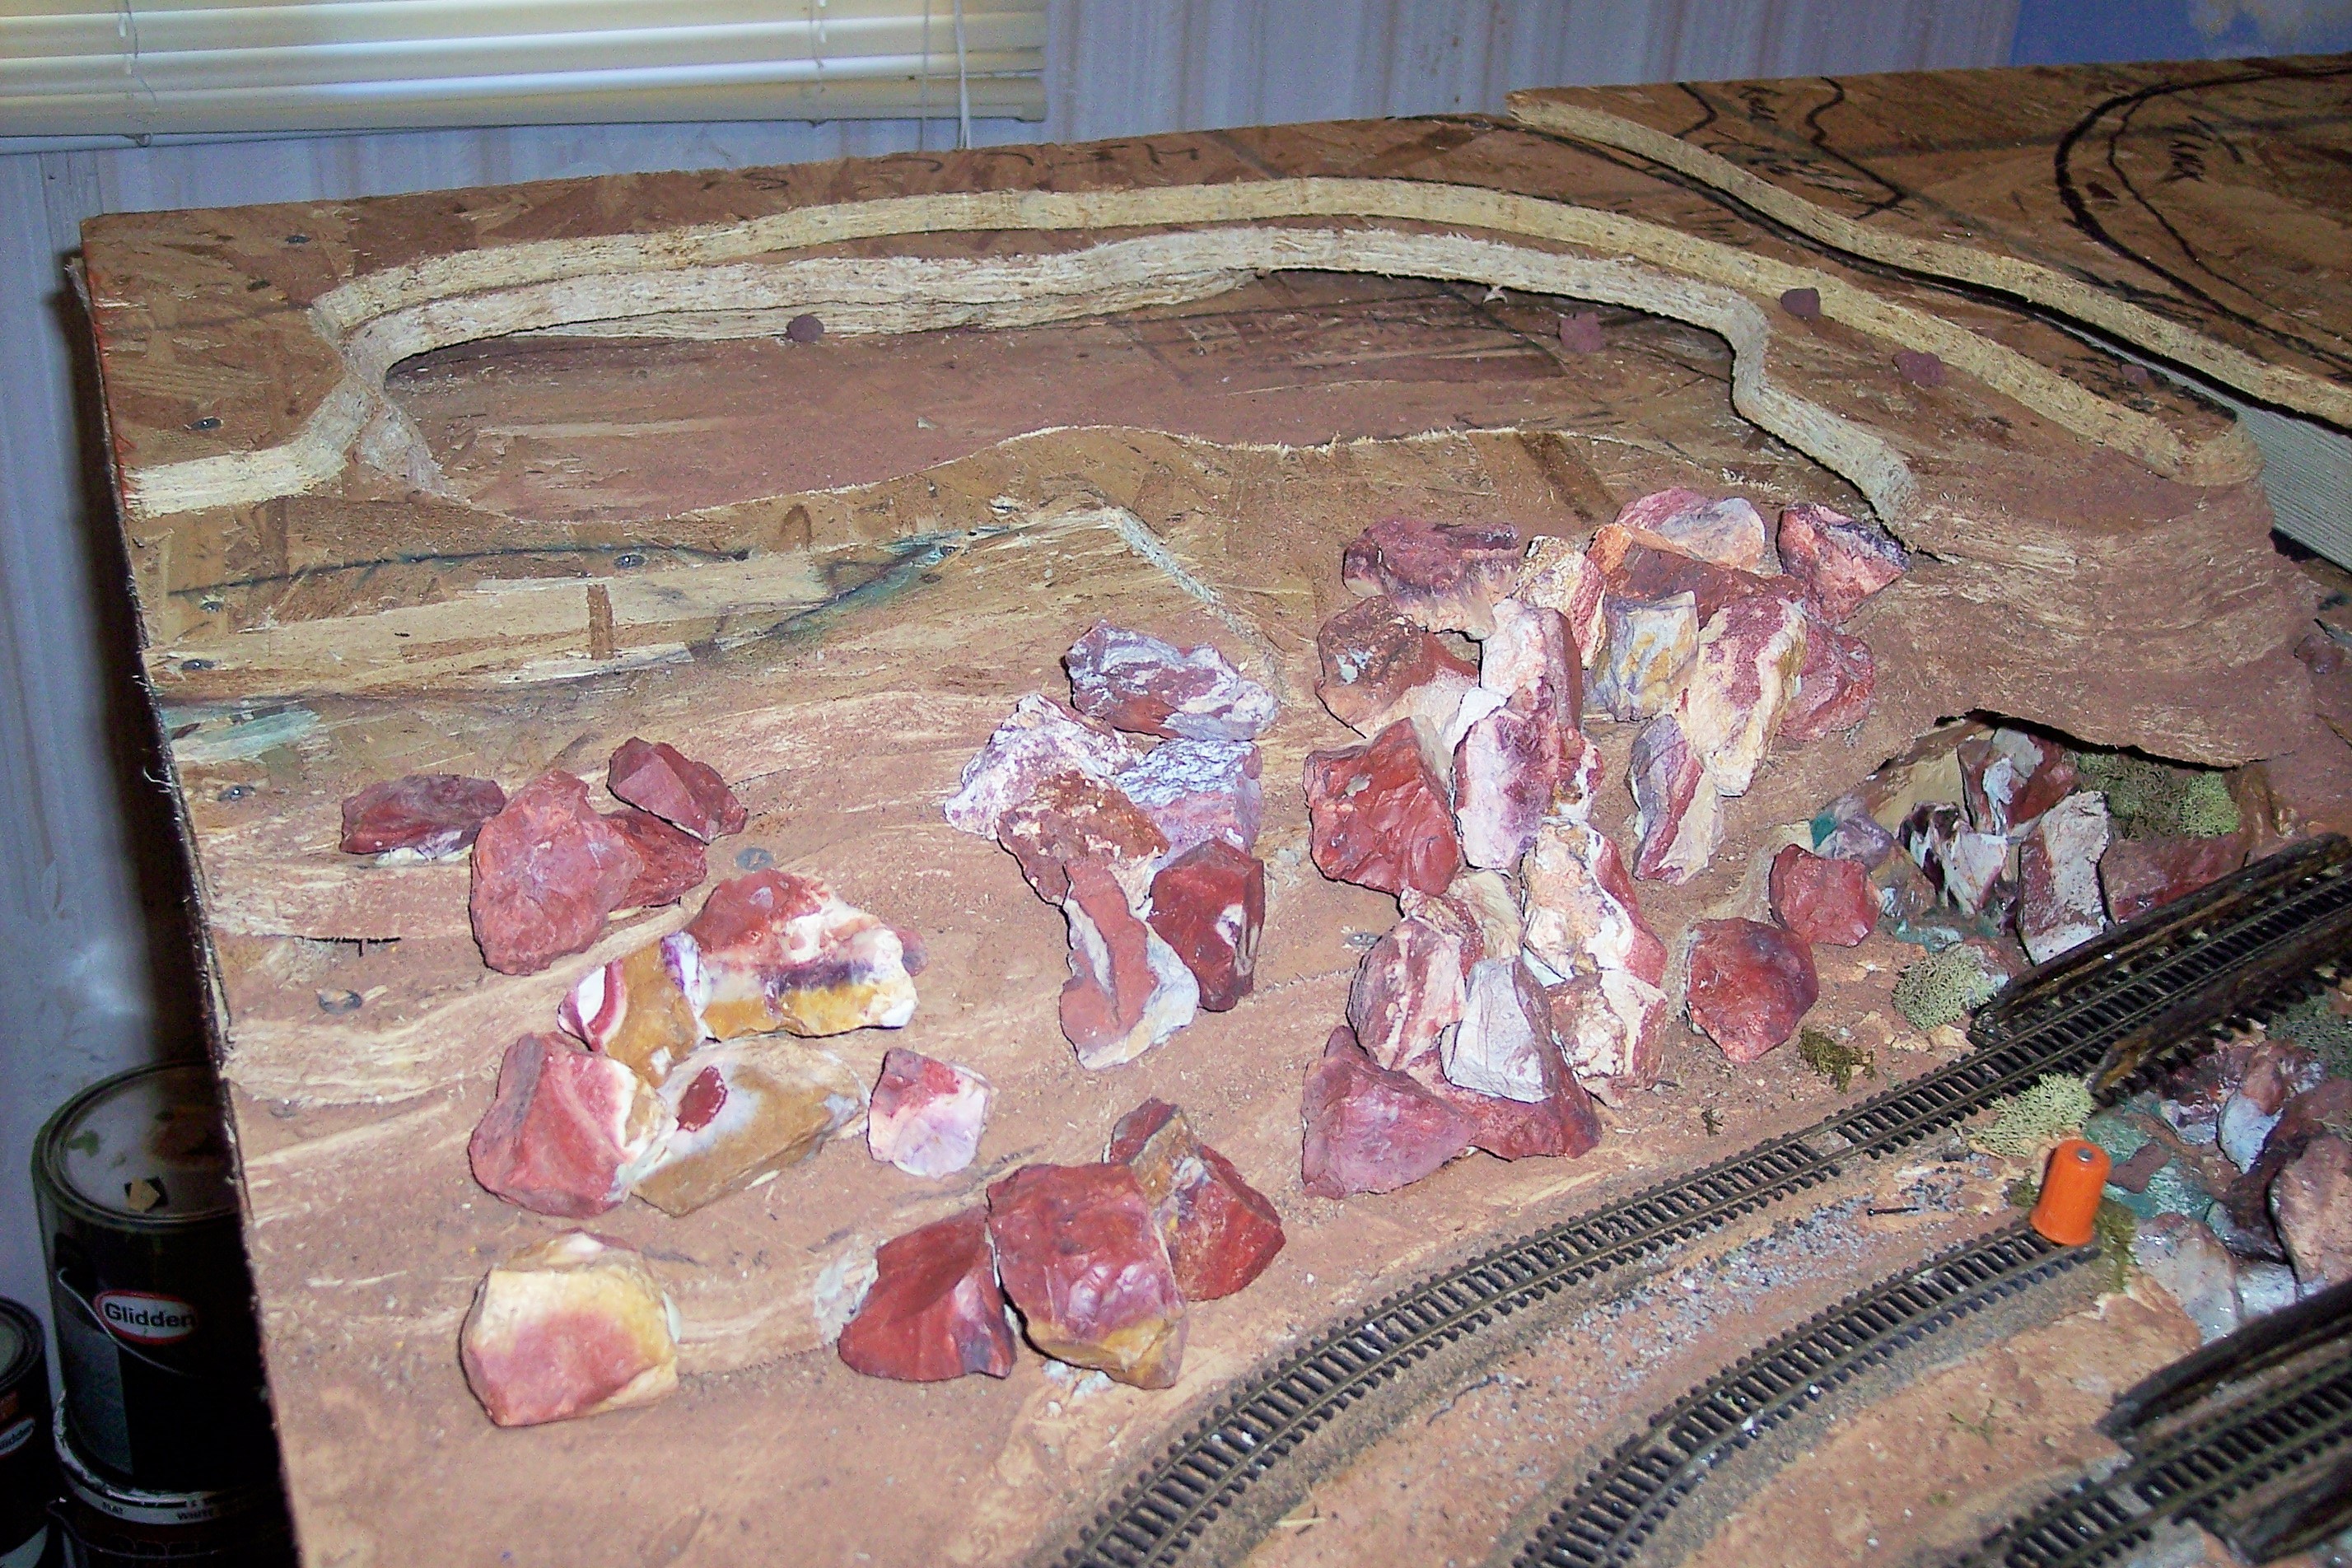
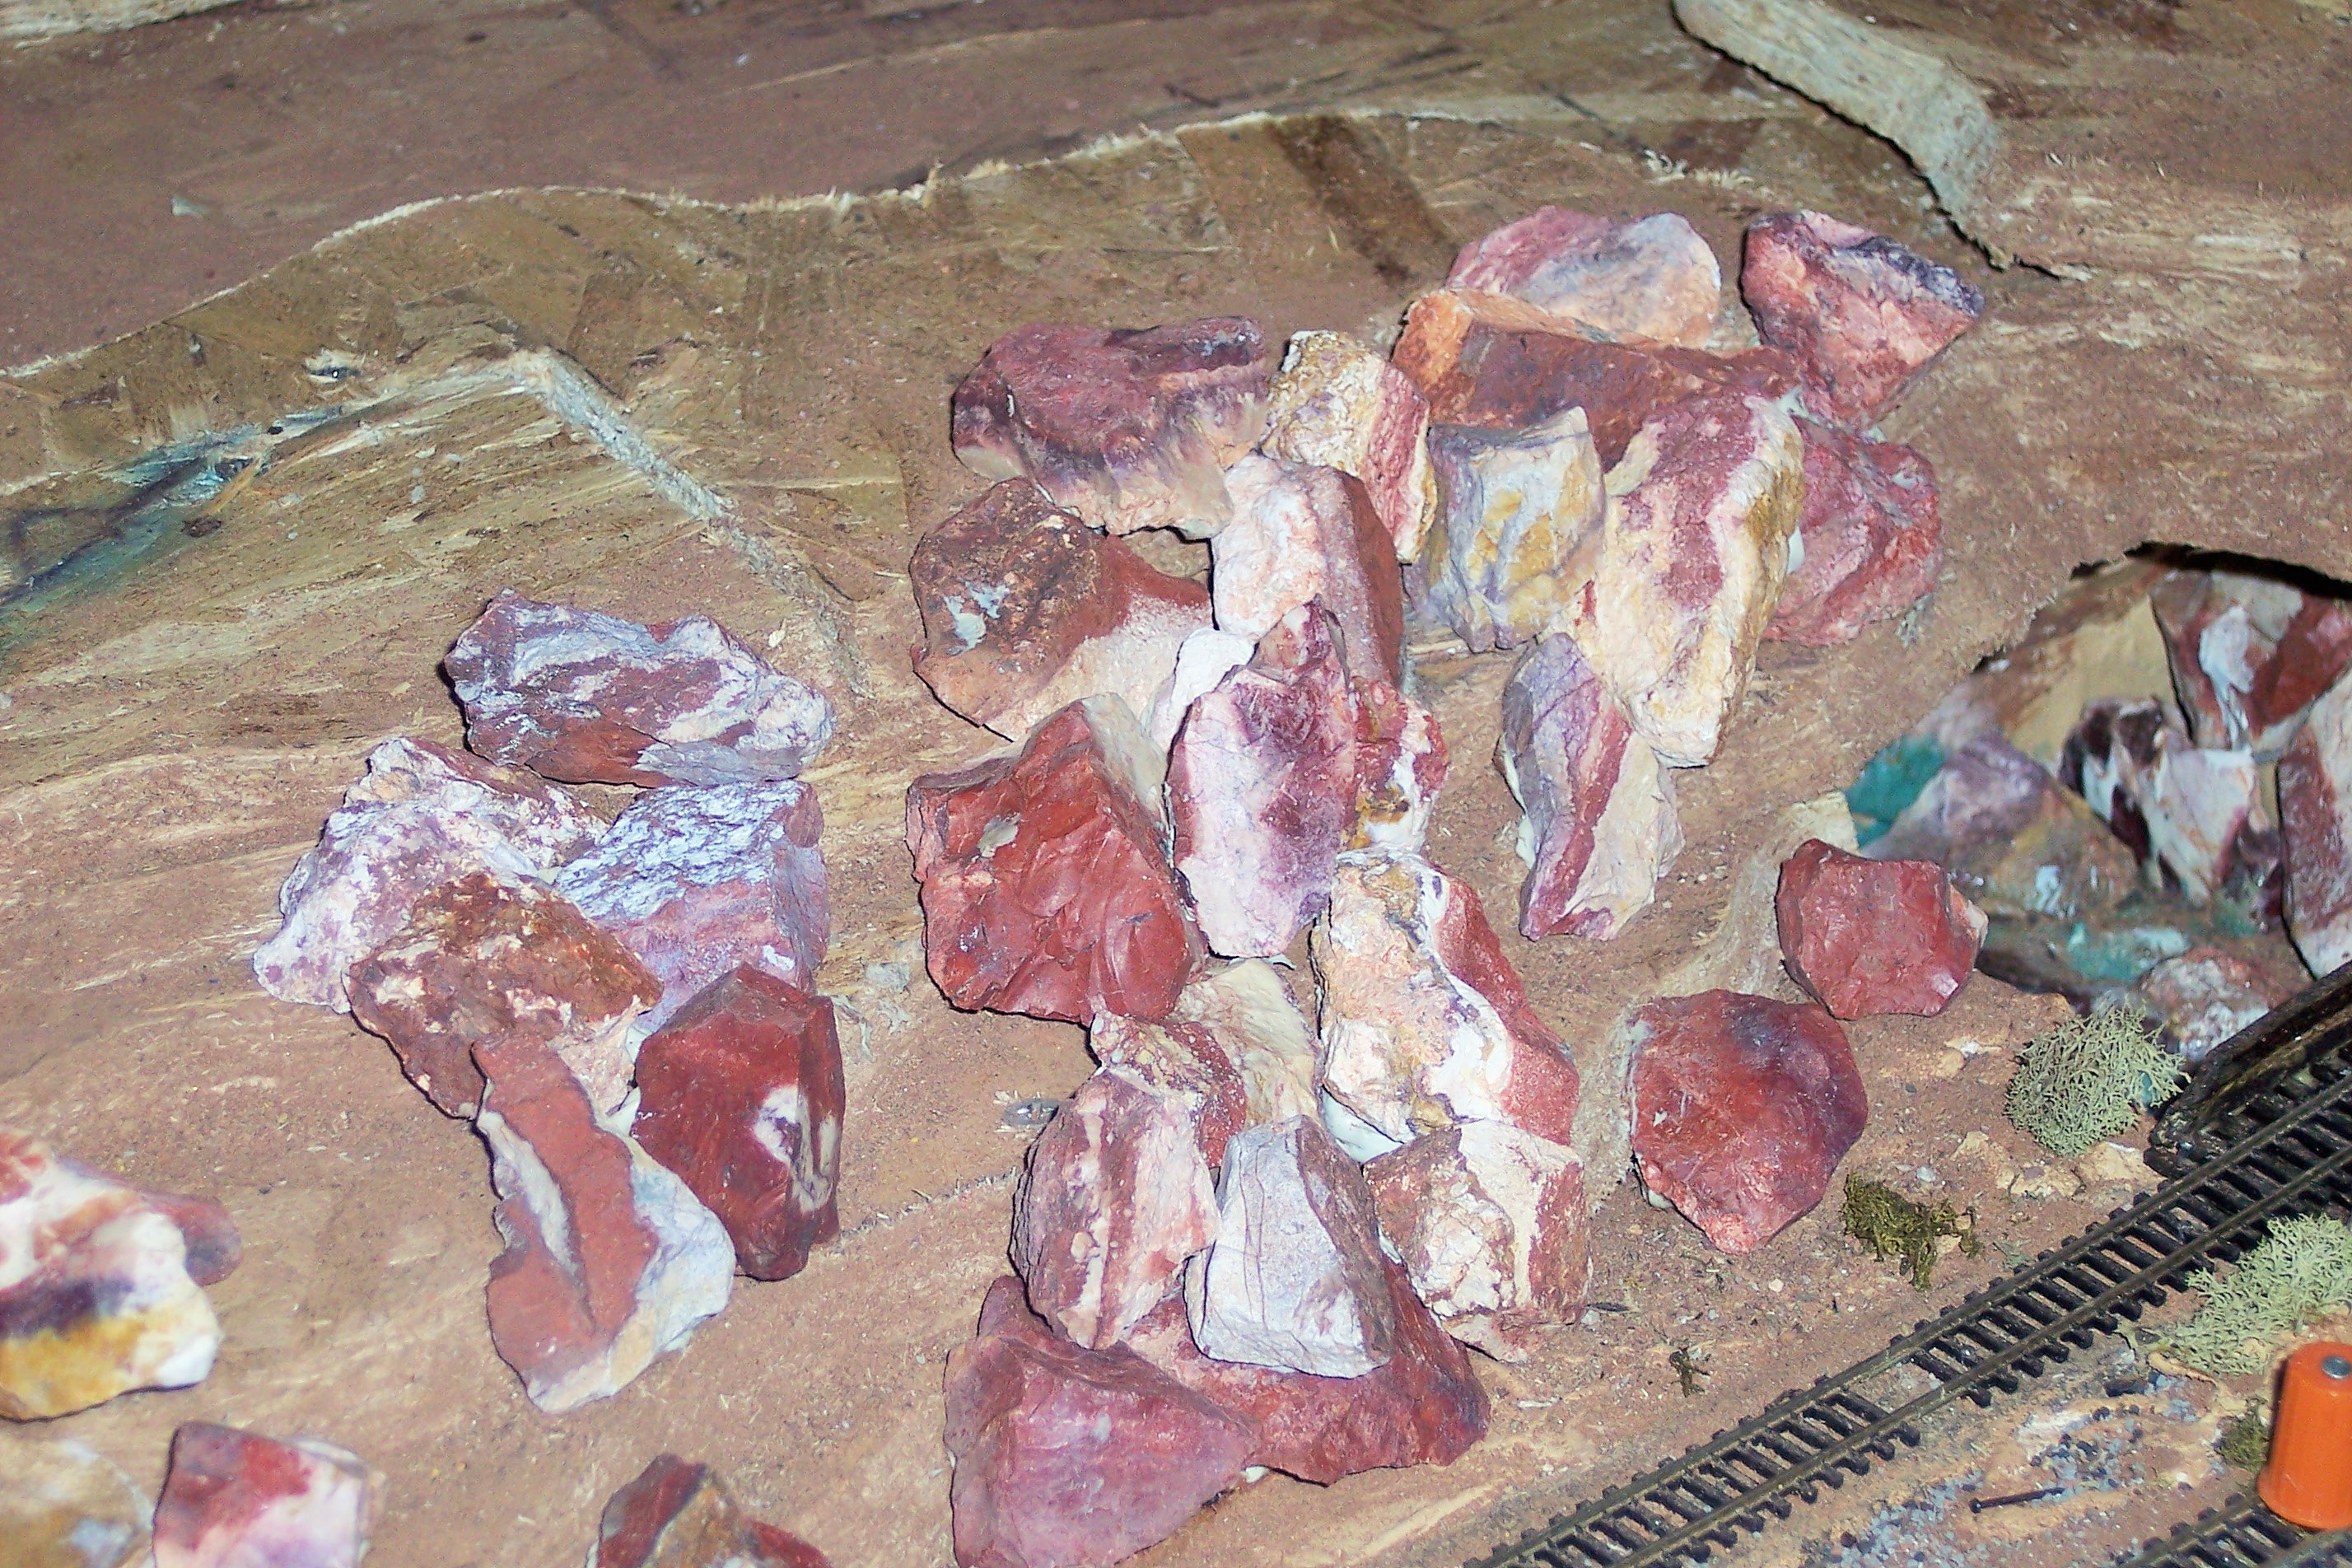
I have gone for walks to recover from surgery, and as I walked I picked up interesting rocks I found along the way that I felt might fit together and look natural for this ledge. Guess what they also were FREE. You can save a lot of $$$$ if you think about using as much natural things as you can find, I then used Liquid Nail to glue the rocks to the ledge. Yes I bought the Liquid Nail, I didn’t take it from my neighbor. I am not that cheap. LOL

So this whole ledge project cost about $ .50 of glue that I used from the tube. By the way every rock on my layout is natural you just have to go walks and look. It helps to carry a small bucket. Other than roadbed, track, the running stock and locomotives, my entire layout has cost be about $ 75.00 altogether so far. Not to shabby. It pays to think NATURAL.

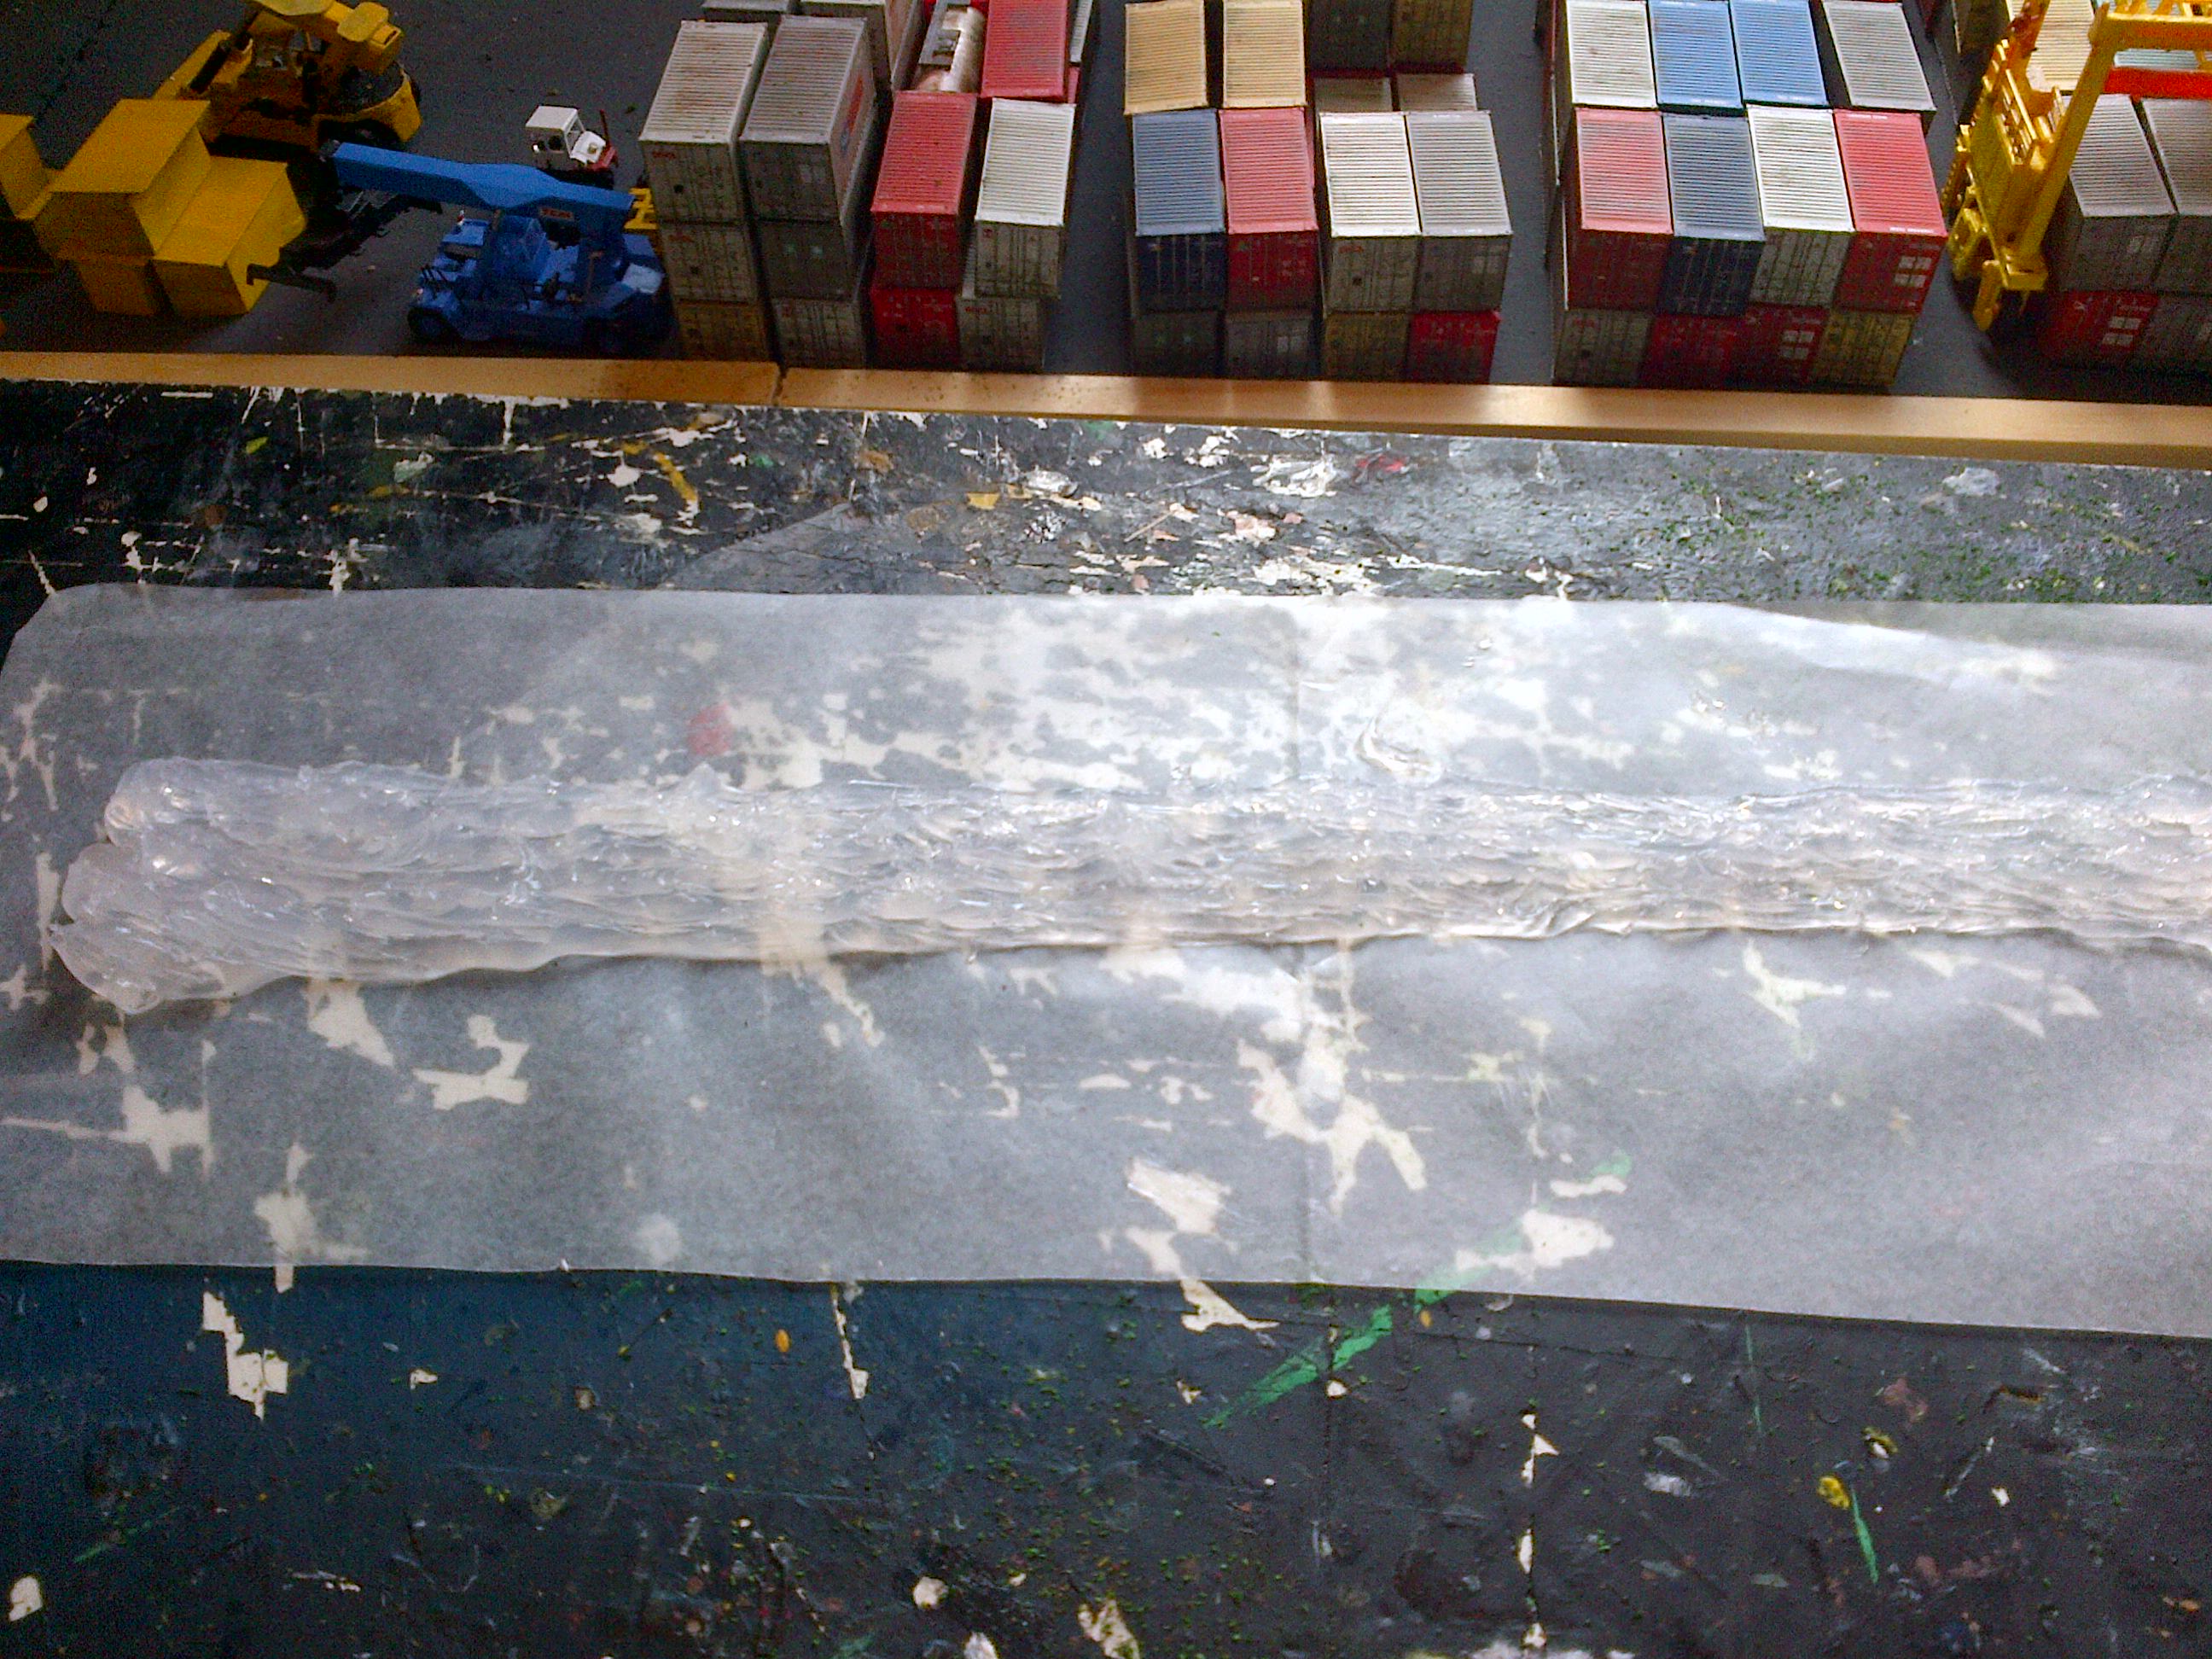
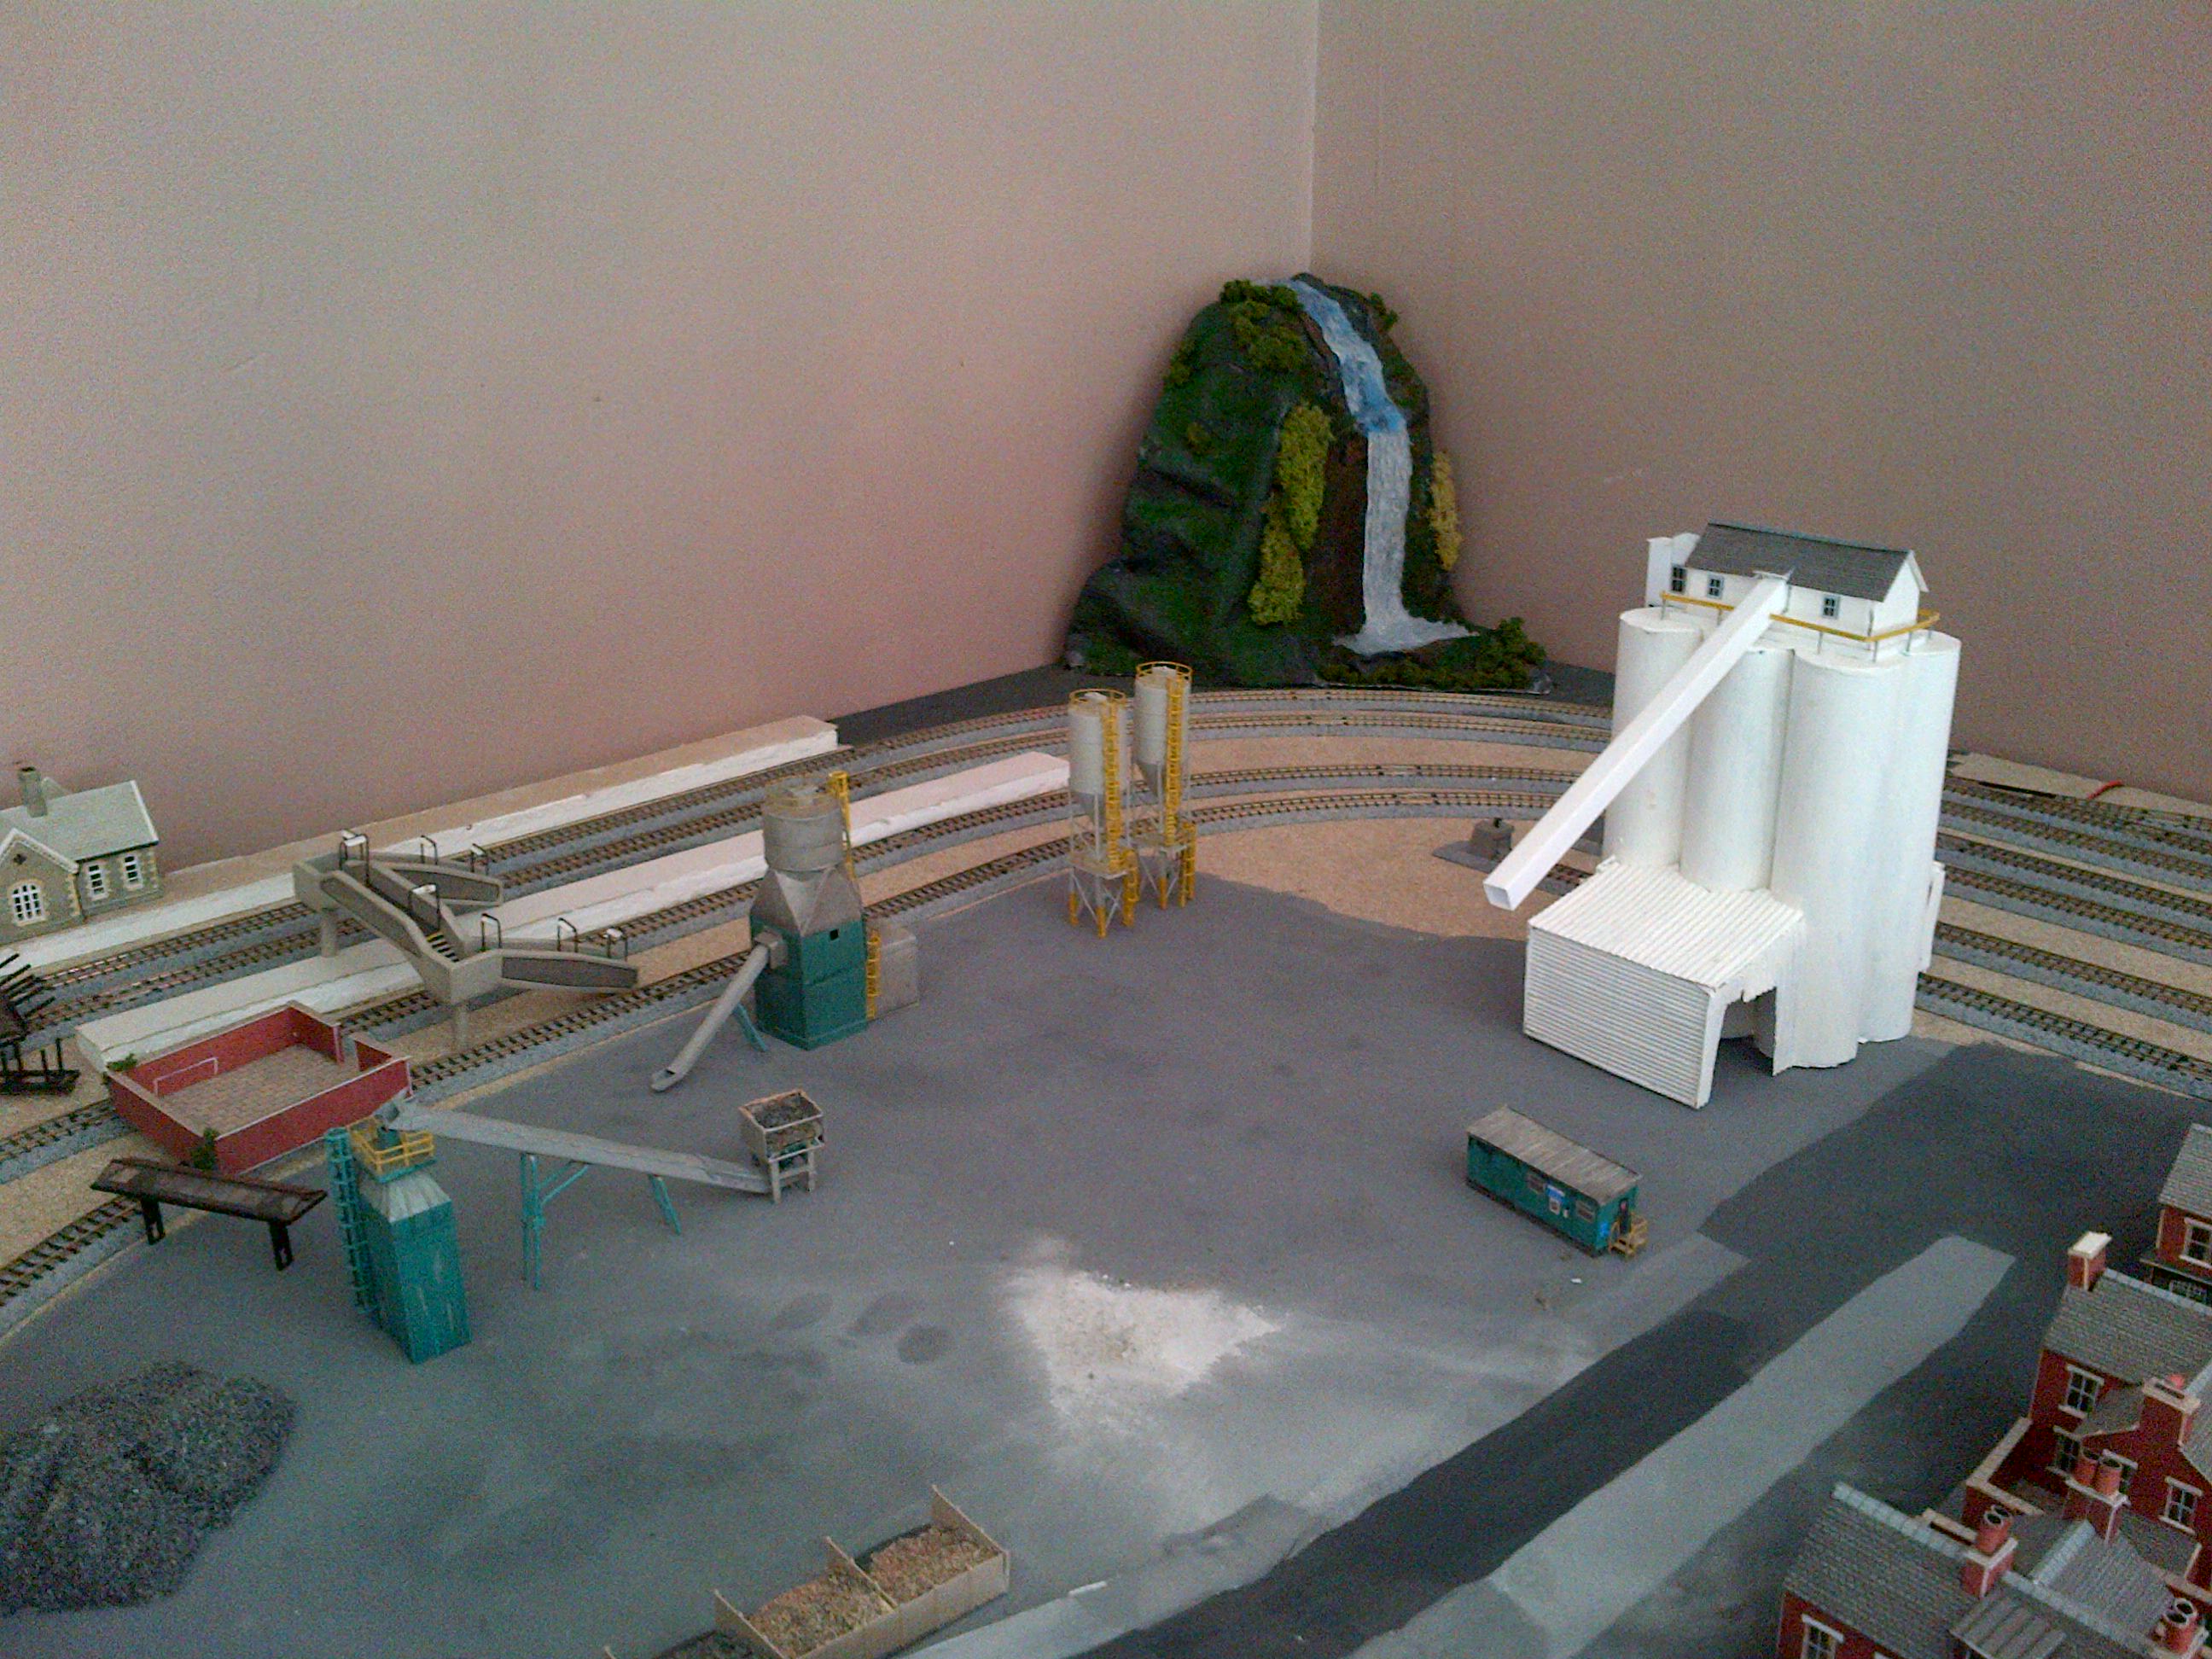
I am waiting to do the lake and waterfall, as well as put the foliage on the hill until I get the track laid on the next level. if you noticed in the first 2 pictures that the track level is higher than the lake. There is going to be a big camp ground with tents on the flat area, a boat unloading ramp and boat dock, boats, canoes, and kayakers in the lake. Maybe some idiot trying to go over the falls in a barrel.

Thank you for all the great trips and pics of layouts.

Thomas”

000_0169

000_0174

000_0175

000_0178

000_0179

000_0181


000_0183

000_0187


If anyone has made a layout cheaper than Thomas – please do get in touch!

That’s it for today’s missive

Please do keep ’em coming.

And don’t forget, the Beginner’s Guide is here if you want to get going on your layout.

Best

Al

PS Latest ebay cheat sheet is here.


John’s video of his first layout

“Hello Al,

Please accept my apologies in not answering you earlier.

As a retired electrical engineer, my hints and tips are electrically based.

When wiring your layout, buy a reel of alarm cable.

A 100 metre drum of 8 core alarm cable will cost under $20.00.

This will give you 800 metres of cable for $20.00 which is the equivalent of 25p per metre.

Sleeving is a thin walled pliable plastic tube which comes in red, brown, blue, black, grey and green/yellow.

3mm diameter should be adequate for most needs, and costs around $5.00 for 100 metres.

Push your cables through this sleeving. Use one sleeving colour for each function, e.g. red for track supplies, green/yellow for signalling, grey for points.

Use one colour per function which will make fault finding easier. E.g. when wiring points, I use green for the main line, red for the diversionary route and blue for the common return.

The alarm cable and sleeving may seem a large outlay, but when you compare the equivalent cost typically over $3 for 7 metres with buying 800 metres of connecting wire in small packets, the outlay is not so great.

Make a circuit diagram of your wiring.

Test each circuit and remedy any faults before going on to the next.

Regards

Cedric”


Some of you may remember John’s pics of his first layout (if you don’t, they are here).

Well, he’s been kind enough to take some video of it:

steam train water tower

diesel train

model diesel train through station

railway carriage

model trains running


Big thanks to Cedric and John. Please keep ’em coming.

That’s all for today folks – please do keep ’em coming.

And if today is the big day when you get started on your layout, the Beginner’s Guide is here.

Best

Al

PS Latest ebay cheat sheet is here.


More scenery tips

“Hey Al . . . Here’s a tip for making soft, damage-resistant and super light-weight rock faces . . . Use dense foam padding (as found in many old chairs and pieces of furniture) . . .

Cut this material into chunks with scissors, then shape roughly with the scissors (or scalpels or one-sided blades). Once done, rub these pieces with a sticky material like No More Gaps. Then roll the pieces in rock dust, and allow them to dry thorou8ghly.

Once dry, you can assemble them into whatever size rock wall you like, using an appropriate glue that won’t eat into the foam . . .

This is ideal for layouts that need to be moved, or for exhibition layouts!

Chrs!

Pete”


“Hi

This just a small note i was going to do some water on my layout but after extensive research canned it due to the cost. then i found a site that gave me the easy cheaper option using plaster sheets and sealant for windows and bathrooms etc. This was my first attempt and i think it looks pretty good.

David”

028

IMG-20140831-00225 (2)

IMG-20140831-00226

IMG-20140831-00227


“A diorama I’m building at the moment. Yes foam very easy to use and shape.

Bill”

_DSC0080 1

_DSC0110 1

_DSC0118


“Hi Al,

Just a couple of scenery tips.

Tip number 1 mixing plaster.

When you mix plaster, tip some brown water based paint into the mix.

It will give the plaster a natural earth brown, if the plaster ever gets chipped it will show a brown surface, not a white surface.

Tip number 2 printing back drops or card board building kits.

Clean the printer head first, just press settup on the printer, then press maintenance, then press clean printer heads.

After you have done that the printing quality is improved, no grainy lines in the printing job.

Paul”


Big thanks to everyone who has contributed. And if you’ve ever thought of sending something in, now’s the time to do it. We’d all love to hear from you…

Latest ebay cheat sheet is is here.

That’s all for today folks.

Please do keep ’em coming – I really want to hear from you, especially if you’ve made a start.

And if today is the day you get started on your layout, the Beginner’s Guide is here.

Best

Al