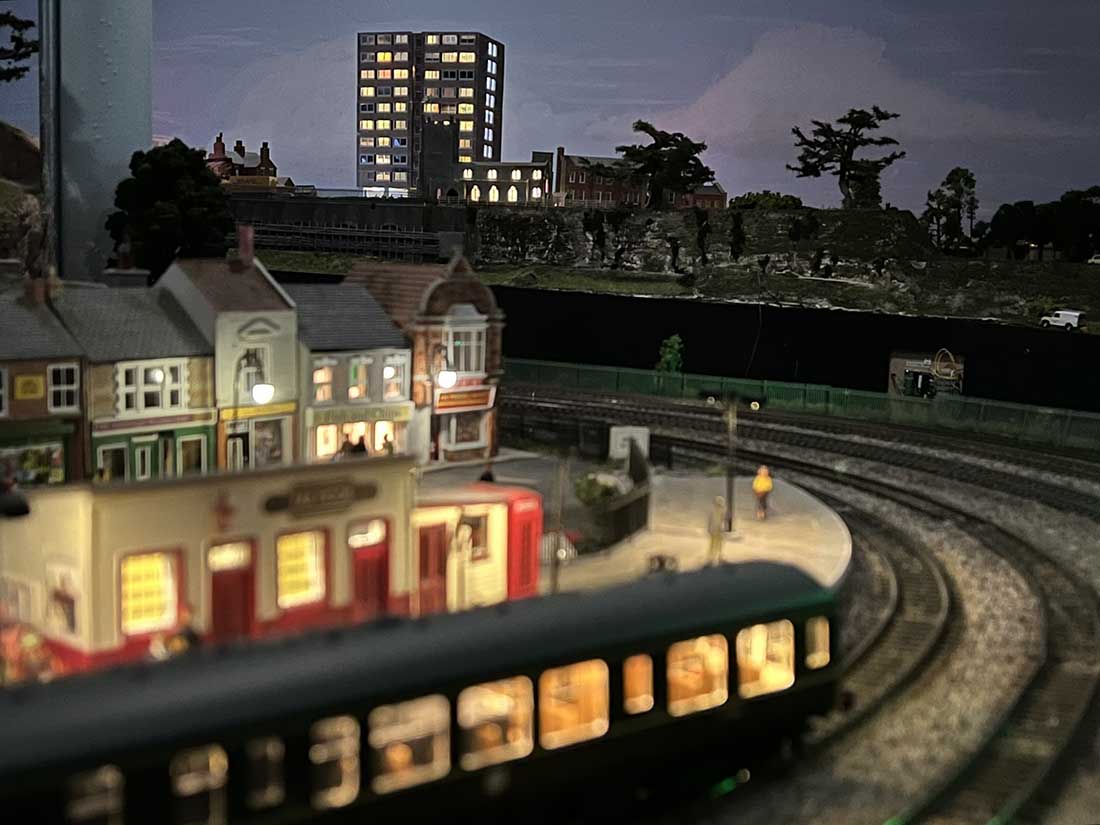
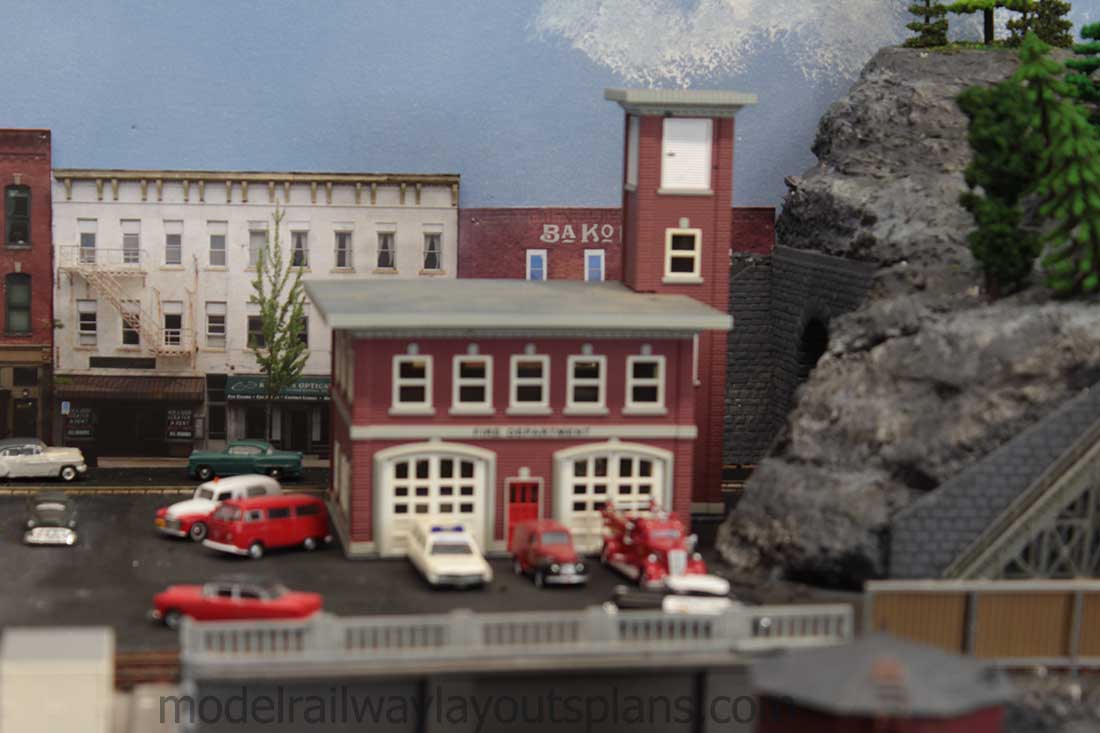
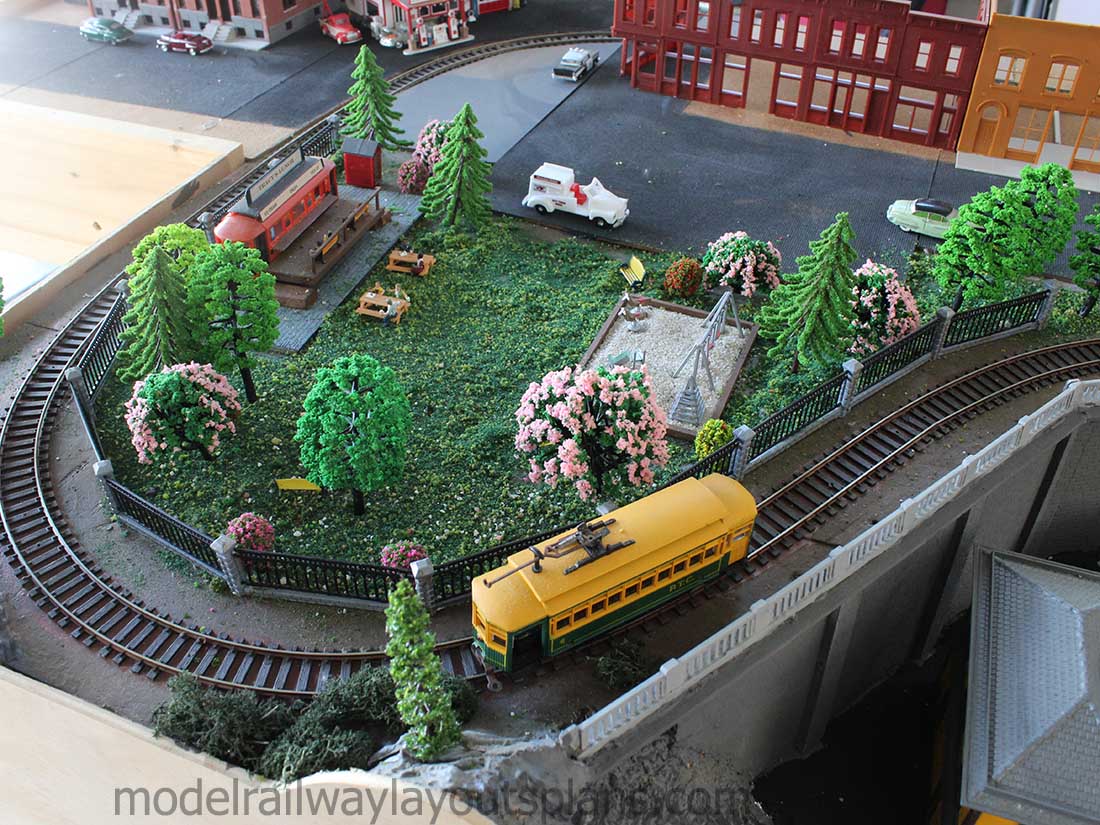
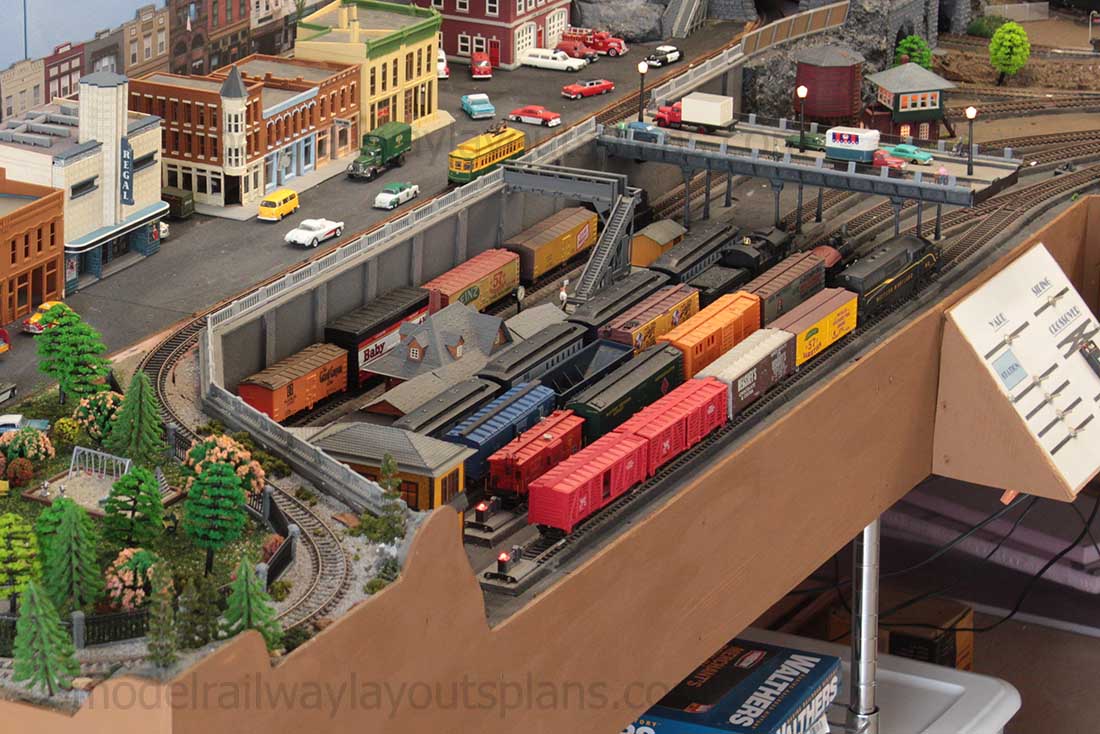
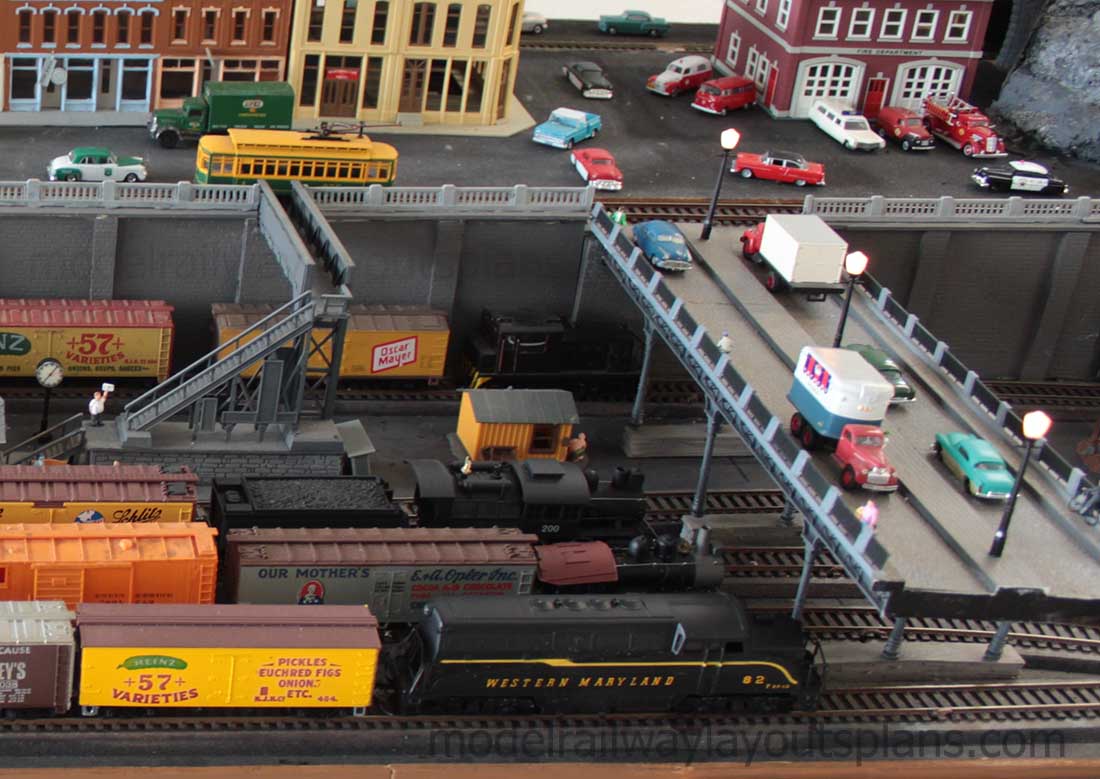
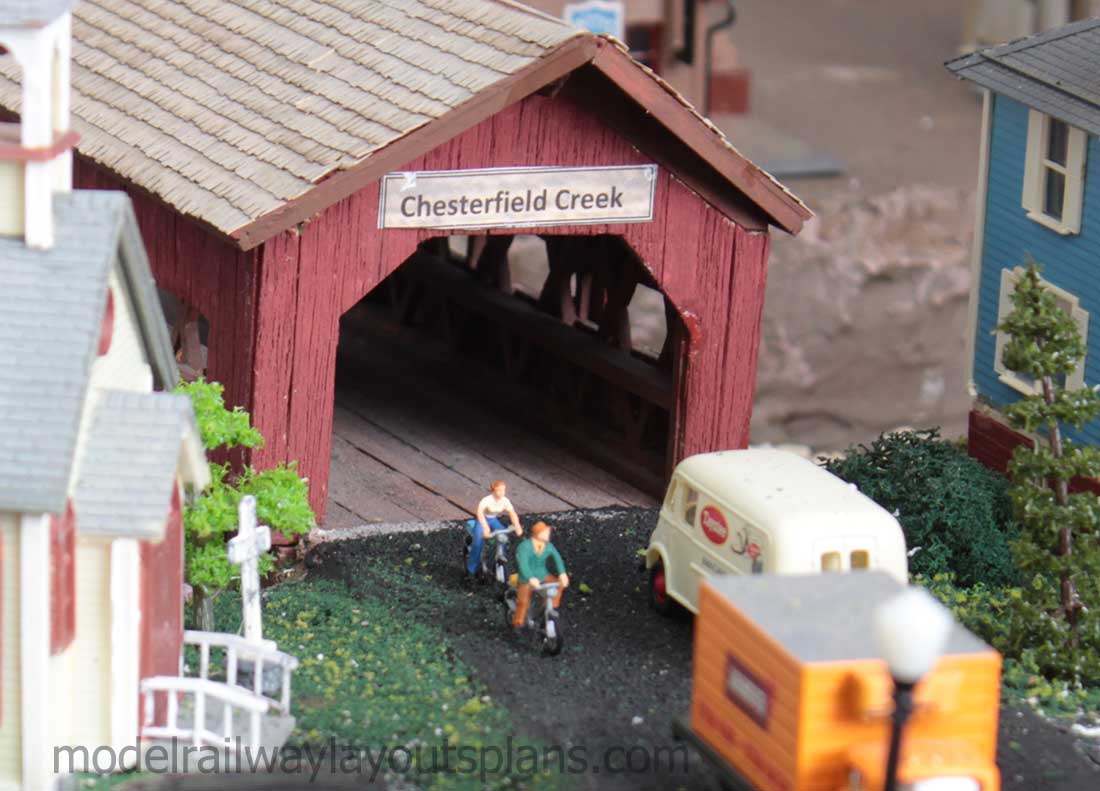
The talented Dan has been back in touch with more pics of his HO model railroad mountain town:
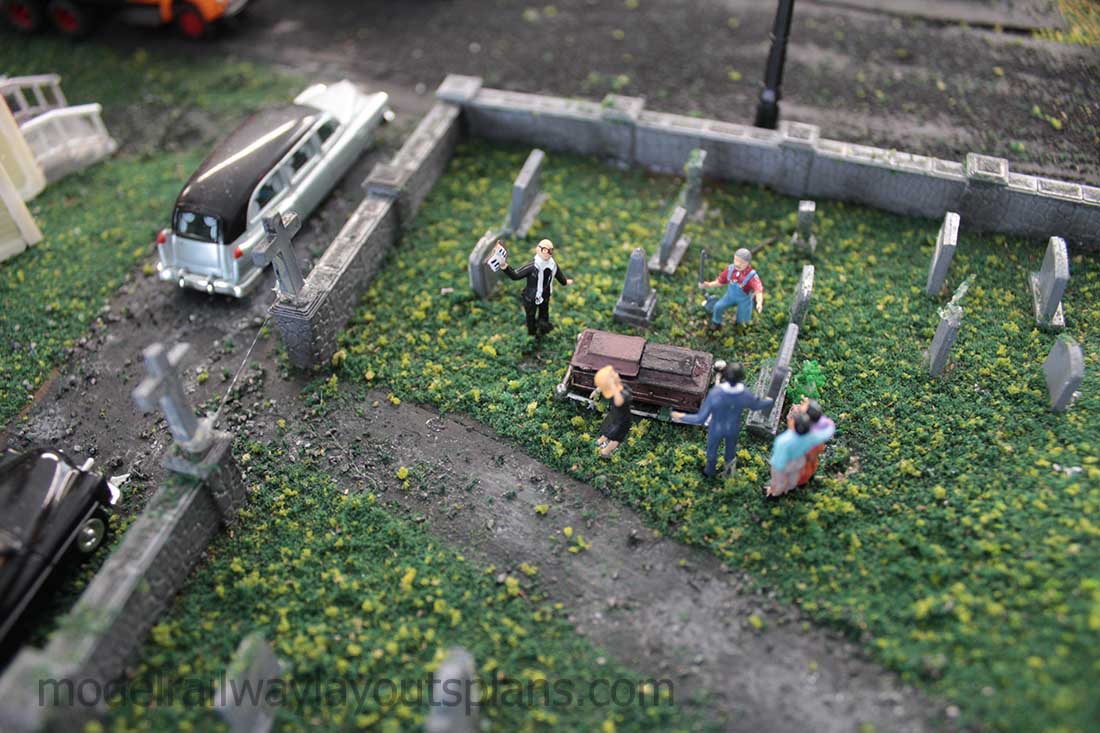
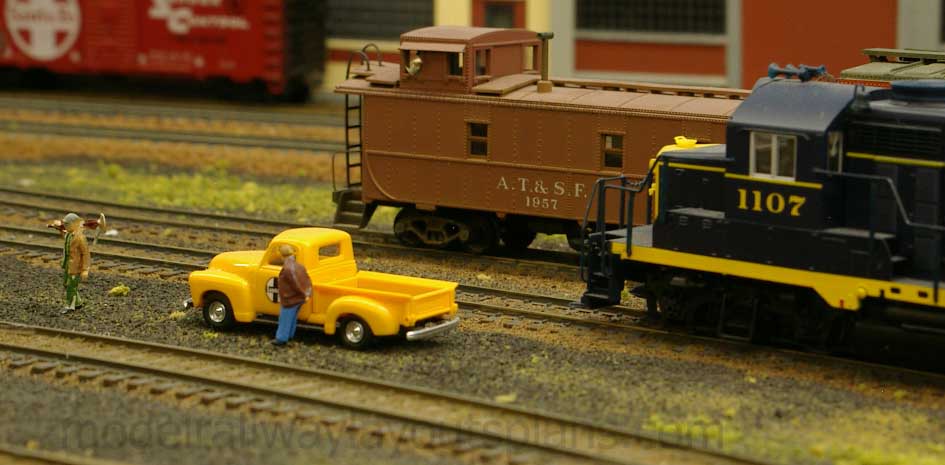
Diamonds, even if in an industrial area, require a lot of maintenance.
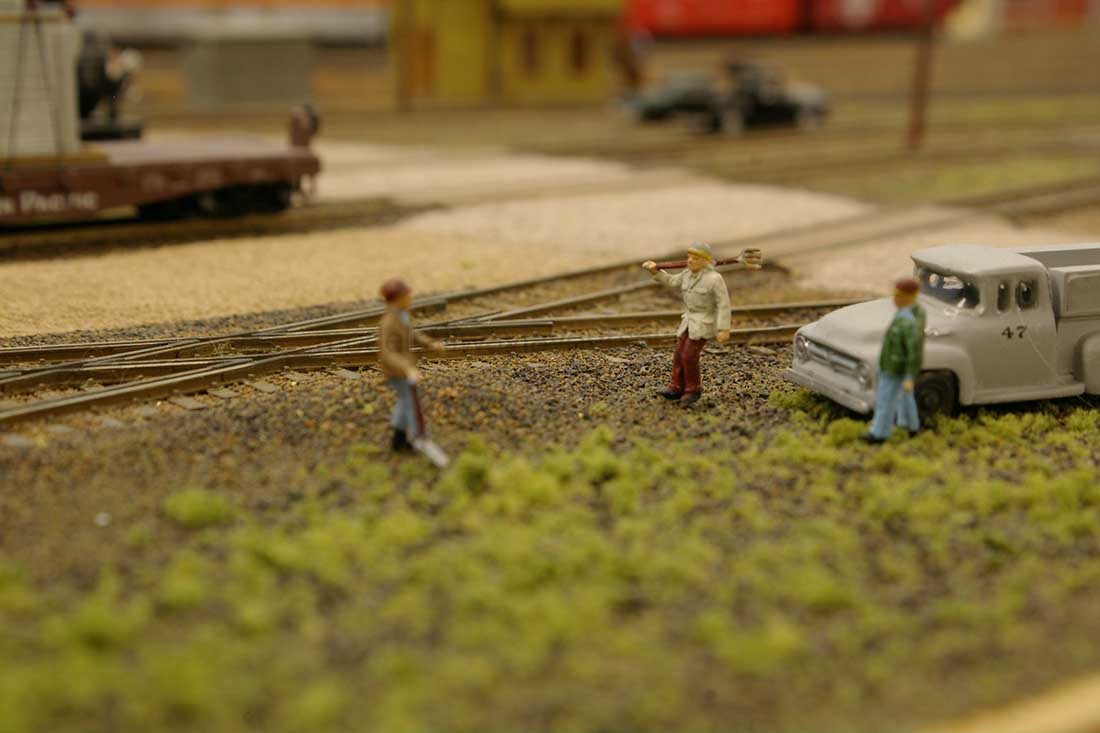
Work gets interrupted, too.

Help is on the way.
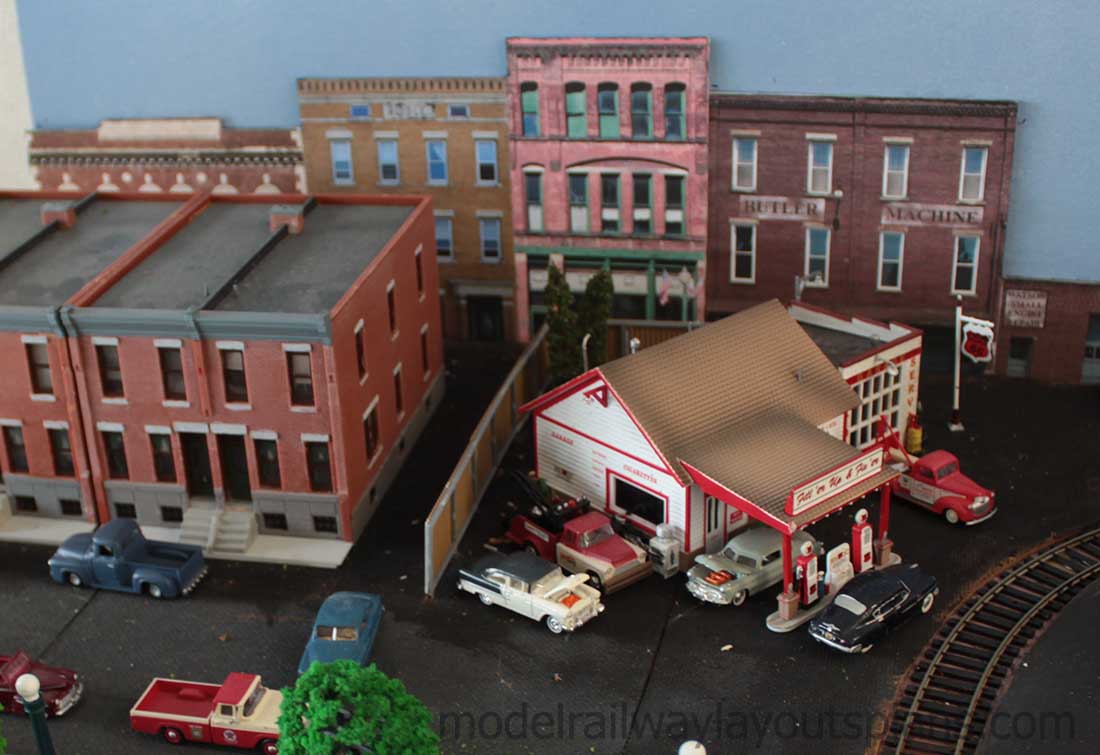
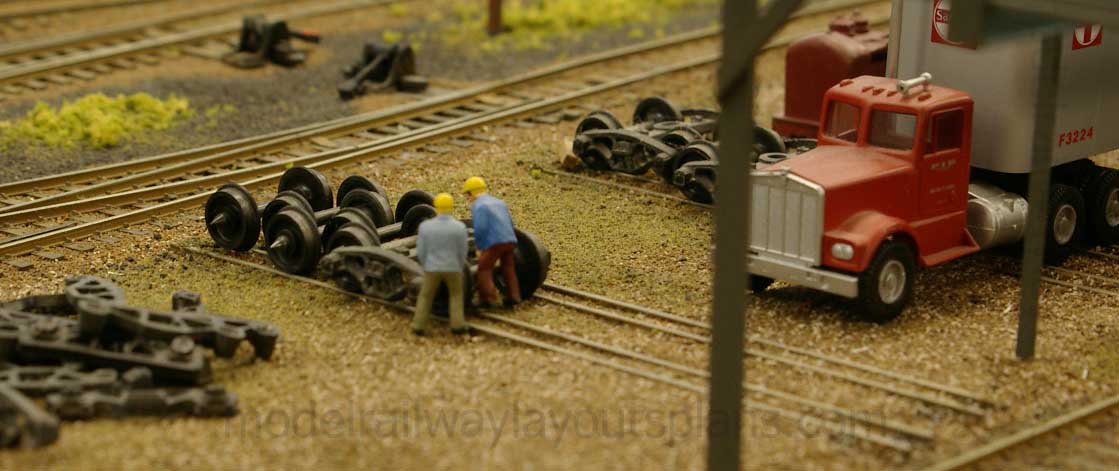
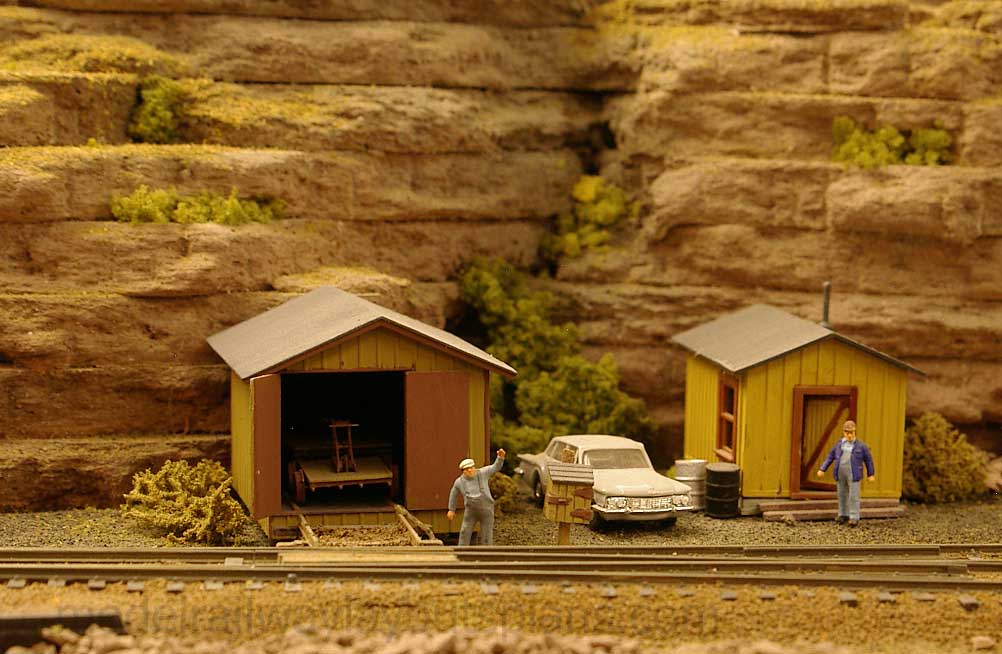
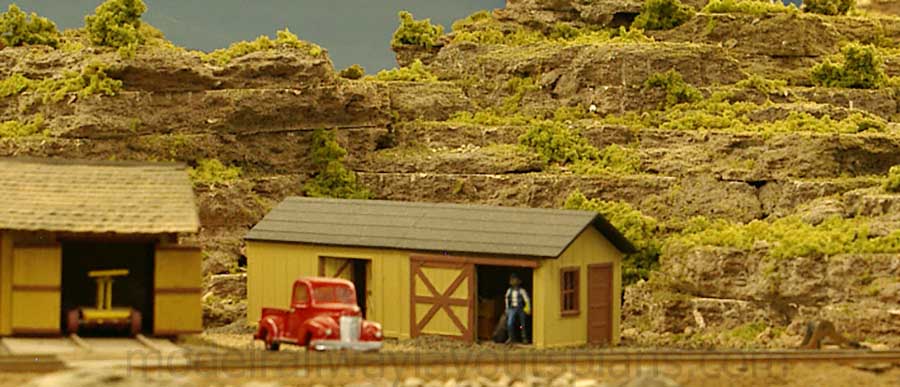
There is a truck (bogie) repair place on the layout.
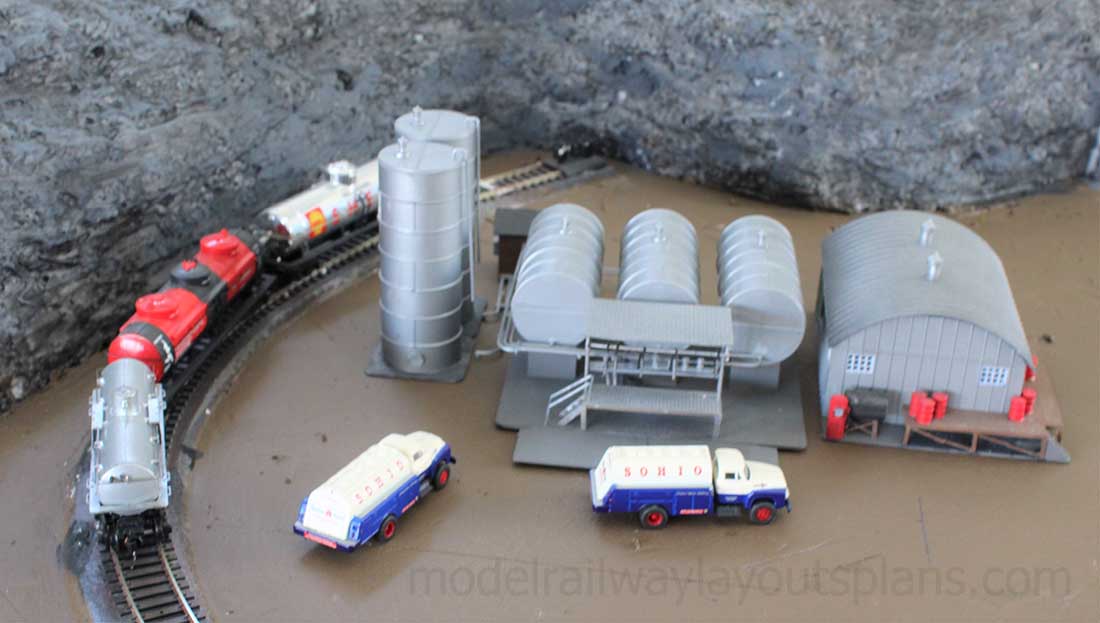
You need oil to make the place run.
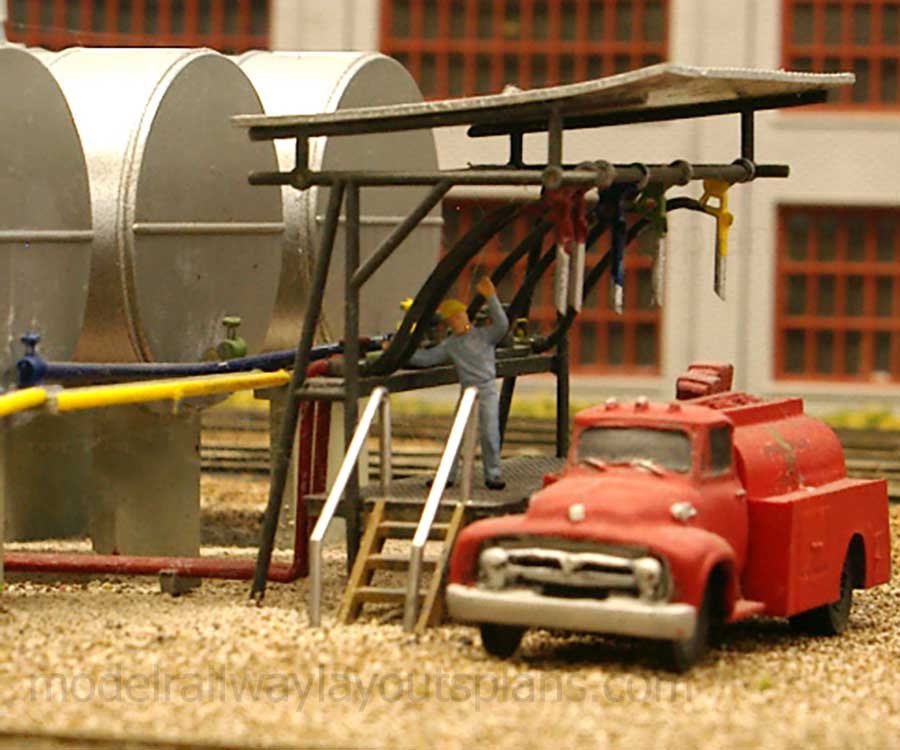
On the oil dock.

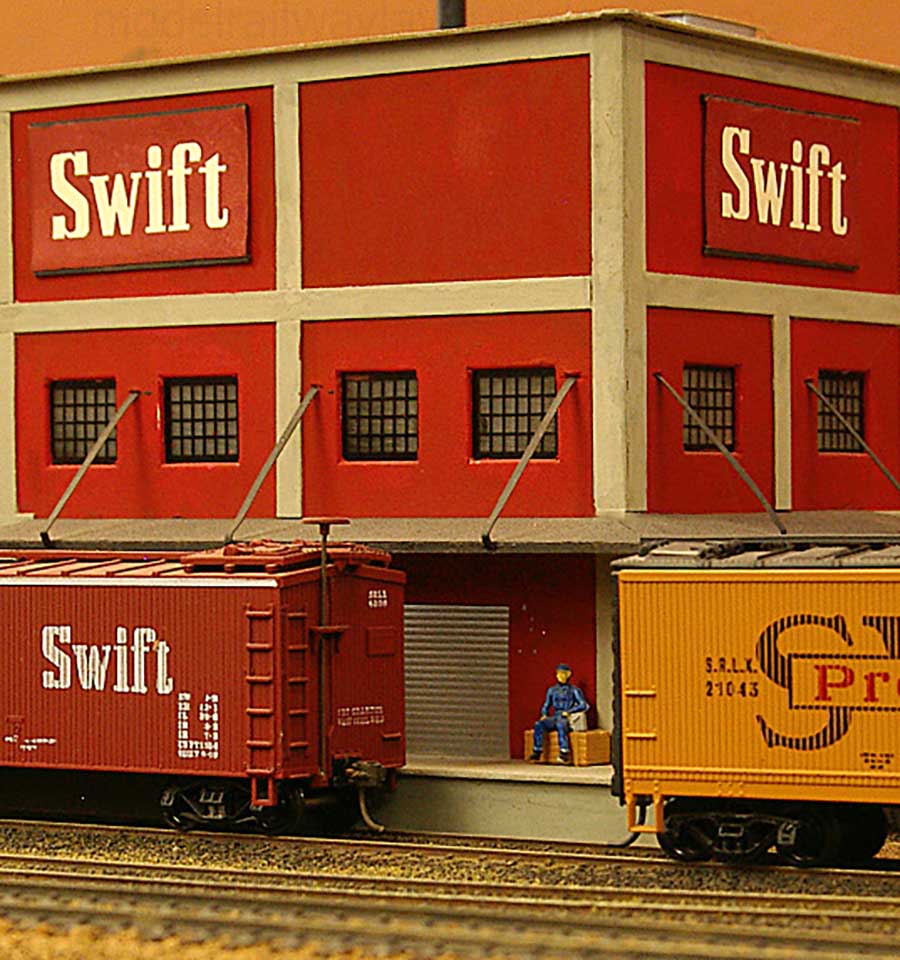
Hard at work.
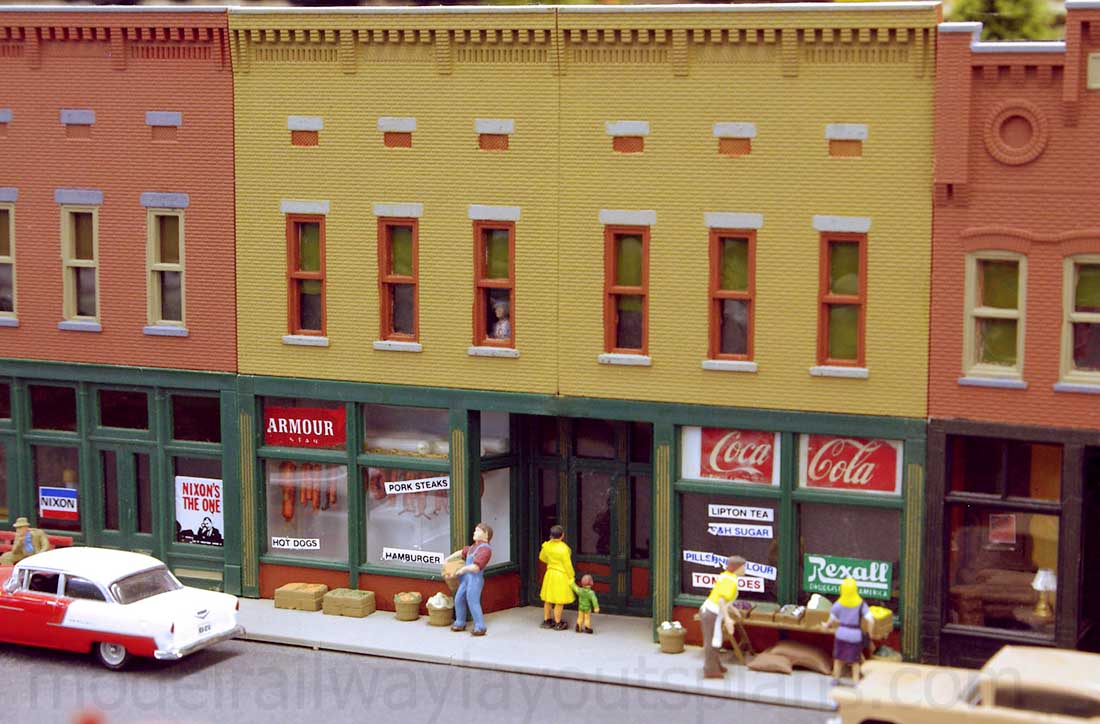
Break time at the Swift Meat works.
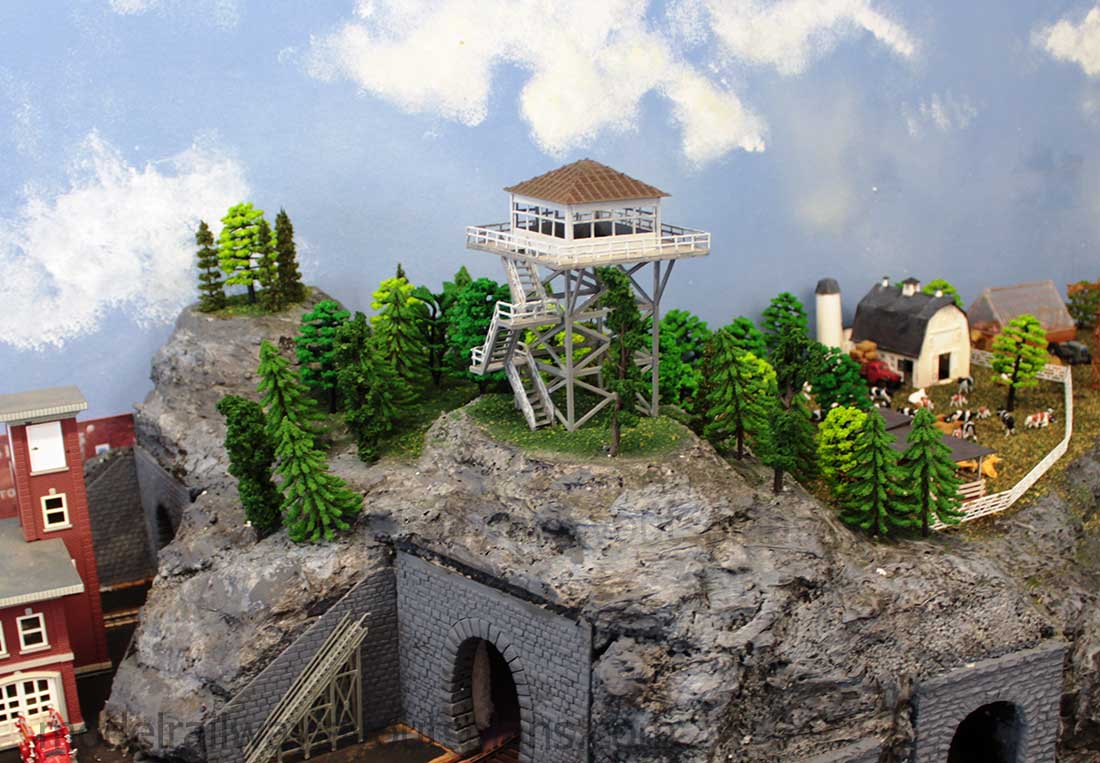
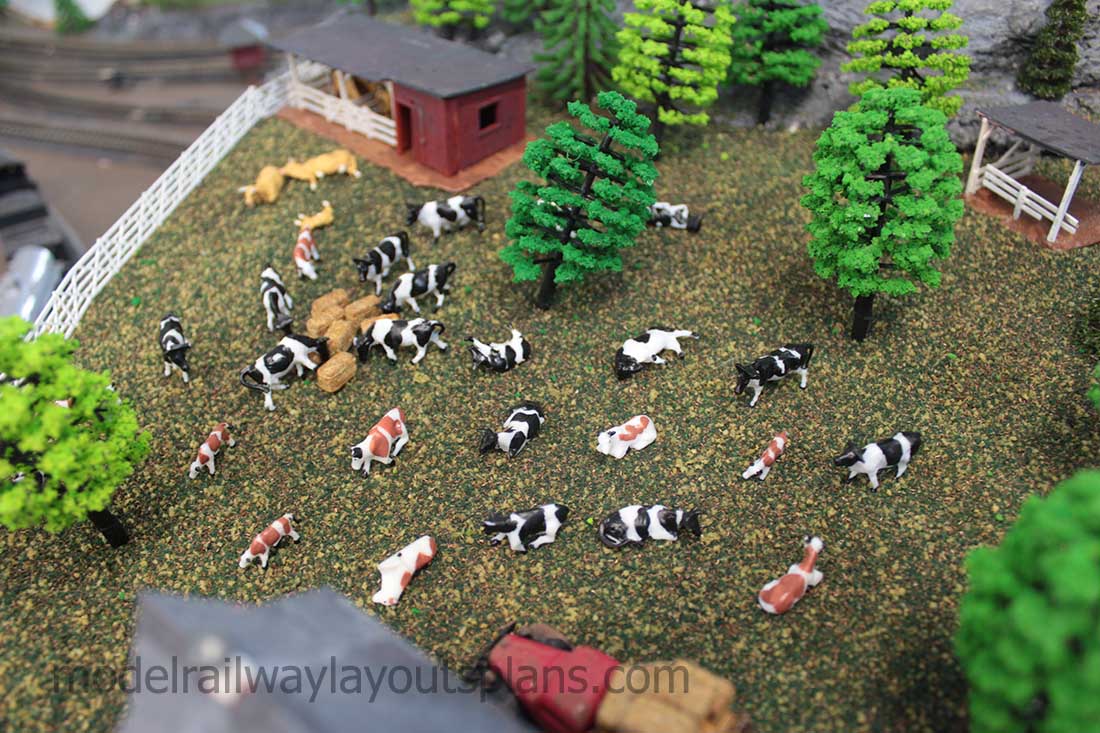
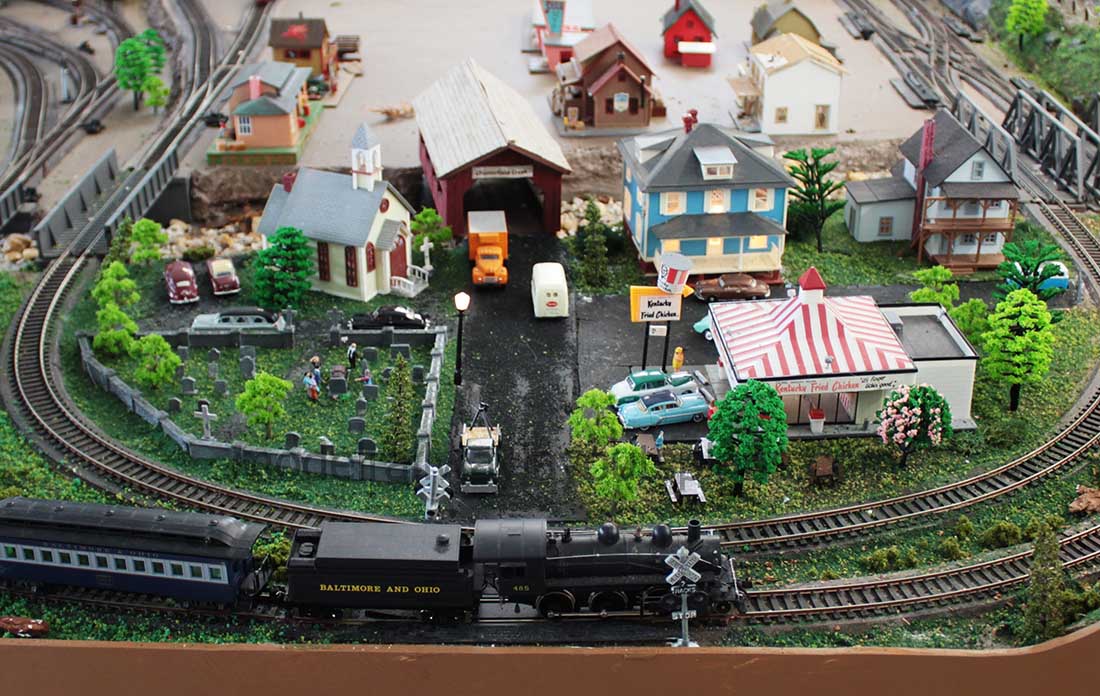
HO model railroad mountain town:
I have to explain to my urban friends what is going on here. Keeping the cow pens clean.
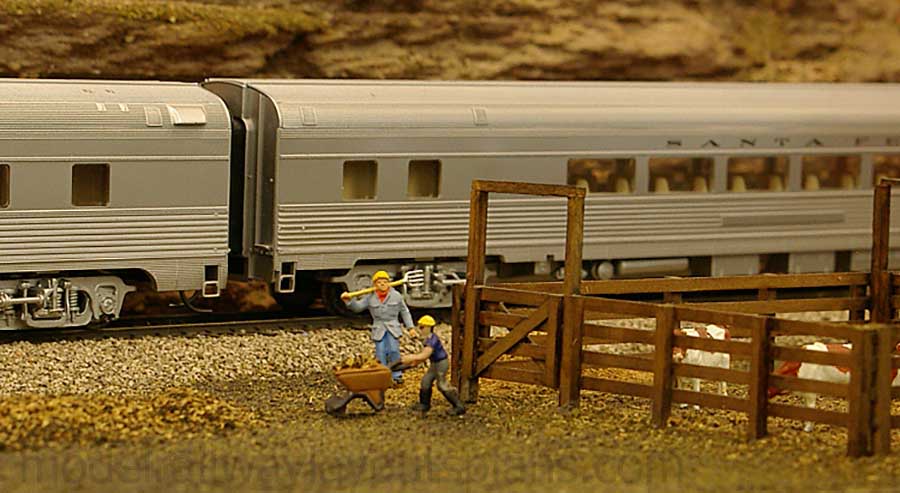
Section gang.
Bottling works.
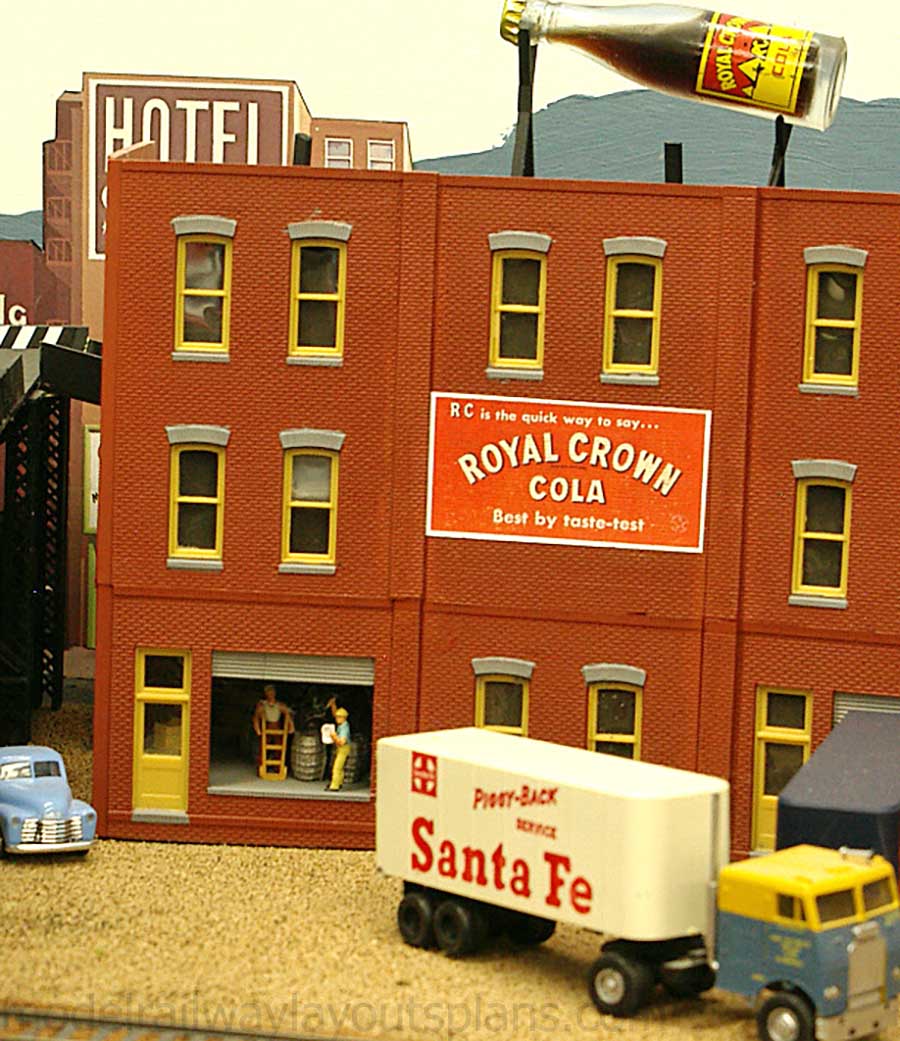
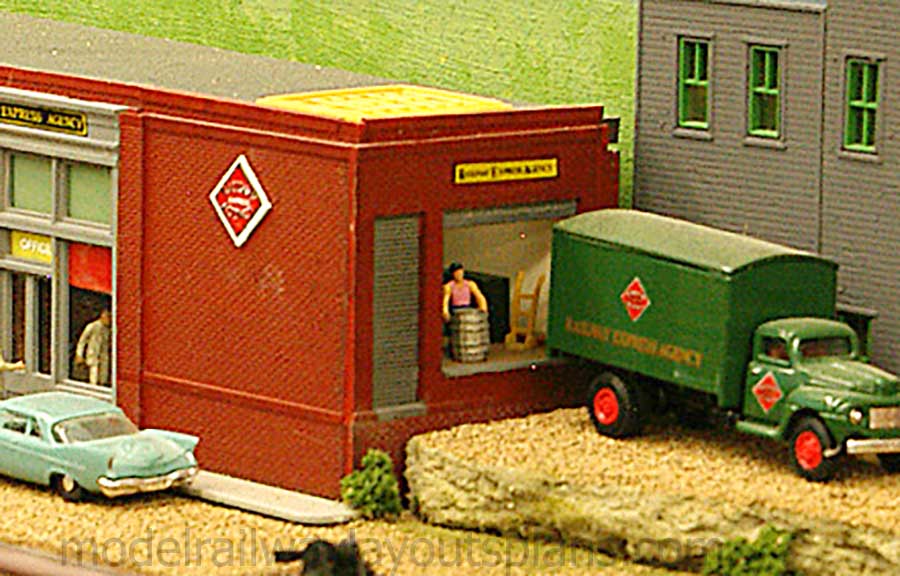
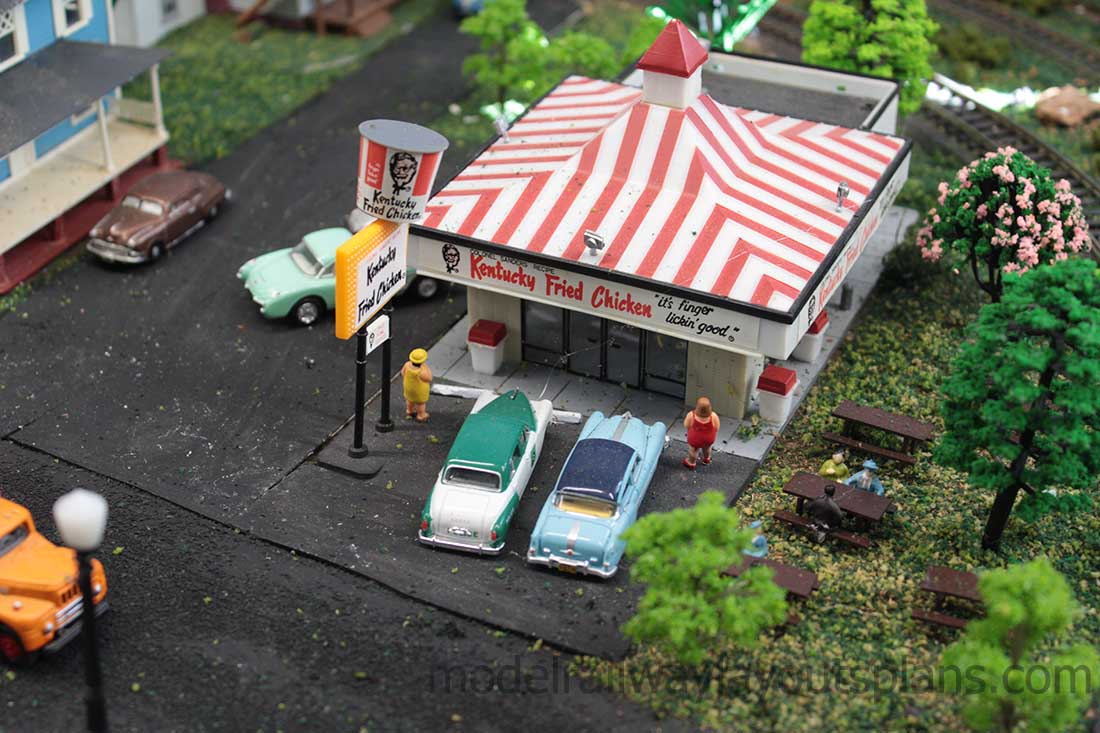
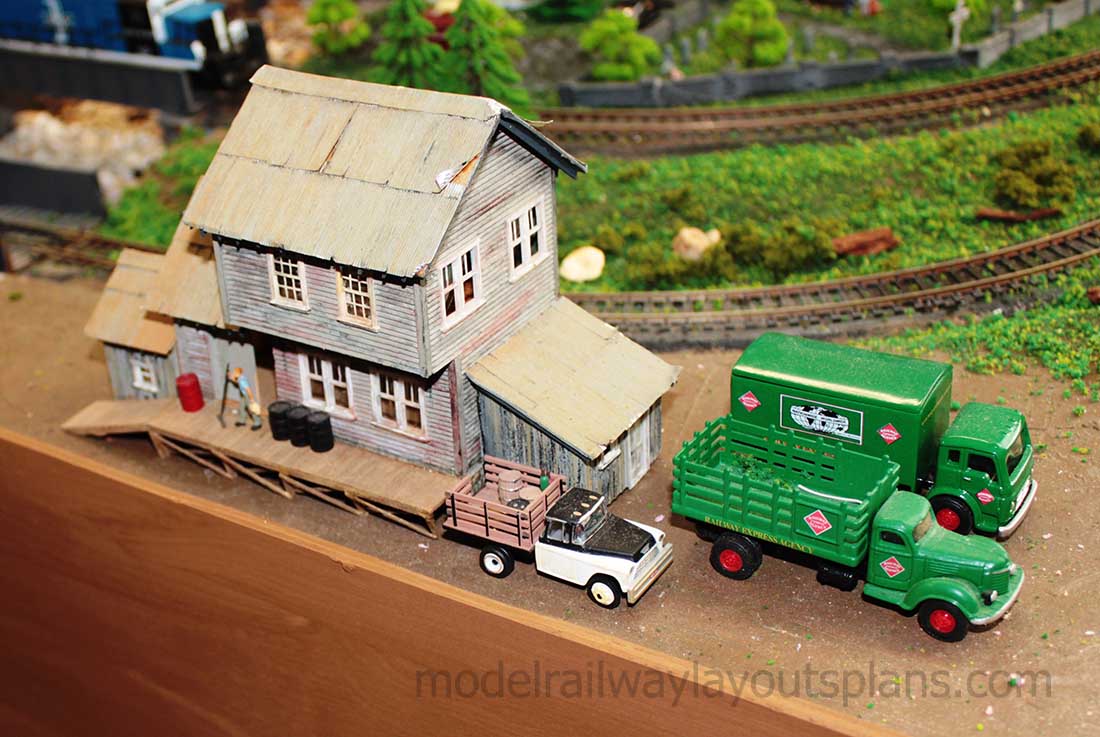
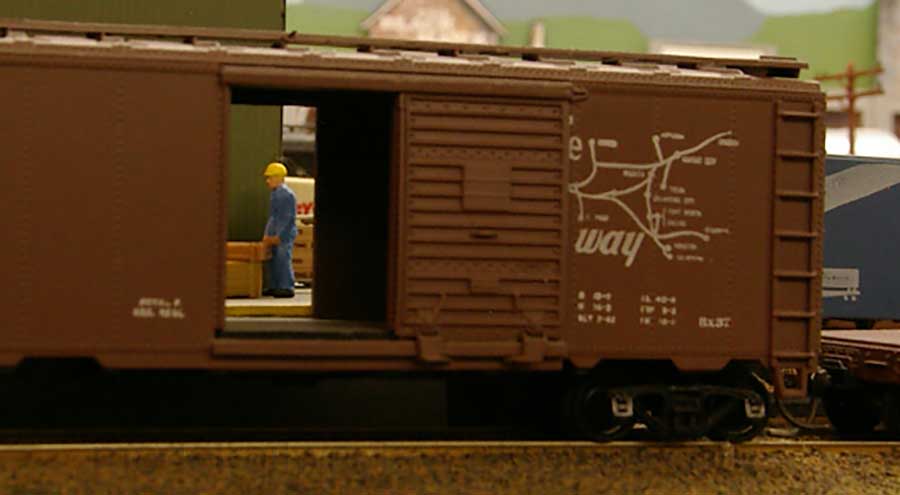
Railway Express. The yellow part on the roof is a skylight so some light can enter the scene.
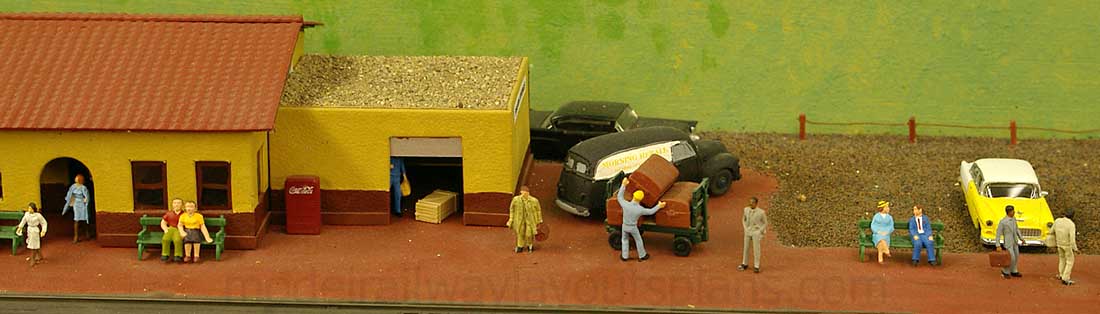
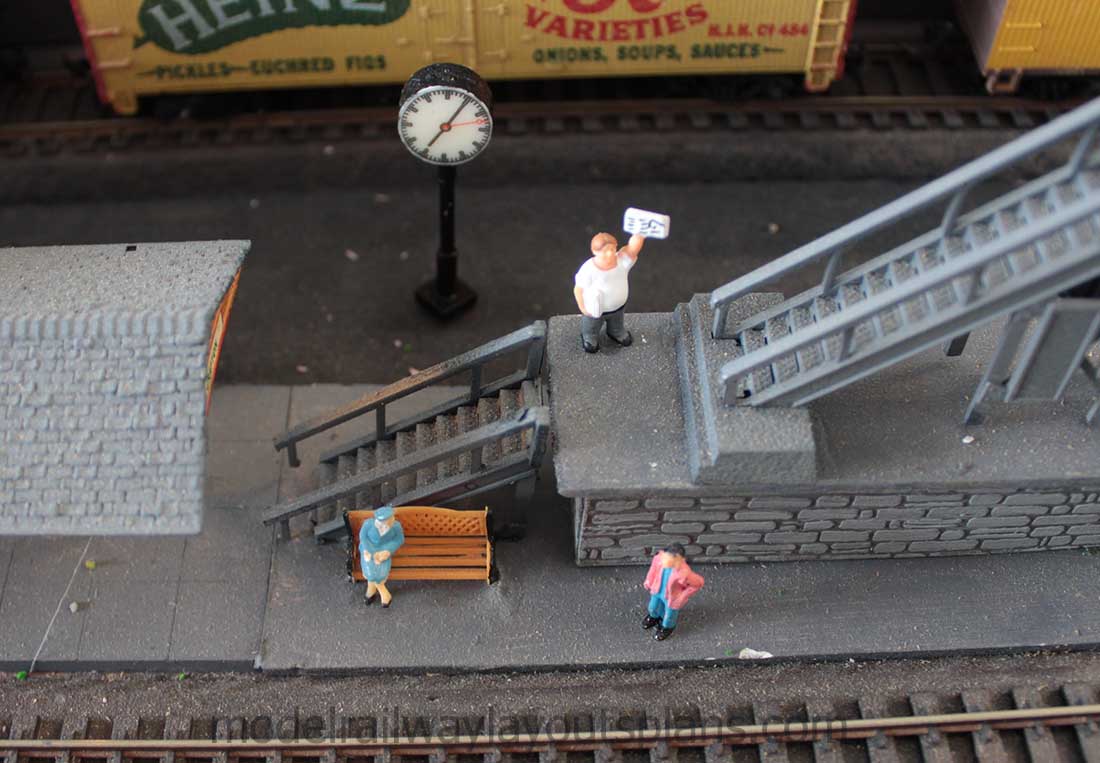
Getting the trunks ready for the train.


Moving the 300 pound blocks of ice for the reefers.
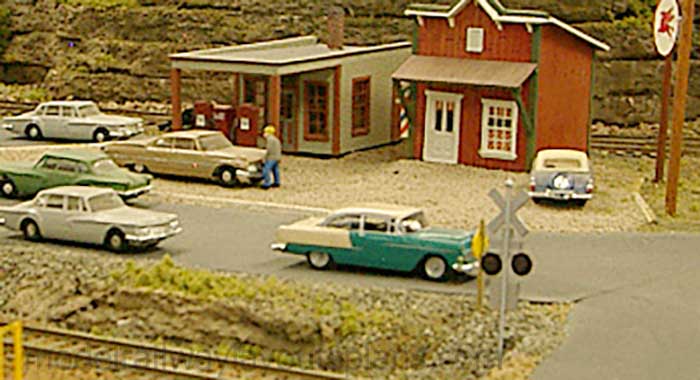
Gotta check the oil.
Another section gang’s work place.
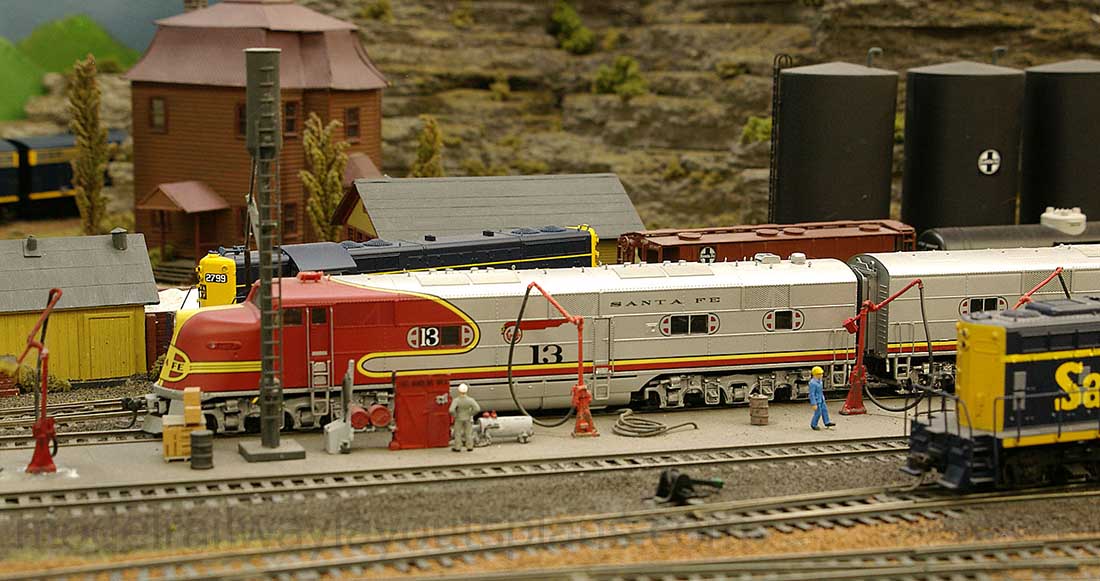
Busy at the fueling racks.
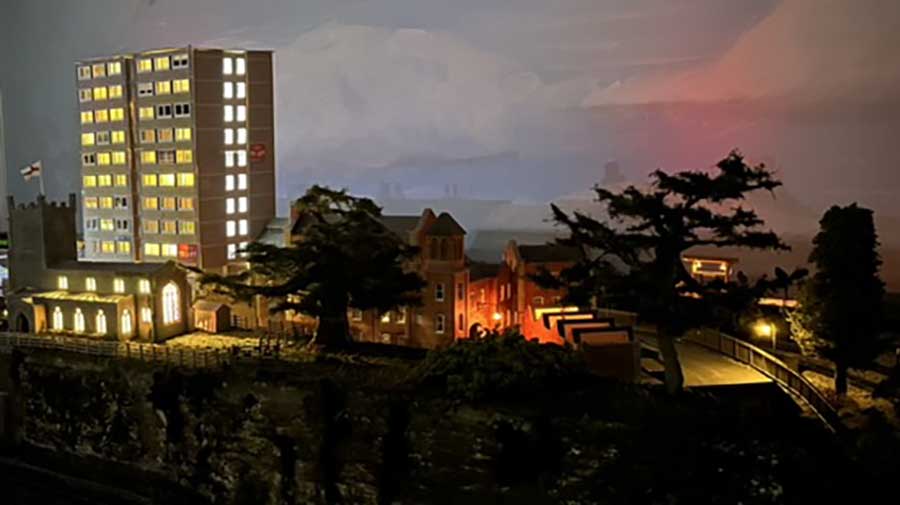
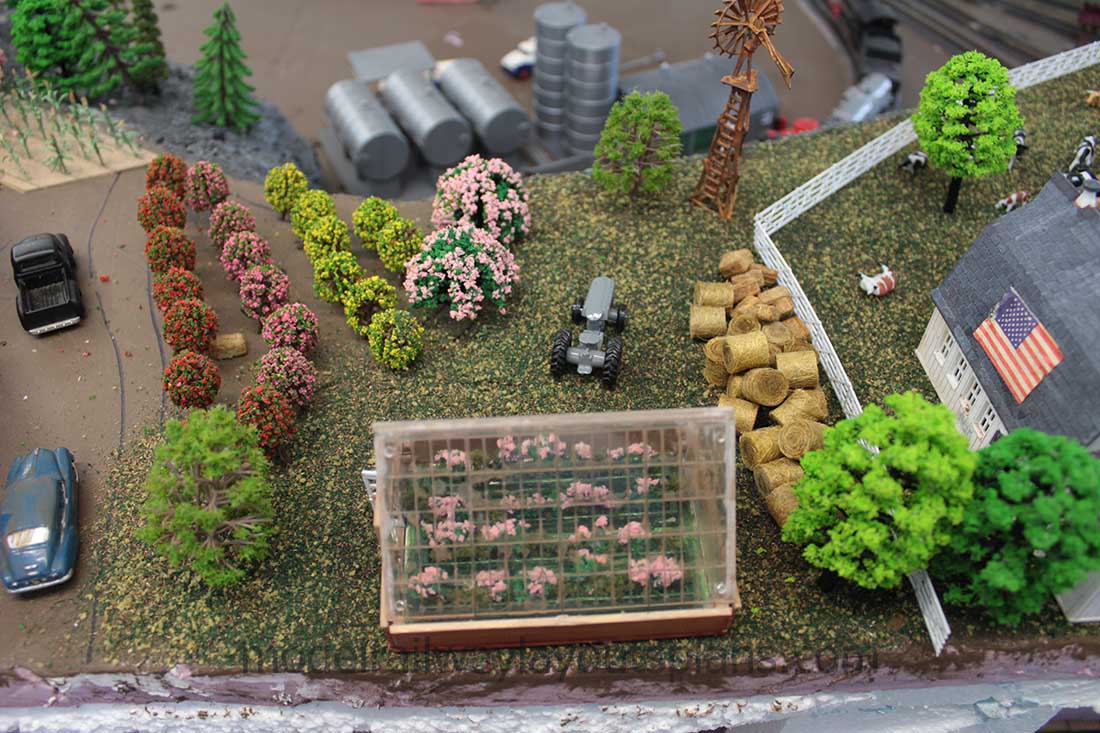
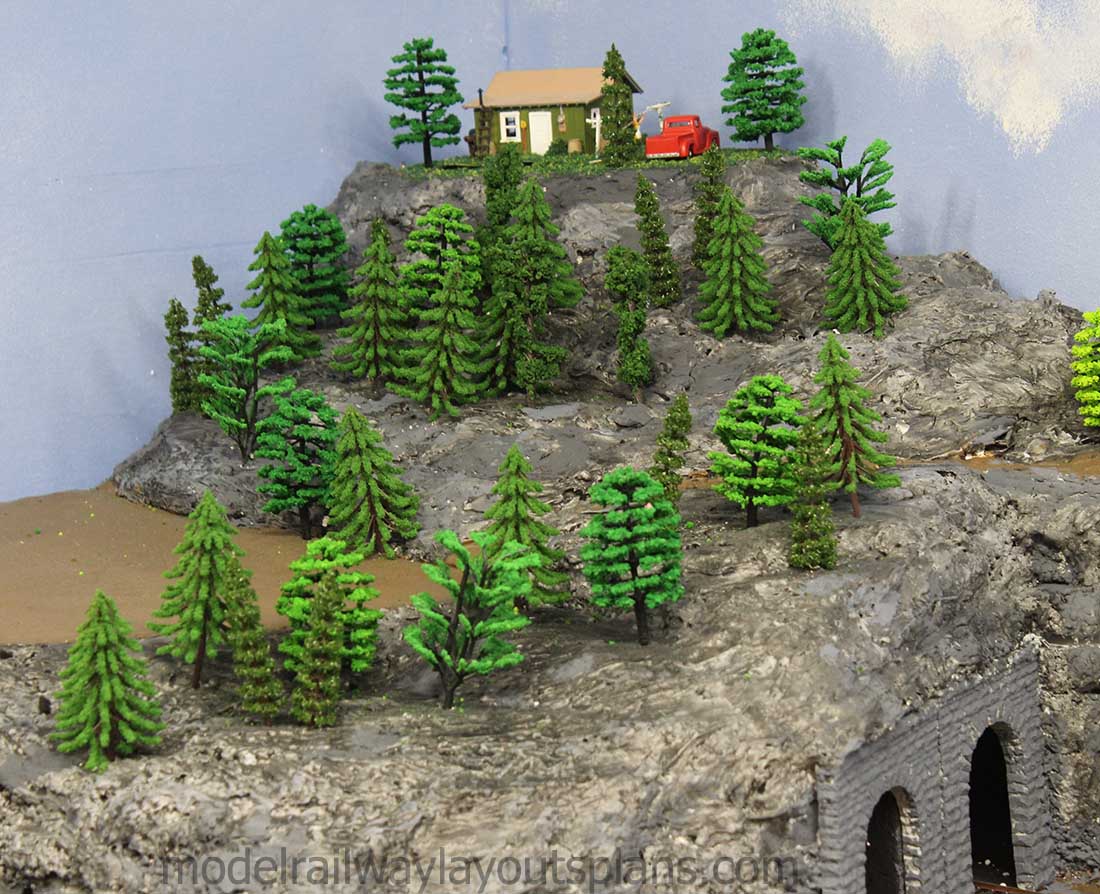
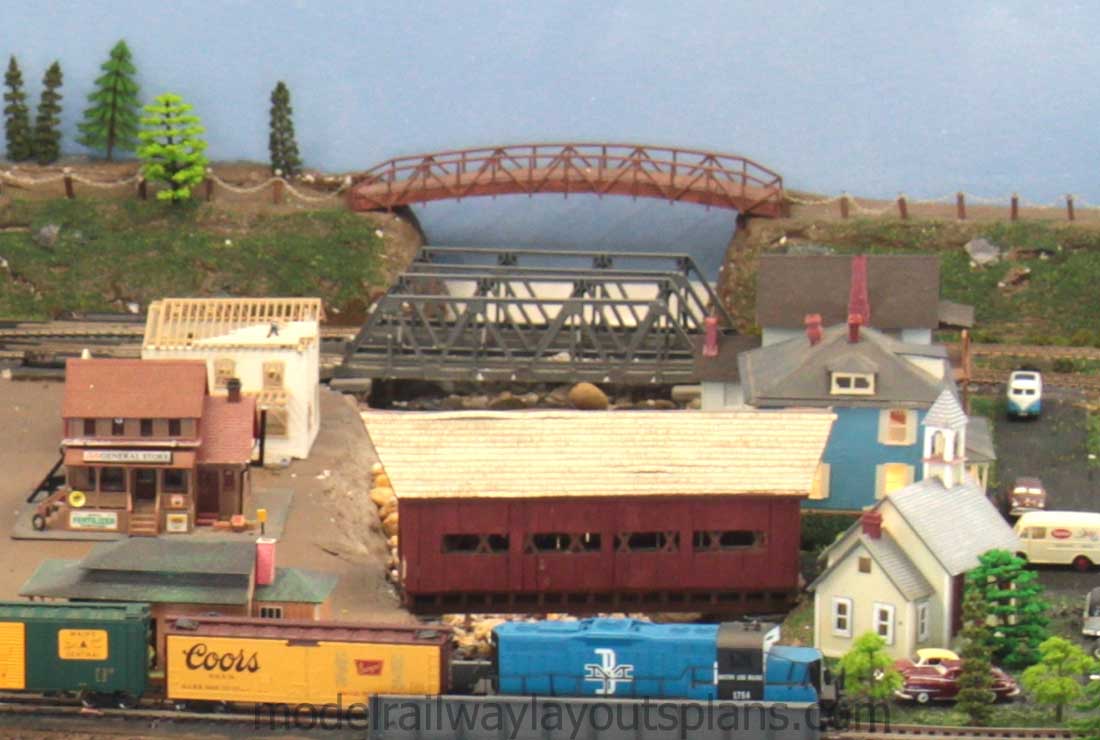
HO model railroad mountain town:
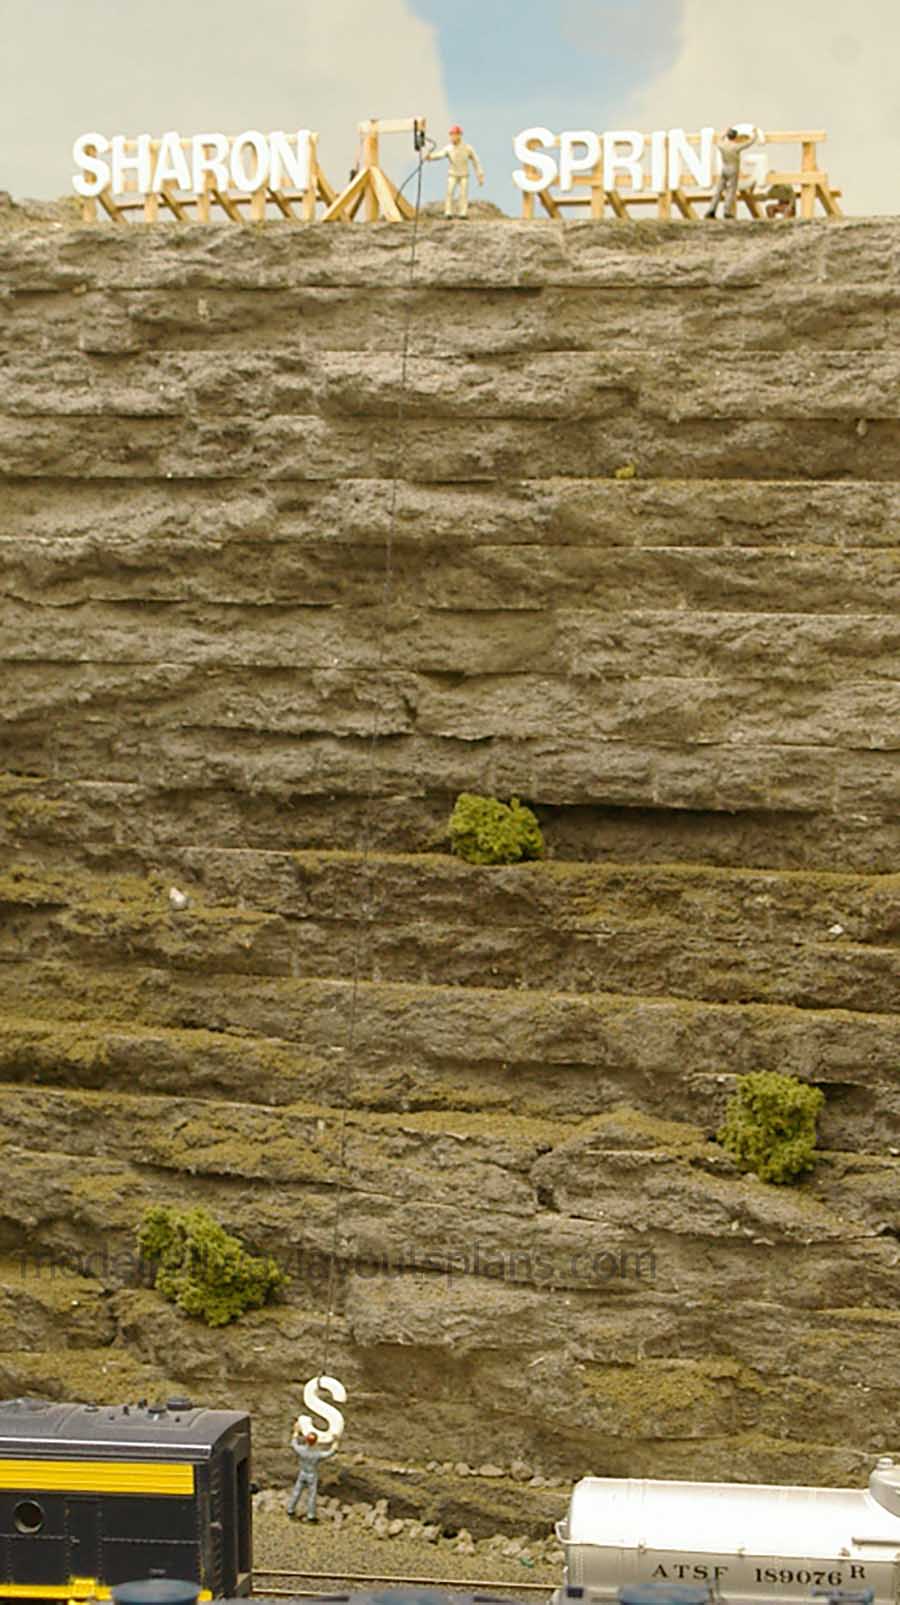
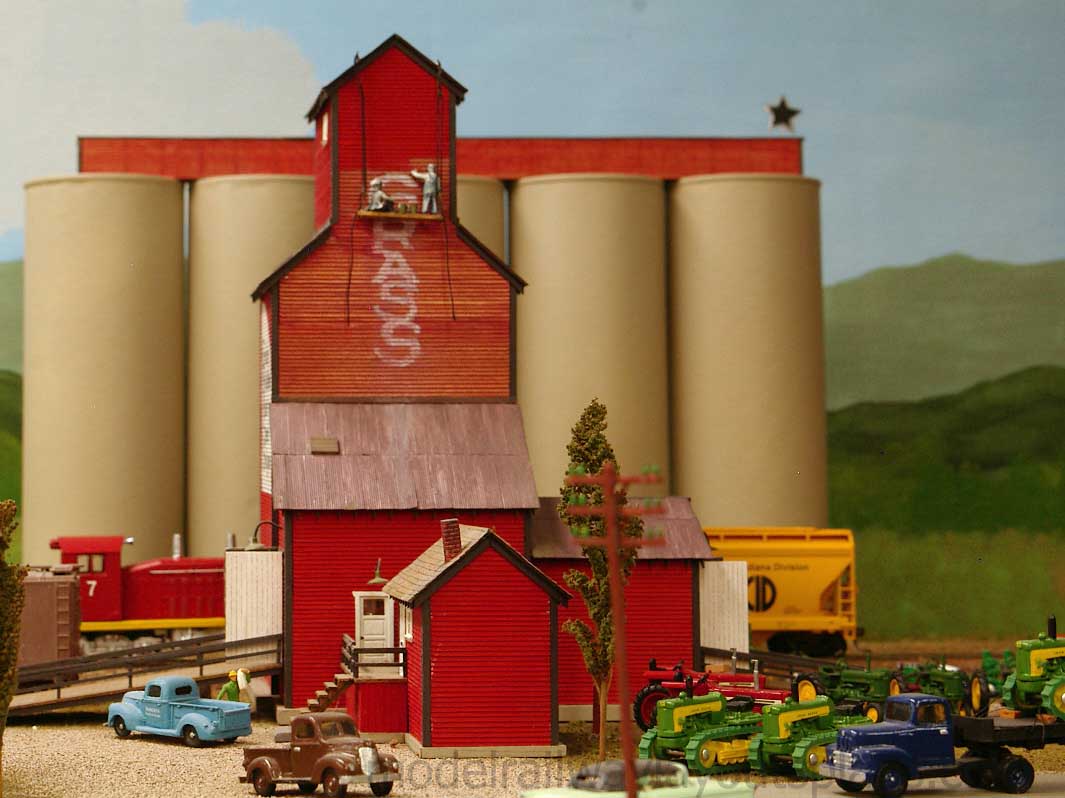
In many Western American towns and universities put their names in high places. The town of Sharon Springs is getting a new sign. The sign is almost done. The letter “S” is being sent up. The pulley actually works!

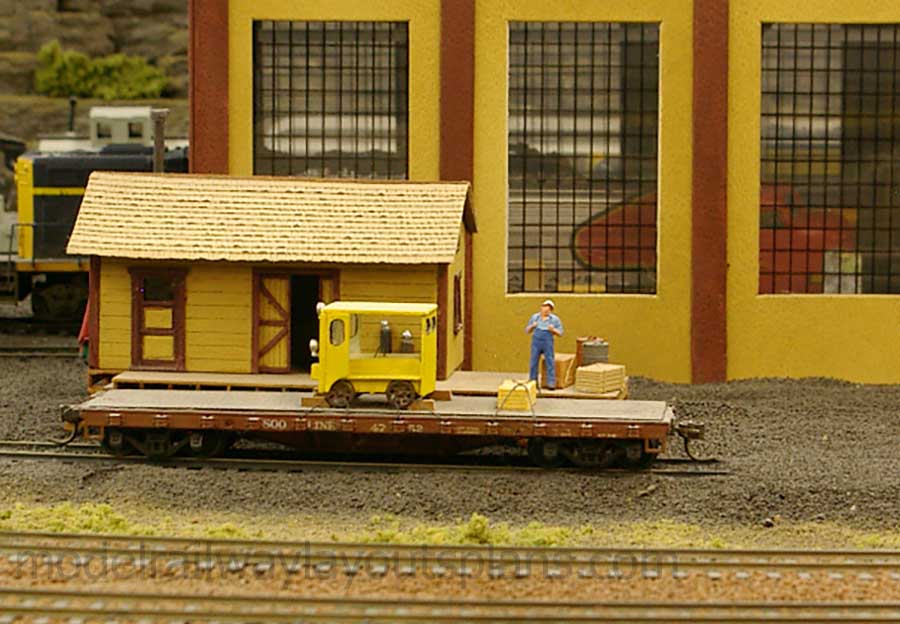
Getting a new “speeder” for the railroad.
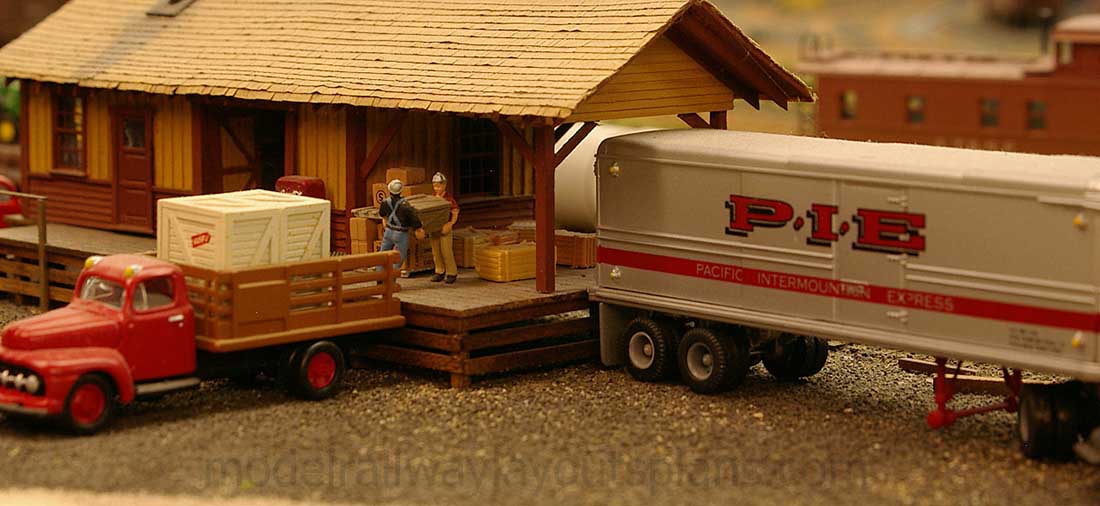
At the Goins Valley freight house.
I purposely do not weather much of mt layout. However, here is an example to show I know how to weather. These painters have been painting for over 25 years. Just a little slow.
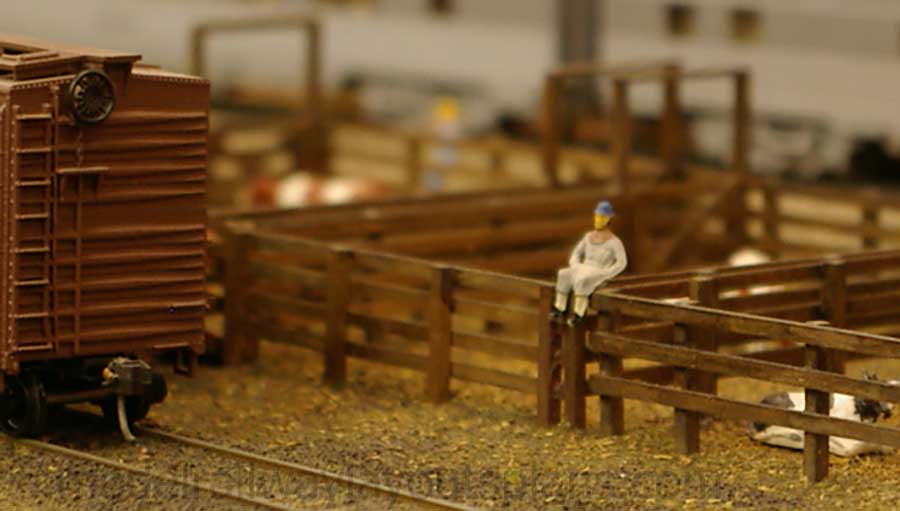
Another guy taking a break at the stock pens.
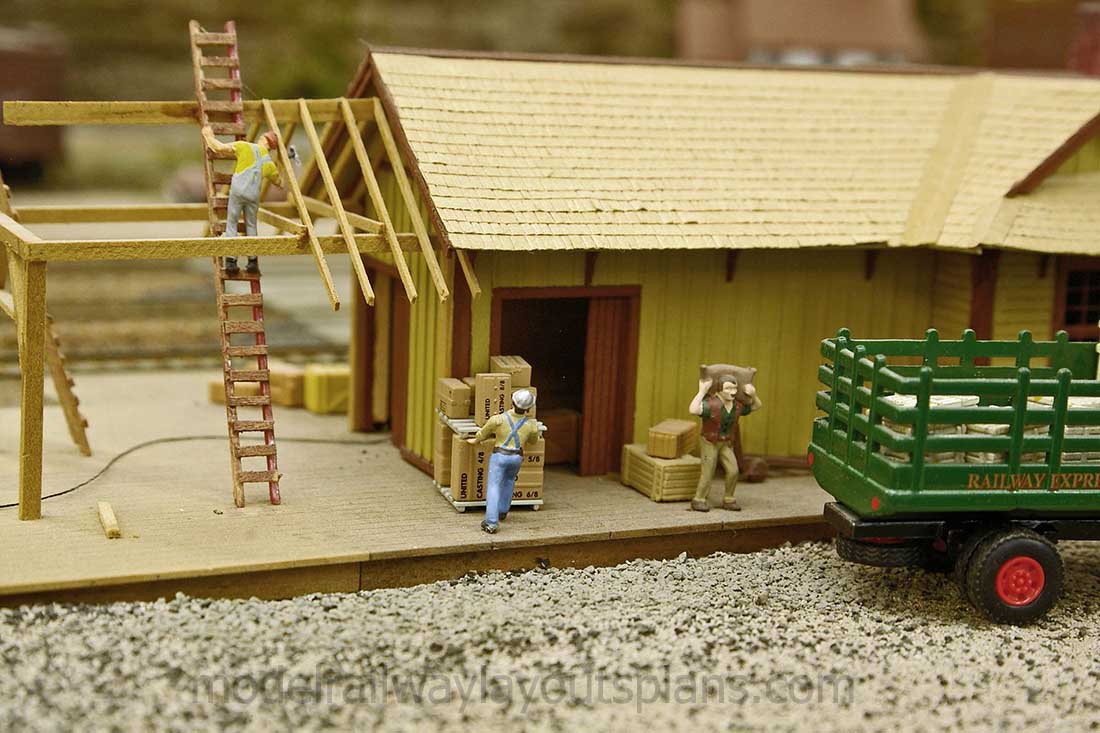
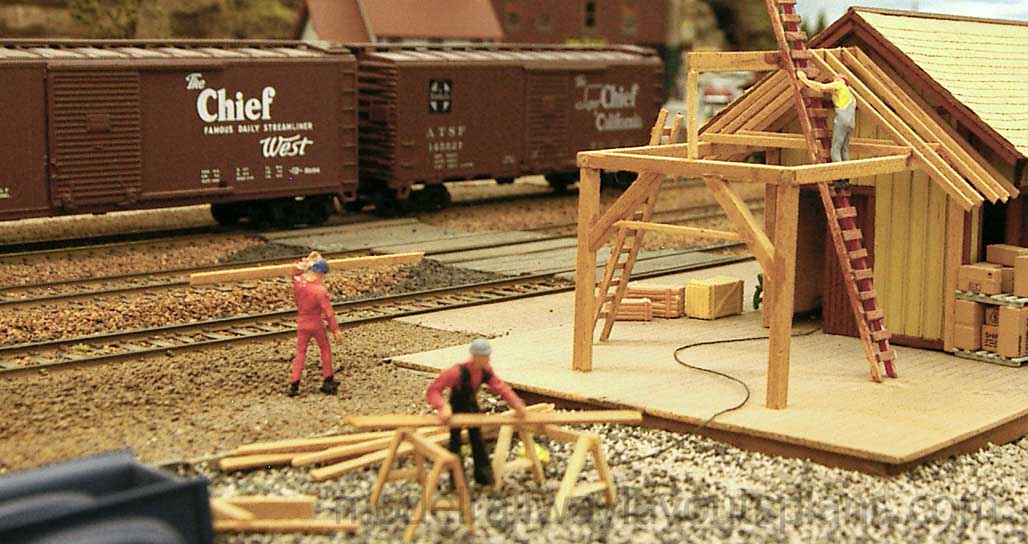
The town of Almost is getting an addition to the station. The local coal mine has expanded and the station needed an expansion.
This is enough for now. I hope I haven’t overwhelmed you. I have a few more I can send.
Dan*”
A huge big thanks to Hall of Fame Dan for sharing more more pics of his HO model railroad mountain town.
I do love the scenes he creates with the people on his layout. He did a great post on adding people to your layout which is here:
That’s all for today folks.
Please do keep ’em coming.
And if today is the day you get started on your layout, the Beginner’s Guide is here.
Best
Al
PPS More HO scale train layouts here if that’s your thing.
Need buildings for your layout? Have a look at the Silly Discount bundle.