N scale shelf layout – Peter’s

Peter’s been in touch with his N scale shelf layout:

“Hey Al . . .

For what it’s worth, here’s a small layout (narrow gauge) I built some years ago to show:

(a) You don’t have to have much space
(b) you don’t have to spent heaps on the hobby to have fun
(c) you don’t have to have a huge skill(s) base

to get something that works – and to enjoy yourself as a modeller.

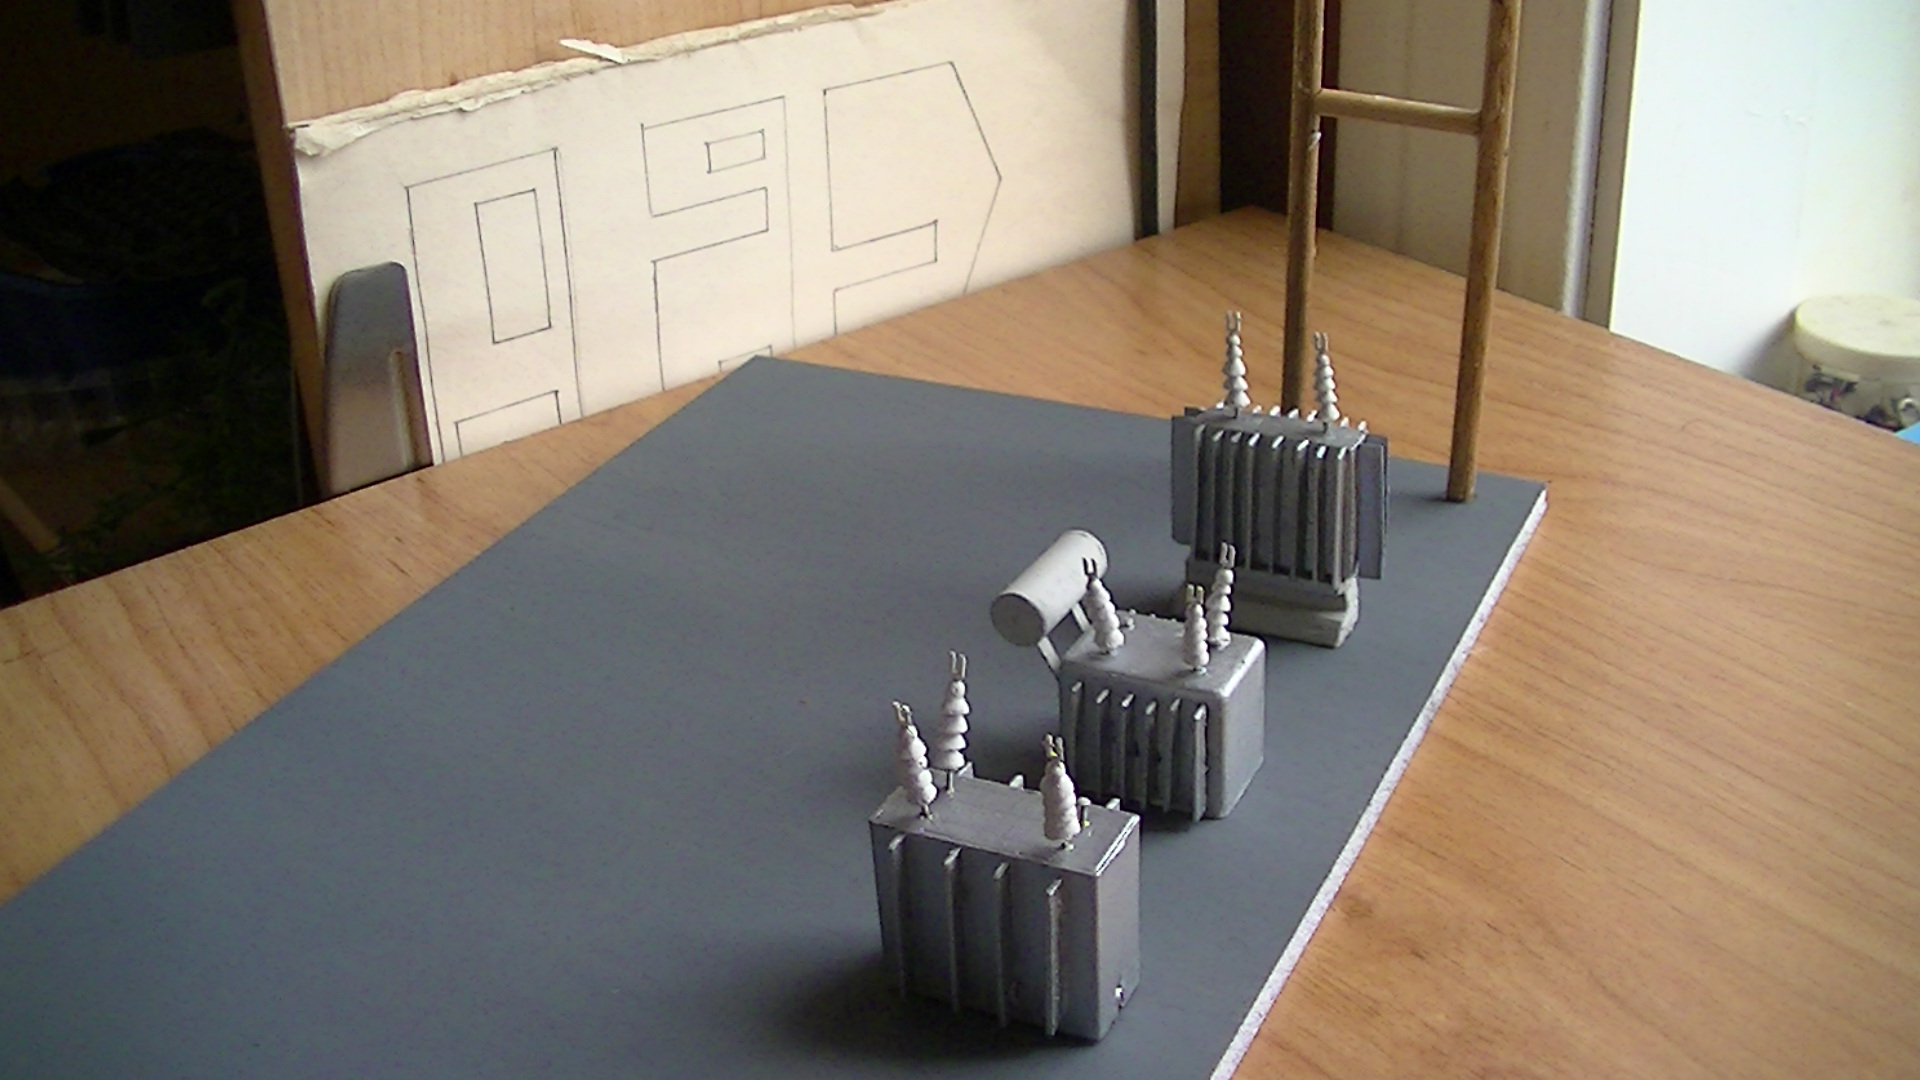
Another thing most modellers – or those contemplating modelling a working layout – shd think about is building a small diorama to test their skills and ideas.

And, if nothing else, such a diorama can act as a photo ‘stage’ for models. This one is a little over 300mm (1ft) long.

This is a small one I built several years ago . . . I wanted to see how Woodland Scenics rock moulds wd work if I used plaster (very heavy results I would not attempt again on a portable layout!).

I also wanted to see how:

(a) realistic Micro Engineering N scale track could be made to look
(b) local (to my area) ballast could be made to look in such a small scale
(c) teased green carpet fibres could be used to model realistic railside undergrowth (I mixed this with the usual Woodland Scenics materials

and

(d) my models stacked up under the glare of close-up camera work (some are fully finished, and I was also testing some simple air-brushed weathering techniques).

Some of these models are Micro Trains, some are NSW rolling stock kits, some – like the tank cars – are scrap-box hand-me-downs I bought for a pence at second-hand stalls), and many are fitted with Intermountain trucks. The tank cars are designed to be extra fuel carriers for the locos.

Hope these help.

Chrs!

Pete”

N scale shelf layout

N scale shelf layout

N scale shelf layout

N scale shelf layout

N scale shelf layout


N scale shelf layout

N scale shelf layout

N scale shelf layout

N scale shelf layout

DSCN1600

DSCN1601


What a fantastic little project! Thanks to Peter for sharing his N scale shelf layout.

Just goes to show that you don’t need a lot of space to enjoy making a layout.

That’s all for today folks.

Please do keep ’em coming.

And if today is the day you get started on your layout, the Beginner’s Guide is here.

Best

Al

PS More HO scale train layouts here if that’s your thing.


Need buildings for your layout? Have a look at the Silly Discount bundle.

John’s first layout

“Goodday Alastair.

My name is John and after looking at your tips and Dave’s layout photos , I was feeling confident enough to give it a go myself.

I actually had to build a shed first and sectioned a 6 metre area for the layout. Constructed a frame , topped it with orange-tongue flooring, designed the track layout , scenery , build the buildings etc. I had a lot of fun doing it as I am a recent retiree.

As I am nearing the completion I thought I would send you some photos of my work to see what your thoughts are. If you like what I have done I can send you some more photos including some of the trains I have which are mainly steam era.

I have a total of six trains , all DCC and three with sound. As you can see in one of the photos the trains are parked in a shunting yard where I can select the train I want to run, or as I did yesterday , had four trains running at once. I pay a lot of attention to detail, as you may have noticed. I made some of the trees myself, and a section of rock wall next to coal yard is real slate.

Thanks again for your advice photos etc.

John”

IMG_0480

IMG_0503

IMG_0506

IMG_0507

IMG_0510

IMG_0520

IMG_0532


IMG_0534

IMG_0535

IMG_0536


A big thanks to John.

Now on to Georg:

“Hi Al!

Here are the rest of the pics for my Z – layout. Plus one of my sailings ships.

Regards ,

Georg”

mä59

mä90

mä92

mä98

mä99


Next up is Jim:

“My current project for my scale layout.

A Coast Guard buoy tender made from plans I got on the internet. Still waiting for Flags and Decals.

Jim”

IMG_2822

IMG_2963

IMG_2967

Lastly, on to Kim:

“Hi Al.

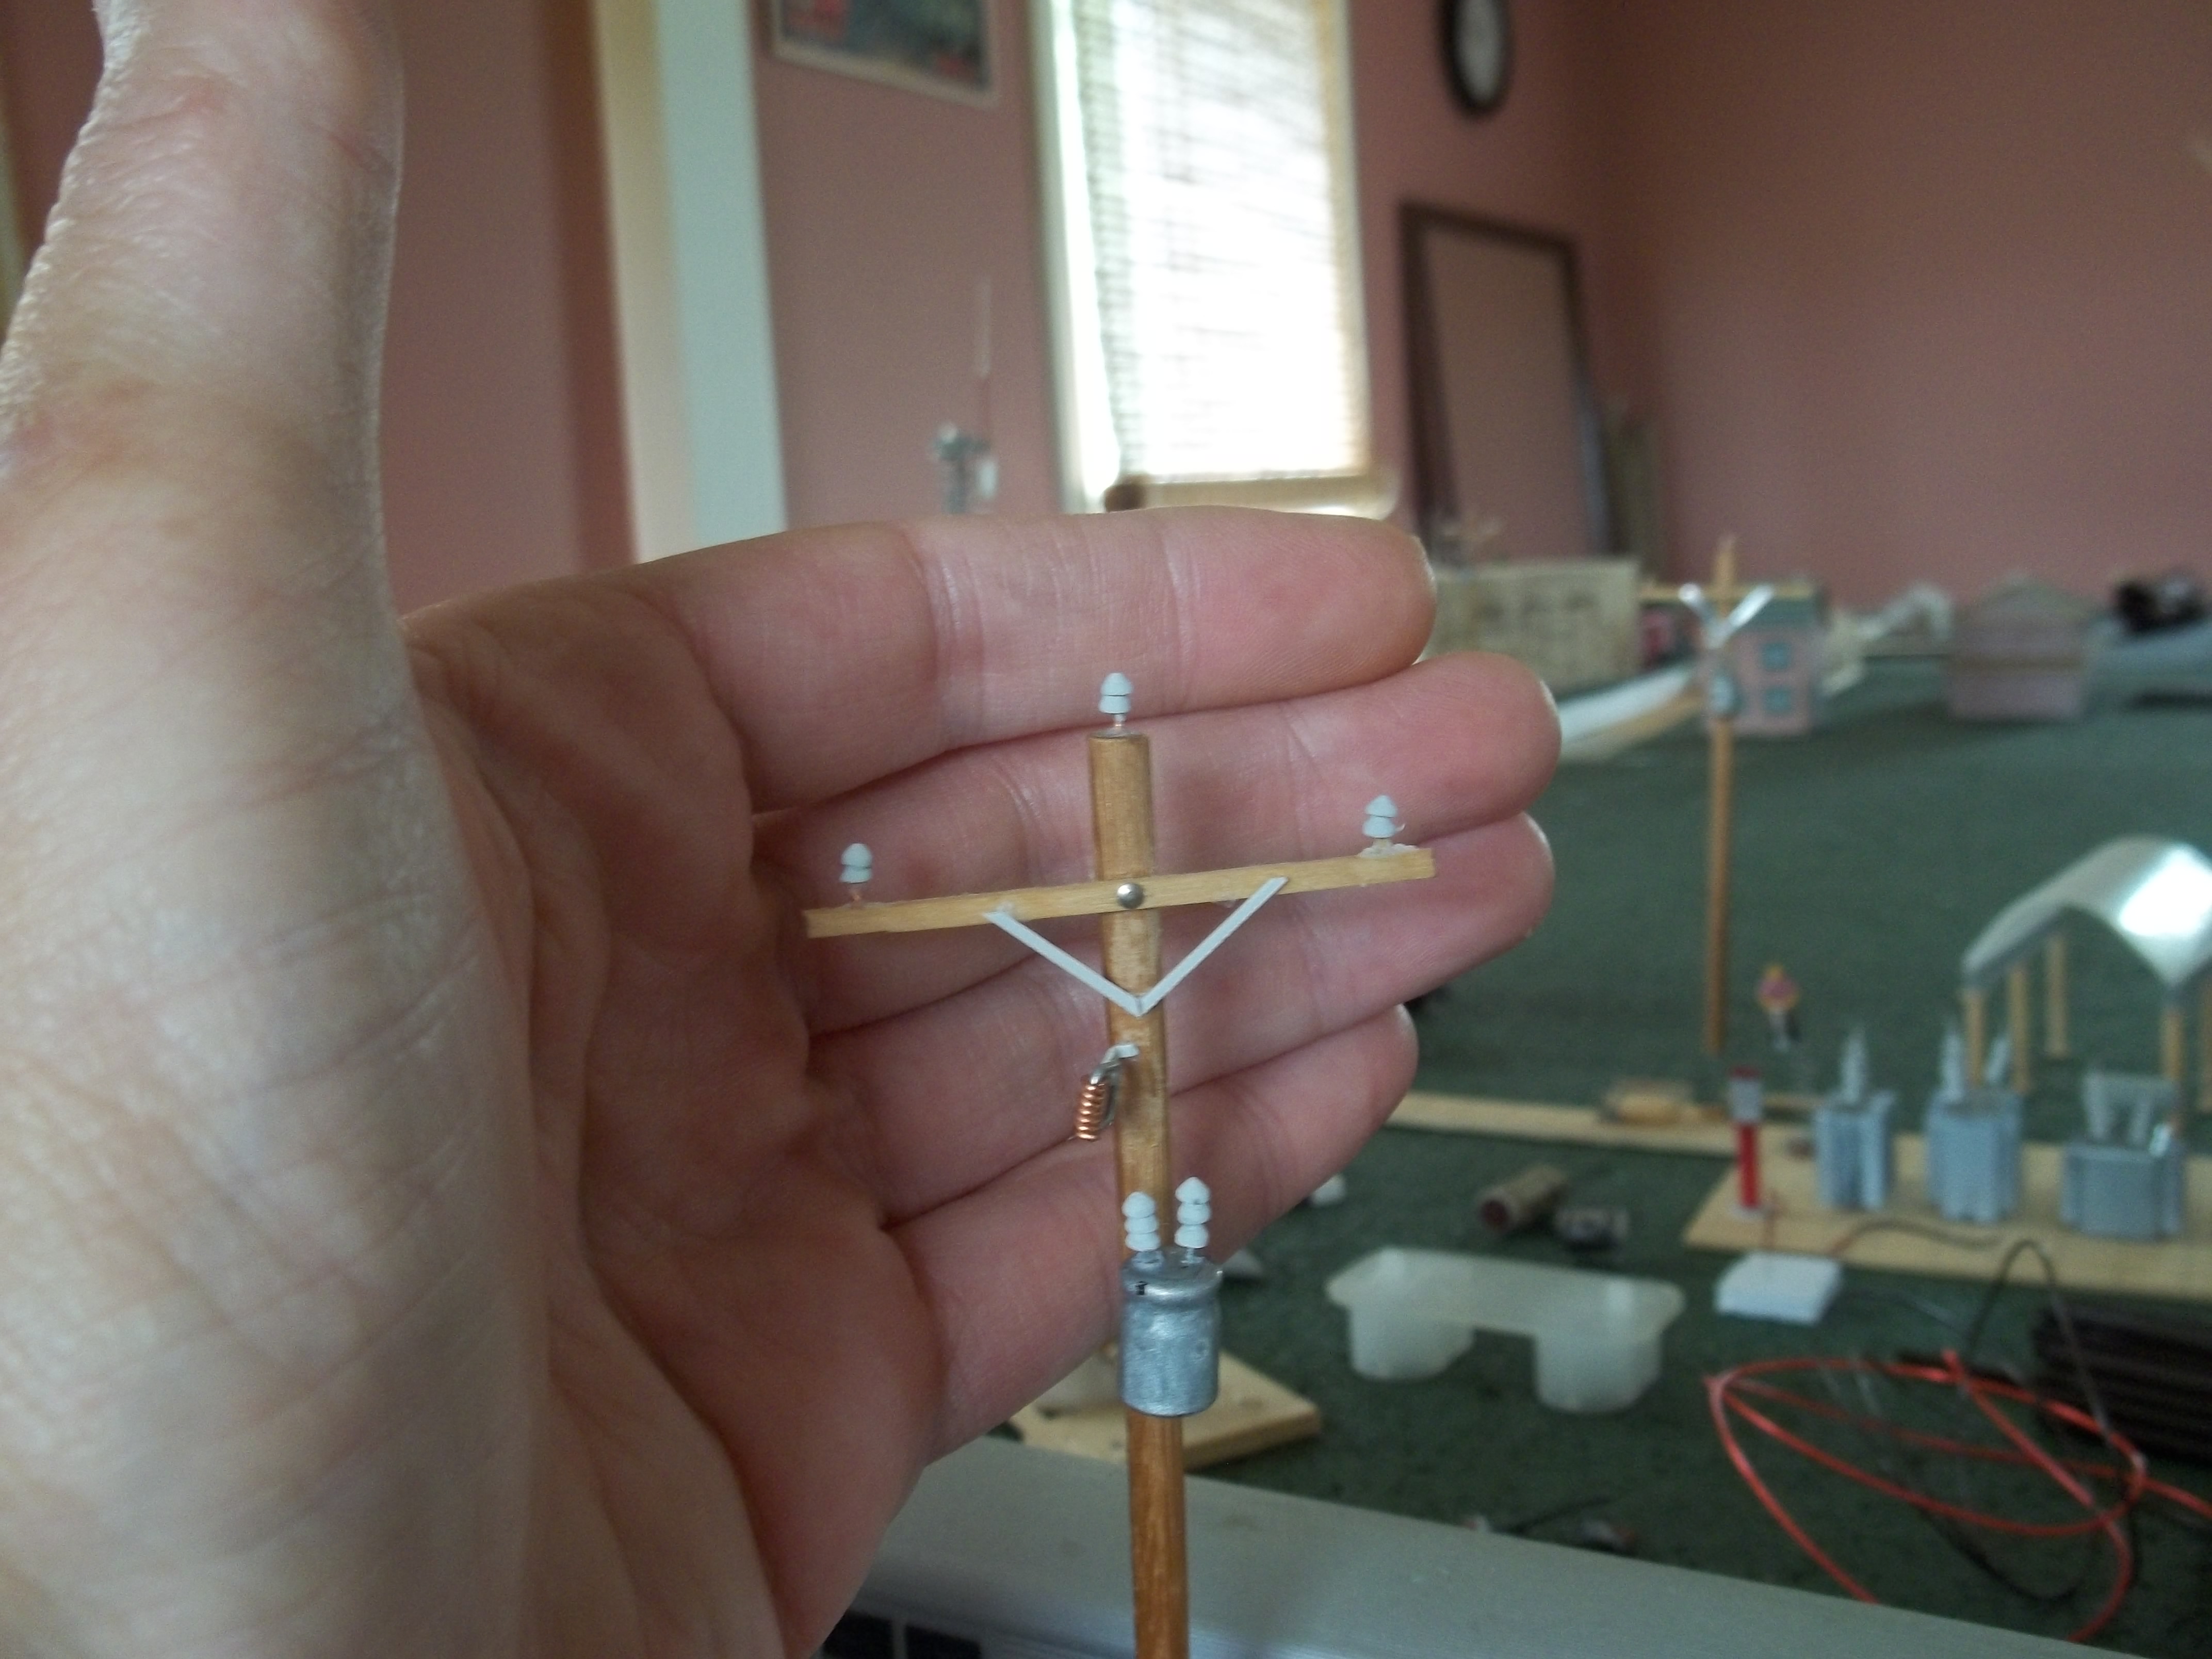
Just a pole update. I made up plastic insulators. Suppose I could have done a better job on them. If you want the how and what to use to make these I will send in the how to.

Kim”

ho scale 004

ho scale 017

That’s it for this time. A big thanks to everyone, especially John, it just goes to show it’s all about making that all important start.

And here’s something to help you get started – the latest in the printable buildings.

There are four new houses.

What’s more, if you use the coupon code carrot123 you can get them at half price at the moment. That’s just $3.50!

Here they are:

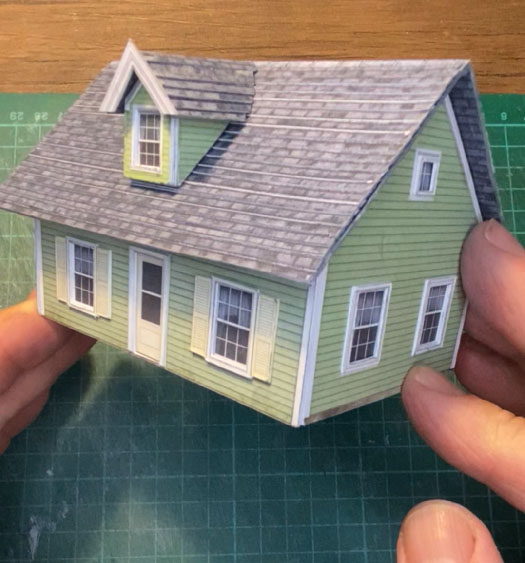
ho scale model railroad house printable buildingThe Miller’s house

ho scale house printable buildingThe Davis’s house

HO scale house printable buildingThe Johnson’s house

model railroad printable buildingThe Smith’s house

Like ’em? Don’t forget to use the coupon code carrot123 to get them half price.

Please do keep ’em coming.

Don’t forget the Beginner’s Guide is here it today’s post has inspired you to spring into action.

Best

Al

PS More HO scale train layouts here if that’s your thing.


model railroad printable building

Bernard needs help

“Light bars for lighting cabooses or passenger cars can be made from 5mm LEDs and clear drinking straws. One in each end wired appropriately. The light carrying medium is 5 minute epoxy from one of those Loctite instant mix tubes. (One minute epoxy is too fast and sets in the mixing tube.) Squirt it into the straw, cap with the LED then cap the other end with the other LED. This is all much less expensive than lighting kits. With the new Evan Designs LEDs, no decoder is needed. Any voltage source works.

Michael”


“The best tip I got when starting an HO layout,was to spend the extra cost for nickel silver track.

Richard”


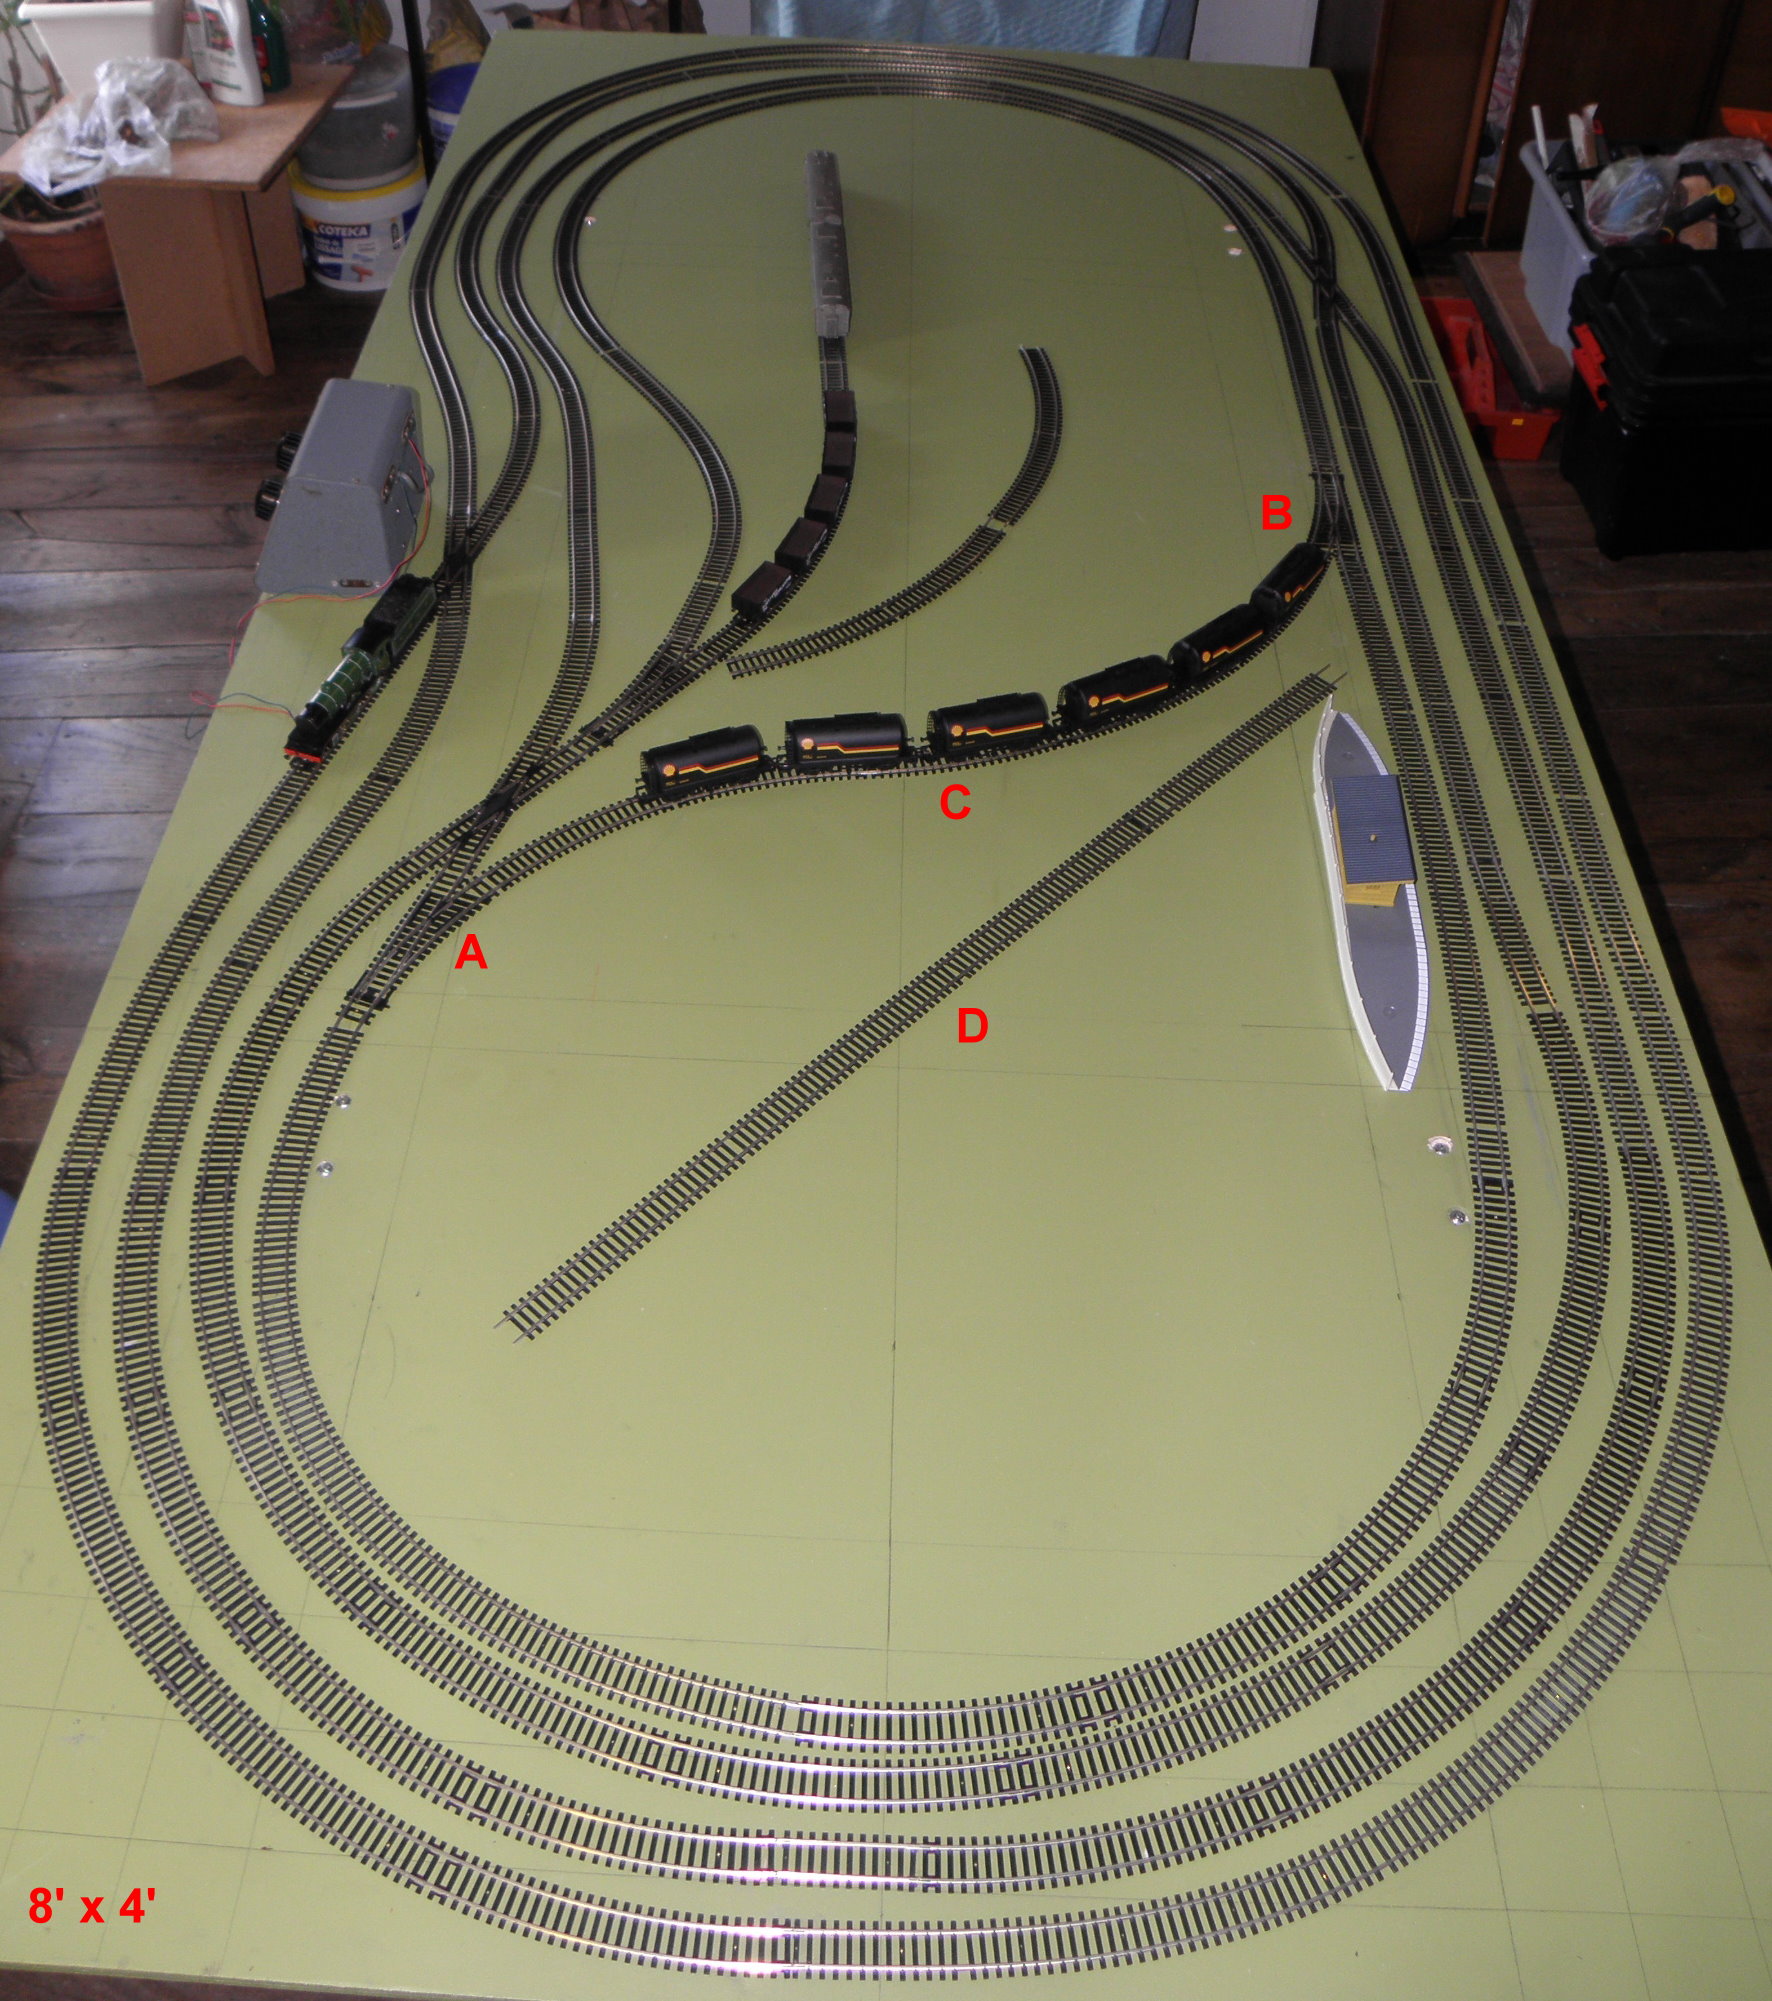
“Dear Alastair

Sixty years on I got my train set out again, invested in new track etc. and off I went only to find I am not that clever.

I was trying to set up a continuous loop using four tracks but hit problems when I tried to put in a cross over to reverse direction.

See attached photo: I want to cross from “A” to “B” and inserted insulating fishplates at “C” but when the engine gets to the fishplates it stops ! !

Could I solve the problem by inserting “D”, adding insulating fishplates at each end and wiring in a parallel electric supply to that section ?

The points at either end are Hornby R8073 & R8072.

I have looked on the Internet but am getting more confused. Can you advise please.

Please excuse track spacing, I am only running single track and tried to gain as much space as possible.

Thanks in anticipation

Bernard”

train track


So who can help Bernard?

Latest ebay cheat sheet is here.

Best

Al