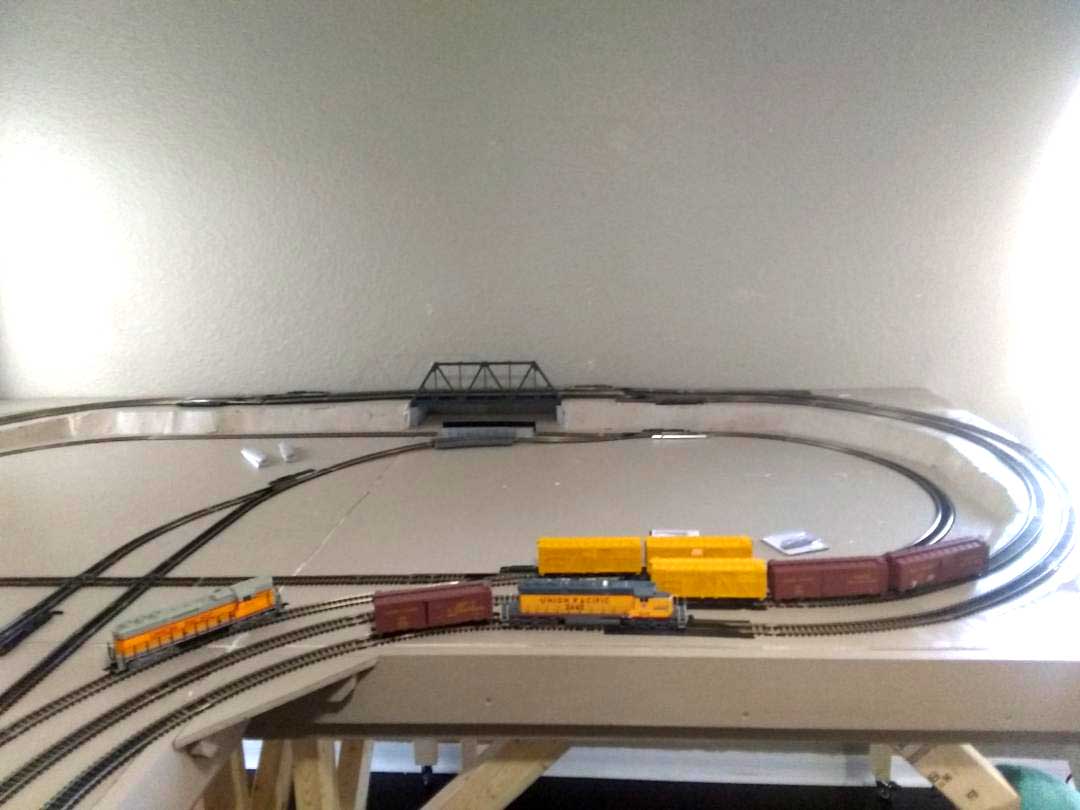
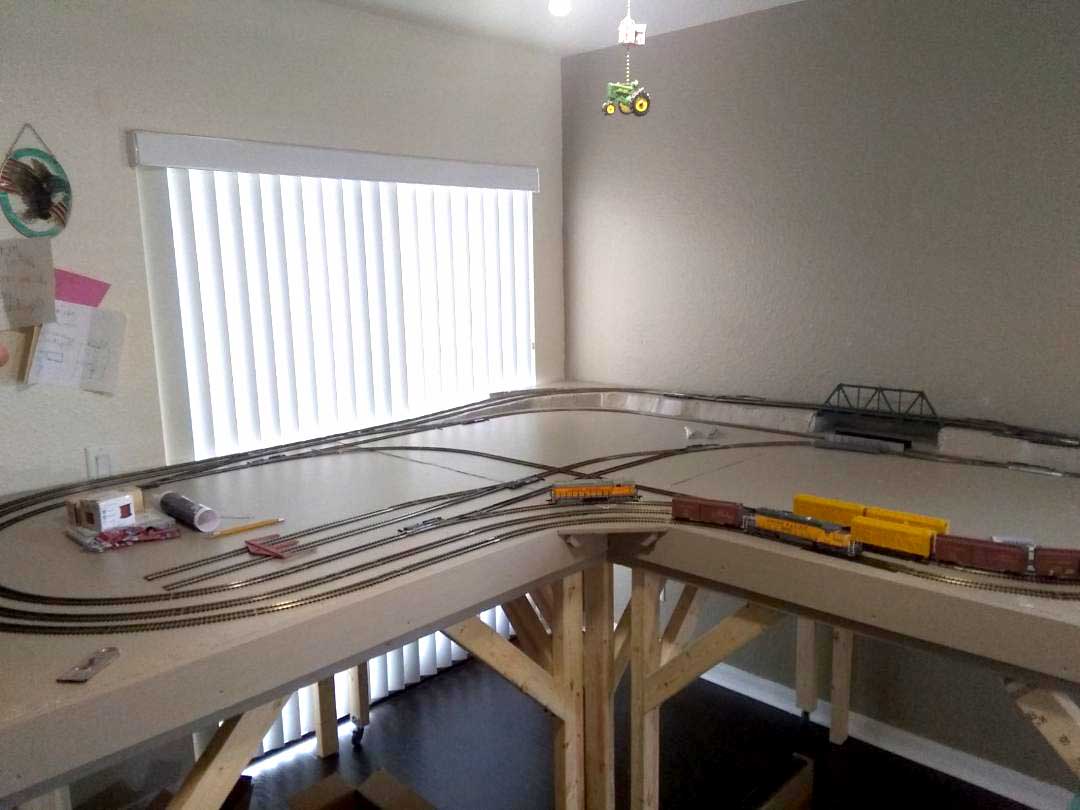
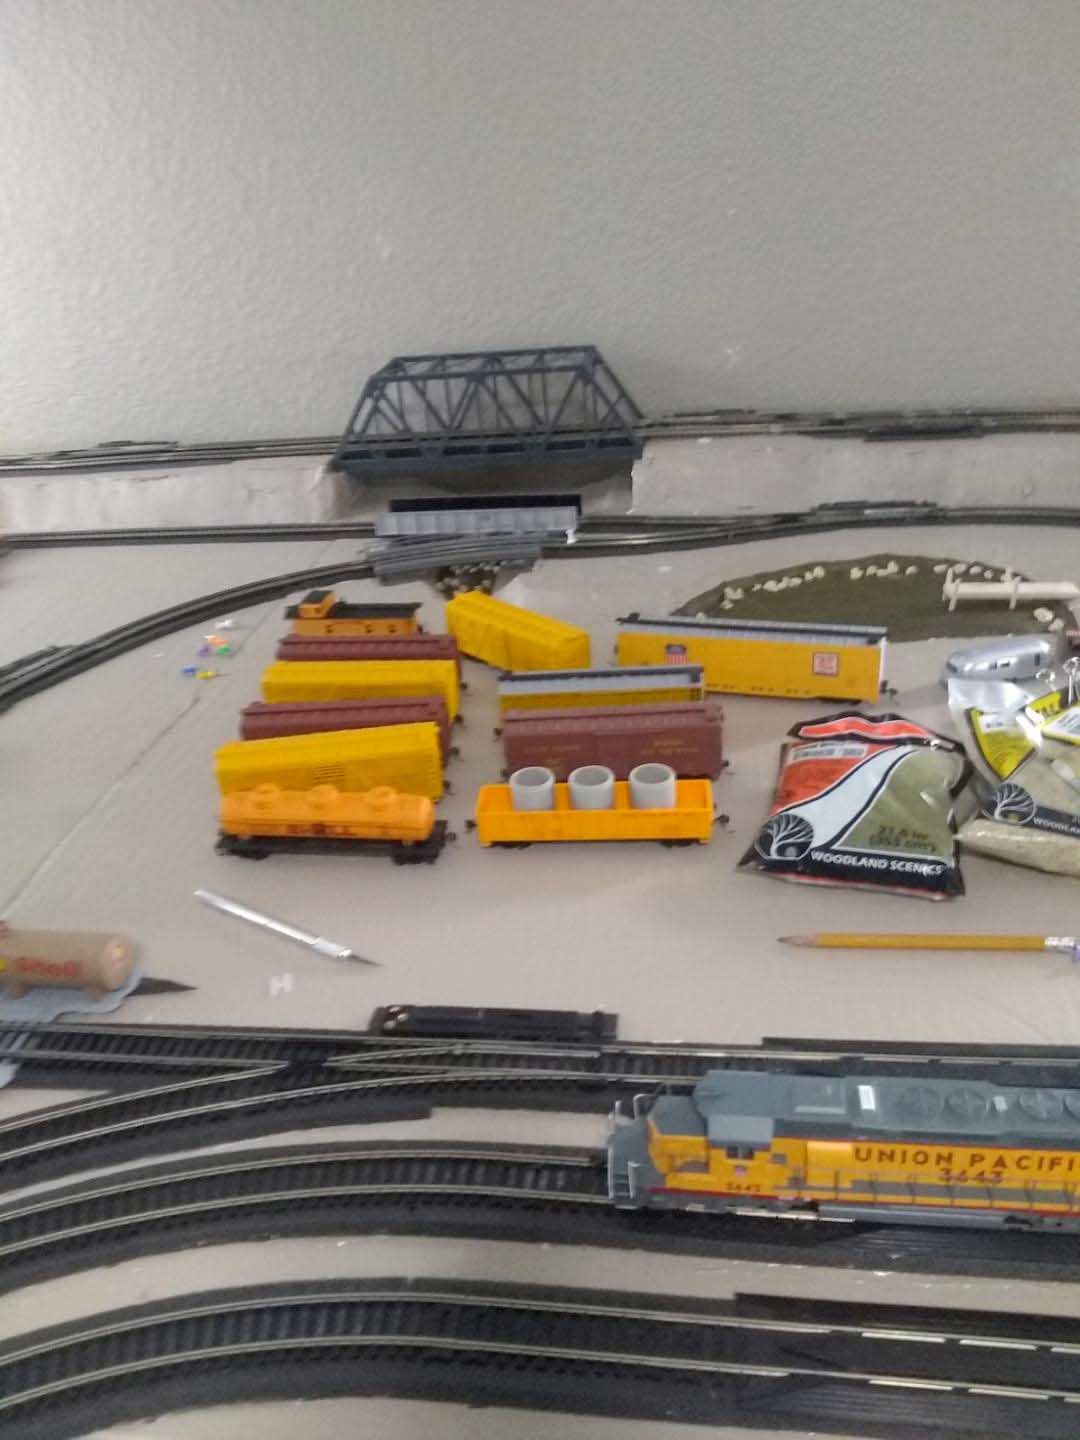
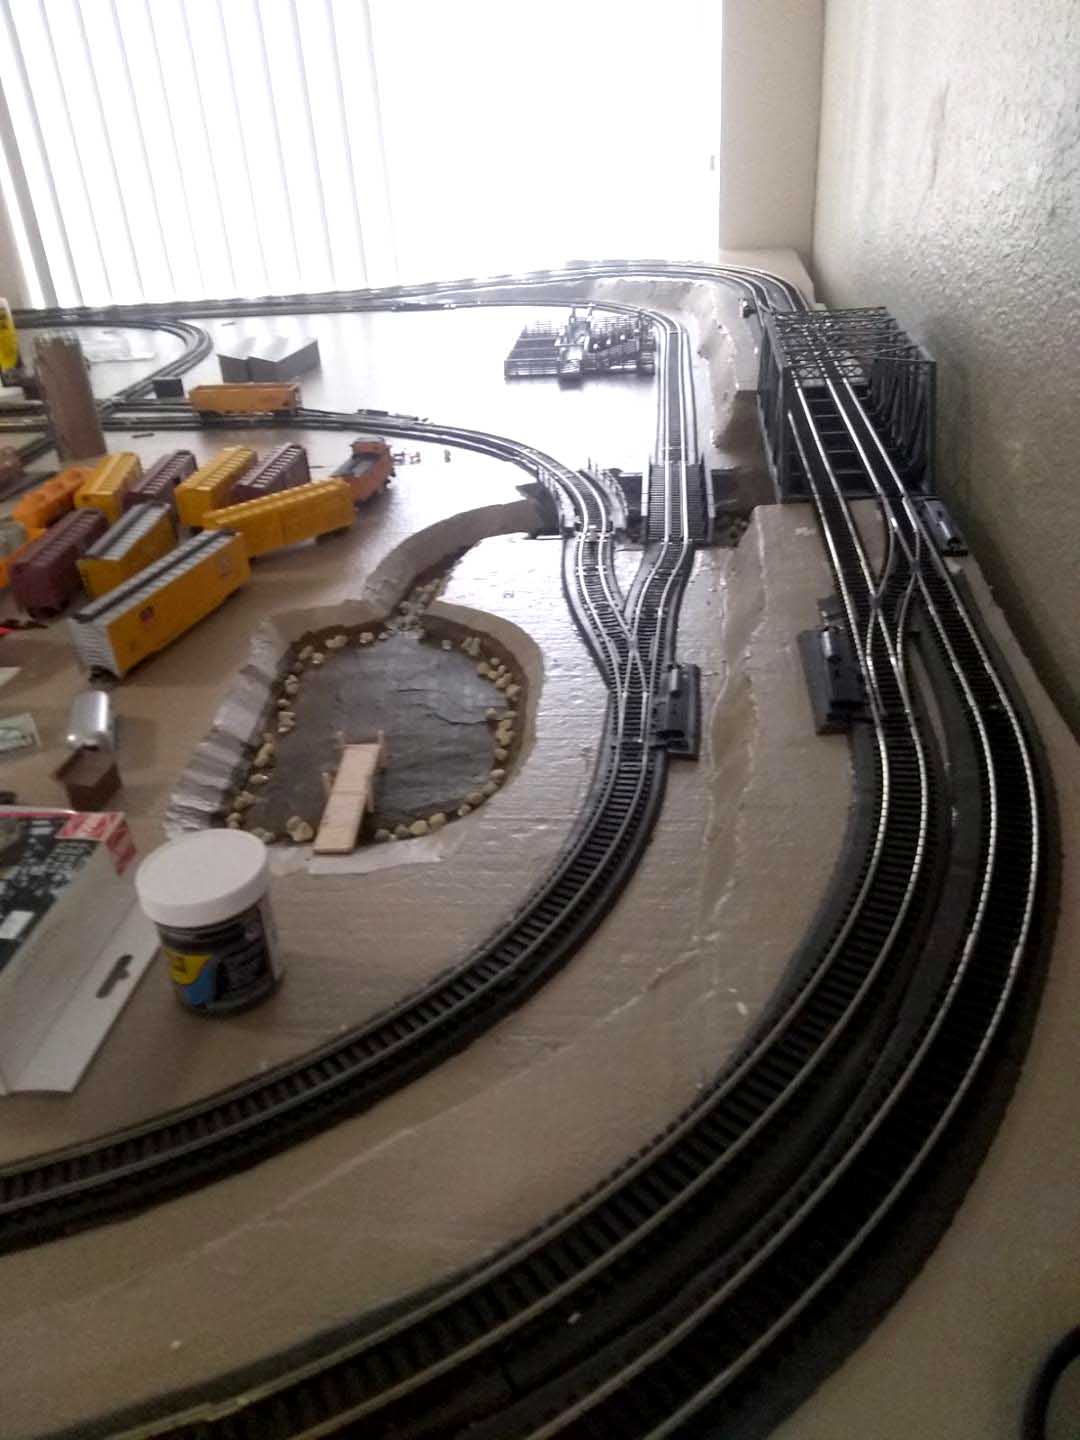
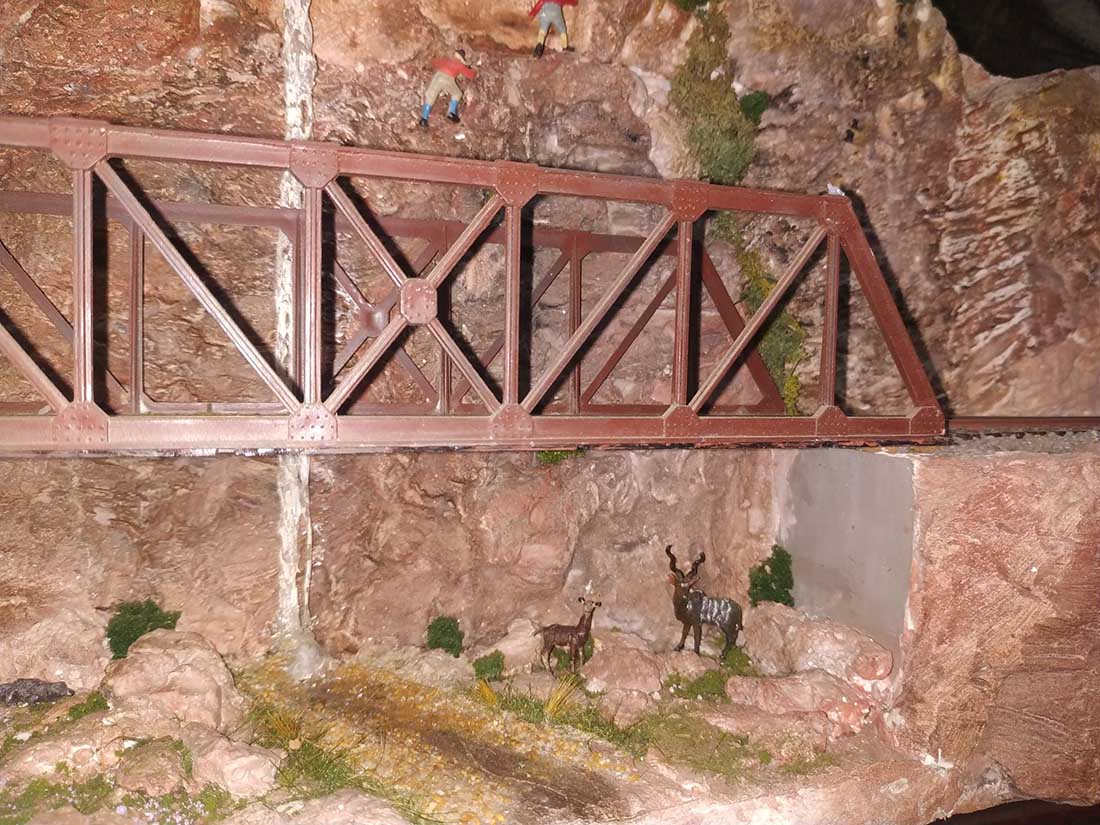
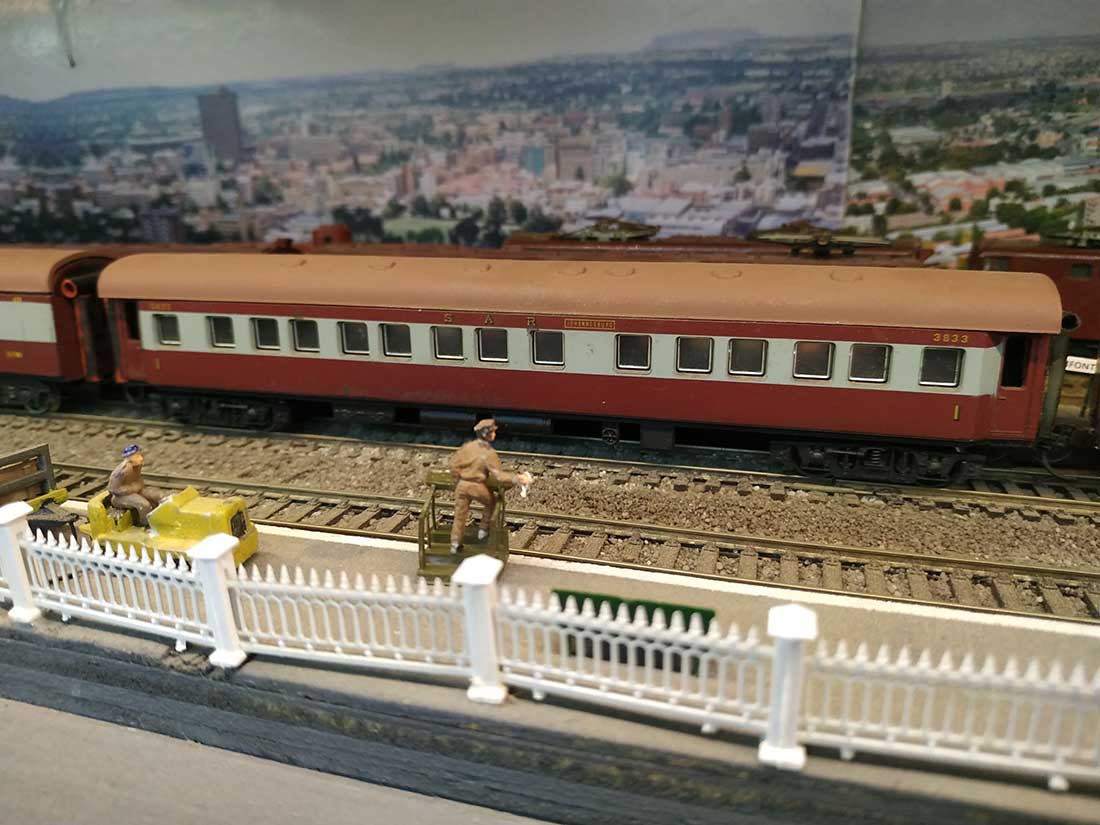
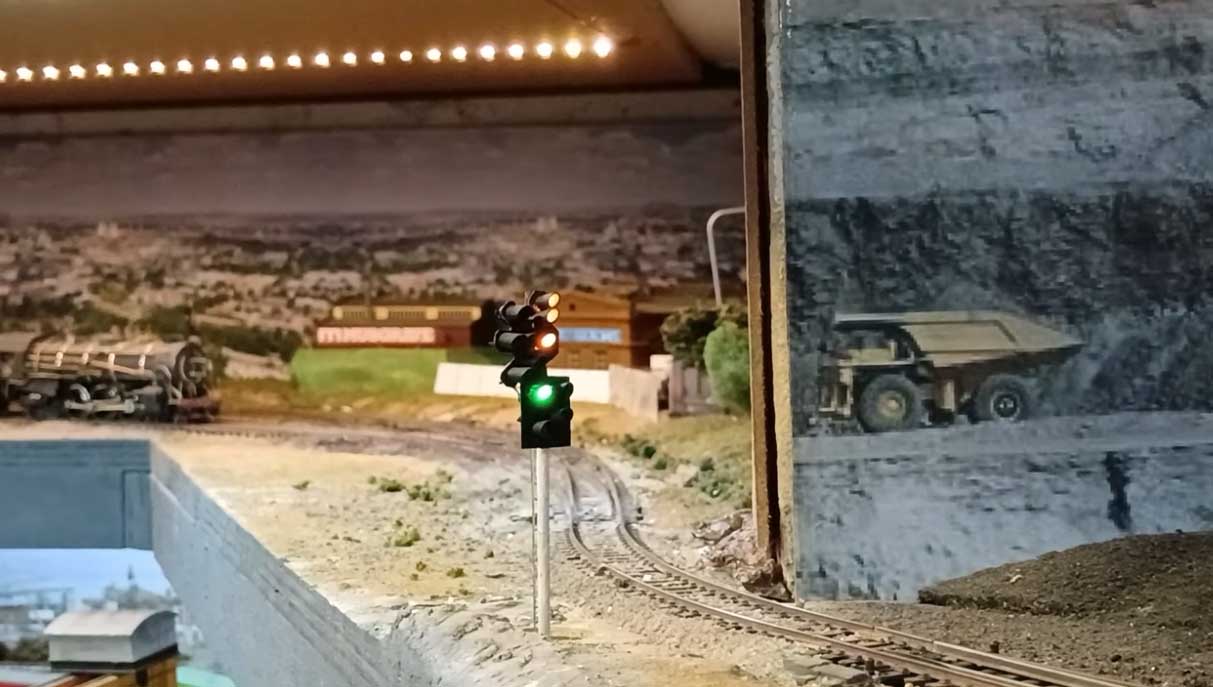
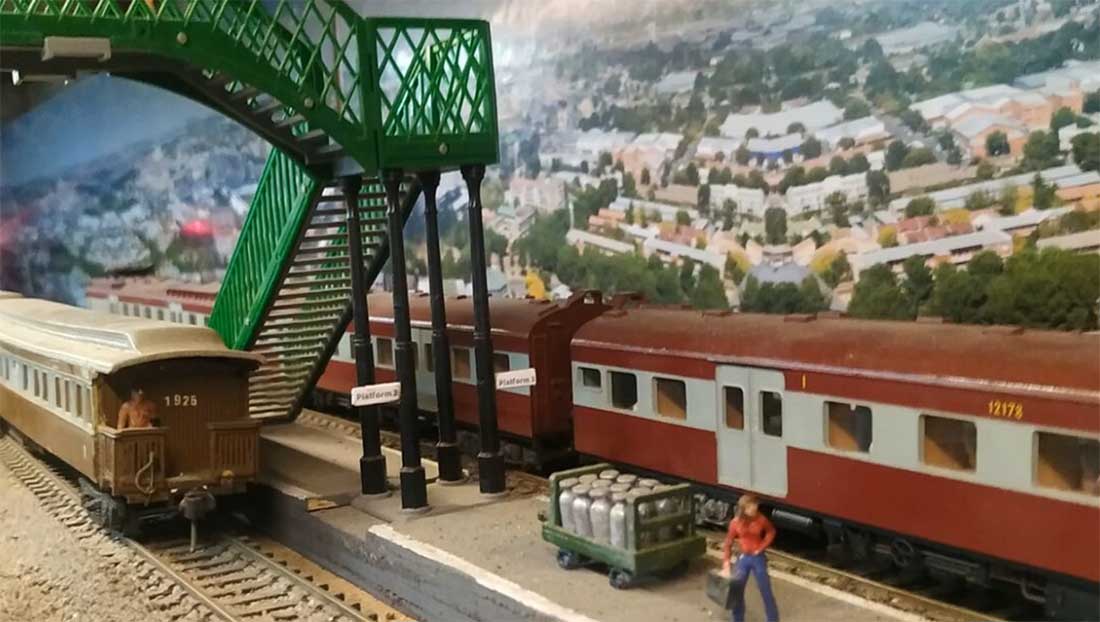
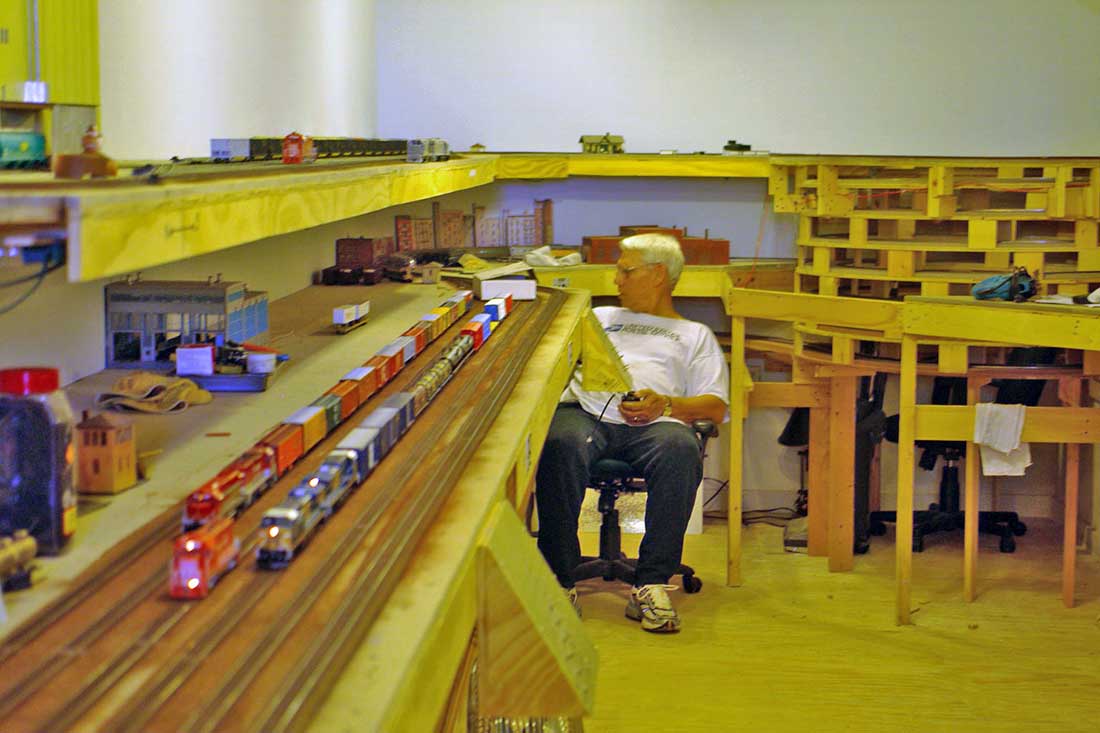
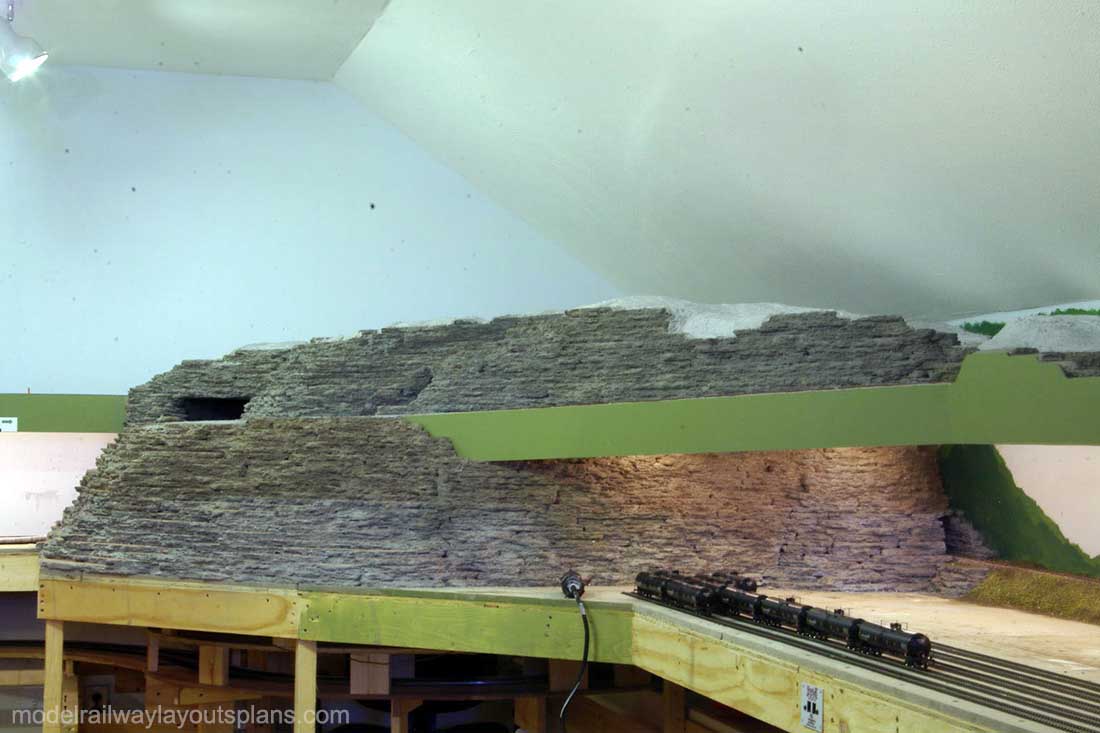
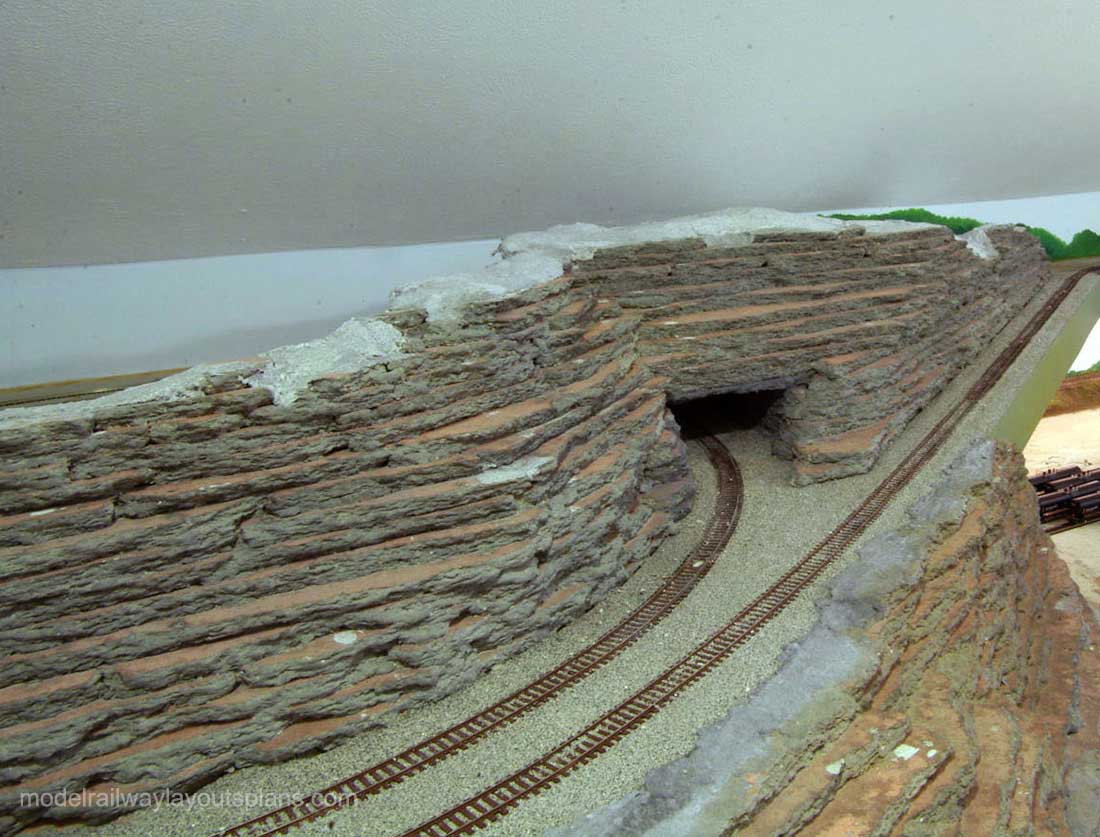
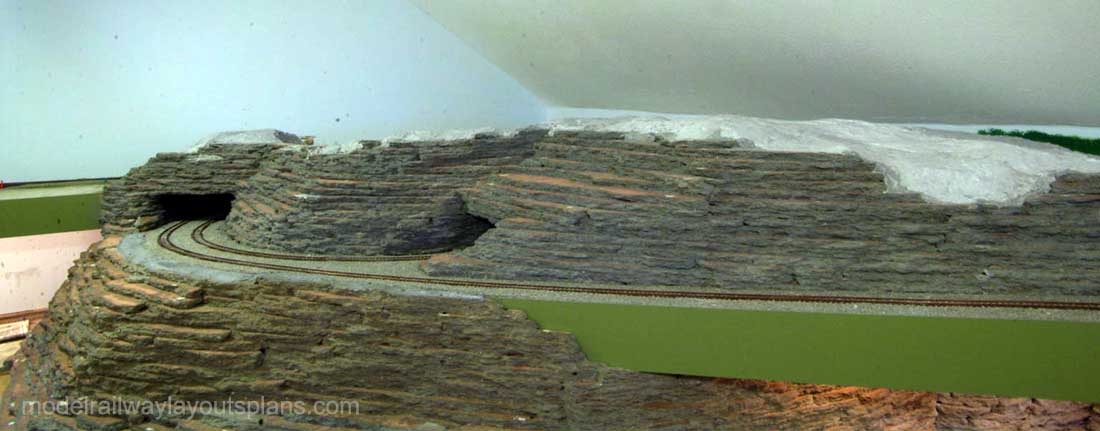
Ray’s been in touch with his 3 loop HO train layout:
“Hi Al,
This is my first time writing to you although I have enjoyed your emails of all the various layouts for months now!
They inspired me to get started on this new hobby of mine that I have been thinking about for years! For what it’s worth I thought I would share my new evolving layout with you.
I am retired 66 YO living in Florida and need to fill my days. I started researching about a year ago various layouts and sizes.
I spent time on-line looking at the Union Pacific Bailey Railyard, supposedly the world’s largest, in North Platt, NE. I ran across the web site for the Golden Spike Tower which has live web cams!
Here’s a link: Live Cam – Golden Spike Tower It’s really interesting to watch. I used this as inspiration to get started and plan on visiting it this summer.
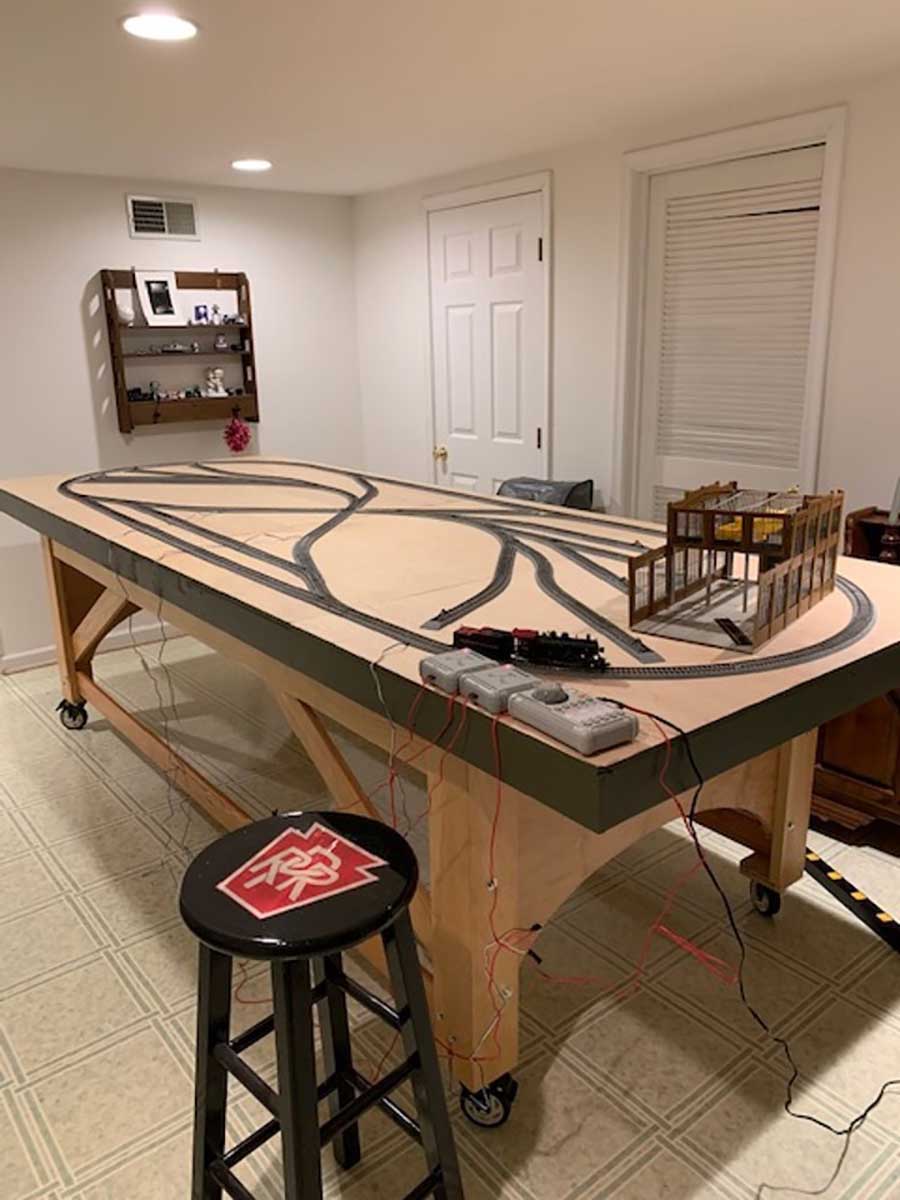
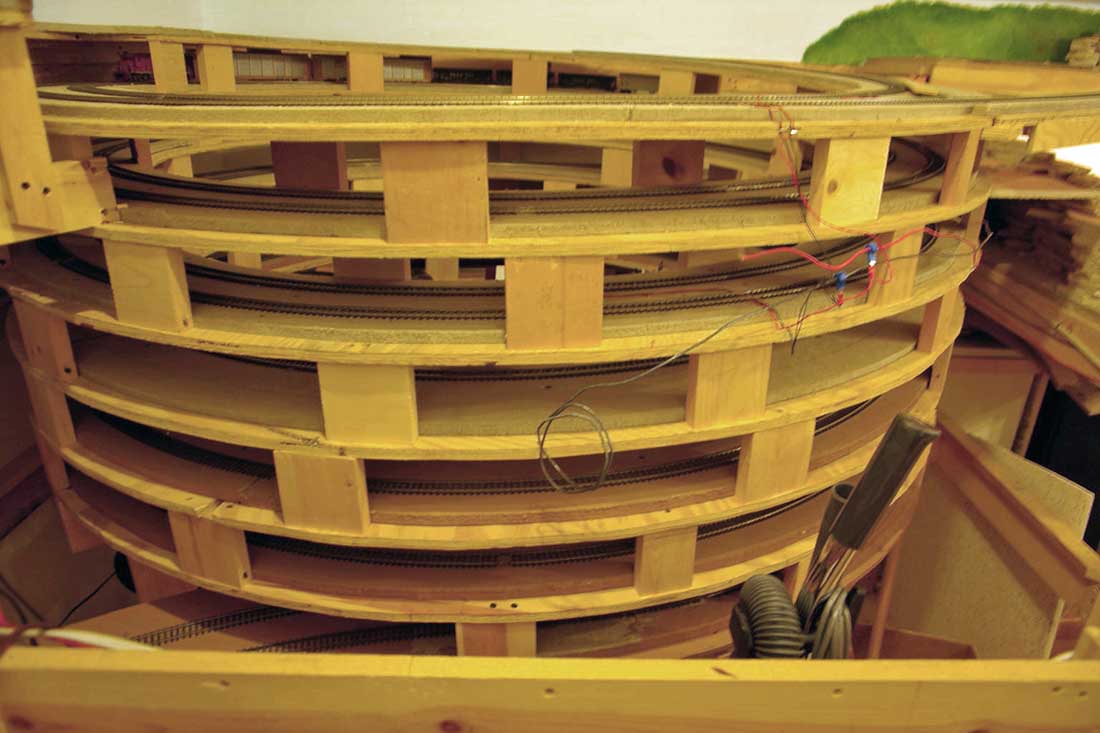
My layout consists of 3 – 4 ft x 4 ft sections bolted together.
The thought is to make it portable in case I move. The track will be able to be removed at the joints, and the wiring will have terminal blocks underneath to easily disconnect the wiring at the joints.
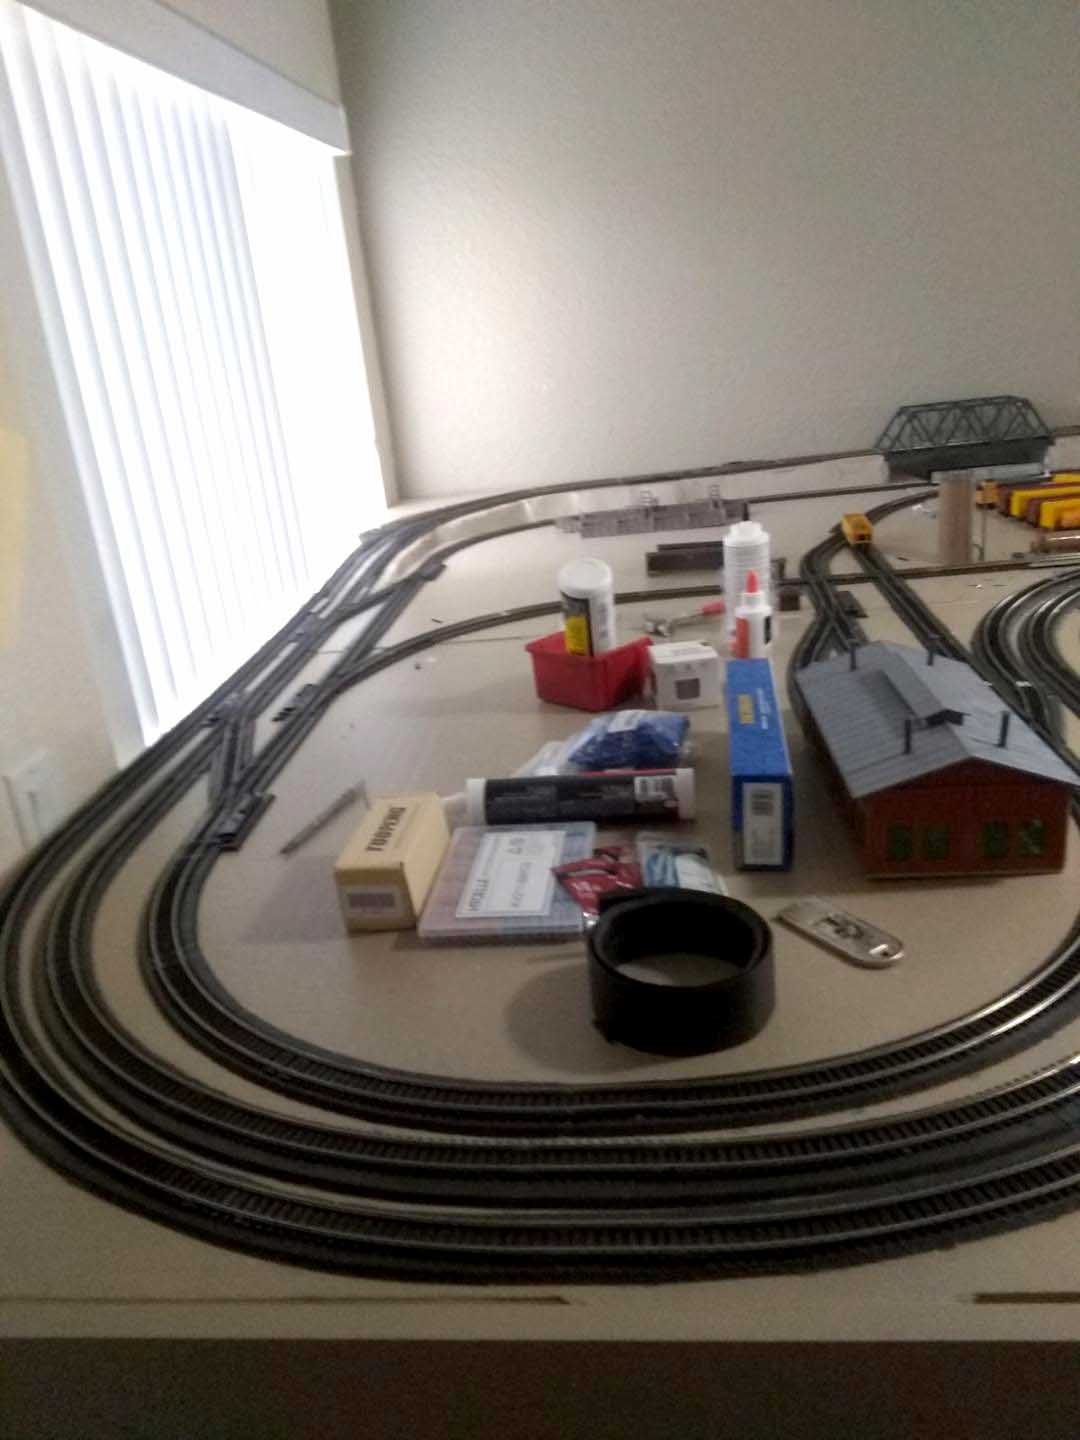
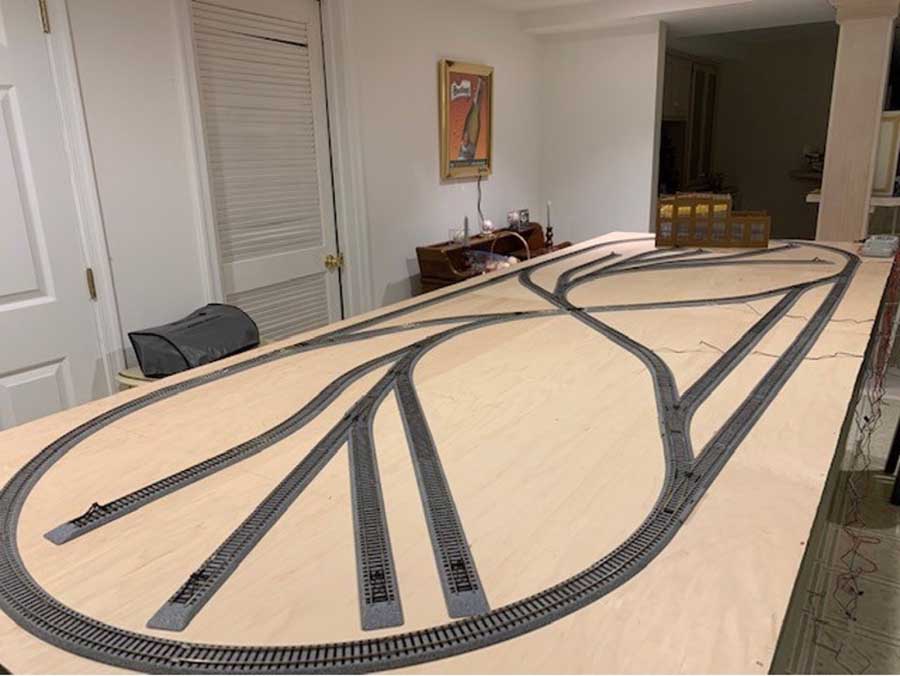
The first 3 pics you can see the framing and the joints as well as my preliminary layout. Each section has it’s own set of wheels. The entire table rolls very easily allowing me access to the back and side of the layout.
The next 5 pics show the progress I have made in the last two months.
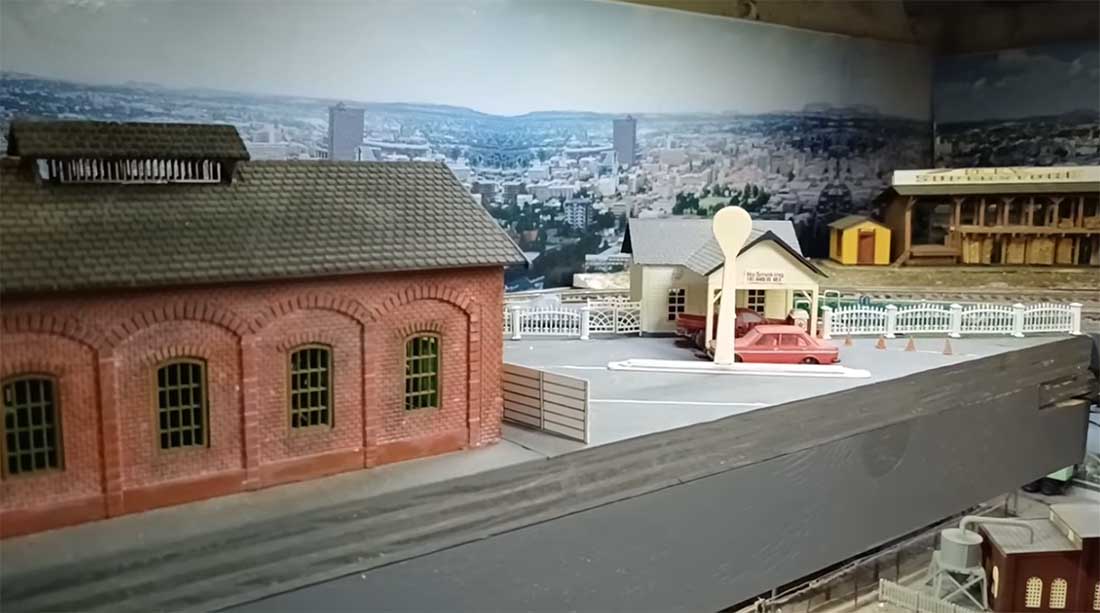
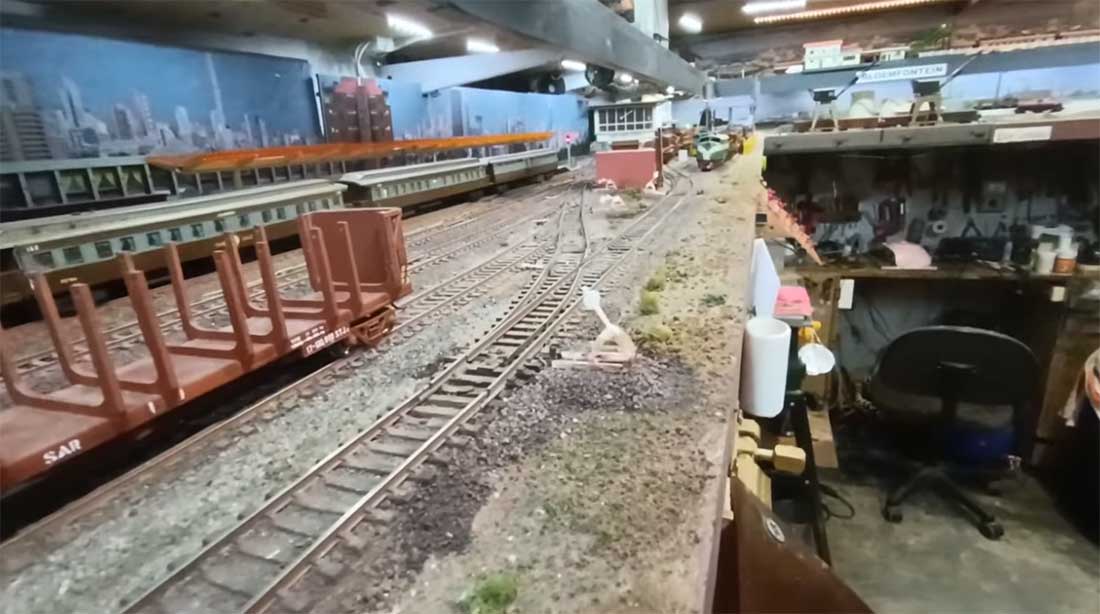
I have started on a lake with a small river under the bridges. I wanted to give it some 3D effect. I’ve also laid the roadbed down however, the track has not been glued down yet. I wanted to build my control panel and complete some of the wiring first in case I have some issues. I added some buildings and things but they are not permanently placed.
My goal is to be able to run 3 trains at the time, that sounds ambitious for a first time layout but I am a retired Electrical Engineer and I have studied the Atlas Complete Wiring Book.
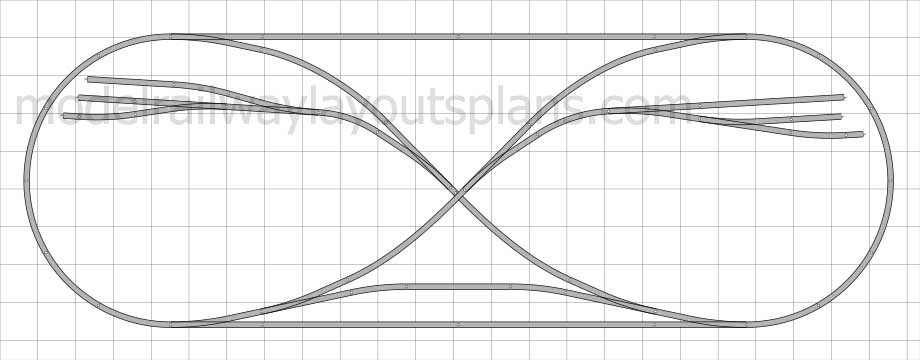
The layout consists of 3 loops with interconnecting capabilities. The inside loop is the most complex. It could be just a loop or a figure eight, but also has two reversing loops along with some sidings.
It will be interesting to see if I can wire it the way that I have envisioned it to work! Eventually I would like to convert to DCC but for a couple years will stick with just DC. Everything is so expensive!
I’ll close for now but perhaps I will send some updates as I go along. I did want to include a couple of pics showing this real cool mug my step-son made for me. It keeps my coffee hot for hours, It says:
A Perfect Day
Wake up
Trains
Breakfast
Trains
Lunch
Trains
Dinner
Trains
Sleep
Thanks for taking the time to read this,
God Bless.
Ray
North Port, FL.”
A big thanks to Ray for sharing his 3 loop HO train layout.
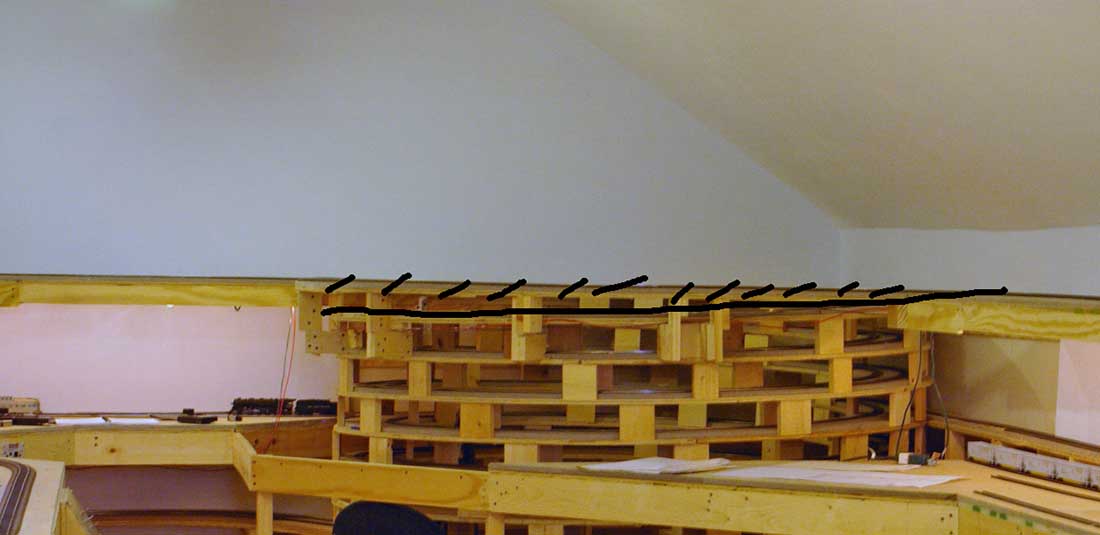
Curiosity got the better of me and I had to ask him about the tractor in the pic that is literally hanging about:
“The tractor is just a pull chain for the light fixture I have had for 20 plus years. I didn’t realize I captured it in the picture. It is pretty close to HO scale! I actually had a John Deer years ago!
Ray”
When ever a HO loop layout comes in, I’m always reminded of Ken’s: HO scale loop.
And this simple one too:
I do enjoy seeing the layouts in their early stages, it makes the updates very satisfying, and I’m really looking forward to seeing Ray’s post.
He’s made a great start, and that’s what this hobby is all about, making a that start…
Now on to Andrew:
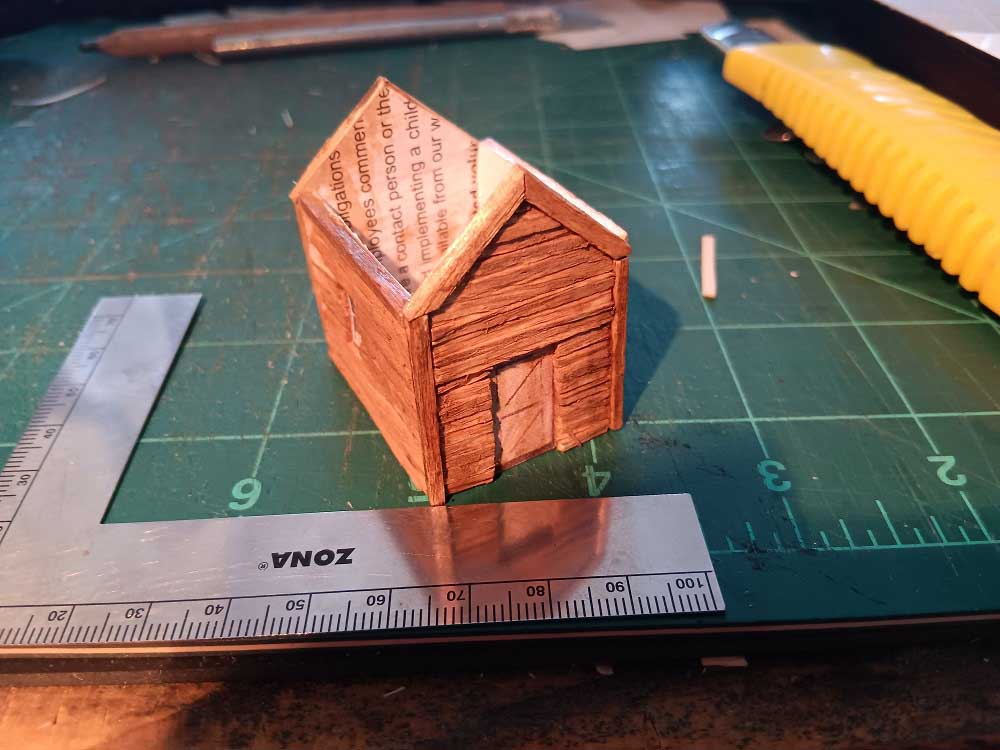
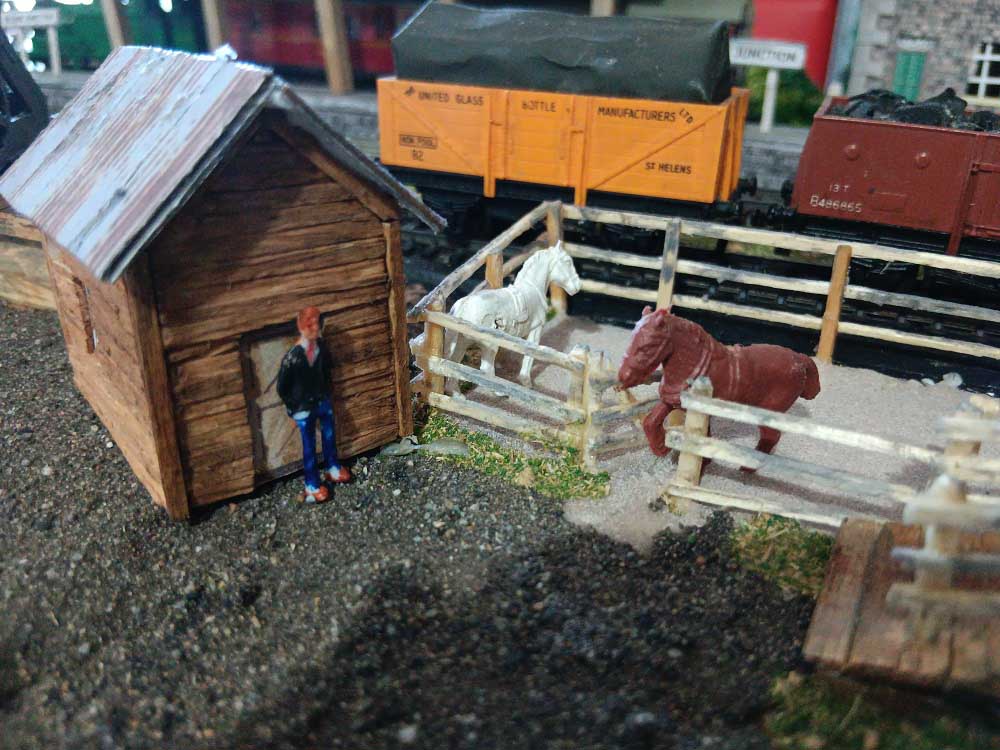
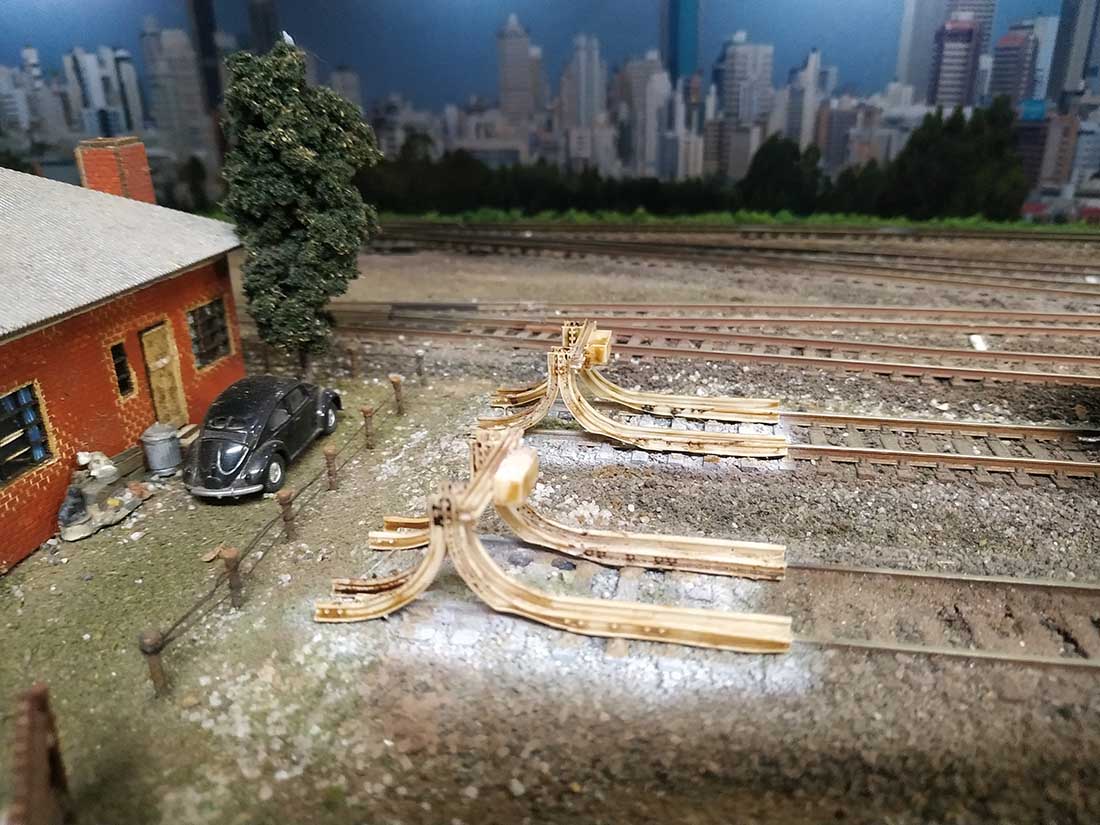
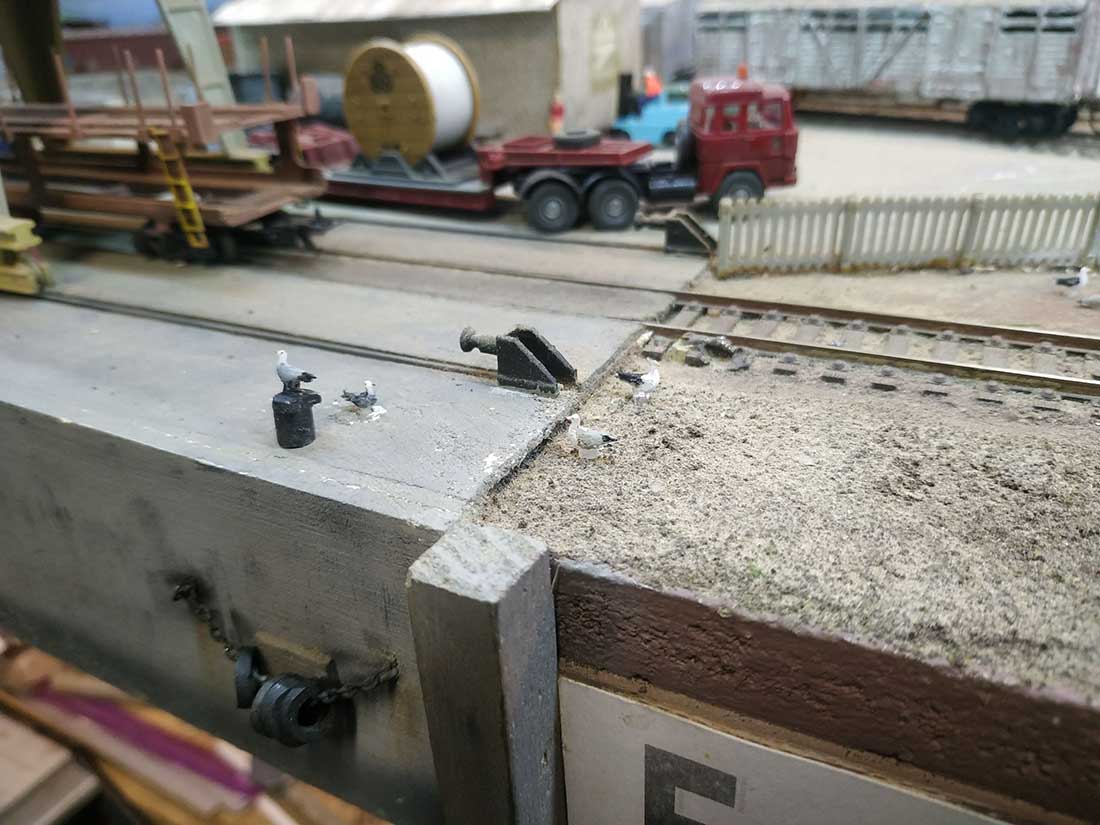
“Using cheap acrylic paint from the local Pound Store weather the sides to suit Photos Timber Sheds I and J.
Add corrugated iron roofing also from print outs and place on the layout Photo K
Best wishes to you and all who follow your wonderful and informative posts, I hope it may be of use to someone.
Andrew in Oz”
That’s all for today folks. A big thanks to Andrew and to Ray for sharing his 3 loop HO train layout.
Please do keep ’em coming.
And if today is the day you stop dreaming and start doing, the Beginner’s Guide is here.
Best
Al
PS Latest ebay cheat sheet is here.
PPS More HO scale train layouts here if that’s your thing.
Need buildings for your layout? Have a look at the Silly Discount bundle.
