Jim’s been in touch with his big new project. He’s added to the collection of HO scale mountain layouts on the blog.
“Hello from Buffalo New York, from across the GREAT BIG POND.
I thought I would give an update on the new layout currently under construction.
However, before I get to the update I want to share something. In October I lost a friend of over 30 years.
His name was George Schewnk. George was a good friend and a model railroader. He had “O” gauge Lionel trains and accessories. He really enjoyed playing with his trains, and what a collection he had. I will miss my friend very much. He leaves behind his wife Darlene and a son Garret.
Garret is also involved with model railroading in “N” gauge. I can remember one night George called me with a problem with Garrets Peco switches. So over I went and between my experience with them and George being frustrated they worked perfectly. What a good time for both of us. Rest in Peace my friend.
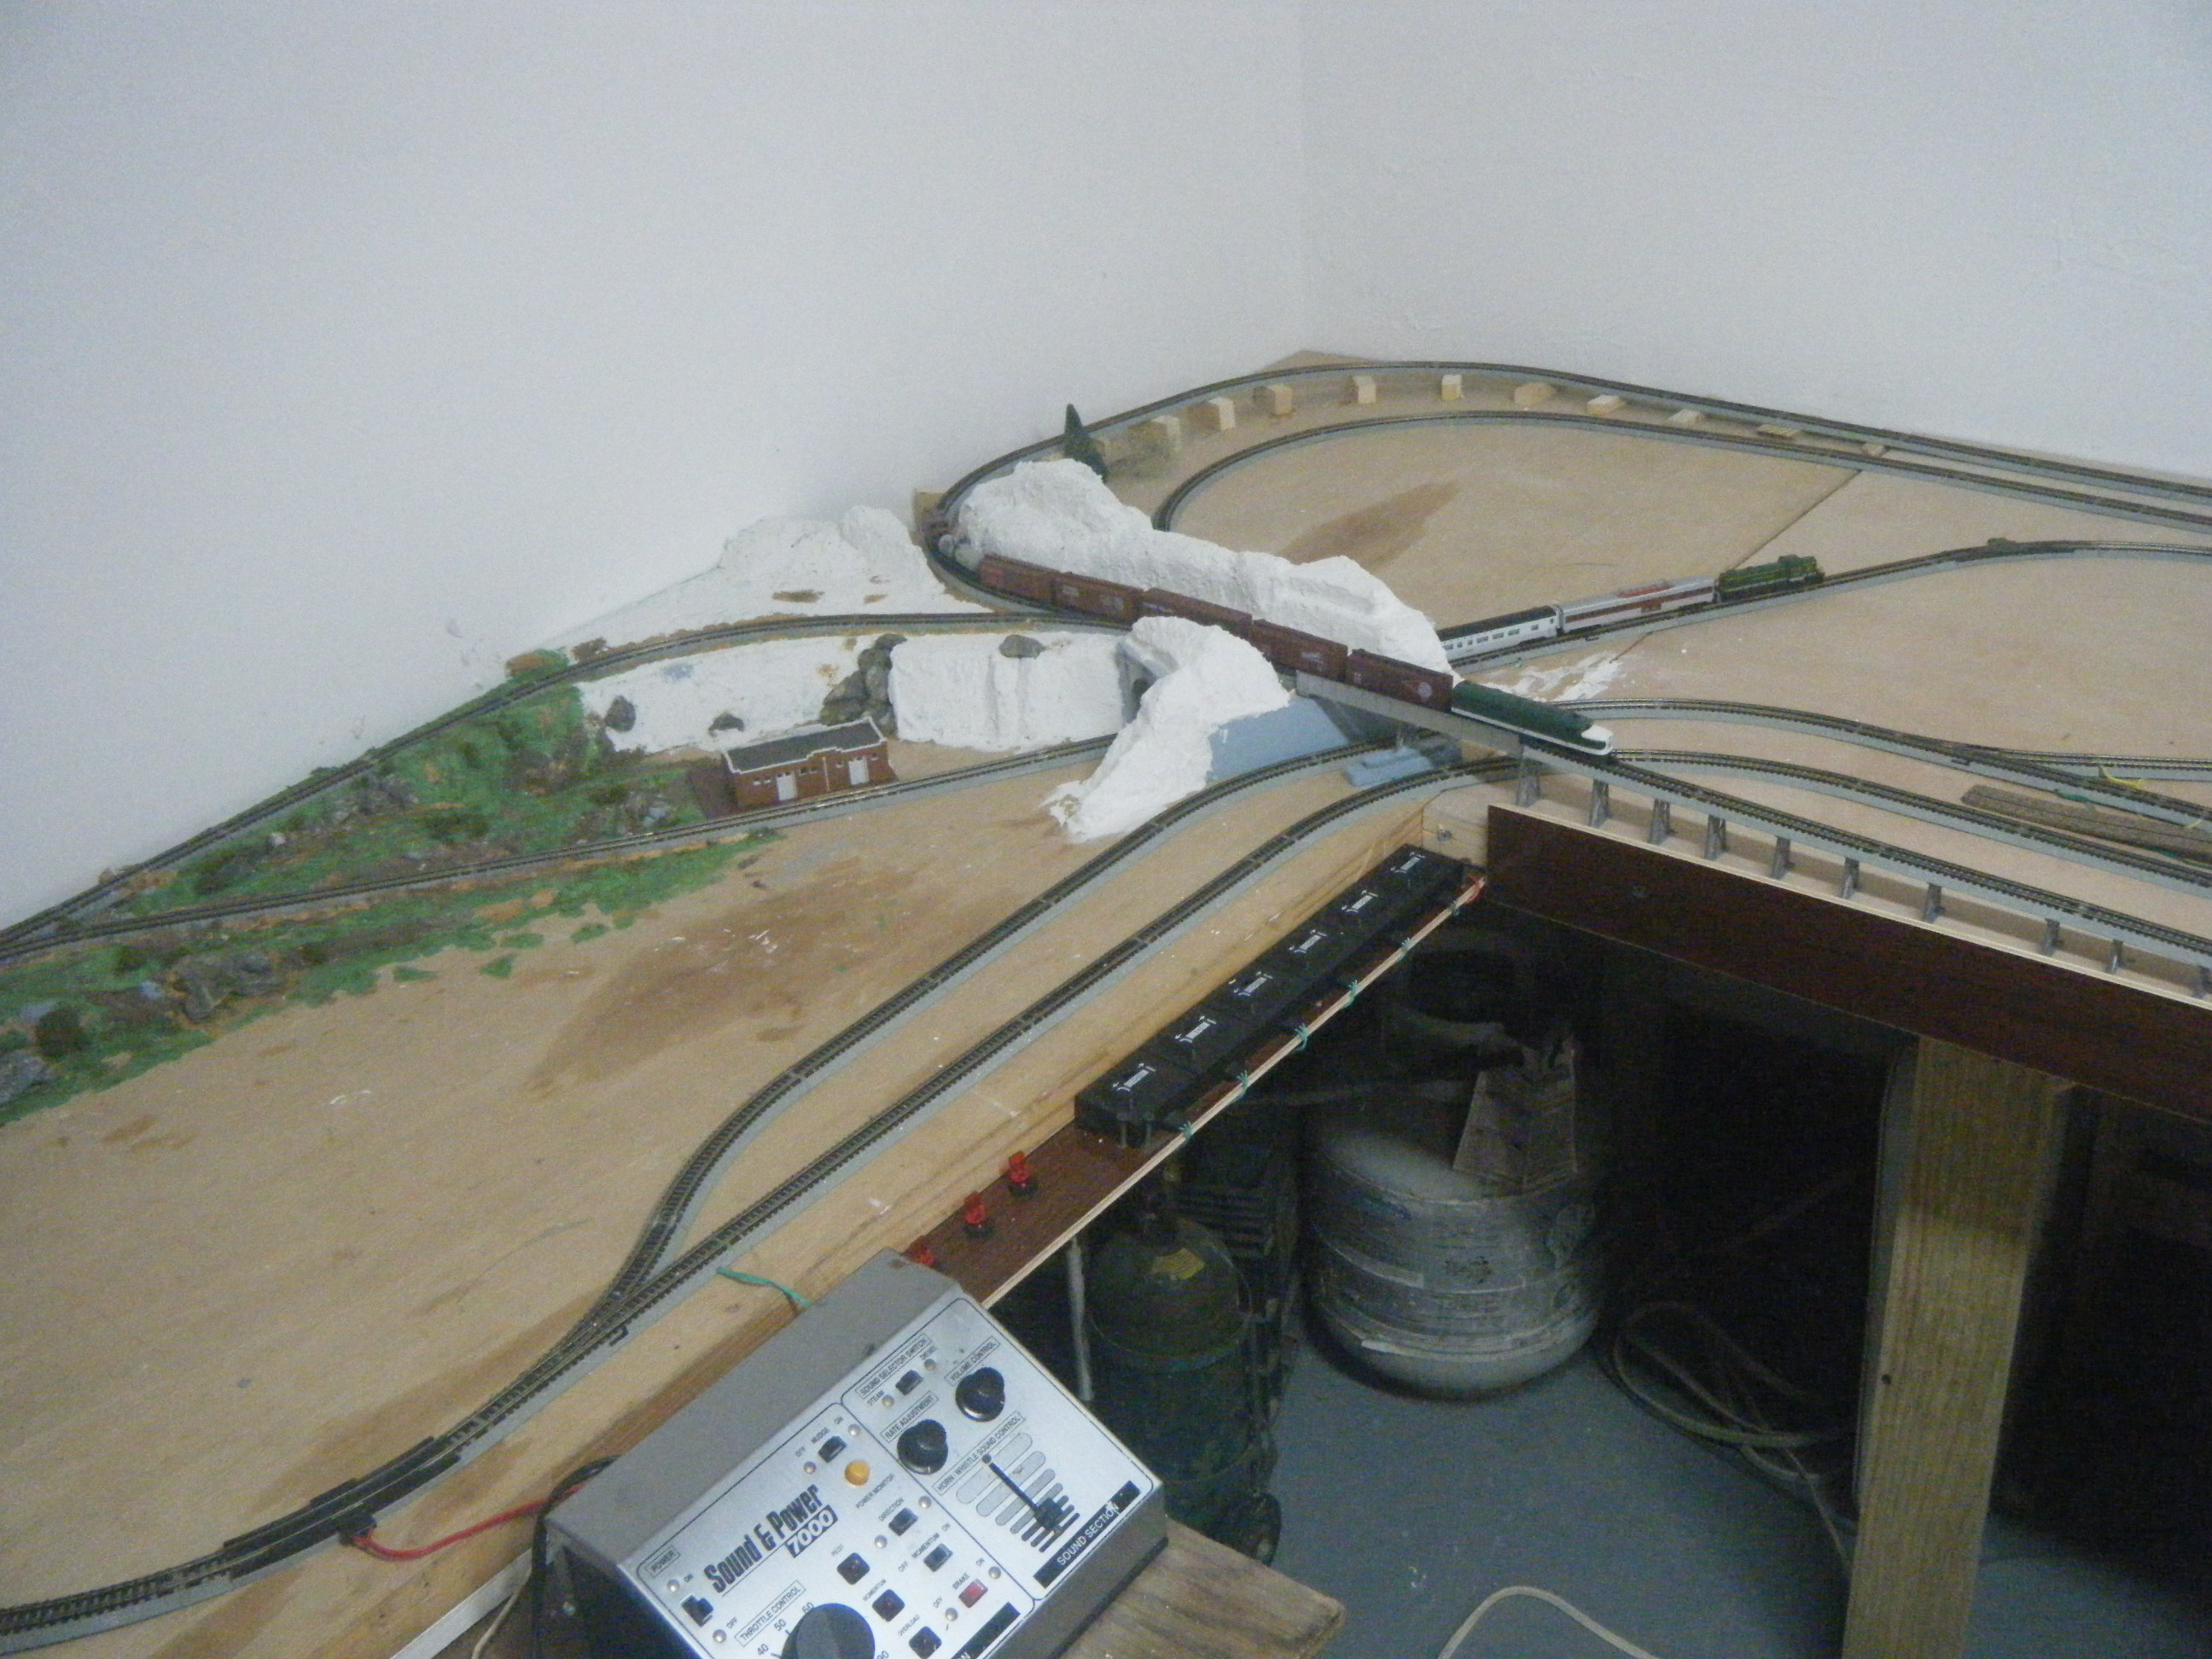
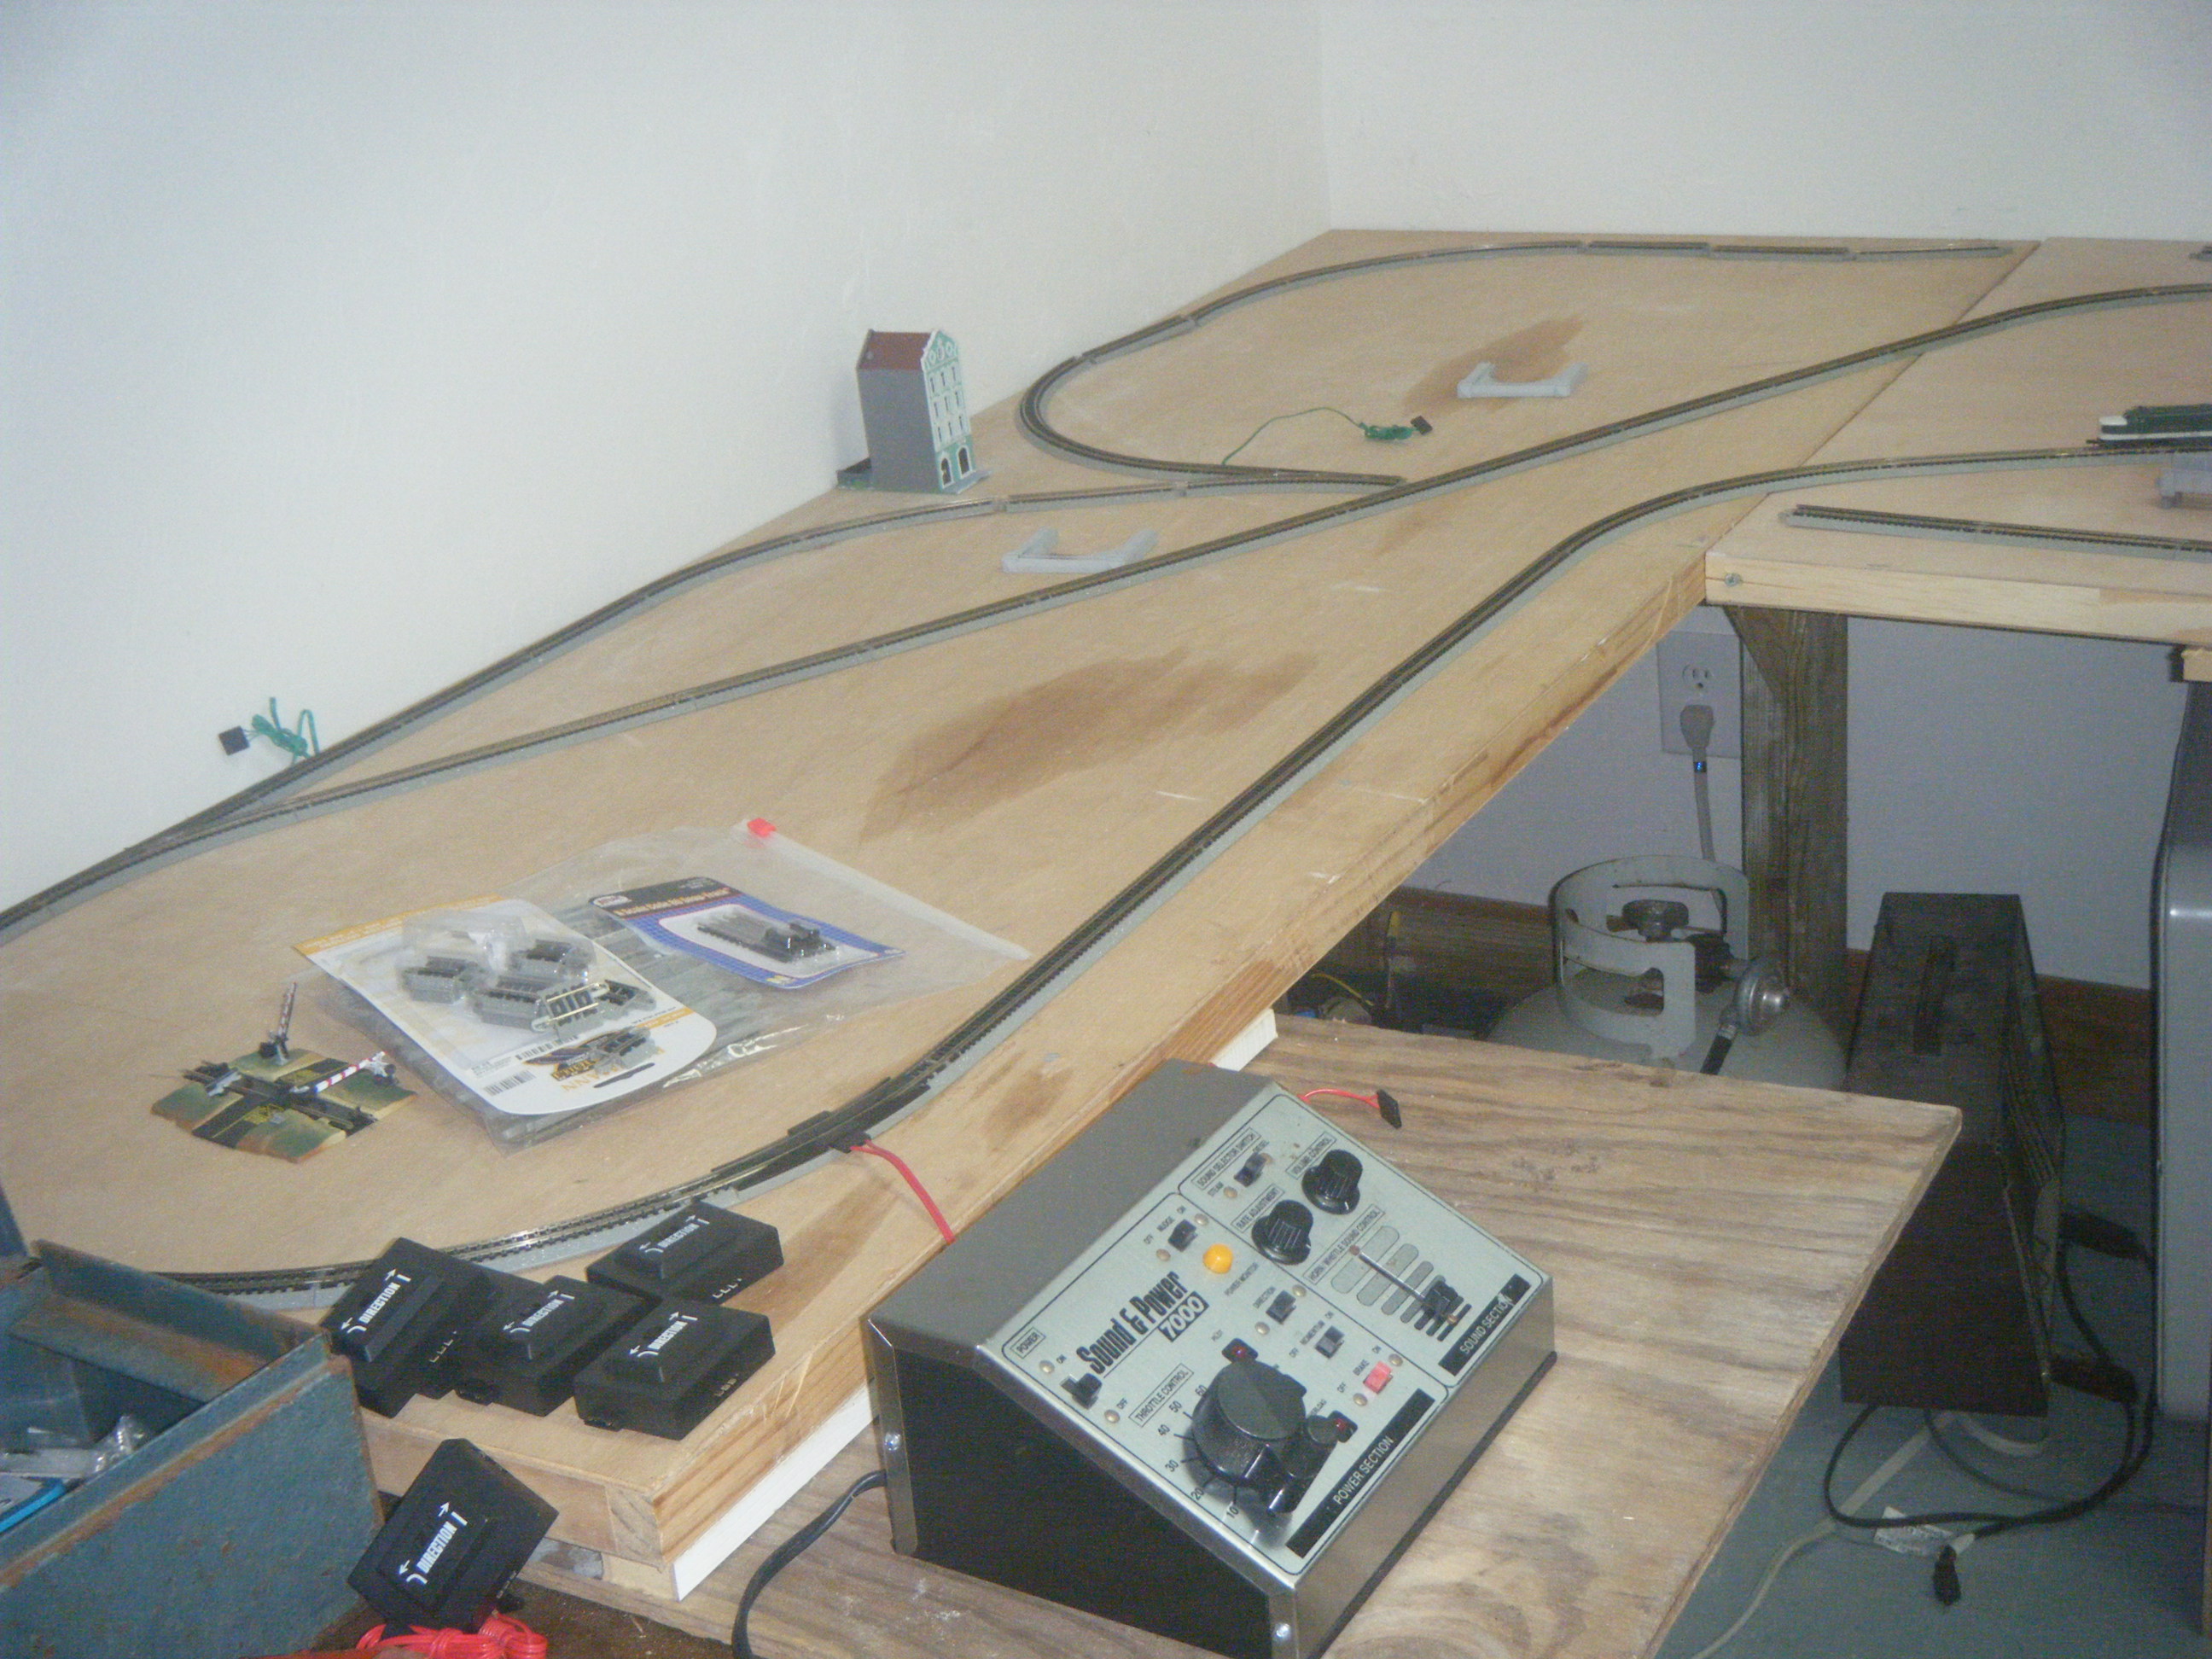
And now on to the update! I have included some pictures regarding the Construction of this massive layout. Now keep in mind this layout is a backward “7” of sorts. The total layout in size is a little over 105 square feet total. Not impressive by some layouts but keep in mind the drawing that I sent originally. Here is what the layout will look like:
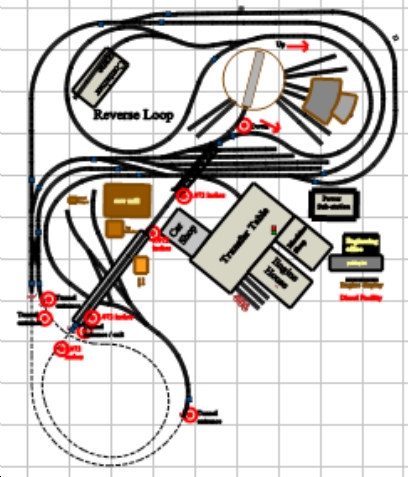
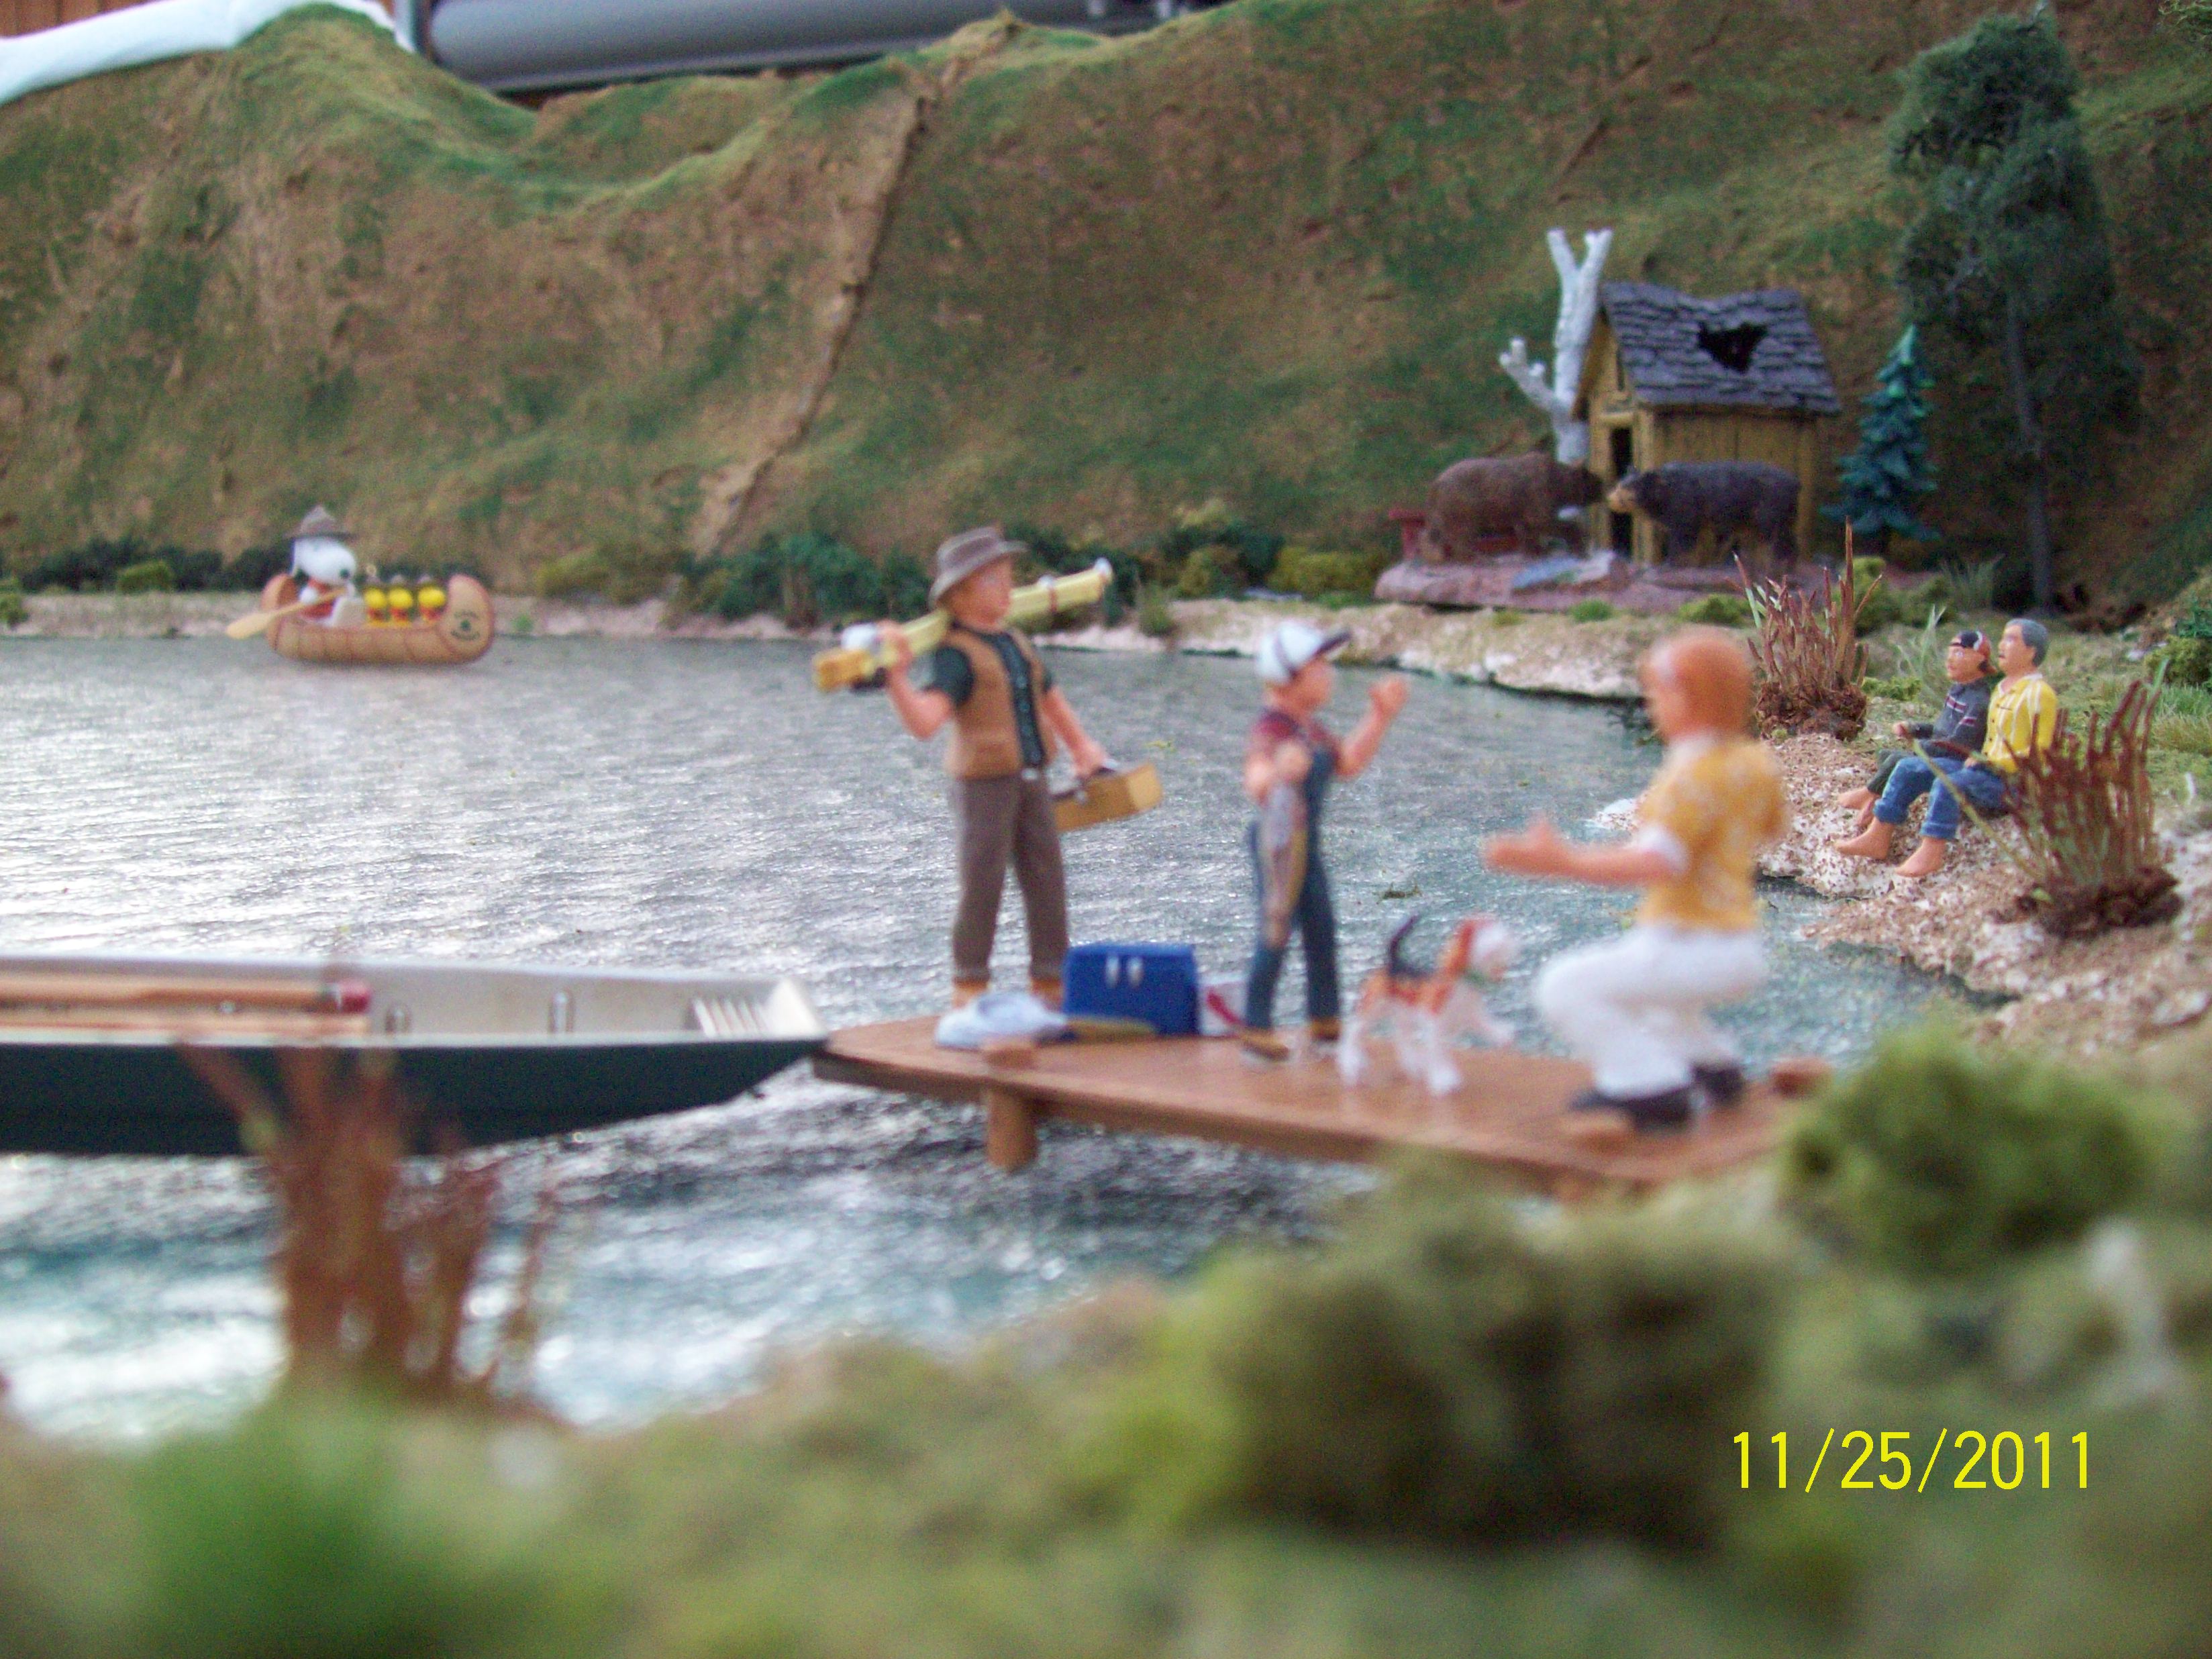
There have been some upgrades to the layout not shown on the drawing above. There has been a small yard added to the area of the container terminal, a lake added to where the mountain is located and have added several extra turnouts for a total of 21, all controlled by Tortoise Machines. The DOUBLE CROSS OVER was not working correctly so it was replaced with a new turnout configuration.
The next few pictures show the table completed, the track laid in the first stage minus the road bed.
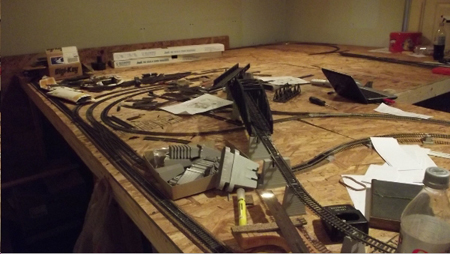
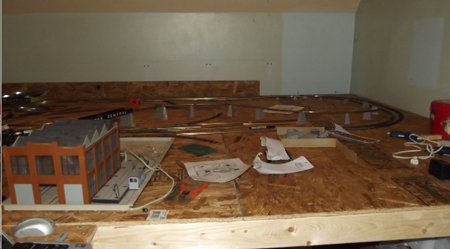
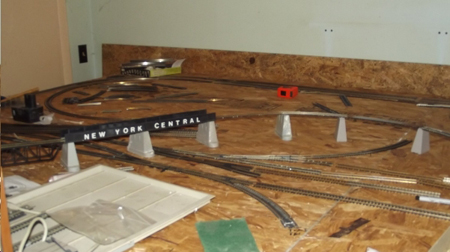
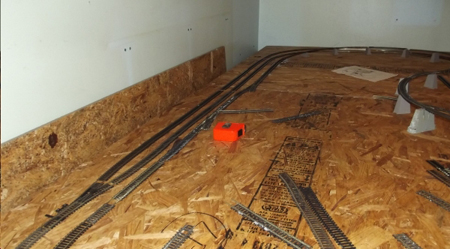
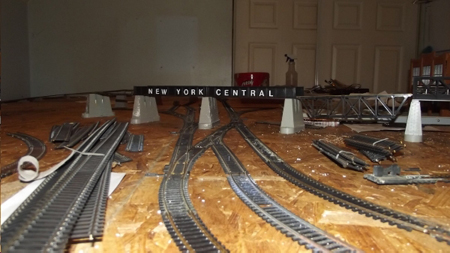
And now for the bridge. This bridge is 5 feet in length which leads to the reverse loop that is in the rear of the layout.
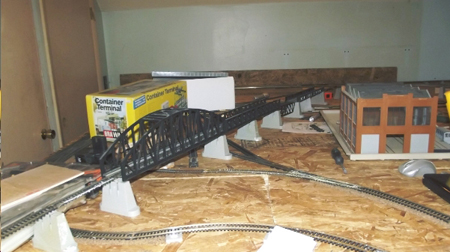
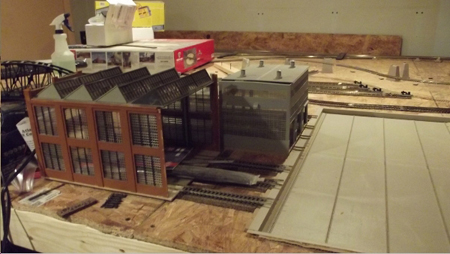
The next pictures show the Transfer Table deck is in place and the 3 Maintenance Buildings are now set in place. The actual moving table needs some repairs to it, so it is presently on my work bench.
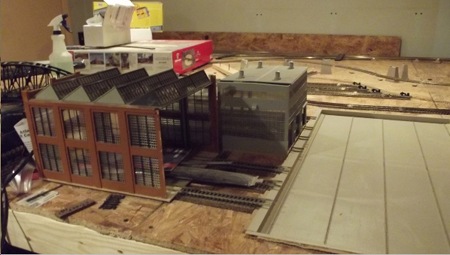
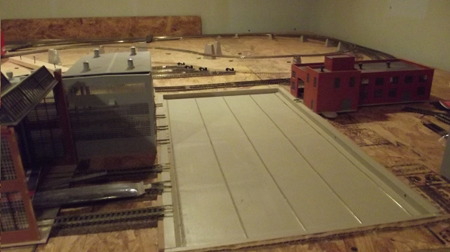
HO scale mountain layouts:
The mountain is starting to take shape. I have installed the cardboard webbing so far and in a couple of days I will place the screen material before I place the plaster cloth
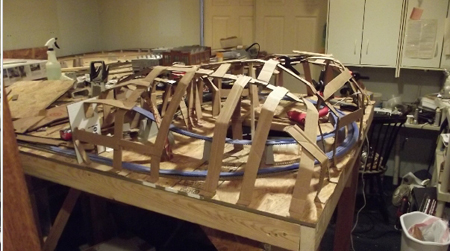
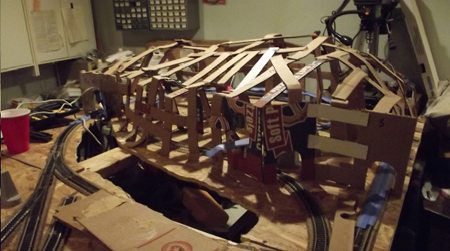
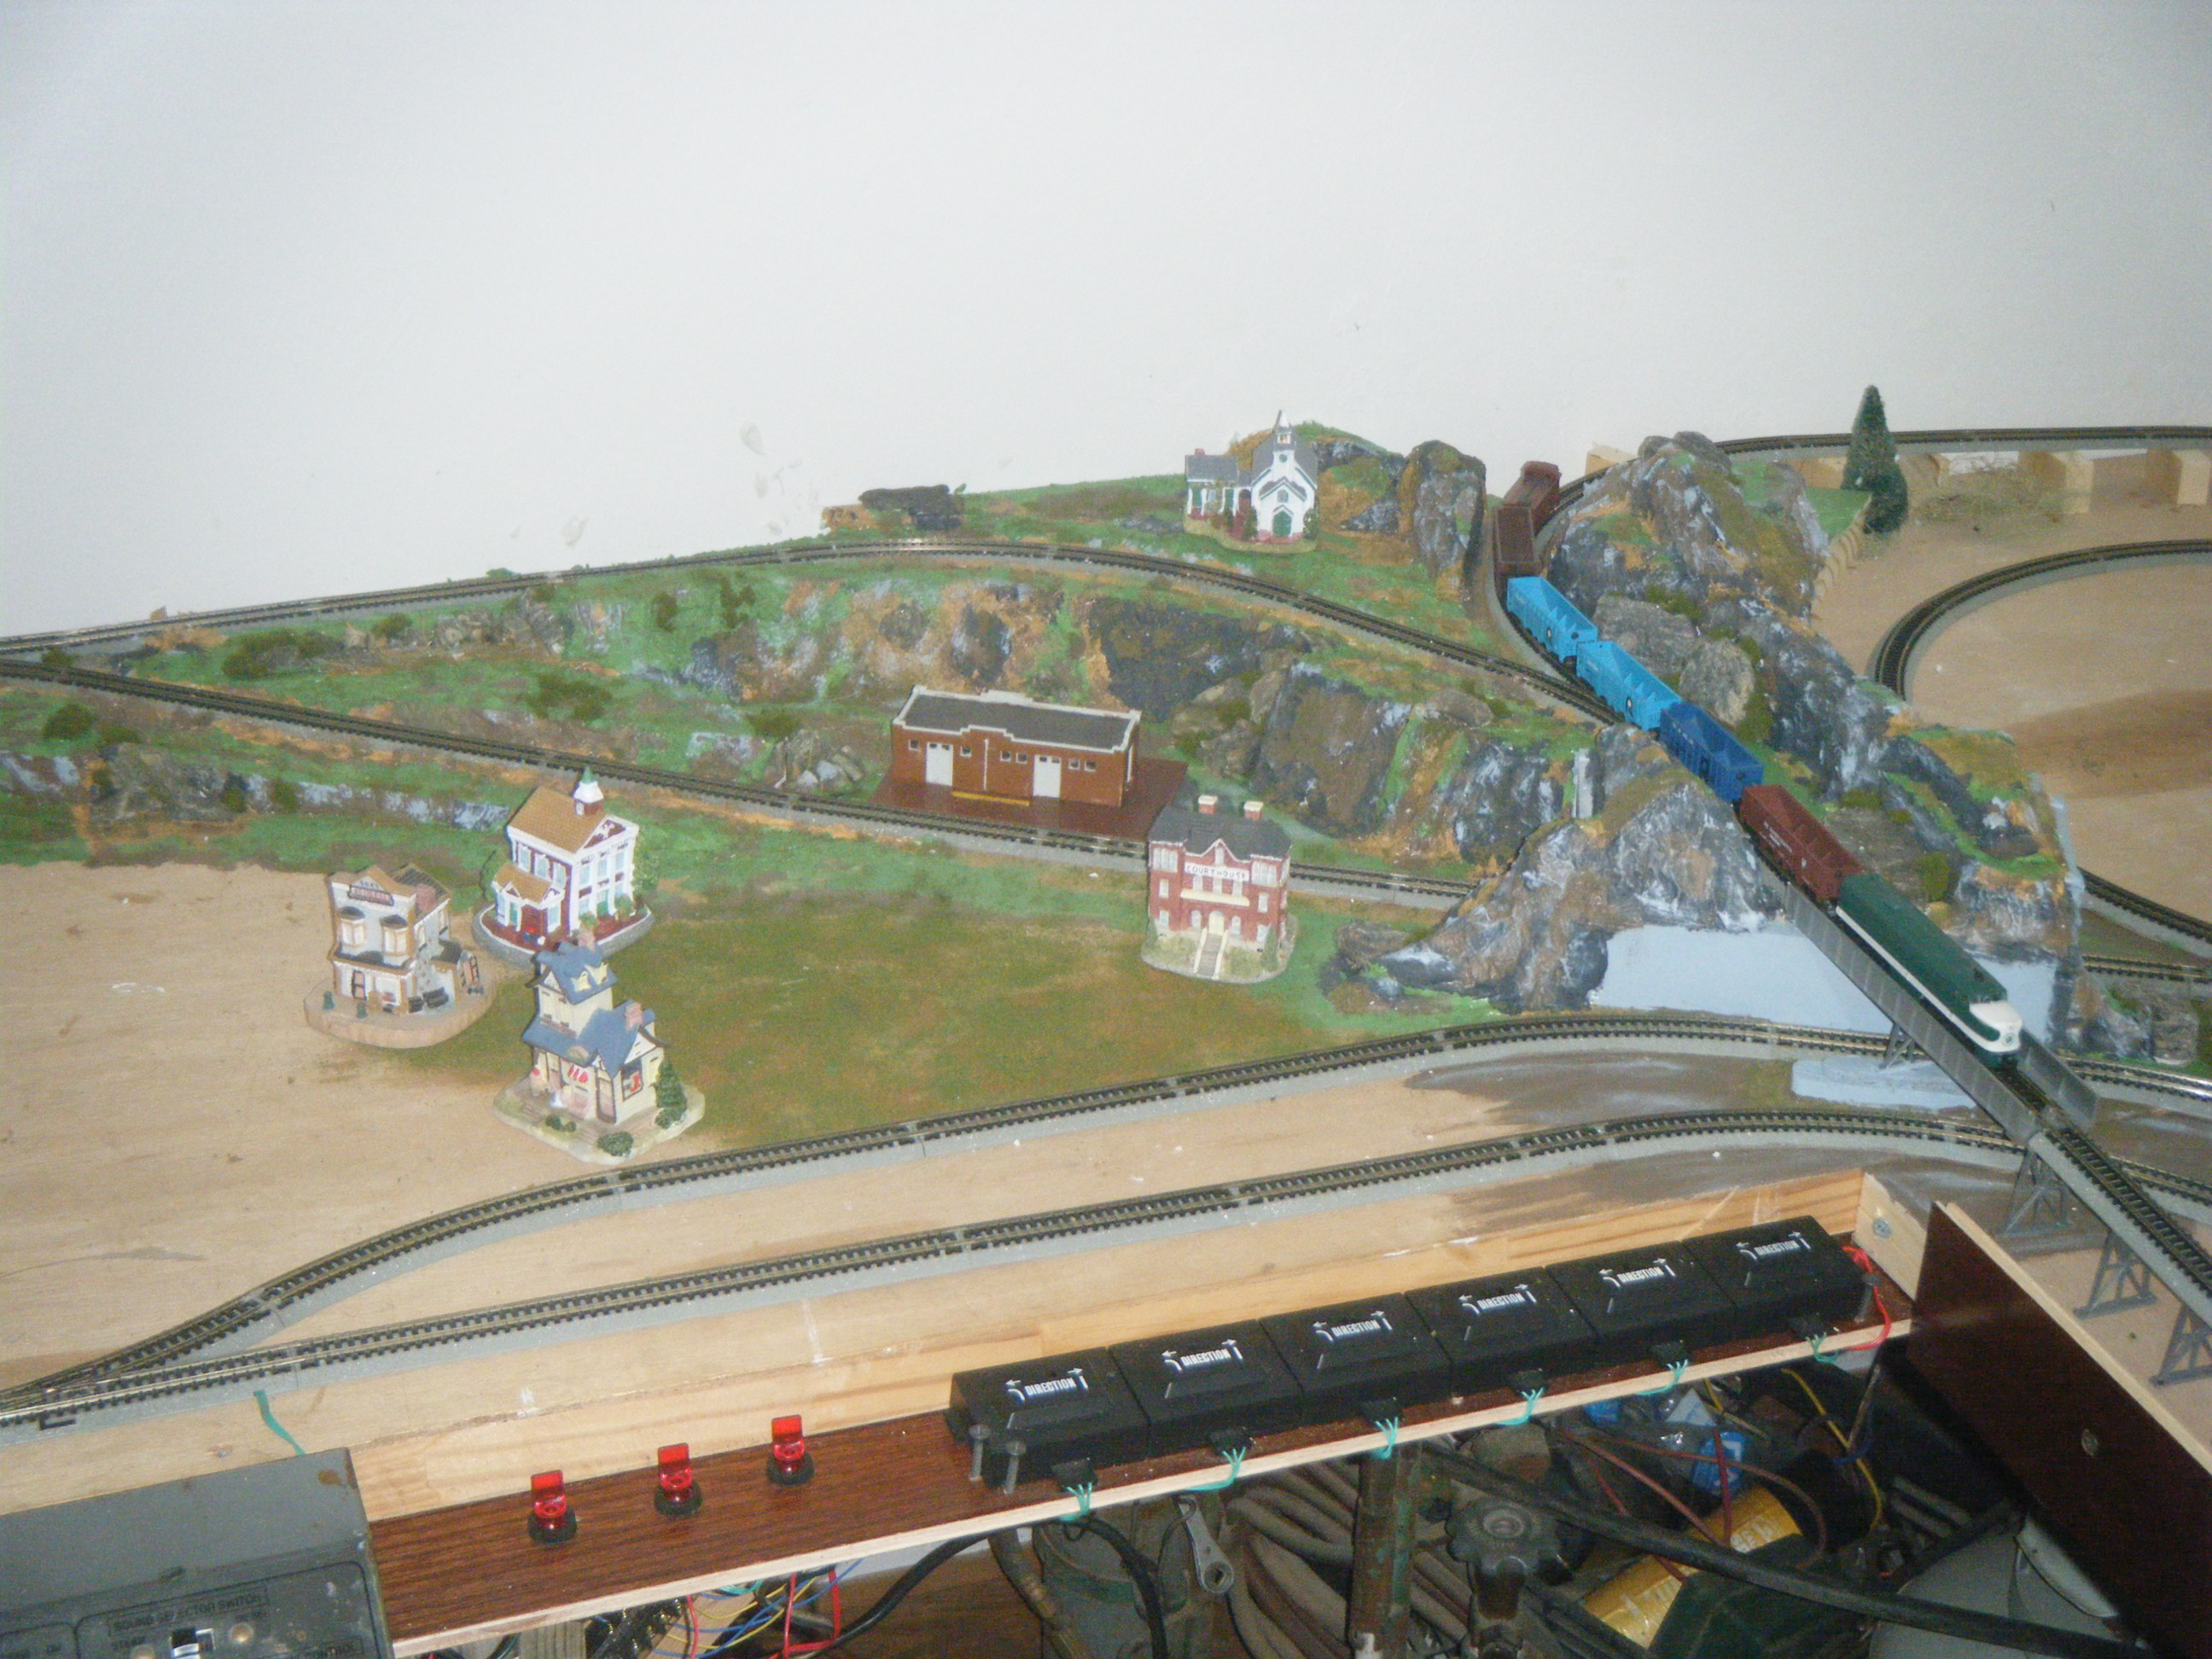
As you can see the Mountain is quite large. I added an access portal that is not shown here on the inside of the mountain from underneath just in case there a train mishap. I am crossing my fingers that will not happen, but as we all know from Newtons Law, “what can go wrong will go wrong” or something like that. There are three entrance/exit portals for the mountain and two of them are visible here the third one is on the other side. I marked them all with arrows on the picture.
So far the following have been completed: TRACK AND ROADBED (minus the ballast) TRANSFER TABLE, CONTAINER TERMINAL, most of the switch machines have been installed and the MOUTAIN is starting to take shape.
It is taking much longer to complete this layout than I wanted. With the old layout I had numerous issues with trains not running correctly, jumping the track, stuck in the tunnel of the old mountain so with the miserable experience from the past, I did decide to take my time, test the engines on the layout to make sure there is no issues ( and knock on wood so far so good ).
I will post more in the coming weeks leading up to my summer away from the house at my summer house and NO I am not taking the layout with me.
Until then HAPPY RAILROADING
Jim
Starr Point Railroad”
“Hi Alistair,
Having been a follower of your site for some time and enjoyed and appreciated the content and comment, I feel obliged to make a contribution.
The pictorial content is somewhat, significantly different from that which you normally publish.
Please note that I will not feel in the slightest offended if you feel that you cannot use the attached material.
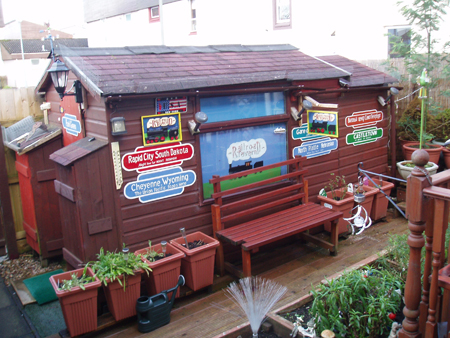
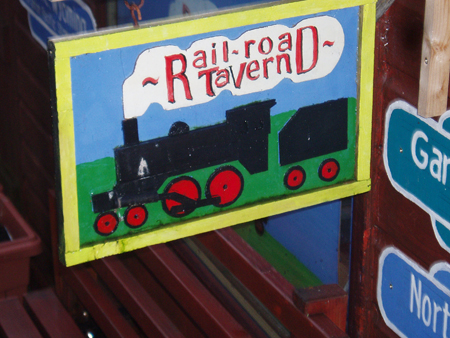
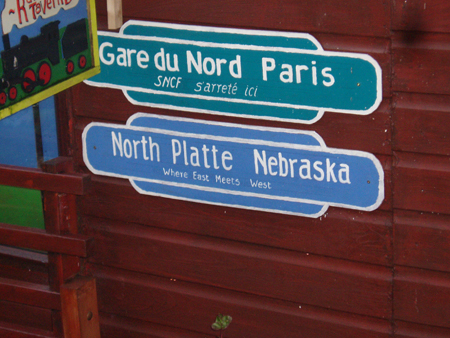
The attached photographs depict the external views of my shed, called the Railroad Tavern.
It is a retreat in which I can quietly indulge in my three ‘S’ pastimes. Steam engines(the North American variety), Springsteen (Bruce of that ilk) and Single Malt Whisky (in moderation of course).
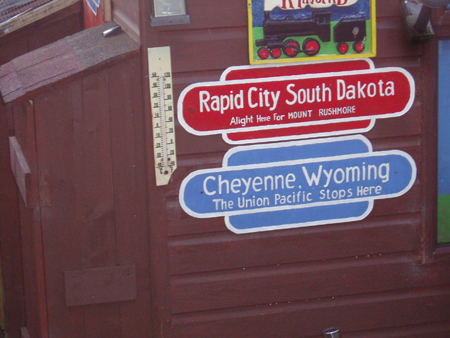
Regards the station name plates, some artistic license and some tongue in cheek improvisation has been applied. Humour, colour and places actually visited being the criteria.
It is not a hobby if there is no degree of fun associated. I have even had T-shirts printed with the Railroad Tavern logo for family members.
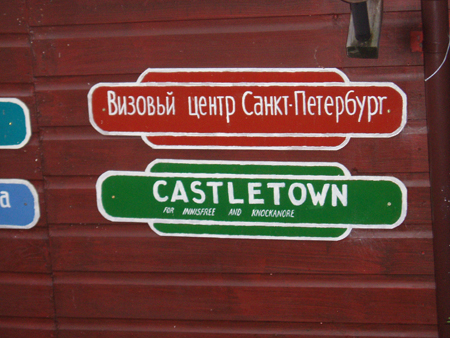
As explained to any visitor to the premises, the KGB are still looking for the one purloined in St Petersburg.
And of course, Castletown never actually existed but was part of a film set. However being a life long John Wayne affectionado, it was essential that it be included.
The other station name plates are self explanatory.
If you require any further information please do not hesitate to contact me. Perhaps one day, once I have tidied it up, I can send photos of the interior.
Hoping that your response is favourable
Someday
Tom”
That’s all for today. Please keep ’em coming.
A big thanks to Jim for adding to the HO scale mountain layouts. Keep your eye’s peeled for his updates – can’t wait to see them. Just goes to show all railroads are ugly ducklings.
And if you want to start yours, you can take the plunge here. Remember it’s just a one time payment of $9 for the next few days only.
Best
Al
PS If you missed Rob’s stunning HO cab ride video, it’s here.
PPS More HO scale train layouts here if that’s your thing.
7