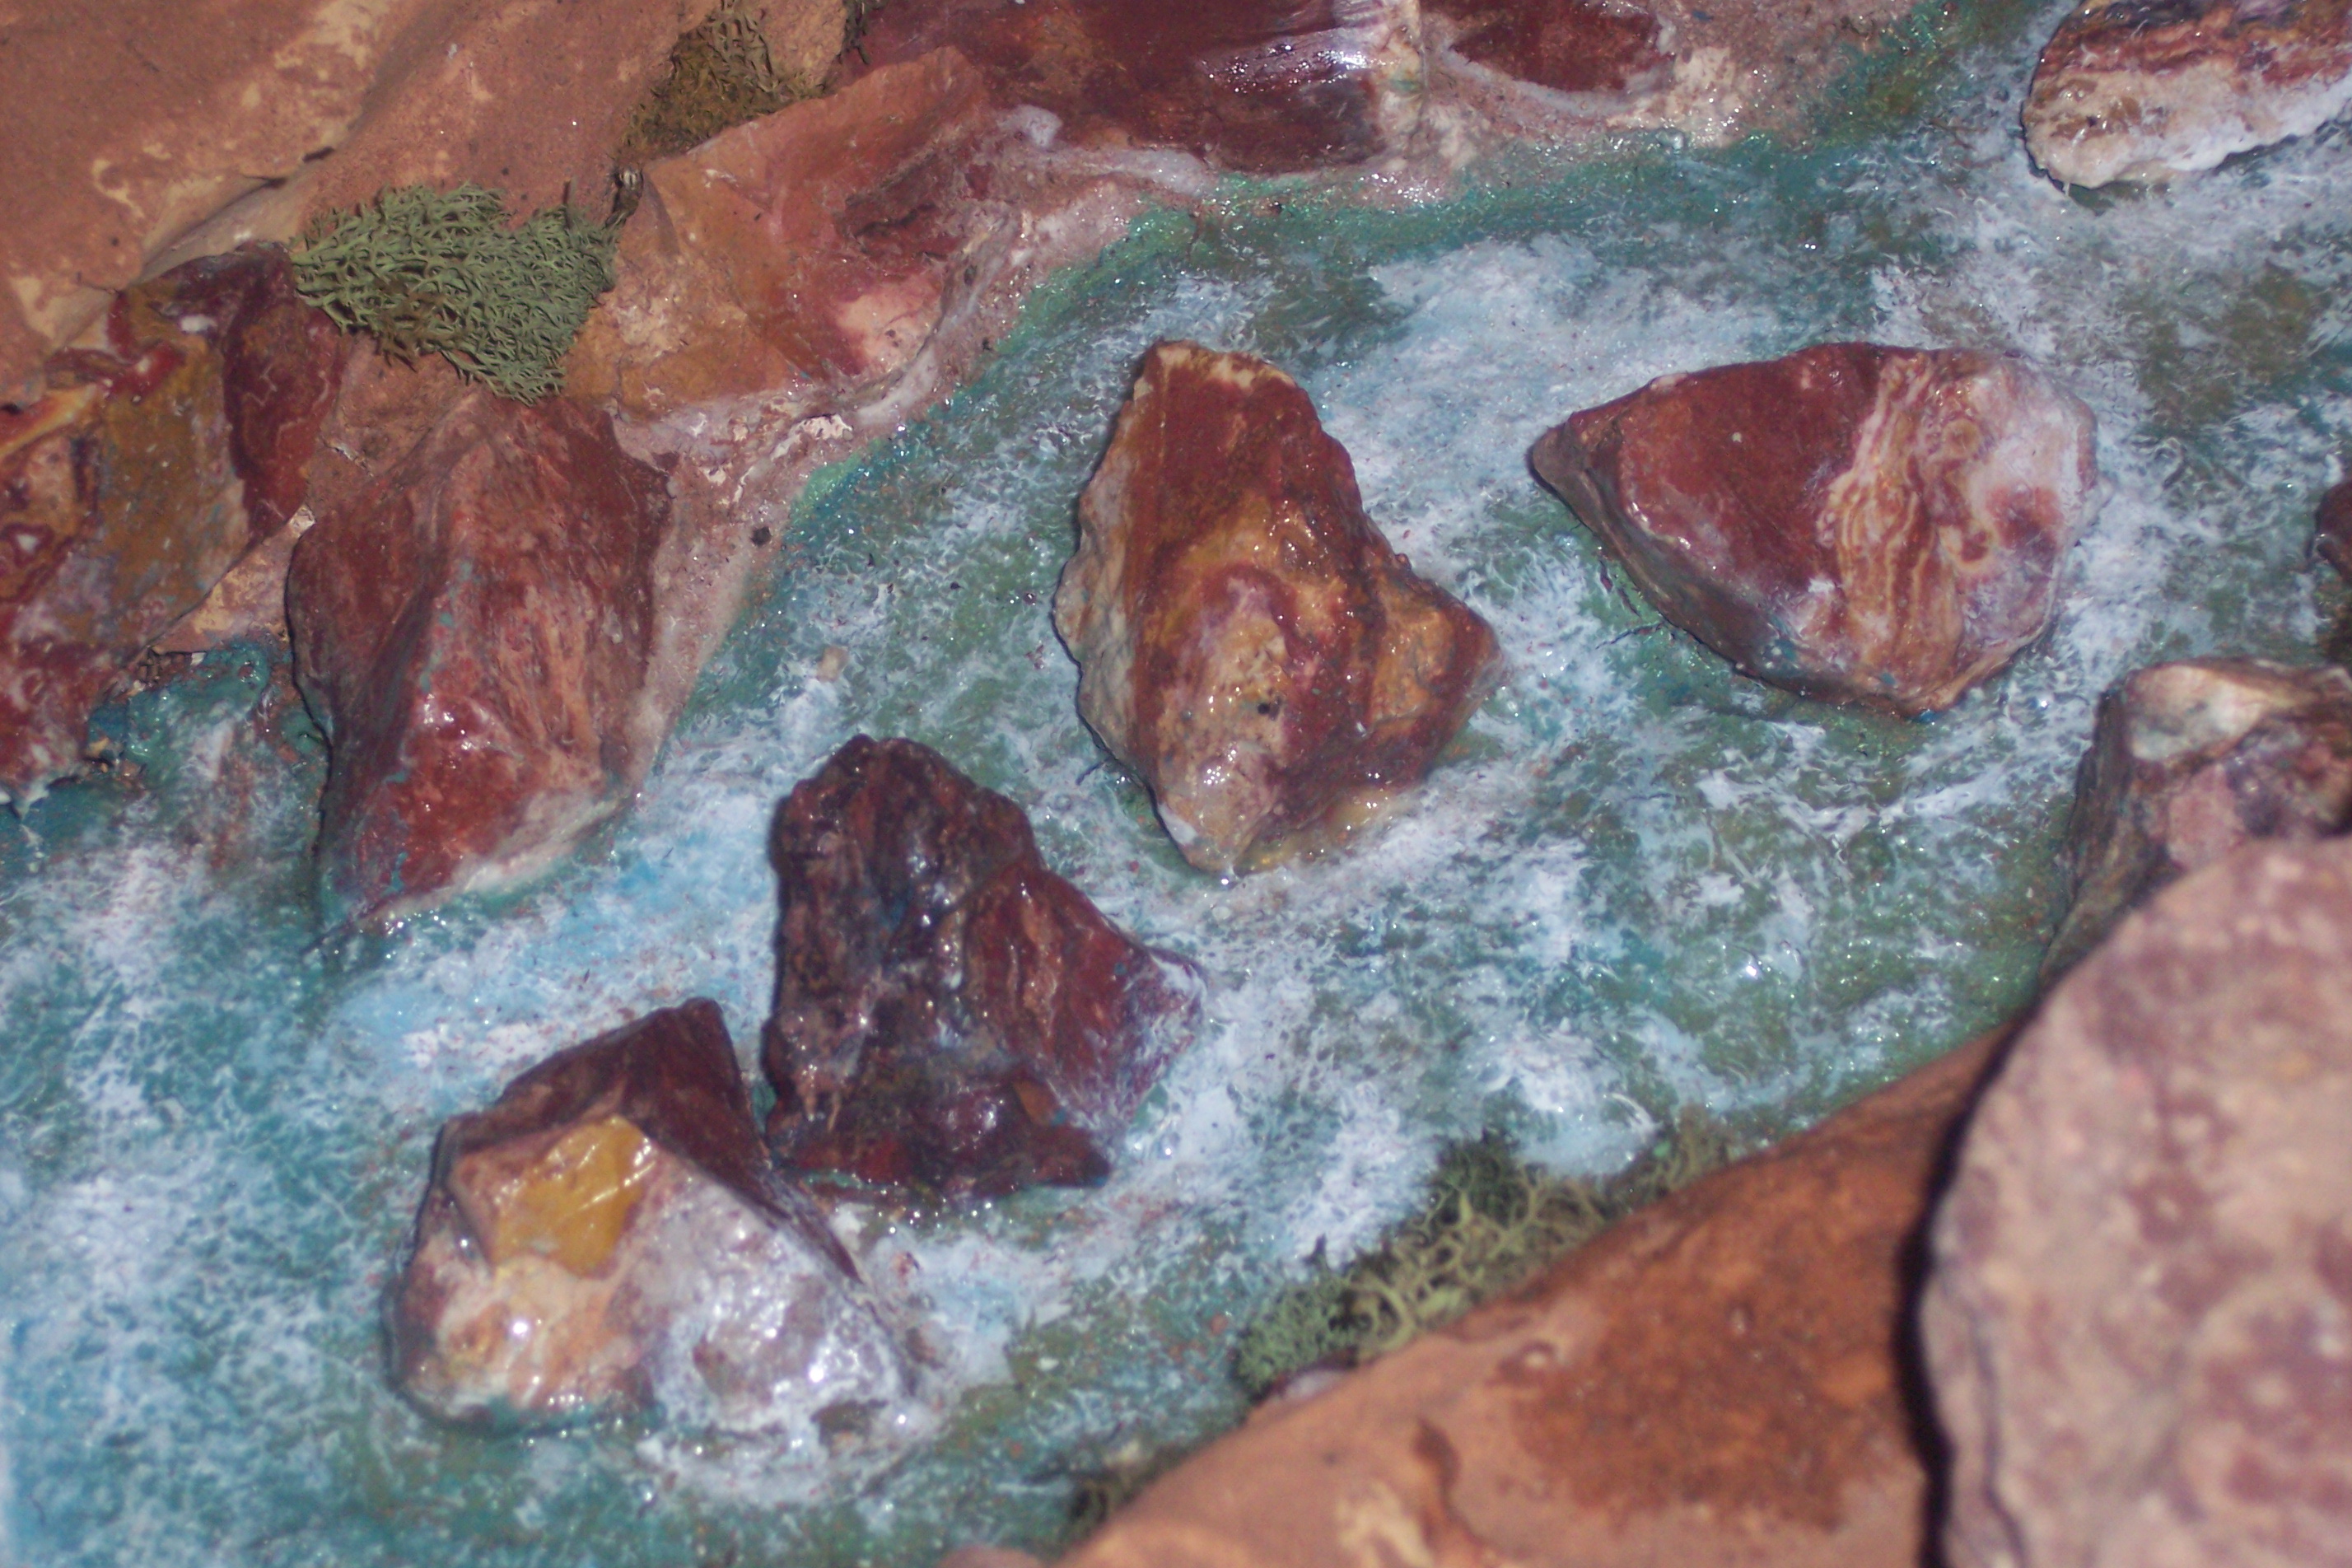
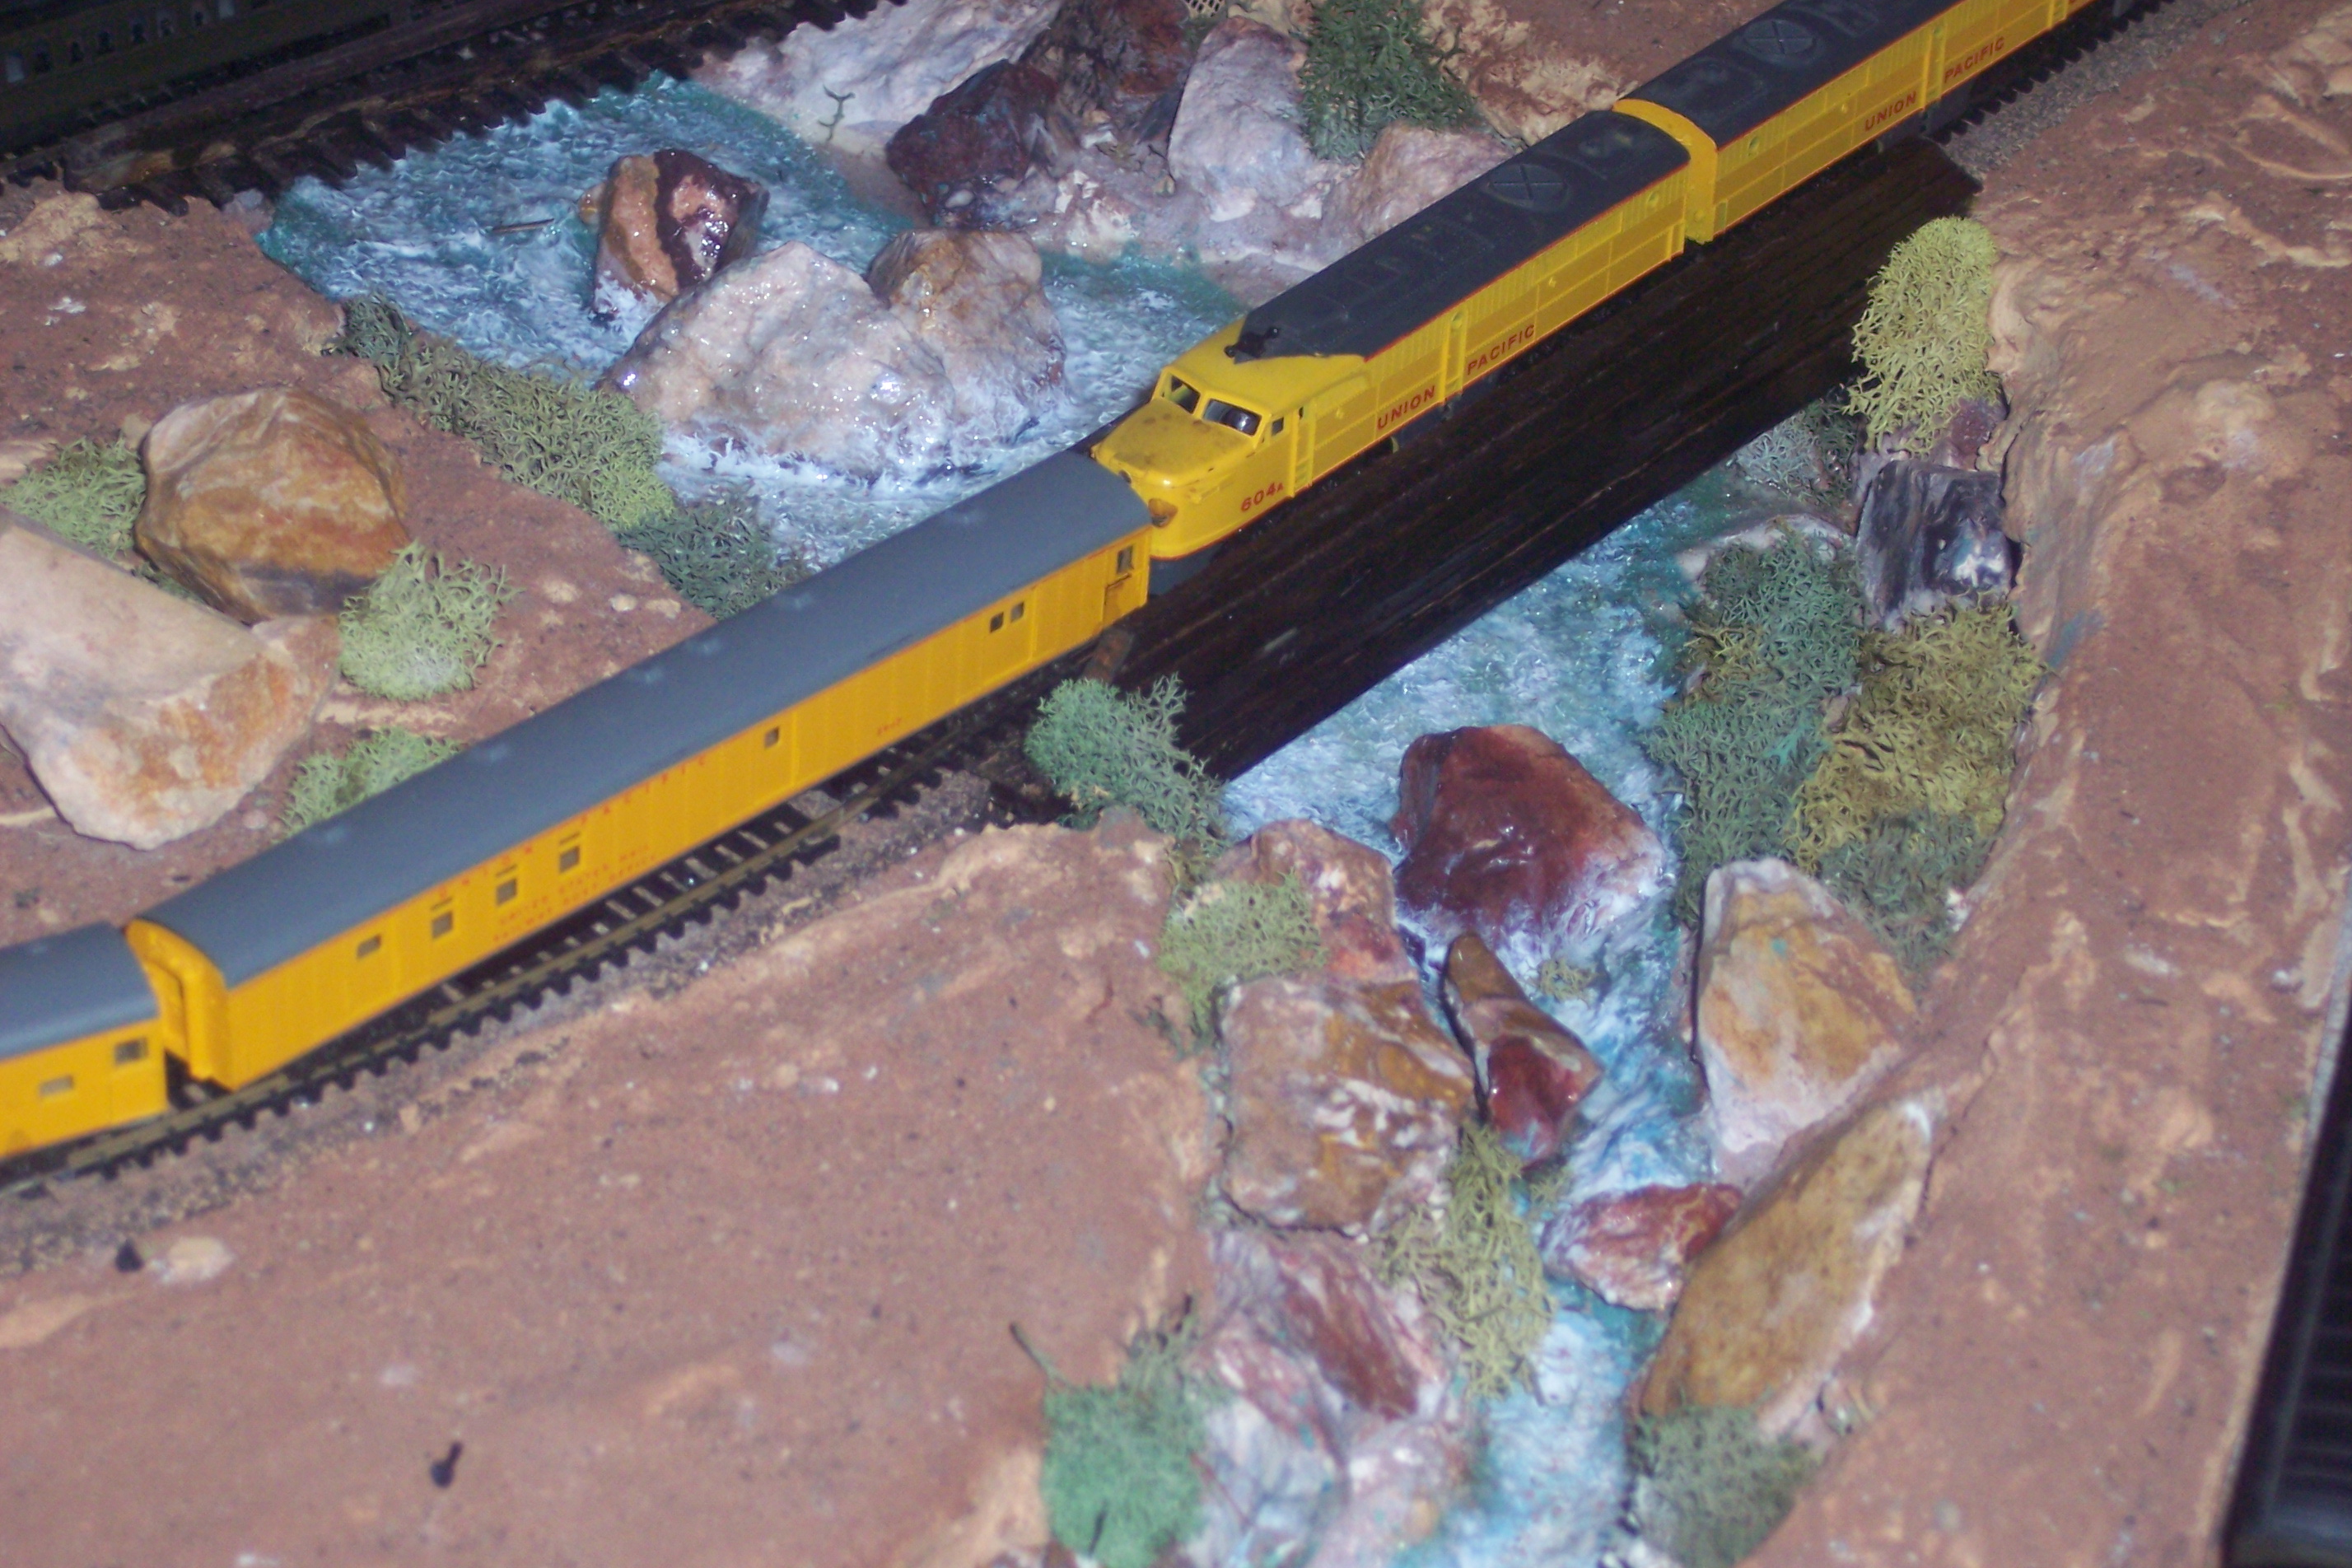
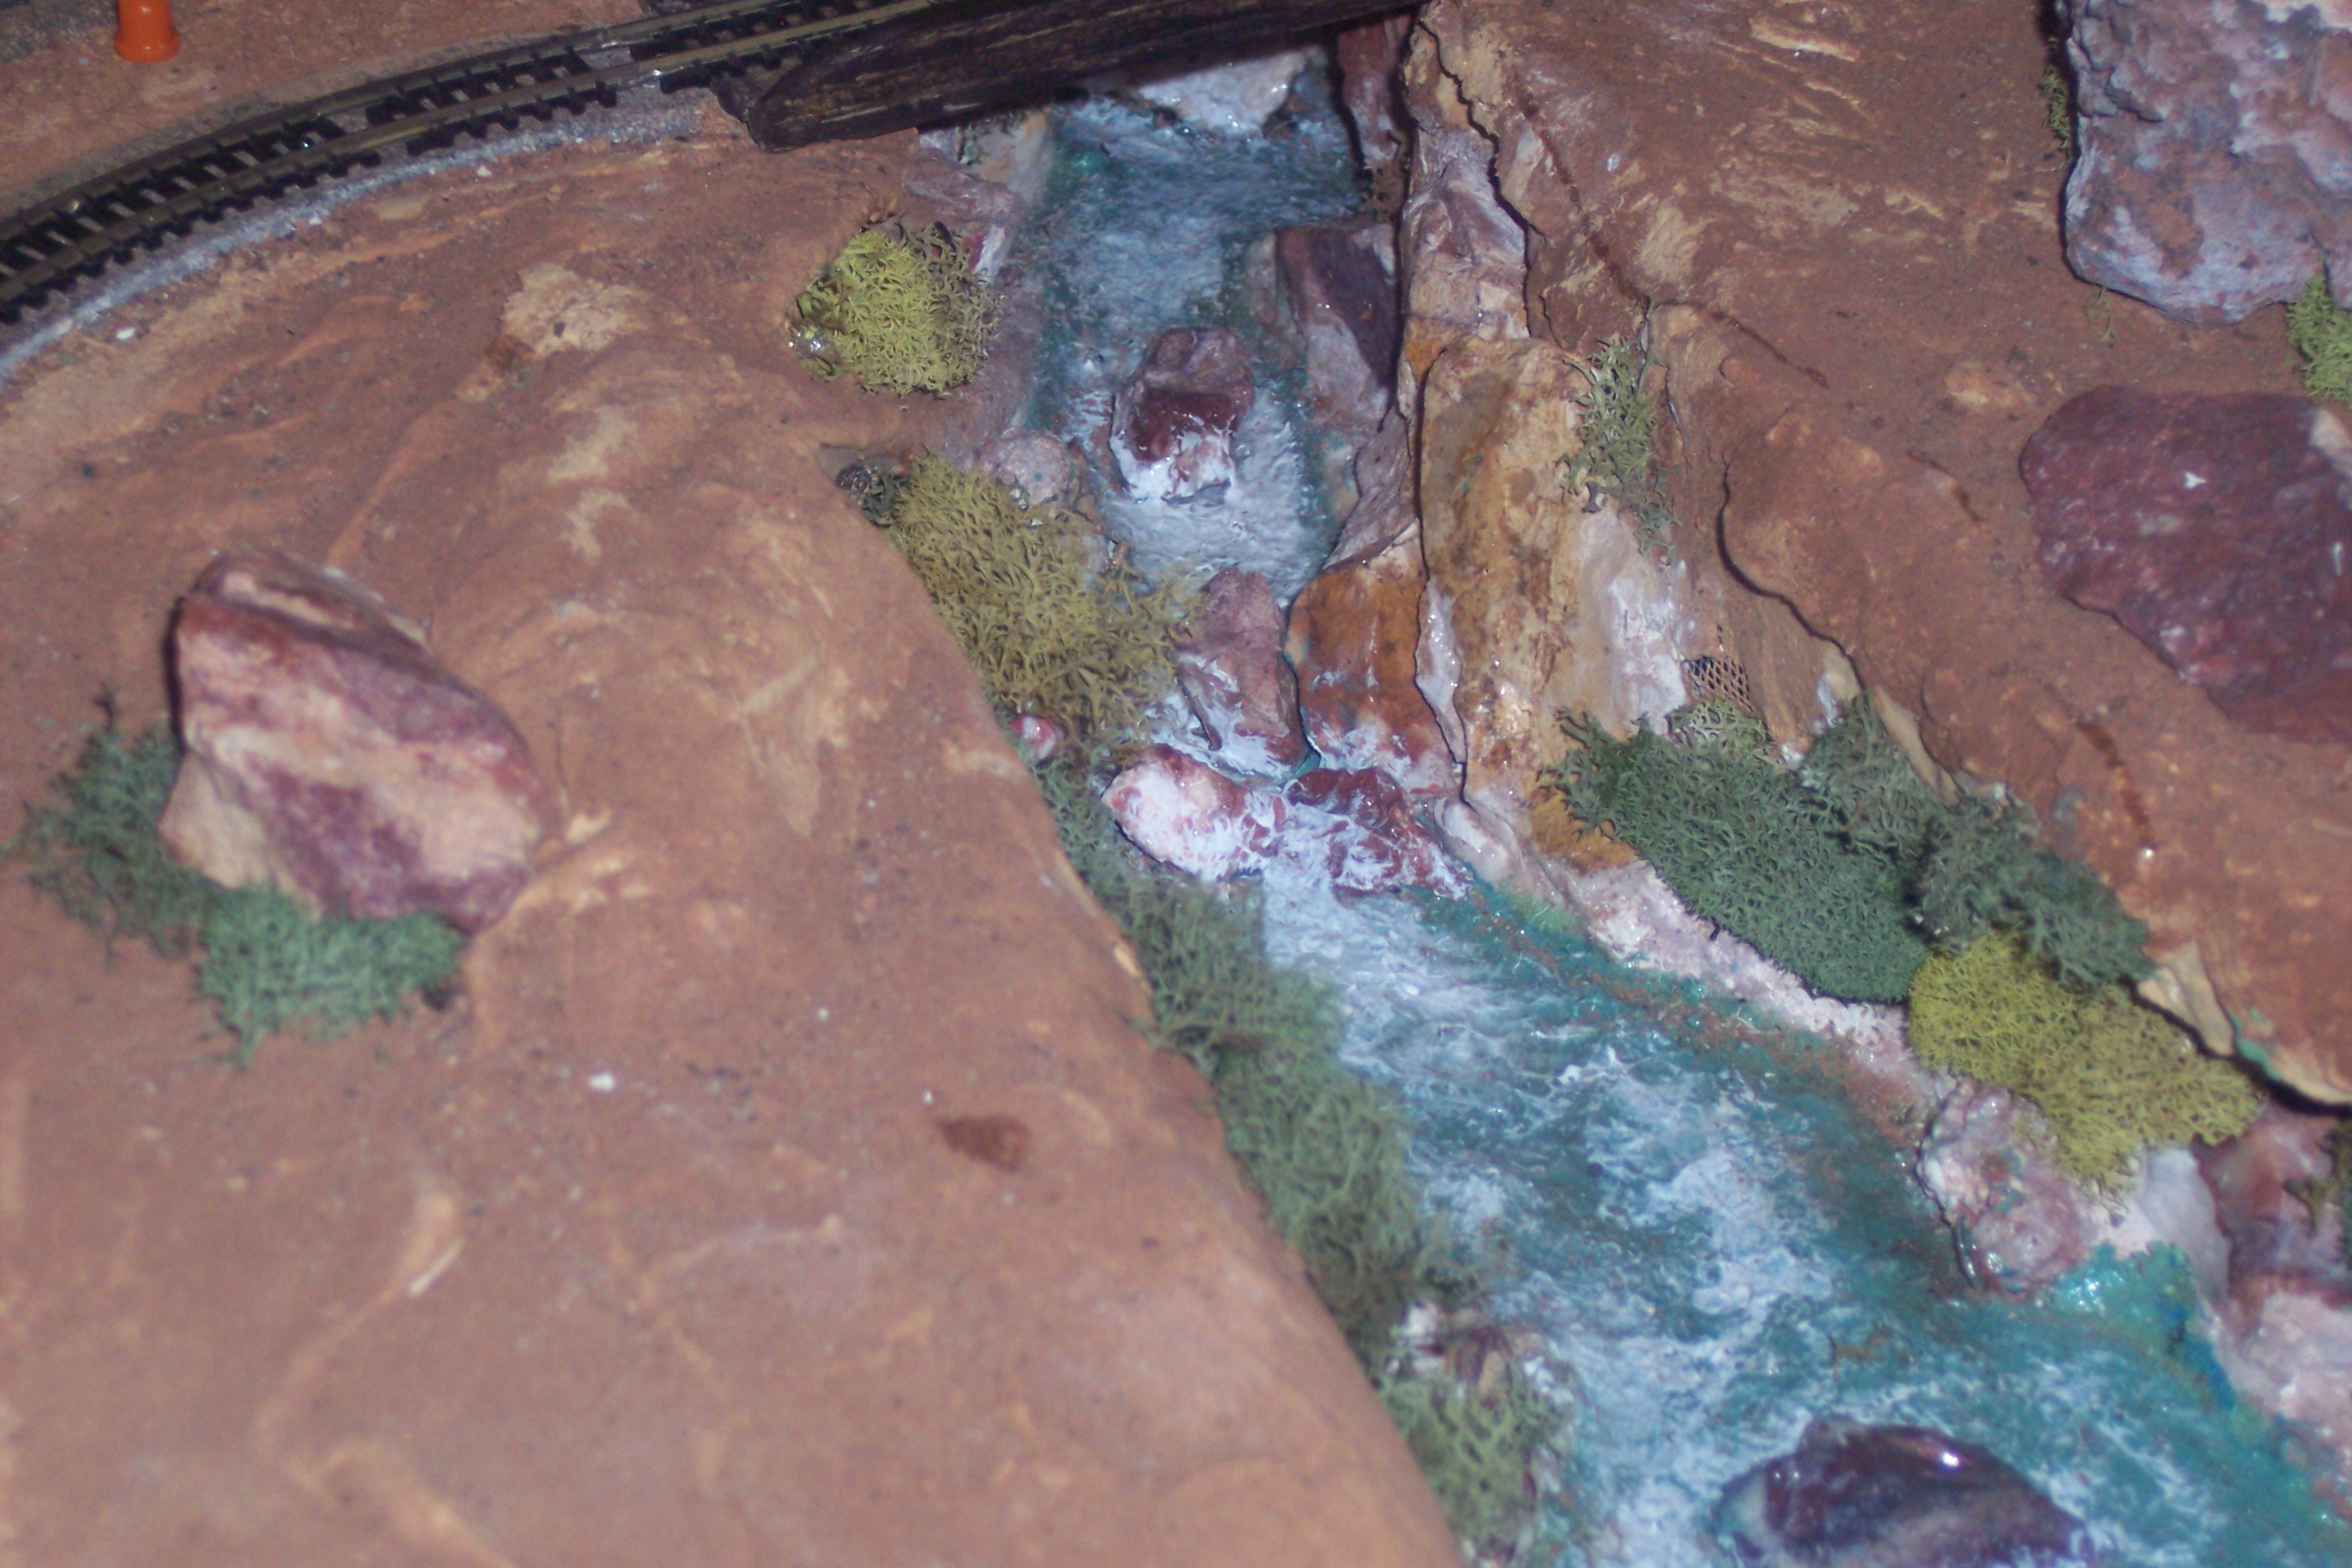
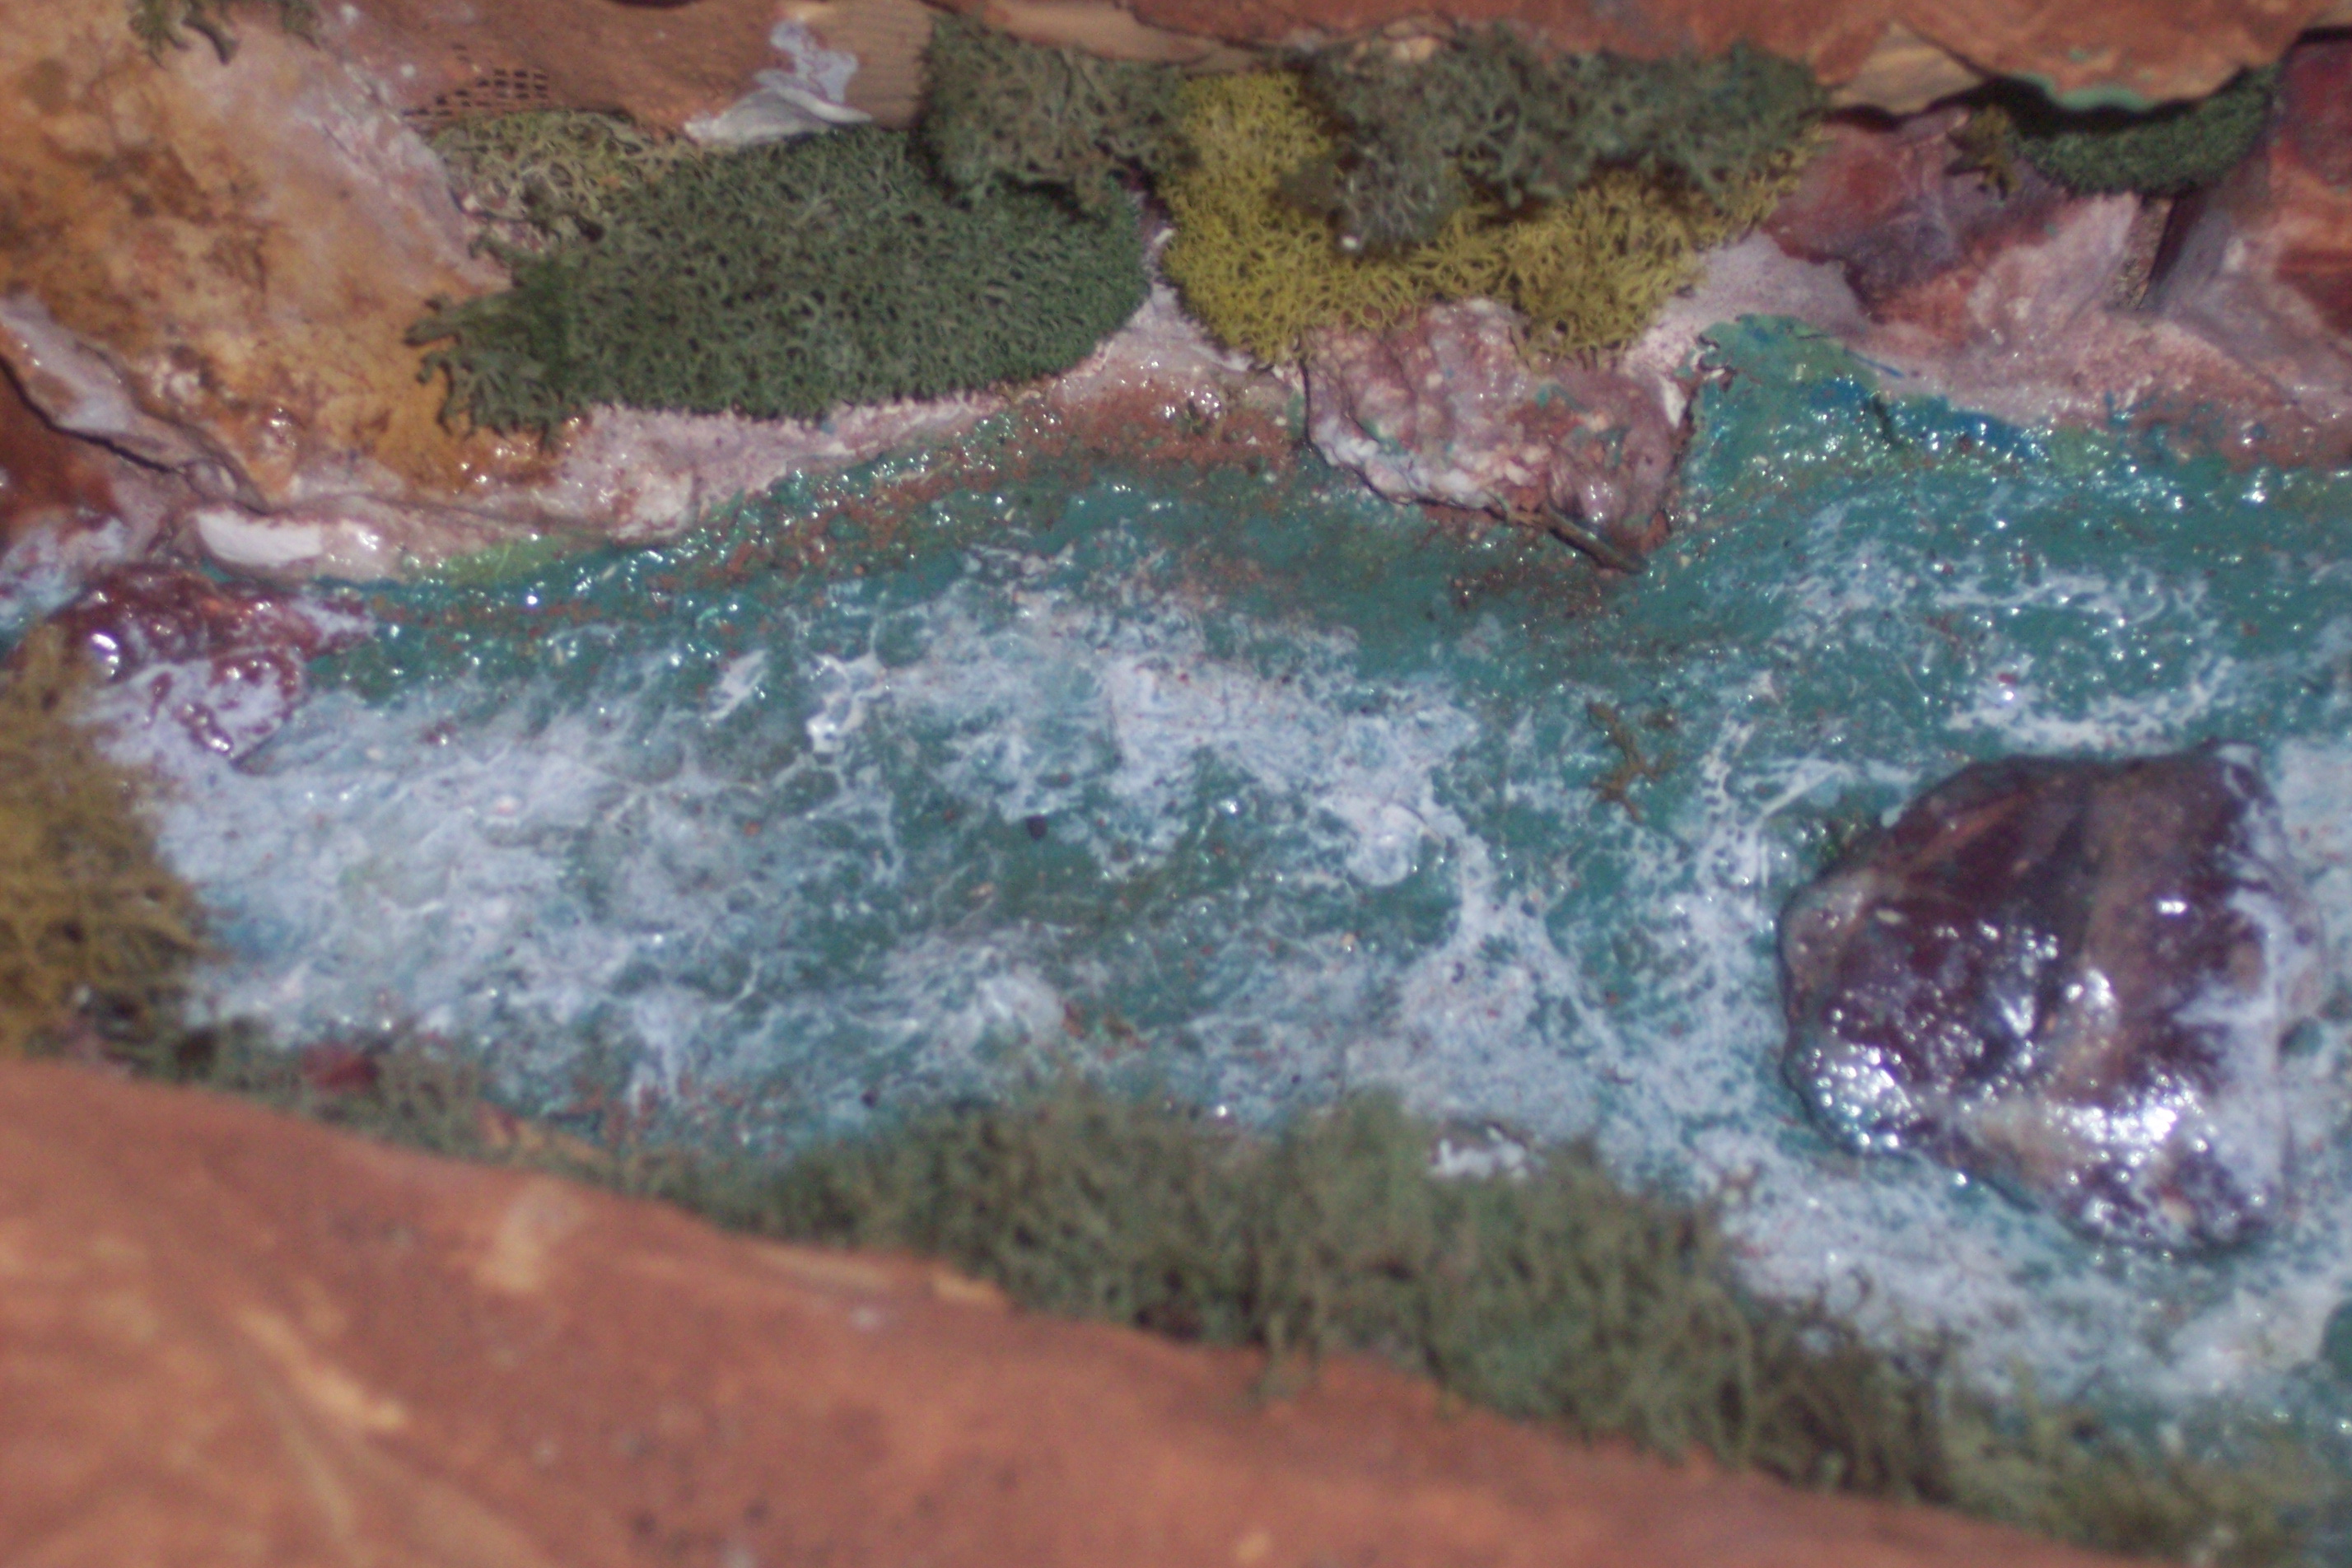
Thomas has very kindly shared how he made his river scene.
If you missed it, it’s here.
“Thank you for your comments and suggestions. It is actually N Scale not HO.
The big rocks are from my childhood. I lived near a river like this, and I wondered where the huge rocks came from.
There was a mine fairly close to the river and back before they had to break up the rock and haul it away, they just dumped them along the river and some rolled into the middle.
As to “How To” 1st staple ordinary screen to the sides, and bottom. It will naturally form cliffs and indents. Use plaster of paris and cover the screen.
Make some of the bottom thicker and thinner, leave it a little bumpy. Go to your hardware store. They usually have quarts of mismatch paint for $1.00. Pick out some browns, grays, blues and yellows.
Just mix a little of brown and yellow till you get a color you like. Tip don’t mix it totally so you can get different hues. Then paint you ground cover of the sides of the river.
When you get your cliffs and sides the way you want, if you use rocks like I did place them where you like them. Mix a thin batch of plaster and carefully push it in between rocks this locks them, and you don’t have gaps while forming the banks.
I painted the first layer blue and then mixed some white it to make it lighter blue and painted just some spots here and there. Do not make theses spots square, feather it out. LET EVERYTHING DRY OR IT WILL CRACK when you put the next layer on I learned the hard way.
Next layer is satin clear, AFTER DRY, put a thin layer of Loctite Crystal Clear all purpose caulk leaving some a little thicker in spots.
Let this dry about an hour then very lightly with china bristle brush go back and form some swirls and waves. This will look milky as it dry’s DONT freak out it will dry clear. When it is all clear it is dry.
Repeat this only use some of your blue and yellows to make different shade of greens and yellows. Paint the caulk in spots and feather it. Use different shades all along the river.
Then repeat clear and caulk above.
The next layer of paint is greens and yellows again only even different shades then before. also put a few spots of feathered white after the greens and yellows dry. then put a fairly thick coat of clear let dry, feather spots of white and then the layer of caulk.
This is your finish layer of caulk so let it start to dry and go back with your bristle brush and carefully pull up your swirls and waves.
Remember this is the layer that will be seen. After this layer dry’s take a thin tipped brush and lightly paint the wave caps. DON”T OVER DO IT, you just want a foamy look, all the layers of white underneath adds to this look.
That’s it! Hope these tips help. I love all of your tips that Al publishes also.
HAPPY RAILROADING
Thomas”
(Thomas’ original post, with pics, is here)
And two things you really shouldn’t forget about:
Now’s the time to bag a deal with the ebay cheat sheet.
And only a few days left with the Big Kahuna deal.
That’s all this time. Please do keep ’em coming.
Best
Al