The talented Dave’s latest installment

Just two quickies today – I’m up against the clock, again…


“One of the best money savers that I’ve found, after decades of using cartridge caulks is:

After you’ve clipped the tip of a caulk or an adhesive tube cartridge, make it just barely large enough to insert a bamboo skewer into it’s tip.

Then, insert the bamboo skewer to puncture the internal plastic seal. Remove the skewer, wipe it off, and you’re ready to squeeze the cartridge trigger gun. Press out what you need for your current project, then reinsert the bamboo skewer about five inches into the cartridge, through the tip. Wrap the tip in blue masking tape.

I’ve found that the bamboo skewer re-inserted into the tip process allows me to then remove the bamboo, and use the rest of the contents of the cartridge for over the next year or so.

The bamboo skewer creates a clear channel for Caulk/adhesive to stay inert from the tip through to the cartridge, but you will need to squirt away about 6 inches of the product to get to the good stuff.

BIG TIME MONEY SAVER”


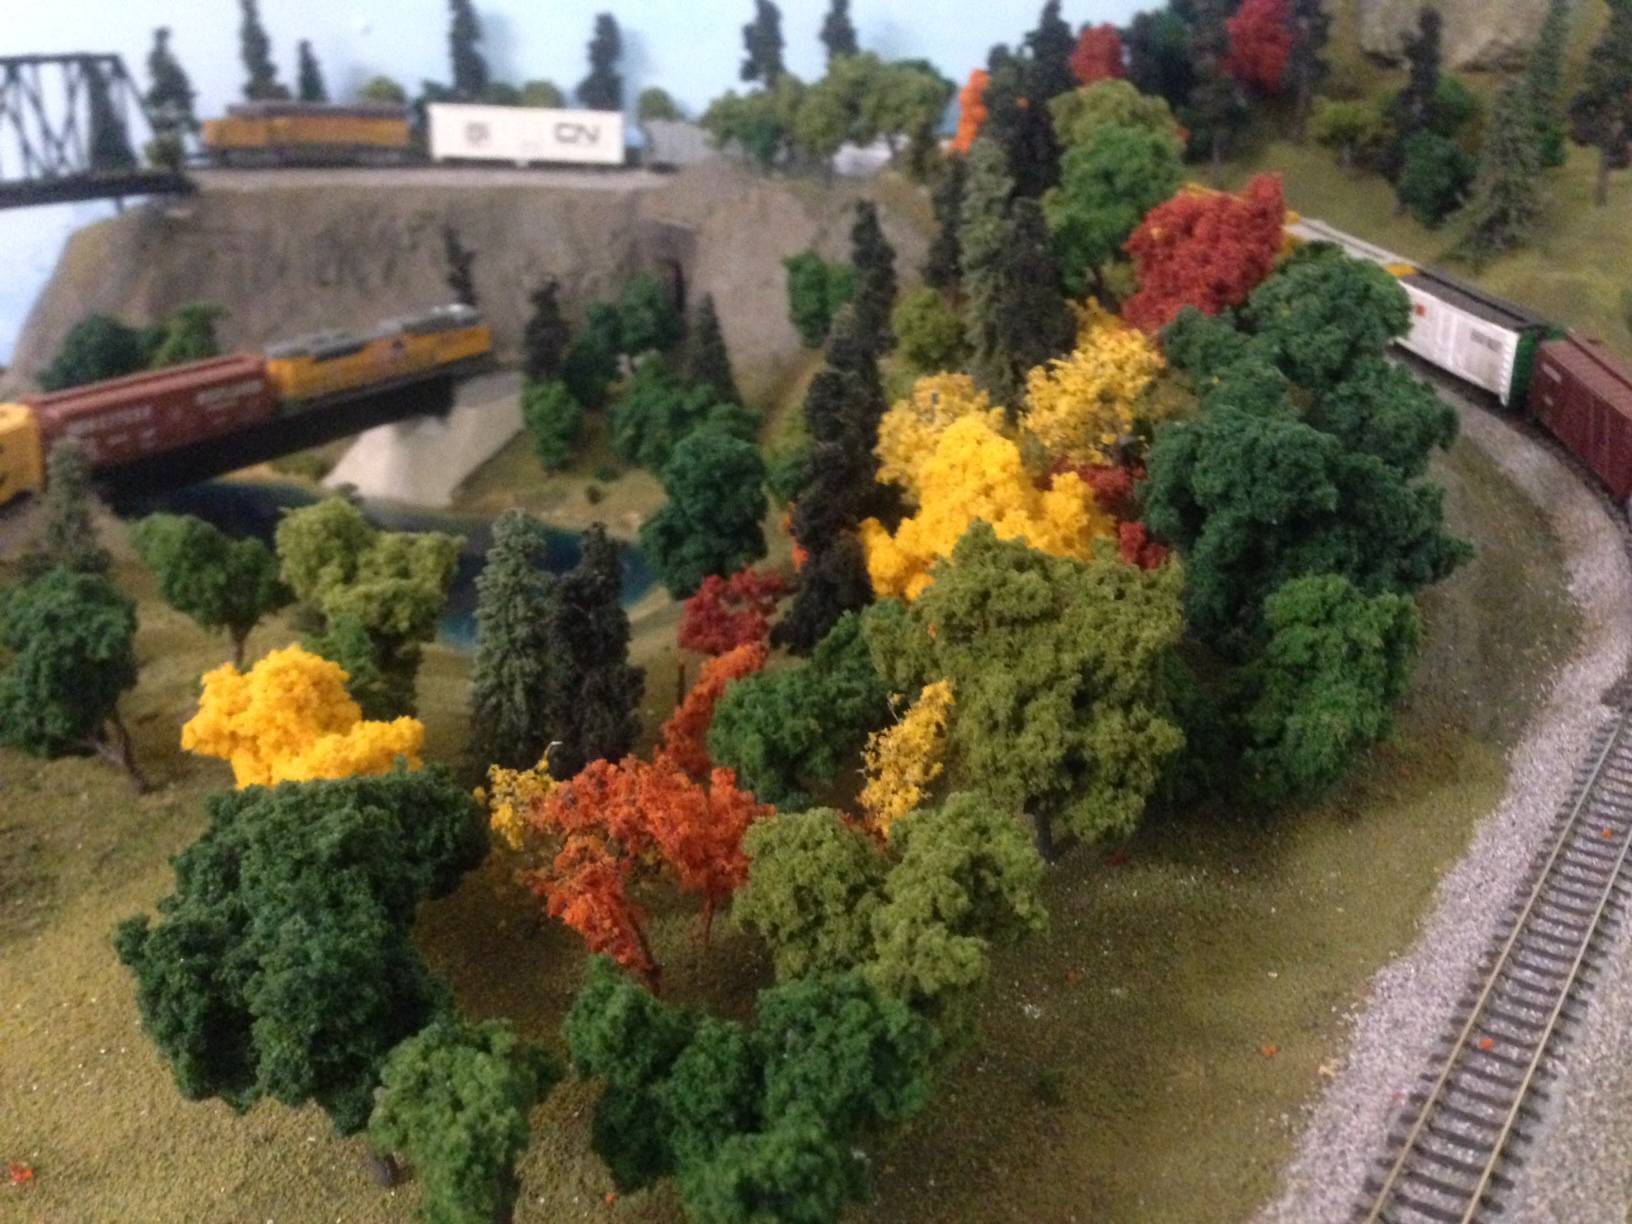
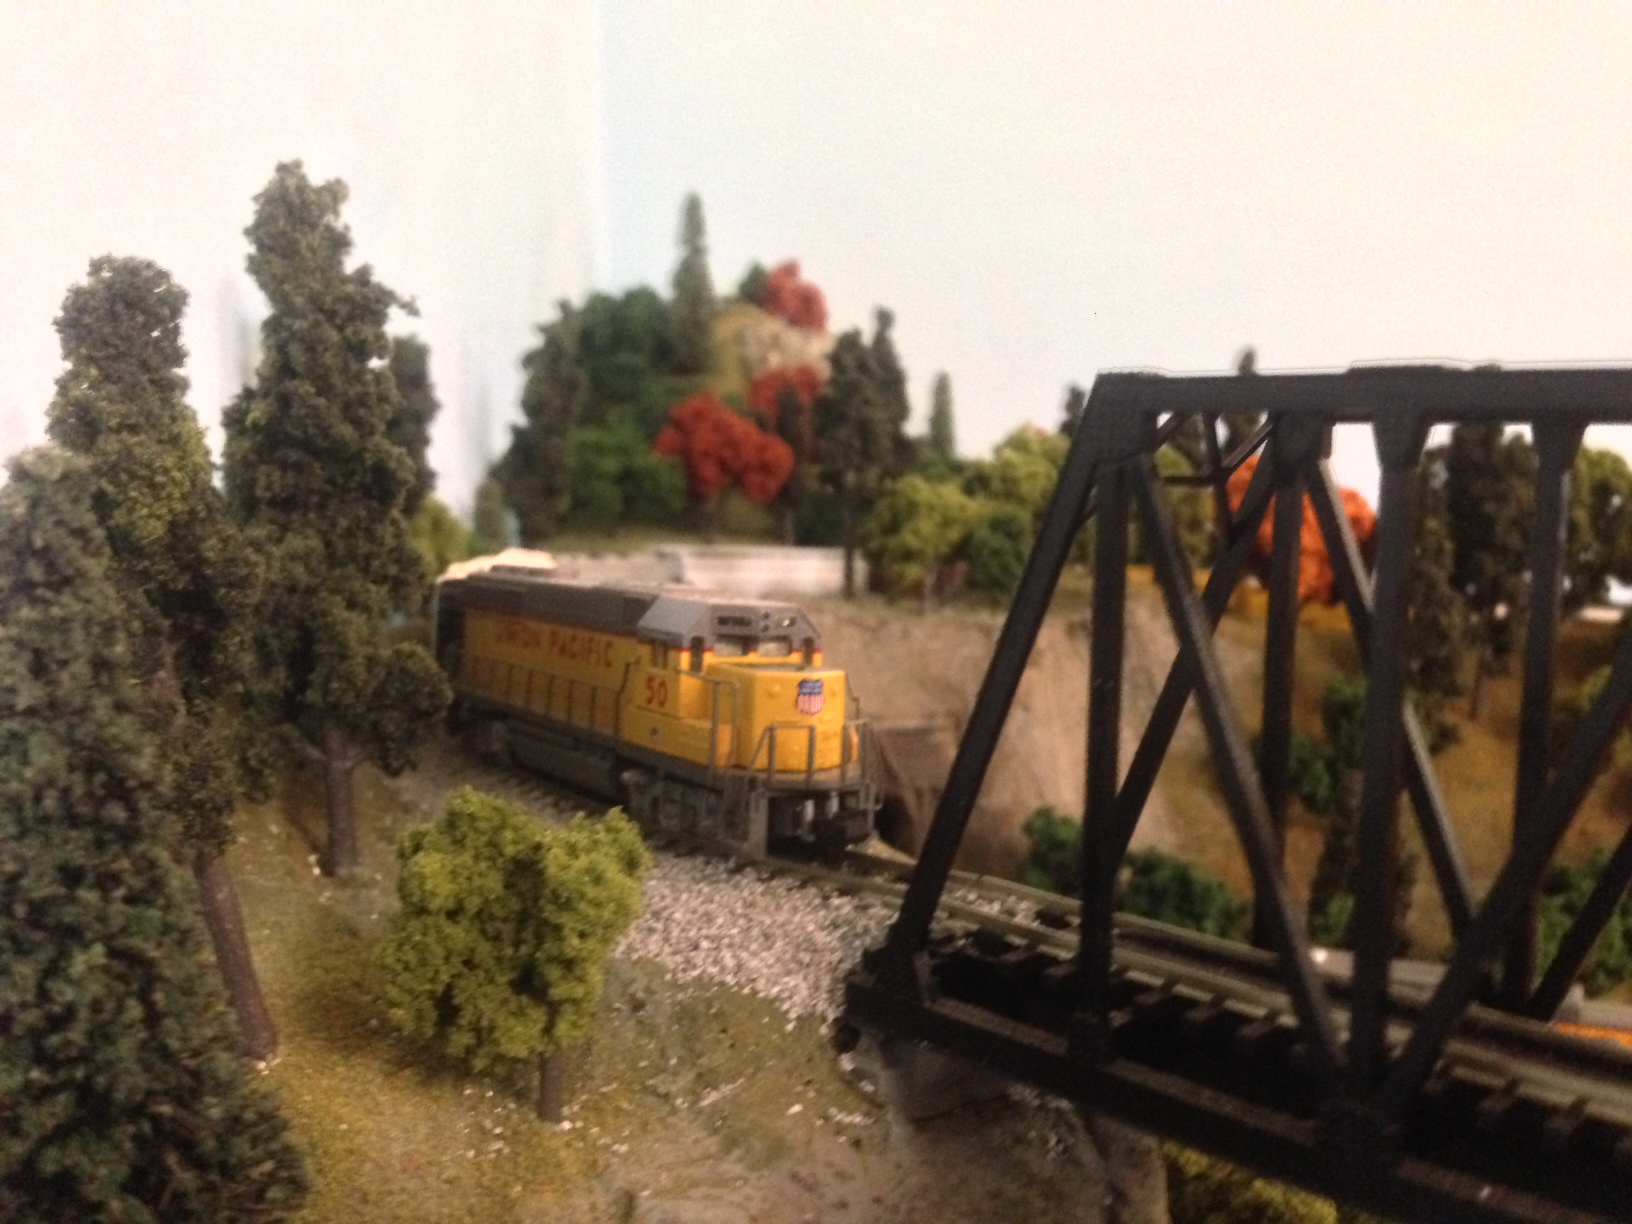
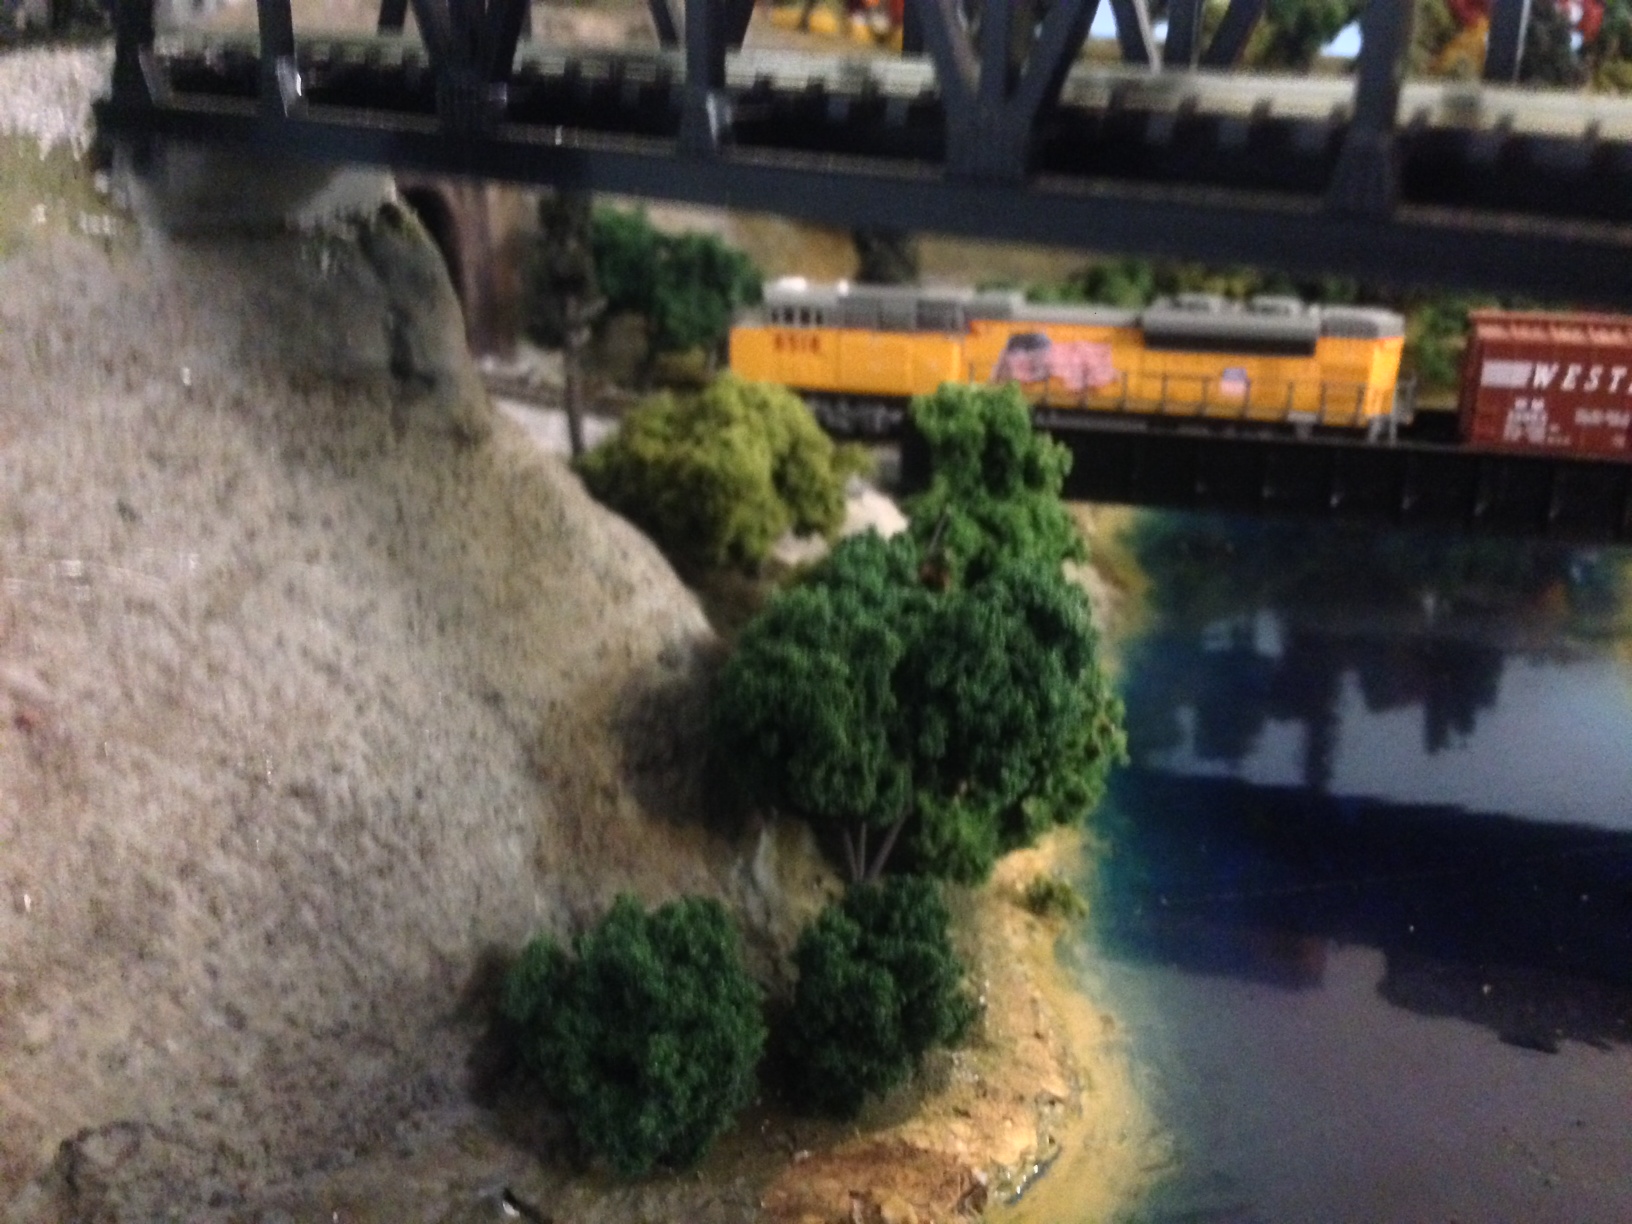
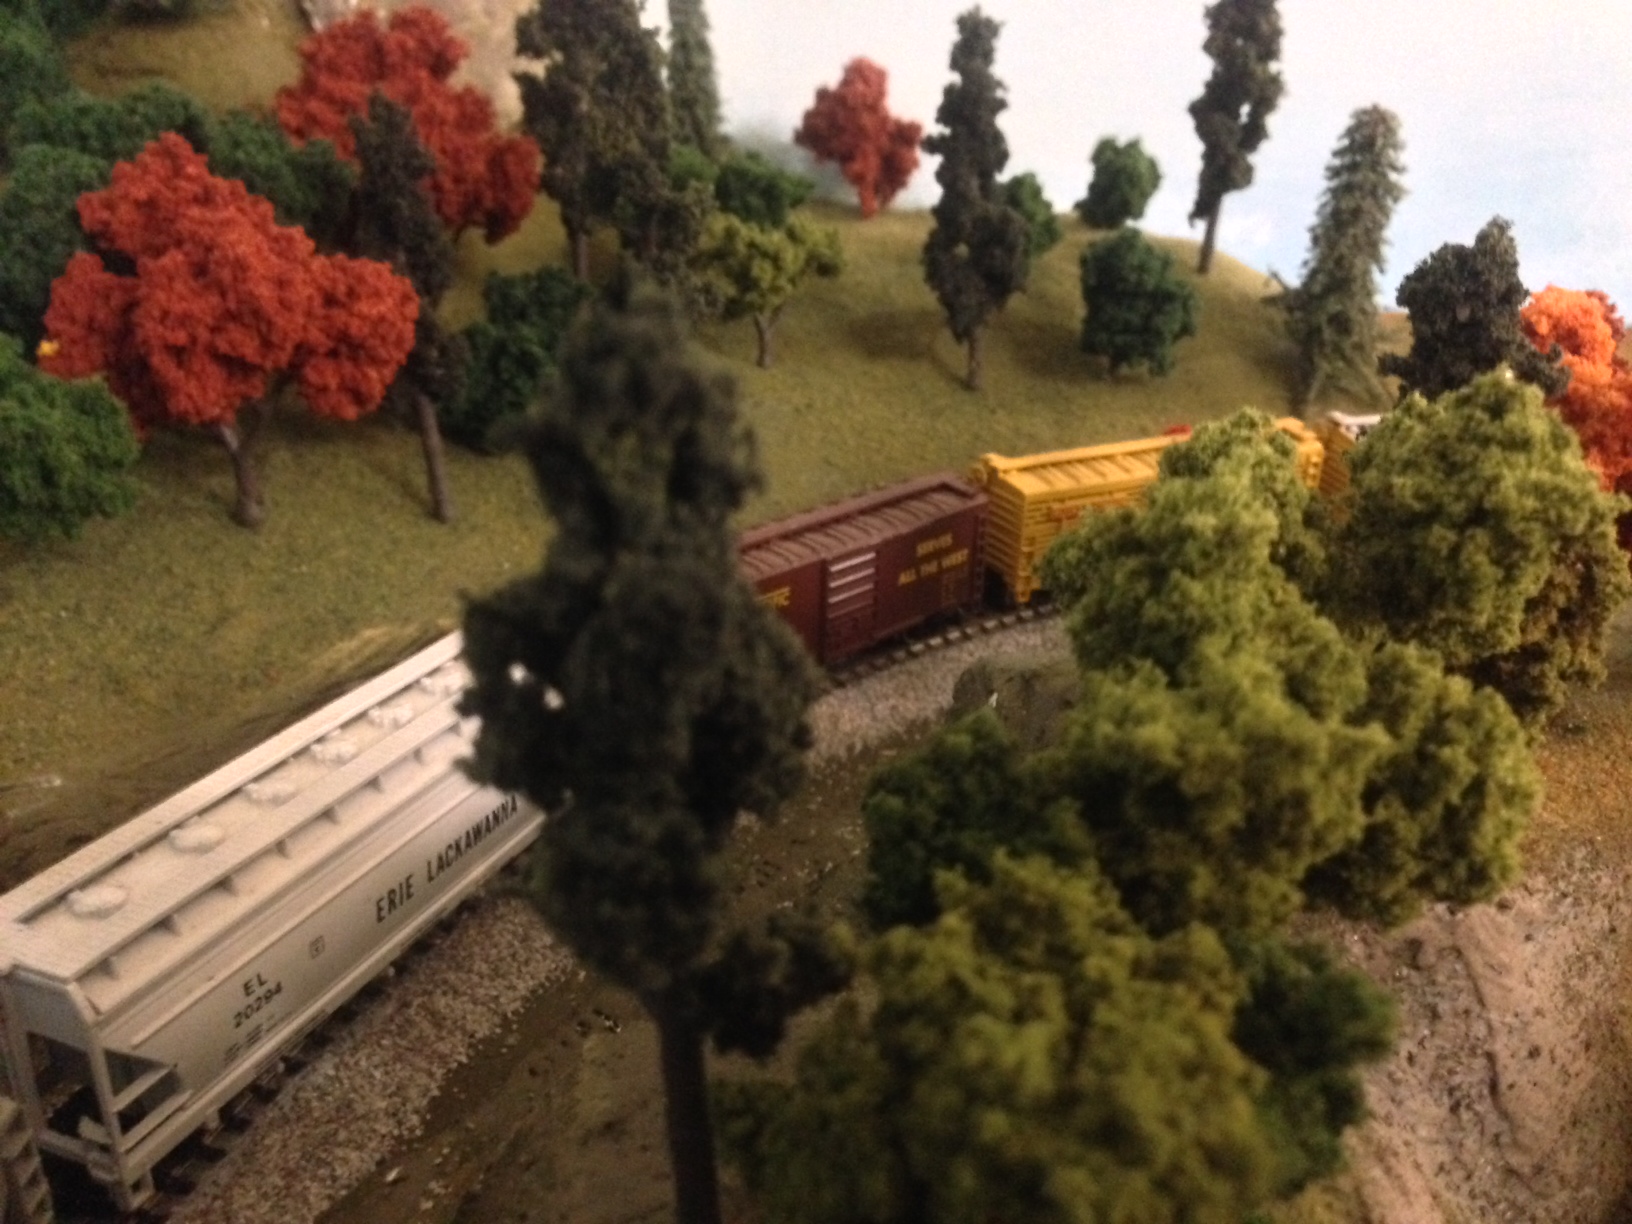
Here’s Dave’s latest update on his new layout. There’s no stopping him!


Latest ebay cheat sheet is here. have a look and bag a bargain.

And do please do keep ’em coming, folks – just hit reply to any of my emails.

Best

Al
Amsterken at night

Ken’s been back in touch with a fab video of his Amsterken layout.

But first we hear from Bud:

“I’ve been getting your emails for a couple of months now.

They are always interesting to read. I have a tip fr all your readers.

My wife has used this material for years to stick things together, it can be separated easily and there is no mess before or after.

She calls it museum glue. The container has this label: “MINI HOLD” by What’s Next?, Inc. in Carbondale, PA18407.

This material (Says the label) A wax adhesive for Miniatures, Model Railroaders &Photographers. Apply a small amount to hold items in place. Will not stain finishes or dry out. Residue can be removed with soap and warm water.

(When I get it on my fingers I just rub my fingers together to form a small ball, and place it back into the container.)

My train table is 4×8 feet with 3 Marklin HO Scale trains run with 3 transformers.

I’m in New Jersey USA (not the Isle of Jersey).

Bud”


If you missed Ken’s brilliant Amsterken video of his layout last time, it’s here.

This time, he’s done a night scene. Brilliant.

“Well we be moving forward on upper level …

Overhead wires almost done, i get the wire from my Mig welder .30 mig wire then solder ….

One of the things Im trying to do is get all block lights working with everything else, smooth…

Track is 75% done with little problems here and there…

Lighting up this little layout has been a lot of fun …

Model railroading covers so so so much. Its not funny, I really dont know any other hobby like it …

Mechanic, engineer, historian, Electronics, model builder, every aspect to life really shouldn’t be called model railroad. It should be called model life ……

Always recycle I have two buildings on my layout that are made from car parts ..

One, is two tail light lenses from a 68 ford mustang studd upright then a piece of glass and some sandpaper for roof…

Another was a 40 ford grill shell put upside down and well la…

Most of my layout is made from scrapes of wood , wire, models, life … Dont throw anything away…

The first vid is daytime looking at details…

Second is night time working on light distortion …

Hey what is light distortion? Its when light reflects somewhere you dont want it… Like the wall …

Ken”


Latest ebay cheat sheet is here.

We’re all done for today.

Please do keep ’em coming – just hit reply to any of my mails to share your pride and joy.

And if today is the day you leap into the unknown and make your start, the Beginner’s Guide is here.

Best

Al


Amsterken gets bigger and better

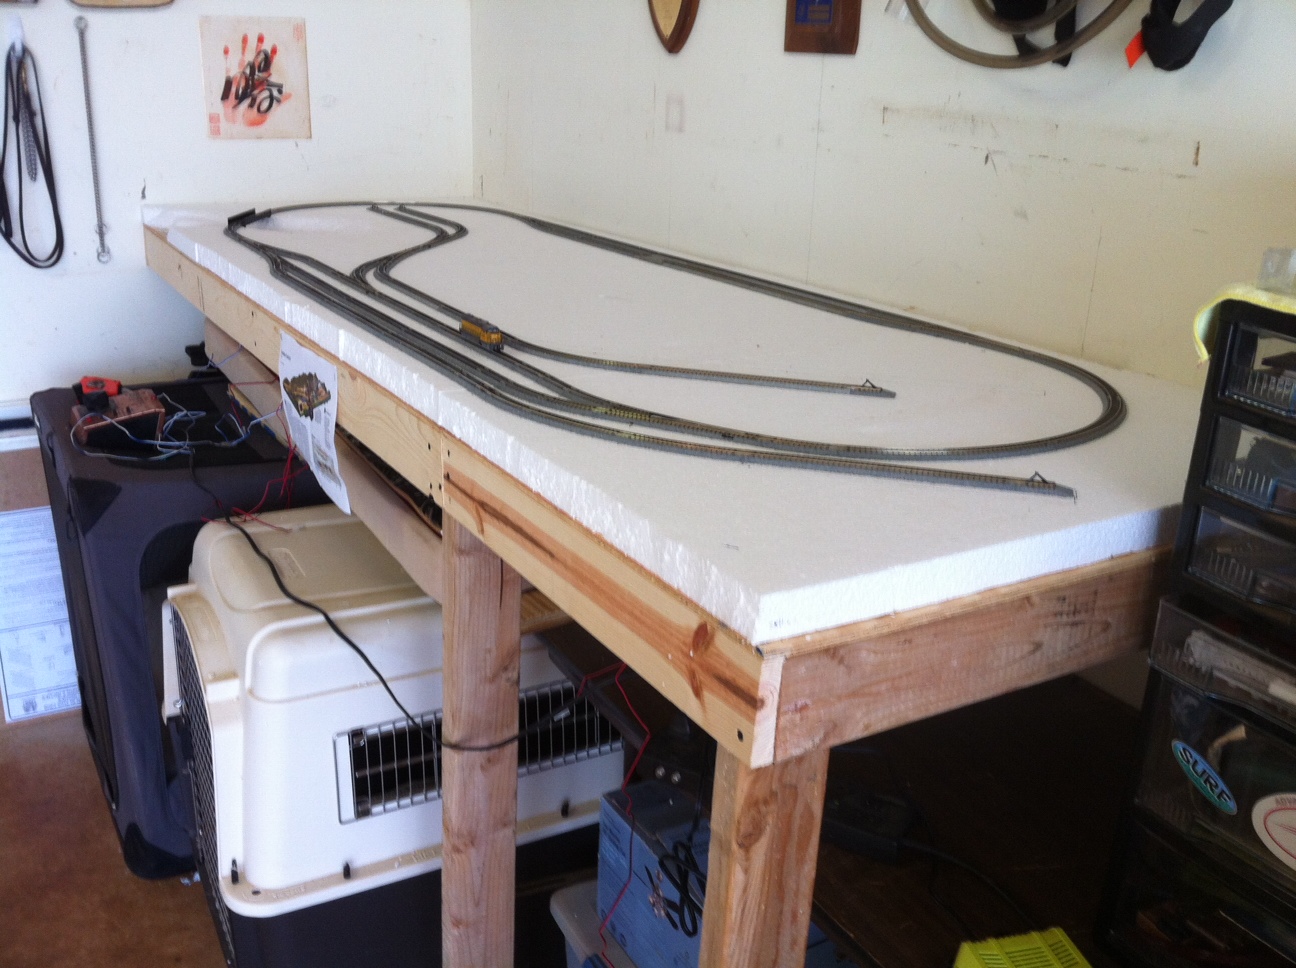
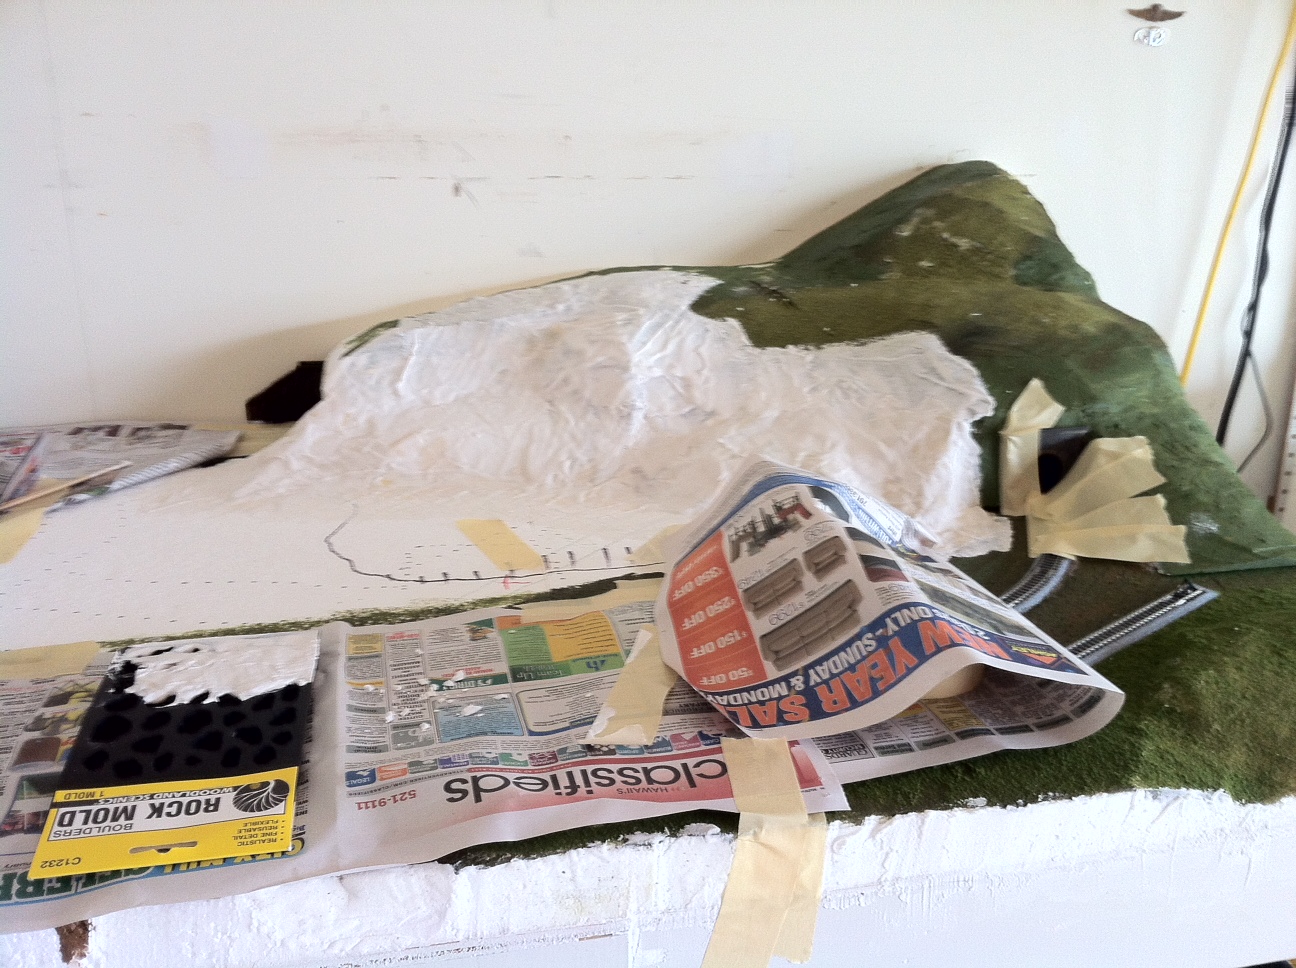
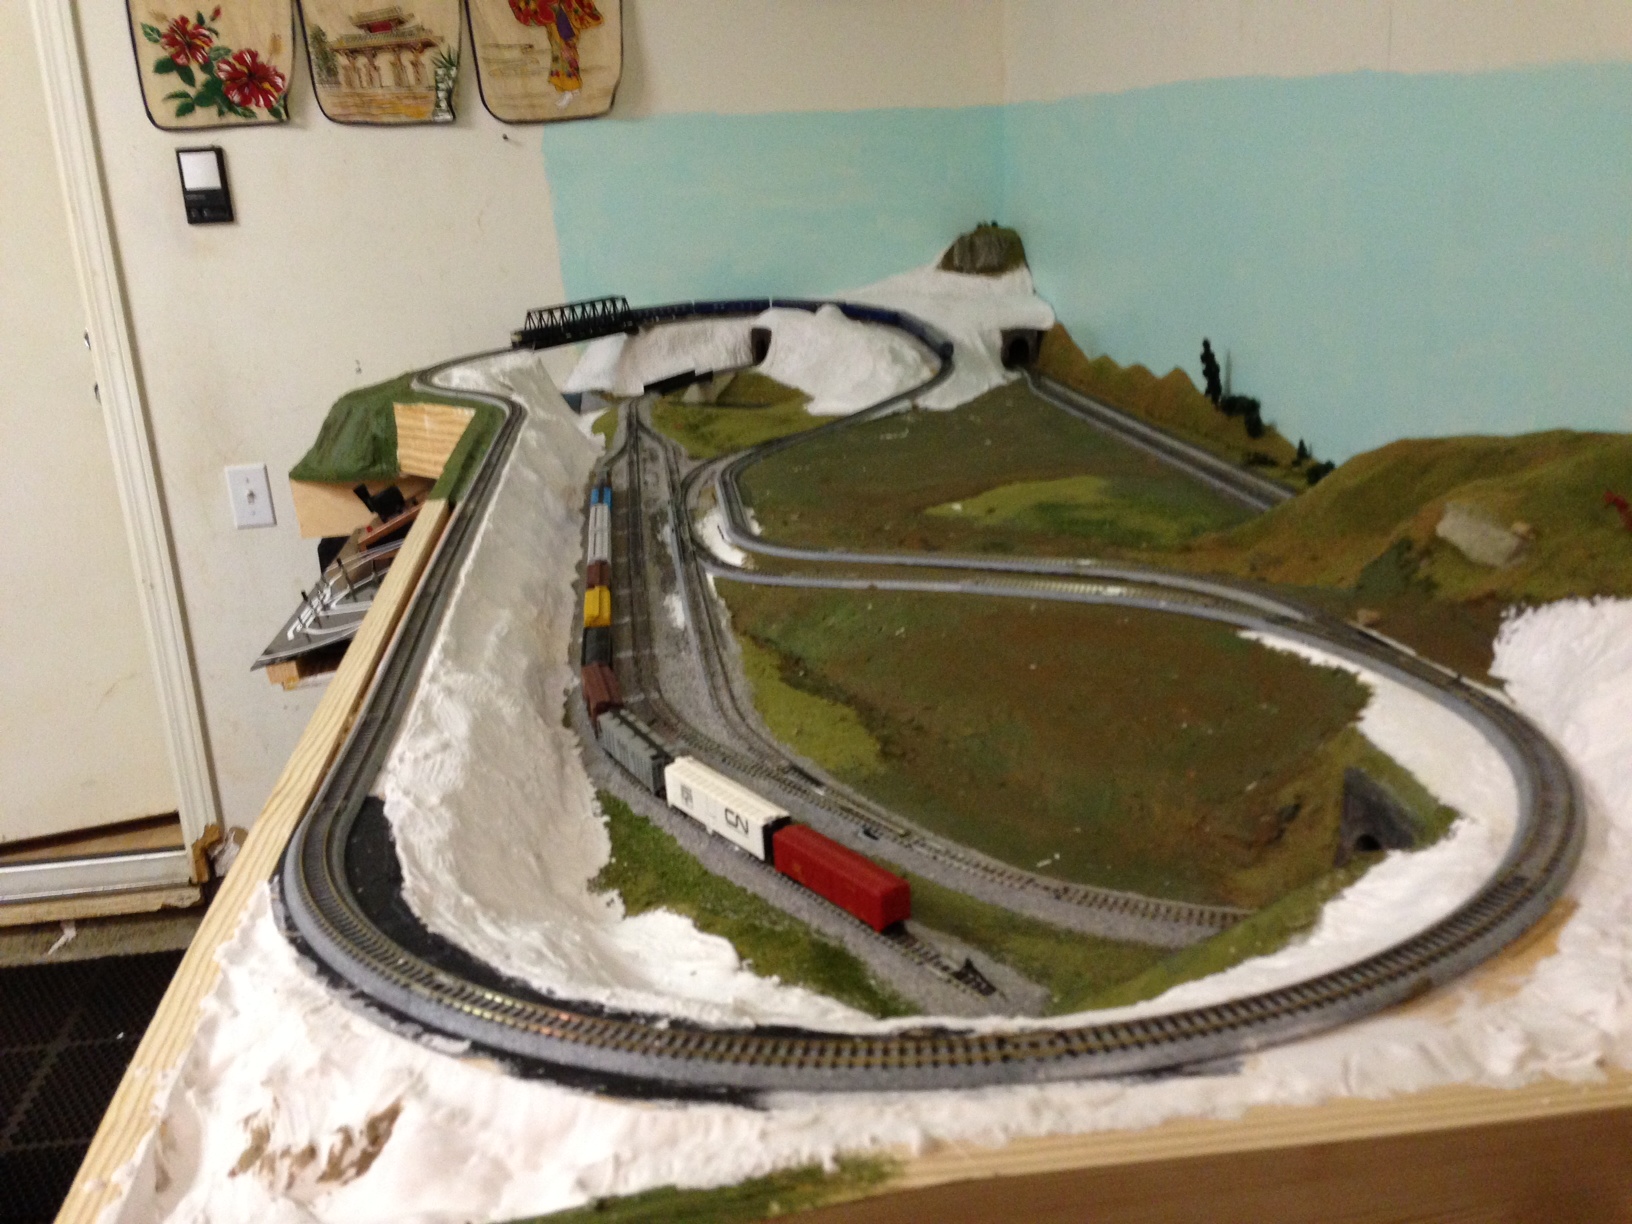
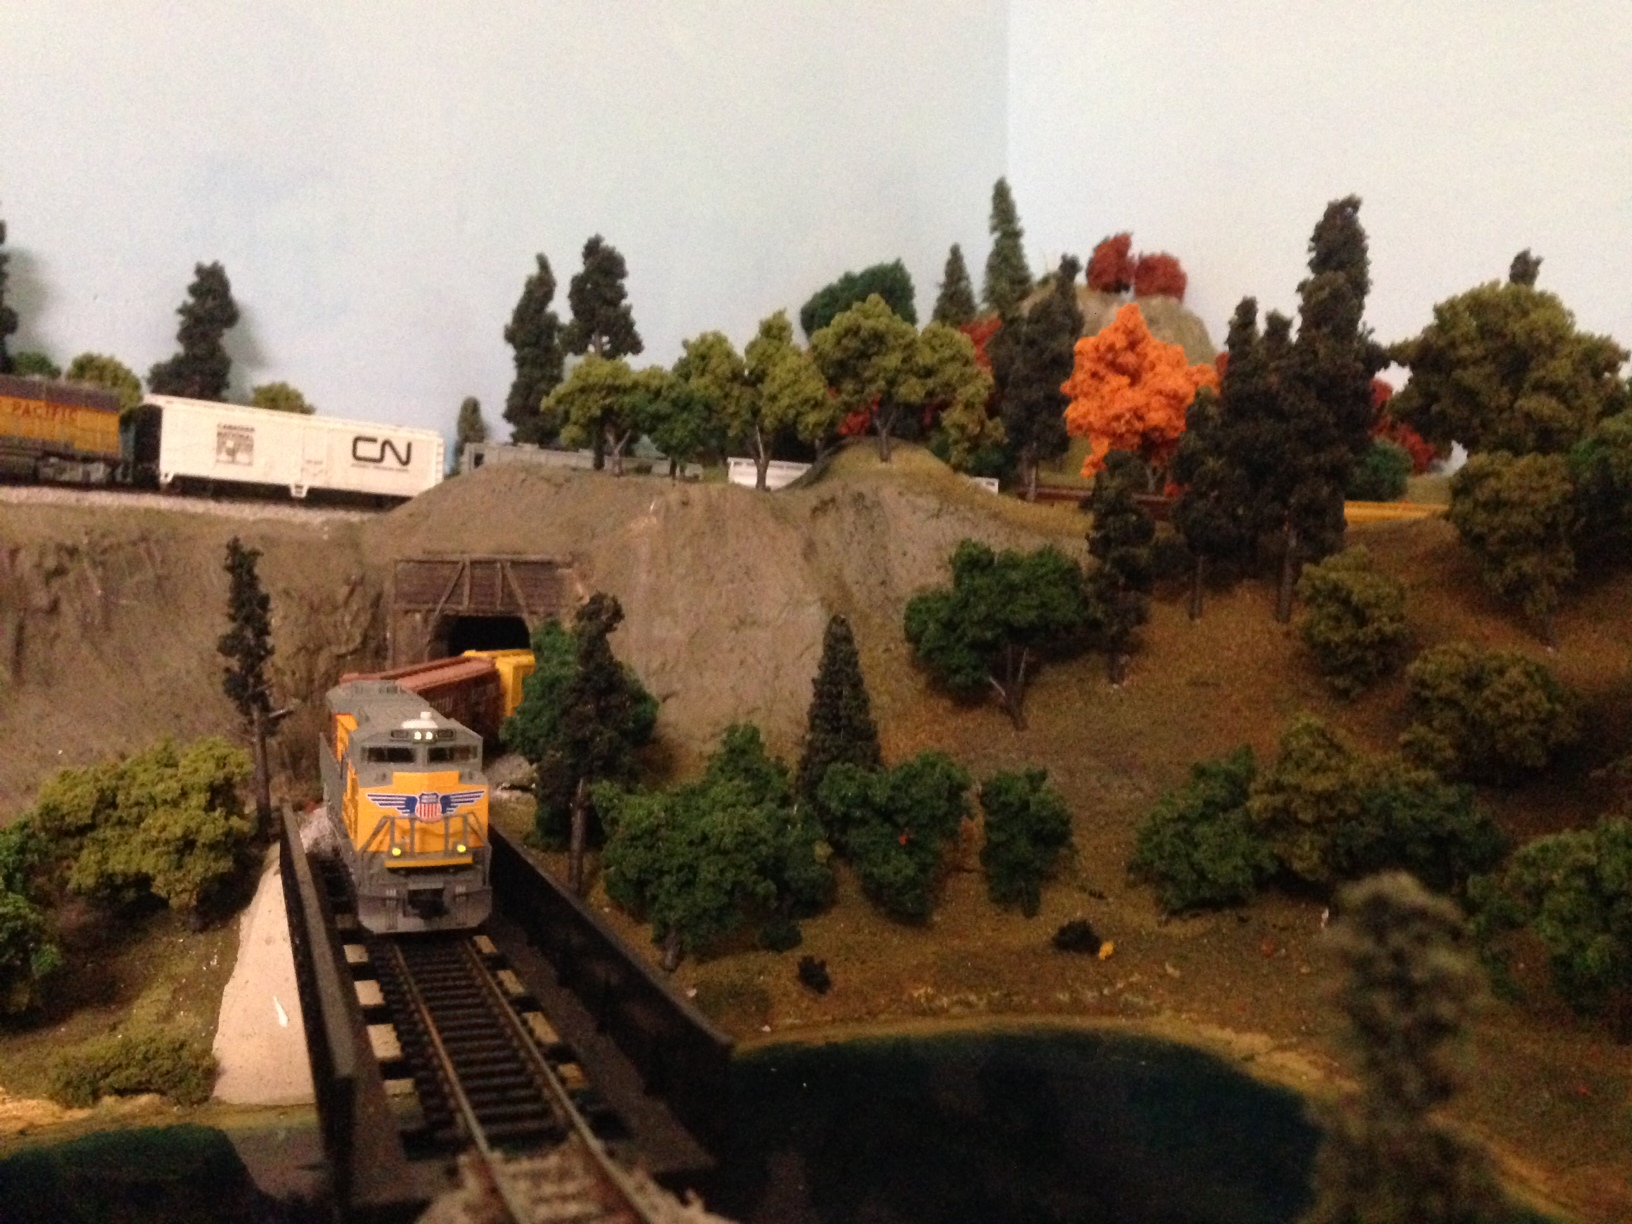
“Aloha From Hawaii (The land of little/no model rail).

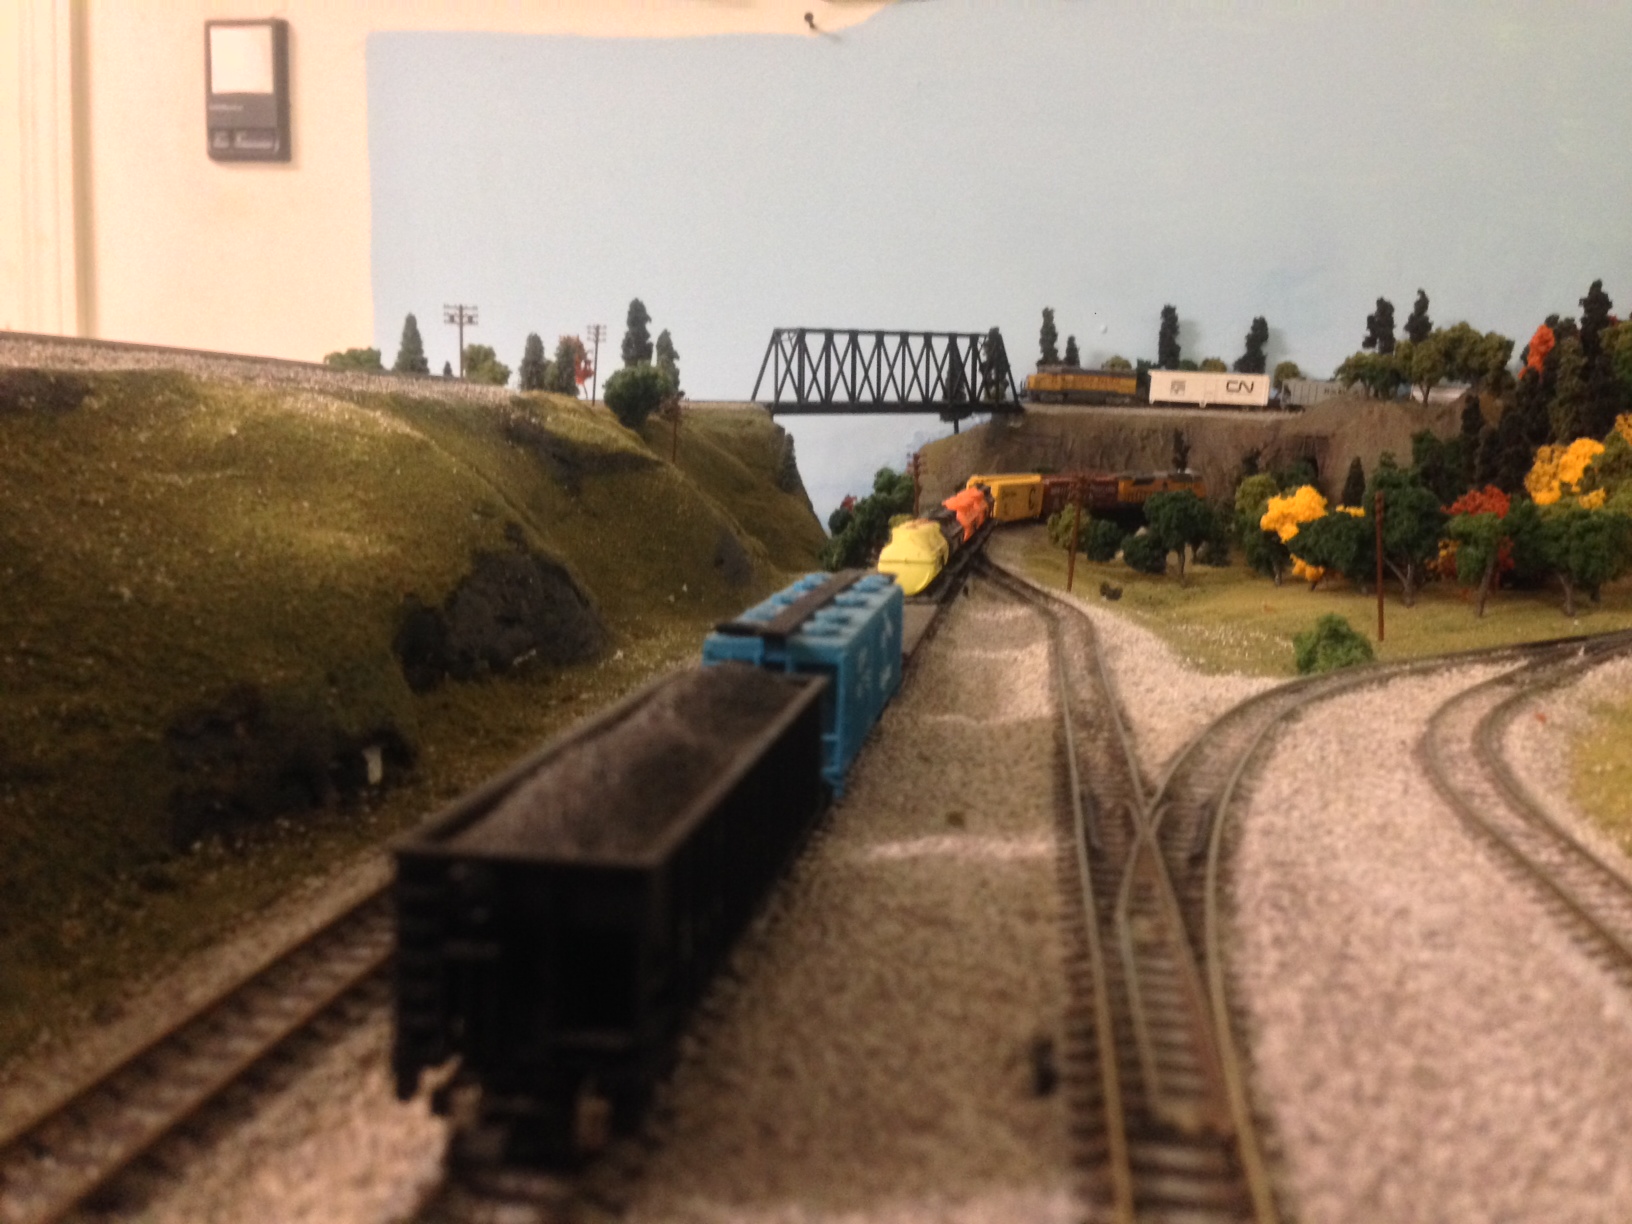
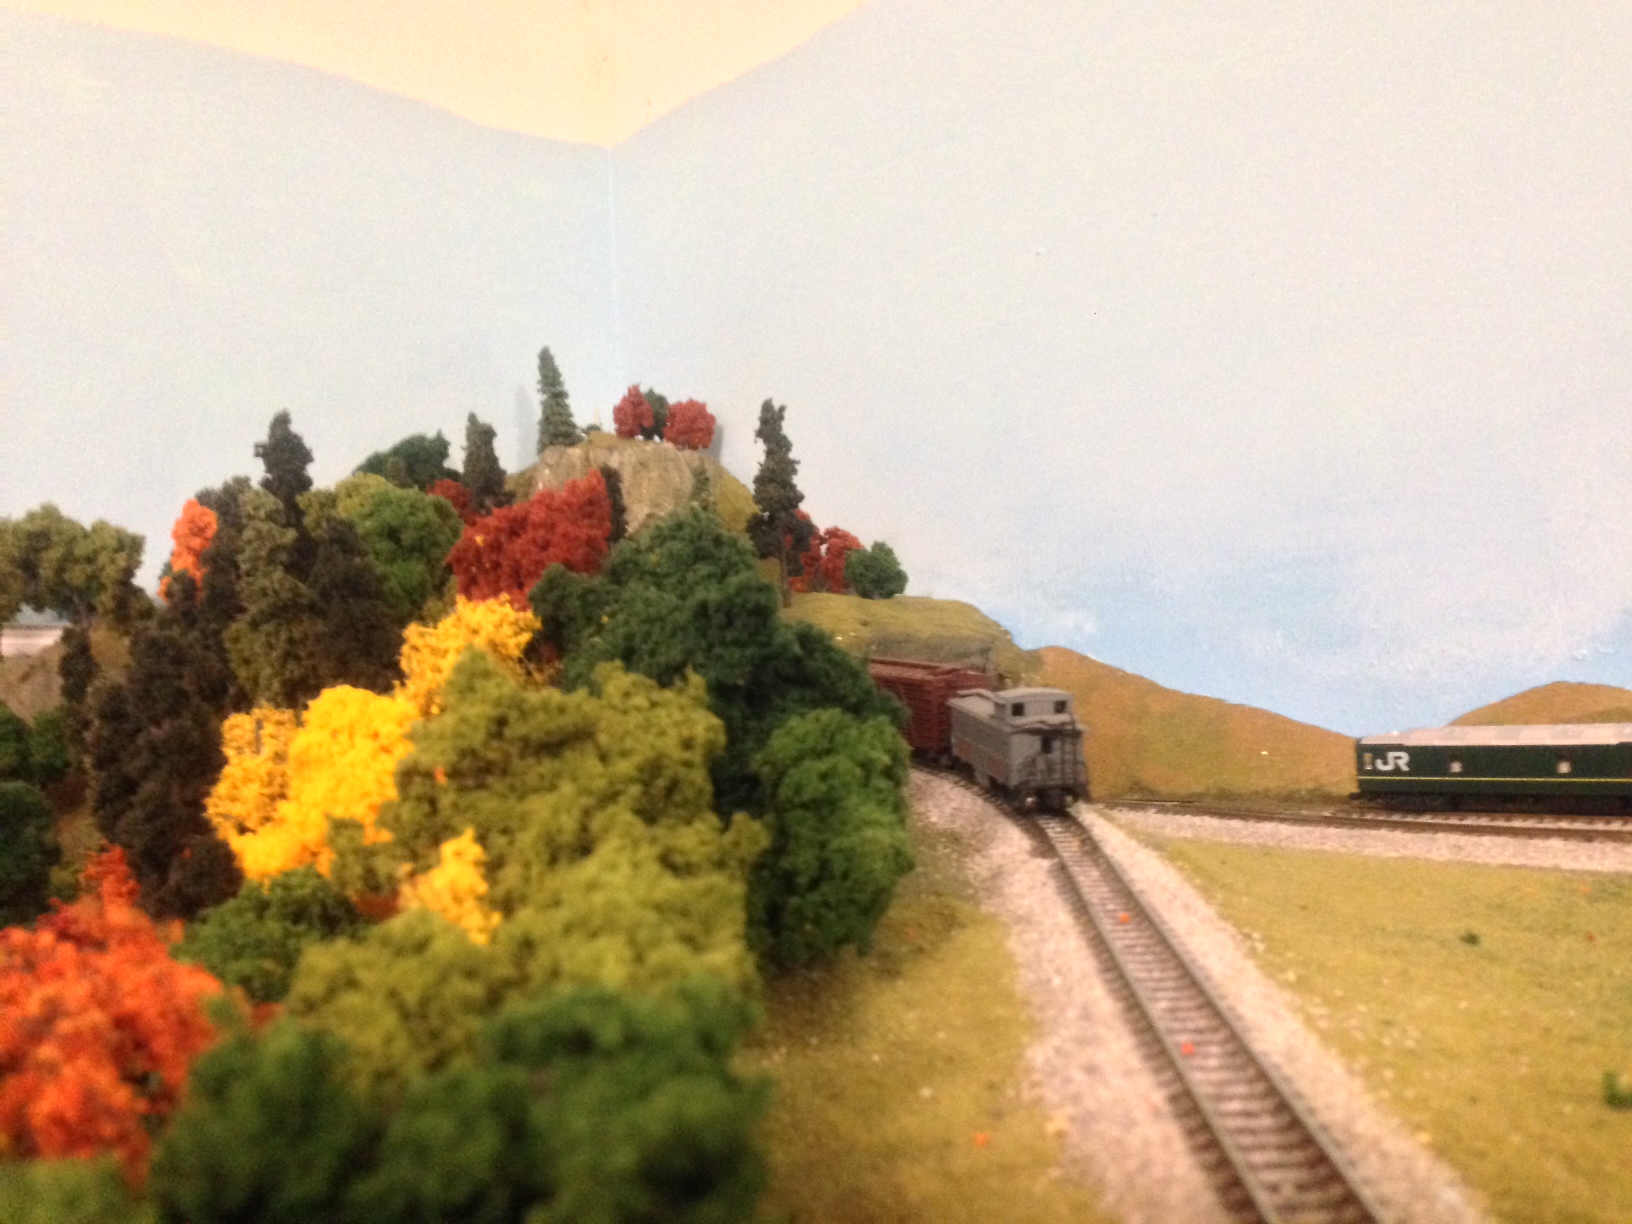
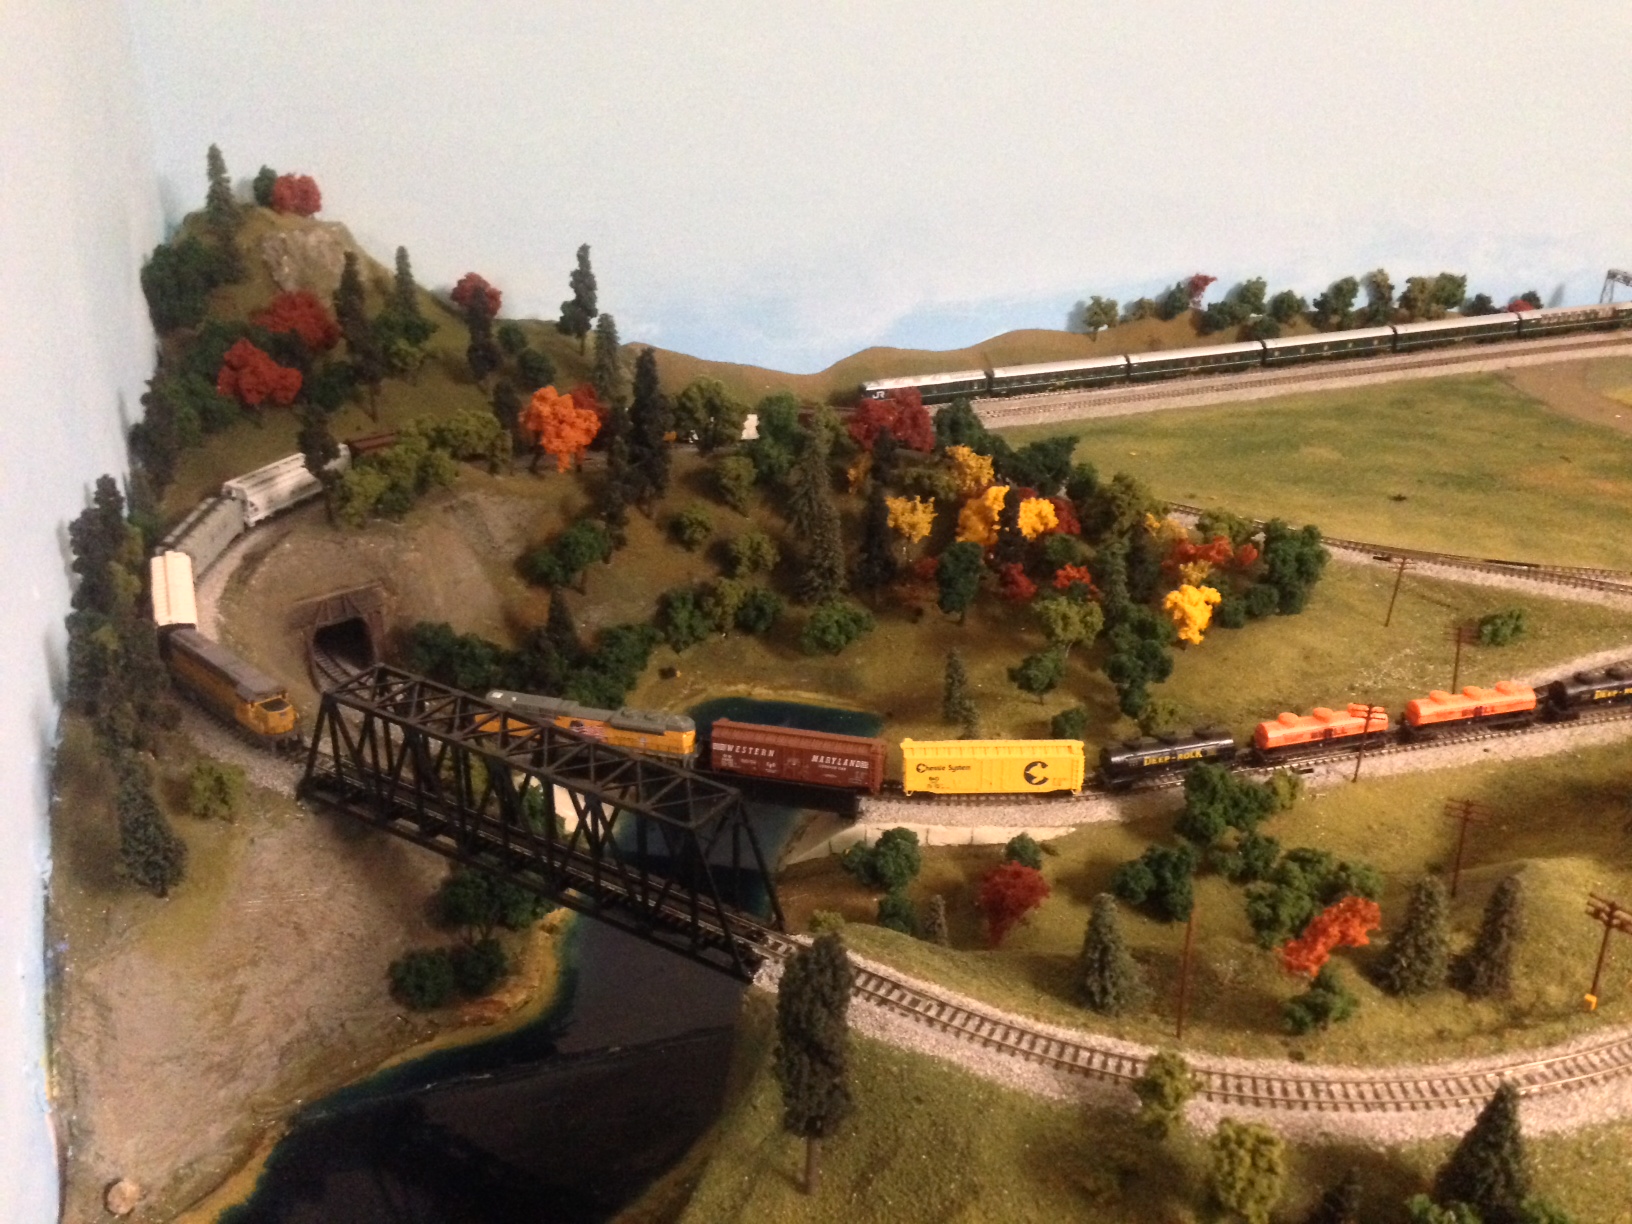
If you are interested, I have attached some Photos from my modified Carolina & Southern N scale garage layout.

I have been working on it for about a year plus, but not a-lot of time to really devote… Lots of Woodland scenics pre-made trees… Grade may be a bit steep…

Just thought I would share before I start building my structures, adding signal lights etc..

Wouldn’t mind critique… Feel free to post.

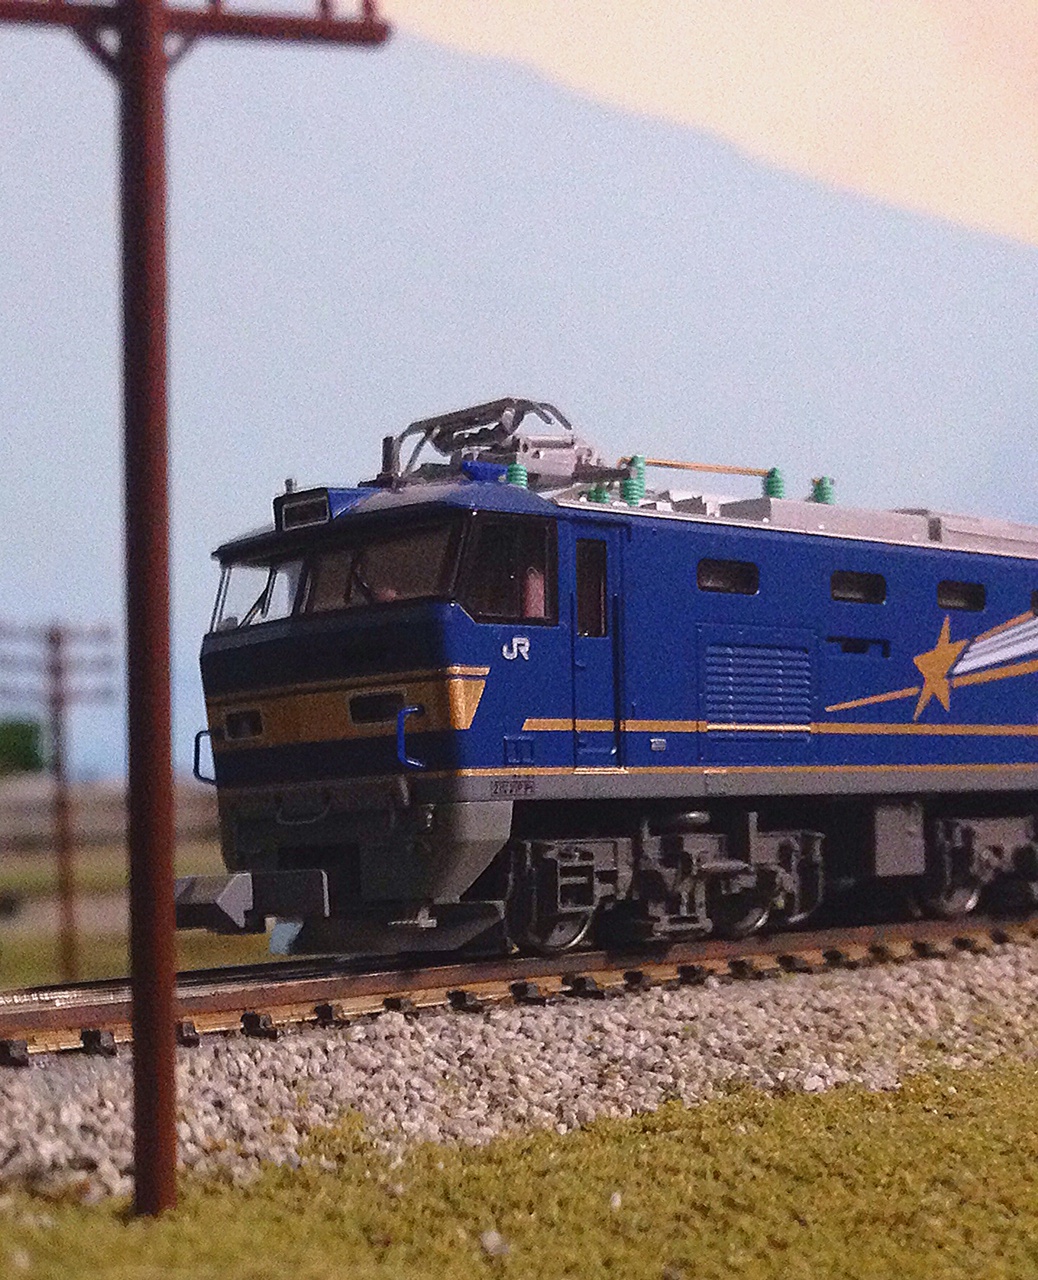
Never mind the JR train … 🙂 can show my collection some other time…

Respectfully Yours,
CJ of Honolulu
Colonel, USMCR Retired”

model train layout

model train layout

N scale model train

N scale model train

N scale model train

N scale model railroad


n scale model railroad

n scale model railroad

N scale model railroad

And now for one my fave youtubes ever. I love the way Ken has added text to the video, showing how he’s made this wonderful, fun, layout.


That’s all for this time folks.

Please do keep ’em coming.

And if today is the day you get started on your layout, the Beginner’s Guide is here.

Best

Al

PS More HO scale train layouts here if that’s your thing.


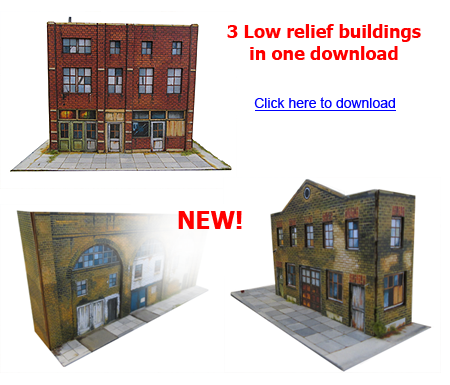
Need buildings for your layout? Have a look at the store.

They are great fun to make and great value too.