More from Alan and his wonderful layout

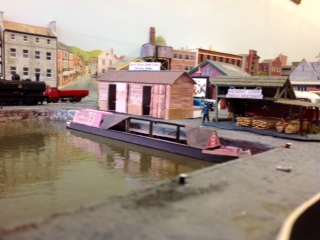
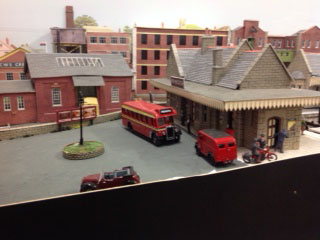
Alan got lots of comments on his layout – in particular his canal scene.

(You can see the original post here).

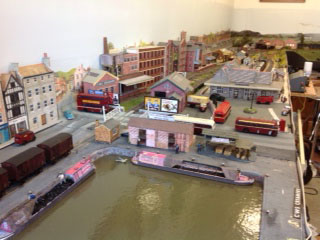
Alan has kindly got in touch with some more pics – and more importantly – how he did his canal.

“Hi Al,

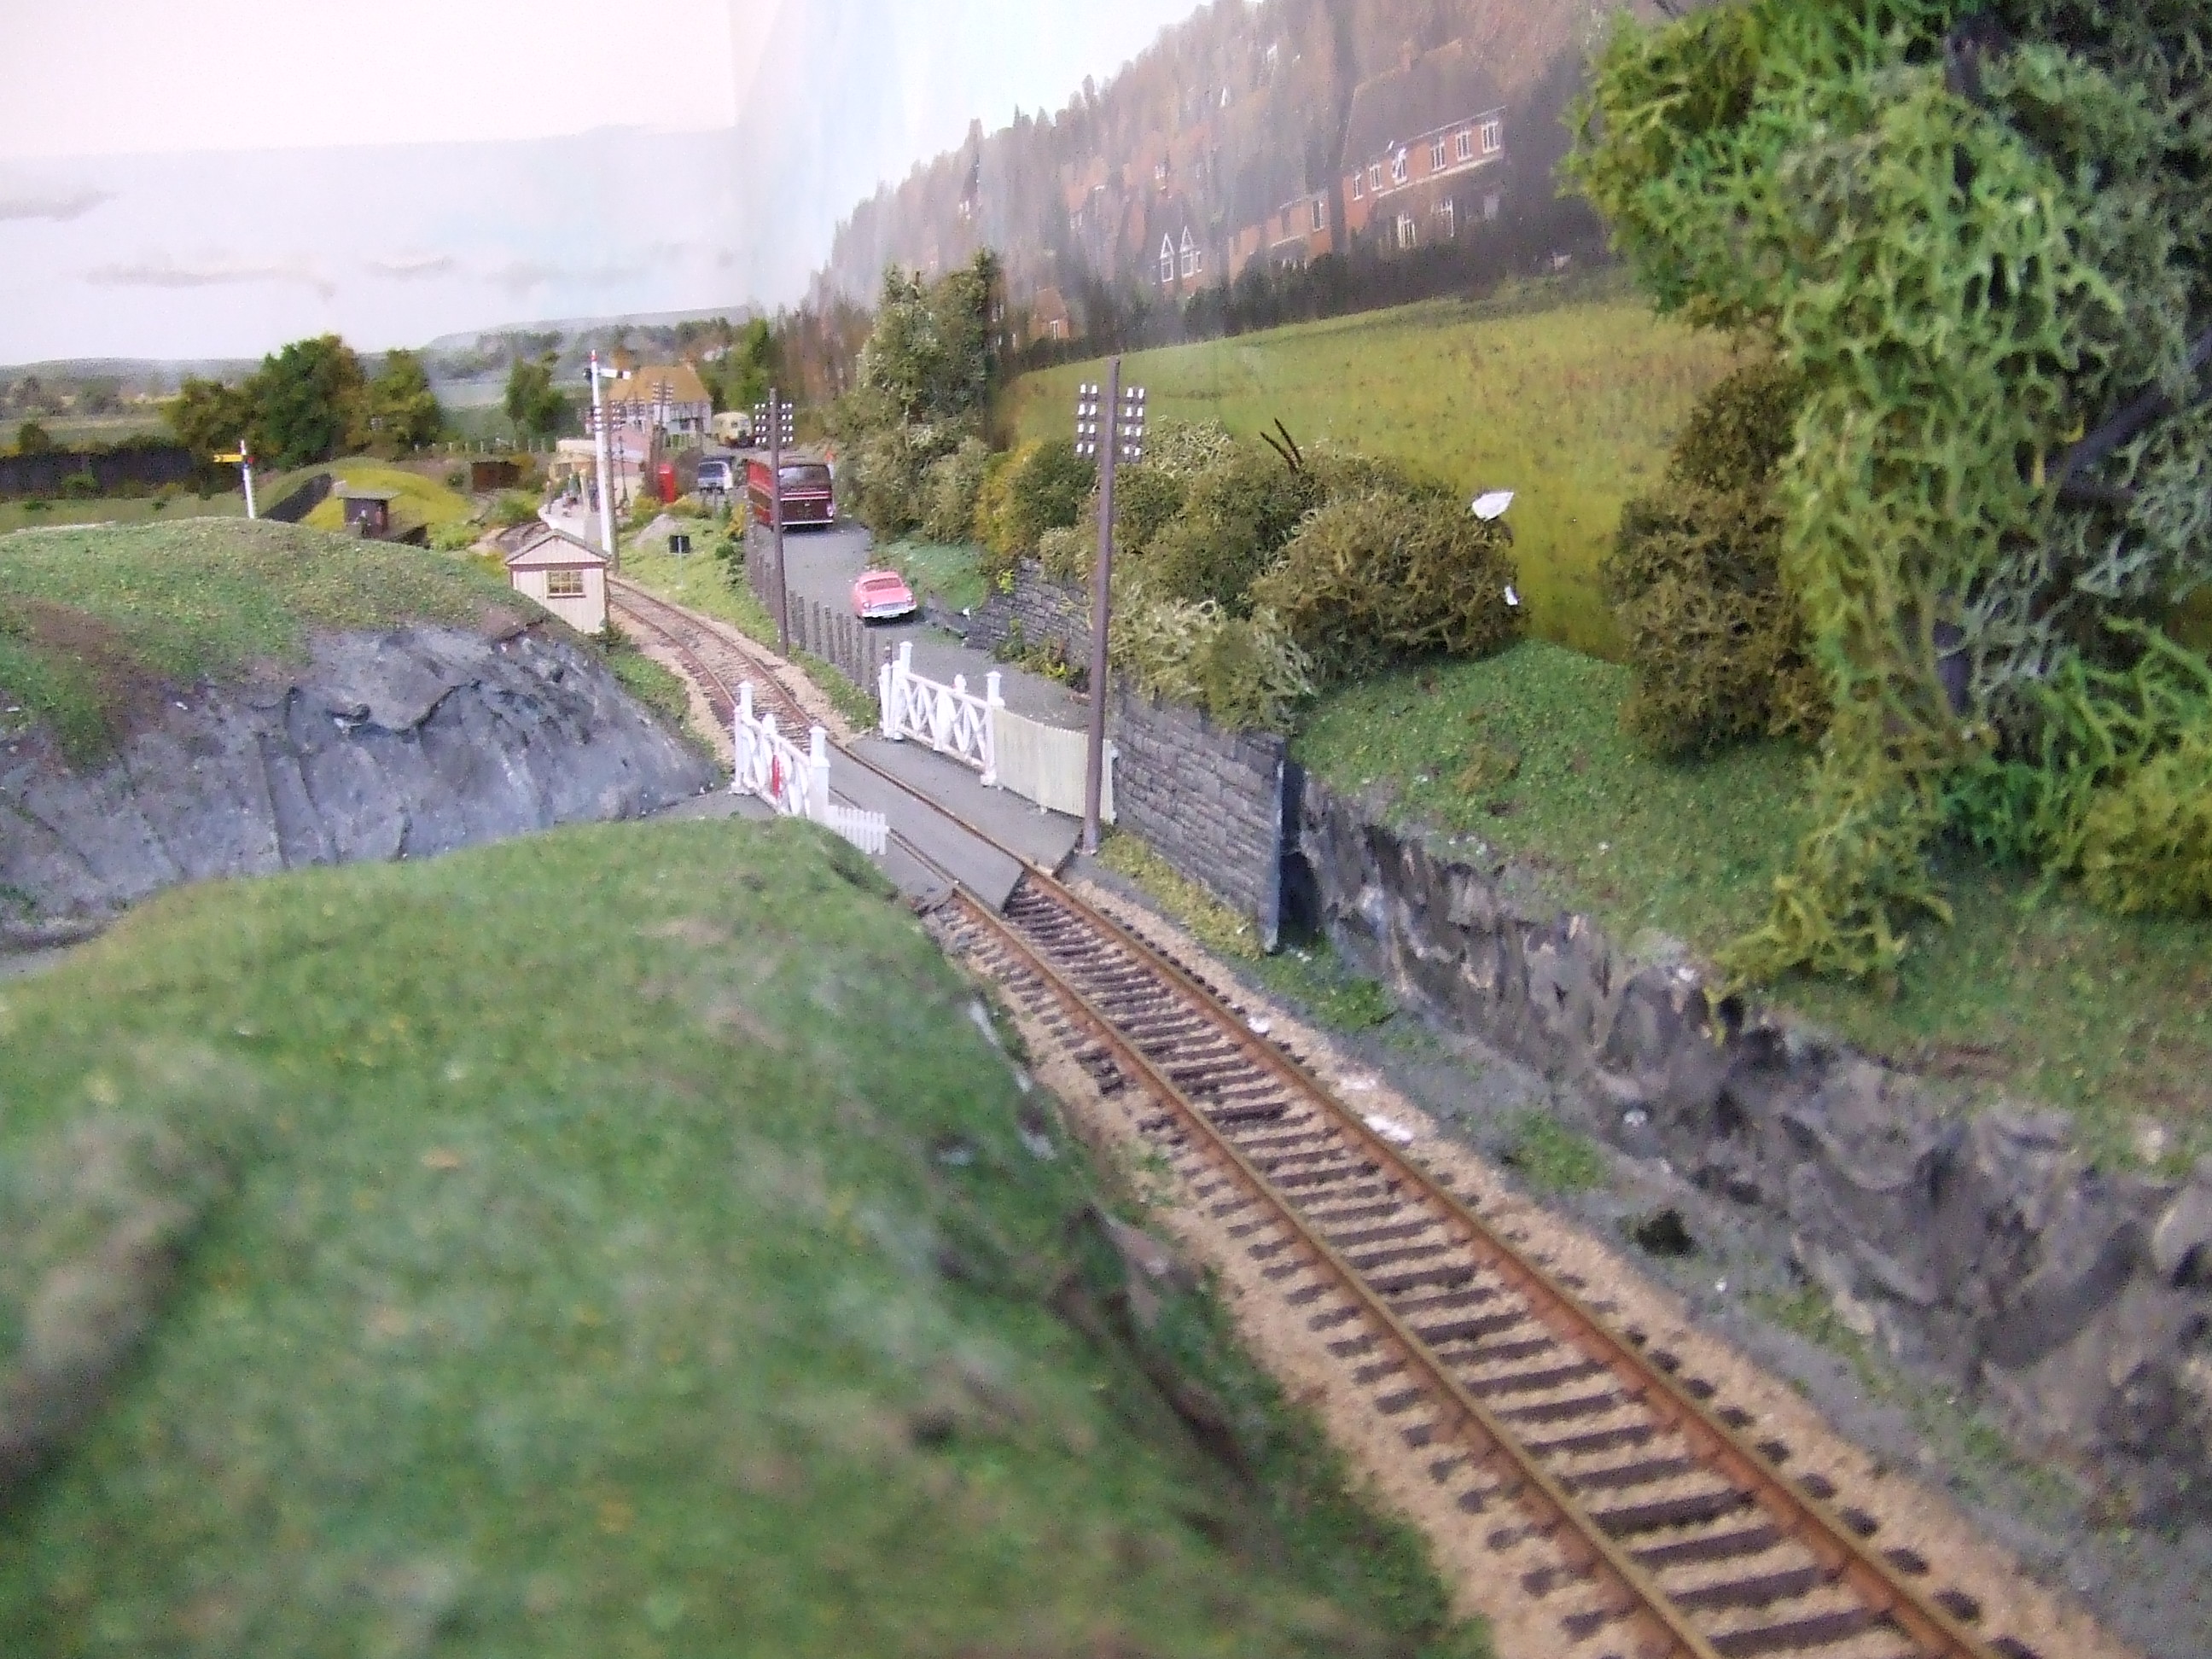
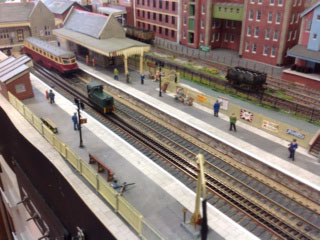
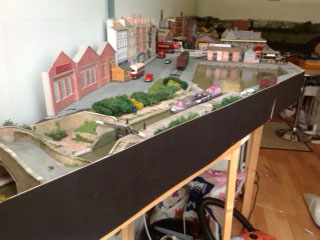
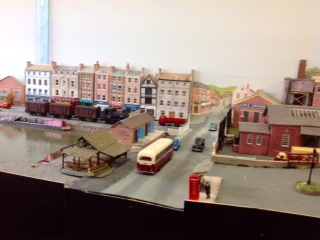
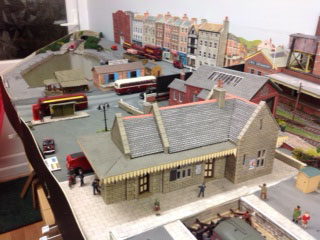
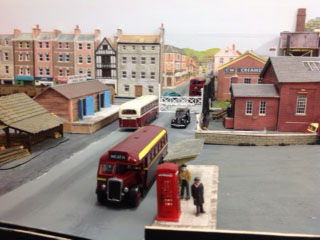
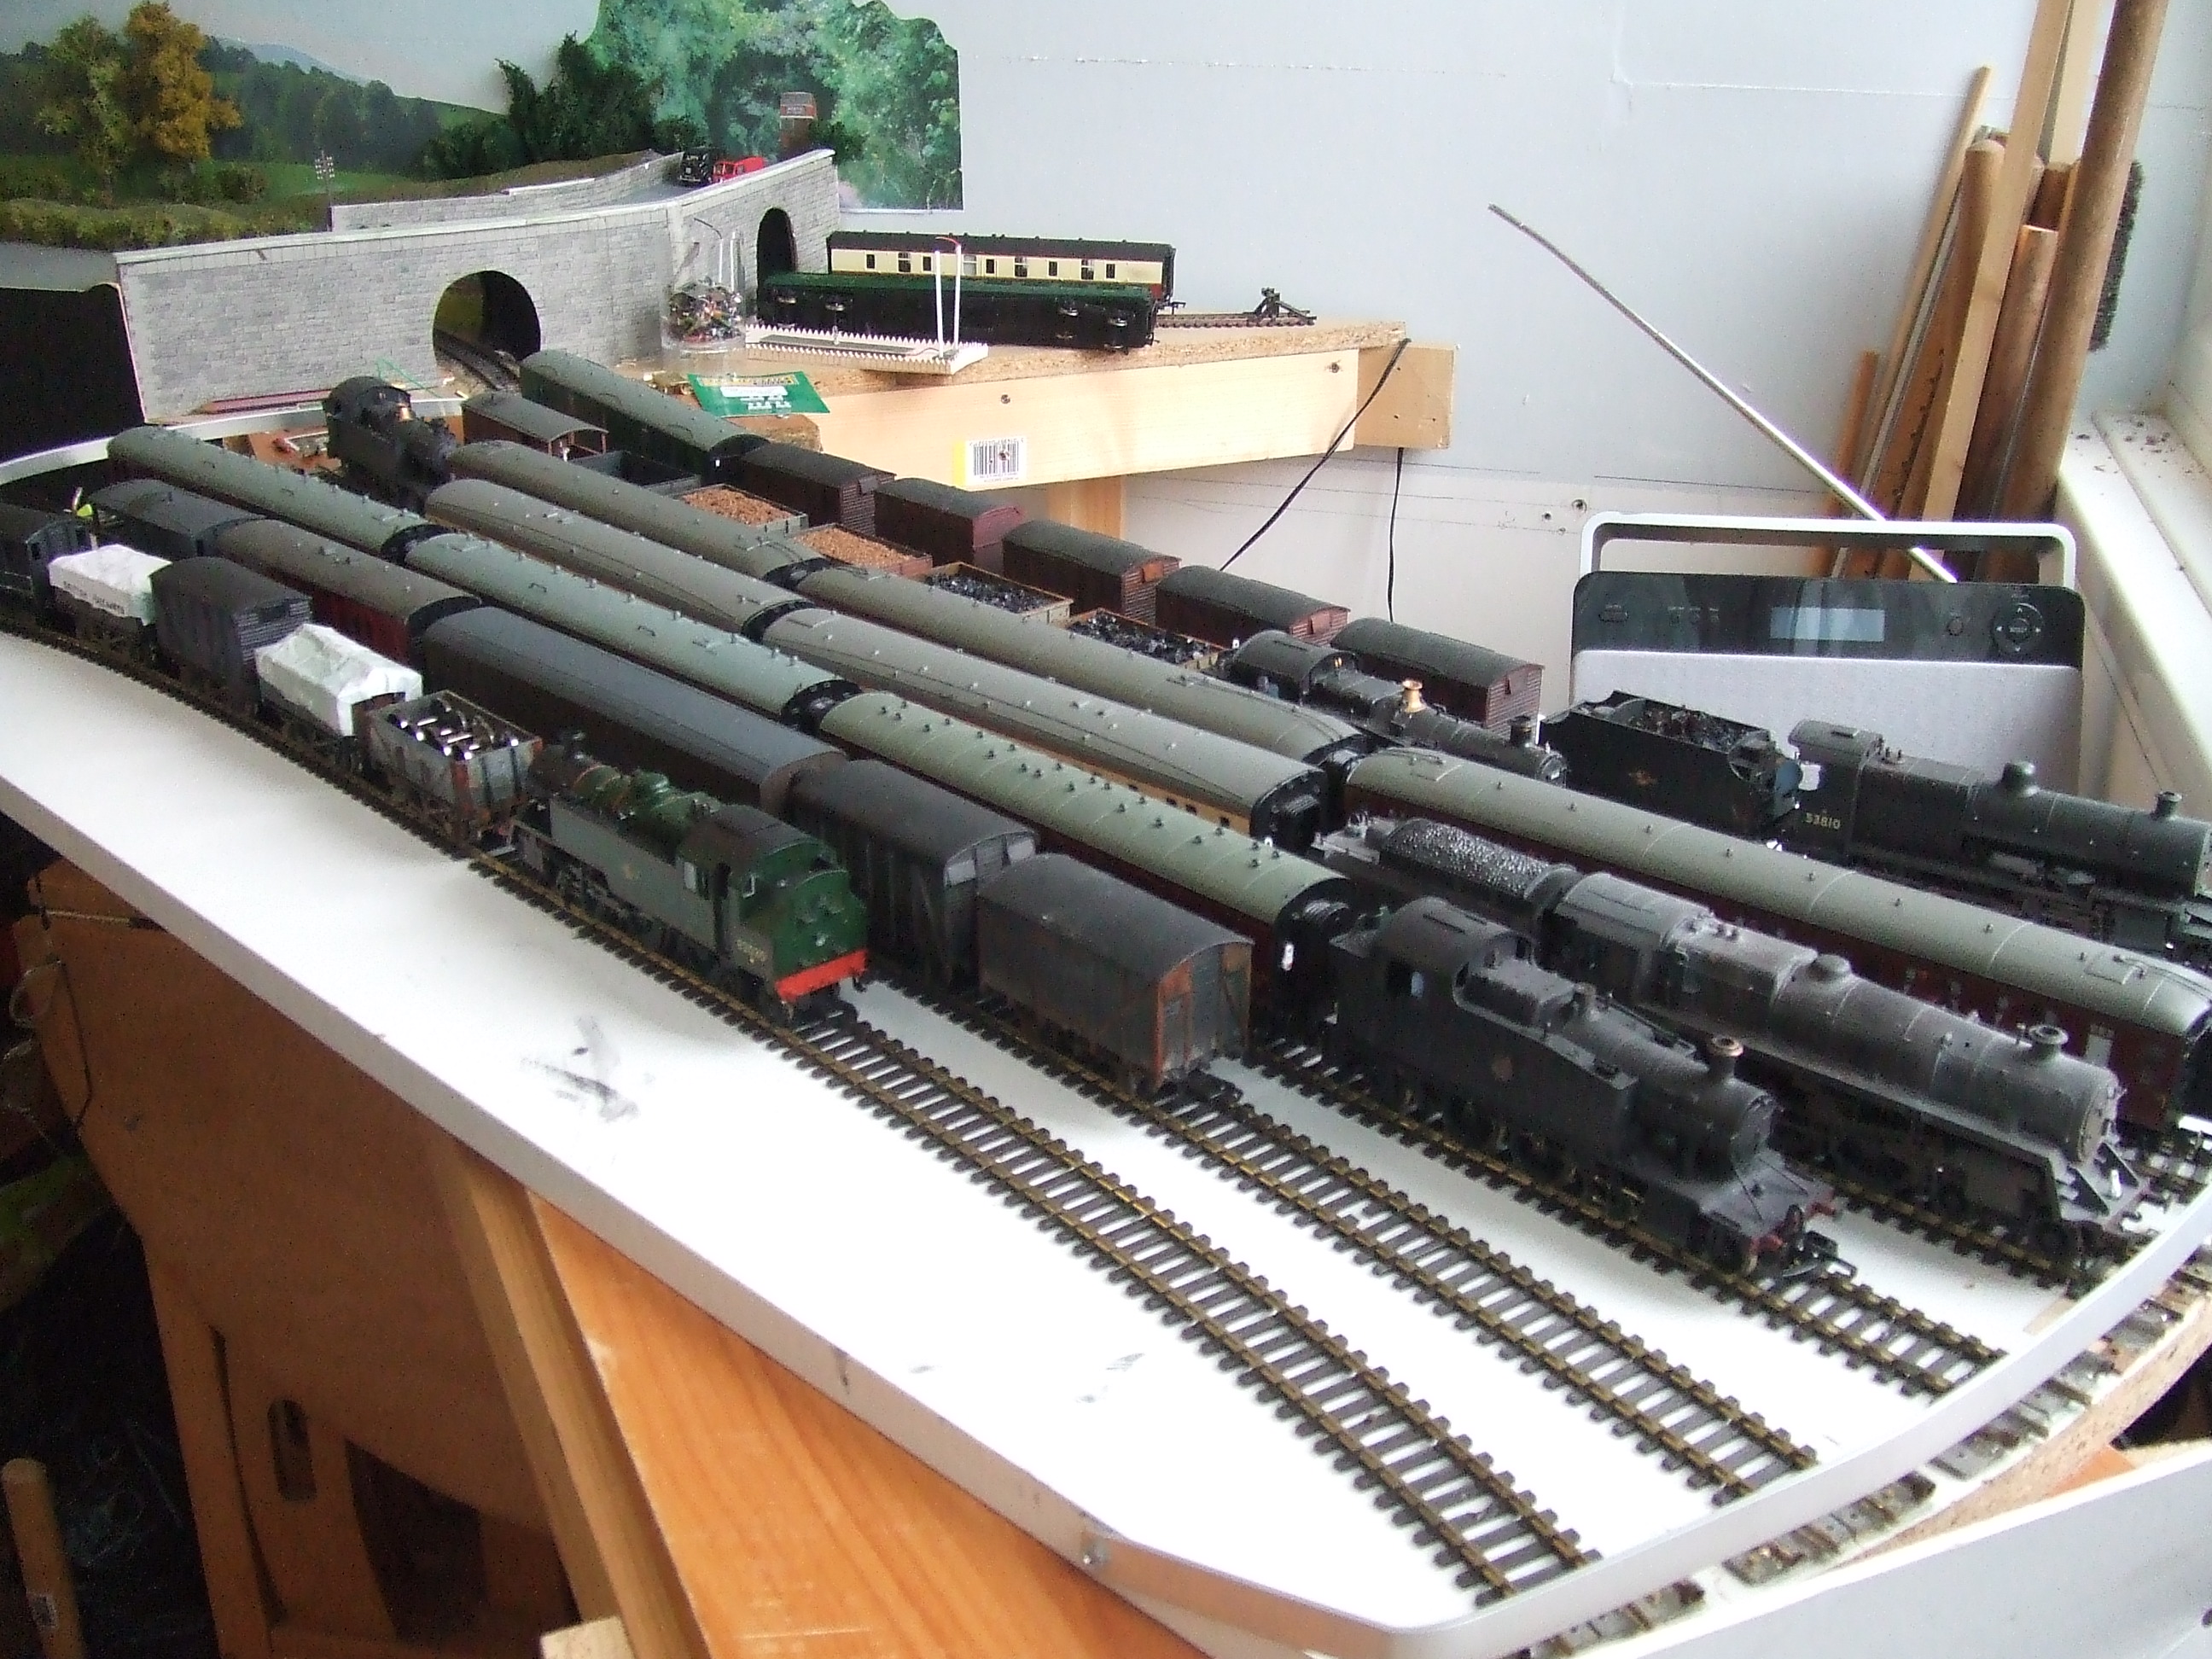
This shows more of my railway and how it’s operated.

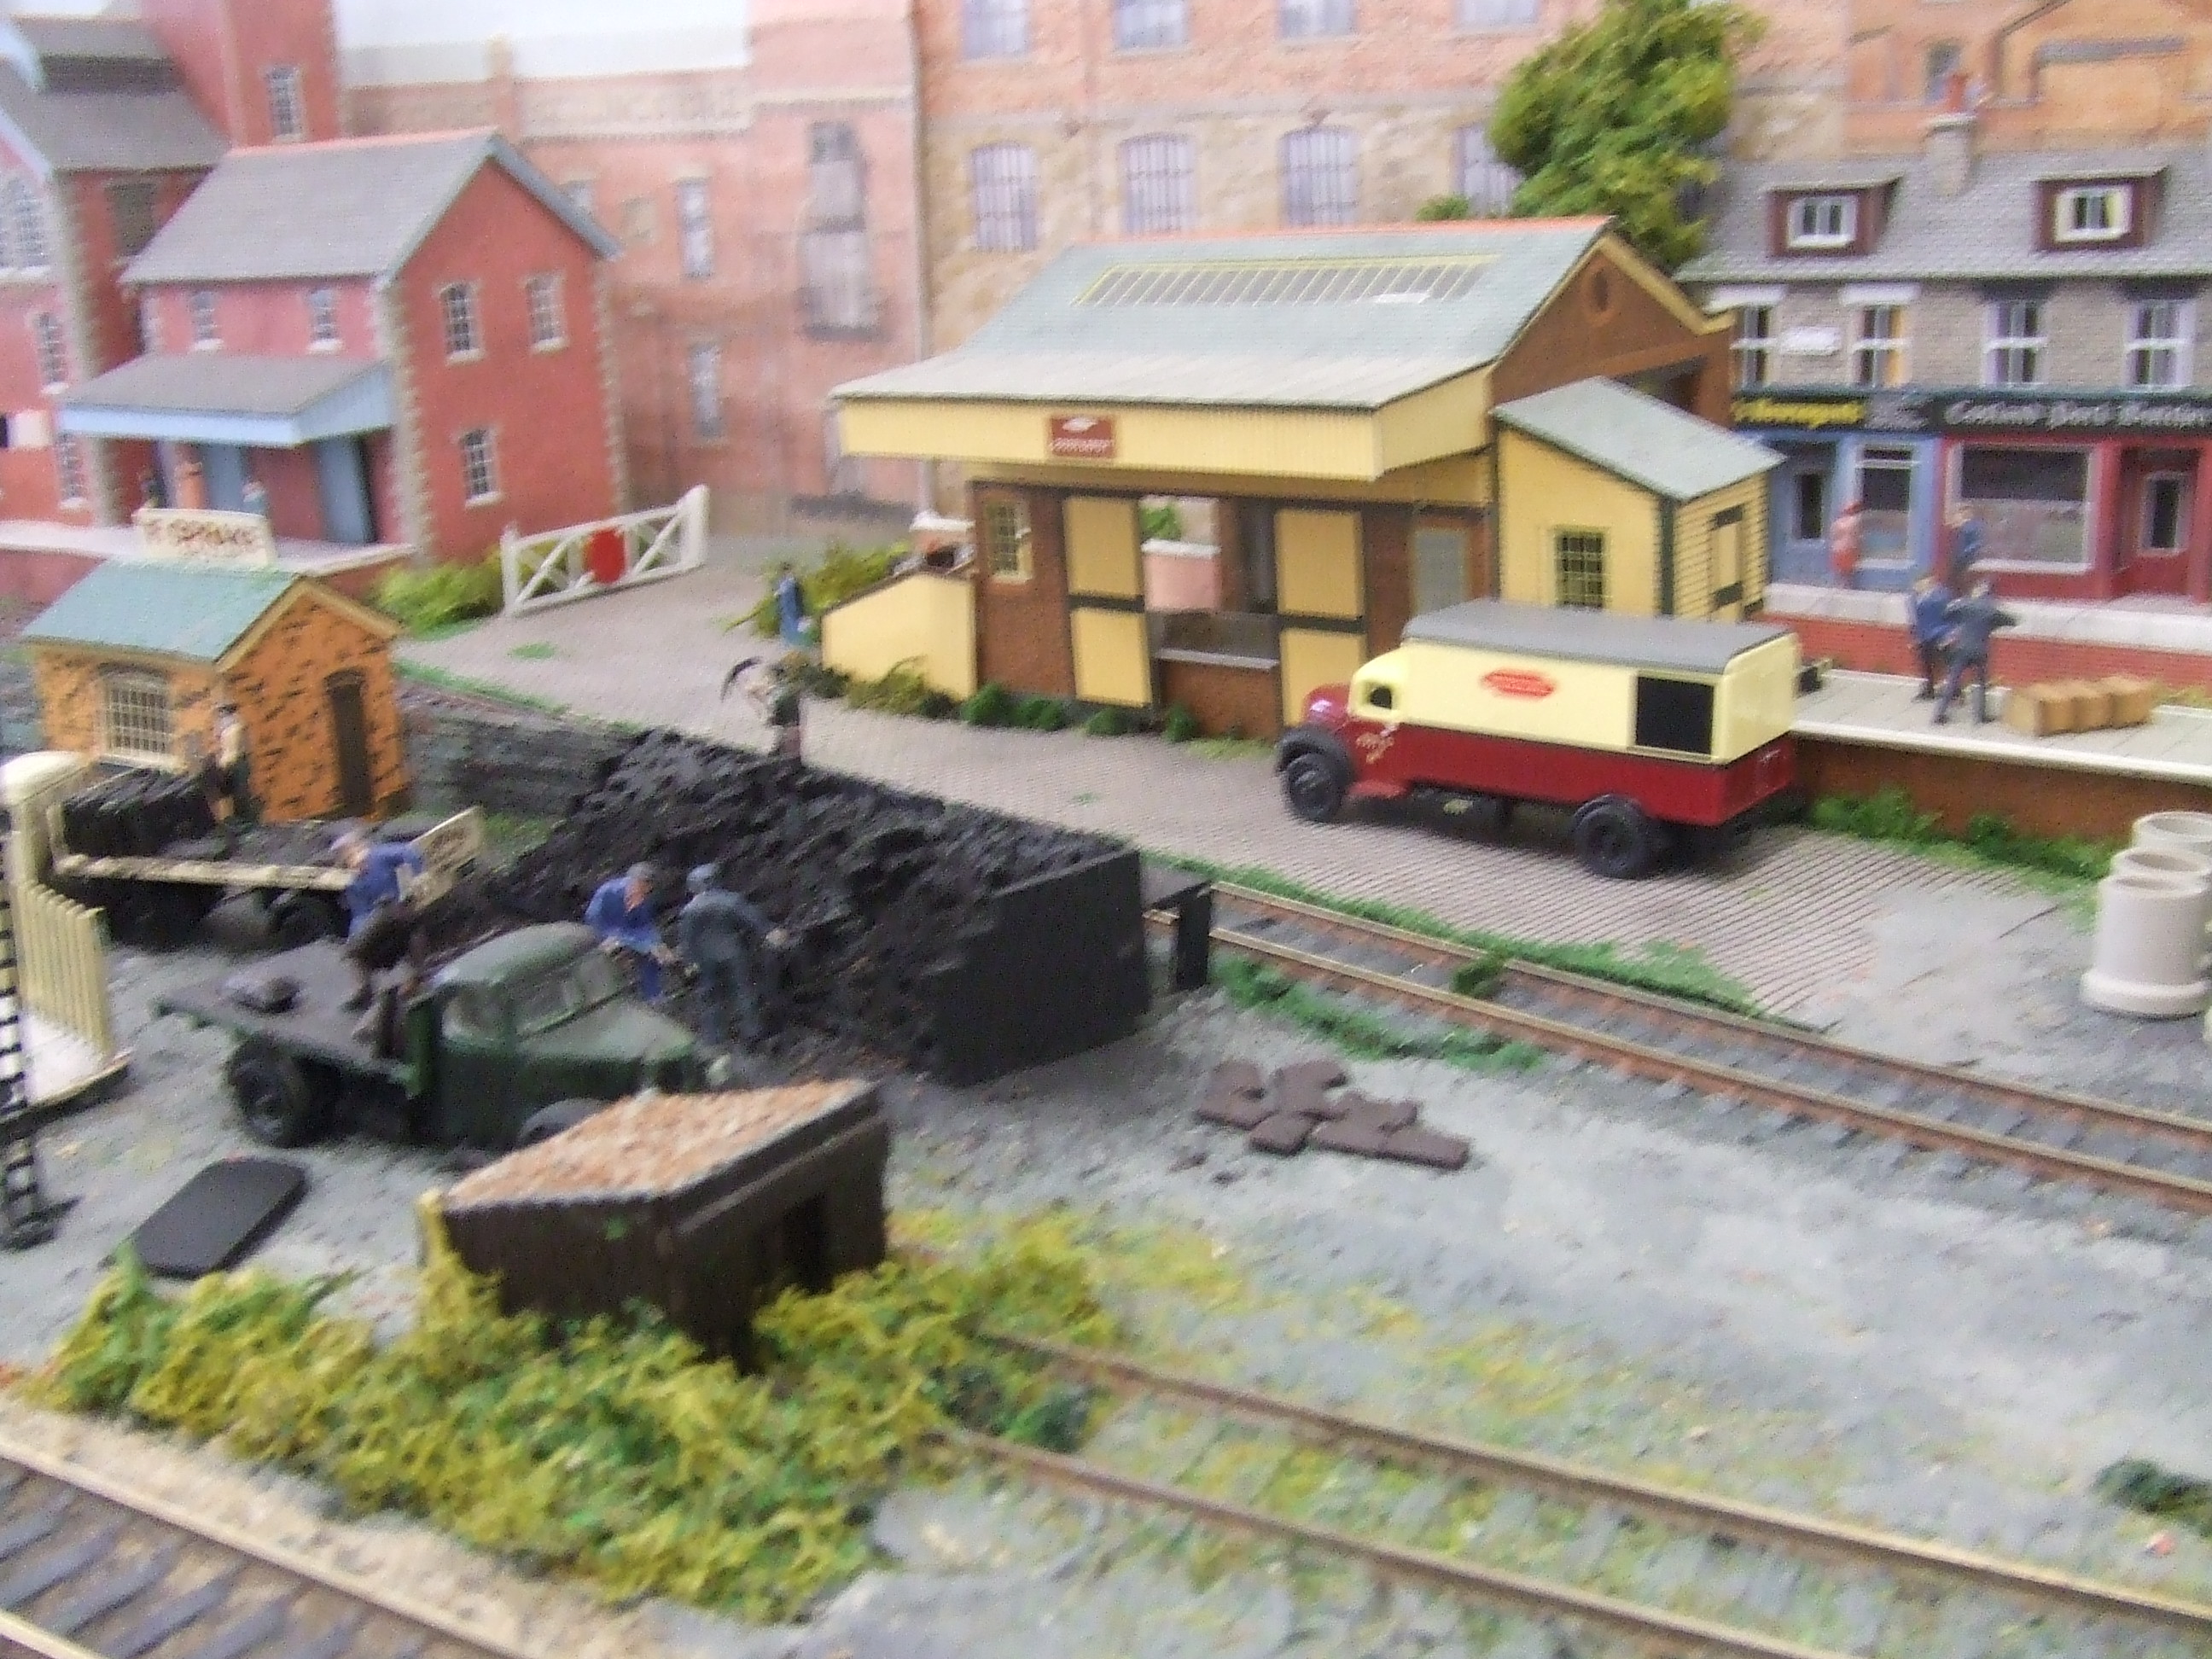
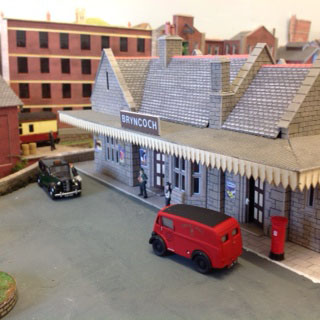
There are two branch lines which merge at the main terminus, Bryncoch. It is set in 1955 ish and at that time the canal system had been superseded by the railways and improved road infrastructure. But a few did keep going for several years as was the case with my fictional South Wales Union Canal Co. It survives by transporting coal to remote areas and where there are no suitable roads for deliveries.

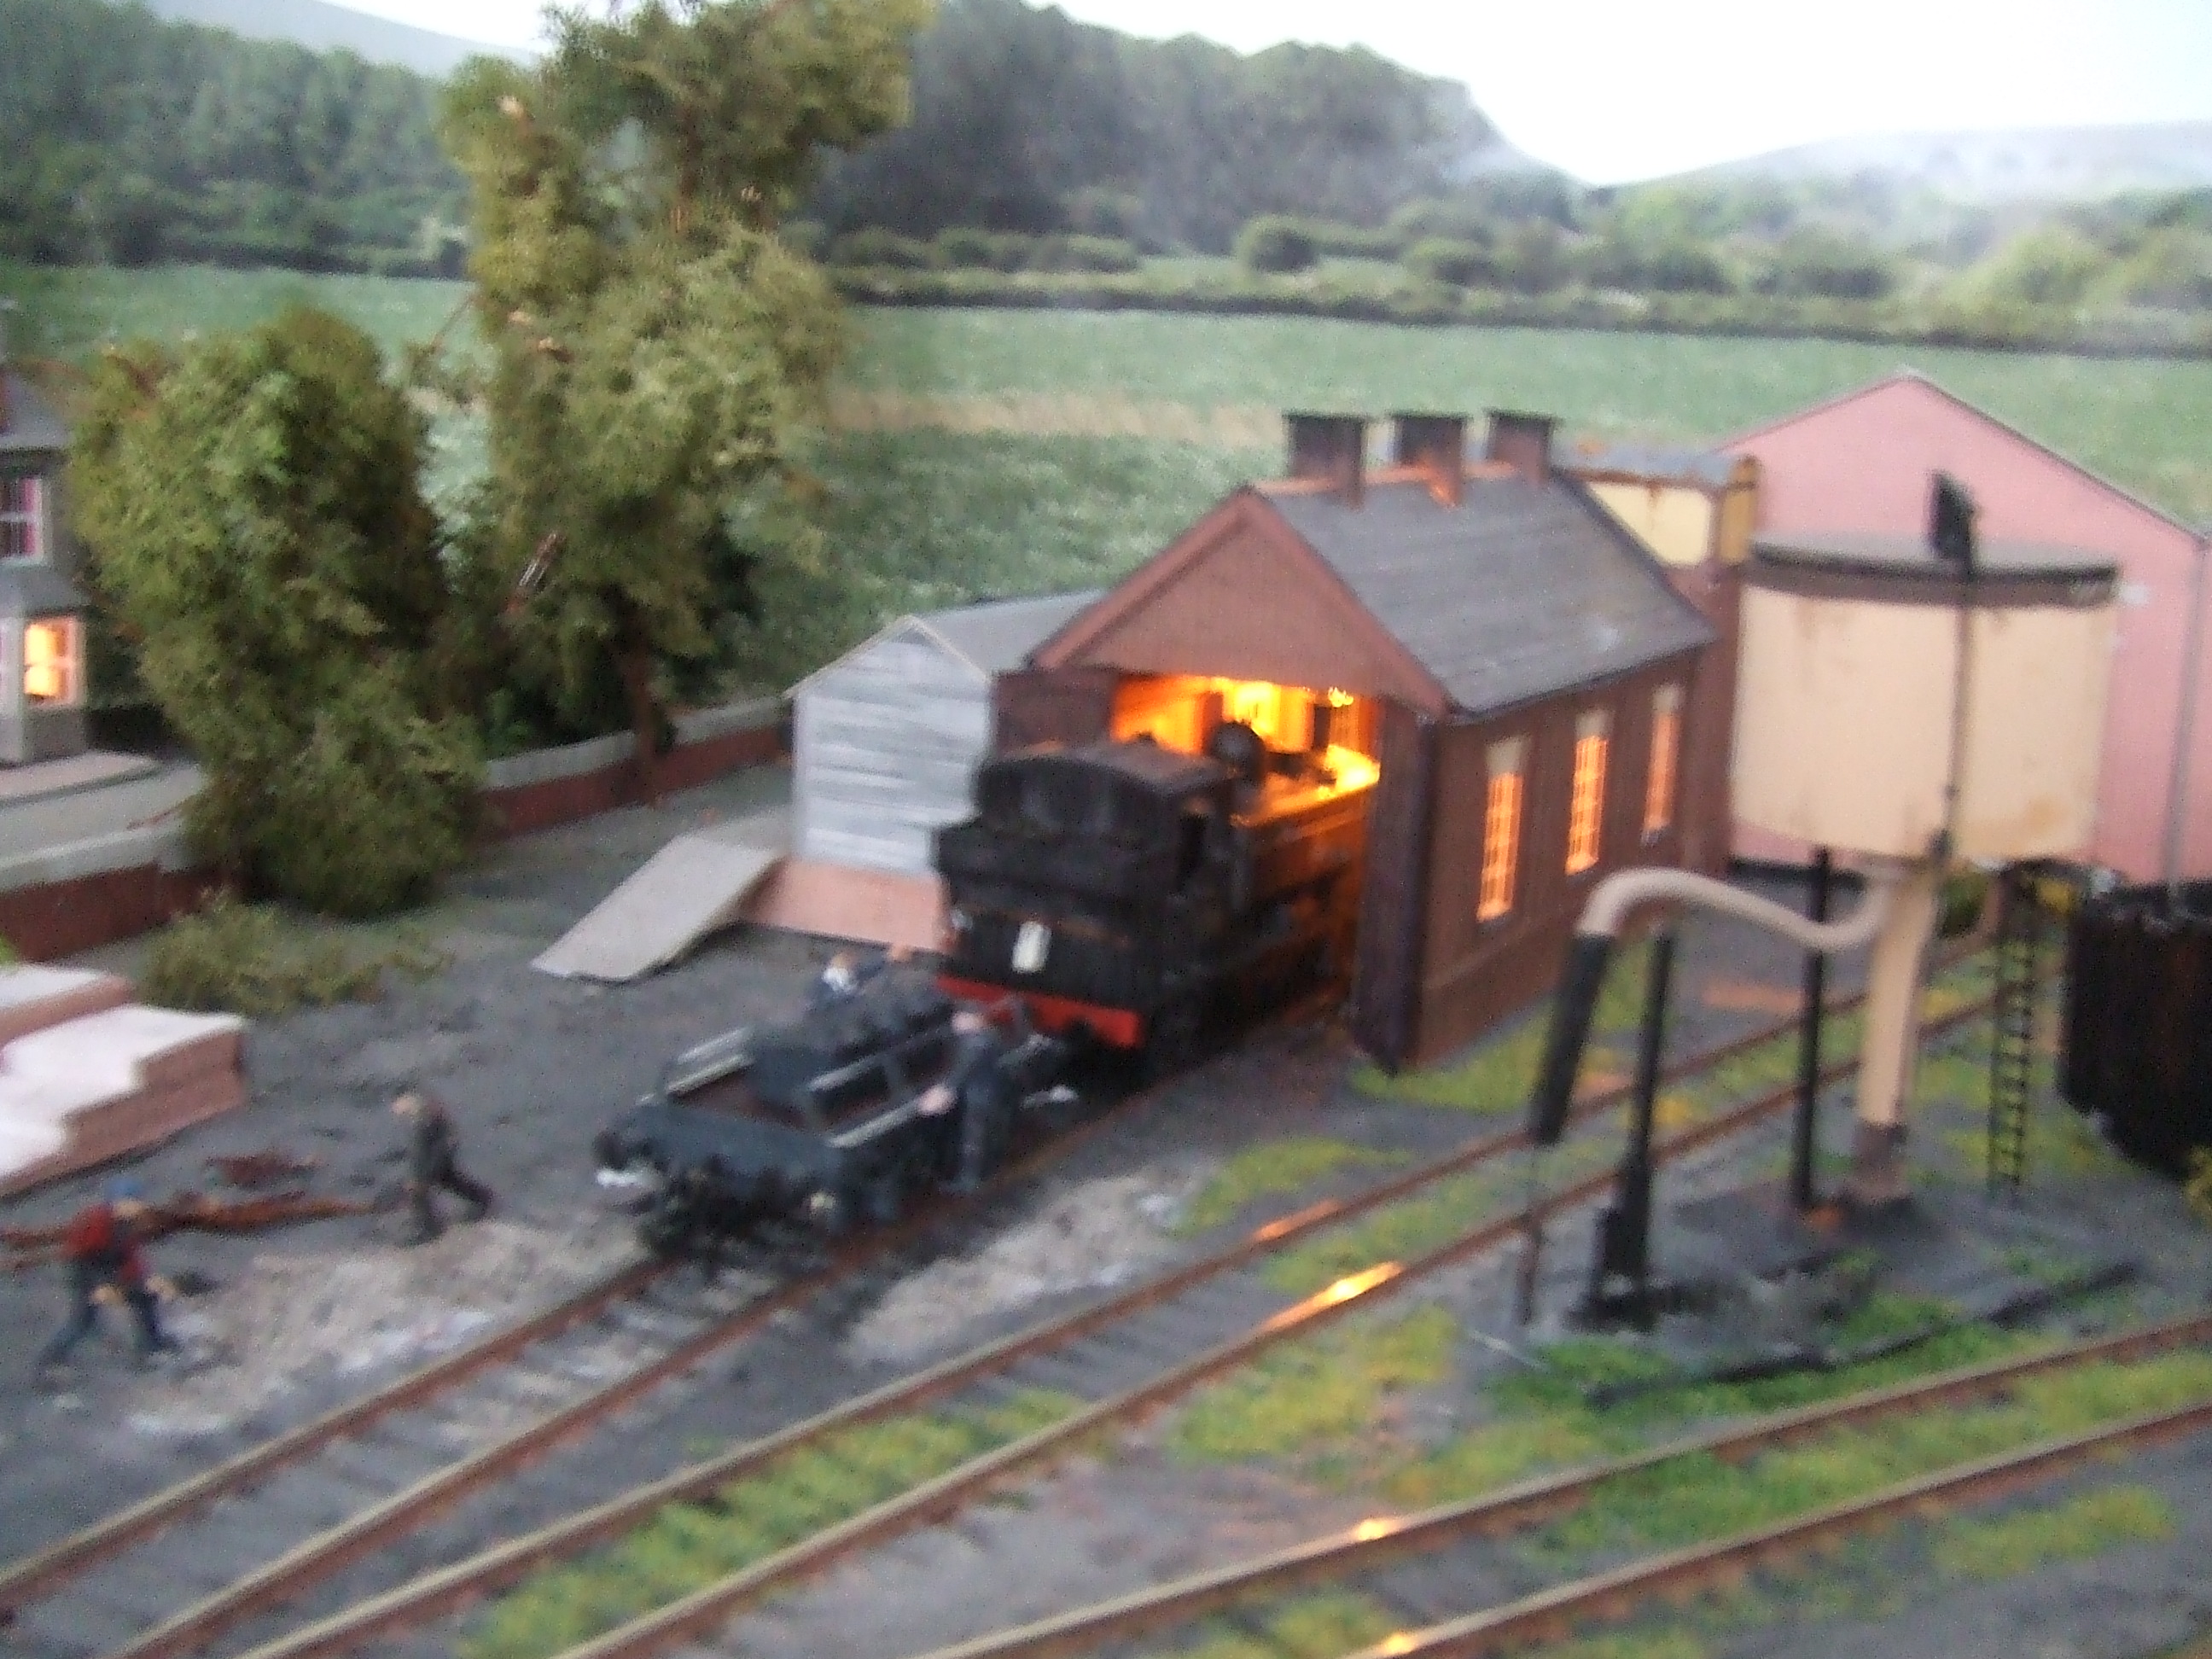
Also it transports timber from the forrests to the local timber merchant. There is a creamery from where milk is transported to the towns & cities, a brewery and a mill. Most of the fleet are tank locos, 2 panniers, 2 praries, a 0-6-2 South wales tank and a B.R. standard class 3 tank. I also have two Somerset & Dorset locos, a 2-8-0 7F and a B.R. standard 5 No. 73050 which worked on th S&D. ( was going to model the S&D ) Can anyone come up with an excuse for an S&D 7F to be in South Wales!!?

I prefer to model small branch lines as I find the large layouts with lots of trains going round & round at speed very boring and unrealistic. But everyone has their own opinions likes and dislikes. I also operate on DC as I do not think DCC would be worth the expence for a smal branch line. I can operate the two lines independently with my dual controller anyway.

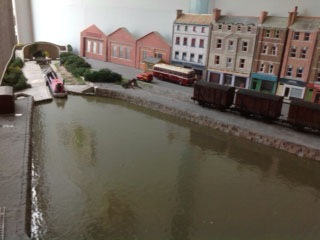
The water in the canal basin is only picture mountboard painted a muddy green/brown and given 4-6 coats of polyurethane varnish.

kind regards

Alan”

(Images are clickable.)


A big thanks to Alan. A superb layout! Have a look at the comments below.

And if it’s inspired you, the Beginner’s Guide is here.

That’s all for today folks.

Please do keep ’em coming.

Best

Al

PS Latest ebay cheat sheet is here.


How to add sound to your layout

Kim kindly sent this link in.

If you want a really easy way to add sound to your layout, watch the youtube below.

Just brilliant!


And guess what? I found the speakers in the video above on ebay for just $16. I’ve added them here.

That’s all this time, folks – but please keep ’em coming.

Best

Al

Alan’s layout

“Hi Al,

I love looking at all your subscribers tips & layouts, so I thought it was time I showed mine. Like a lot of modellers, I hark back to what I remember as a young teenager, going to school by train and hanging around loco sheds.

Located in a converted garage 17’x 7′ 6″ which has been doubled glazed and insulated my layout is based on a fictitious town called Bryncoch which means red hill in English. Actually it’s the name of the village I lived in as a child.

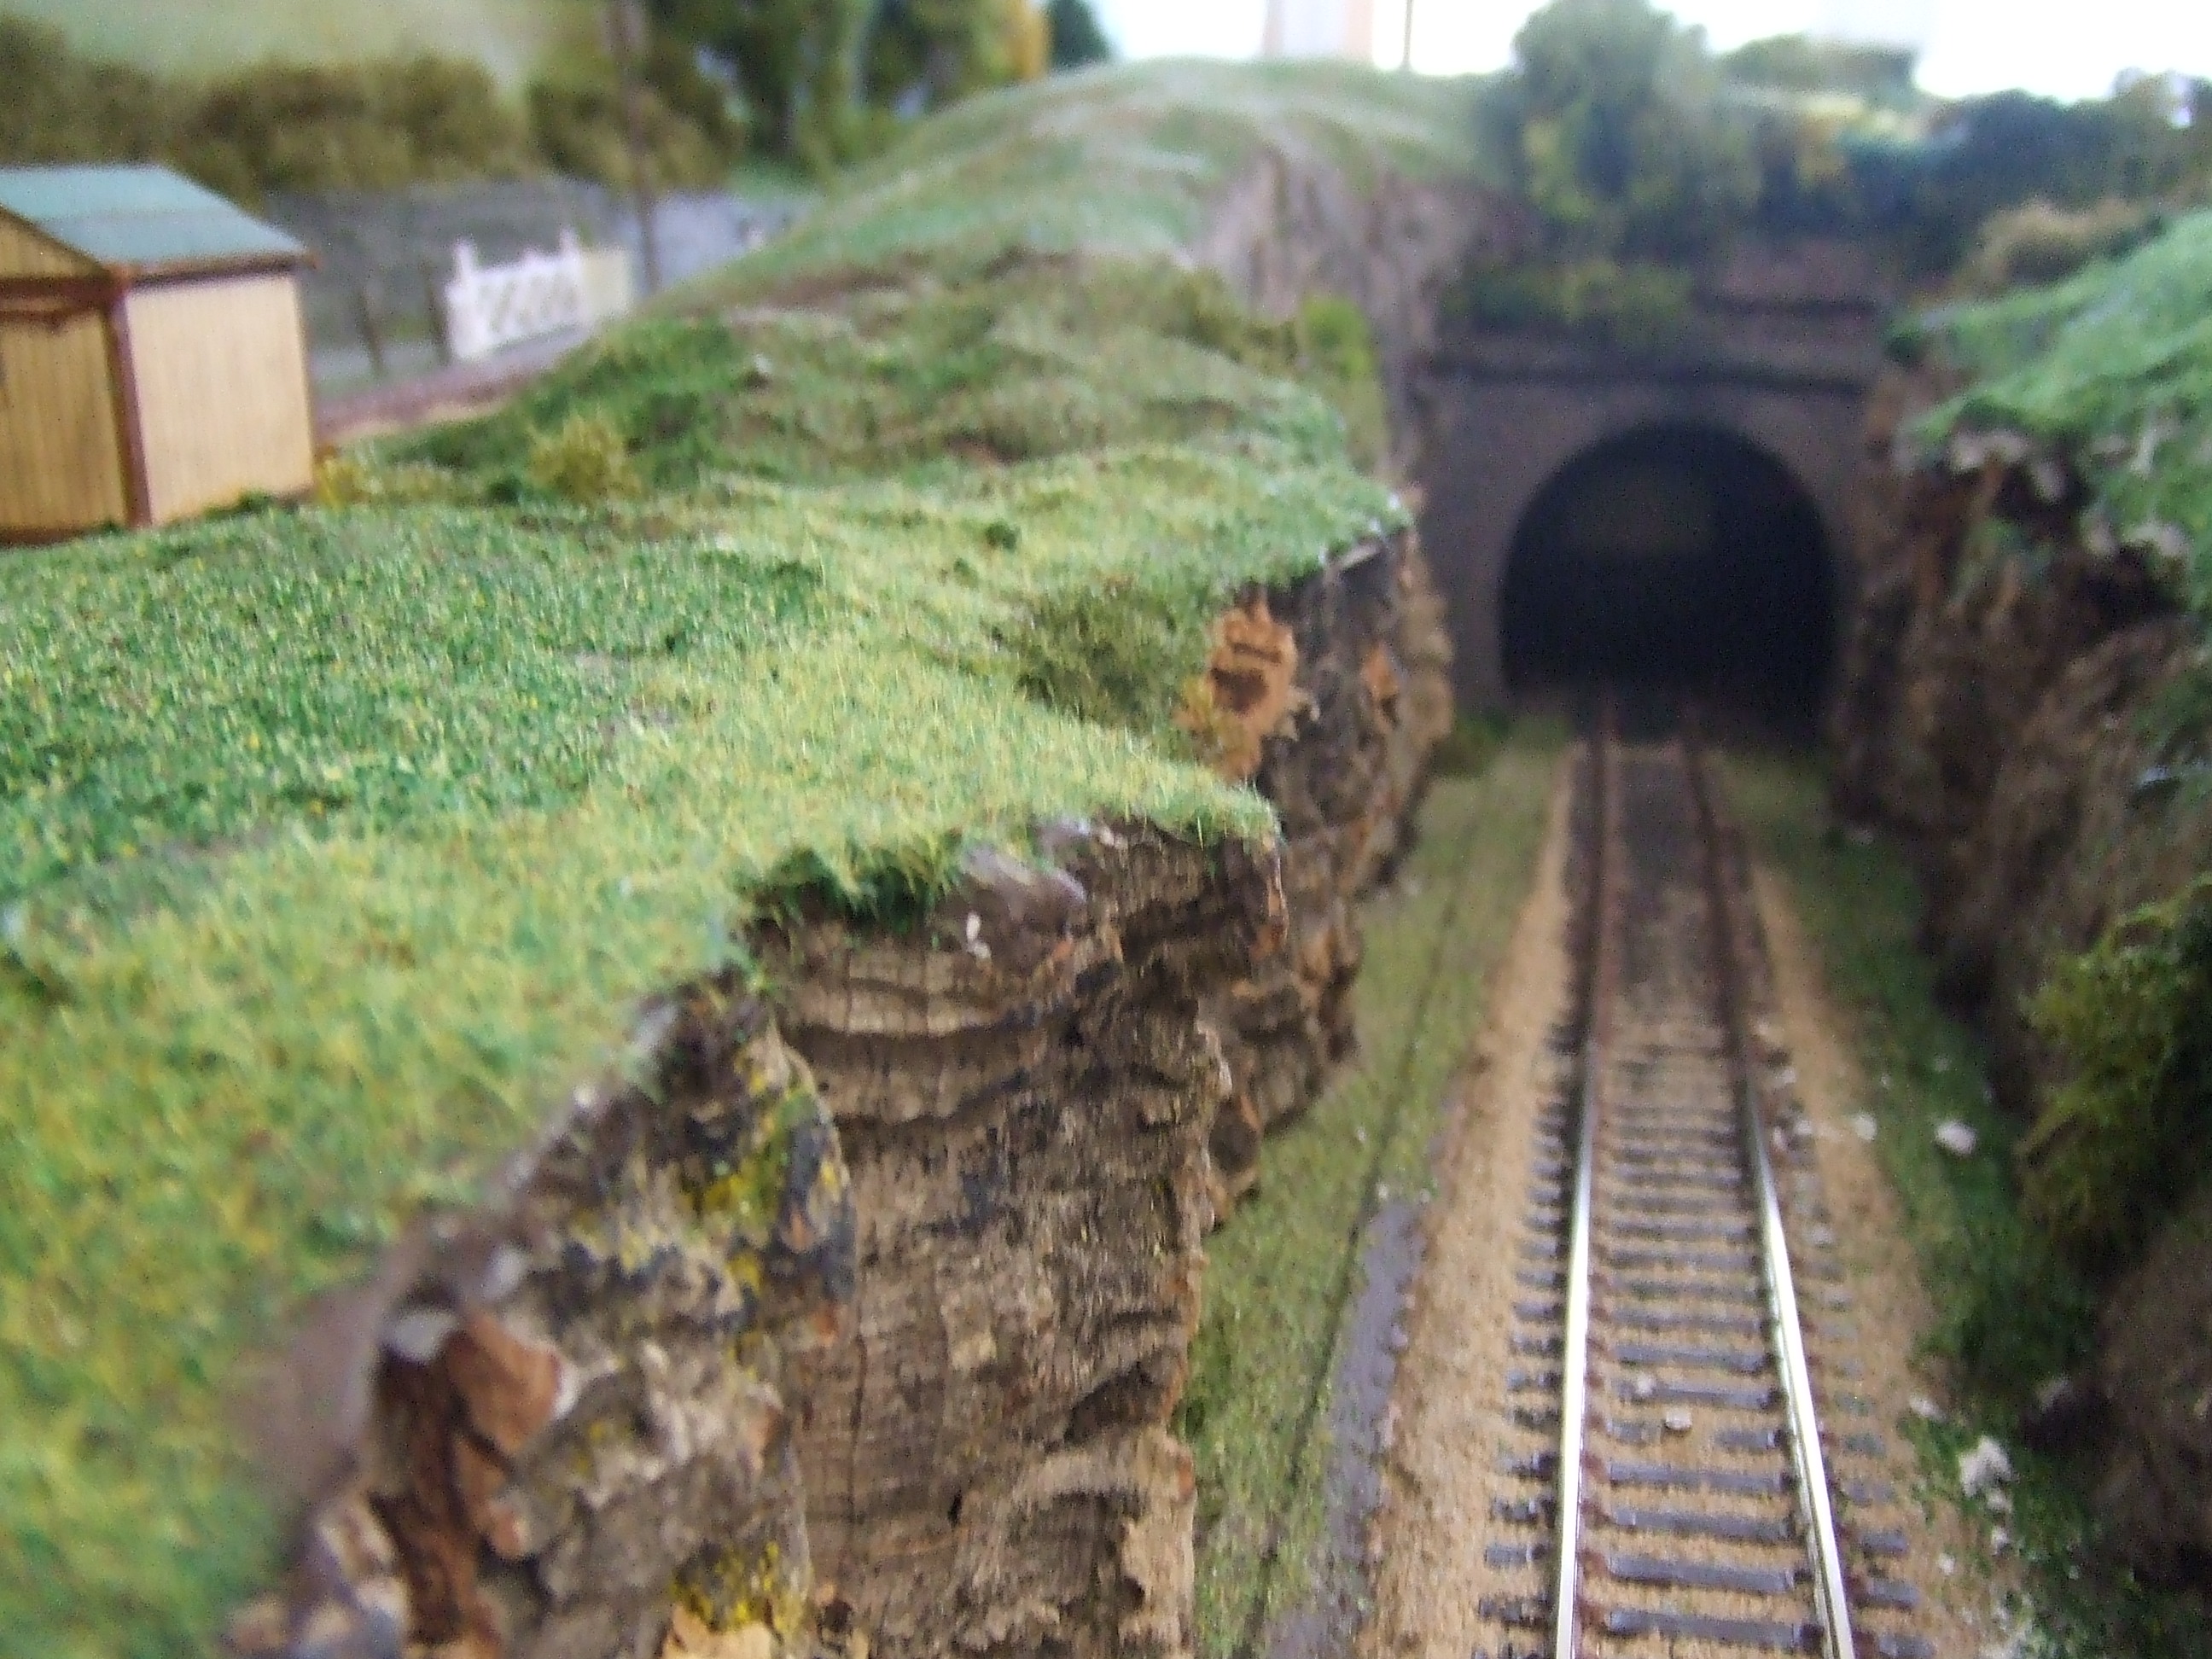
Inside the tunnel is a point & one track holds an auto train & the other an ex GWR diesel railcar, neither has to turn to run back. I try to make as much as I can, finding the most mundane objects are so expensive. it will never be finished, as I find running the trains less interesting than making things. I hope you get these 3 e mails ok and
If you require any more info or pics please let me know.

Bye for now

Alan”

“Try this out for corrugated roofing…

Buy some nylon hair combs with narrow spaces between the teeth. You’ll want combs with fairly stiff teeth, and you may have to experiment and perhaps cut them shorter than “as purchased” to get the correct stiffness. Forcefully drag the comb’s teeth over heavyweight aluminum sheet placed on a somewhat soft base. You’ll end up with embossed corrugations in the aluminum sheet resembling HO scale corrugated sheet metal. If you use lightweight kitchen aluminum foil, the piece you produce may be a bit delicate and may tear when dragging the comb over it, so use heavier household or commercial grade aluminum foil to get the results you want. Once you have the look you want, you’ll most likely need to air brush the pieces various colors to remove the polished aluminum surface and to give the look you want. The finished pieces can then be glued to what ever structure you have and carefully formed over many angled or curved surfaces.

Hope this works for you.

Regards

Dave”


Thanks to Dave and Alan.

Inspired? You could do worse than this.

Please keep ’em coming.

Best

Al

(There are hundreds and hundreds of posts to enjoy and learn from – but the only way you’ll get to see them all is by being on the newsletter).