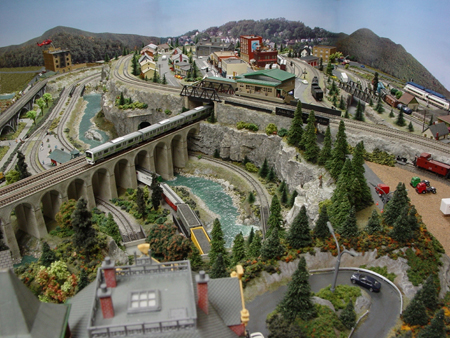
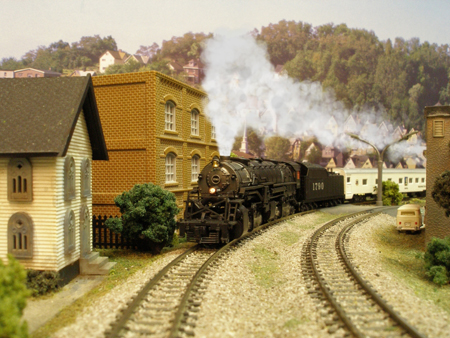
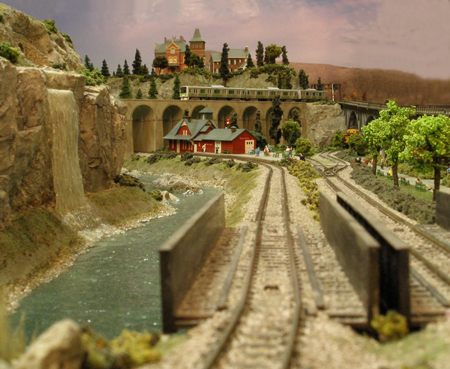
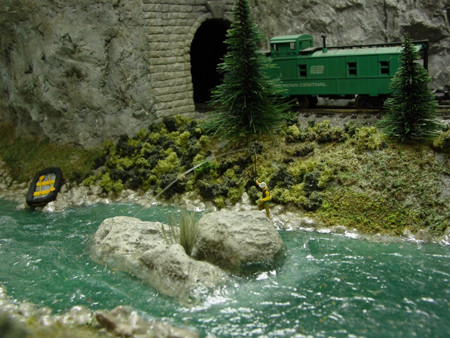
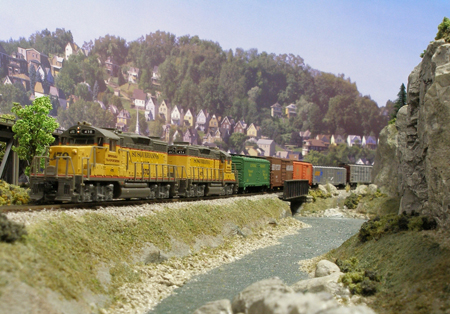
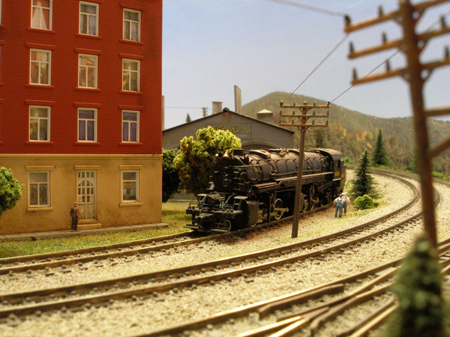
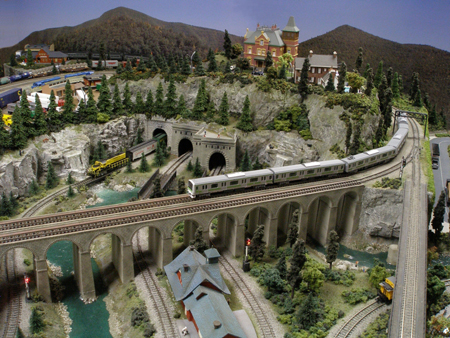
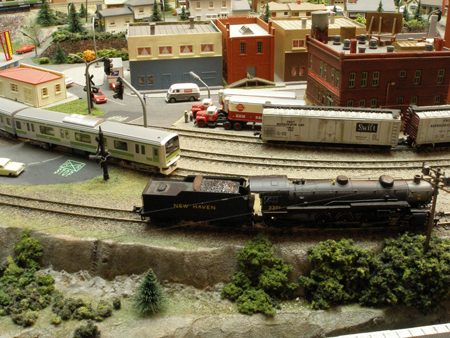
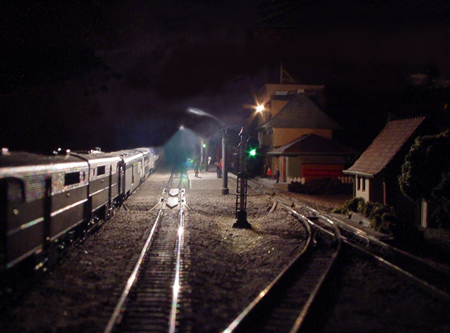
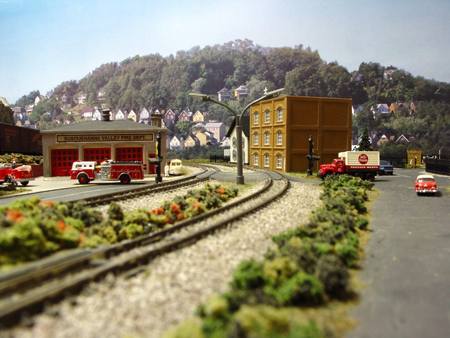
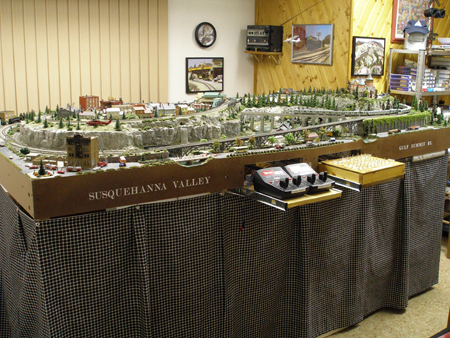
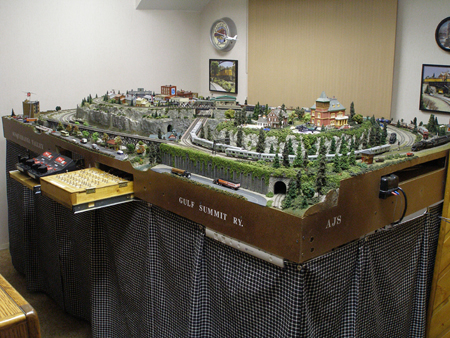
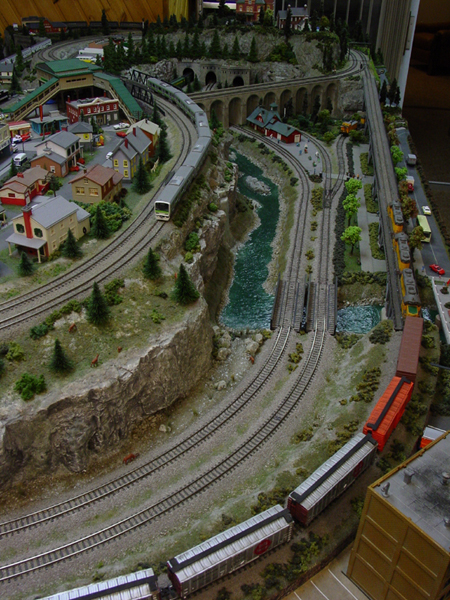
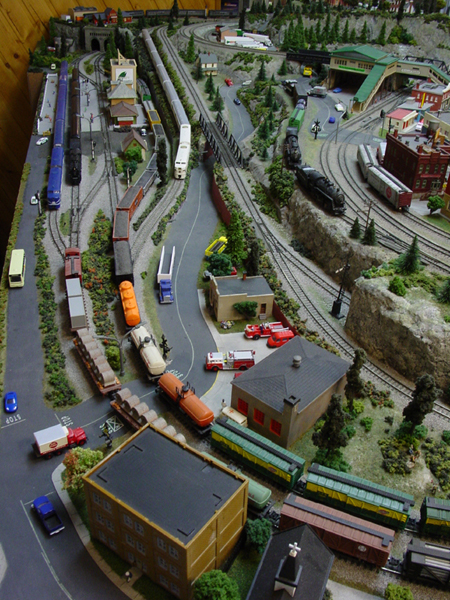
Paul’s been in touch with his Military model train layout:
“Hi Al
Following on from an earlier lay out on your email, attached is another attempt at incorporating a military element.
The lay out represents the period around 1939-41 in Germany and combines military with civilian operations.
The town Fraustadt (in the then West Posen Province) exists but my layout is entirely fictitious.
The tanks are mark IIIs of First Panzer Division. It is still very much a work in progress.
regards
Paul”
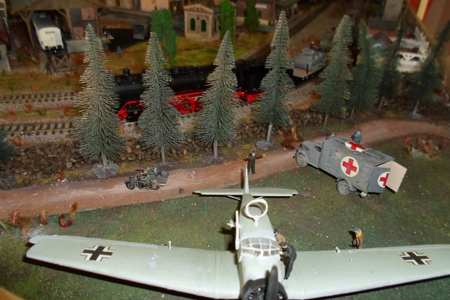
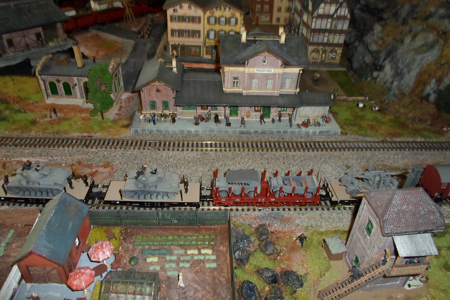
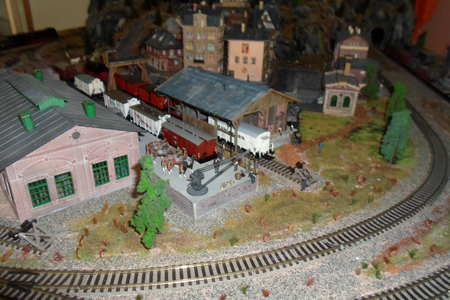
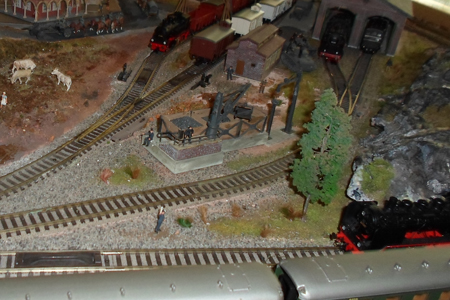
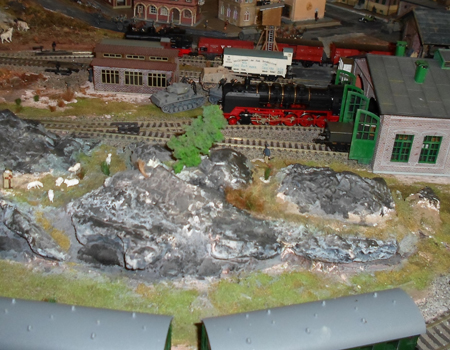
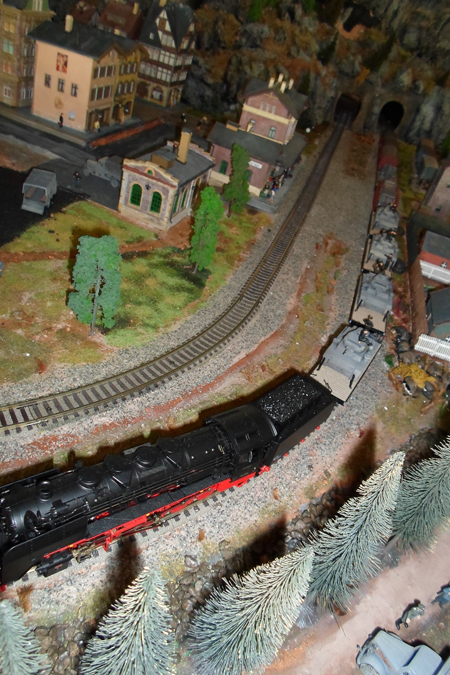
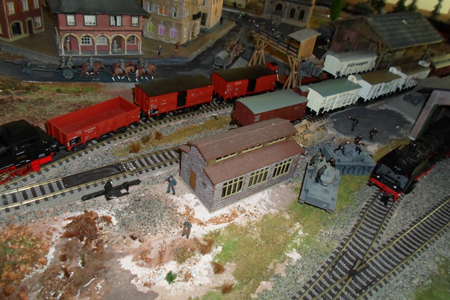
I have no idea why I like the military model train layouts so much – but I do!
Next is a ‘how-to’ sent in from Toni. There were lots of comments on Arnie’s layout, in particular the fire scene. Here’s what Toni sent.
“For the people who inquired about the burning building. You can create a similar building using a multi-floor building. Materials needed: one multi-floor hotel or office building model and about three or more electronic candles.
step 1) Assemble building and paint per instructions except for the floor(s) the you want engulfed in fire, and the floors above that if you plan on a huge fire.
Step 2) After the painted building is dry, add dark soot colored weathering material to the top of the windows, on the floor that is to be burning, with upward strokes using a wide brush.
Step 3) Paint the inside of the building, on the floor that is burning, a medium shade of grey. This will help to darken the room’s interior. You do not want it to be black. The grey helps to reflect the flicker of the electronic candles.
Step 4) If possible take the electronic candle circuits out of their casings.
Step 5) Disconnect the LEDs from their flickering circuit boards. Remember to mark which leads went to what pads on the boards. Attach long wires to the LED’s leads and connect the other wire ends back to the circuit boards. Remember the LED’s polarity.
Step 6) If the candles have On-Off switches, disconnect them and solder longer wires to the circuit boards and the wire’s other end to a switch that you perfer to use and connect that switch to your control panel or an unseen location on the building model. If you are using more than one candle, be sure to wire the them in parallel to the one power switch.
Step 7) Now secure the candle’s LED to the inside of the room that is to be burning. If using more than one candle per room, do not group them together. Secure the LEDs in different places in the room. You want it to look as if there are multiple flame locations in the room.
Step 7) Figure where your fire fighting models are to be and color the areas under and around the models to look wet. Remember that street asphalt and sidewalks will be a few shades darker when wet.
Step 8) Locate your fire equipment models for action.
Step 9) Step back and admire your work and bask in the ahhs and wows from your family and friends.
Side note:
I am retiring an old microwave and hand blender from kitchen use. The microwave will now be used for drying scenic material and the hand blender will be used for pulverizing the dried scenic material for spreading on my layout.
Toni”
A big thanks to Toni and Paul.
That’s all for this time folks.
Please do keep ’em coming.
And if today is the big day when you spring into action, the Beginner’s Guide is here.
Best
Al
PS More HO scale train layouts here if that’s your thing.
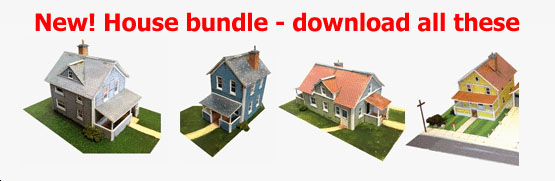
Need buildings for your layout? Have a look at the store.
They are great fun to make and great value too.