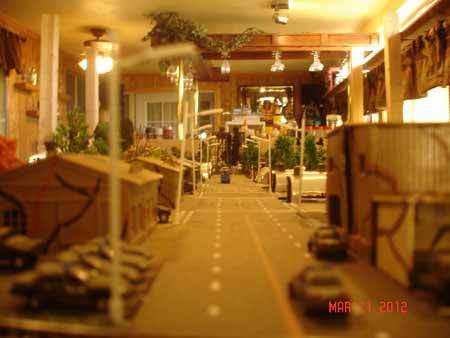
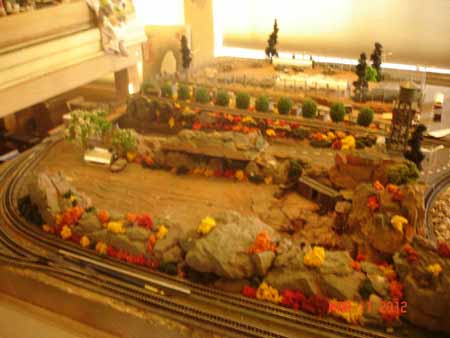
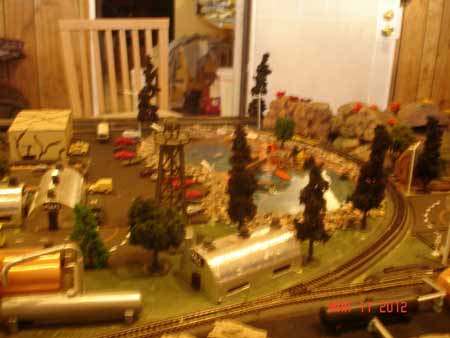
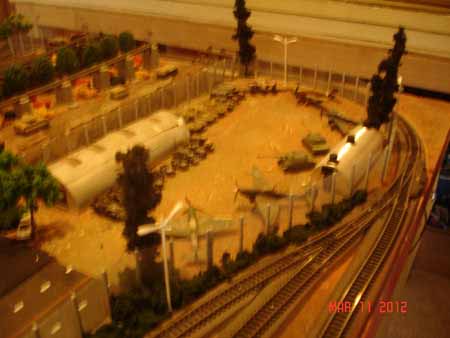
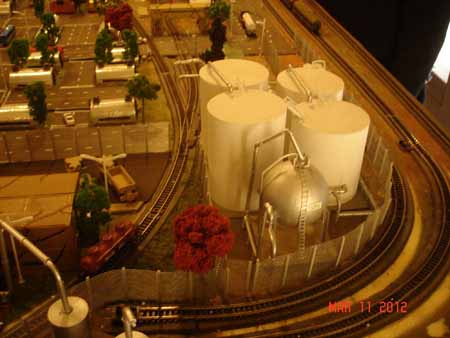
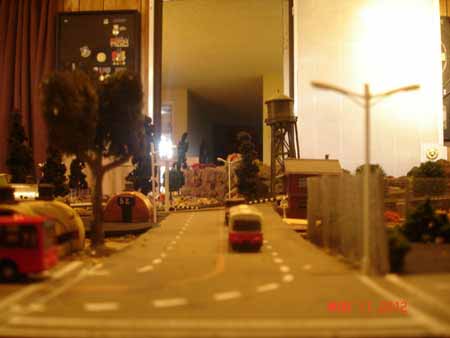
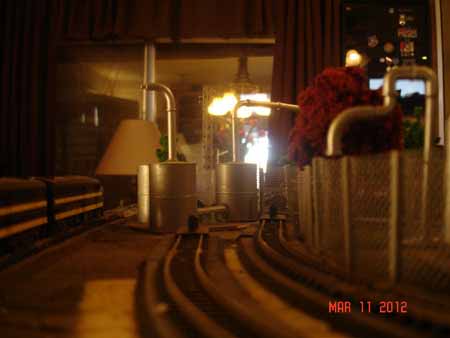
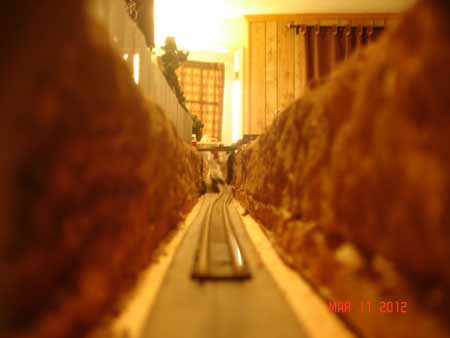
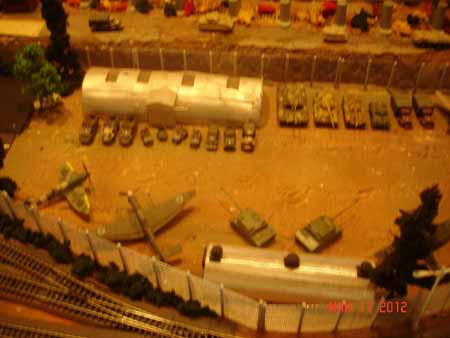
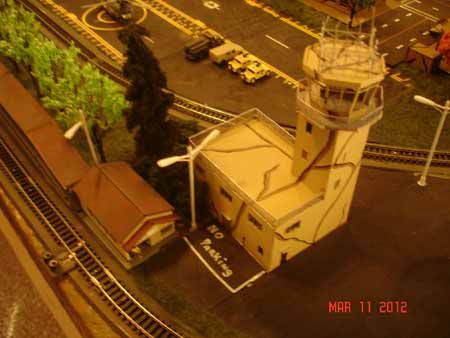
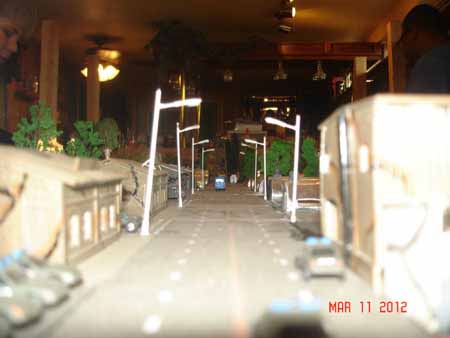
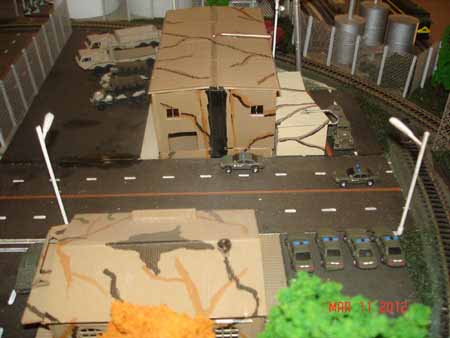
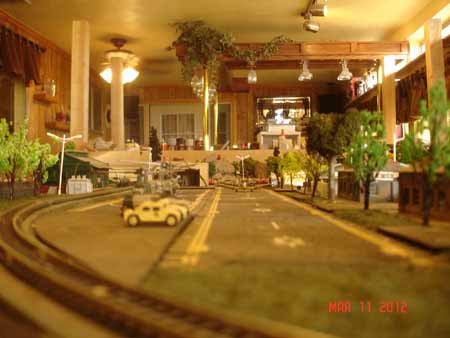
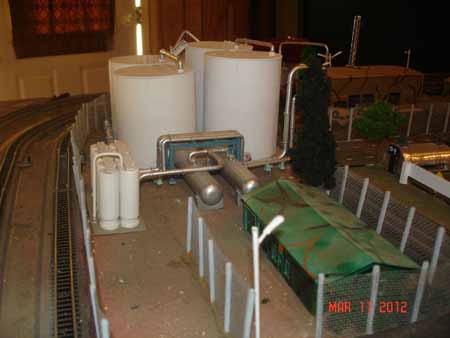
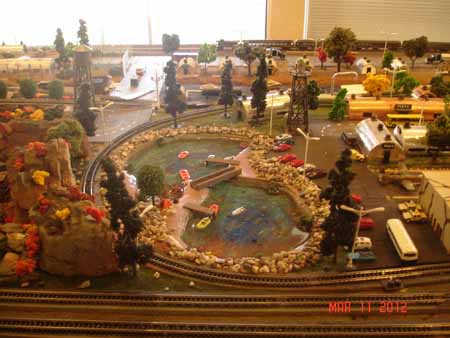
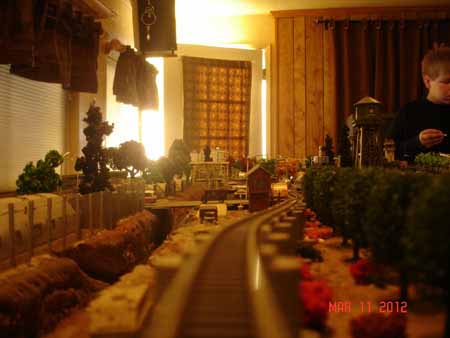
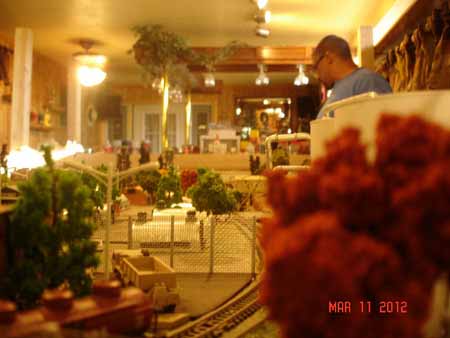
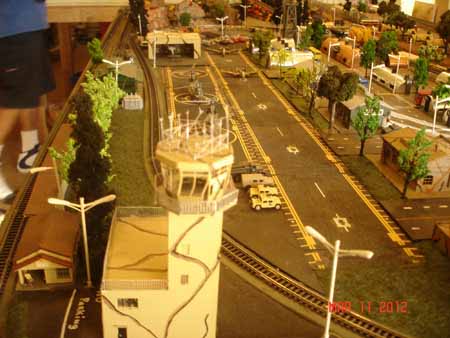
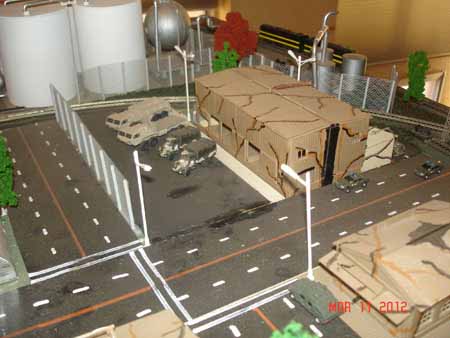
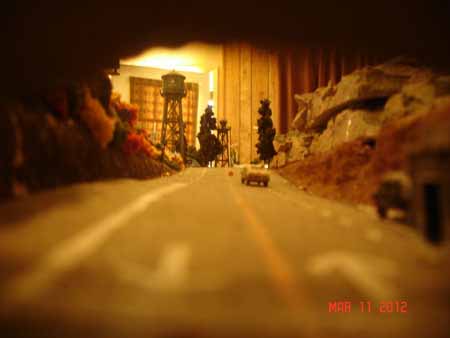
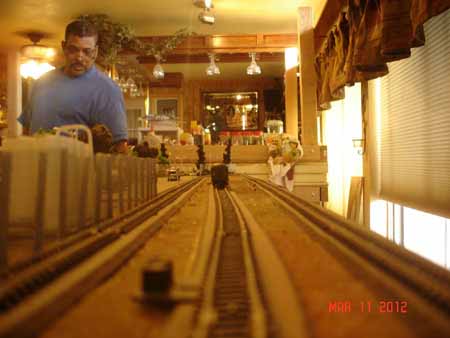
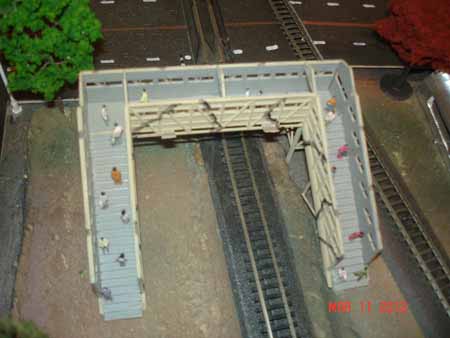
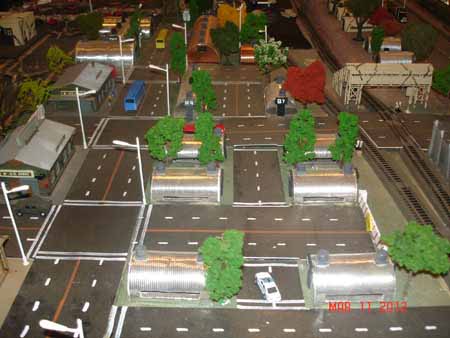
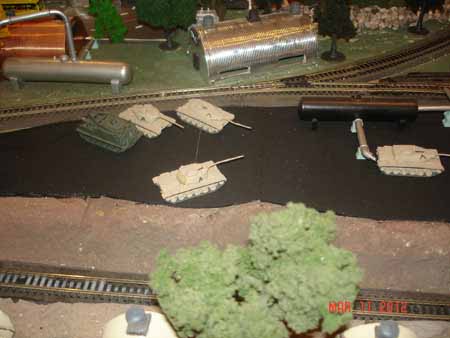
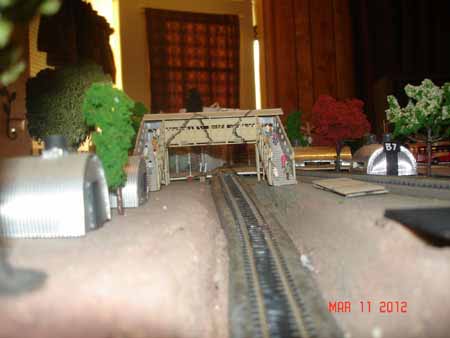
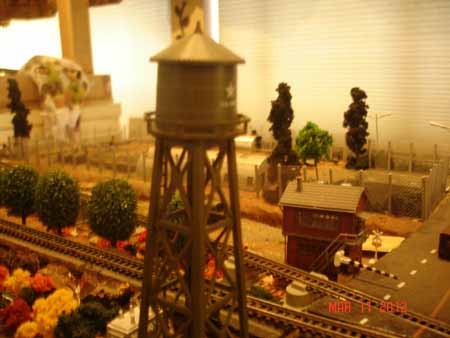
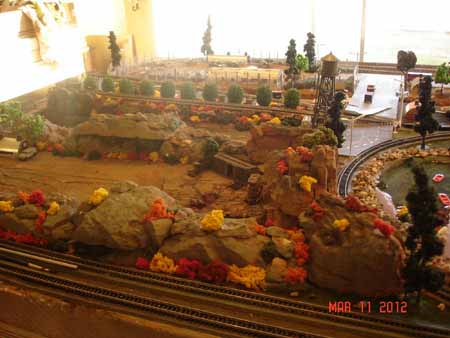
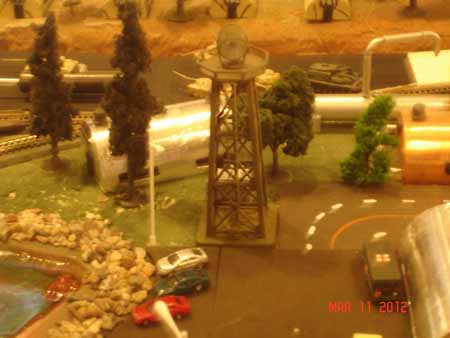
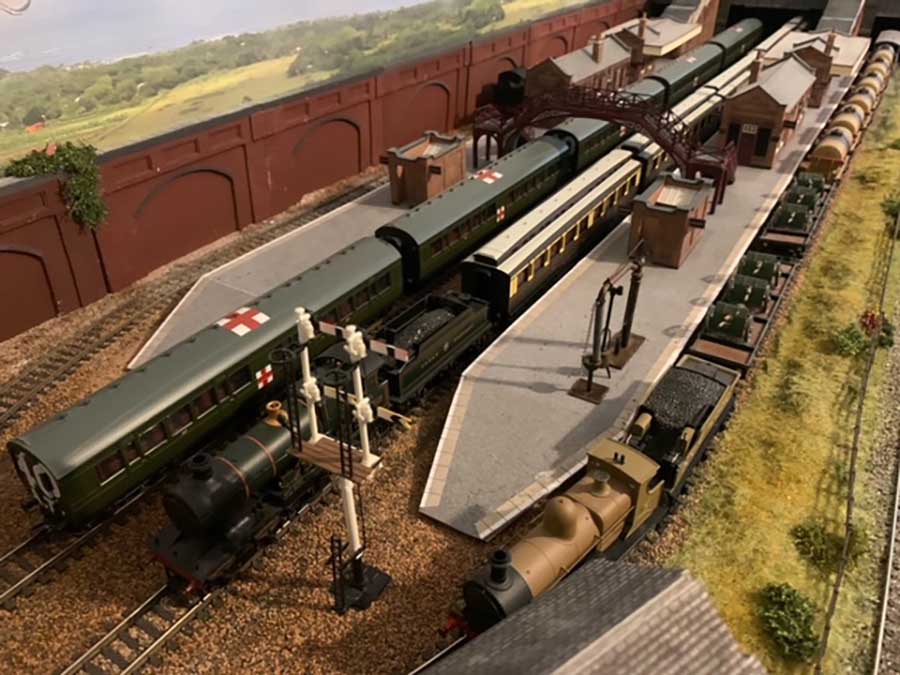
William sent this in – his railroad to military base.
He sent it in way back in 2012, but it’s still one of my faves.
I loved it:
“Thought you might like to see some pics of my Army base, it is 1 of 5 tables I’m working on.. Let me know what you think.
William”
It’s great isn’t it?
There are quite a few military themed layouts on the site. Here are some:
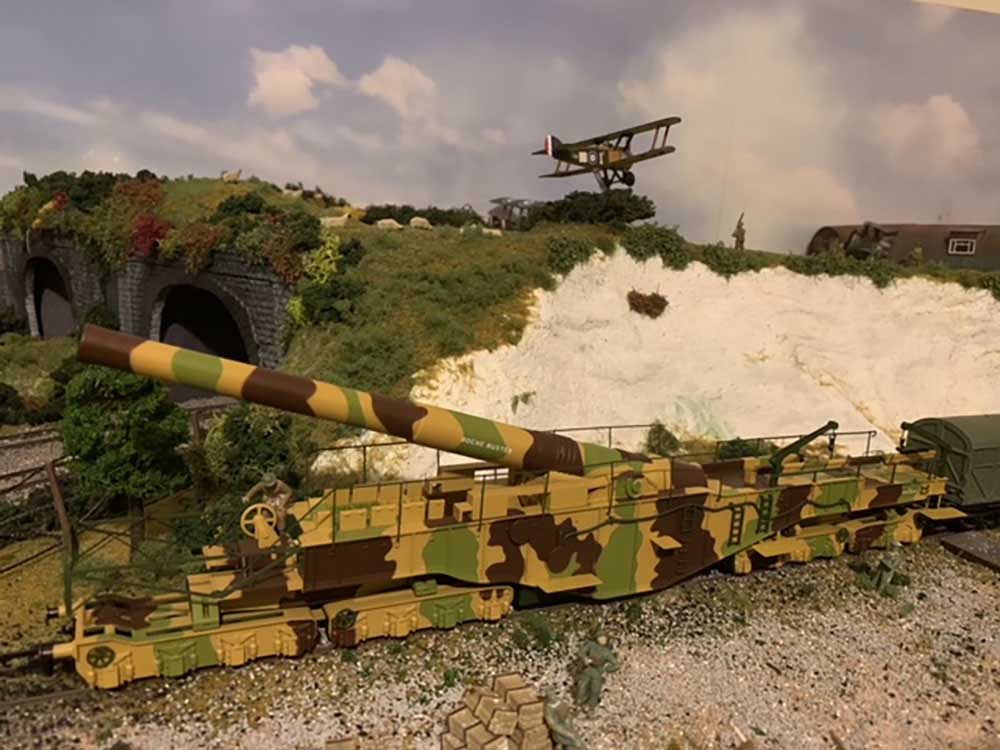
Phil’s World War 1 railway
“I thought I would share an update on my WW1 railway. If you recall it is set somewhere in the south of England in 1918.
You will see I have installed the Oxford Rail railway gun in a siding which doubles as a small military camp. I have decided it is too much trouble to actually get the gun to run with the clearances it requires.
“Thought I would share an update on the WW1 railway (somewhere in southern England 1918). The last few weeks have been about details and in particular figures.
In the gun park you see gunners working on their railway gun and watching some squadies square bash
The airdrome has now got pilots mechanics and of course an O/C!
On the platforms I have added some propaganda posters
Richard got in touch with this super quick ‘how to’:
“My pine trees are even quicker – I use the “needles” off an artificial Christmas tree. Drill a hole in the baseboard to take a matchstick, paint the “trunk” of the needle brown and slip it over the match. Hey presto! I did an entire forest of 60+ trees in an hour!
Not a terribly good picture (PICT1043) I’m afraid, and some of the trees had come adrift at the time, but you get the general idea…
Richard”
And some more tips sent in:
“I am new to model railroading and it took me awhile to decide on a layout plan. When I decided I found that I needed some material to raise the track. I found the ready made material but it cost to much. I bought some styrafoam, ripped it to the proper width on a table saw and cut notches in it to make it flexible for curves. I made about 50 feet of it for only a few dollars. By the way I used a layout plan from one of your contributers.
Thanks, Larry”
“my tip would be to make sure that there is access to all of your wiring and the inside’s of any tunnels in case of any type of issue, such as a derailment or exposed freight falling off a car..
Daryl”
“Jeff (with his motorized crane) has a great idea I would like to suggest may be adding more weight to his hook would make it operate easier..
Just add a brass weight may be 1/16th ounce or more above the hook,Real cranes have them .
They make the movement up and done better. We use to call them headache balls.
I Got the knots on my head to prove it. Lol
If you want to make a Pine forest quickly and realistic looking, here’s your answer.
(1) A garden fern, Foxtail, provides ideal armatures. When the frond dies, remove the dead stems and trim to whatever height or scale you want your trees to be. If they are curved, gentle pressure will straighten them.
(2) Take a can of spray adhesive, the type used for mounting photos, etc. It is usually available in clear or colours such as white or yellow, (ONLY USE THE CLEAR or it will show in the finished product), and some ground flocking material. Holding the base of the armature between the thumb and index finger, apply a liberal coating of the adhesive and immediately dip it into the flock. Remove from flock and holding it upside down, twirl it gently over the container to flick off any excess. If necessary repeat the process for a heavier coating. Set it aside in a block of foam and continue with the next one.
(3) Allow the trees to dry for an hour or so, then take a can of any cheap and nasty firm hold hair spray,(the smell will eventually disappear), and give the trees a good coat or two to set the flock.
(4) The process is best done outdoors in a wind free place as overspray from the adhesive can lead to stickiness where you don’t want it.
An oblong ice cream container is ideal for holding the flock of your colour choice and it is an idea not to put too much flock into it at one time, as some glue residue will be transferred to the contents, causing it to clump after a while. Don’t throw this away as it will be useful for other types of trees.
(5) The lower sections of the fronds can be used inverted to give a conifer with drooping branches. You can if necessary, trim the branches to give a taper if you desire, and apply a more generous coating of flock in the top of the tree to hide the thickness of the protruding stem. Dead, fallen or dying trees can also be simulated. The armatures, once harvested, will keep for years until wanted although it it easier to straighten them if necessary before they get too dry. If you look around your neighbourhood and see these ferns growing, I am sure you will find , as I do, that the owners will gladly supply you with their dead rubbish if you tell them what you want them for. It is often the case that they are eager to see what the finished product is like. These trees are N scale but I also have them in HO. They would also work for O scale. Just make them as tall as you need.
If you can’t turn out a realistically looking tree in a minute and a half or less I will be very surprised. It’s dead easy. So what are you waiting for. GET STARTED !!!!!
By the way, the N scale grey deck arch bridge shown in the photos, is constructed of super glued 1,5mm square balsa overlaid on each side with strips of glossy corporate report cover light card applied with PVA glue and it is capable of supporting a 4 inch long 4KG piece of real rail standing on its head crossways in the middle, with only a 1mm deflection !! Not bad for strength.