Martin posted this in reply to all your comments on his model trees (see ’em here).
But I thought it worth sharing with you all.
Judging by all the comments, you’re all looking forward to his ‘how to’ as much as I am.
In the meantime, here’s his short version. A big thank you Martin!
“Hi it’s Martin,
Not got around to making a step by step photo guide yet but a brief description for anyone wanting to make a start on your own trees.
“I used to make Christmas holly wreaths years agao, and remembered that I had lots of mild steel florist wires left over in my ‘it may come in handy someday’ box.
The wires I used are are around .9mm thick and 9″ long. There are 2 ways of working – upwards or downwards. First I’ll briefly tel you about the upwards method.
I get a bundle of about 21 wires and wrap masking tape around one end. I then grip with plyers and with mor plyers start twisting the wires to form a trunk, around a third of the length I seperate 3 wires and twist them together for the bottom branch, leaving the ends seperated to later add the foliage.
I go back to the trunk and twist them a little and then pull off 3 more wires at the opposite side and twist them together for the 2nd branch. I keep doing that up the trunk to form the tree, branches getting shorter as you go.
I must point out that it is best not to pull off 3 wires from the outside but instead try get one from within the trunk. This stops the branch from working loose.
When you are happy with the shape go to the bottom and remove the tape. This is so that you can pull some out to form roots (they make the tree stable) leaving 3 wires stuck out which I twist together to form a spike to stick into the scenery. If you have too many wires left over then clip them off level with the base of the roots.
Next is to paint the whole tree areature with PVA white glue. When dry you can add the bark mixture to cover the wires. This is made from a plaster type of powder mixed with PVA glue, not too thin but just enough to be able to paint it onto the trunk/branches with a small paintbrush. set it aside to dry (I stand them near a rad.). You will find that the bark has soked in between the wires so you may have to apply 2 or 3 coats.
When dry you can paint with a water based paint but remember that trees are not black.
Now adding foliage…. many different methods to do this.
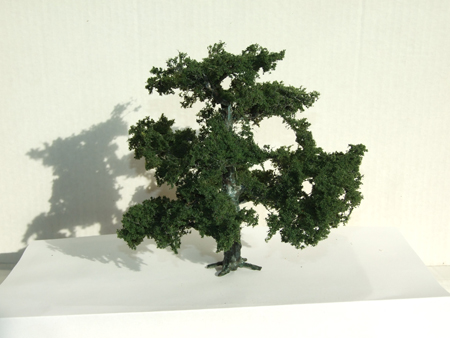
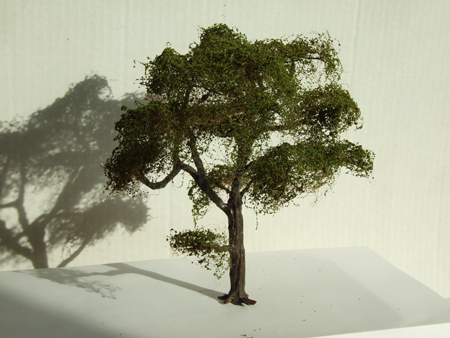
1) One of the most effective (and the most expensive) is to glue pieces of wodland scenics fine leaf foliage by heavy stick contact adhesive onto the wires. (the top pic is this method)
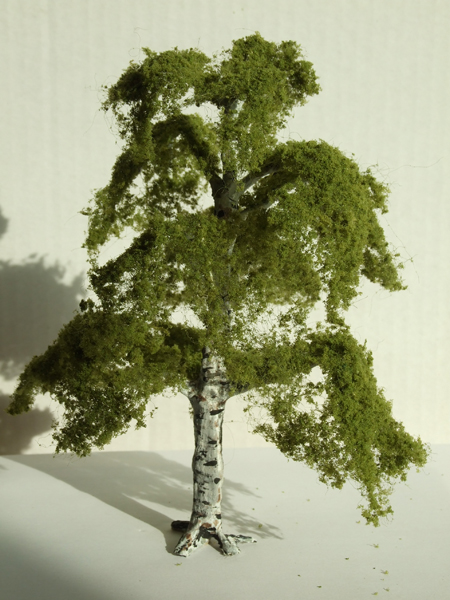
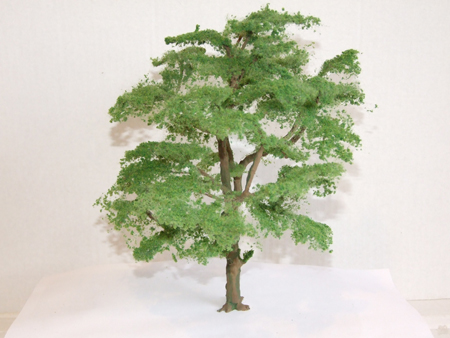
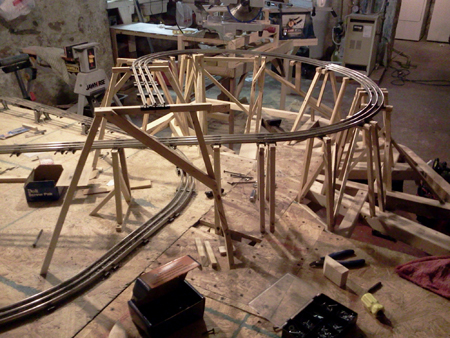
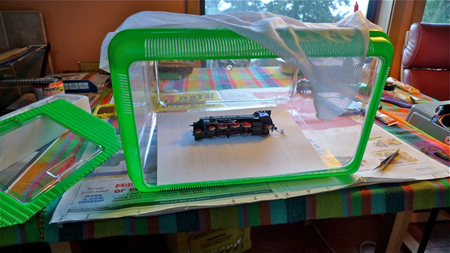
2) Another method is by woodland scenics or bachmann foliage net which can be torn apart and draped over the branches. (2nd & 4th picks are this method)
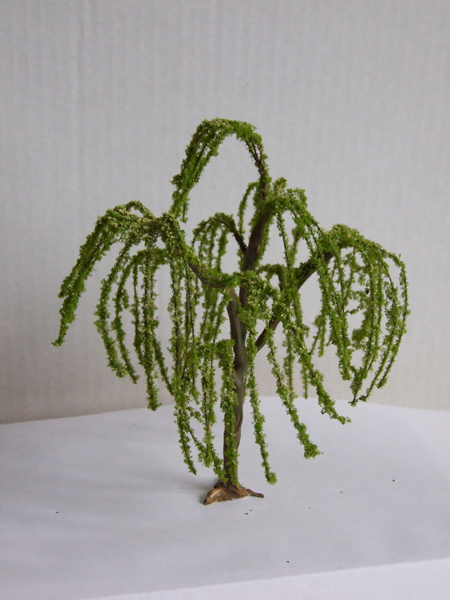
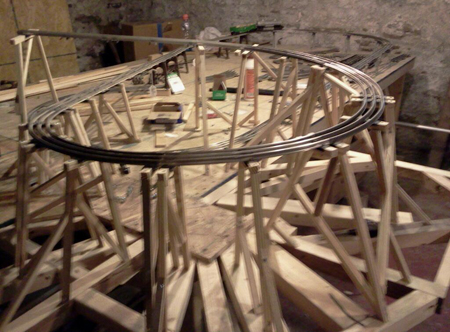
3) The weeping willow is glue painted onto the multi- wires (you need thinner & many more wires to make these trees) A fine flock scatter is then applied to the many single wires. (a long job).
4) The last picture shows foliage made from bunches of fine hairs glued onto the wire branches. Then a very generous spray of max. hold hair spray. then apply a scatter gently onto the hair and it instantly transforms like magic. There are many different types of leaf scatter but to get a good effect it is best to use fine or medium grades. I also found that some types of manufactured leaves drop off the hair in time, but the flock material type stay on the tree.
Anyway I hope that this gives you some ideas and you have a go for yourself? I think that wire of around .5mm thickness is better but I need to use up my stock in the saved box!
I will explain the Downwards method another time.
Martin”
Really can’t thank Martin enough for sharing.
It reminded me of Dean’s post: Model train trees evergreen.
That’s all for today folks.
Please do keep ’em coming.
And if today is the day you get started on your layout, the Beginner’s Guide is here.
Best
Al
PS Latest ebay cheat sheet is here.
PPS More HO scale train layouts here if that’s your thing.

And there’s the Silly Discount bundle too.