There’s quite a few Kato track plans on the blog now, so I thought I’d put a collection together:
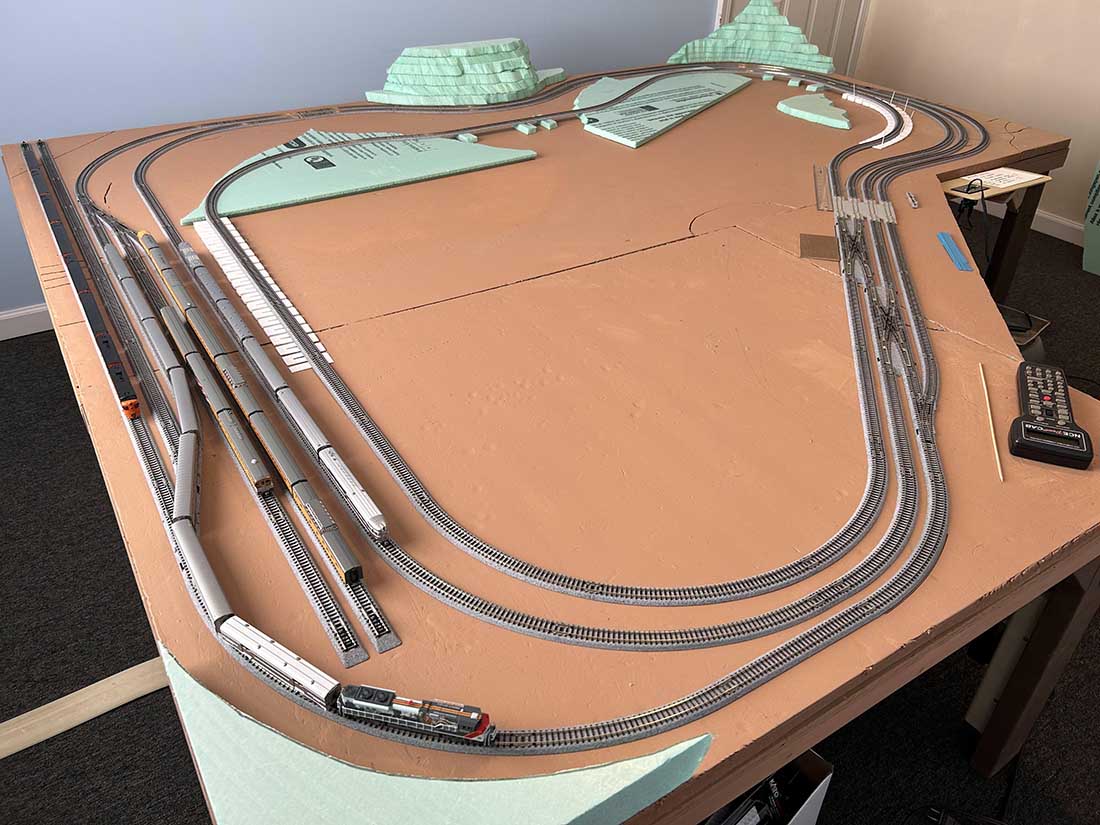
“I am using Kato Unitrack HO scale, which is nice to work with and trains run well on it. I am using DCC by Digitrax for the layout
Tom”
“The Kato locos and rolling stock ran much smoother than my starter sets from Bachmann. So I took the decision to recreate my layout exclusively using Kato track products.
The math, geometry, and wiring of Kato tracks and accessories made creating a new layout to my satisfaction a dream.
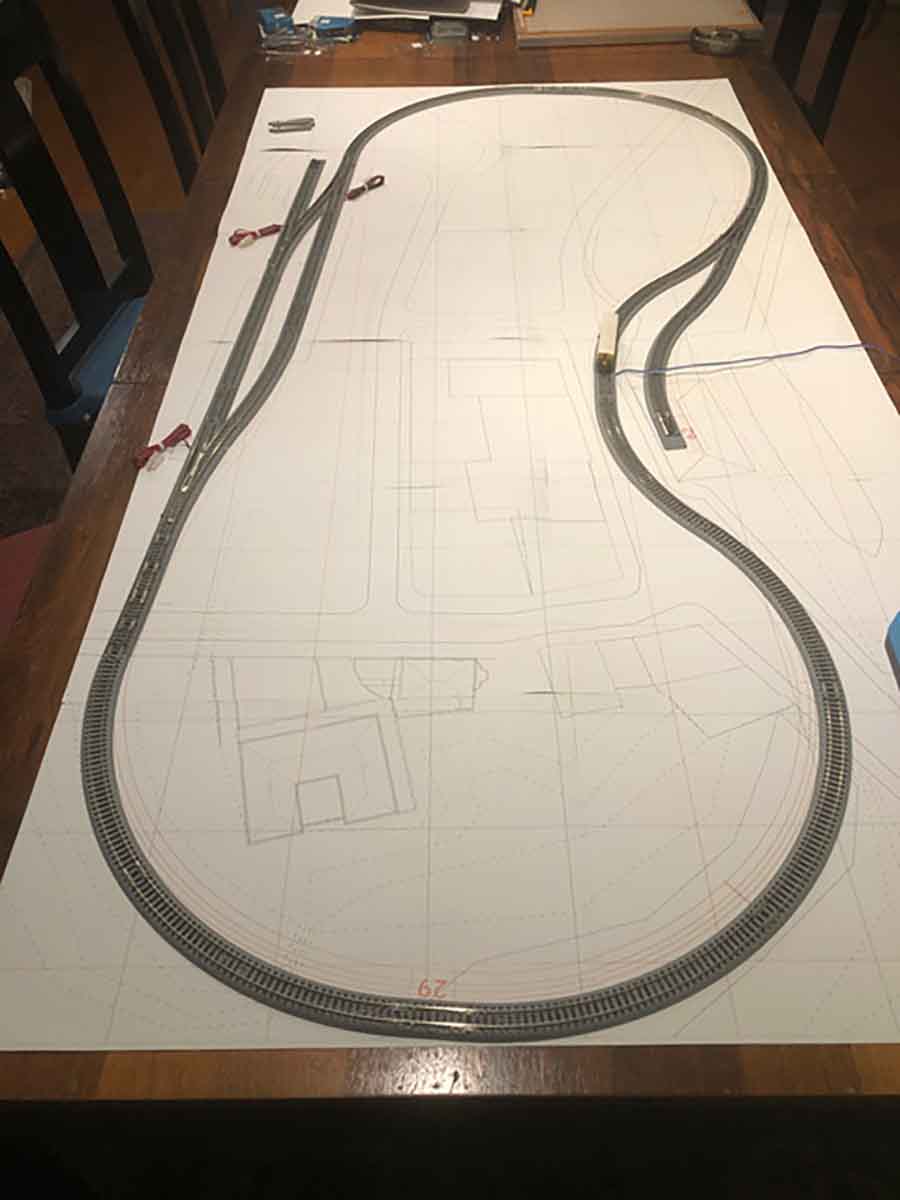
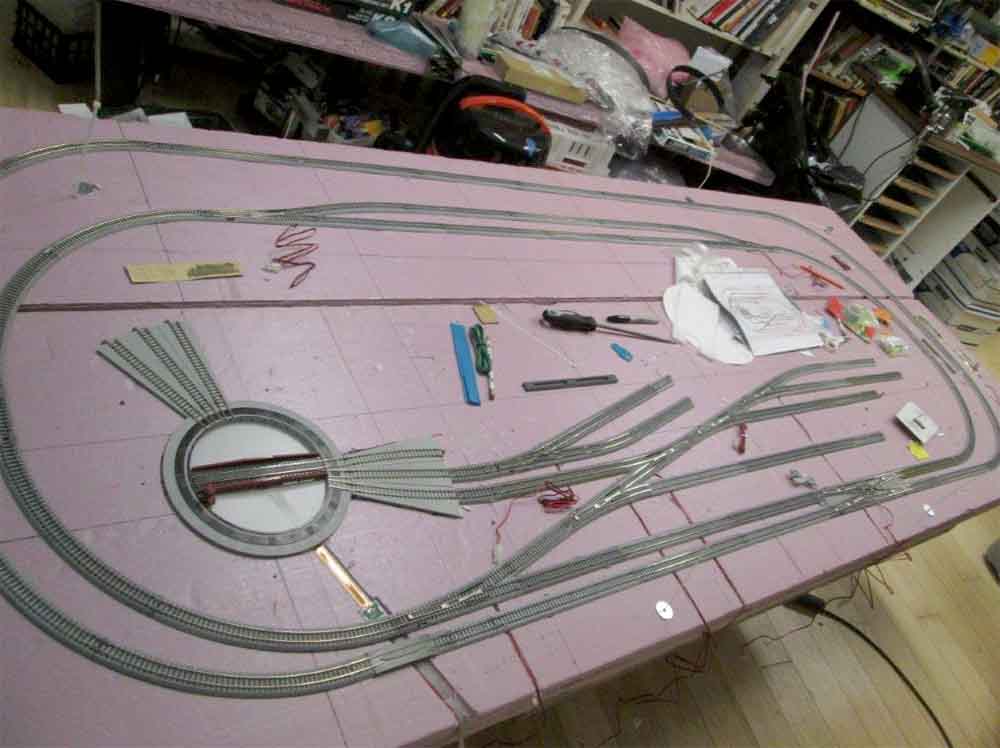
“I decided to try out the KATO Unitrack system by tracing a .pdf graphic of their components using the CAD software from my architectural practice.
This is the original design, which as only 32” x 64” showing the track adapted to a compressed version of Front Street based on Bermuda’s GIS files that are publicly available.
John”
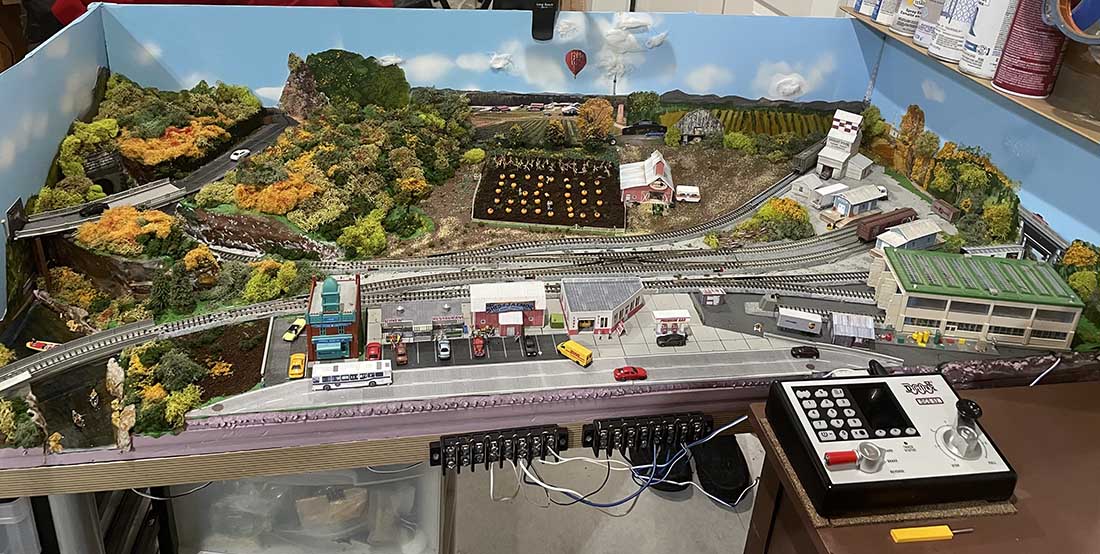
“I live in a Manhattan apartment where space is at a premium. I have started an N scale layout on a 2-1/2’ x 5’ folding-leg table in our guest room. Here you see it’s earliest stages. I’ve built the table from a modified hollow-core door, attached the legs, and glued down the Kato Unitrack. It’s DCC powered, which simplified the wiring to no end!
Robert”
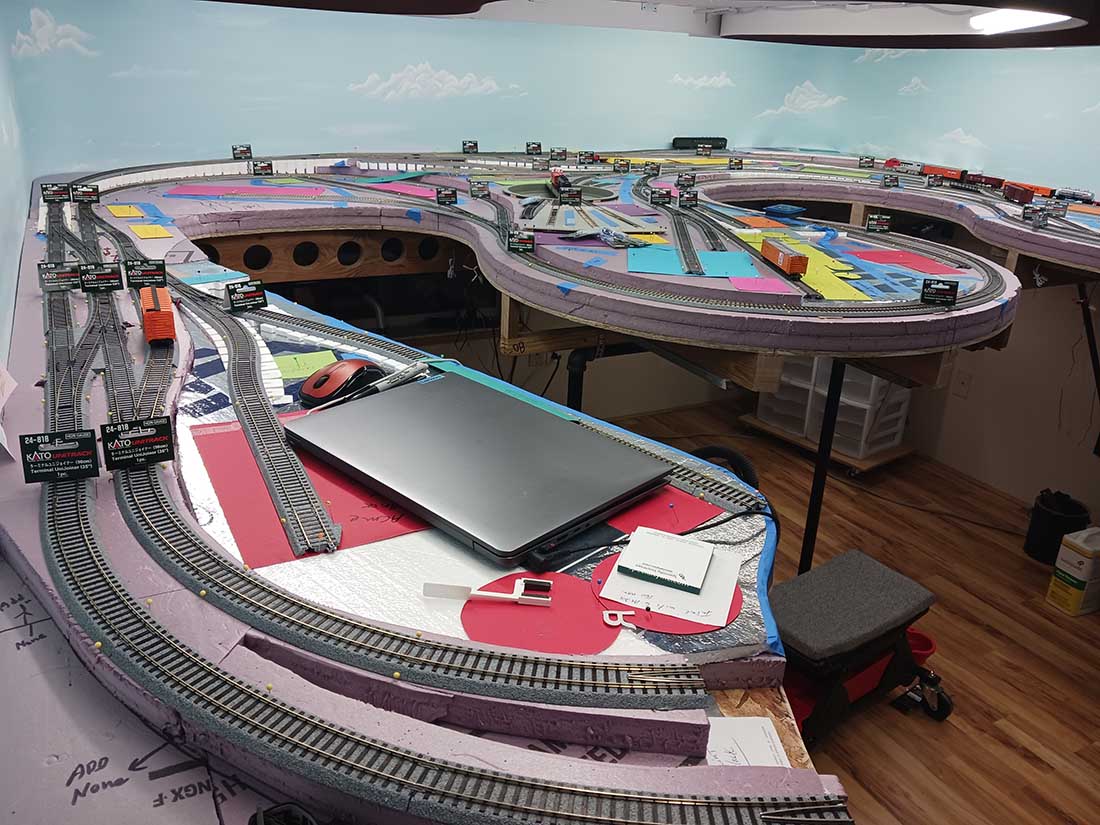
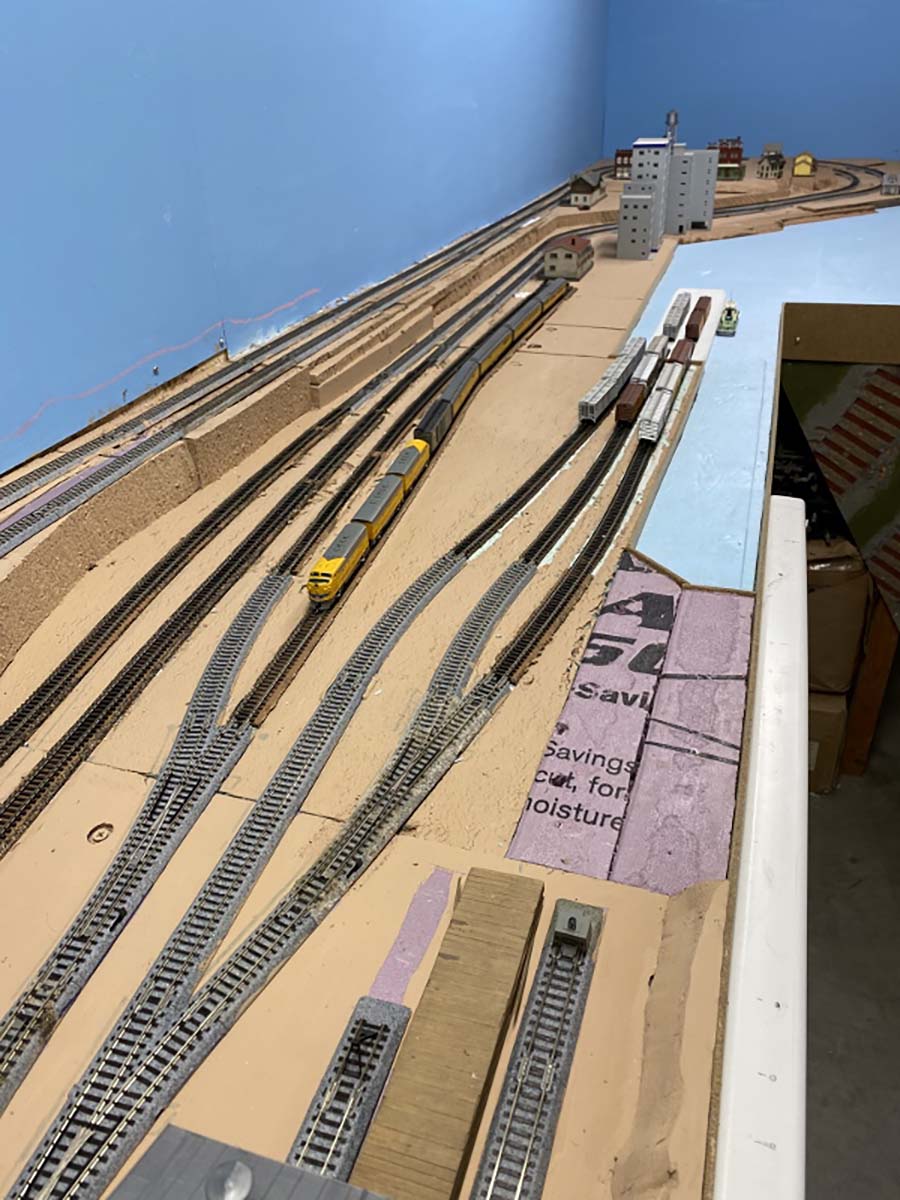
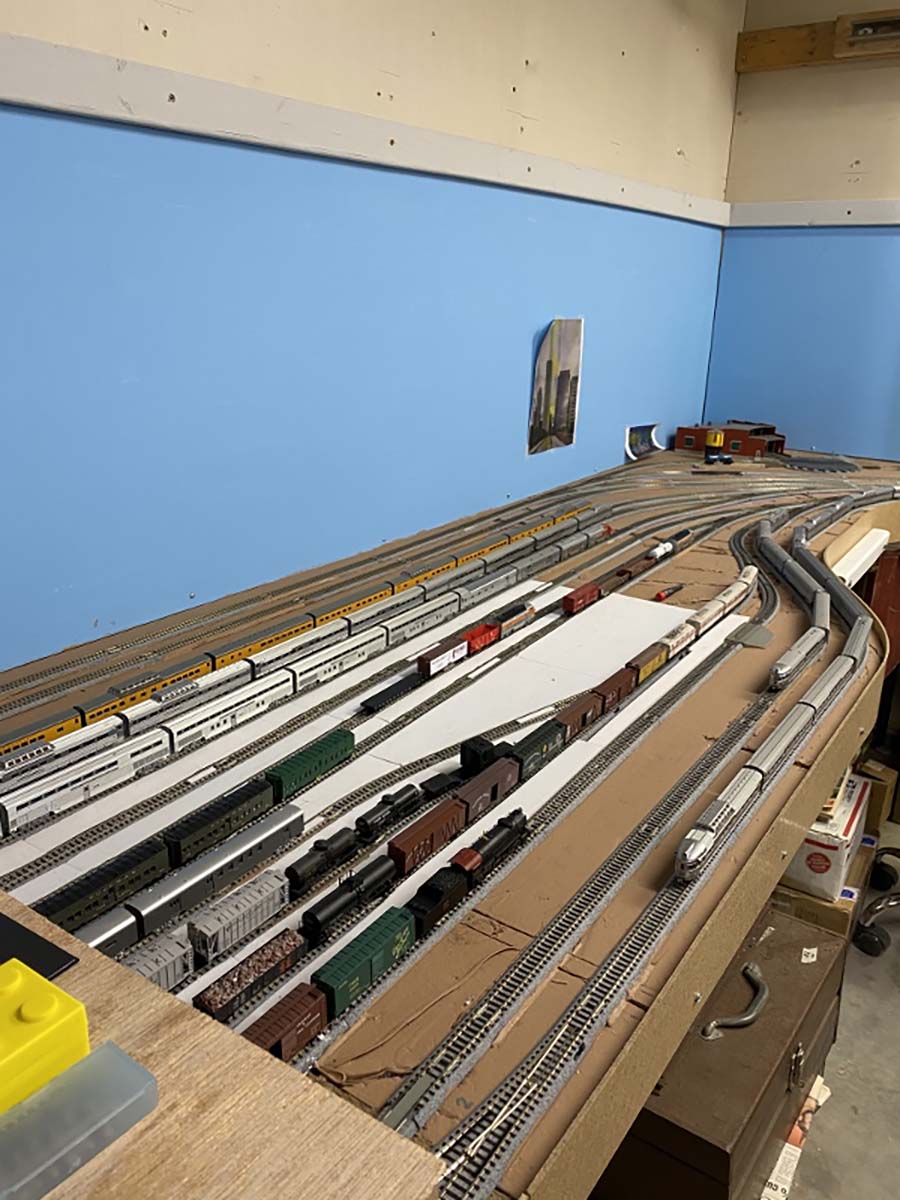
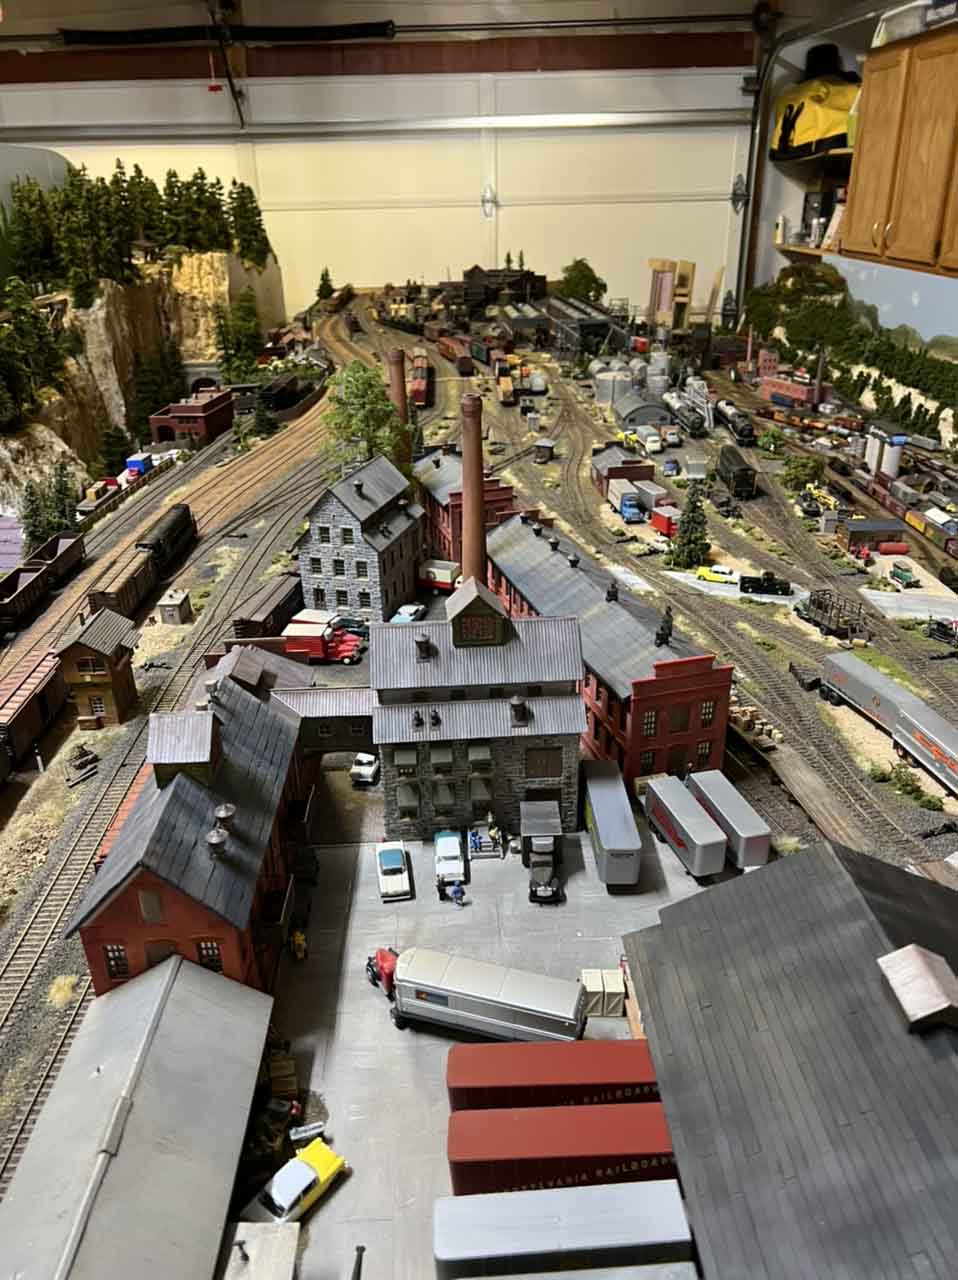
“However I can run point to point, changing out locos at each city. or just simply let trains run for show, there is approx 20 scales of track on the layout, 99% Kato Unitrack.
One can sit at any of the cities and do freight switching as well as dropping and adding passenger cars to the passenger trains.
“I have acquired a BLI Mikado with sound. It runs very nicely and is loud. I will need to tone it down.
Also acquired a complete Kato Unitram layout with two sets of trams that will reside on the street level above the tracks in Chicago at the Union station.
Also received a huge castle that will sit up above the 4 track mainline going into the tunnel just before arriving in Denver.
There’s quite a collection of urban switching layouts on the blog now – here’s a few of them if switching is your thing:
“When a family member was remodeling a home office I was offered a 2×4 table, which became the foundation of my N scale switching layout.
Brian”
“Hello Al,
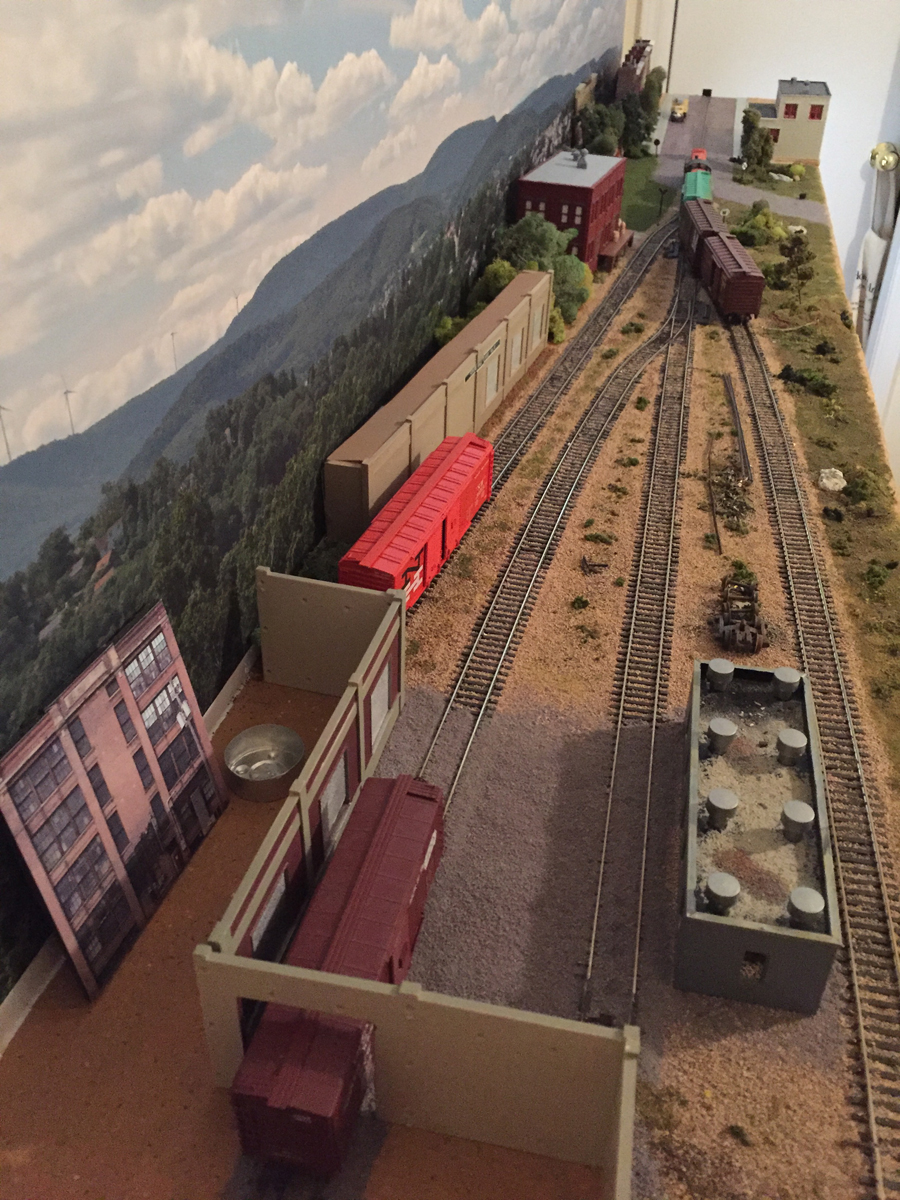
I’ve been busy still working on scenery for my small HO scale switching layout (4-1/2 X 14 feet) but took some time to make sure my other two layouts were cleaned and running.
Bill”
“What I have included today are a variety of pictures from both the HO switching layout and my N Scale layout as well. The past month or so I am enjoying running both layouts and also adding in new details.
I have picked up numerous automobile kits in both scales as well as different road construction equipment.
Bill”
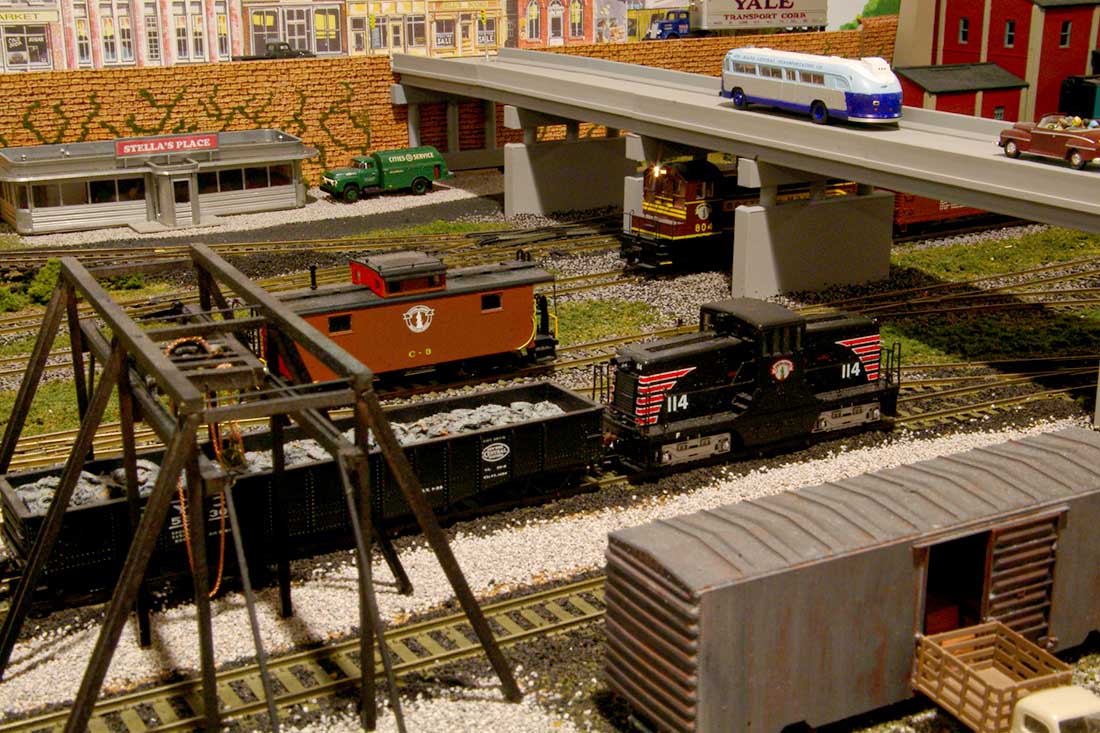
It’s has three businesses that I can switch rolling stock in and out.
The backdrop is from Backdrop Junction of rolling Pennsylvania hills. I was very pleased with backdrop.
The HO switching layouts track plan is somewhat modified from one I found on the Model Railroad mag website.
Charles”
“This area is from Wilmington to Bellirica. A local is assigned to this area. There are 6 industries. Rake’s Rock Works, monuments. Swift Packing, Brenda’s Ice Cream, Knorr oil, Goins Lumber and supplies, and the Bellirica Freight Station.
This HO scale switcher has facing and trialing turnouts and must get clearance from the dispatcher to enter the mainline for a run around to get the cars in the correct position. We have over the line trains running while the locals work.
Dan”
I shall keep adding the urban switching layouts to this page, as and when they appear on the blog.
These plans are a great way to get started – and that’s what it’s all about, making a start!
You’ll also see that some of the plans below are better than others for different reasons. It’s all down to what you want out of your layout.
If you enjoy the scenery side of the hobby, you don’t want the track to take up all the 4×8 space, because you’ll want to put in buildings, perhaps roads, streams or rivers… or whatever.
Or perhaps you just want to run trains? There are quite a few track plans that are suited to that.
Then there’s the folk who like to drive themselves mad with shunting layouts.
Each to their own and that’s the great thing about this hobby.
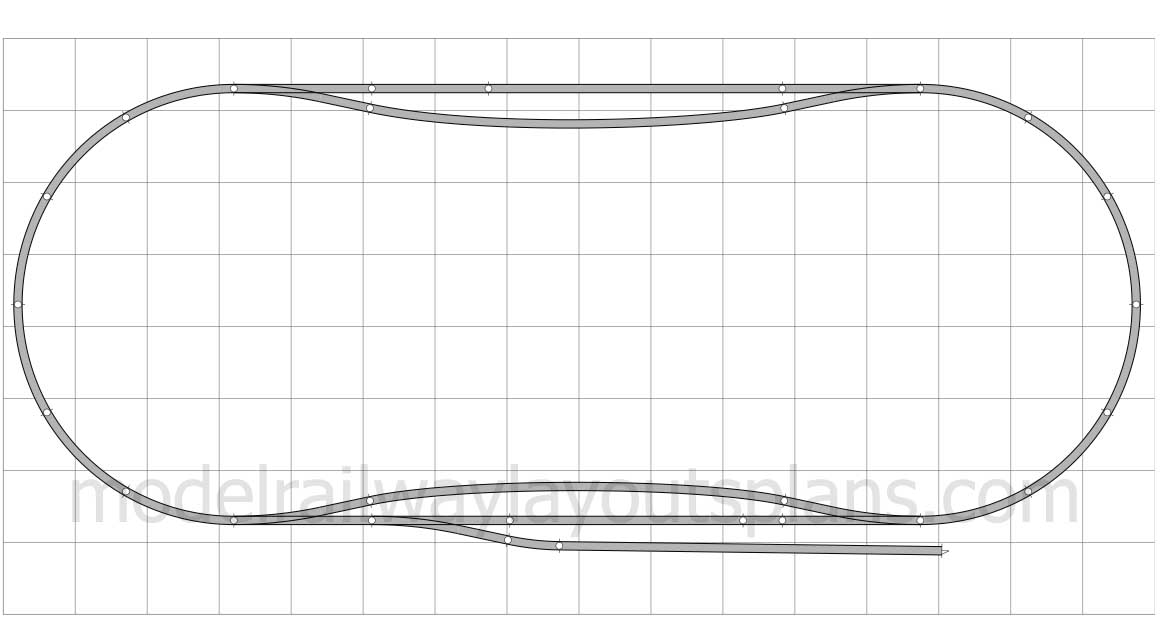
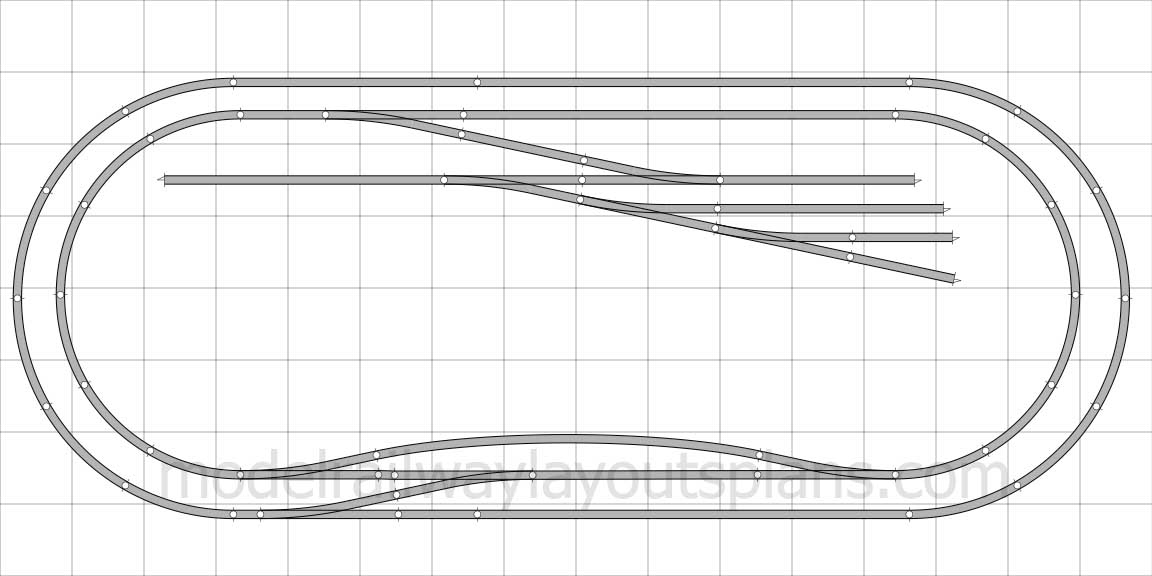
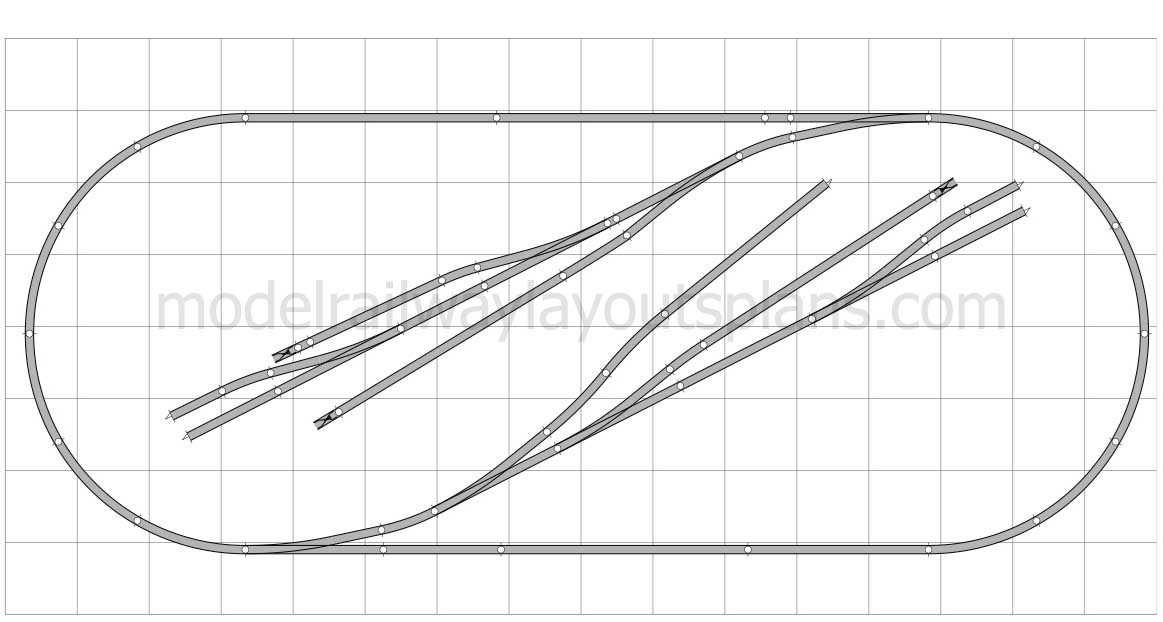
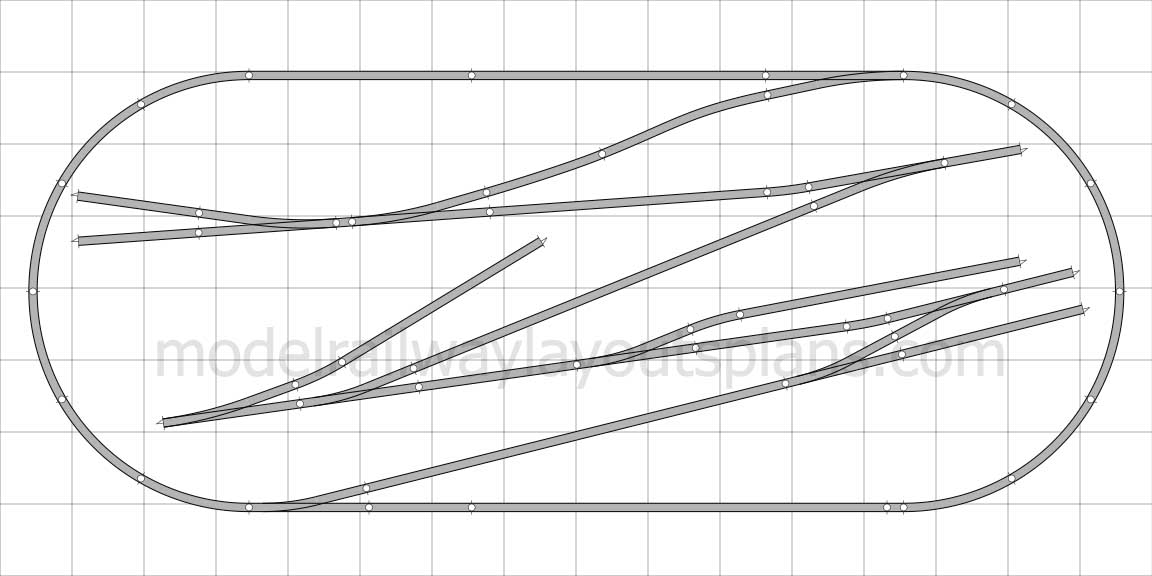
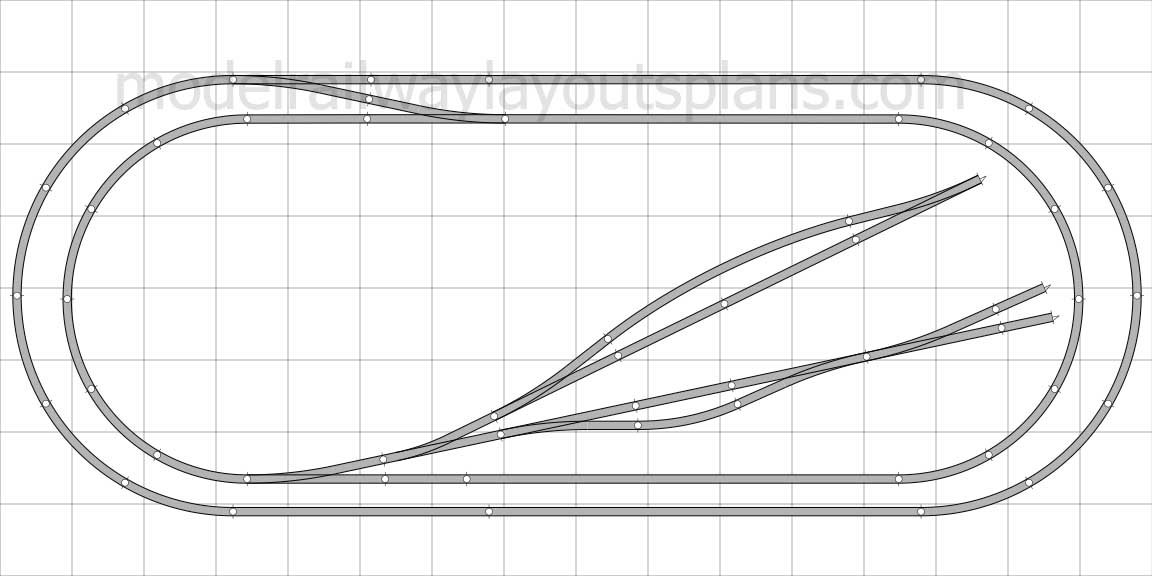
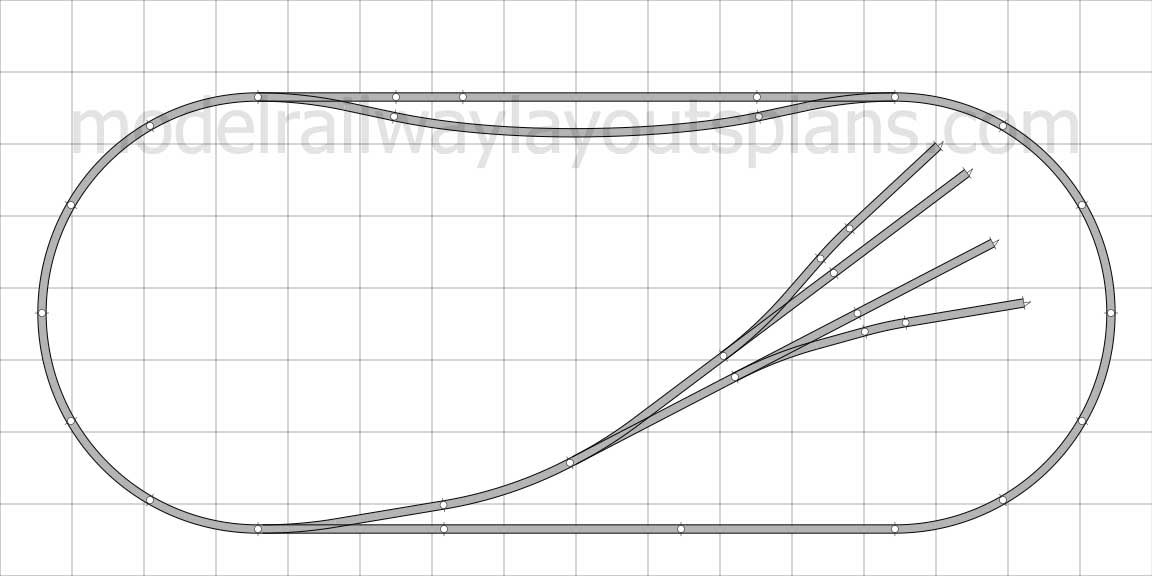
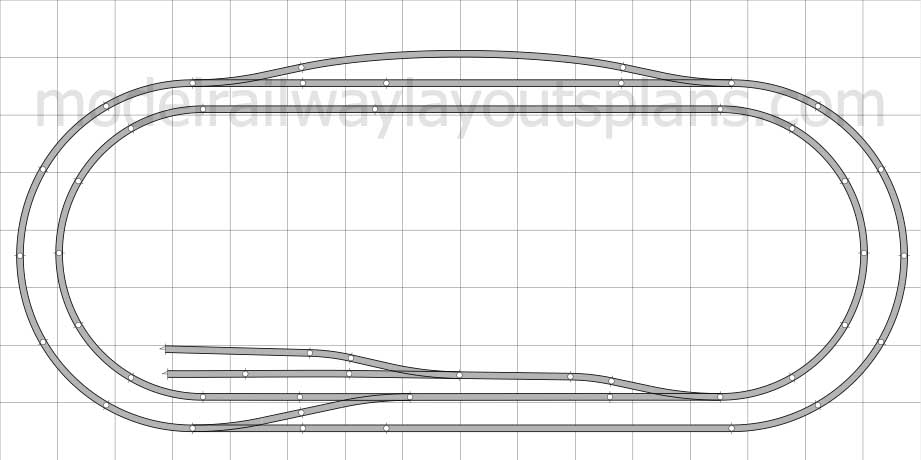
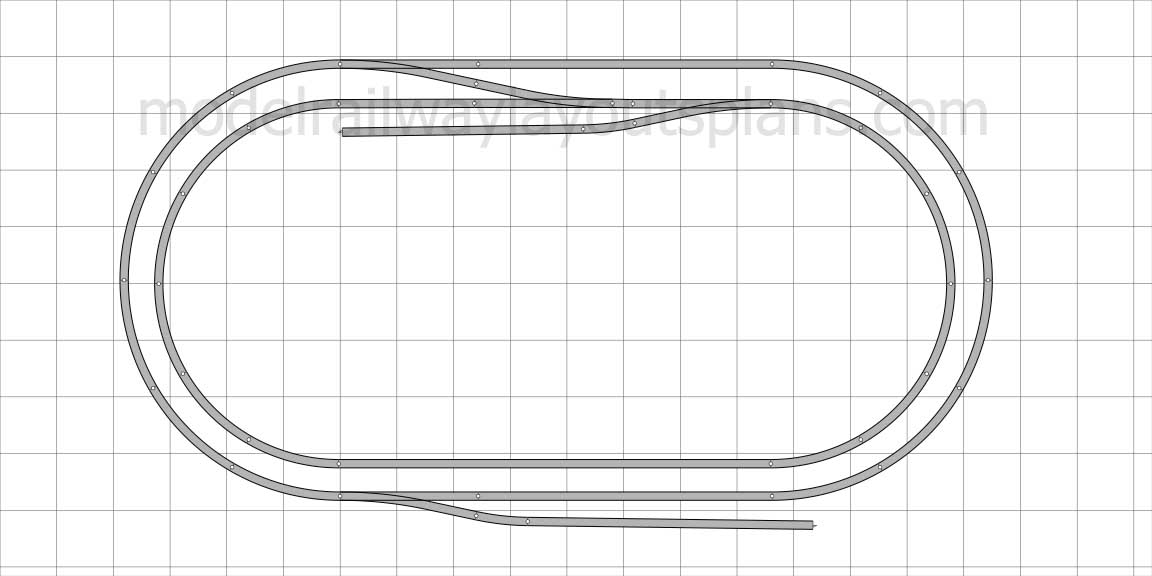
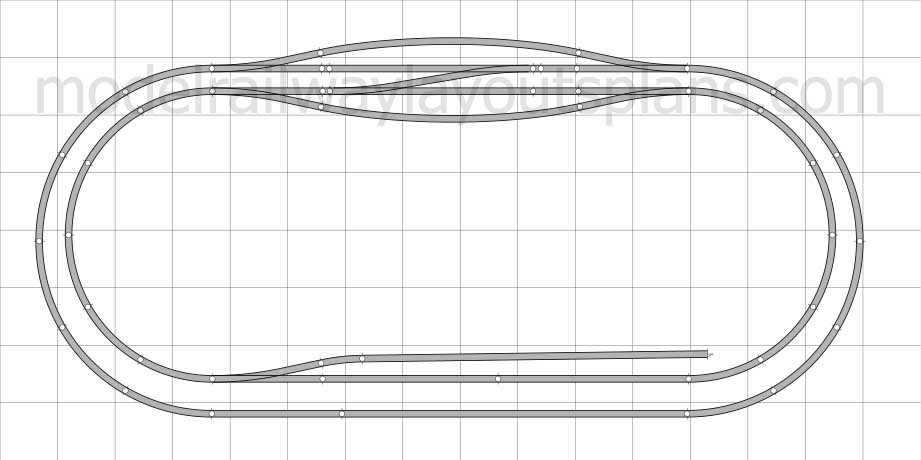
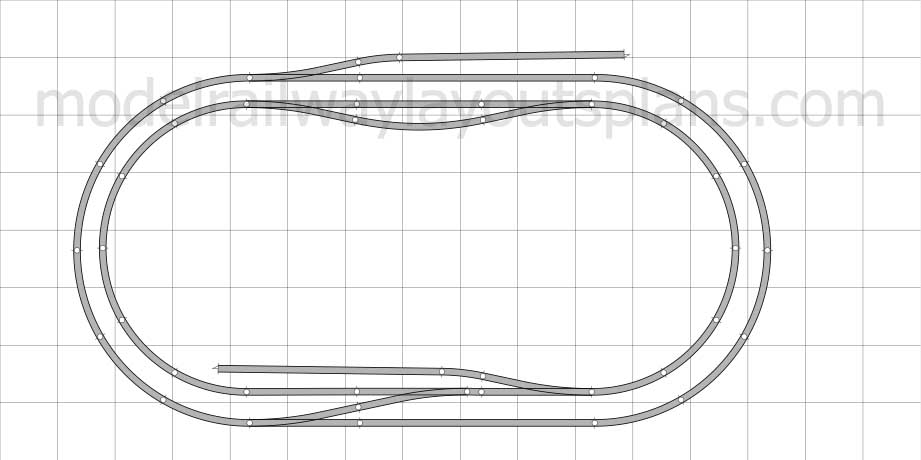
On the layouts below, each square on the plans is 6 inches. They are all 4×8 HO track plans.
This 8×4 layout is a simple as they get – a single loop with sidings. I like it because there’s not much that can go wrong, so it’s a safe bet for your first layout.
The outside curves are a little too close to the edge for my liking – it’s easy to lose a loco over the side if you run it too fast.
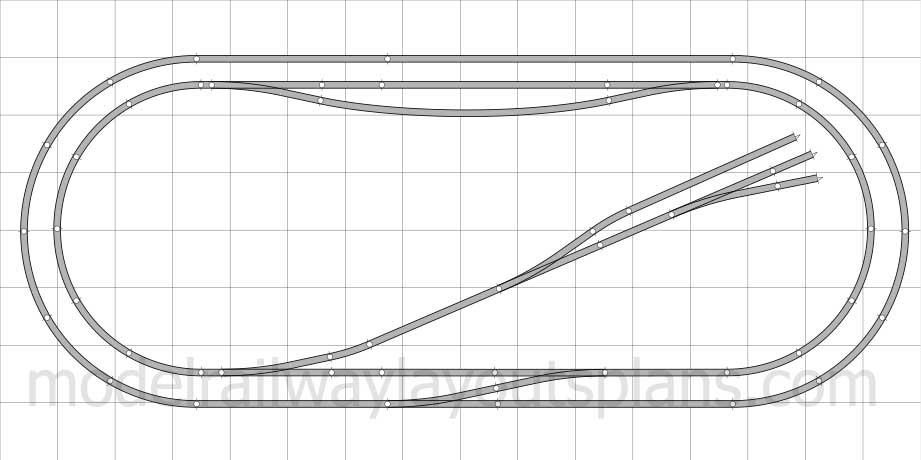
Here’s a great example of a simple double loop. You just have to be mindful though, the more track you have, the less room there is for scenery like building and roads.
If want to see just how much scenery you can fit on a 4×8 layout, have a look at Cal’s: 4×8 HO train layout. It’s packed full of scenery, but doesn’t look too busy. He’s got it just right.
This single loop takes up a lot of the table – but I like it just because of its simplicity. You can run your trains and shunt freight around too.
Now this layout looks a little messy as a track plan, but if shunting is your thing, it’ll keep you busy. But again, very little room for scenery.
This one seems a little too simple, right? But that’s the point. Simple is still fun – especially if you are putting something together for the little people to enjoy.
There’s very little running to do with this track plan – it’s more of a shunter. But, there’s bags of rooms for scenery. You’ll be surprised just how many layouts are like this, almost like moving dioramas…
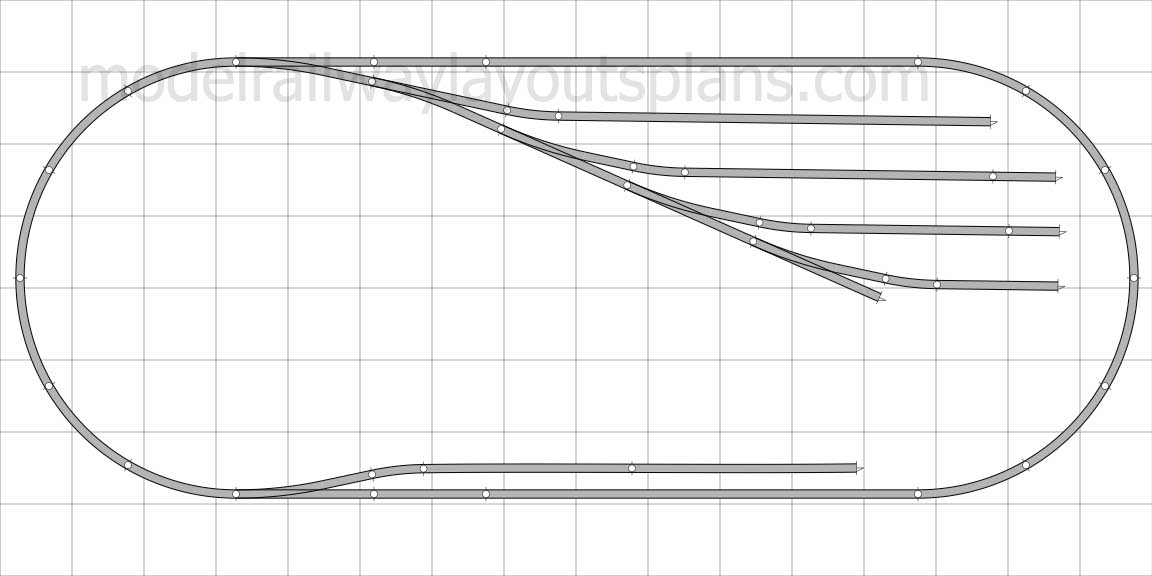
Now we’re back to my fave – the good old solid double loop with sidings. You can run your trains for as long as you like and park the freight up in the sidings too. What’s not to like? Also those sidings give you lots of opportunity to add scenery like engine sheds and industrial buildings. Have a look at the printable buildings and you’ll see what I mean.
Here’s another 4×8 HO track plans double loop that ticks all the boxes as far as I’m concerned. I know there are people out there that would tut at the immaculate straightness of these double loops, shaking their heads and saying, “Tracks aren’t straight in real life.”
Well do you know what? They are right, but they are soon humbled with the age old mantra of all model railroaders: “My layout, my rules.”
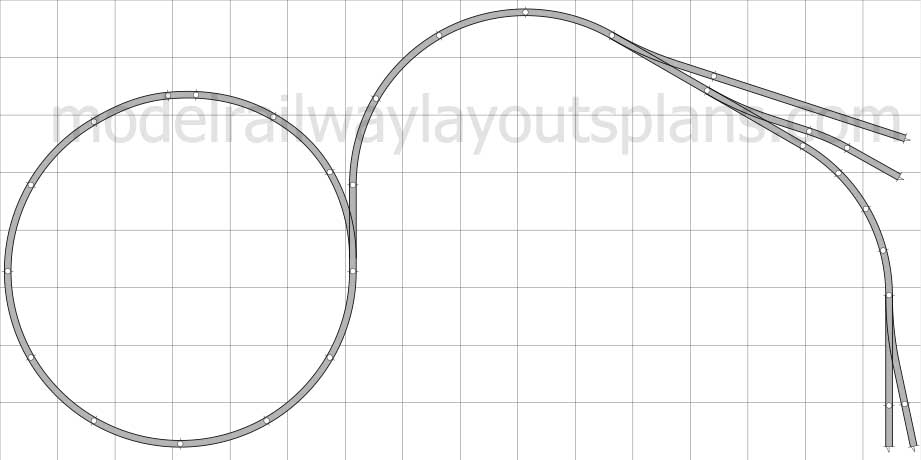
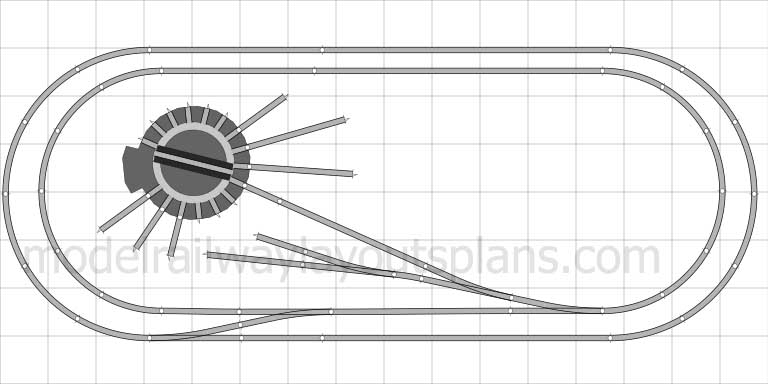
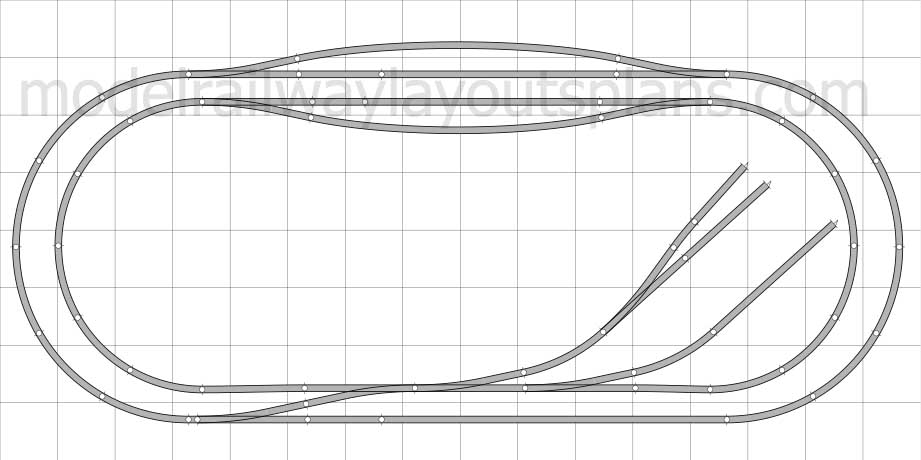
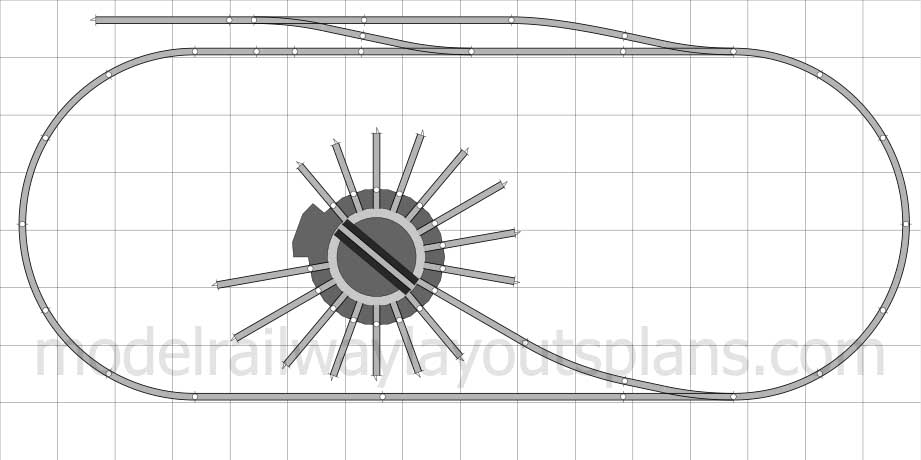
Turntable are the best fun. They do take up a lot of room on a 4×8 HO track plan, but I think you have a focus for the scenery which makes it just work.
A solid variation of the 4×8 HO track double loop.
Having a single loop with a turntable does find you a lot more room for scenery.
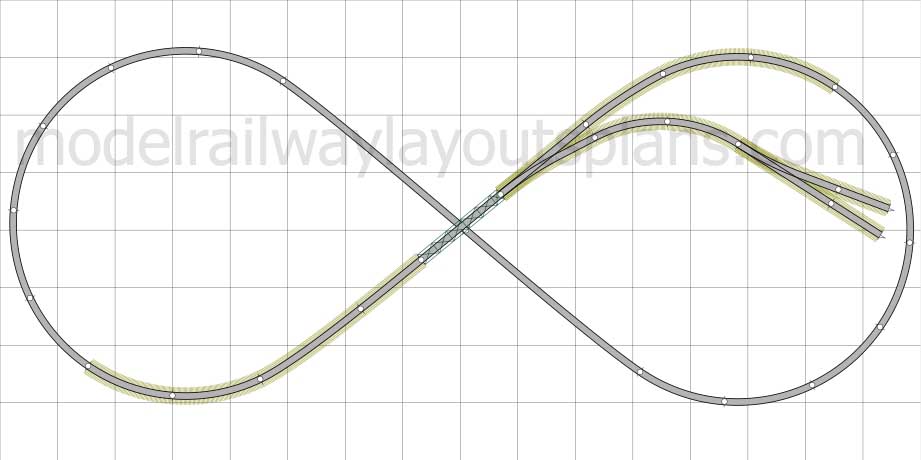
A figure of 8 is always a safe bet for a first layout. A turnout on an incline (just after on the bridge) is probably not the best idea, but it does break up the layout a little.
My fave figure of 8 on the layout is probably Barry’s from all those years ago: Figure of 8 model railroad.
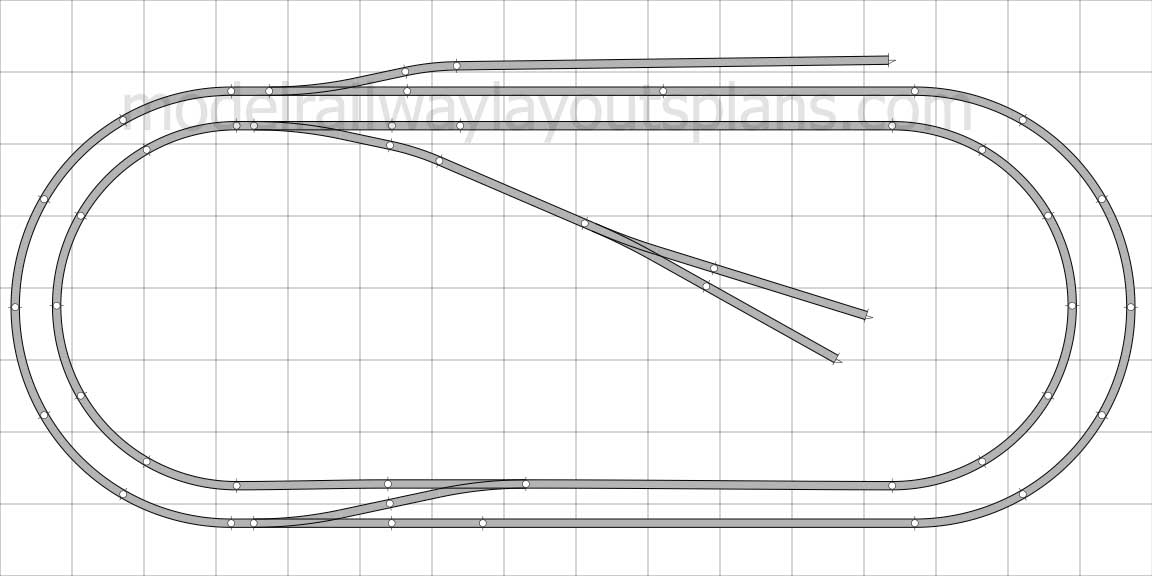
Another good example of a double loop. The only thing with them, as I mentioned earlier, is that sometimes the outside loops are too near the edge of the table/bench, so you can lose a train over the side if you go too fast, or just derail.
This may sound like a small point, but when you start paying top dollar for your locos, you won’t want them to fly off the edge.
Another nice double loop. Sometimes, simple is best…
A single loop gives you more room around the edges, and for sidings on the inside too.
Another double loop variation – personally, I really like this layout.
Here’s a small version of a double loop. I like it because there’s very little risk of losing your trains over the side and you have lots of room for the scenery.
This double loop is also one of my faves. It’s busy, but simple, if that makes sense.
And lastly here’s another variation of a small double loop.
As these layouts show, it’s all about what you want out of your model railroad. With a 4×8 HO track plan, it’s a balance between running trains, scenery and getting your head around the wiring.
My advice is just go simple at first.
Put down some track, run some trains, then take it all up and do another one. You’ll soon get a feel of what’s right for you, and how comfortable you are with the wiring too.
But perhaps the best thing about playing with the track, is it’s a start!