Model grain silo kitbash

Brian’s been back in touch with his model grain silo kitbash:

“Hi Alastair,

Been on holiday in Cape Town for 14 days and now back home and working on a building kit bash – The Grain Silos.

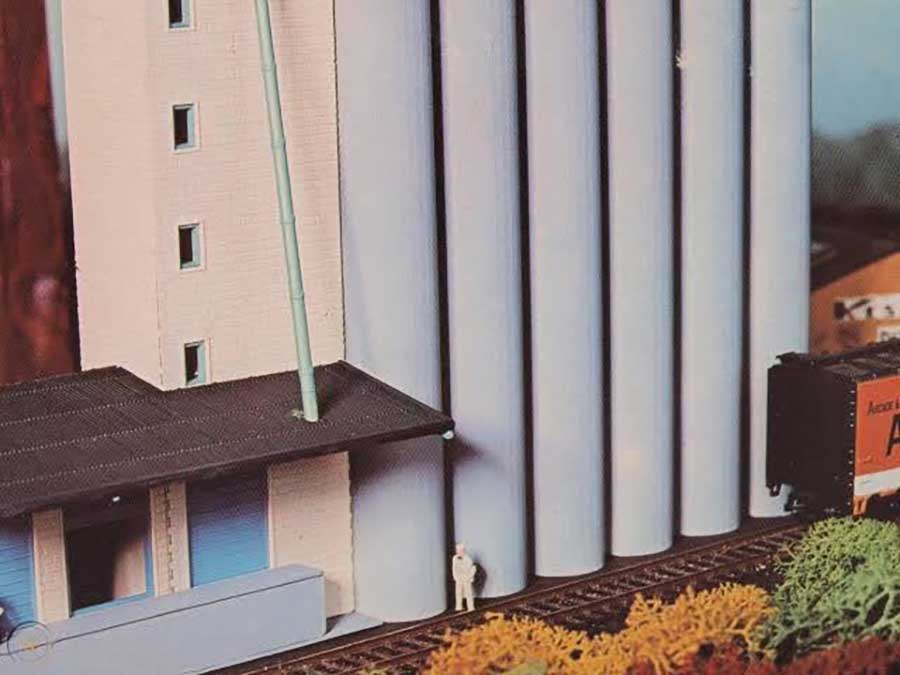
Below is how it would look as built according to the instructions.

Model grain silo kitbash

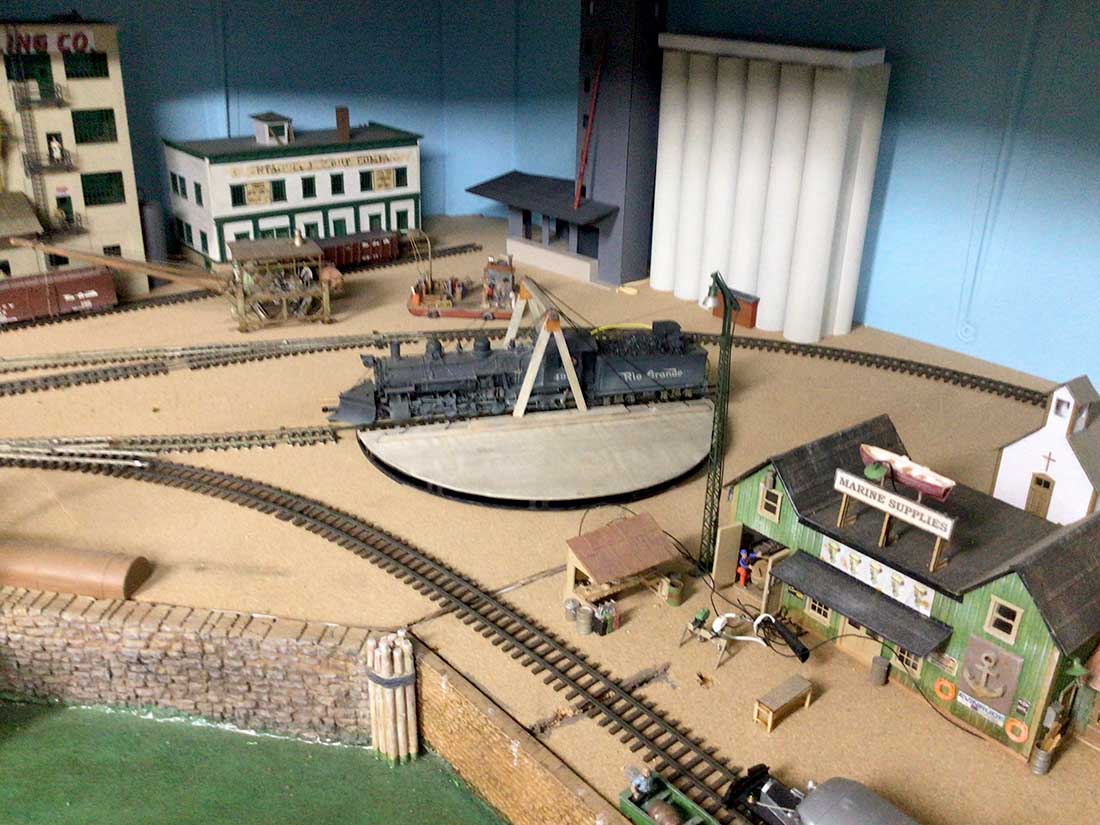
Photo off the box lid. Unfortunately it did not suit the position if built this way as shown in the above photo.

Model grain silo kitbash

Same again showing assembled as per instructions.

Model grain silo kitbash

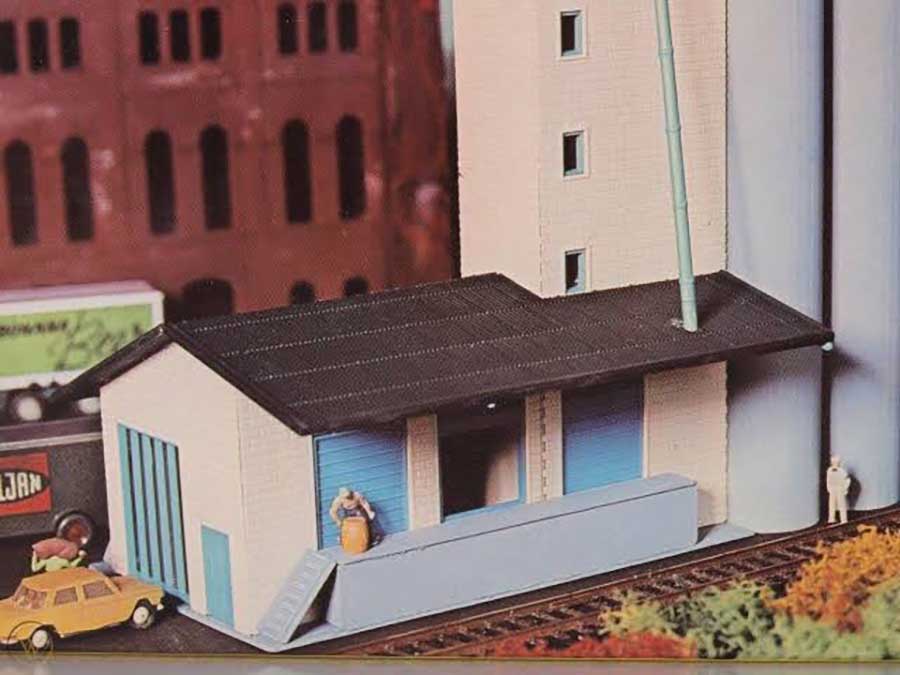
I hade to do a back to front and mirror image of it to fit the real estate. The tower was not a problem but the smaller building had to be cut narrower including the roof.

Model grain silo kitbash

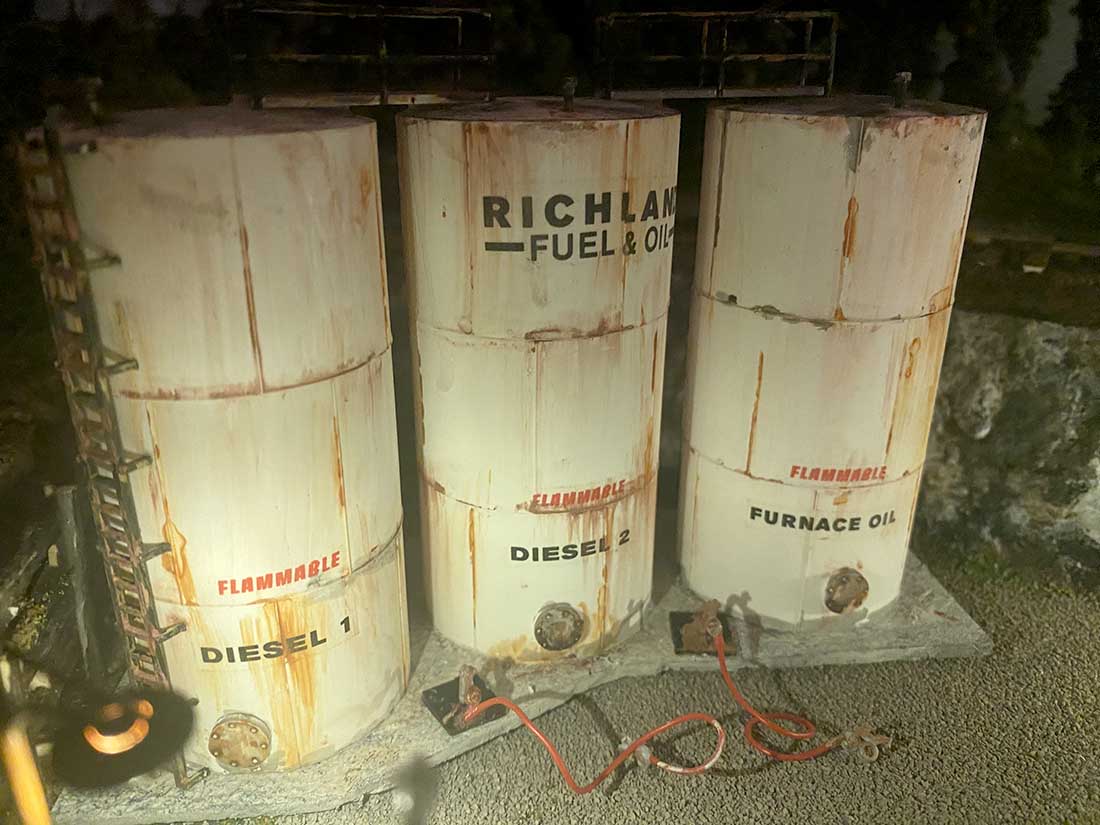
Here the roof was painted a gun metal colour to make the rust weathering easier. The feeder pipe was given the same treatment.

HOn3 tower kitbash

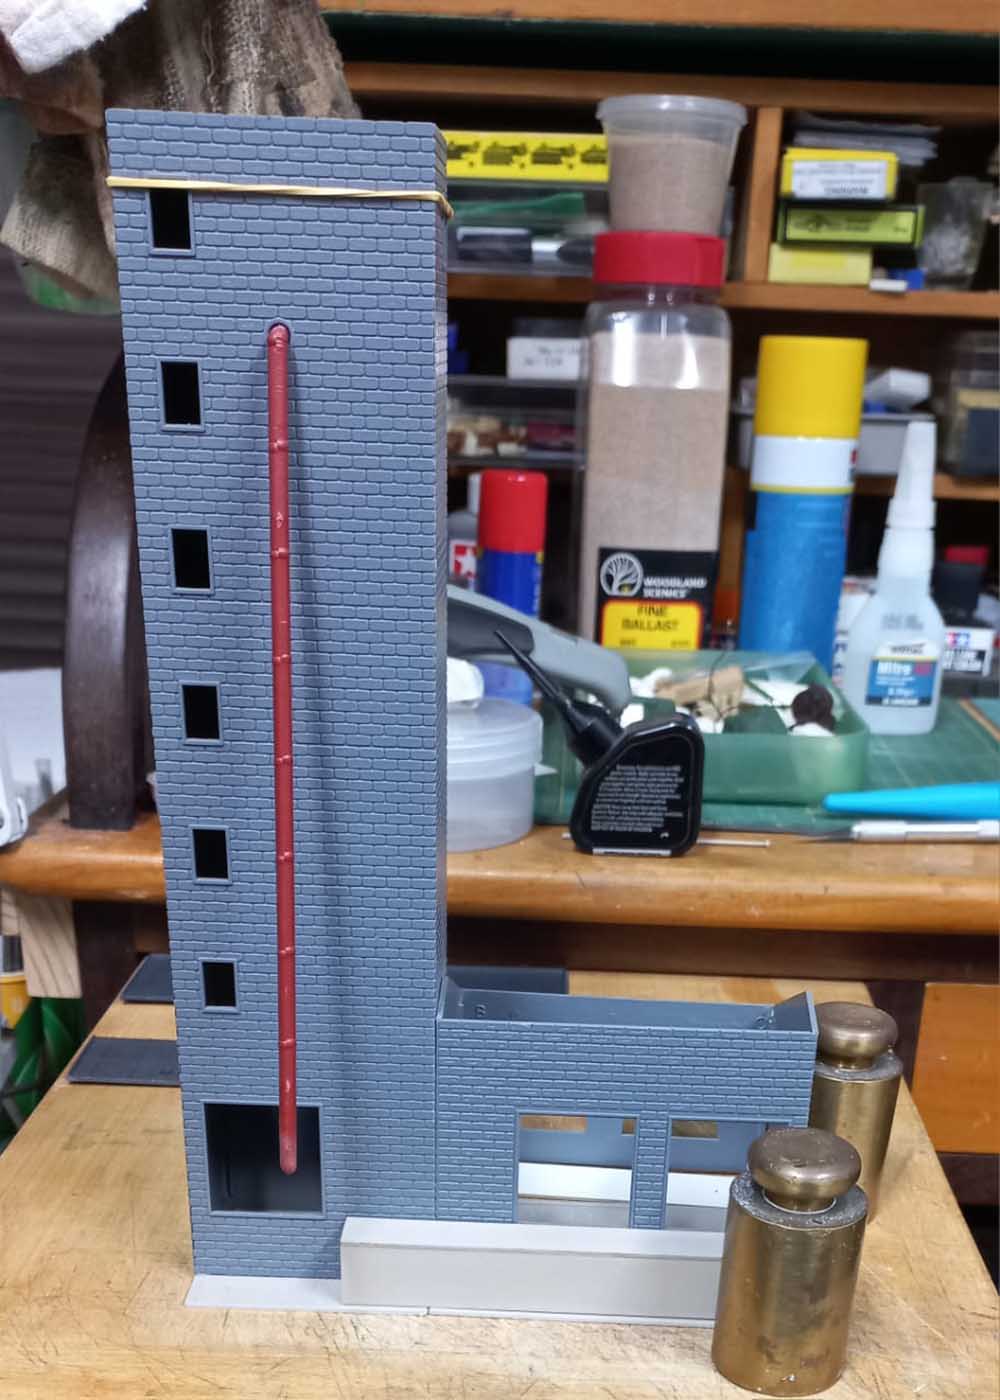
The tower and building was sprayed white and will be weathered later. The Silos were sprayed with a concrete colour and will also get the weathered look later.

HOn3 model railway


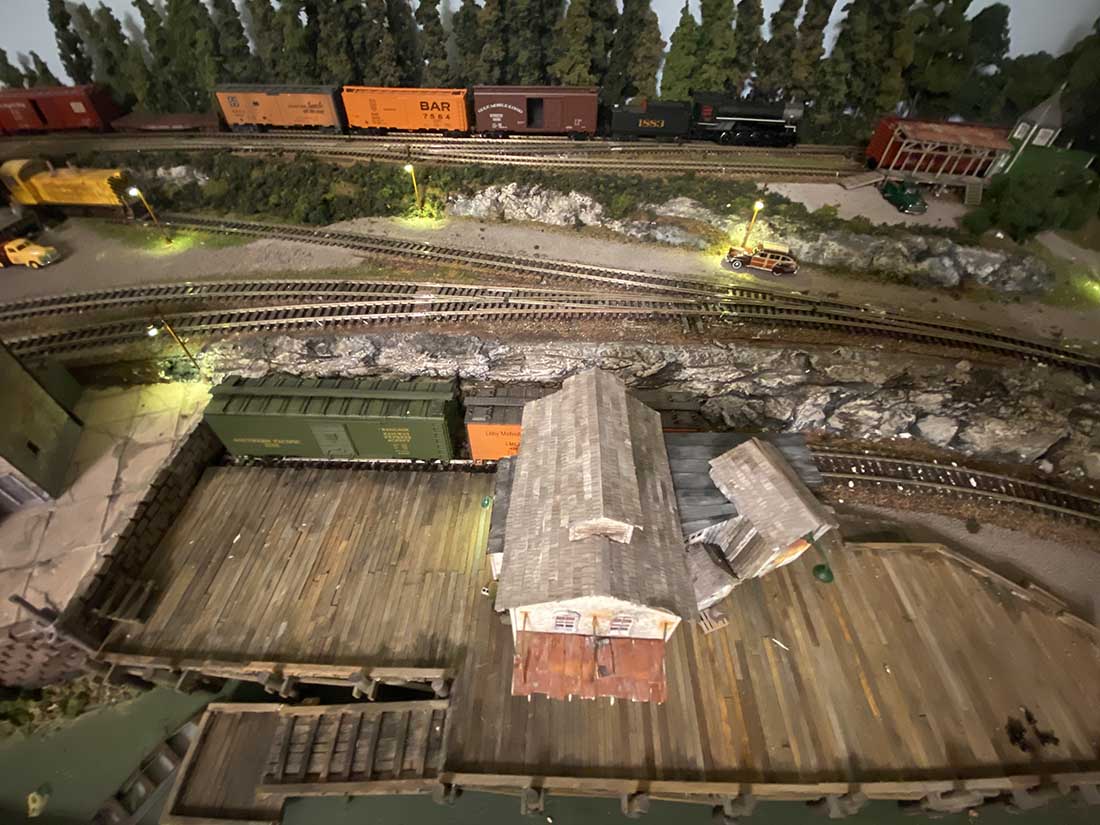
Floors were added as well as roller doors – 2 open and 1 closed. Details and lights will also be added.

HO scale grain elevator

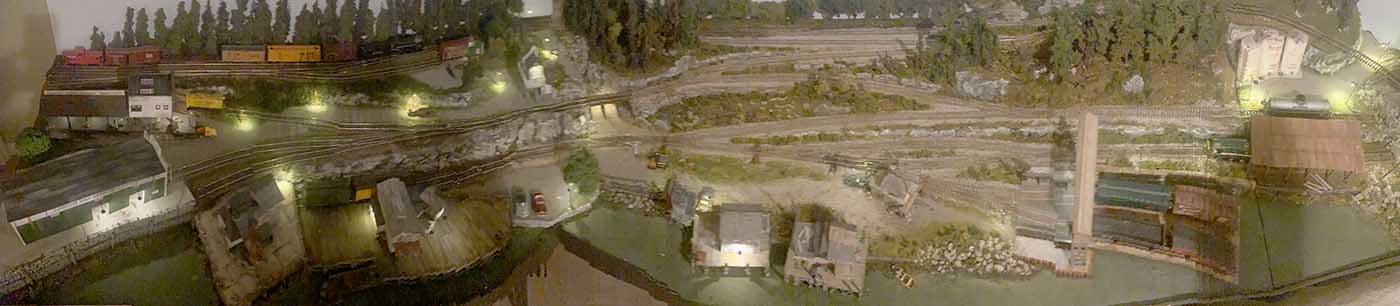
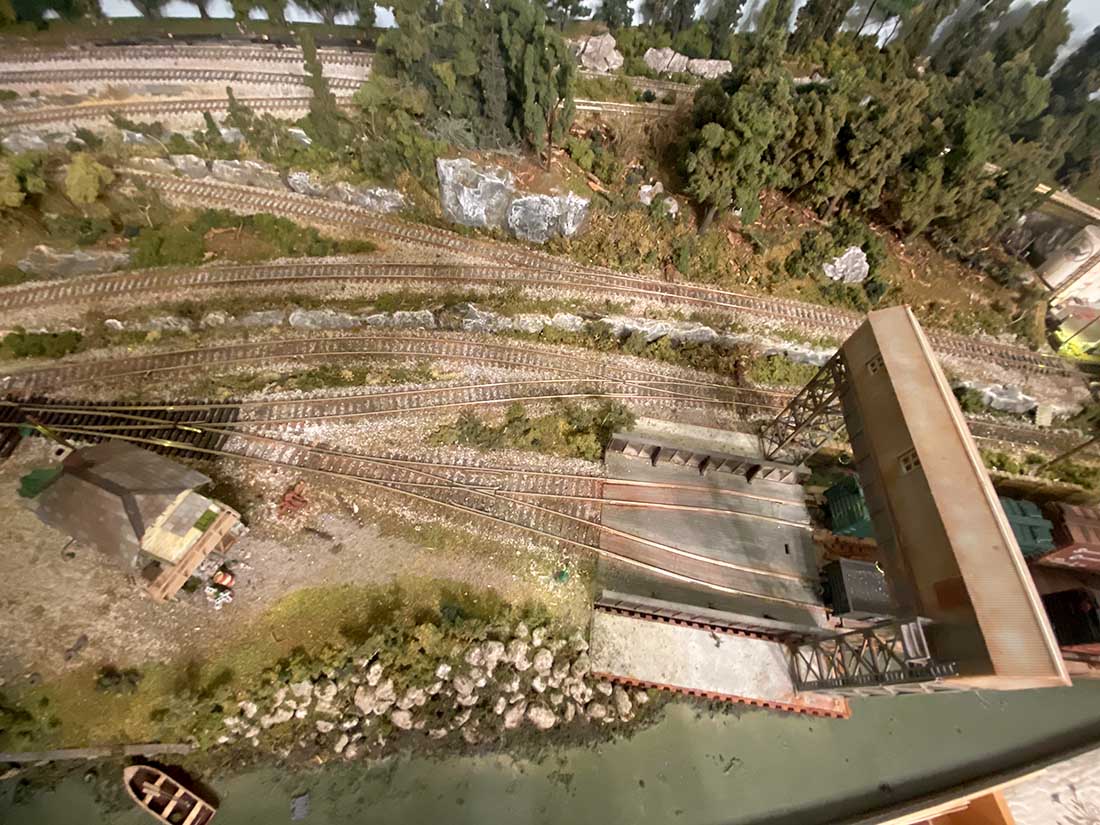
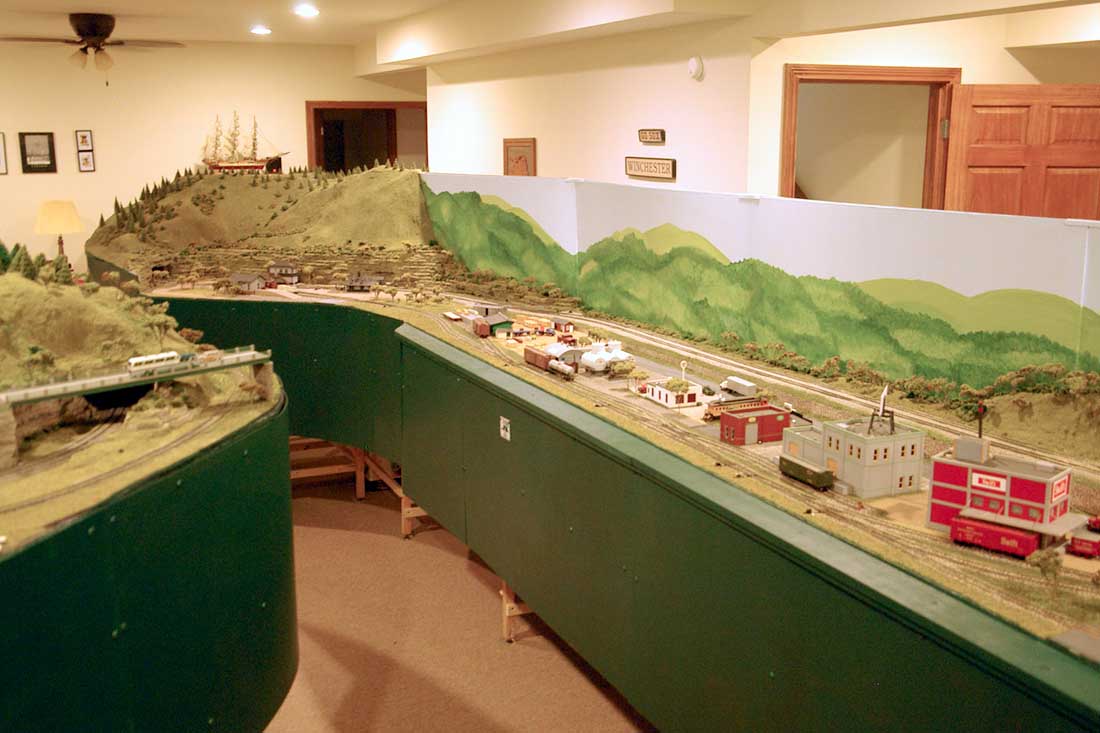
A view looking east down the tracks towards the Silos.

HOn3 shelf model railroad

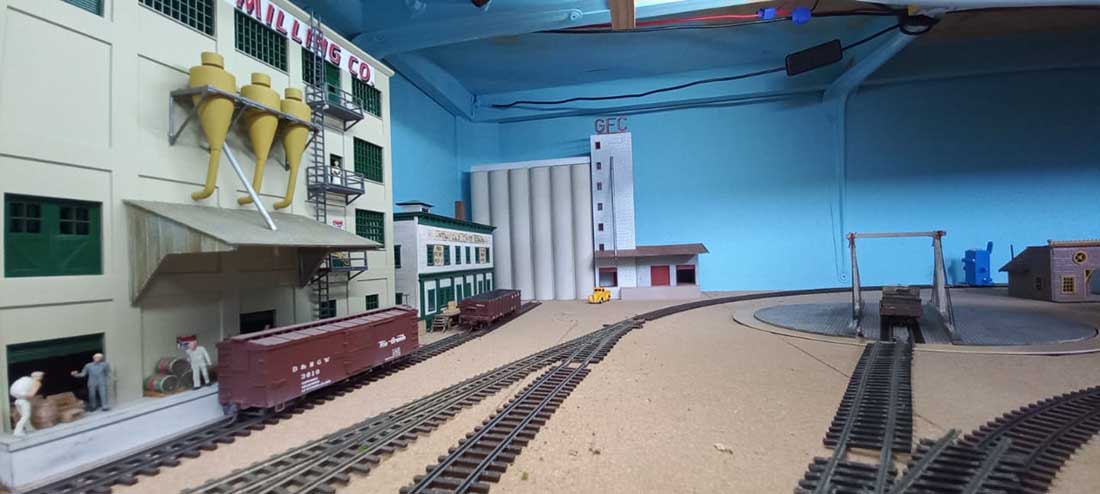
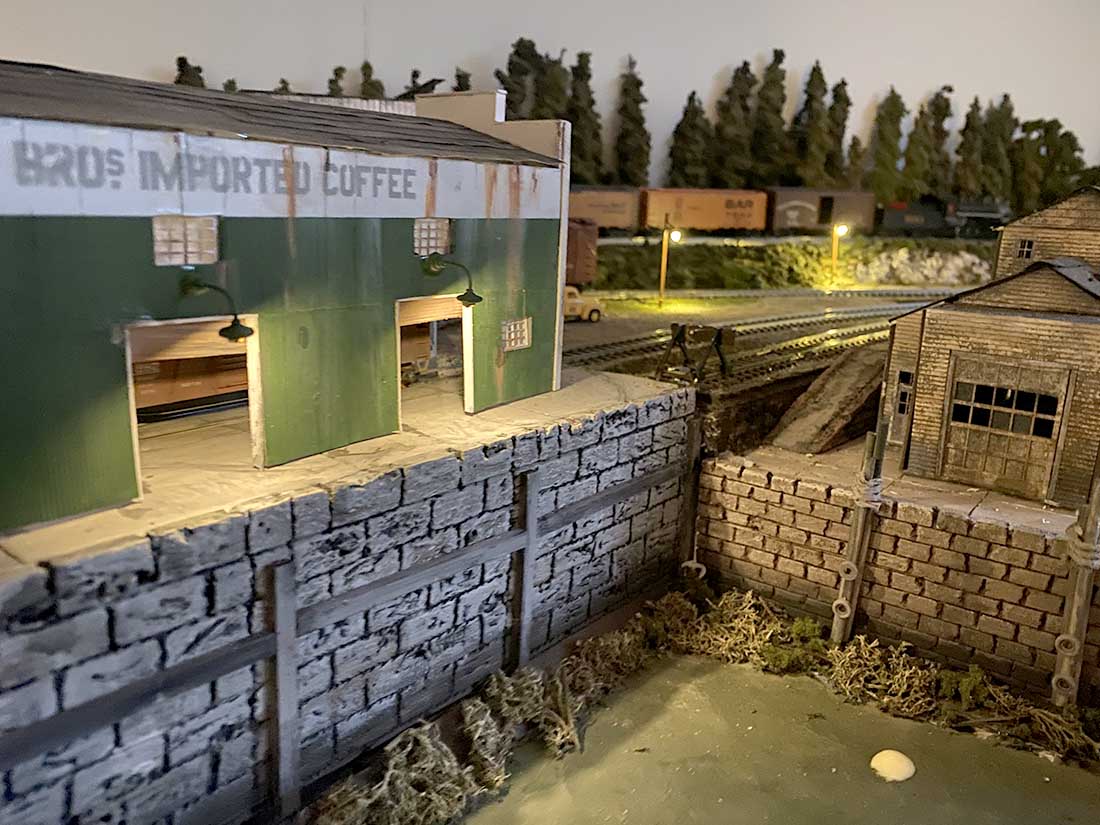
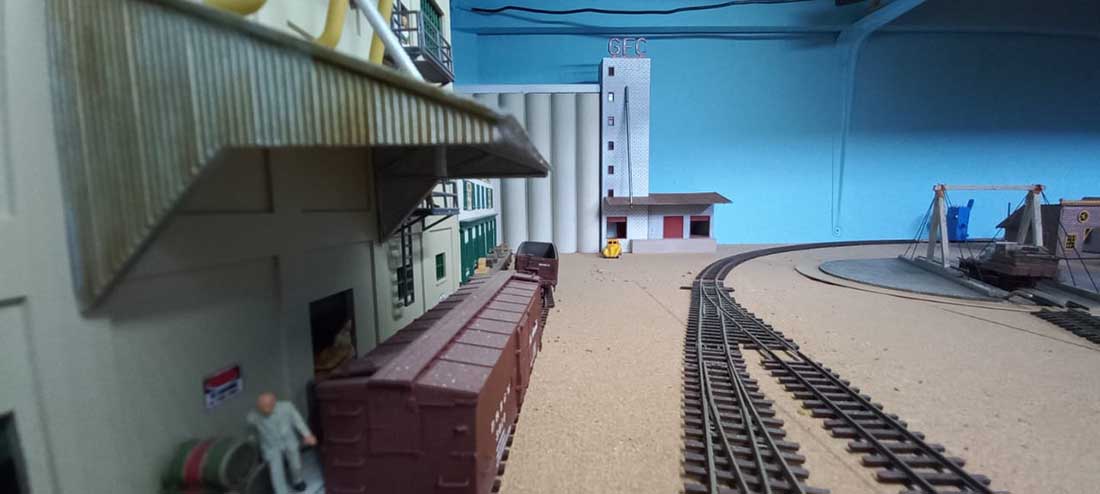
Another view closer to the milling company dock. Track work still needs to be fixed down and once happy with the layout of it then ground cover will be added.

HOn3 shelf model railroad

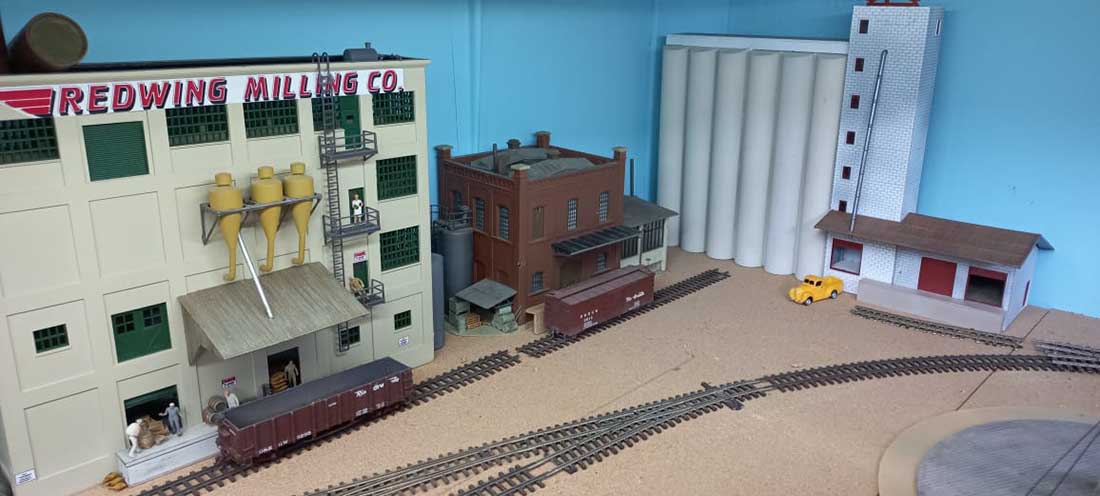
Just trying a different brick industry to see if it improves the format. I may still add a point to take a spur to the Silos as seen on the right hand side.

HOn3 shelf model railroad

A HUGE thank you to Alistair for keeping this site up with all modelers fantastic contributions.

Brian – the HOn3 guy in Knysna RSA”

A big thanks to Brian for sharing his model grain silo kitbash (it reminded me of Craig’s post: Craig’s silo.

I do love the way he changes all of his models to suit his layout – I think that’s why it has so much character.

Over the years, Brian has done so many posts, you reall get a feel of why it’s worthwhile to try your hand at kitbashing.

Have a look at some of his previous posts and you’ll see what I mean:

harbor kit bash

Kitbash how to.

Building kitbashmodel railway side building

Building kitbash

model railway harbor

Model railway water scene

That’s all for today folks.

Please do keep ’em coming.

And if you are bored of everybody else having all the fun, the Beginner’s Guide is here.

Best

Al

PS Latest ebay cheat sheet is here.


Modular model train layout

Scott’s been in touch with his HO scale modular model train layout – he’s building it block by block.

At the moment, it’s currently 7’ x 10’ L shaped:

“Hi Al!

I have enjoyed your e-mails for months now and finally have decided to share my layout progress with everyone.

The layout is entirely freelanced prototype. Set in 1949 it includes the actual towns of Warwick and Cordele in South Georgia where I live. But this railroad never actually existed.

In my freelance scenario the W&W is in its final years as a class three railroad and is soon to be absorbed into the Southern Railway System which it currently interchanges with.

As I am only a few months from retirement I am building it module by module in order to transport it to a more permanent location next year. I have a 10’x24’ building where I am moving to.

The building will house the eventual railroad which will be composed of 20 modules on two levels. The current state of the build takes up two walls of a spare bedroom and consists of three modules. I intend to continue this “module by module” build even after I move into the next space.

I enjoy all of the aspects of the hobby – but I find that committing one long period of time to construction, another to laying track, another to wiring and so on gets a bit tedious and boring.

Building a large layout in twenty modules – each module to be completed before work on the next begins – is allowing me to experience every step of the build in twenty shorter time frames. It’s almost like building twenty layouts from start to finish!

These three modules are not completely finished. The last one of the three still lacks ballasting and a few more structures need to be built and installed. But I think it is close enough to being finished to share it with you and your subscribers.

I am able to run operations on the layout in its current state. I simply use the portion of mainline track where the steam engine is located as a small interchange yard.

The Carfloat serves as another interchange point. The entire three module setup is a switchback that descends a full 32 scale feet from the mainline to the wharf.

I deliberately started with this section of modules as I knew the switchback operations would provide a lot of fun in my limited space.

I look forward to modeling the water after I get to the final setup location. Unfortunately all three wharf modules are connected to a continuous body of water which, if I poured it now would render them permanently connected. For now I have just painted the water area a deep green color.

Thank you for the opportunity to share!

Scott”

modular train layout

modular train layout

model railroad coal

model railroad silo


model train layout overhead view

modular train layout wide view

model railroad sidings

model railroad freight

model train led lights

model train wharf

model train wharf

model railroad station

model train coal freight

model railroad silos

model train flat bed wagon

model train freight

model train layout wharf

A huge big thanks to Scott for sharing his modular model train layout.

His layout is a great example of how a little planning can go a long, long way.

That’s all for today folks.

Please do keep ’em coming.

And if today is the day you get started on your layout, the Beginner’s Guide is here.

Best

Al

PS More HO scale train layouts here if that’s your thing.


Need buildings for your layout? Have a look at the Silly Discount bundle.

HO scale Boston and Maine

Dan’s been in touch with his HO scale Boston and Maine layout:

“After finishing my layout, a hobby shop owner asked me if I would be interested in building a layout from scratch for one of his customers. I met him and we worked out a plan of attack.

We took a plan drawn for him and modified it to his liking. The owner had no skills at modelling, and I agreed to do the whole thing.

The HO layout is 45 feet by 15 feet with a 10 foot by 2.5-foot branch.

If you look closely, you will see that I have view blocks around the layout. All the layouts I have built have view blocks. This way you can’t see the same train in the same scene twice. I have done this on a 4×8 HO layout for a museum.

From start to finish it took me 7 years working 1 day a week. I was working on 3 other layouts at the same time!

He was from Boston. He moved to Indiana for college and stayed. The layout “represents” his memories of his time there. The layout goes from Boston to Lowell Mass. That is about 60 miles in length.

Boston is on a lower level with 7 storage tracks and two run through tracks. Arriving from “Boston” the train enters Winchester where there is a local classification yard.

This yard takes in bound trains and breaks them up for various destinations to be stored in Boston.

These trains will later come up from Boston as trains to be made up into the 6 locals to serve the industries on the visible layout.

This operation is done between operating sessions. Two of us come over to his place and make up the locals. I then make up the switch lists for the next session.

Leaving Winchester a train goes North through Winchester Highlands, Wilmington, Billerica, Lowell Junction and on to “Lowell”. Lowell is also under the layout at the opposite end of the railroad and not connected to Boston.

Lowell has 6 tracks and the run through tracks. At Lowell Junction there is a branch to Ayre on the New Haven railroad. At Winchester there is a branch South to Woburn.

A unique feature I set up for this layout is the morning commuter runs to and from Boston. With a fast clock we run an hour and half portion of the commuter schedule. There is a timetable just for that run.

Once an operator finished his or her tun, they pick up one of the 6 locals and head out to work. These locals run from easier to experienced based on the operator’s experience. The most difficult is the Woburn Local.

An experienced operator takes about 50 minutes to do the work. All locals return to Winchester.

Dan”

HO scale boston and maine

HO scale track plan

HO scale bench work

Boston and maine locomotives


HO scale boston and maine

model railroad sidings

model railroad end

HO scale model railroad

HO scale model railroad

HO scale boston and maine

A huge big thanks to Dan for sharing his HO scale Boston and Maine layout – what a project! 7 years of toil too.

As you all know, I do love a layout with a theme, for me, it’s what seperates them from the others.

That’s all for today folks.

Please do keep ’em coming.

And if today is the day you get started on your layout, the Beginner’s Guide is here.

Best

Al

PS Latest ebay cheat sheet is here.

PPS More HO scale train layouts here if that’s your thing.