Laurence has been in touch with his model railroad helix construction:
“Al
I started a new section of my layout. Been watching on UTUBE at the Helix videos. I decided I wanted one. I decided on a layered double track double helix layout input and output at the same level.
I wanted the helix to be separate from the rest of the layout but connected to it. And because I am not building a second layer over the first on the regular part of the original. The helix table had to be the same height as the rest and only go up about 26 inches. I started the research with the calculators on line.
Am using steam engines so the inner most track had to be about 20-inch radius. Using the calculators, I got six rings with an average of 2-degree rise. The Inner ring inner track is 23-inch radius.
The inner ring outer track is 25-inch radius. Needed room for the uprights to hold the rings and about 1 ½ inches for scenery. Now the outer ring inner track is 29-inch radius and the outer ring outer track is 31-inch radius. Now I know what size table I need – 63-inch diameter (left to right and front to back.
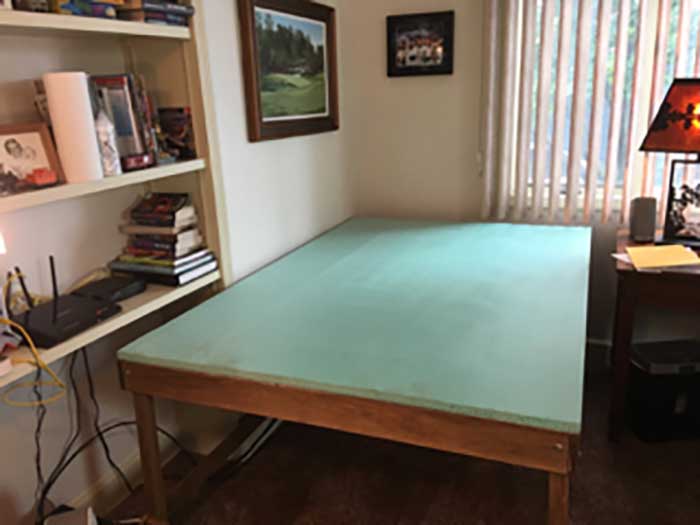
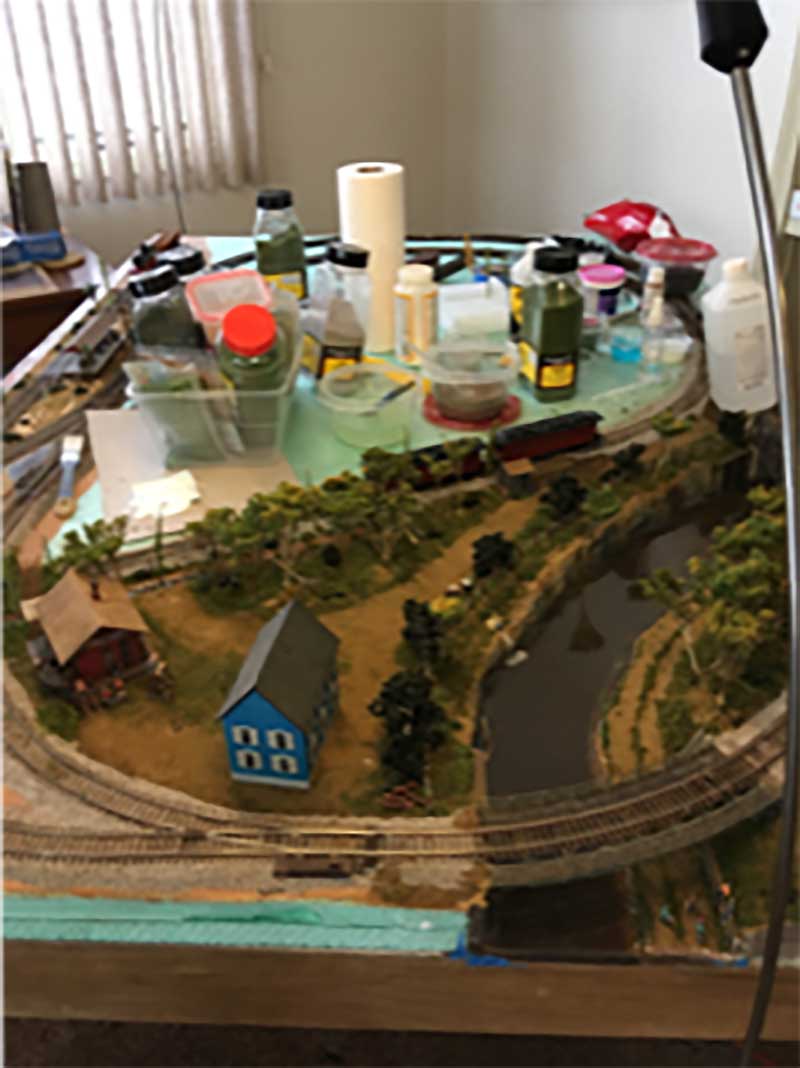
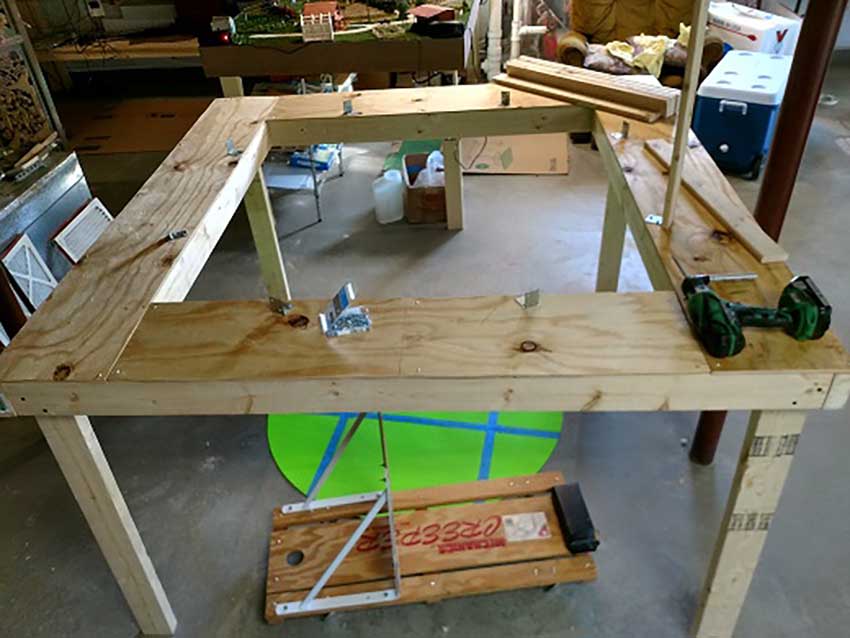
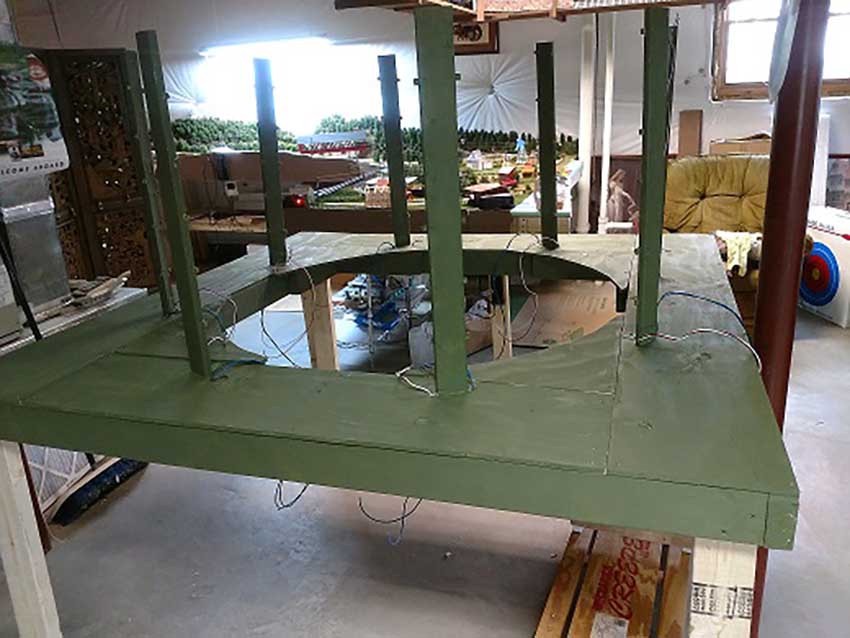
The first picture is the table to the right diameters for the outside and inside dimensions. Hole in the middle for working on the inner row. Notice the mechanics slide with backrest for under table work.
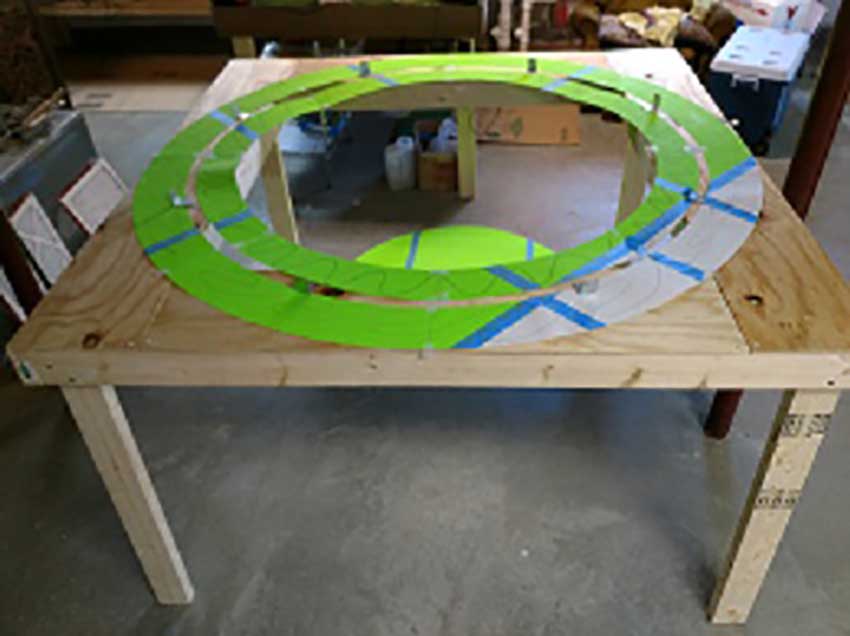
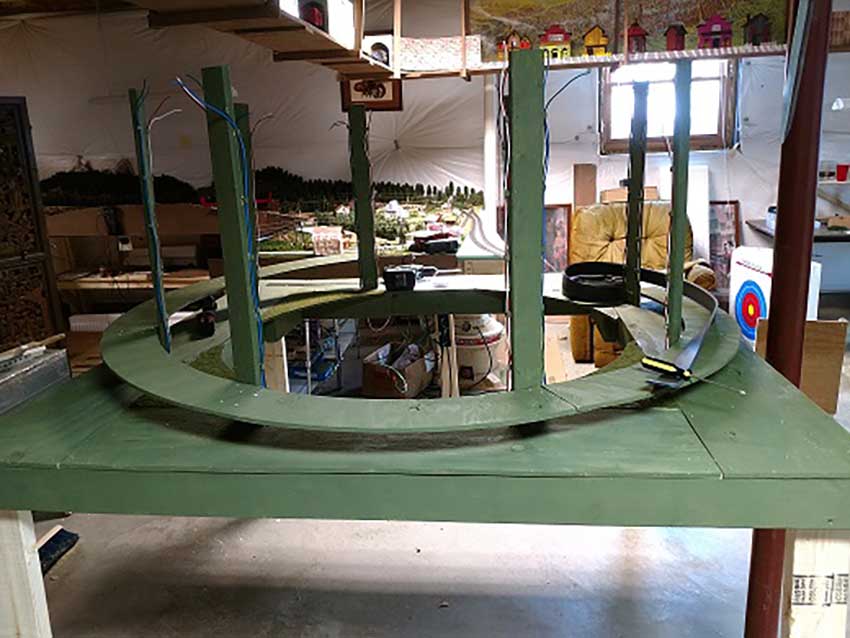
The second picture shows the cutout of cardstock of the two rings laid on the table to see if it will work. The inner ring has to be 3 inches wide for two tracks and base material. The inner ring hangs over space at the corners but fits correct at the sides. The outer ring has to be the 3 inches plus room for scenery so it is five inches. And of course, three quarters of an inch between them for the uprights.
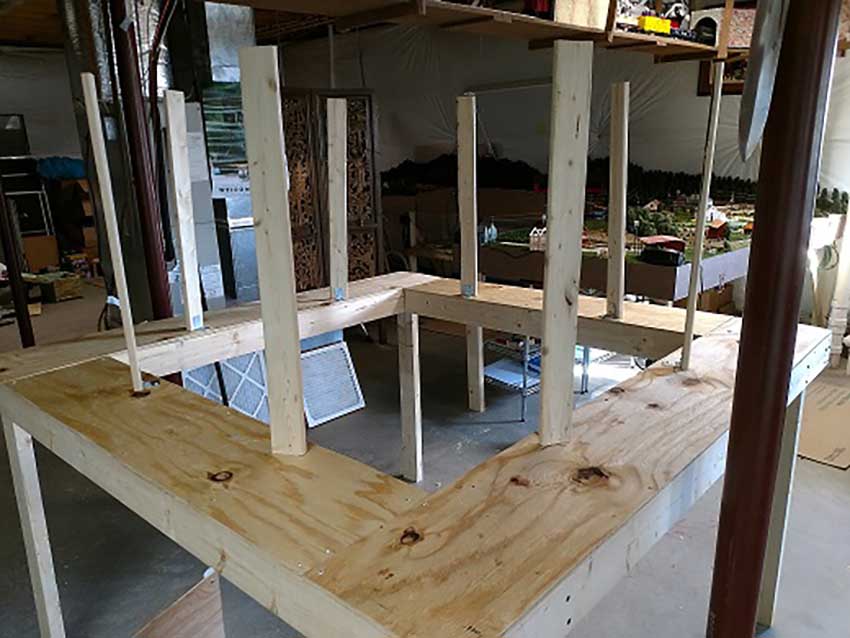
The next two pictures show the eight uprights in place and design verification in progress. All the helix I saw on line is a plywood helix next to a fantastic looking layout. I wanted more than that. In the next picture I painted it green and installed the wiring. Two wires to the right of each upright for the track power and two wires to the left of each upright for lighting. Later decided power only on four not all eight.
The entrance/exit of the helix is from either side of the farm layout. The right side comes in to the outer ring at table top level. The left side comes in to the inner right at table top lever but under the outer ring. Each ring rises one half inch at each upright for a total of 4 inches on the diameter.
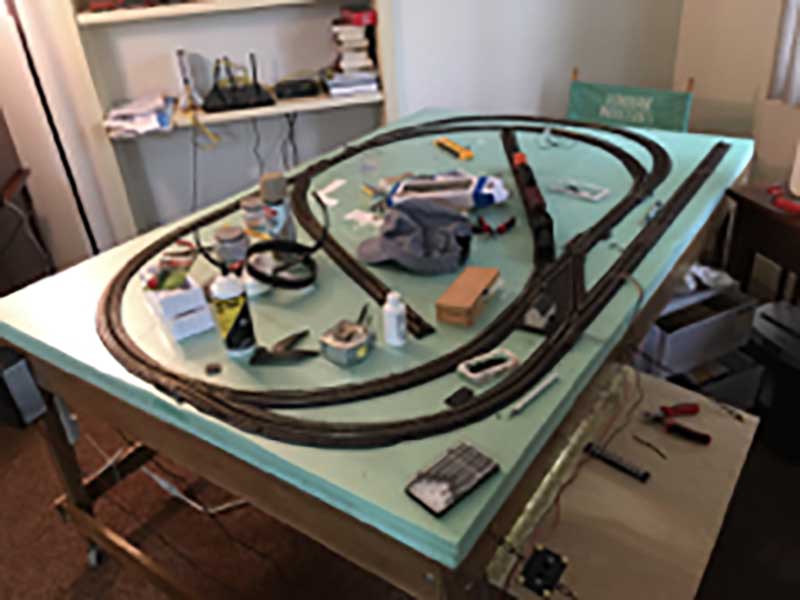
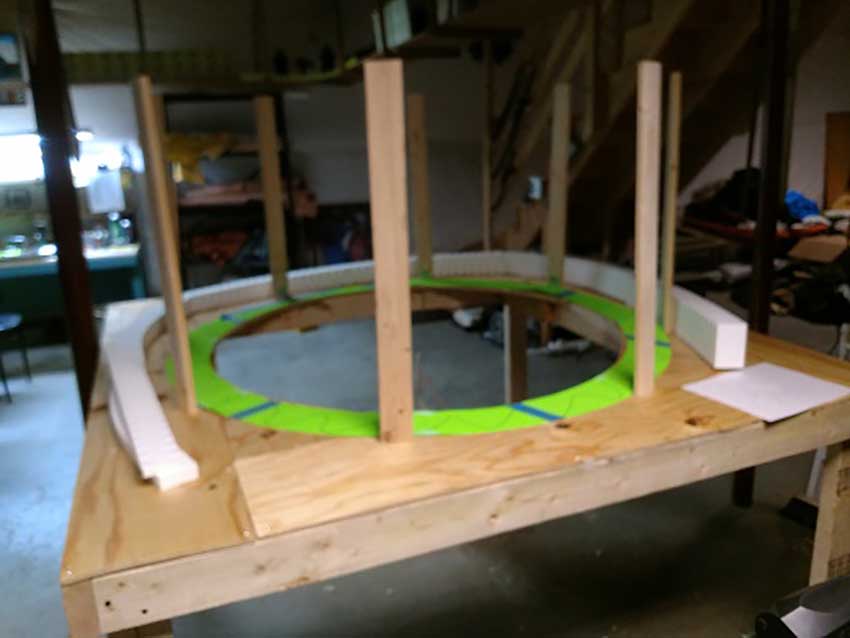
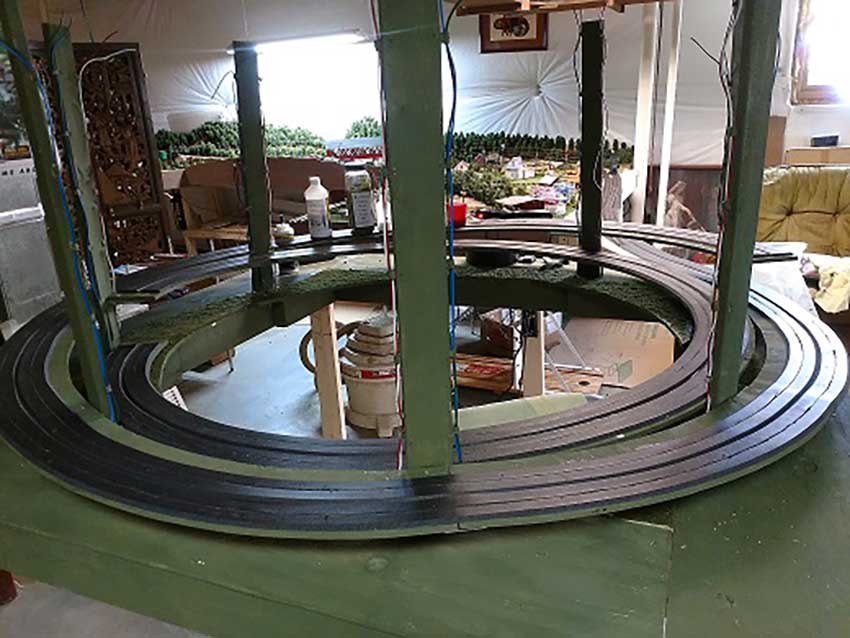
The next two pictures show the first row (inner and outer) installed to test if all the calculations worked out and start laying track. At each upright I used one eight-inch aluminum bars from Lowe’s and bend at 90-degree angle attached to the upright and under the plywood row base (each side of the upright). Keeps the look clean and easy to work.
The next three pictures show the switches and crossovers needed so the two previous installed tracks can properly attach to the Helix.
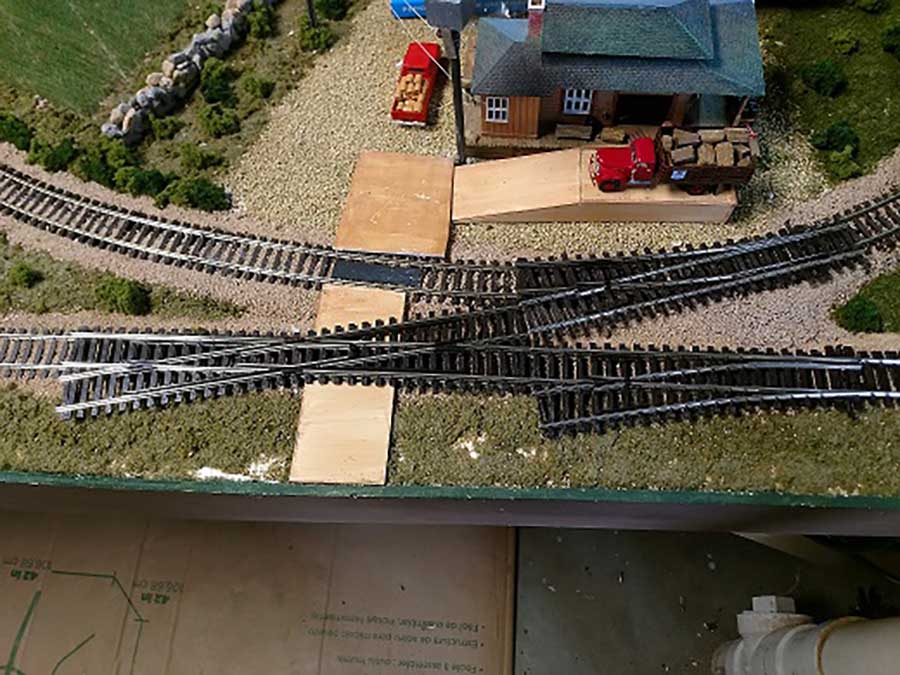
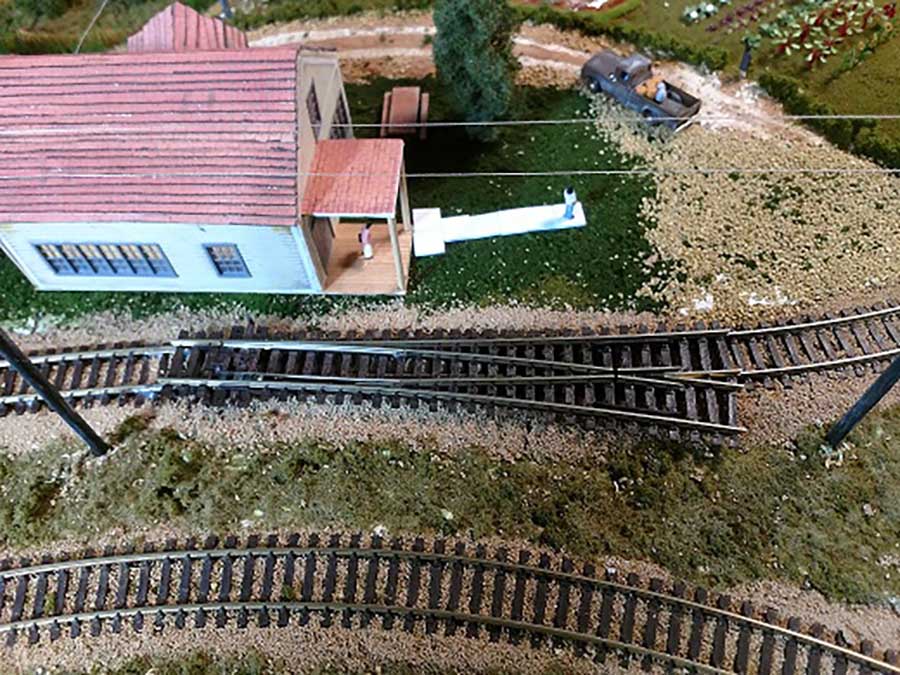
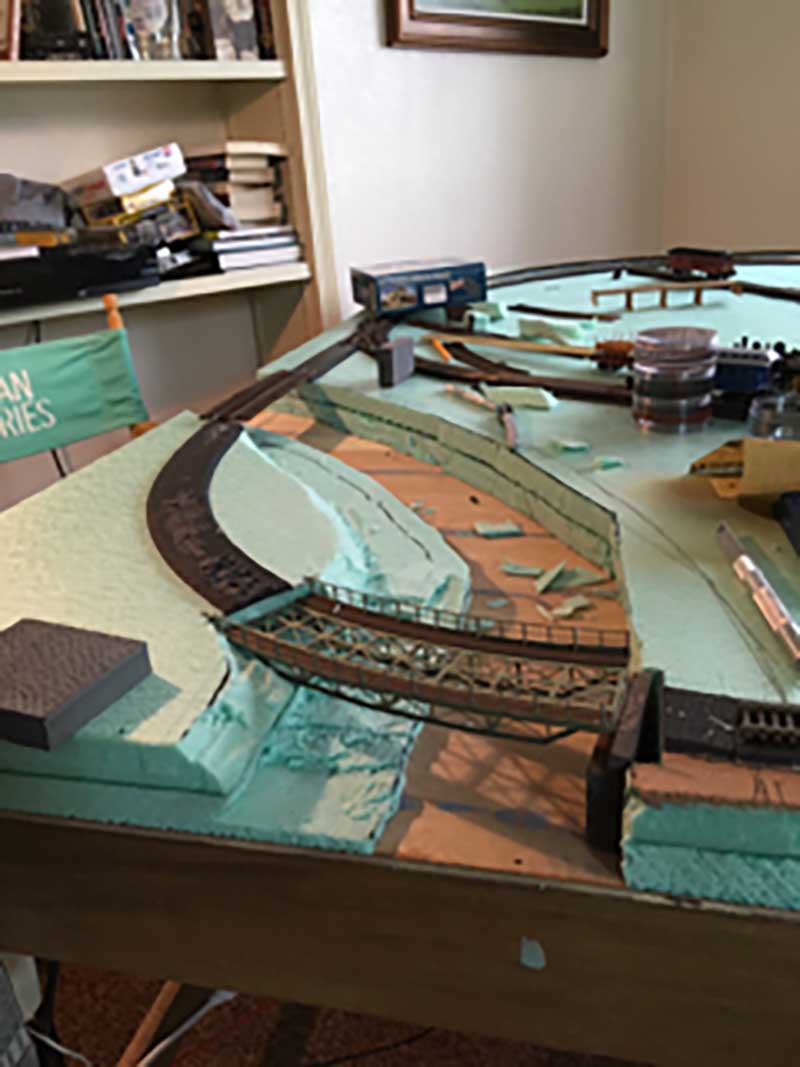
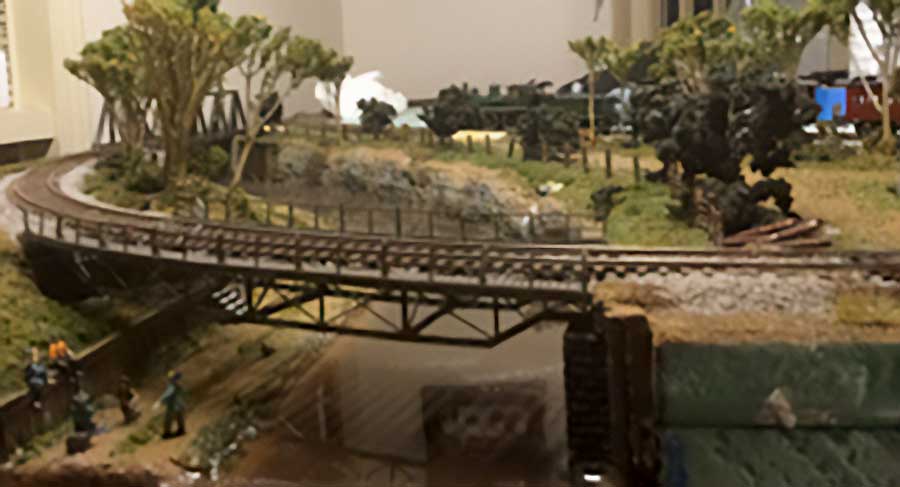
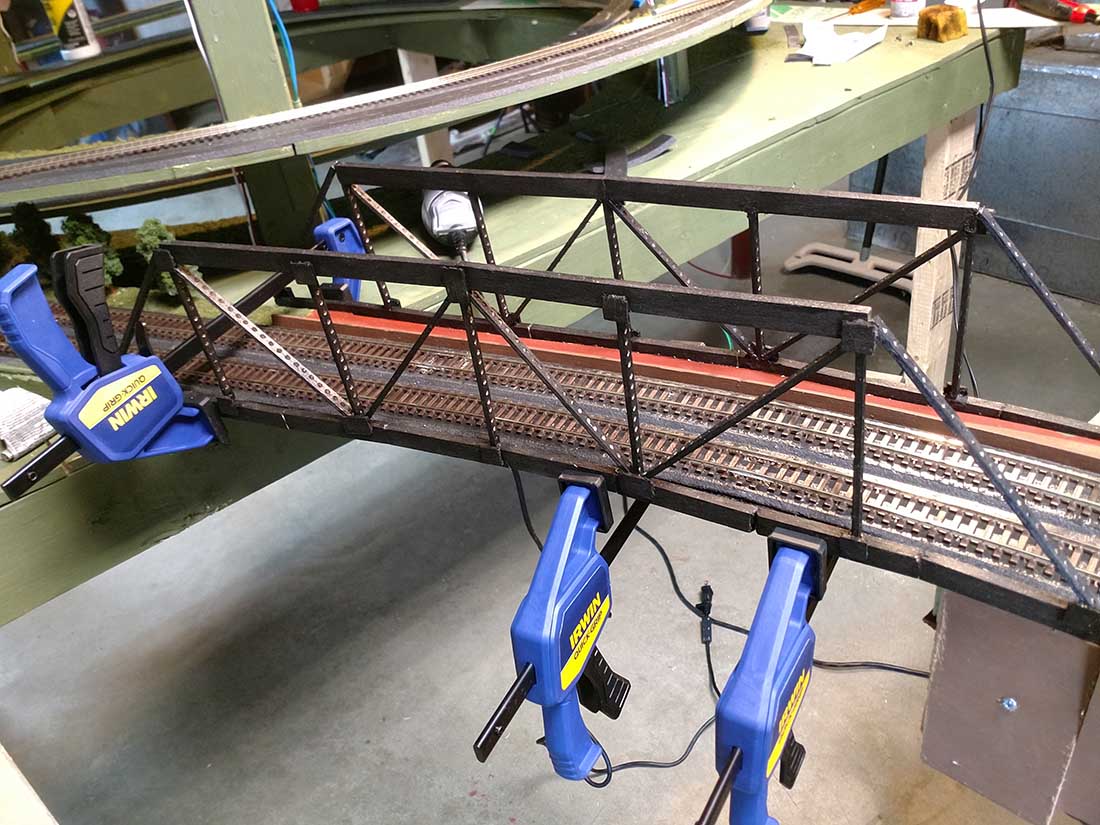
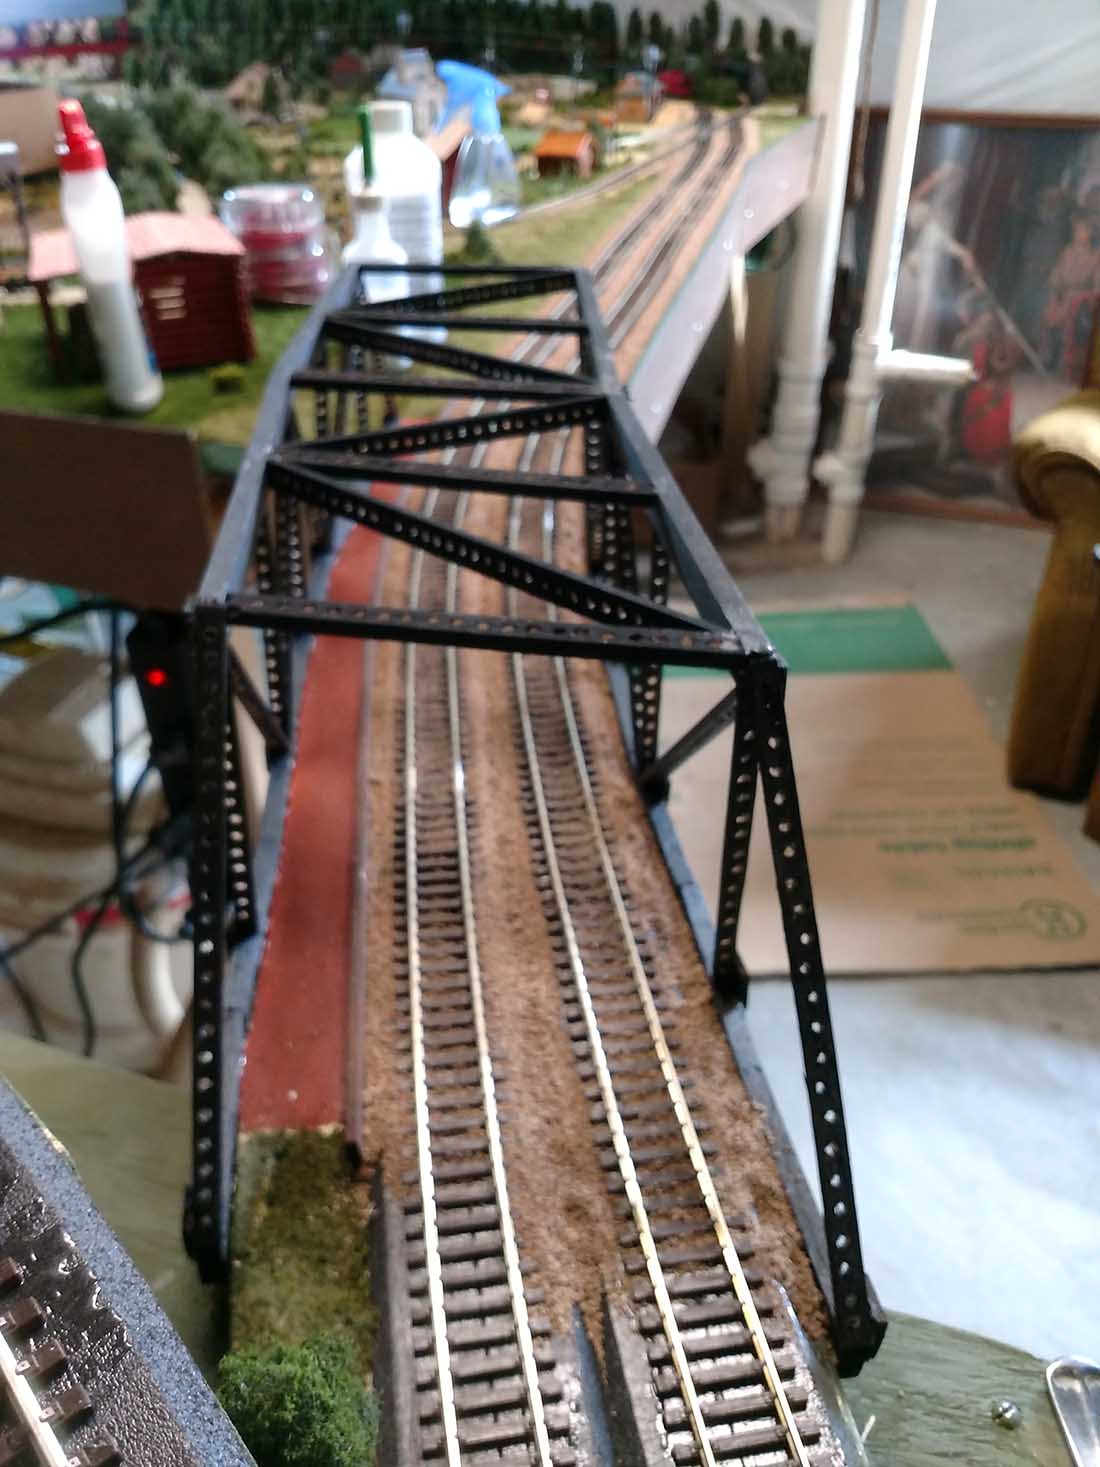
The following two pictures show the track needed to connect to the helix layout. Able to install these as now I knew where and how the connection can be made. I left about 18 inches between the helix and the rest of the layout for work space. At this point the track crossing over the 18 inches on each side has a distinct curve. I could not find a curved bridge so I build one out of balsa wood.
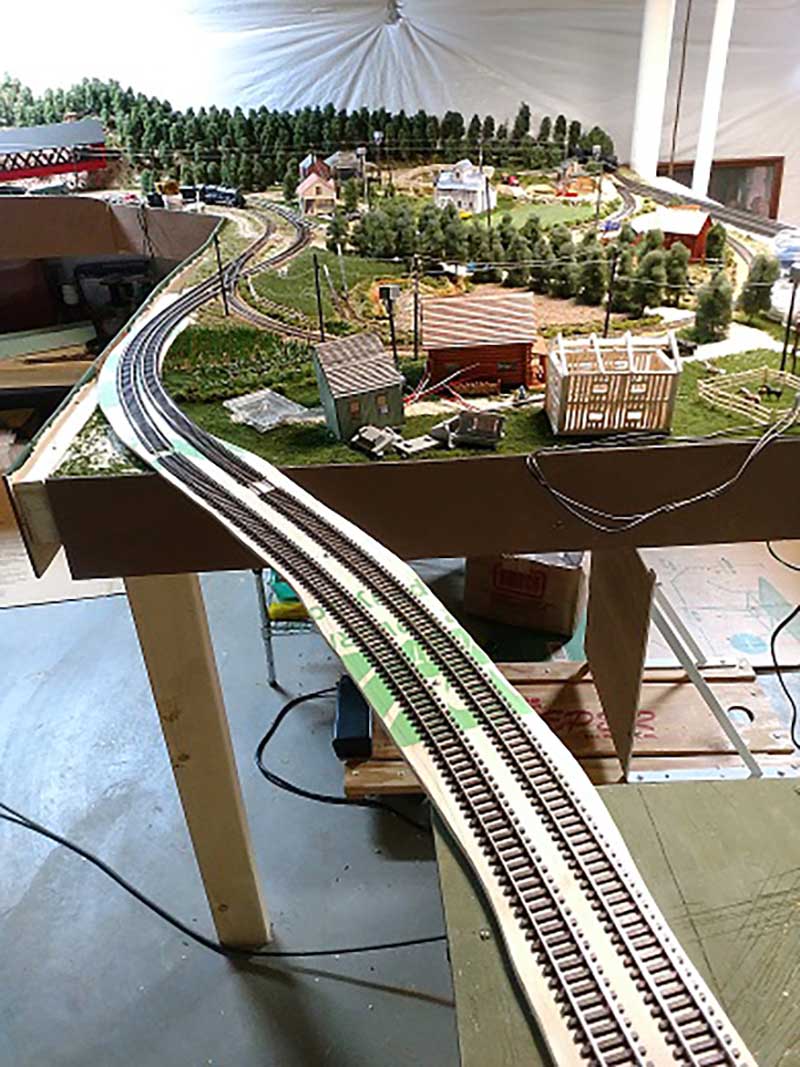
The next two pictures show the construction and finished bridge for the track on the right side. The left side got another one just like it.
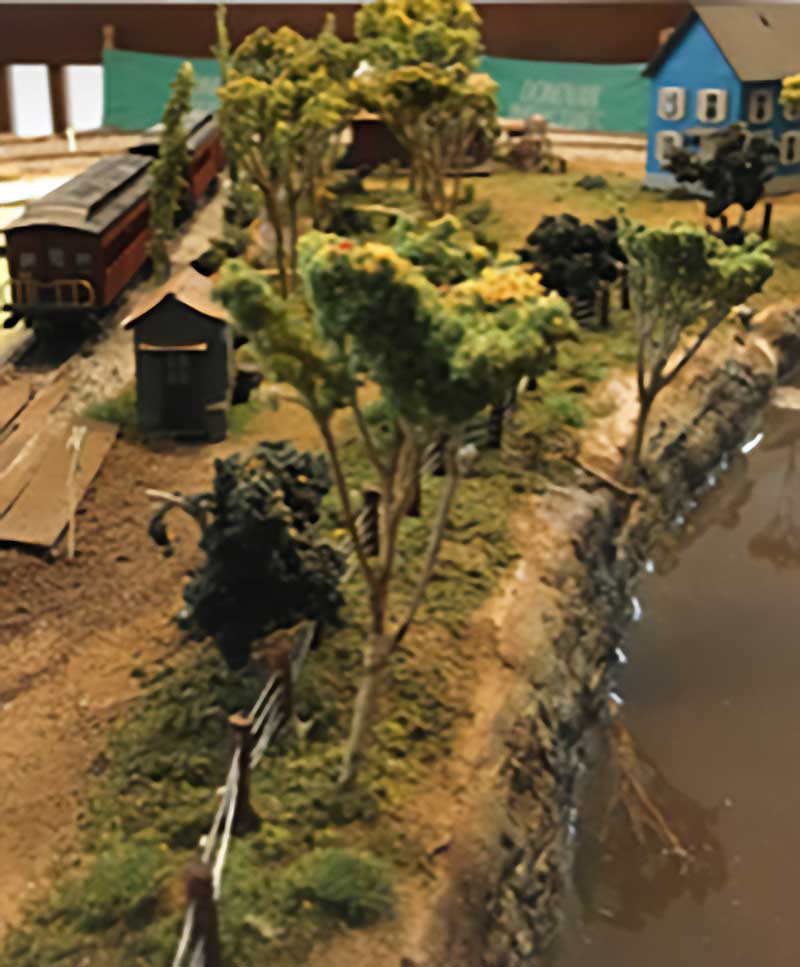
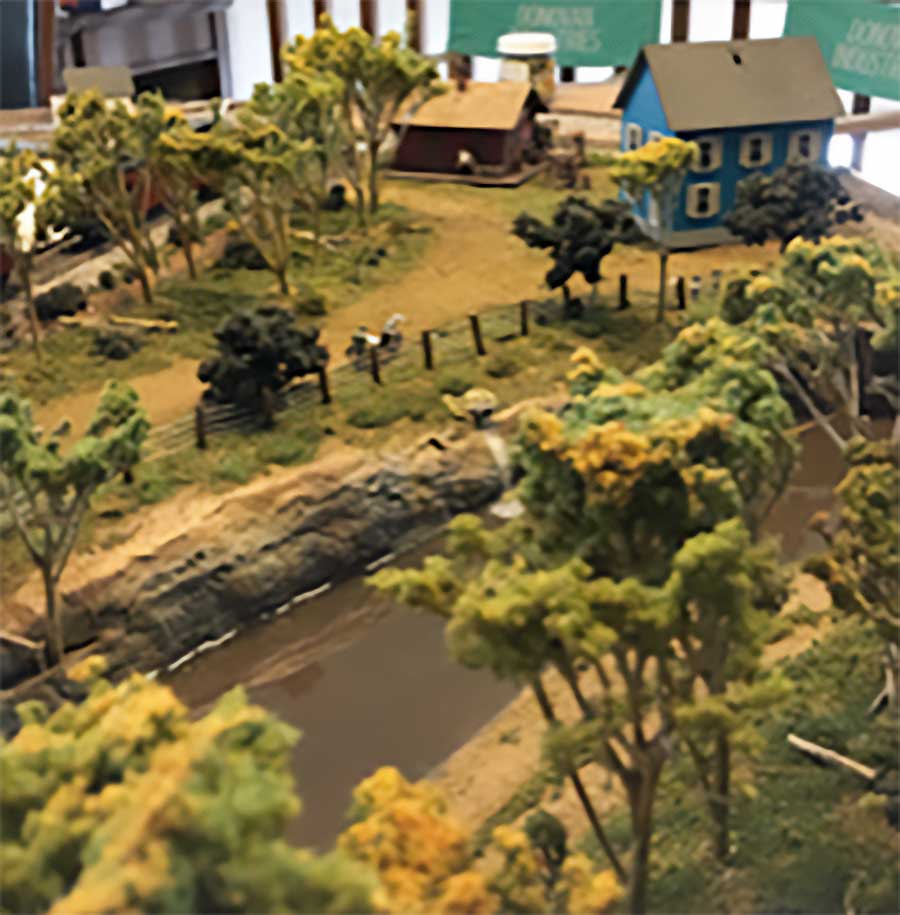
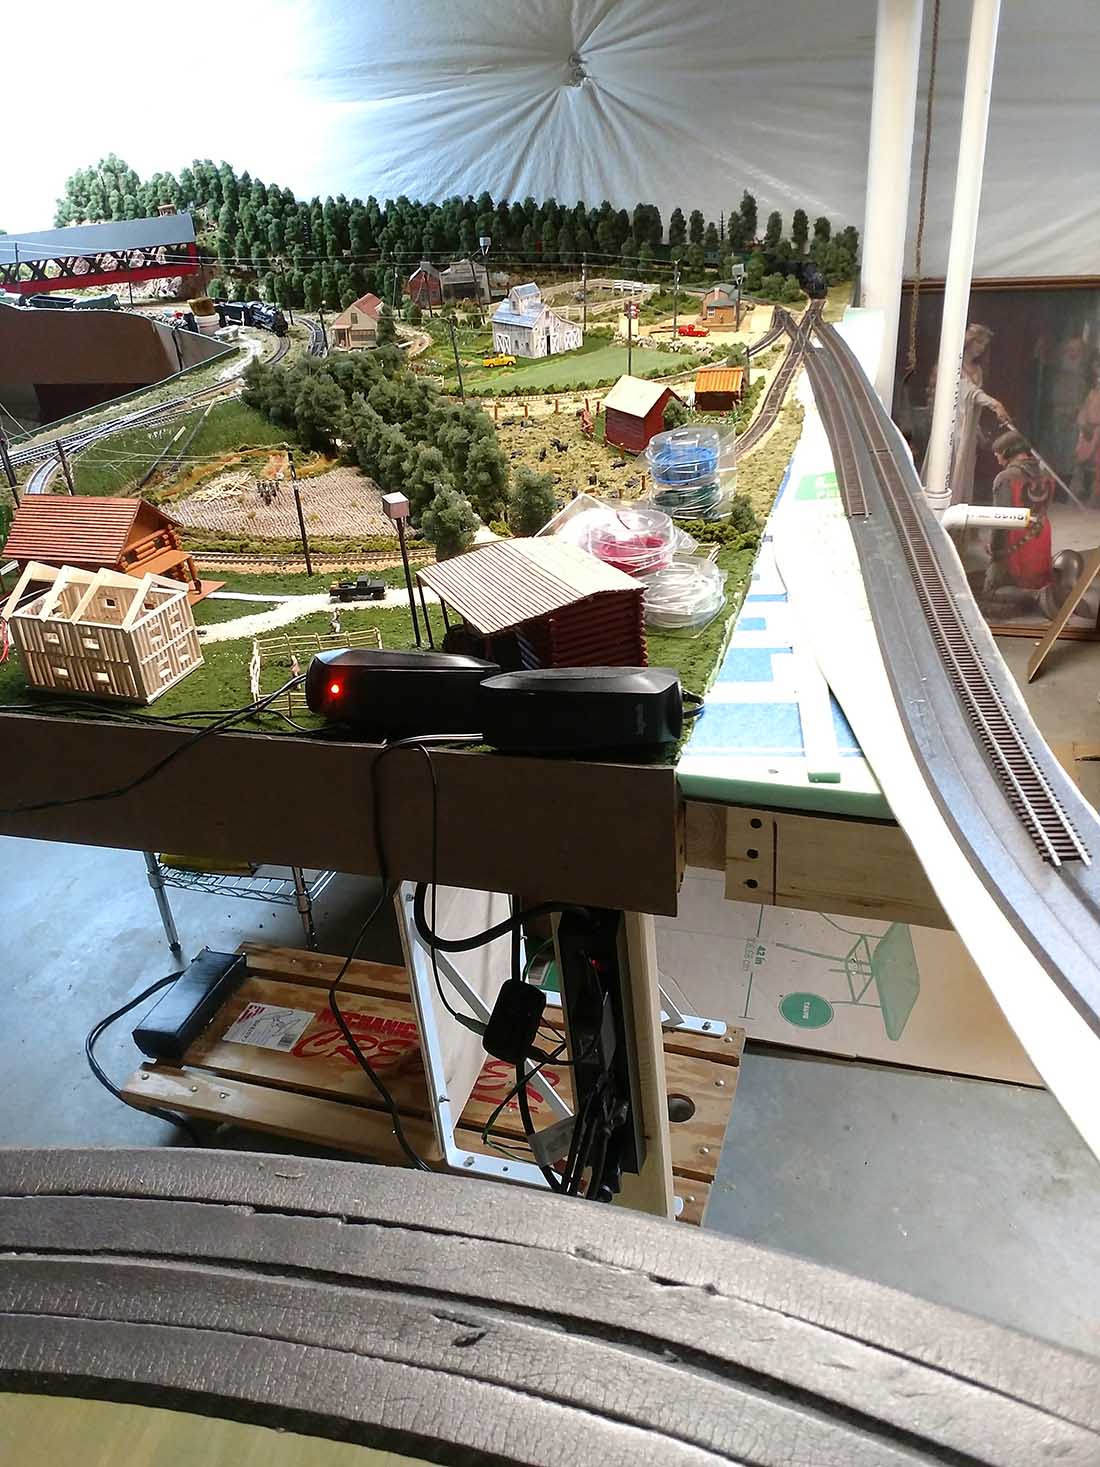
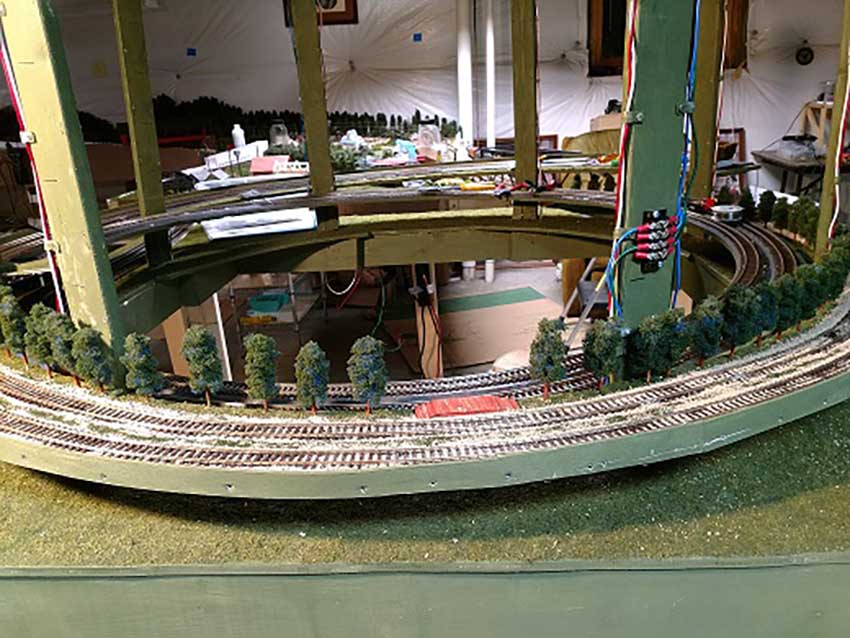
The last picture shows a segment of the outer ring mostly finished. Trees, train stops, out houses and people in the future. Also notice the connector for the train power, it is located directly above where the second ring will be located. Power for inner and outer first and second ring.
Trains are now running from the mail layout to the top of each ring row one. Videos to come in the future.
Lawrence”
A huge big thank you to Laurence for sharing his Model railroad helix construction – that’s some helix! Very much looking forward to seeing more of it.
That’s all for today folks.
Please do keep ’em coming.
And if today is the day you get going on your layout, the Beginner’s Guide is here.
Best
Al
PS Latest ebay cheat sheet is here.