Michael’s been back in touch with his 3D printed O scale buildings, which are saving him a small fortune:
“I’ve been slowly but steadily working on the layout – It now has a name – the Slide Rock Bolter Railroad (SRBRR).
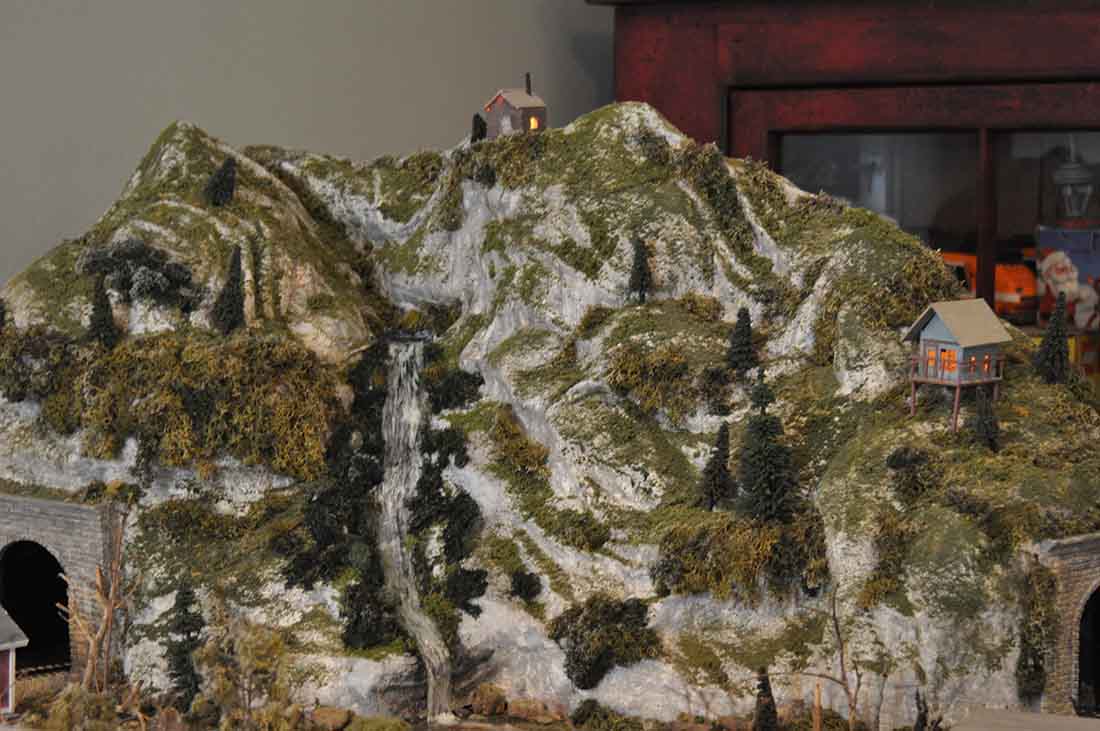
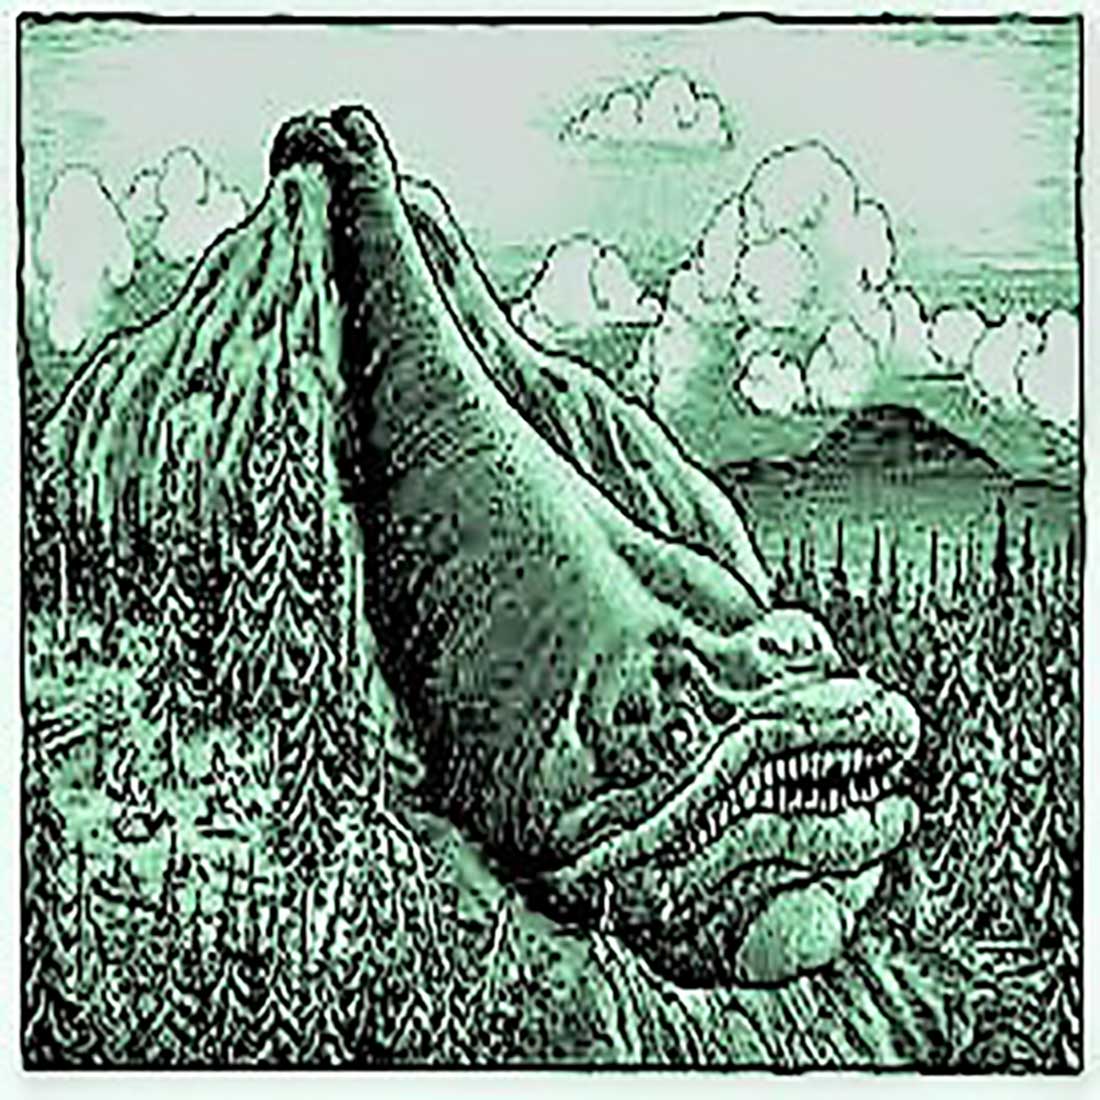
I named it after a fictional creature found in the Rocky Mountains that I discovered while doing some other research. Apparently a “Slide Rock Bolter” is a large whale-like creature that barrels down steep mountains attacking miners, hikers, hunters and tourists. I’ve included a rendering that I have adopted for my railroad.
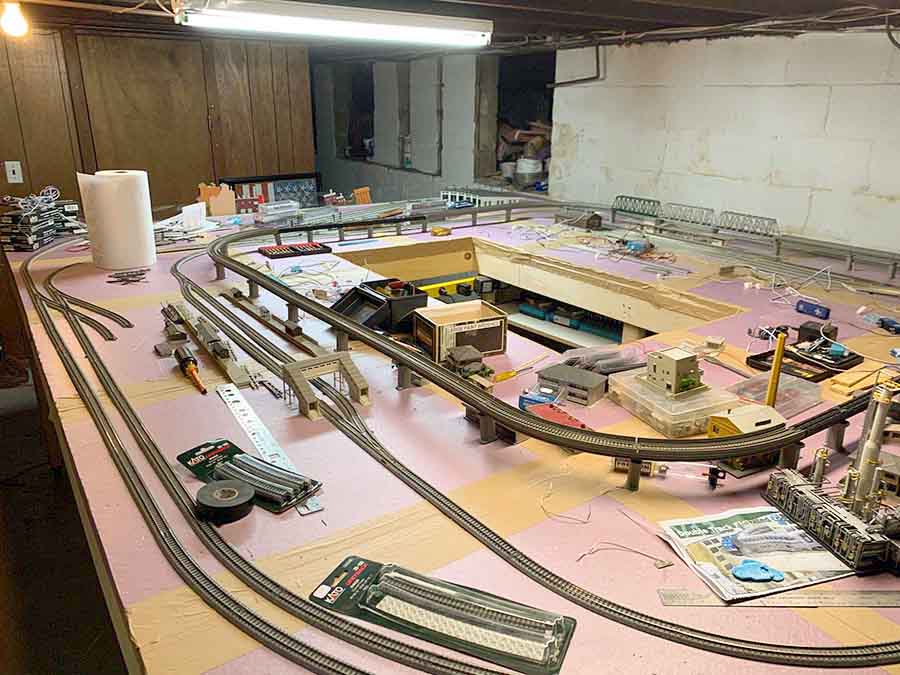
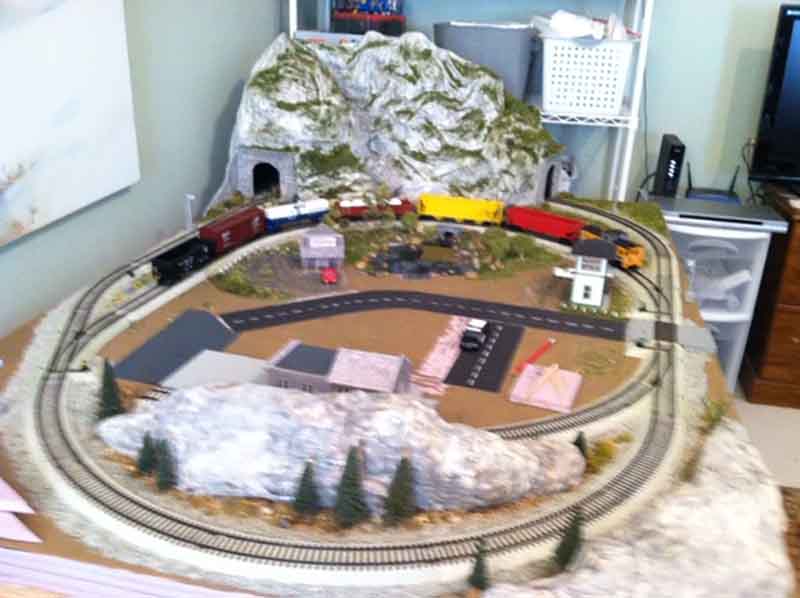
There have been minor changes to the track plan. All have greatly improved operability and reliability of the railroad. The changes are highlighted in the attached track plan photo.
The track plan is drawn using SCARM. The dimensions of the layout are 38.5 by 17.5 feet.
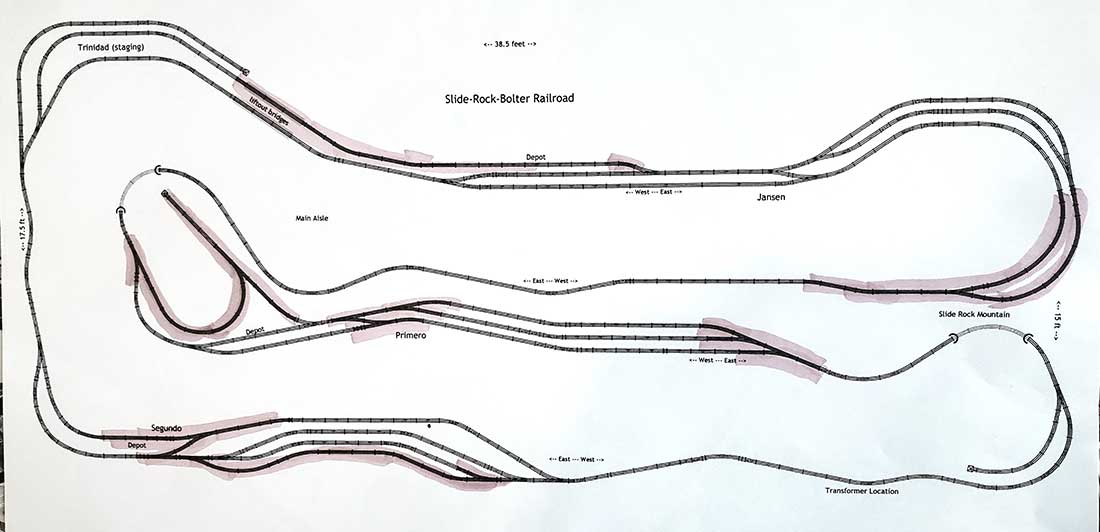
Access to the main aisle is through a pair of lift-out bridges. The main line is 1.6 scale miles long; including all the track (sidings, wye, etc.) there is 3.3 scale miles of trackage .
Note: this track plan does not have a simple reversing loop. Instead it has a wye which I believe is more prototypical.
The wye adds a lot to the operations of the railroad because you really have to plan how you switch the yard and get the steam engine turned in the wye for the return trip to the other end of the line.
-
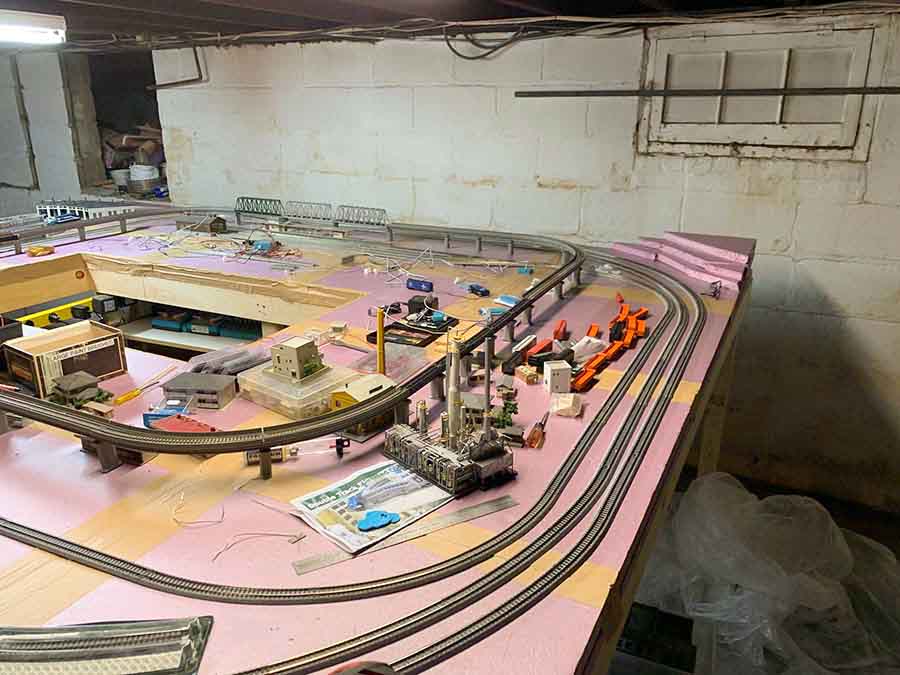
The switches in the Primero yard have been realigned to increase the length of the sidings
The wye at the west end of Primero was realigned with an additional switch greatly improving reliability of the engines going through the wye.
The large radius curve east of Jansen was increased smoothing out that section.
A spur from Trinidad was connected to a spur from Jansen using a second lift-out bridge; greatly improving the ability to switch Trinidad and Jansen.
A third siding was added at Segundo; increasing the size of the yard to switch coal and coke.
A pair of runaround switches were added at Segundo to improve the utility of the depot.
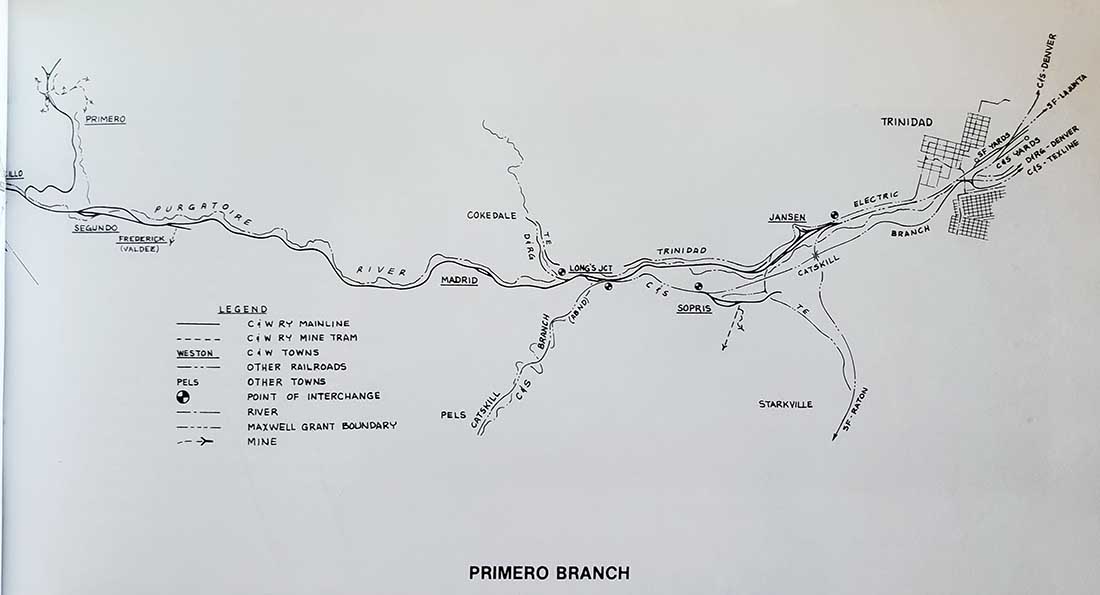
In real life the run from Trinidad to Jansen, to Segundo, to Primero was about 17 miles. I model just less than this by running laps around the layout. (see map; reference: Mountain to Mill by McKenzie).
Note the wye on the map at the north end of Primero. The beauty of this location is that in this small area at least four railroads operated, shared trackage rights, and interchanged freight: the Santa Fe, the Denver & Rio Grande, the Colorado and Southern, and the Colorado and Wyoming. The SRBRR most closely models the Colorado and Wyoming Primero Branch.
One of the things I very much wanted my railroad to have is a real job. So I situated it running between real locations and researched actual freights over a year’s time span.
To make the job real for the Slide Rock Bolter Railroad, I wrote a spreadsheet with a database of about 1900 entries for type of freight, type of freight car, starting point and destination.
The spreadsheet draws randomly from this database and gives me a set of jobs to perform using eastbound and westbound trains between Trinidad, Jansen, Segundo, and Primero.
It took quite some time to get the database balanced (and debugged) so the SRBRR could run freights back and forth without having cars stack up at one location without an opportunity to realistically return to some other location on the railroad. The system runs like a champ now!
The photo shows a sample of the spreadsheet output. At the top, an eastbound run has been completed with the corresponding cars used and the freights delivered.
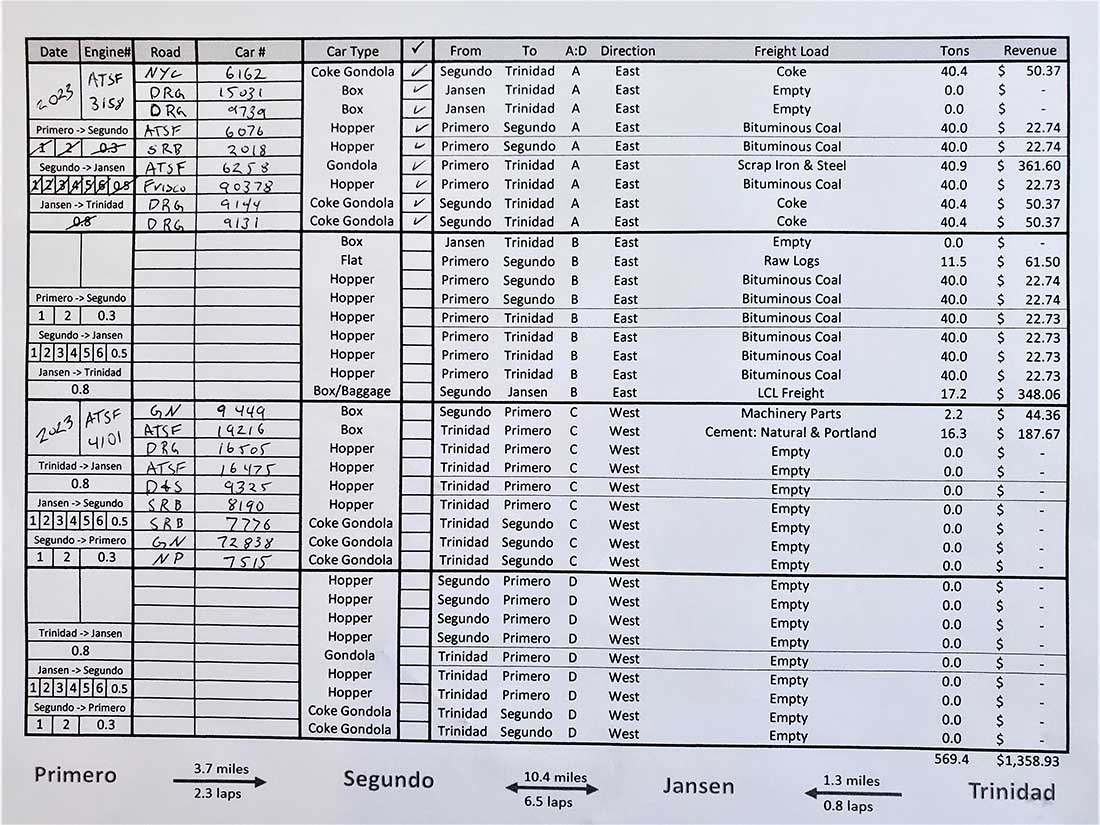
On the bottom half, a westbound train has been assembled but not yet run over the tracks.
Orders for an east and westbound train are yet to be filled.
It can take upwards of two hours to assemble a train, run it at scale speed for a scale distance from one location to the next, switching as necessary at each location.
The spreadsheet output of two east and two west trains can take eight hours to run at scale. Each output is totally different from the next. It feels new and fresh each time I play with it.
For fun I did a hypothetical revenue calculation to enhance the feeling the railroad is performing a real job and making money. The revenue calculation is based roughly on some high level revenue data I found while doing research, but it’s probably not that accurate.
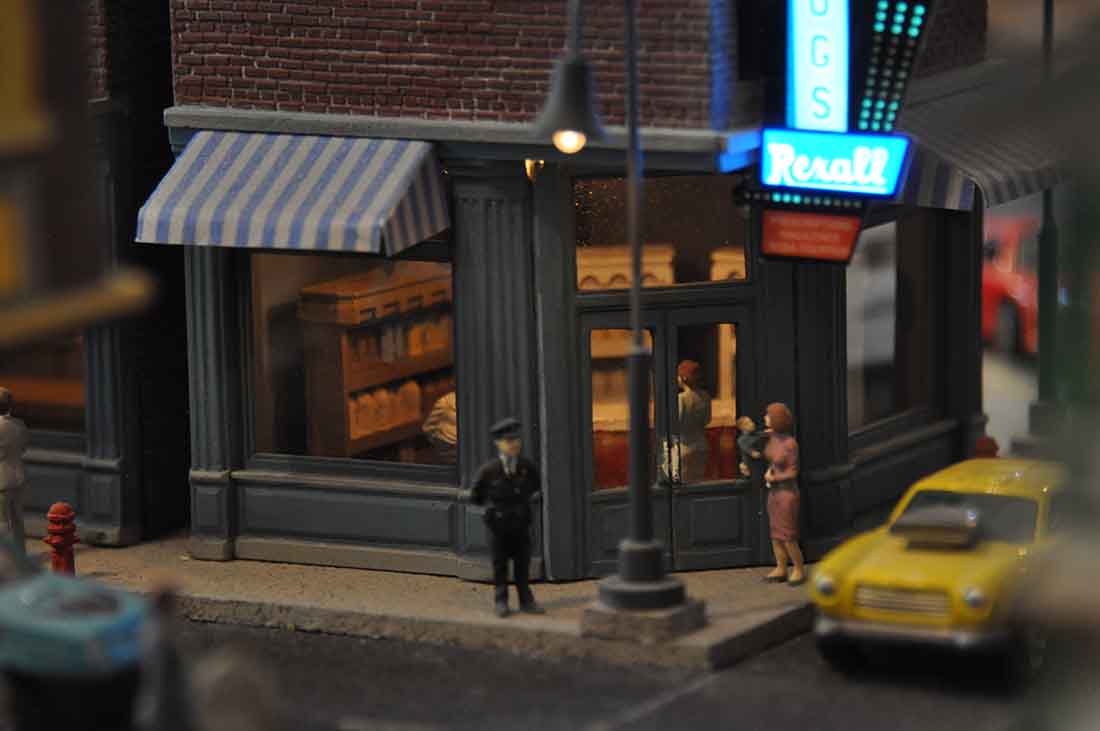
One of the difficulties I’ve had is the problem of getting good O scale buildings that aren’t too expensive.
Having little success, I’ve decided to 3D print components for my buildings and scratch build them.
As a proof of concept, I started with a simple section house I already had and used it as a pattern to assemble a copy using 3D printed components.
In the photos, the building on the left is a kit I built a few years ago. The building on the right is the 3D printed copy.
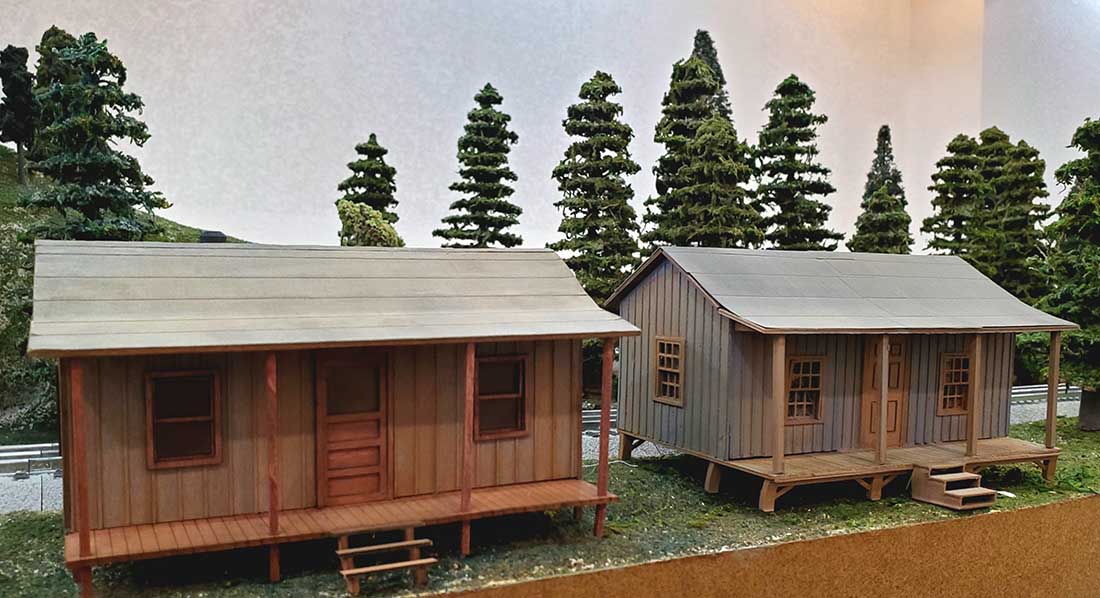
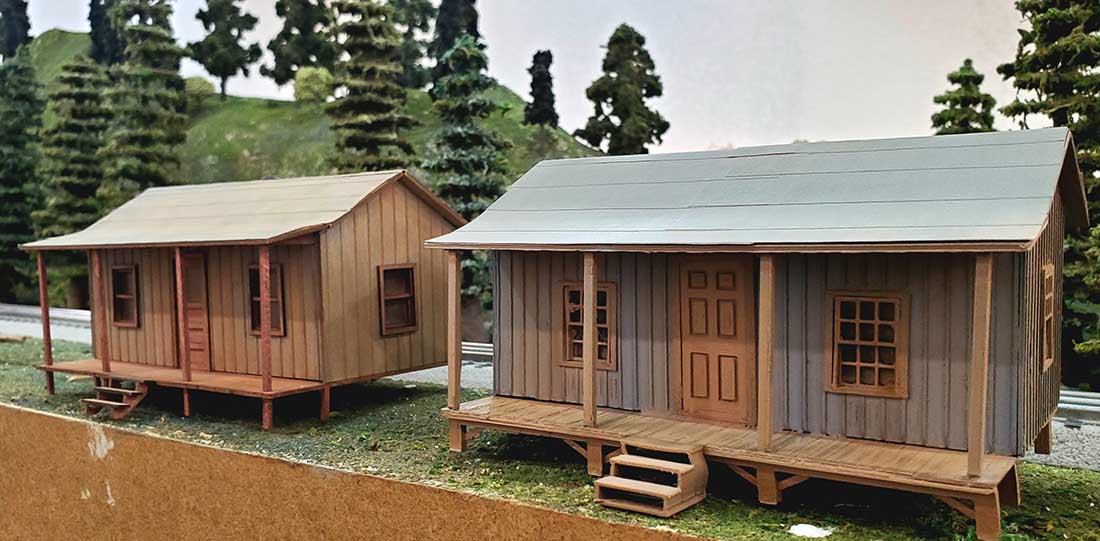
There are some differences but nothing that detracts from the look of the building at first glance.
I did have some issues and some of the parts were a bit fiddly. I experienced some warping because at one point I used some paint not compatible with plastic.
But overall, I am happy with the result and I learned how to do it better for the next buildings.
The real kicker is the price difference. The kit retails for between $25 and $30. The material cost of the 3D printed components was less than $4.
So the cost savings can be quite substantial. I think the 3D printer might be my most useful and cost effective modelling tool.
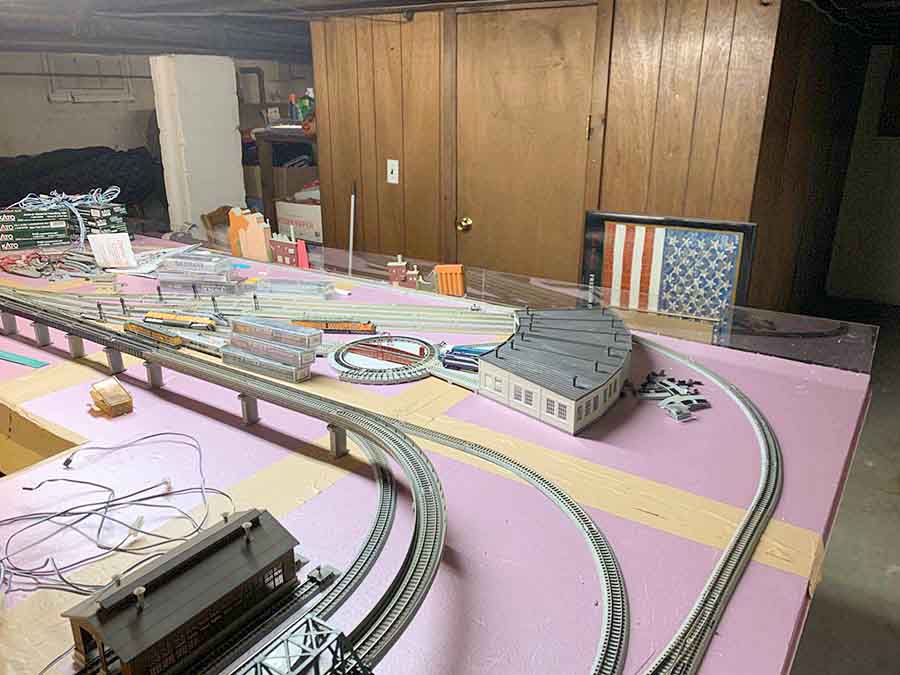
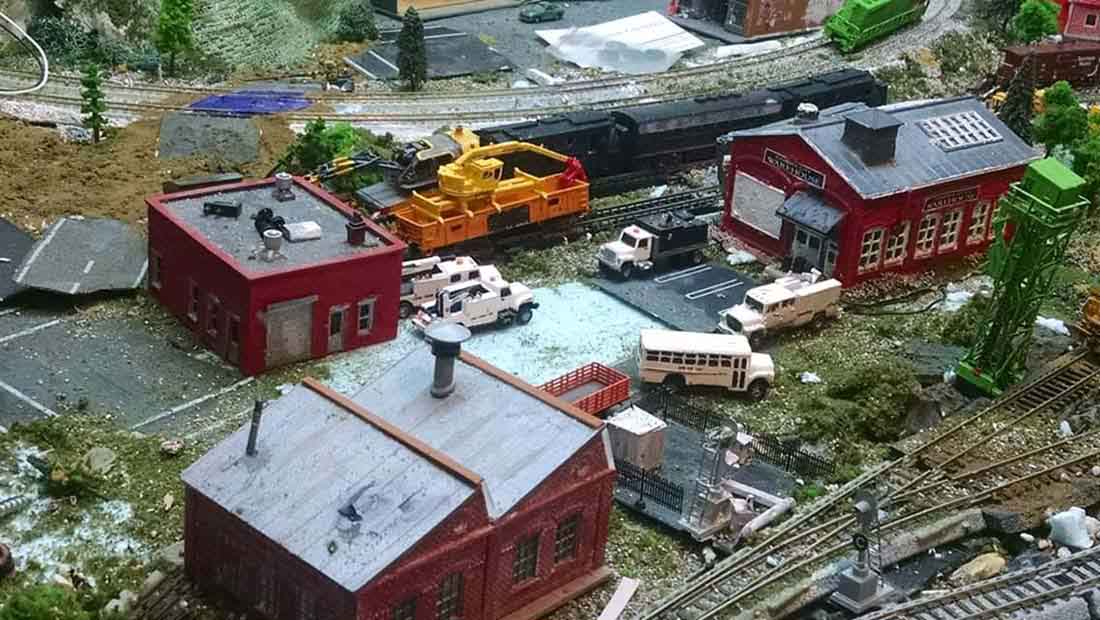
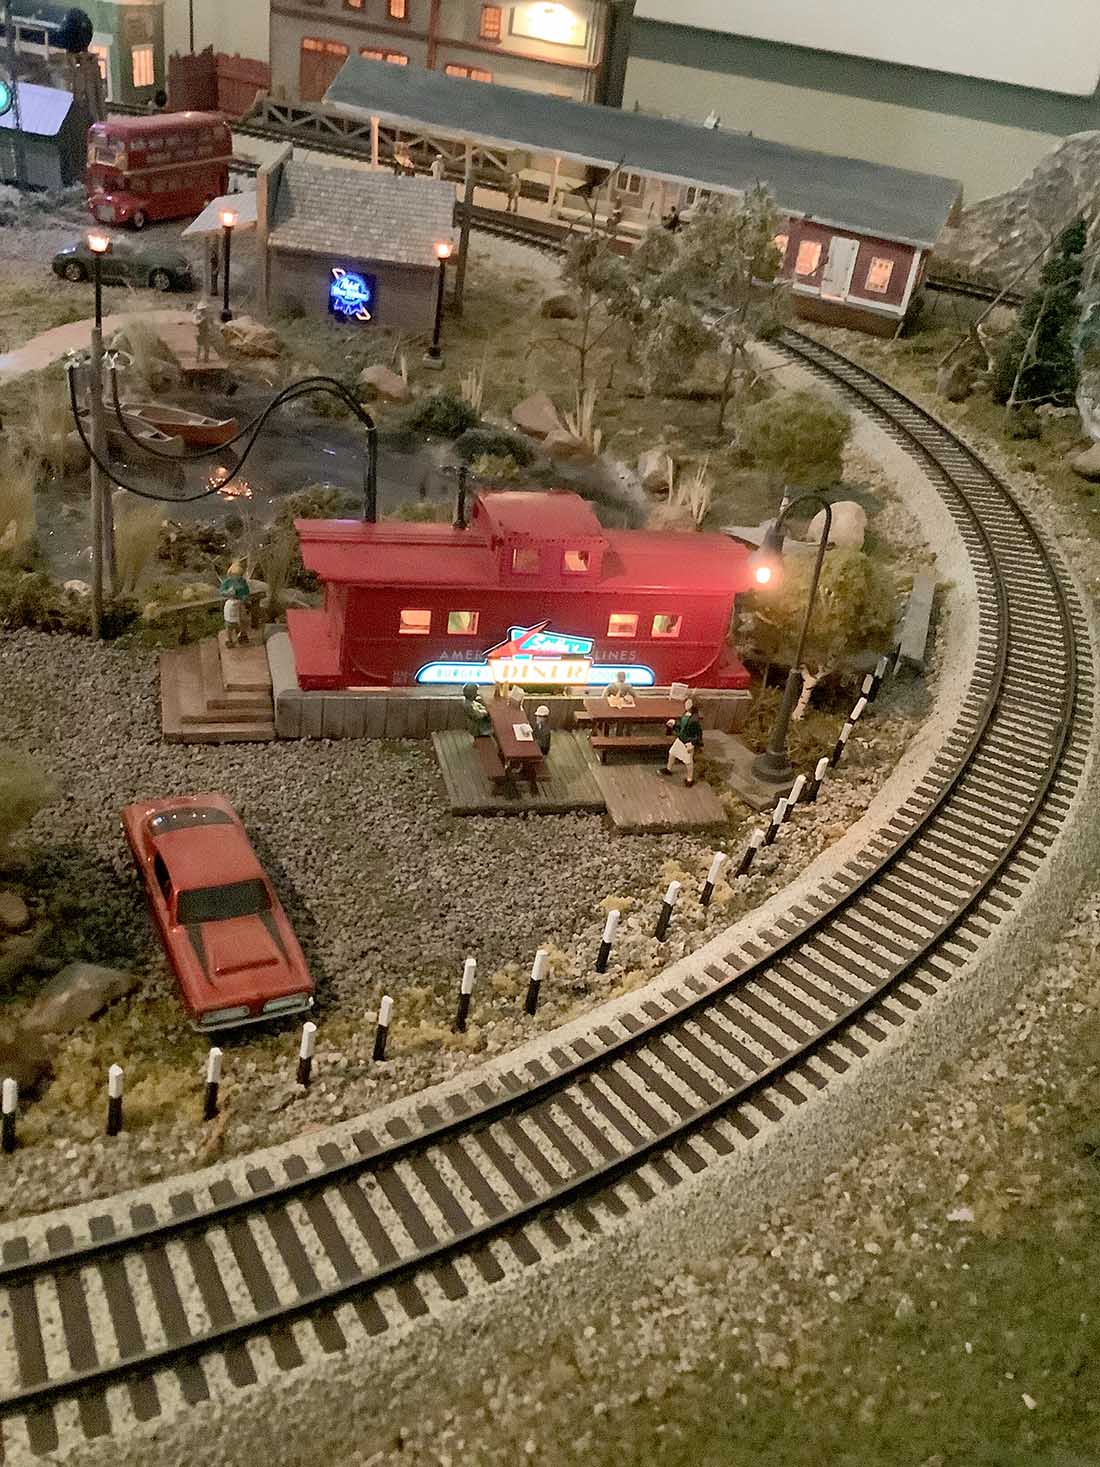
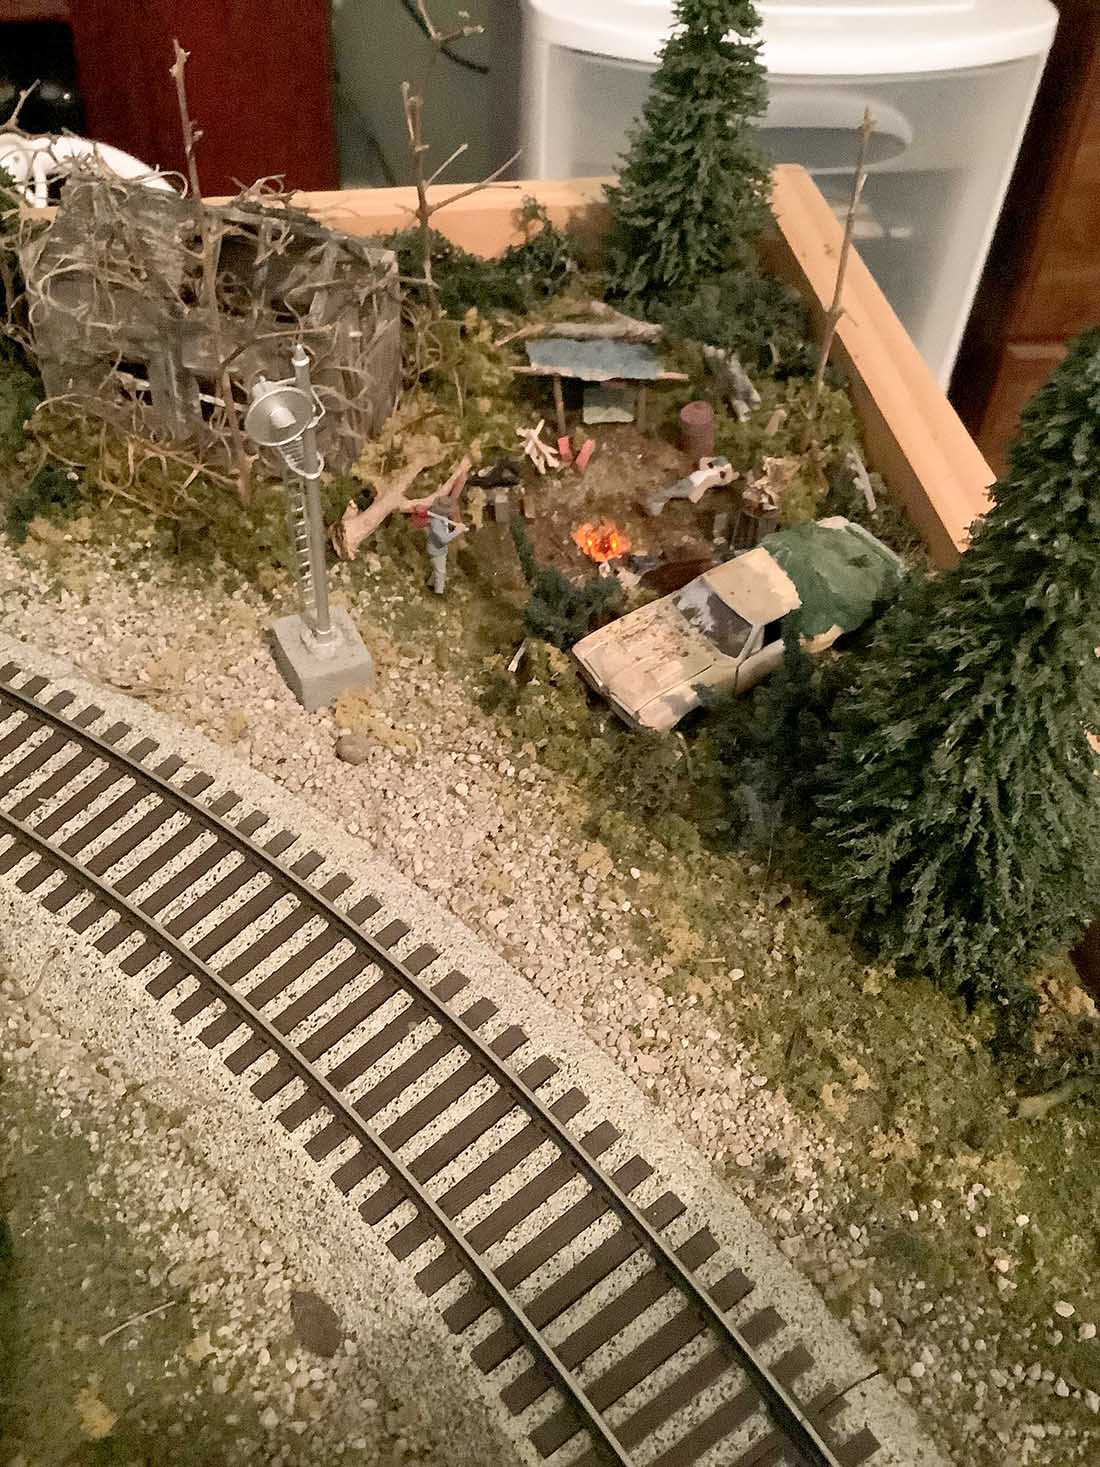
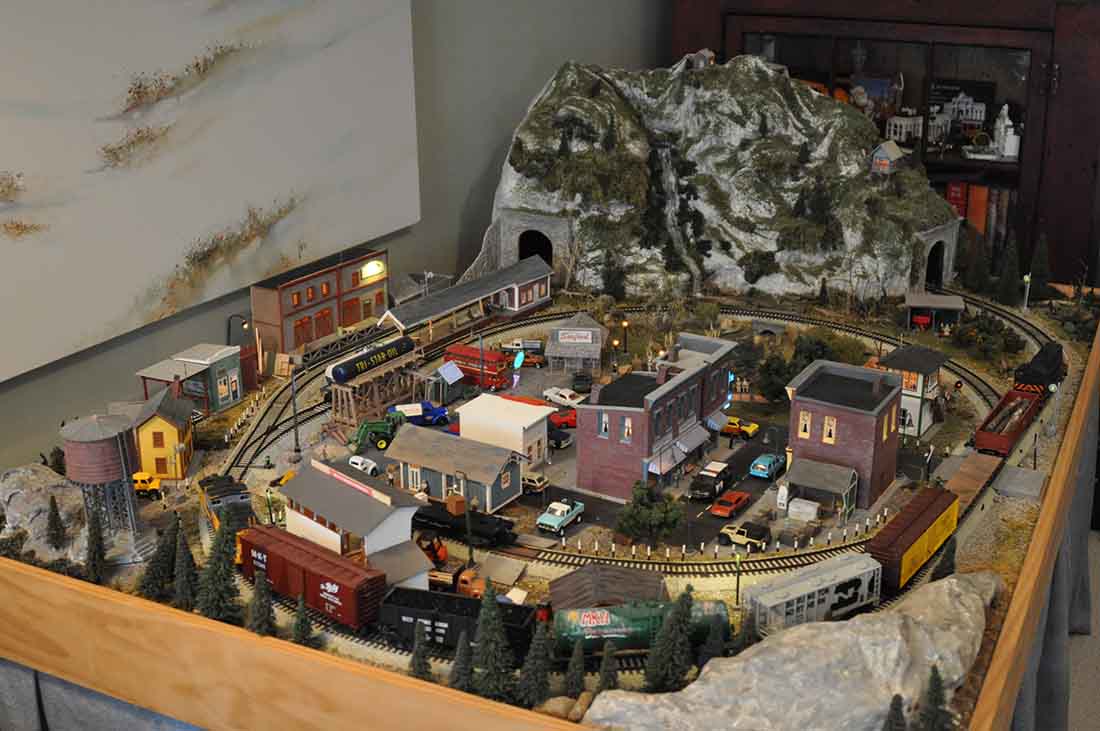
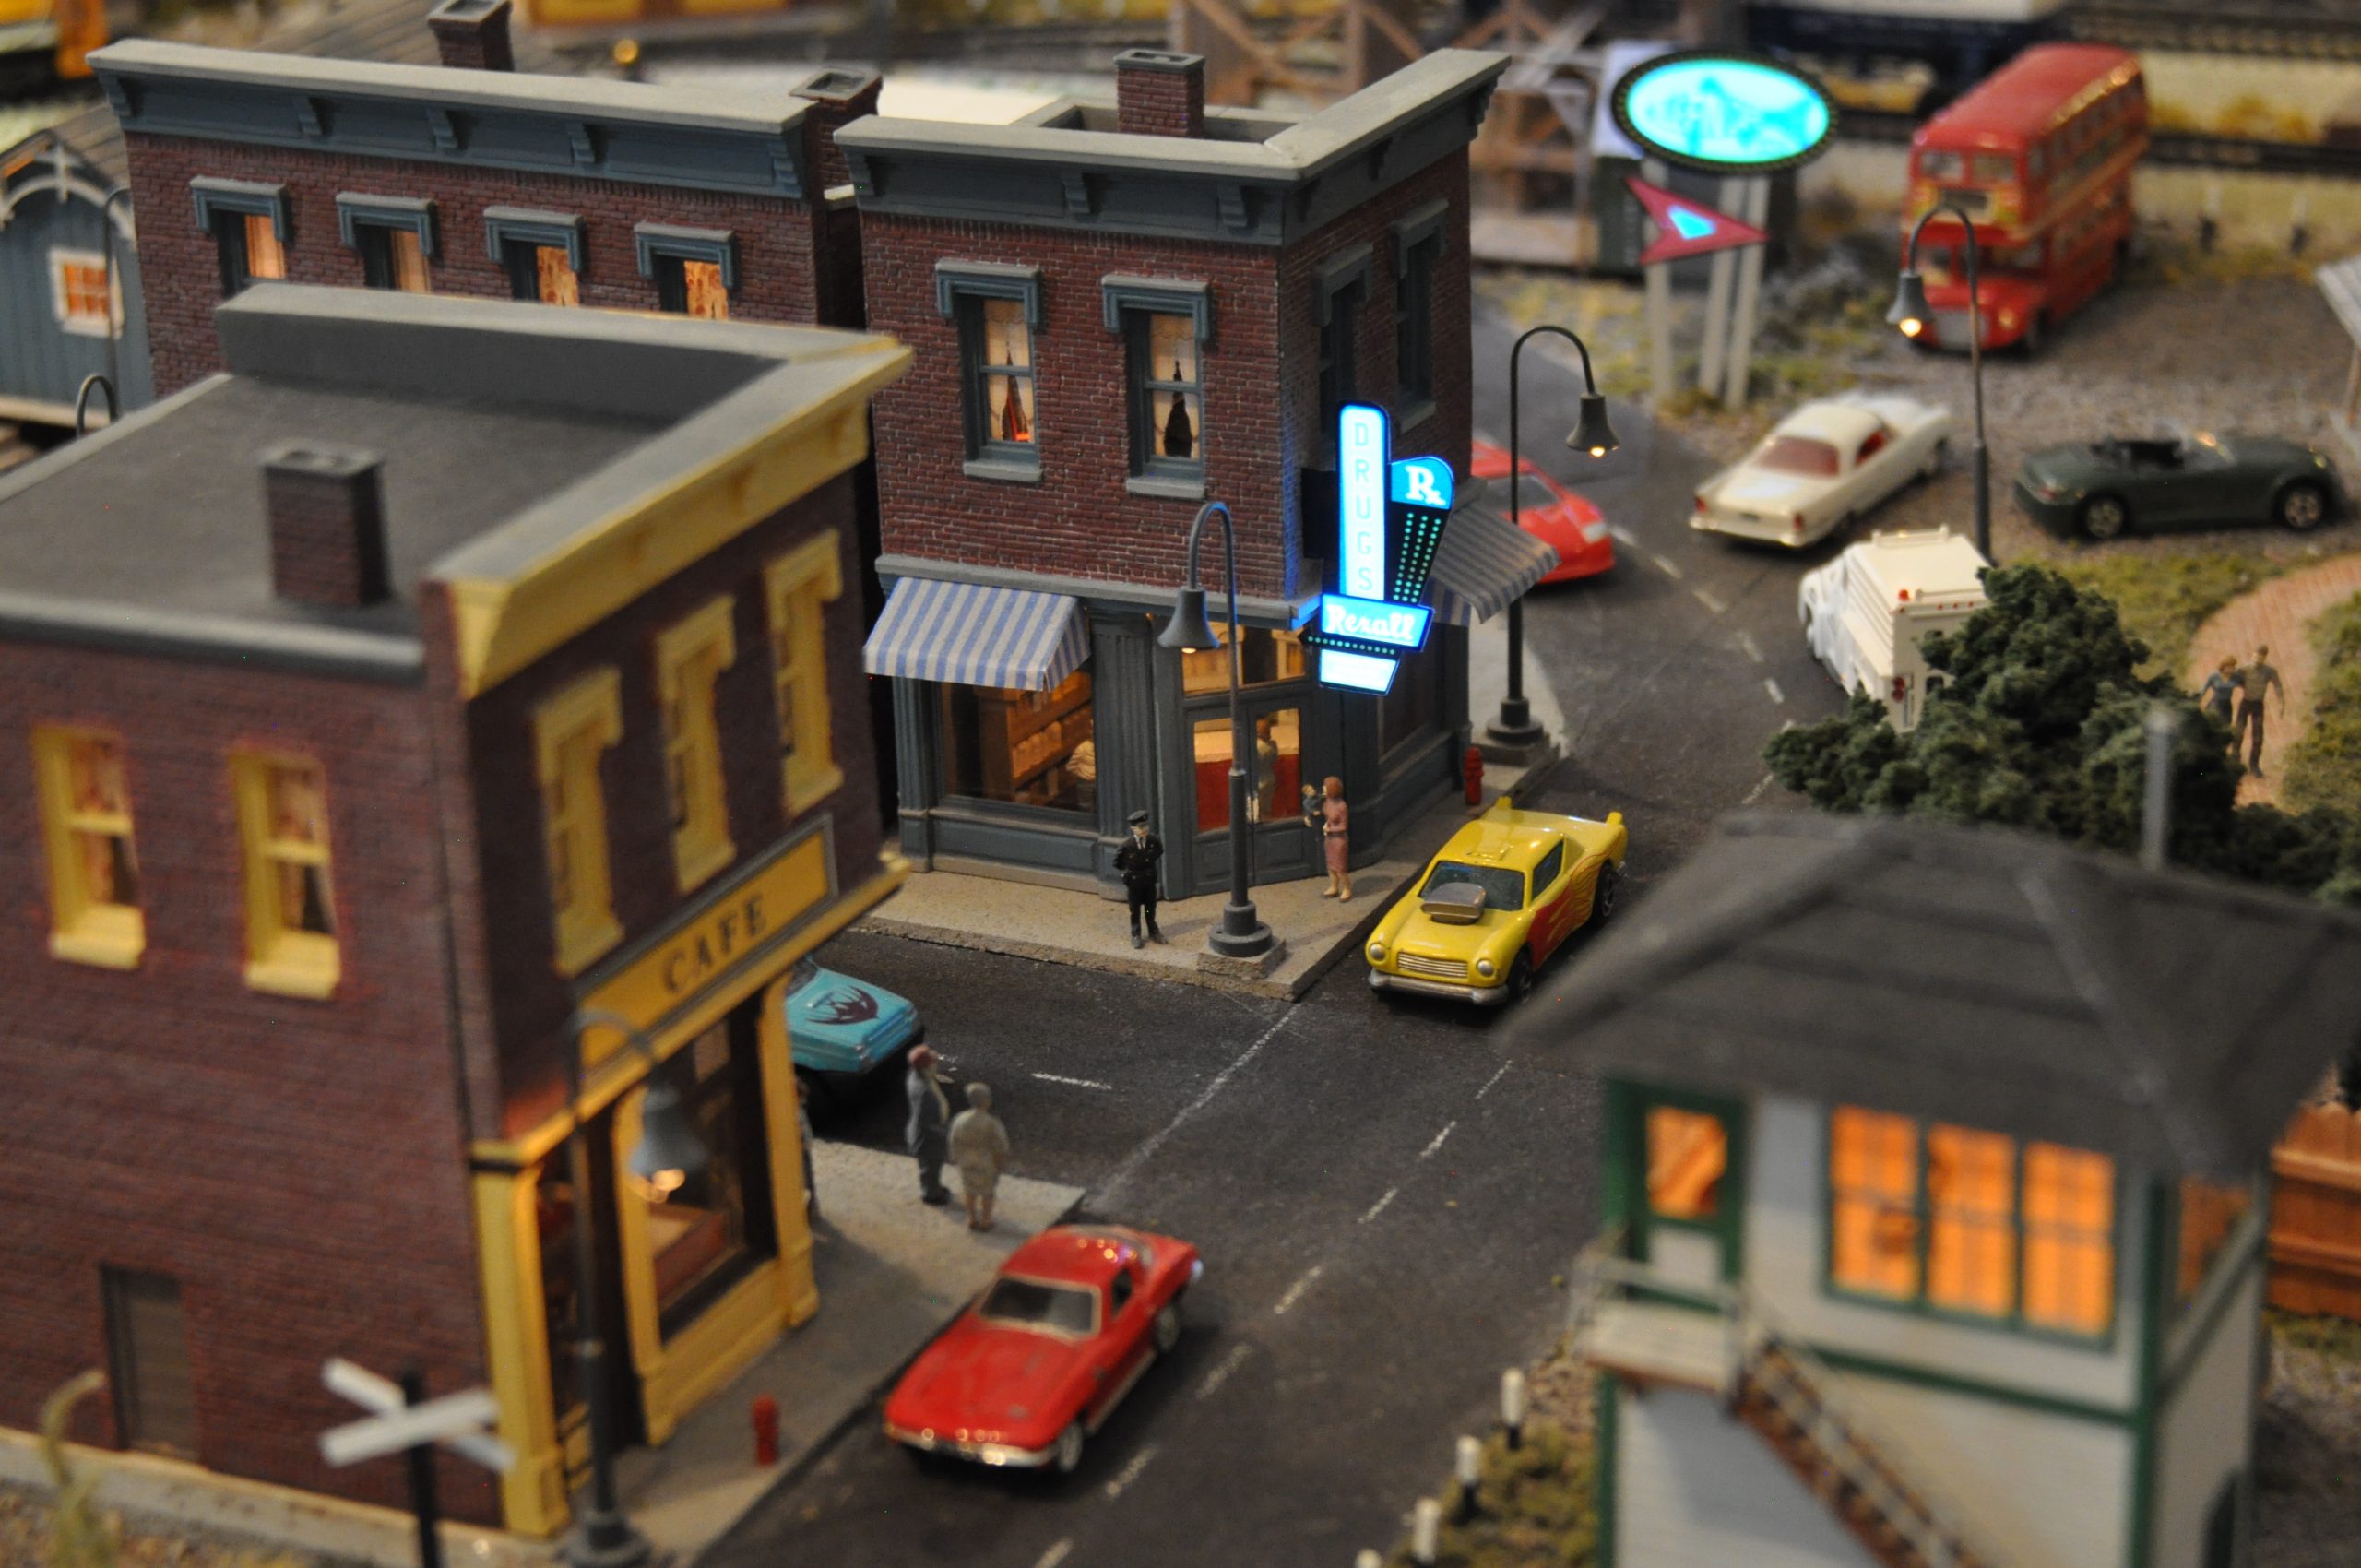
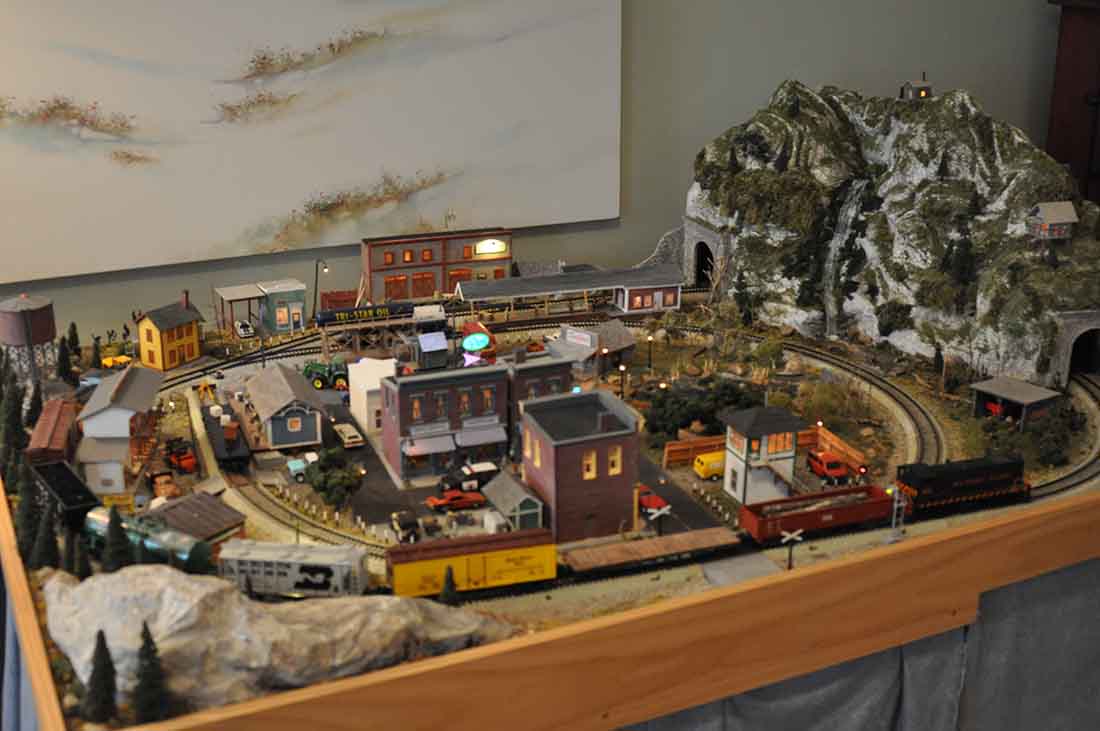
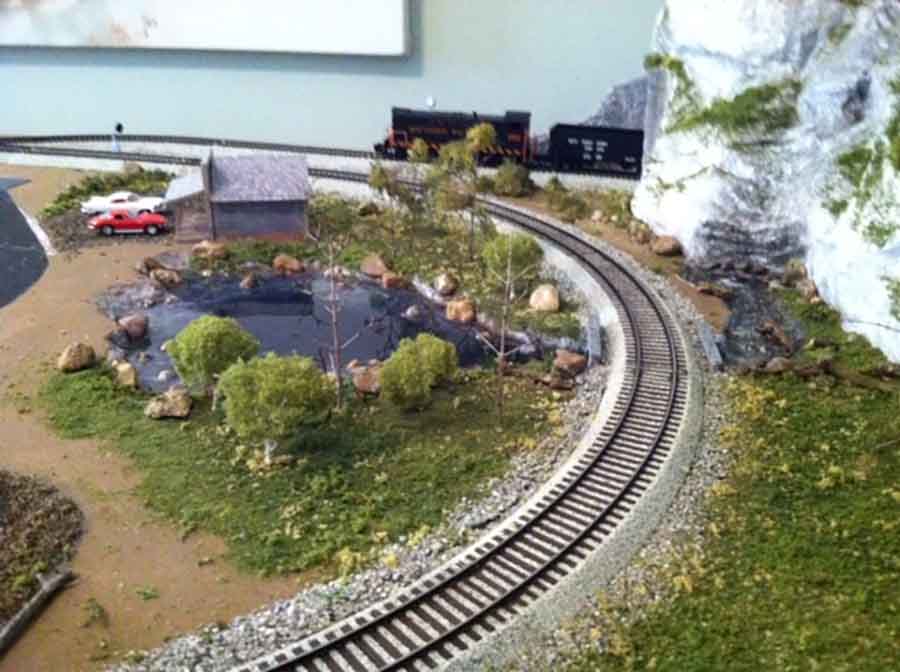
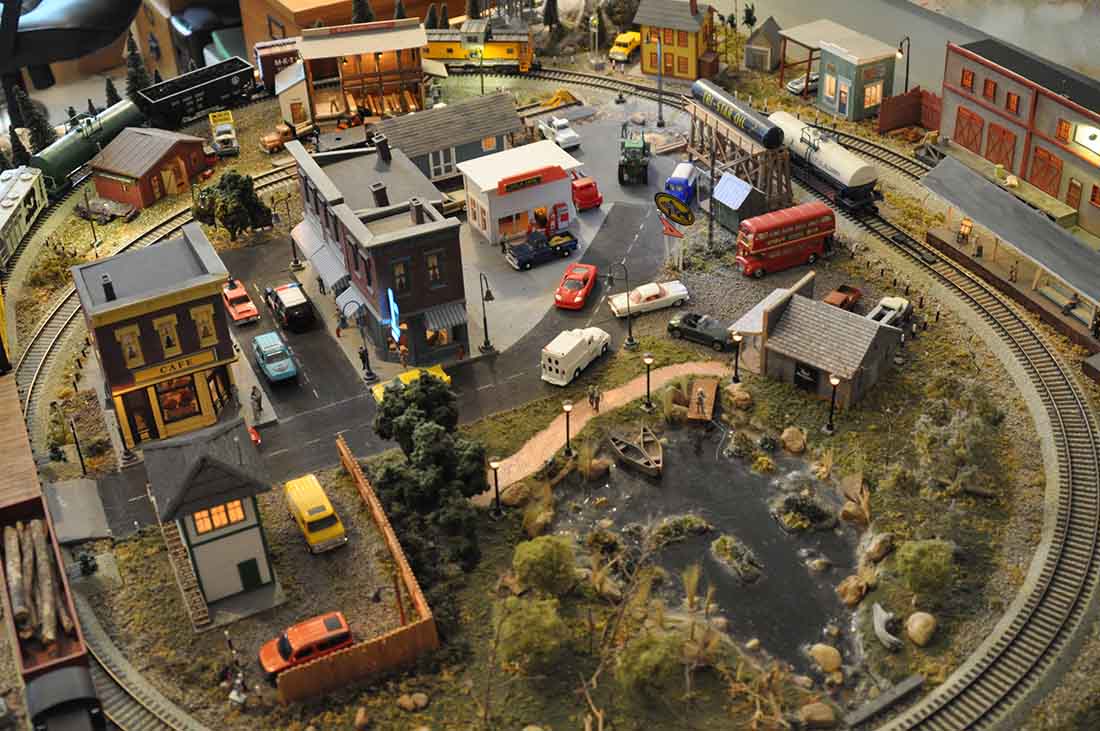
The last photo shows the current appearance of the Primero yard looking east towards Slide Rock Mountain.

Michael”
A big thanks to Michael for sharing his 3D printed O scale buildings – really looking forward to seeing more of this one.
That’s all for today folks.
Please do keep ’em coming.
And if today is the day you stop dreaming and start doing, the Beginner’s Guide is here.
Best
Al
PS Latest ebay cheat sheet is here.