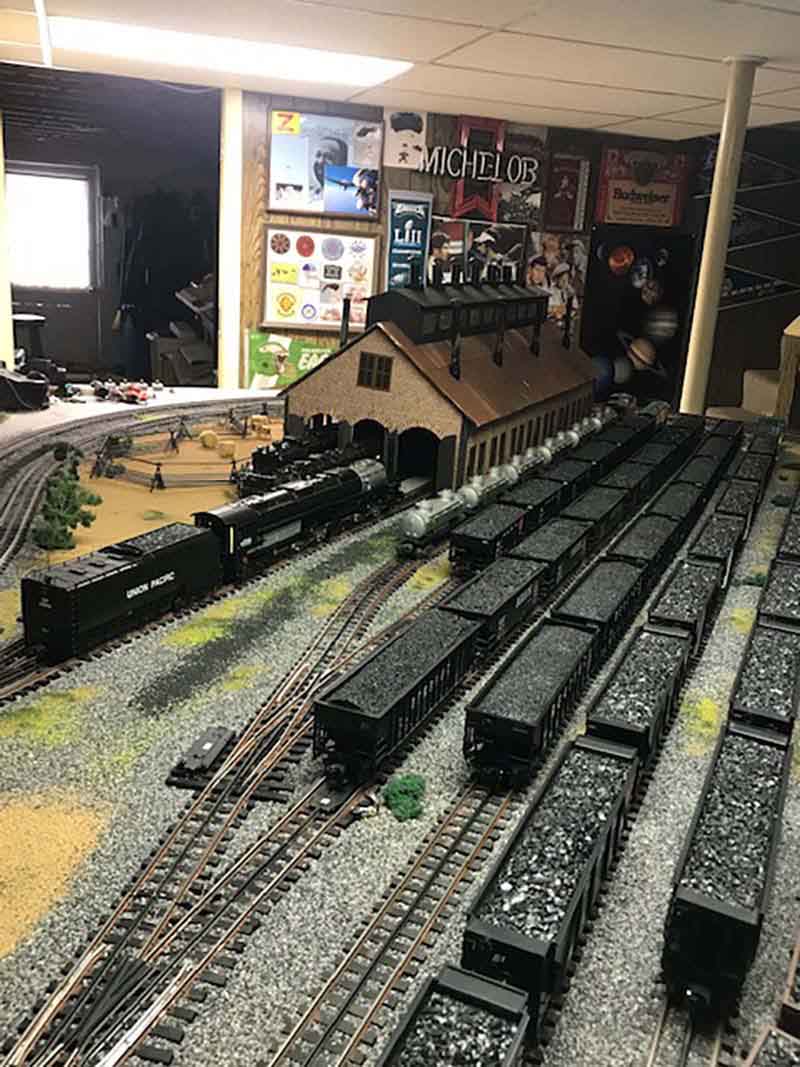
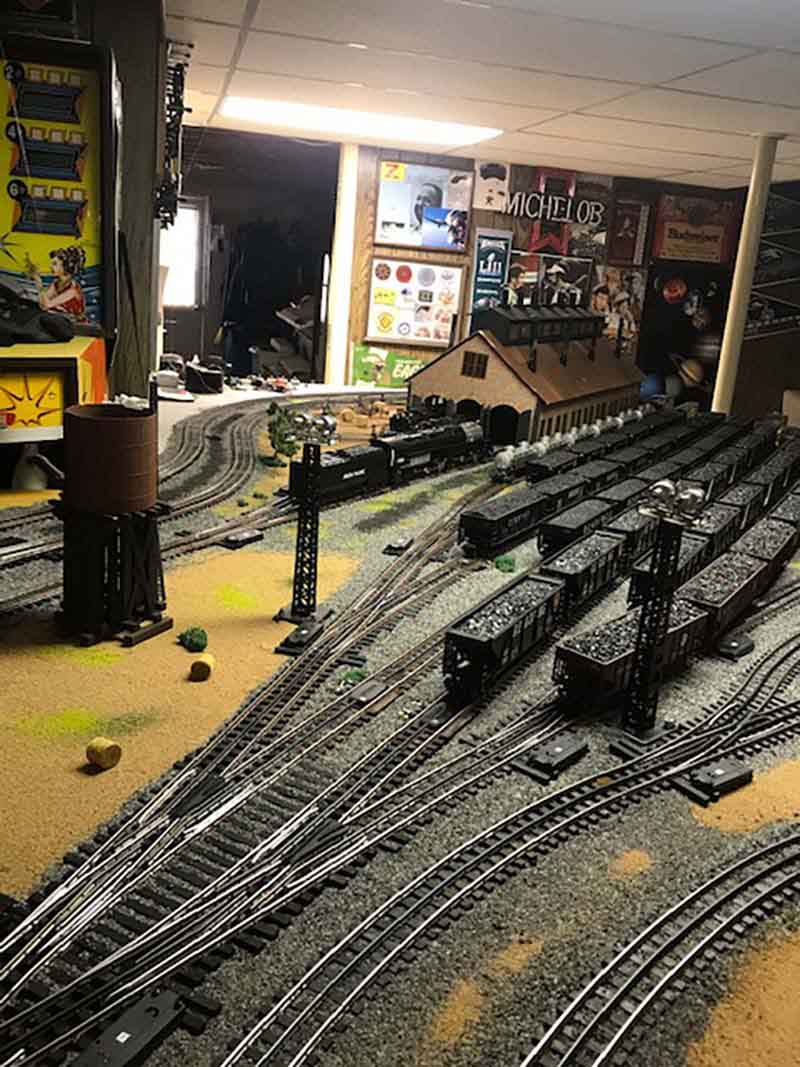
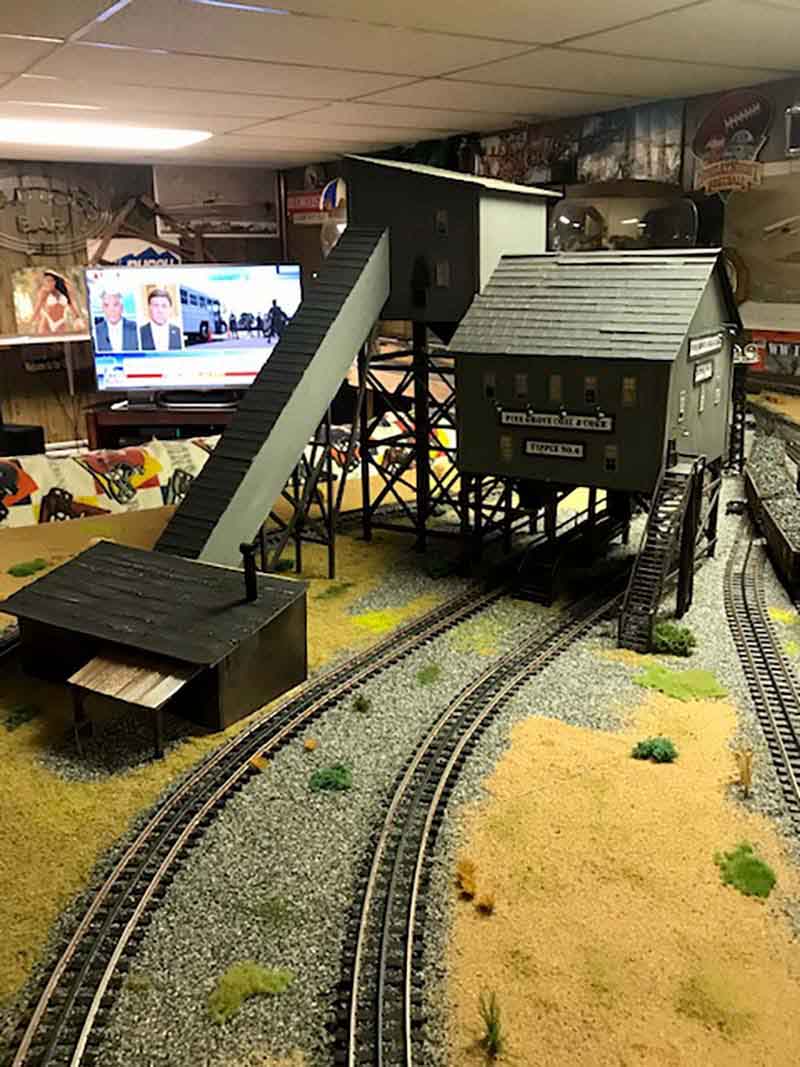
We’re carrying on with the theme of ‘a man of few words’ today, starting with Denn’s 20×12 O scale.
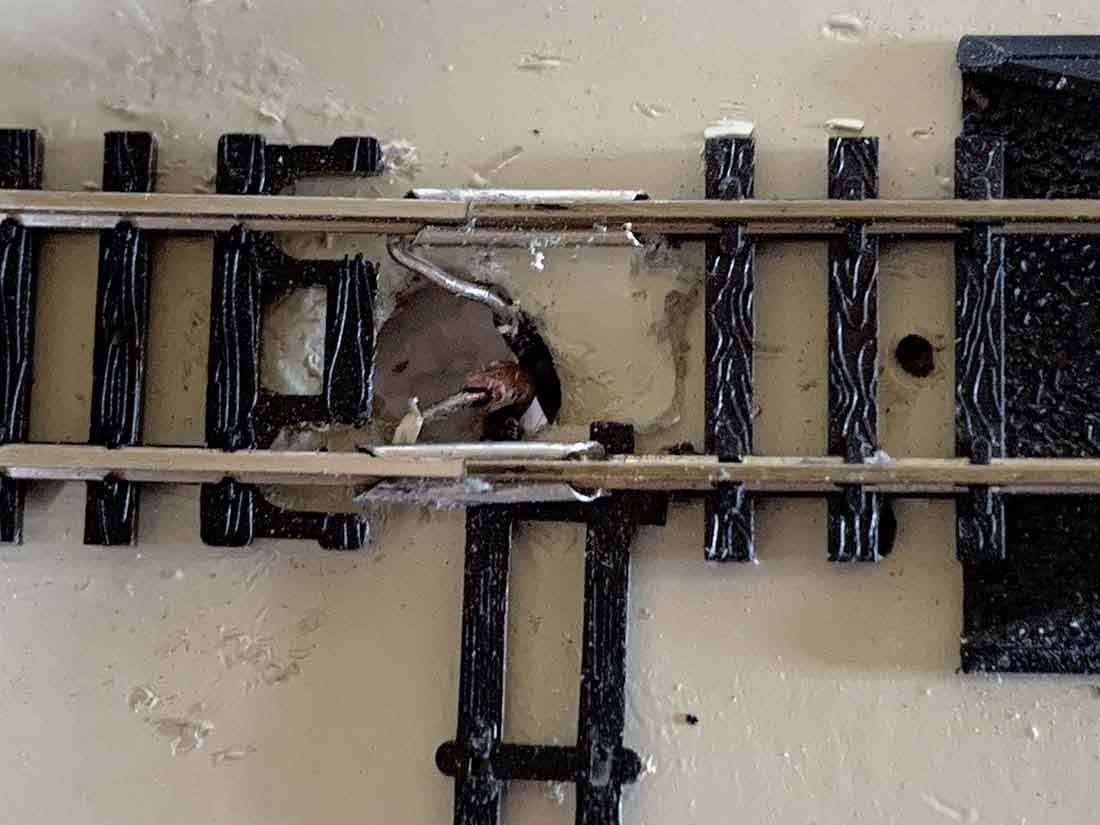
“My oh scale layout with all Ross track and Switches 20 x 12‘
Denny”
“Al,
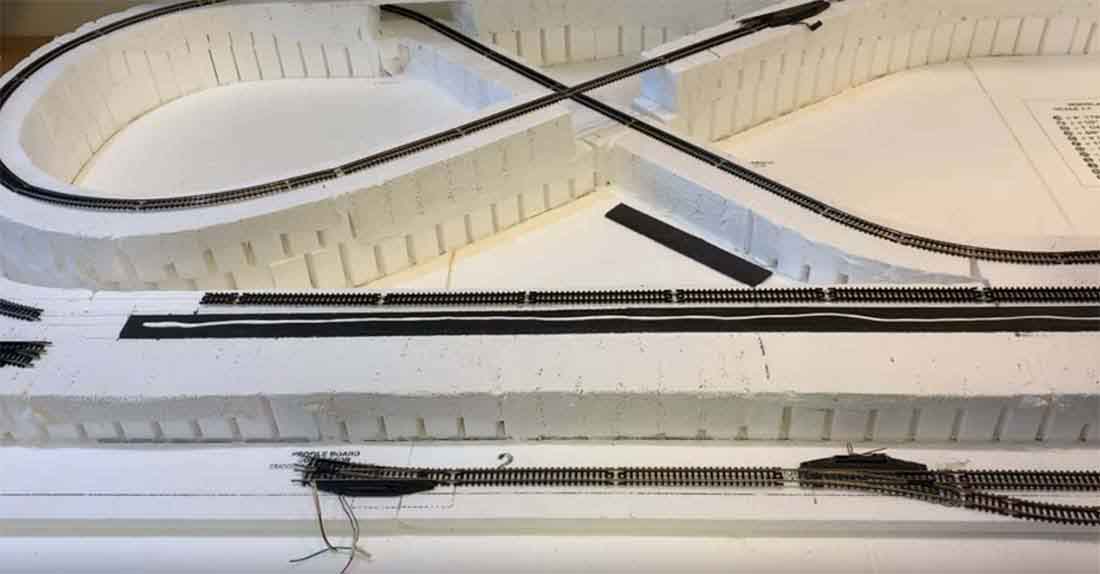
Here is my second construction video on the layout I am building.
It’s the second video in a 7-part series discussing my construction of the N-Scale Scenic Ridge layout (from Woodland Scenics).
The series is aimed at a beginner model railroader, but there are a lot of hints for those with more experience.
This video has four main sections:
1) covering the track risers with plaster tape
2) installing the roadbed and track
3) connecting wire leads to 12 places on the track
4) tying all the leads together to the power pack
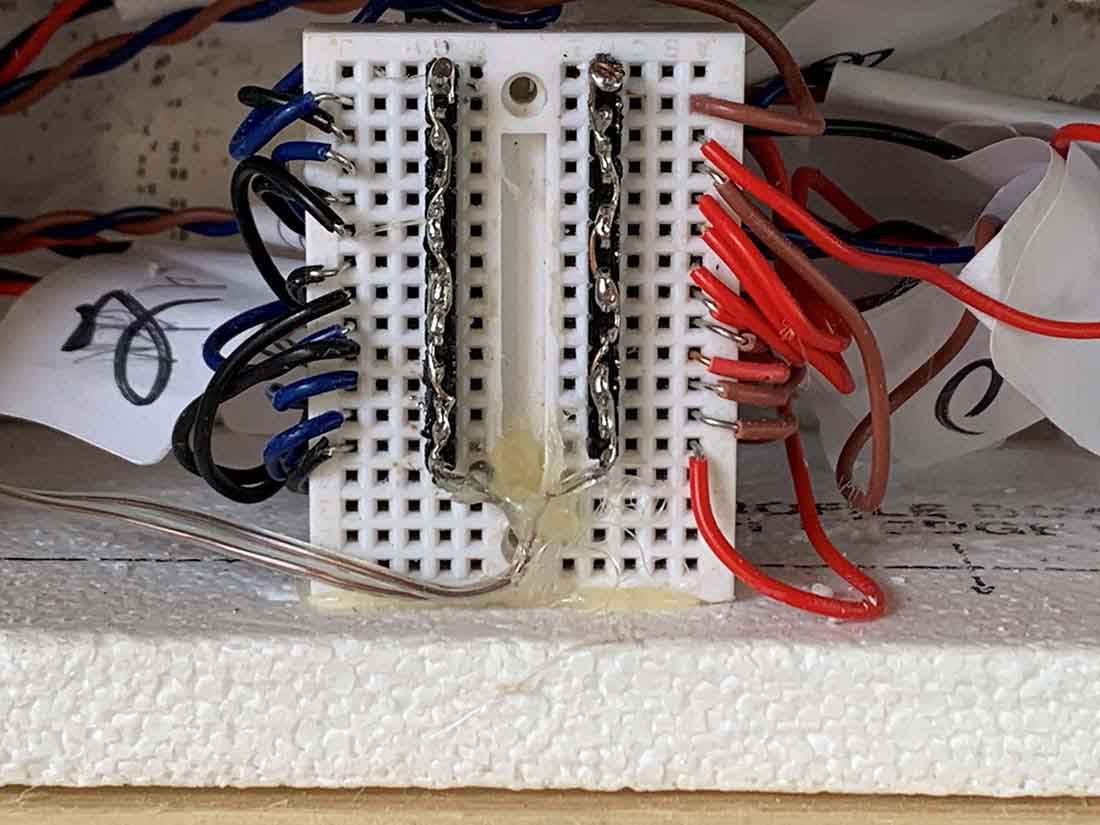
Two feeder wires are attached to 12 sections of track to assure continuity of power.
The wire pairs all terminate onto a multi-point breadboard terminal block. Each pair is labeled for future testing.
I appreciate all the kind comments from your viewers. They have encouraged me to continue with this construction series.
There was a question on what software I use. I use Atlas track planning software to layout the layout, Videopad to create the videos, and Windows 10 to edit the photos.
Thanks,
Dean from New Mexico”
(You can see Dean’s first post here.)
Now on to Steve, who has sent in the 2 things he couldn’t be without for making a layout.
This of course got me thinking – what would be the things you couldn’t do without?
“Thanks for the blog and the forum.
Three suggestions for modelmakers, two are things I wonder how I ever managed without, the third is something I haven’t used yet apart from experimentally but looks like it has lots of potential.
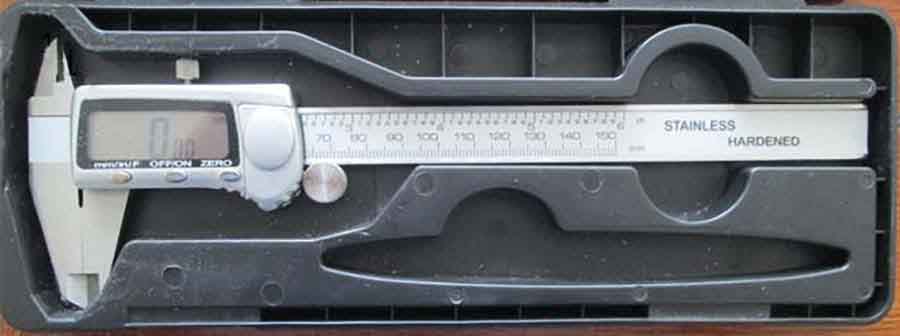
How to use a Vernier gauge was one of the few “engineering” skills I was taught in school metalwork lessons. That and filing – we did a heck of a lot of that!
For those who don’t know, a Vernier gauge is used to measure inside and outside diameters, lengths and depths with accuracy of fractions of a millimetre.
I found that my eyesight not being as good as it was meant that on the (admittedly rare) reasons I tried reading a measurement off my old Vernier gauge, I was struggling.
I replaced it with a digital one, which is very easy to read, can display metric or imperial, and express fractional measurements as conventional fractions or decimals. Not only is it easy to use, but now that I can actually see what my Vernier is telling me, I find that those rare occasions of use have multiplied no end.
I often use it to measure when marking out card or plastic sheet for scratchbuilt or adapted kits, to check wheel back-to-backs, check depth of holes I am drilling when doing baseboard stuff and so on.
I bought mine a couple of years ago from “A” certain large online supplier. Cost me about twenty quid ($25). The only downside is that the case is rather flimsy and one of the plastic latches broke almost immediately, but the case is still useable.
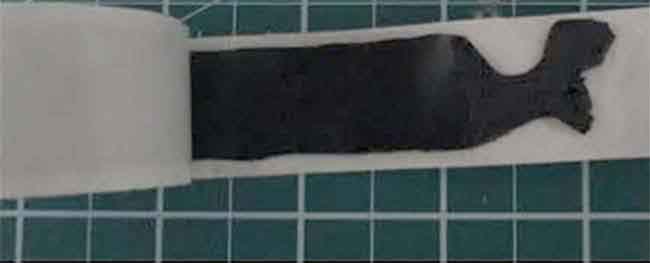
Another item which now falls into the “how did I manage without that” category is some stuff called “Black Tack”, which is similar to Blu Tack but a lot stronger.
It comes in metre-length strips about 2cm wide for around eight pounds, which sounds a lot, but you don’t need much for most jobs and it can be reused many times in the majority of cases.
Some uses I have found are fixing figures semi-permanently e.g. on a platform or on a loco footplate, acting as third, fourth of fifth hands when assembling awkward structures or soldering/gluing, fixing loco lamps so they can be removed without damaging the paintwork, “light-proofing” building interiors, holding down wires, tacking tiny screws to tiny screwdrivers, as holders for said screws when dismantling locos etc etc.
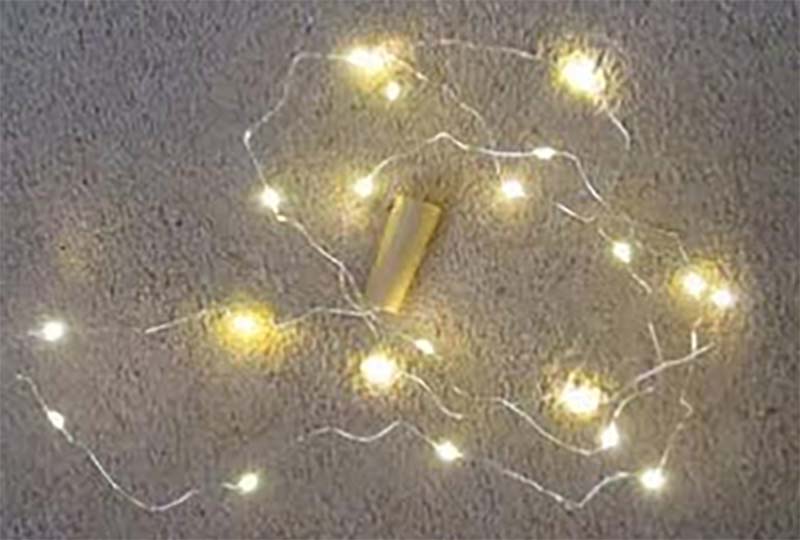
Finally, a cheap source of LEDs is to buy one or more of the decorations designed to go inside empty wine bottles. These are incredibly cheap – I got twelve twenty-light sets, complete with switches and batteries for nine pounds.
The LEDs are about the right size to use as internal lights for buildings, ideally spaced for lighting adjacent small terraced houses in 4mm/3.5mm/2mm scales, but the wires are easily cut to allow for less lights in a string and/or greater spacing if you need it.
I was a bit confused at first because the outside of the supplied wiring looks and behaves as if it is metallic, but it was obviously insulated as the pair of wires was twisted together and touching.
The insulating layer – which might be ceramic, as often used on thin headphone wires(?) – can be carefully stripped away should you ned to add extra lengths of wiring. A resistor will knock down the brightness – always a sound idea to wire a resistor into the circuit when using LEDs anyway.
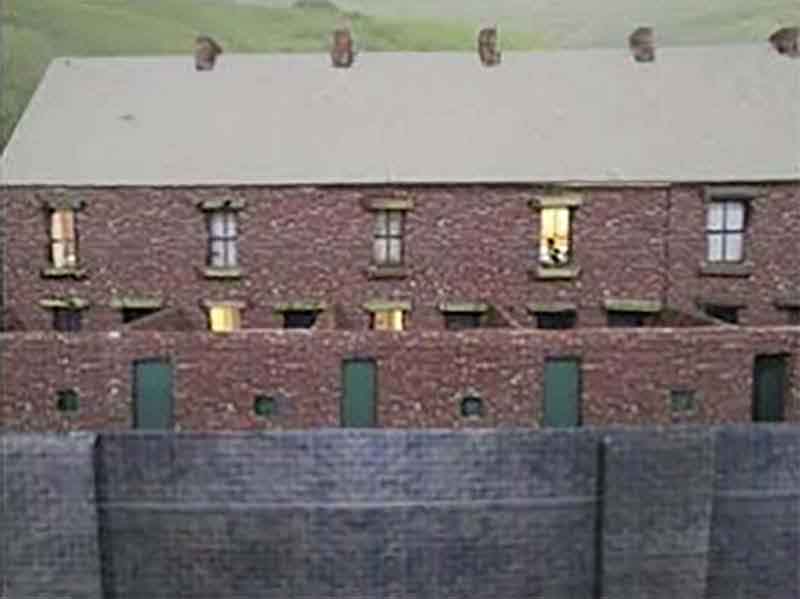
I have tried the LEDs out in a few rooms of a small terrace of houses which I am putting together (based on a Smart Models terraced house downloadable kit, adapted for low-relief). When taking the photo I realised that there is a bit of light leakage at one point so that is another job for a bit of Black Tack!
Steve (SealionSteve on the forum)
Lincs, U.K.”
A big thanks to Denny, Dean and Steve.
It’s still wonderful to see your inventions and solutions even after all these years.
Please do leave a comment below if you’d like to share the tools you couldn’t be without.
And don’t forget if you want to start on your very own layout, don’t forget The Beginner’s Guide is here.
Best
Al
PS Latest ebay cheat sheet is here.



Great hints and a beautiful O gauge layout!
Very nice O Gauge layout.
Love the broad curves..
Great hints on the lights and measuring tools.
The LED light sets are available at most Dollar Stores in the U.S. and vary by the seasons (Christmas red/green, Halloween orange, Easter floral, etc.). Sometimes a little surgery involved to remove plastic decorations surrounding the LED tip. They come with AAA battery packs that last a long time.
Always great to see O scale layouts. You give us hope.
Shlack in NC
I’m just starting my O scale in a 9×13 ft room. First serious try at modeling after years of a Christmas loop. Tried to get my track plan going on SCARM with Ross (which I think is the best looking O track) but ended up sticking with Fastrack. Won’t look nearly as cool as your O but it does keep my cost down as I have other Fastrack pieces and Fastrack has 036 switches which fit my plan better. And my engines and rolling stock are a more playful, less real variant as well than the wonderful coal industrial scene. Maybe for my second serious try?
Pretty kool.!!!!
Thats a great layout you have built there …Dangerous Dave
In Dean’s discussion he first glues down the track and then he lifts it up to install the soldered joiners. Is this correct?
Danny good to see O scale looks great!! Every think of joining OGRForum, Look into it think u would enjoy!! I’m under sitka after one of our wolfs,,, Nice looking LEDS Steve!! God Bless the 13 Gold Star Families of the service members we lost!!
Comment to Dan Piccolo. No, I always add the rail joiners (with wires attached) to the end of the rail section I am laying down. Then you don’t have to pull up the track.
One thing I have to say about all the letters and pictures sent to you is that all these guys must have great wives. This layout is so big that my wife would have a cow if It tried to build anything that big in my house. or basement (I don’t have a basement but you get the picture).
Where is Black Tack available?
Dave K – I got mine from Amazon uk, but it is listed on .com too at $9.99.. The maker is Protastic. Probably available elsewhere too.
Hope that helps.
Regards,
Steve