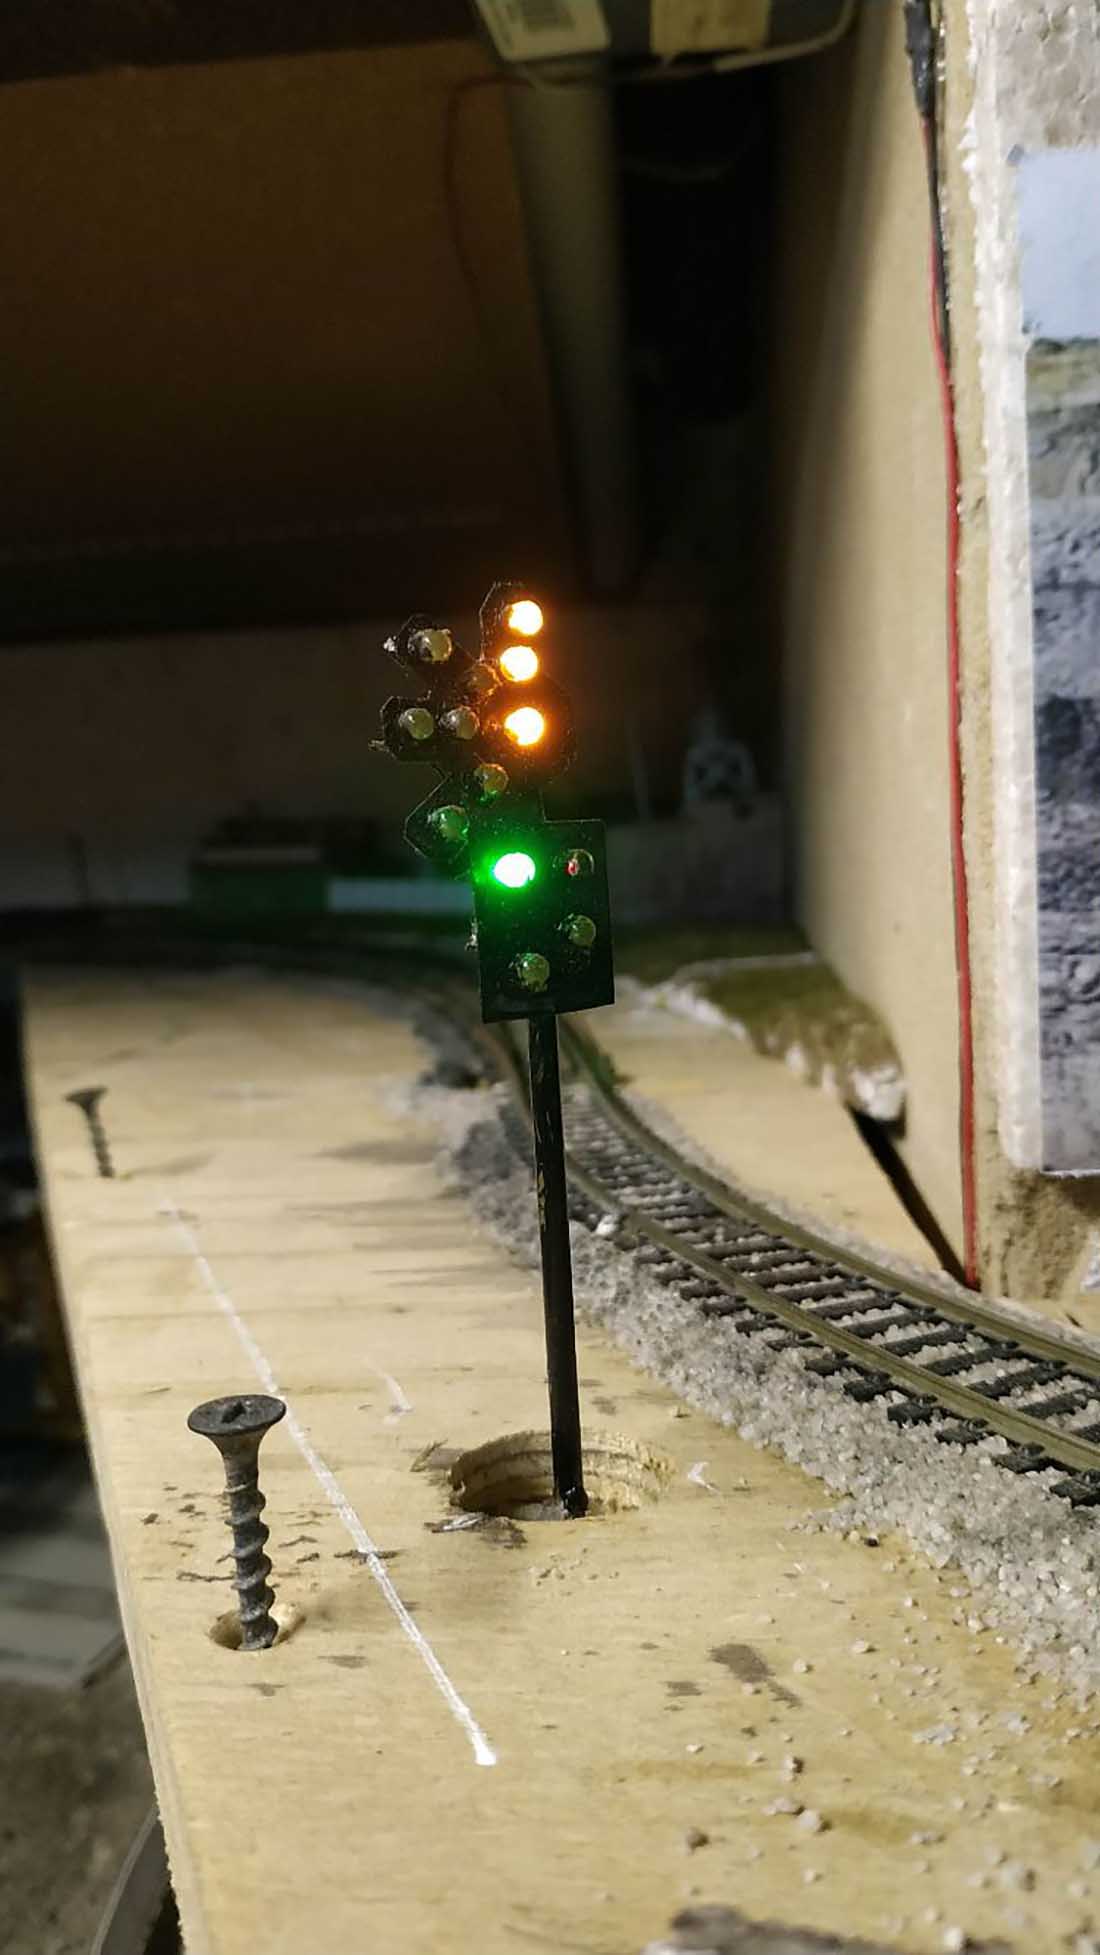
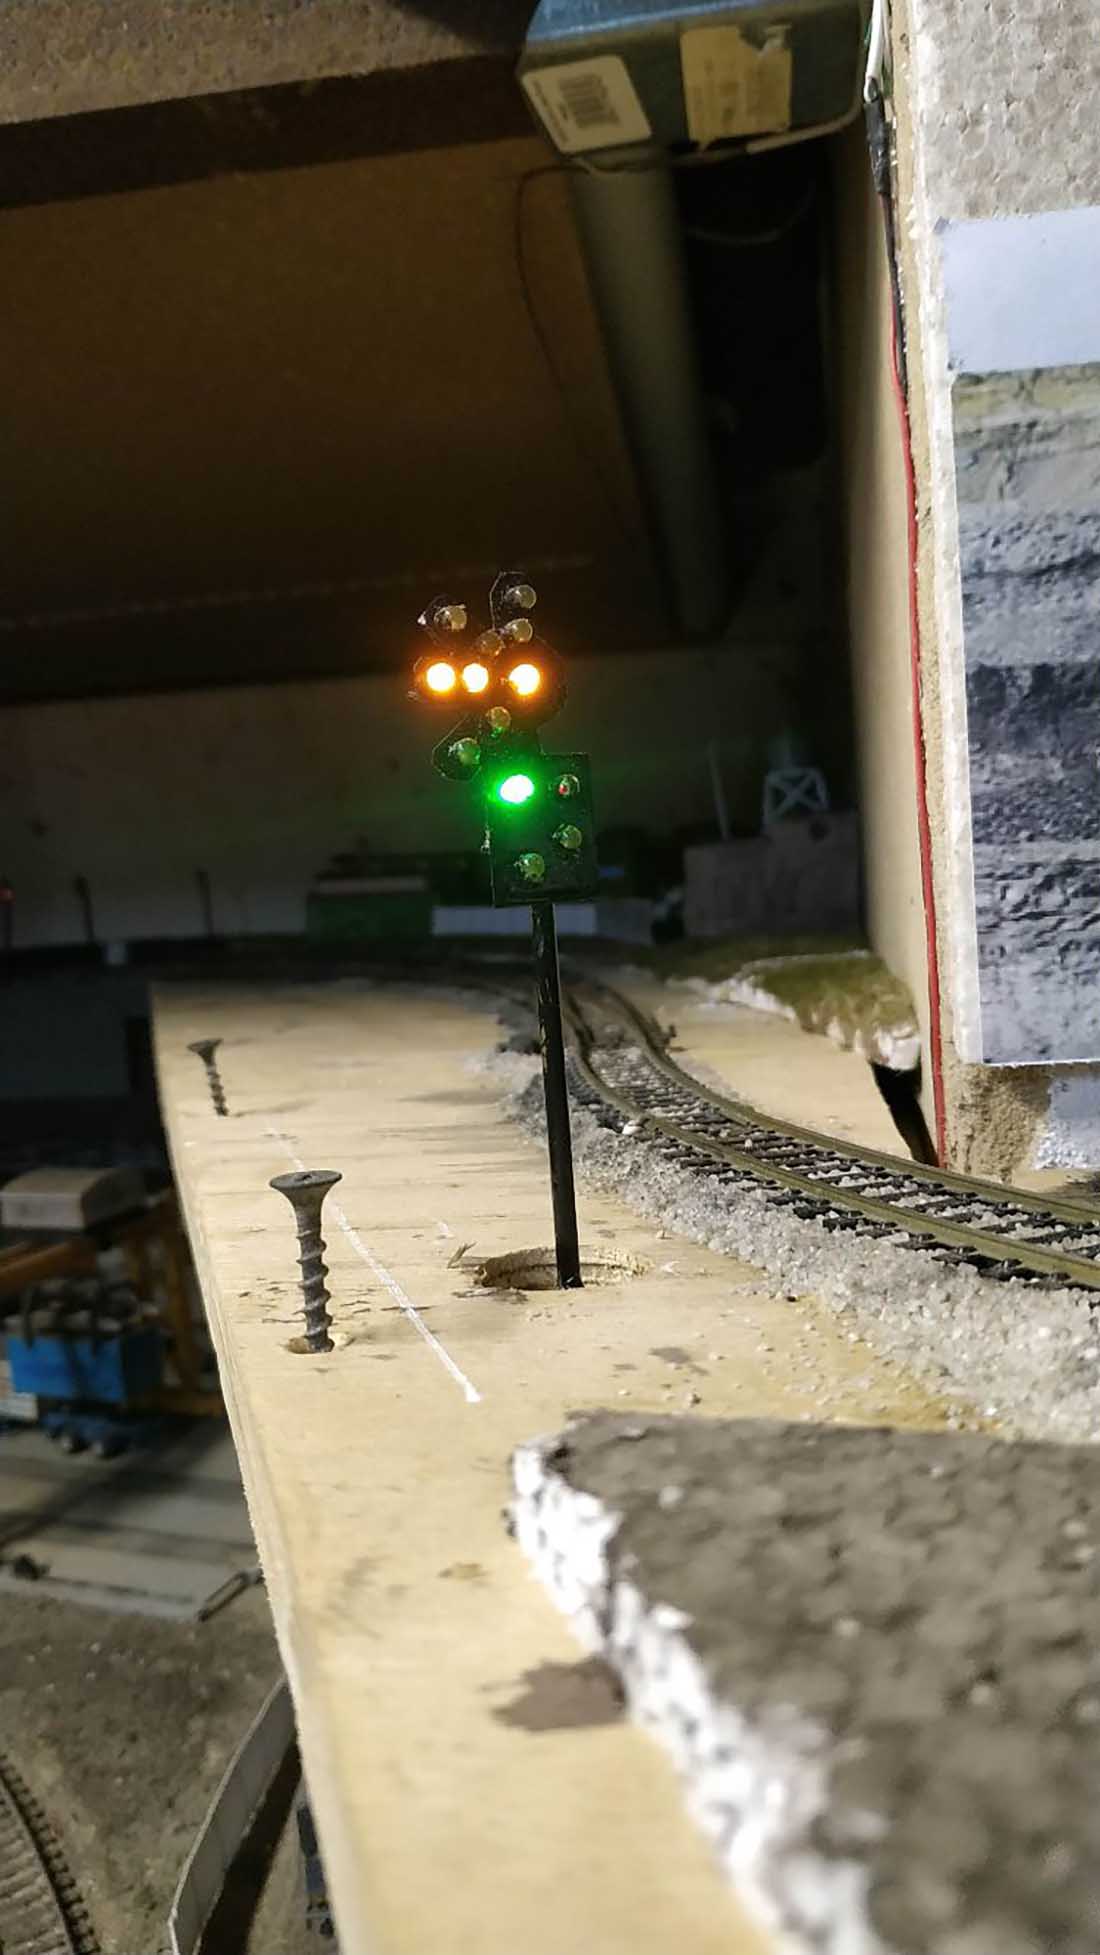
Henry’s been back in touch with an update on his HO scale railroad signals:
“Hello Alastair
After seeing the post on my signal system, I thought I need to update you and our community on the developments that has taken place since that signal system was used.
As my layout and operating sessions progressed, so did the need for a more realistic signal system.
This lead to some new designs and more electronics being employed.
I needed the following from the signal system, interlocking and tracking.
Interlocking means that only one signal at a time can be green, and the rest stays red, till the green one changes to red, then any of the other signals can change to green.
Tracking is the term used here in South Africa for automatic return of the signal to red once a train passes it.
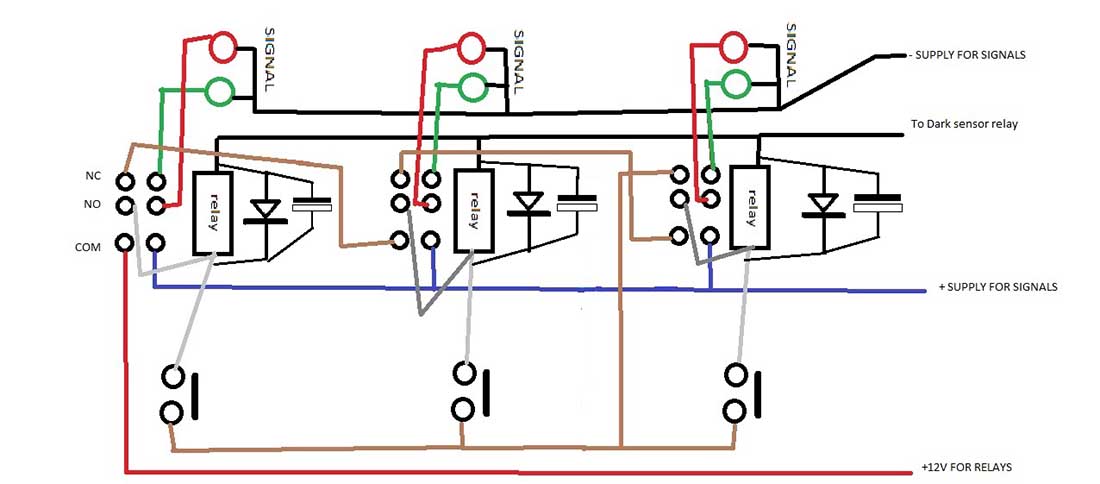
To accomplish the interlocking, I made use of self locking relays.
In order for the relay to make a positive switch over, a small electrolytic capacitor was added to the circuit.
It works on a simple switching principle. Once a signal is activated by a pushbutton being pushed to turn it to green, it disconnects all the other switches that none of them can switch a signal to green.
This is accomplished by using a double pole relay, one pole being used for the signal itself, green or red, the other pole being used for self locking and interlocking.
When there is no power applied to the relay the contacts are in the normally closed position.
I wired the red signal to normally closed side of the relay, so if there is a power loss for the relays all the signals automatically turn to danger.
The normally open side connects to the signal’s green LED.
This solved the interlocking problem, but I still had to accomplish “tracking”. Switching the signal back to red once a train has passed it.
I tried different methods, current sensing, optical detection and infra red detection.
I found that for me the optical detection worked best in this application. I could use one optical sensor to control a few signals.
At my main passenger station, one optical sensor tracks 4 signals.
The optical sensor disconnects the negative supply wire to the self ocking relays, so then they all return to the danger position.
For block signals, I opted to go fully automatic, using a current sensor to switch the signal to red once the block is occupied.
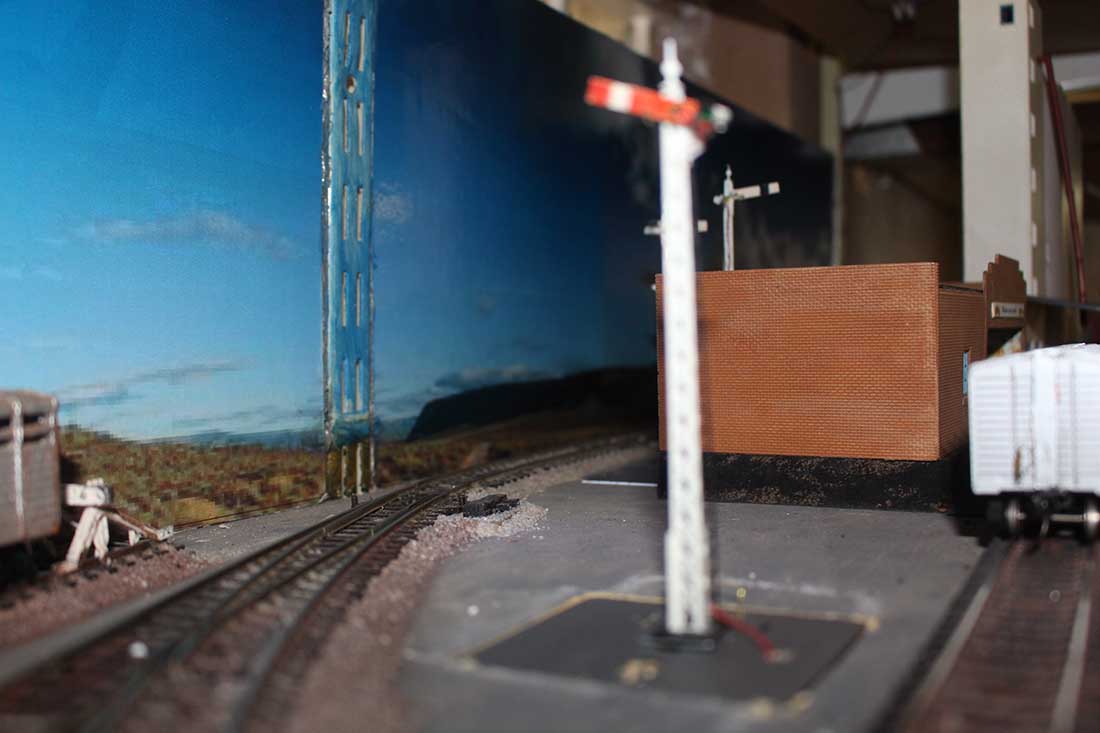
I also used this system with my Semaphore signals, which are powered by a small drone motor and propellor, creating a vacuum which activates the semaphore blade.
I include a video of the block signal system and a circuit diagram of the signal system, without the optical sensor.
Henry”
A huge big thank you to Henry for sharing his HO scale railroad signals update.
It reminded me of Gary’s post on HO scale signals.
That’s all for today folks.
Please do keep ’em coming.
And if today is the day you get started on your layout, the Beginner’s Guide is here.
Best
Al
PS Latest ebay cheat sheet is here.
PPS More HO scale train layouts here if that’s your thing.


Drone motors on semaphore signals
How, that sounds very intriguing
nicely done work.
These are some clever solutions to signal modeling problems. There are a very many videos about how signals work in the real world out there. It also varies from country to country and region to region around the world. Rob McCrain
Appreciate this article, signals and crossing signals something on my often delayed “to do” list.
Good ideas here.
I have a question? How can I keep my brass rails clean from oxidizing and tranishing all the time? Some days I have to clean the rails every 2 laps. Any Ideas?
Bill, clean you rails with mineral spirits and a soft cloth to remove all the black gunk from the railhead. Once the railhead is clean, get some no ox- I’d from Amazon, rub a minimal amount on the railhead and then wipe it off. Do this method and your locomotives should be running better. Yout track will get dirty but not as often. The mineral spirits clean, the no ox-id makes the rails onductive.
David
I used a very crude method about 30 years ago, when my daughters had Barbie dolls and a small battery operated toy hairdryer.. The hairdryer broke, so I salvaged the motor and fan and using a cap from an aerosol bottle, made a crude vacuum device that had a disk in front of the opening of the cap, connected to it via a hinge,
When the motor ran, it sucked a vacuum, pulling the disk towards it. I then added a n arm to the disk, connecting it to the a semaphore signal above. Me and a friend of mine refined this idea, and he 3D printed some parts that resemble the cap and disk, with a built in hinge. This time I used small drone motors with propellers to suck the vacuum.
An article I wrote on this was published in the Dec 21 issue of Model Railroad Hobbyist magazine,