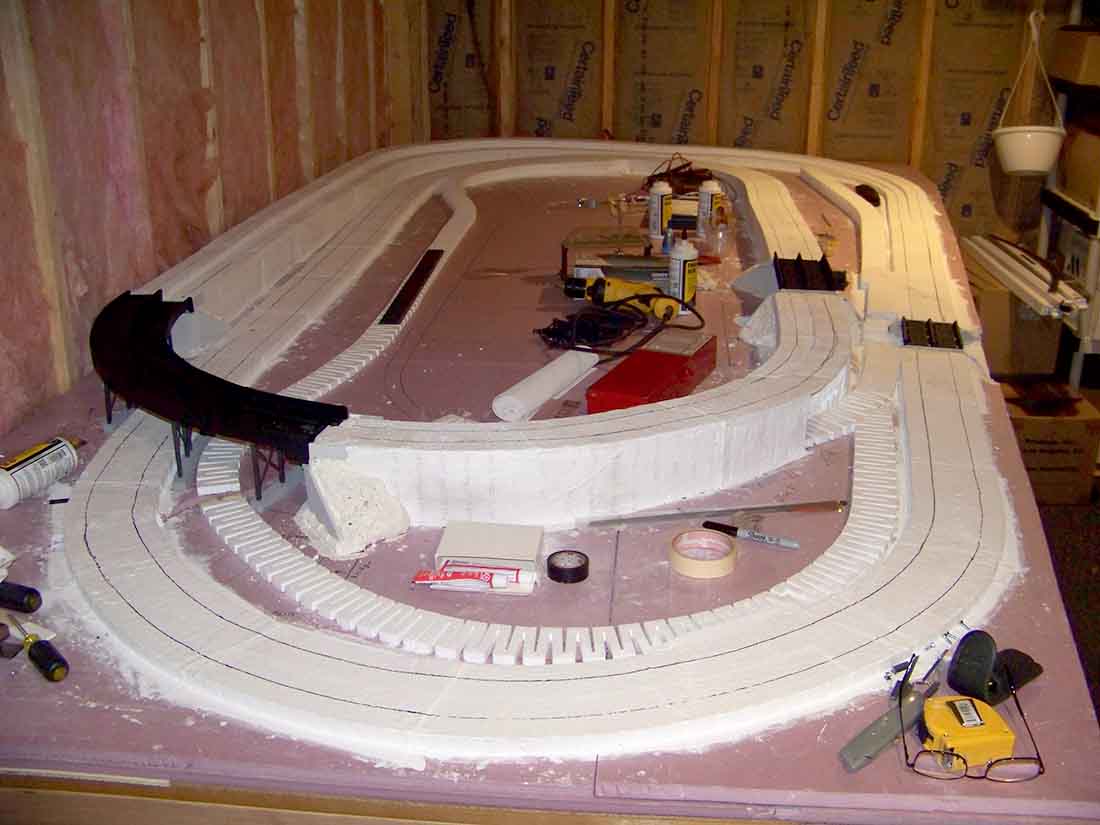
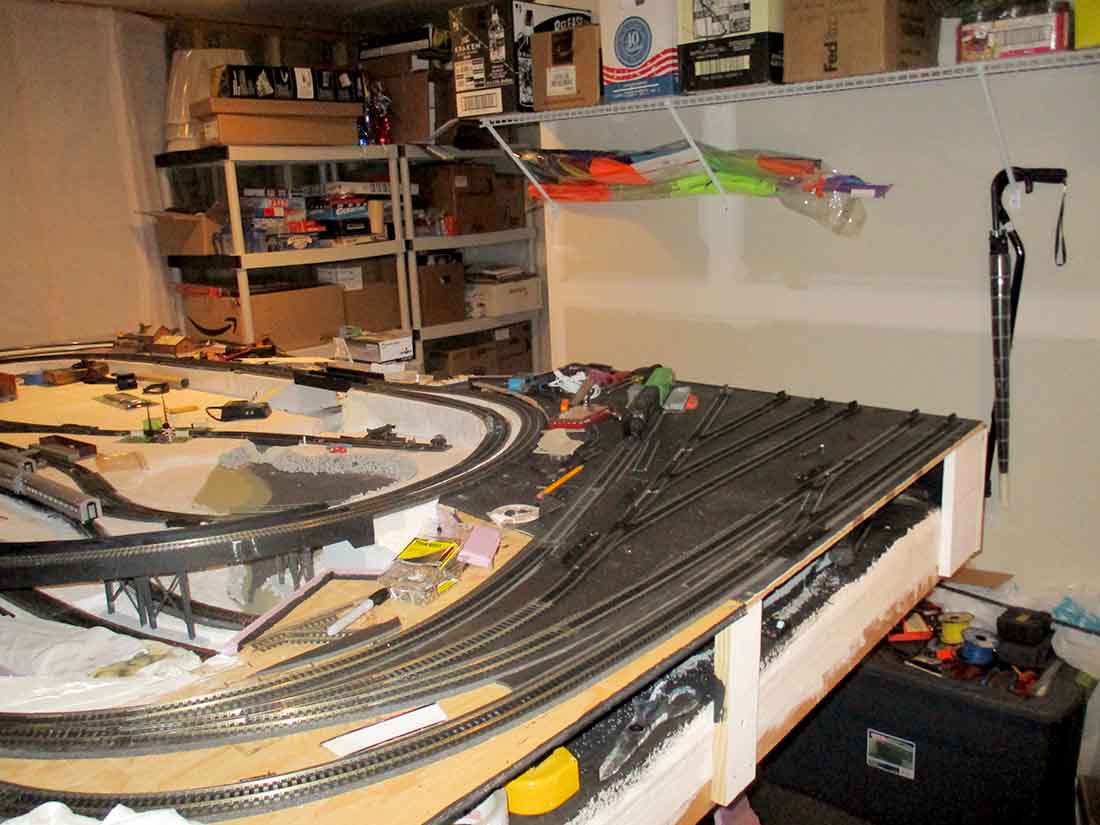
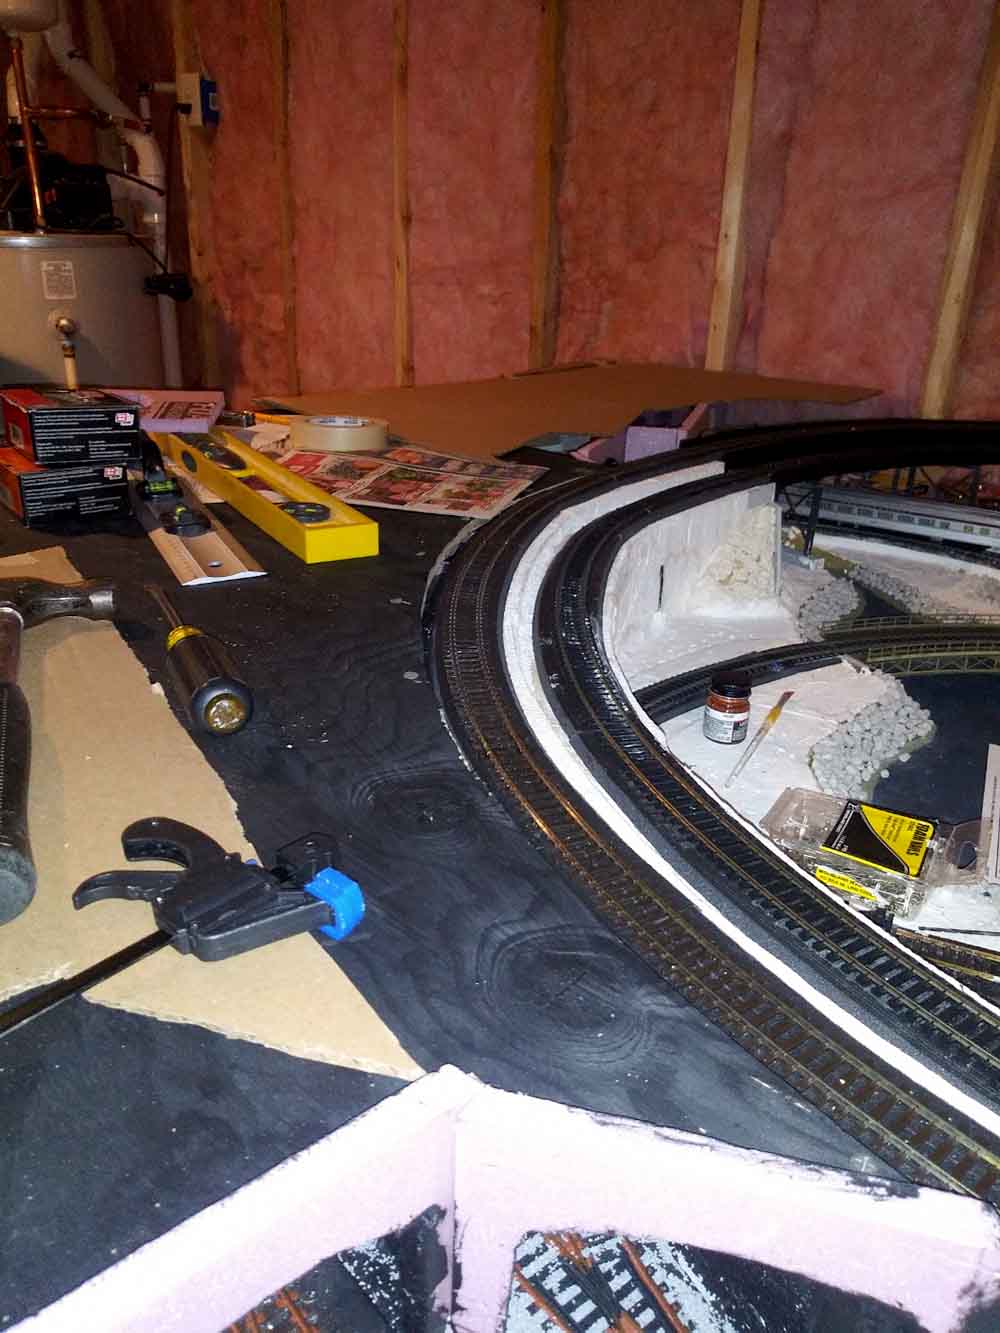
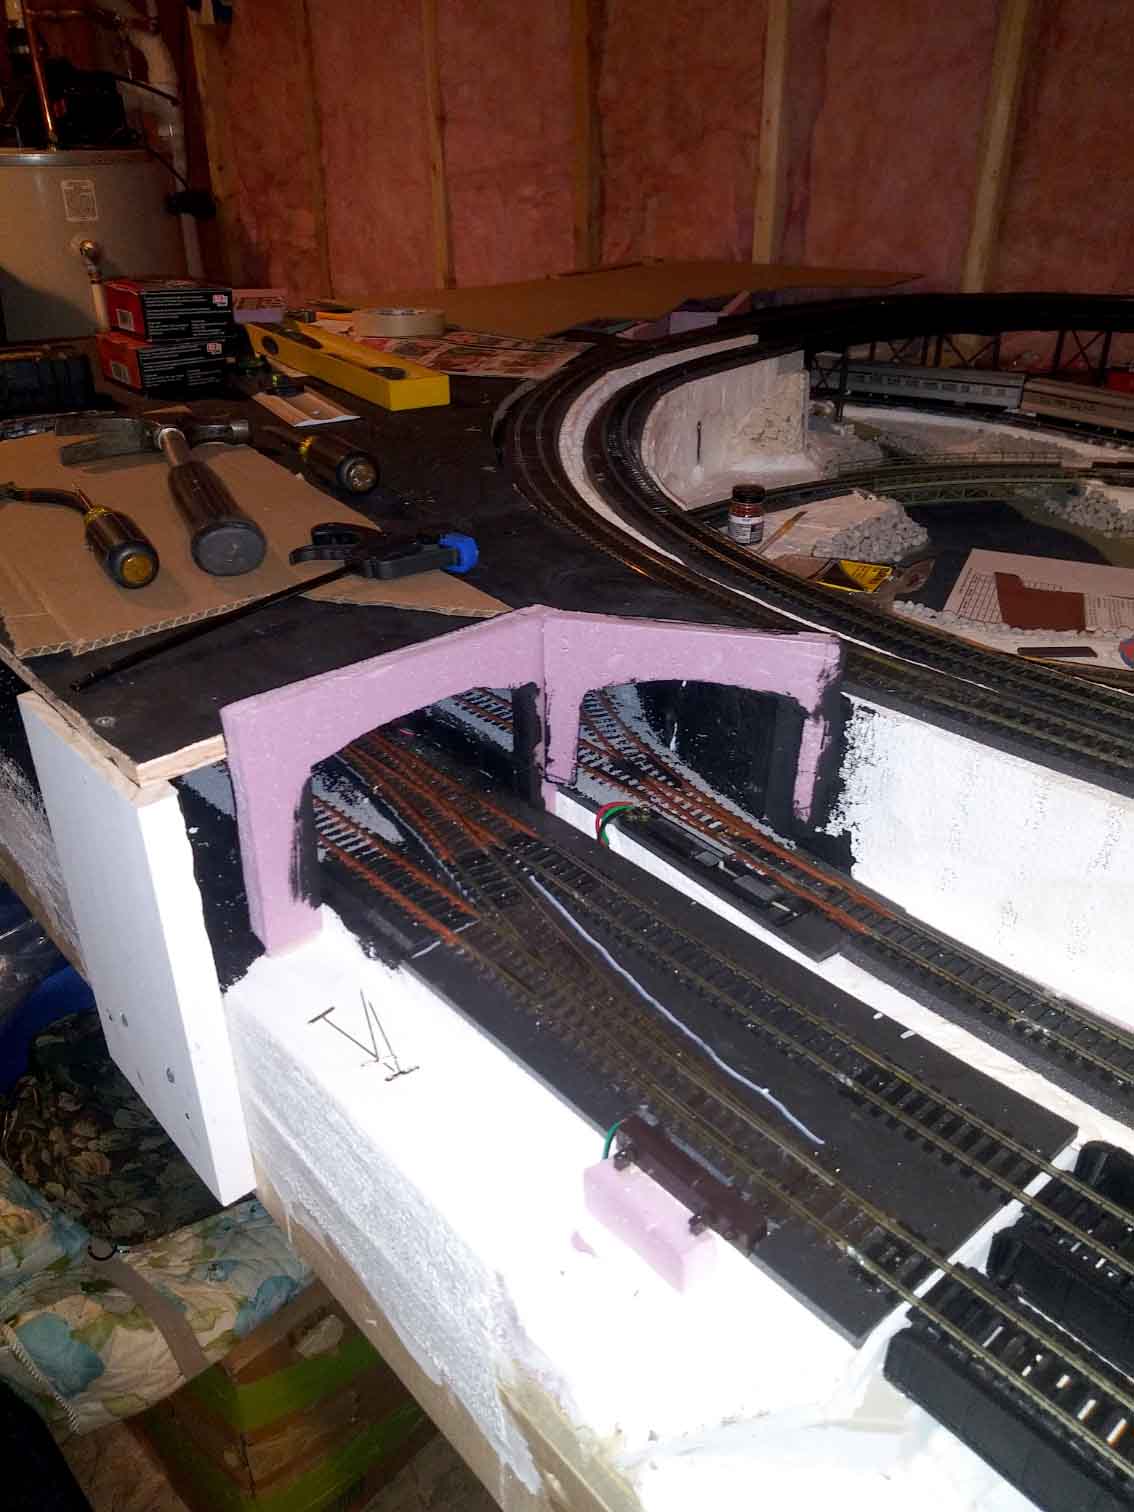
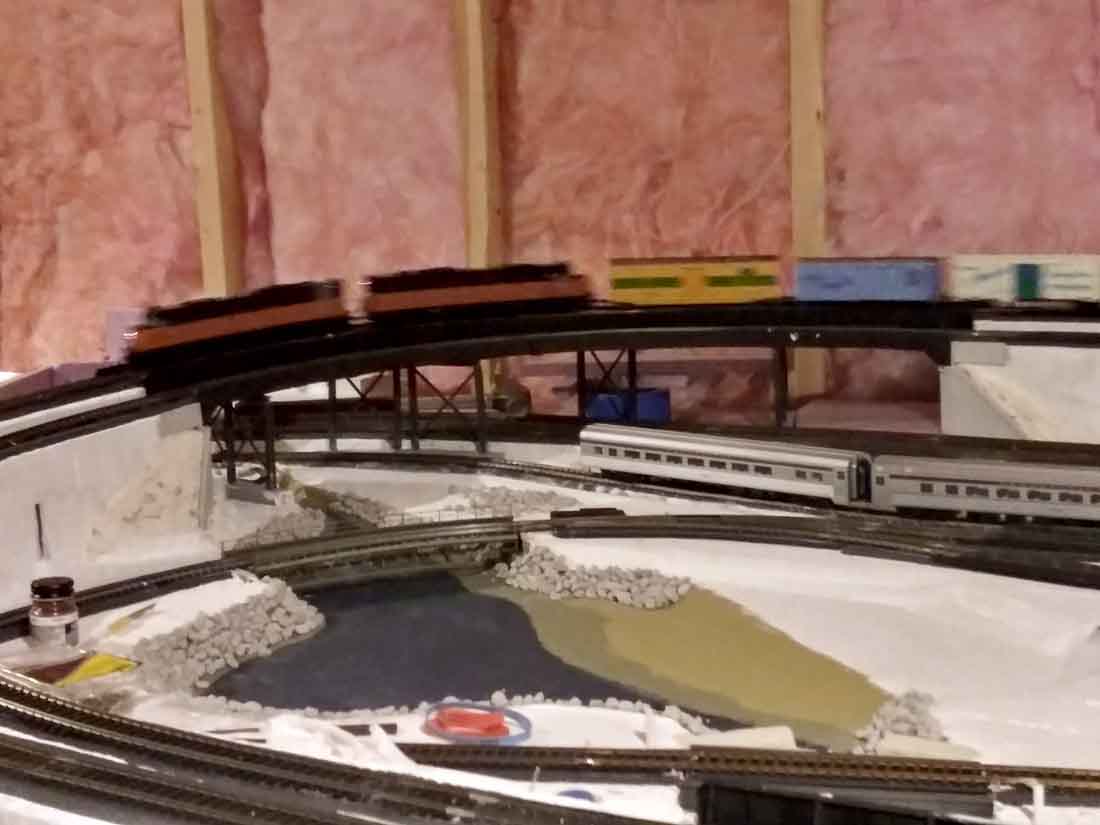
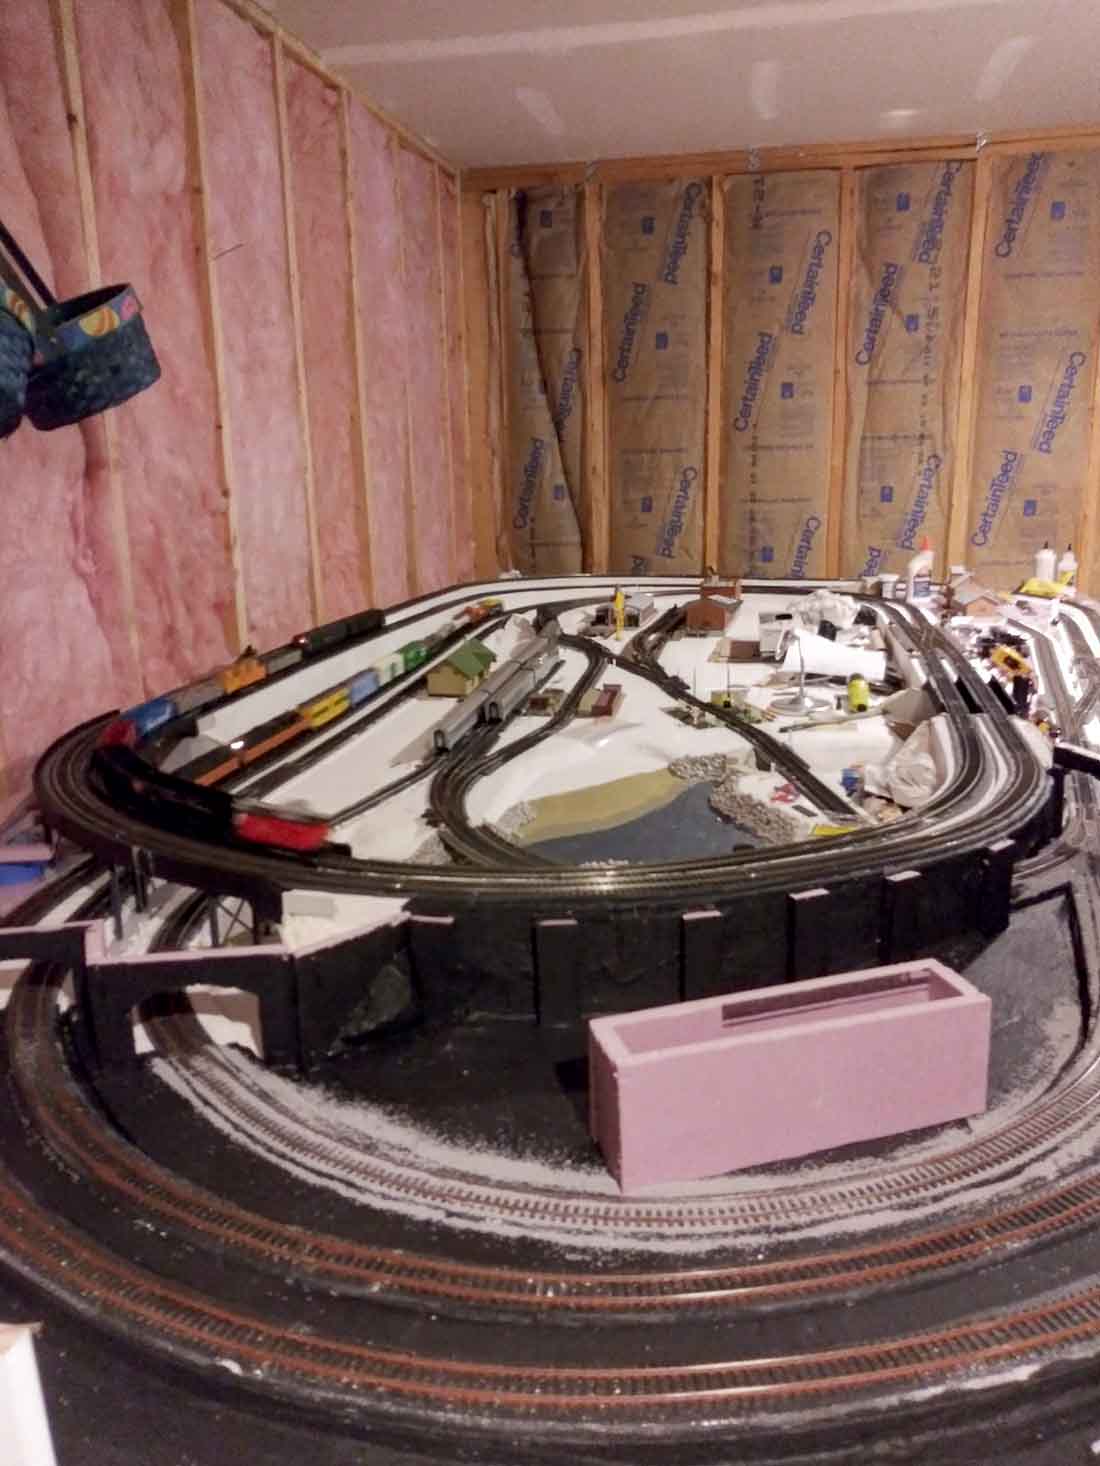
ken’s been back in touch. He’s been busy with his HO scale risers, laid track and now he’s running his trains:
“Hello Alastair,
Thank you for what you do for this hobby and for keeping this site going.
I really enjoy the daily emails and have learned a lot from other modelers.
I am sending an update to my ho scale layout and also attached some previous pictures to show the progress.
I have now added a branch line and switching (fiddle) yard. I started this layout in 2016 but progress has been slow due to work and other circumstances.
I am now retired and have more time to spend on this project. In the future there will also be mountains and tunnels added at both ends of the layout.
Ken”

A big thanks to Ken, it reminded me of Paul’s post: HO scale track risers.
“Hi Al…just uploaded a new video showing my way of making trees on the cheap, and also my A4 Loco back working again with some great sounds on it.
And of course a running session with our old Friend the Ginger bread Man making an appearance…
Dave”
“Dear Alastair,
You may or may not consider what I have written below as worth sharing.
A few posts ago, you published something where Steve mentioned using an Atlas bumper for installing fishplates.
I began to think and came up with a ridiculously simple idea which could have simplified my life over the years.
Others might find it of use (if they haven’t already come up with a similar solution).
All I did was to take an old screwdriver and file a slot in it the width of the rail head. It’s simply a matter of putting the screwdriver over the rail and sliding the fishplate into place.
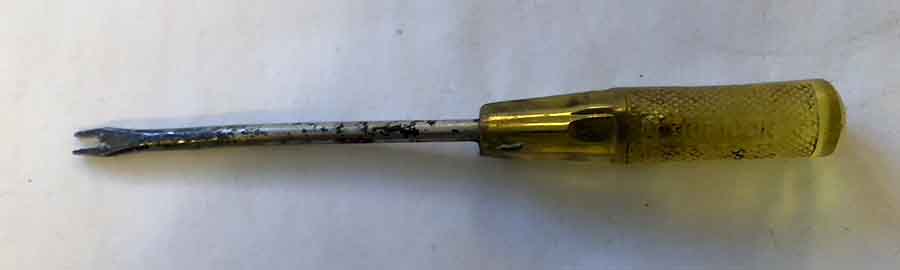
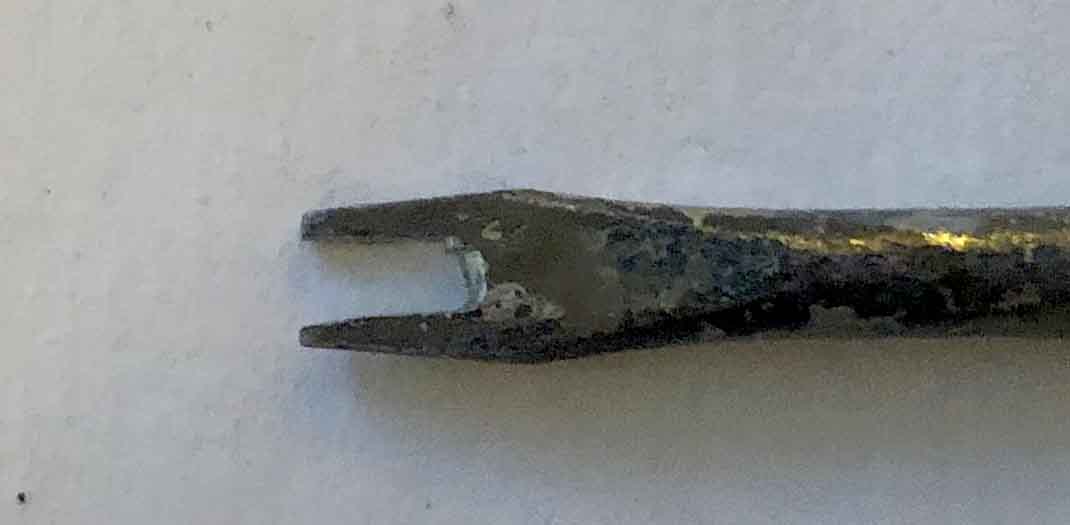
I had to replace a heat-damaged point in a difficult situation. I inserted the fishplates so that they didn’t protrude, placed the point in position and then used the new tool to easily slide the fishplates into position. Simple!
Best wishes, and thank you for all you do for the hobby.
John”
Now on to Gary, who asks the question below.
As there is no ‘right’ answer for this, I thought it would be fun to post – I’d love to hear your answers. Please do leave a comment below if you can help:
“How much minimum table space do you think is necessary for a decent small track layout for HO SCALE?
Thanks, Gary”
A big thanks to John, Dave and to Ken for sharing his HO scale risers and track progress.
That’s all for today folks.
Please do keep ’em coming.
And if today is the day you get started on your layout, the Beginner’s Guide is here.
Best
Al
PS Latest ebay cheat sheet is here.
PPS More HO scale train layouts here if that’s your thing.


Ken,
Who makes that nice Curved Bridge your using, It’s just what I need
Tom
Is this a first? A Dangerous Dave’s running session where Dave’s Dreaded Deltics didn’t get a run?? Just kidding – love your work Dave!
Plunko from Oz
Like the idea using old screwdriver as new tool. Did same but filed a pointed sharp notch/hook, same difference but on flat SIDE or edge of blade. Perfect for installing tiny or large springs. Am sure I saw that somewheres as patented tool…
Great job Ken, Lets get those mountains and tunnels constructed . Can’t have a layout without mountains and tunnels.
TC
Pretty neat? I hope mine comes out that good.
Gary. I have two HO layouts which are 4’ x 8’ which accommodate the main radius. However I have a shelf layout which can be just as rewarding measuring 1’ 6” x 7’ . Hope this helps. Regards Ian
Ken…..you put a lot of work into that layout…..send more pictures when a lot of the scenery is “almost” complete….. a model train layout is never done.
Dave…..I always love your videos…….easy way to make trees…..I like it.
John……great idea….what did you use to cut into the tip of the screwdriver
Gary….at least 4×8 for a “decent” layout.
Ken
Keep up the effort & let’s have the “Ken series” for updates.
John
A finger saver-nice
Gary
Probably the toughest question that only you can answer. However, my two cents worth- avoid 2 levels by the side you need to access or keep levels in the back-you dont want to reach over high tracks, follow the rules- slope & curves-that determines size more than anything, Plan, plan ,plan- get one of the programs and make your mistakes on paper. Nothing is a problem when you have a 26 ft x80 ft space. LOL- Ohh and a large bank account,
D Dave
Much thanks for the video- love your stuff.
Big Al
Mucho Gracias
Ken , looks like you’re off to a great start , takes a long time and it’s never completed . Like your track layout and tunnels and such , kept us updated , really like to see the next phase of work .
4’ x 8’ is the standard for HO. You can build onto it at a later time. Easy to handle! My thought!
Hey Dave how about rebranding Tony’s nightclub into a EDM dance club so all ages can enjoy it . As always good info on scenery. Kens layout is on a nice start to being great . One day I will get my all steel elevated garden railroad fabricated and installed G flex track has so many codes. What is interchangeable with LGB track ?
In answer to Tom, the curved bridge is scratch built. Dave, your layout is awesome. thanks for the tree tutorial. John, great idea. I might try the old screwdriver trick.
Ken from PA, USA
Lots of fun in today’s posts. Re size for HO, minimum is whatever you can fit! My childhood (1960’s) started 4×8, added~ 4×6 in a bay window with a long hypotenuse connecting the far ends with open middle. My new will only have room for 5×6 to 18” x 6’ to? big enough for a return loop. Building around the bedroom furniture! Could go bigger if I decide to make it liftable towards the ceiling, but that’s WAY complicated.
Gary – 90 cm X 50 cm OO scale Inglenook layout, lots of shunting combinations see my layout on Al’s site dated 8 August 2021
Andrew in Oz
Ken, what is the base size of your layout. I’m wondering what the radius of the inner track is going under your bridge. I am working with a 5′ wide platform, and I am concerned that my smallest radius curve is 16.7 inches. What kind of track are you using?
Your layout looks like it will be fantastic as you work along. I am trying to figure out your track plan from the photos.
Gary,
I love your question “How much minimum table space do you think ins necessary for a decent small track layout in HO scale?”
As Al said, “There is no “right answer”.
A lot depends on what you want to accomplish and what you consider “decent”.
To begin with, what equipment do you intend to run and what era?
A smaller space is necessary if you use older European equipment than if you use American pattern equipment. Also if you use older pattern equipment you will need less space than if you use modern equipment. Freight equipment takes less space than passenger equipment.
Then, do you prefer switching or do you prefer watching the goldfish swim around in the punchbowl?
My “layout in a day” was/is 5 inches wide and 54 inches long.
My favorite “Inglenook” switching layout is 8 inches wide and 48 inches long.
You can have a “Pizza” tail chasing layout using 15 inch radius curves in a space 36 inches by 36 inches.
A minimum loop with a little switching can be done in a space 3 foot by 5 foot but 4 foot by 6 foot is better.
These are all suitable for older equipment (before 1970) and primarily freight.
For more modern equipment you can have a lot of fun with an Inglenook pattern layout that is about a 9 inches wide and 6 feet long.
4×8 is the absolute minimum for modern equipment as long as you are not into passenger trains. For passenger trains 5×9 is about the absolute minimum and a shelf layout around the walls is the better plan.
Hope this helps
I use a simular tool for my fishplates. What I do is to slide a sharp knife
between the bottom oof the rail and the top of the sleeper and slide the
fishplate bettwe. As the temperations vary so much down here, and in
particular the trainroom, I ‘Spot-weld’ an ‘X’-Number that are in an
awkward positions to counter the contraction and retraction, leaving
the unwelded ones as ‘Expansion Joints’ ain easy to get at positions.
They’re cheap enough, JUST a couple of Quid online through
‘BANG GOOD’ and good delivery. In have ordered on a Sunday and
it has arrived here in NZ on Tuesday only to be ‘held up’ by NZ post.
They can be run from an ordinary car battery sndf can be set to different thickness’ of material (Instructions)
Hey Alastair , I am getting ready to start my HO lay out. I have ben reading your daily posts as much as possible. I have a question for you that might sound a bit DUMB . What is a Fishplate? Thank you Dave From Urbanna , Virginia , usa
Thanks a lot guys. I gathered from this that my plan to use 3 tables 4’x8′ assembled in a U SHAPE that would add 2′ more at the top will be more than enough. I’m using modern day dcc engines and stock that needs 18 inch radius turns or bigger. I want a main line all the way around and a siding along the route; a switching area and storge area on one table.
Any emails to correspond with is appreciated, I”m brand new. I also am going to a
club for teaching and learning.