Brian’s been back in touch, this time with his HO scale river barge build:
“Hi Alastair,
Attached is an article of my latest scratch build. A Contractors Barge for my harbour on the lower level of the layout.
This will be my third barge for the layout. I have a large harbour area stretching around the three side of the layout. I love a lot of detail on the waterways.
A few years back I owned a contractors barge kit made by Sheepscott models. At that stage I had no use for it and sold it to a friend but after seeing some photos of a built up one on the internet, I decided that I needed to have one for my harbour.
I asked my friend (who hadn’t built it yet) if I could have a photo copy of the plans to scratch build one for myself.
I did not make an exact copy of it but built it for my needs in my layouts harbour and modified it to the way that I thought would fit my scene.
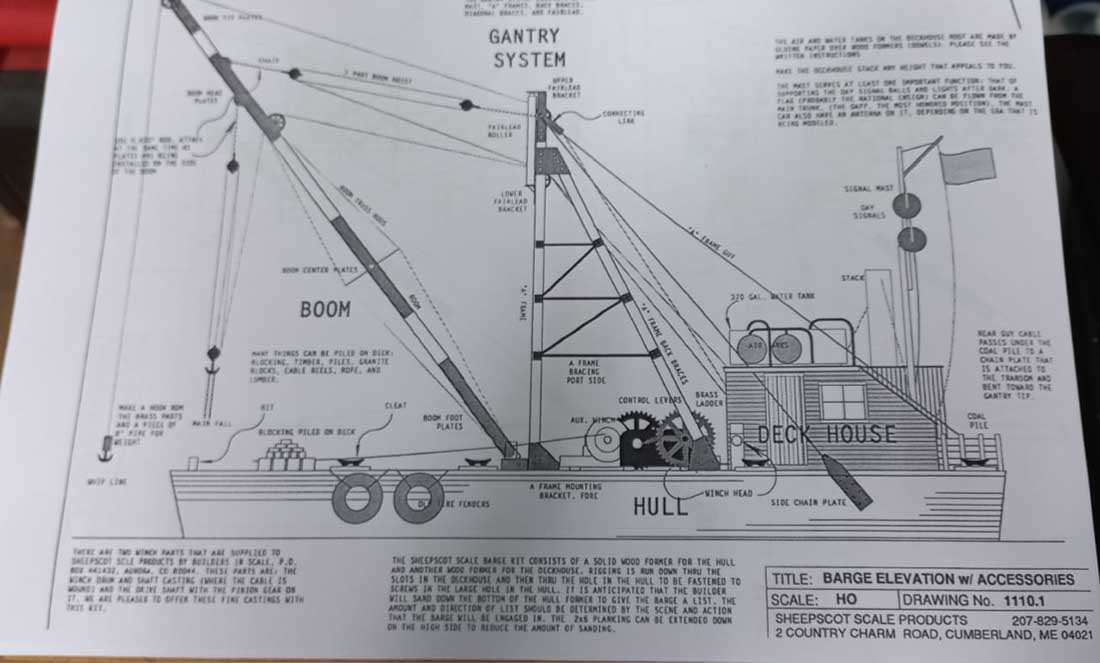
Here is a photo copy of the original plans.
I borrowed the hull and cabin in order to get the right sizes for my model. A friend who is in the woodwork business cut an new hull and cabin for me using the originals as guides.
This is the cabin from the kit. (also borrowed).
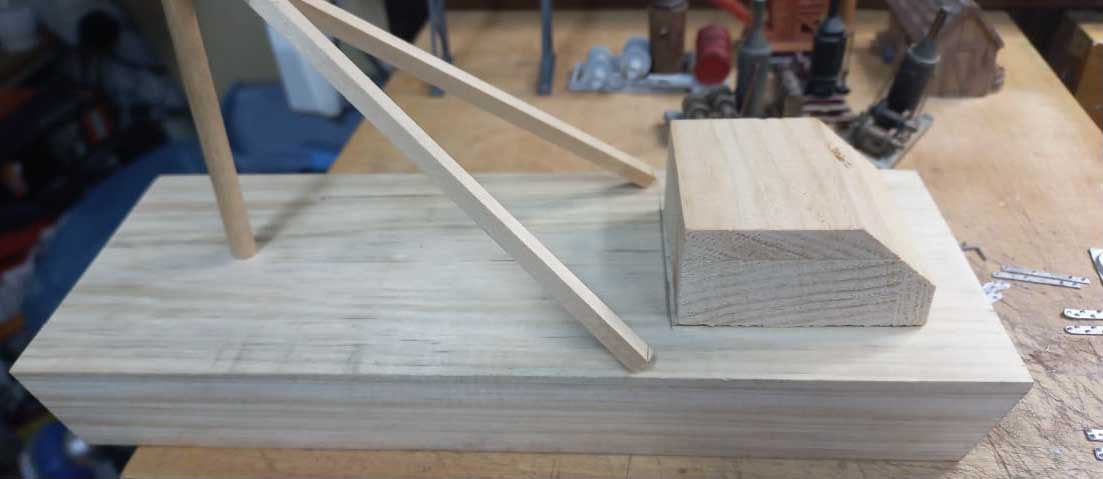
My new hull cut to size and the new cabin. Checking out the placement of the superstructure on the deck.
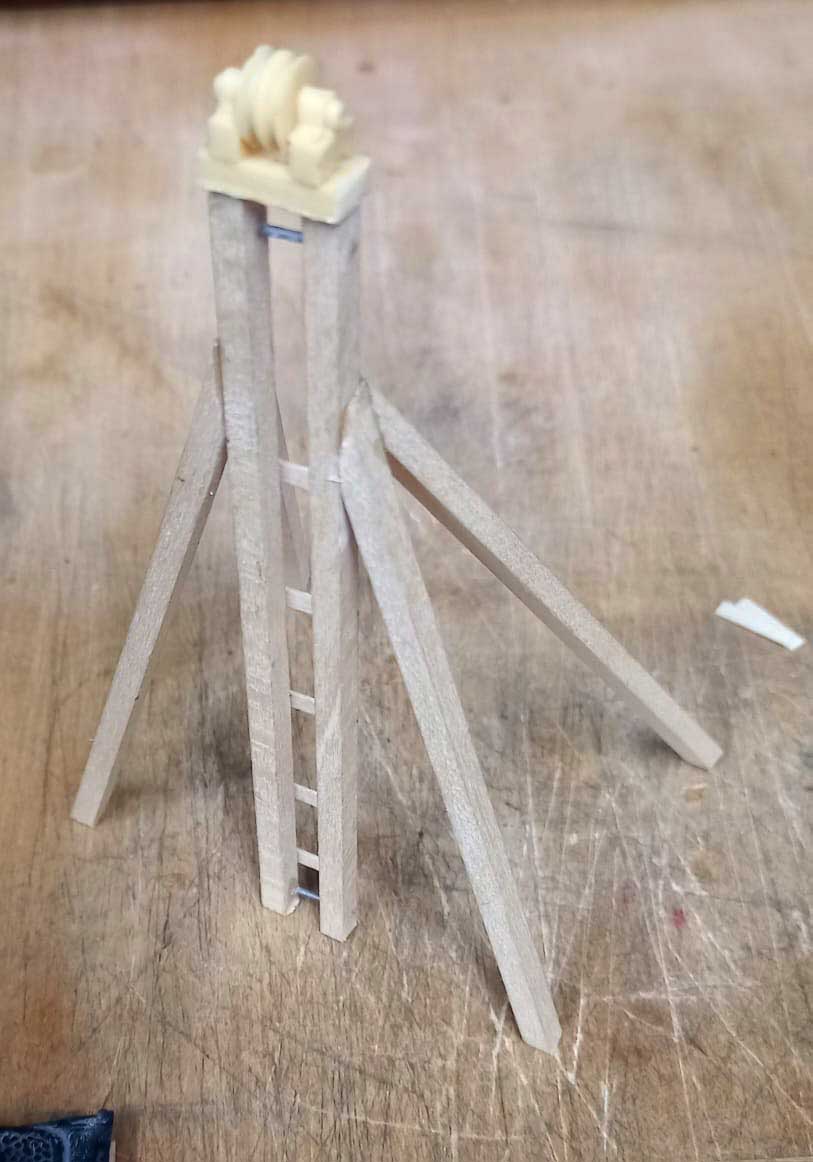
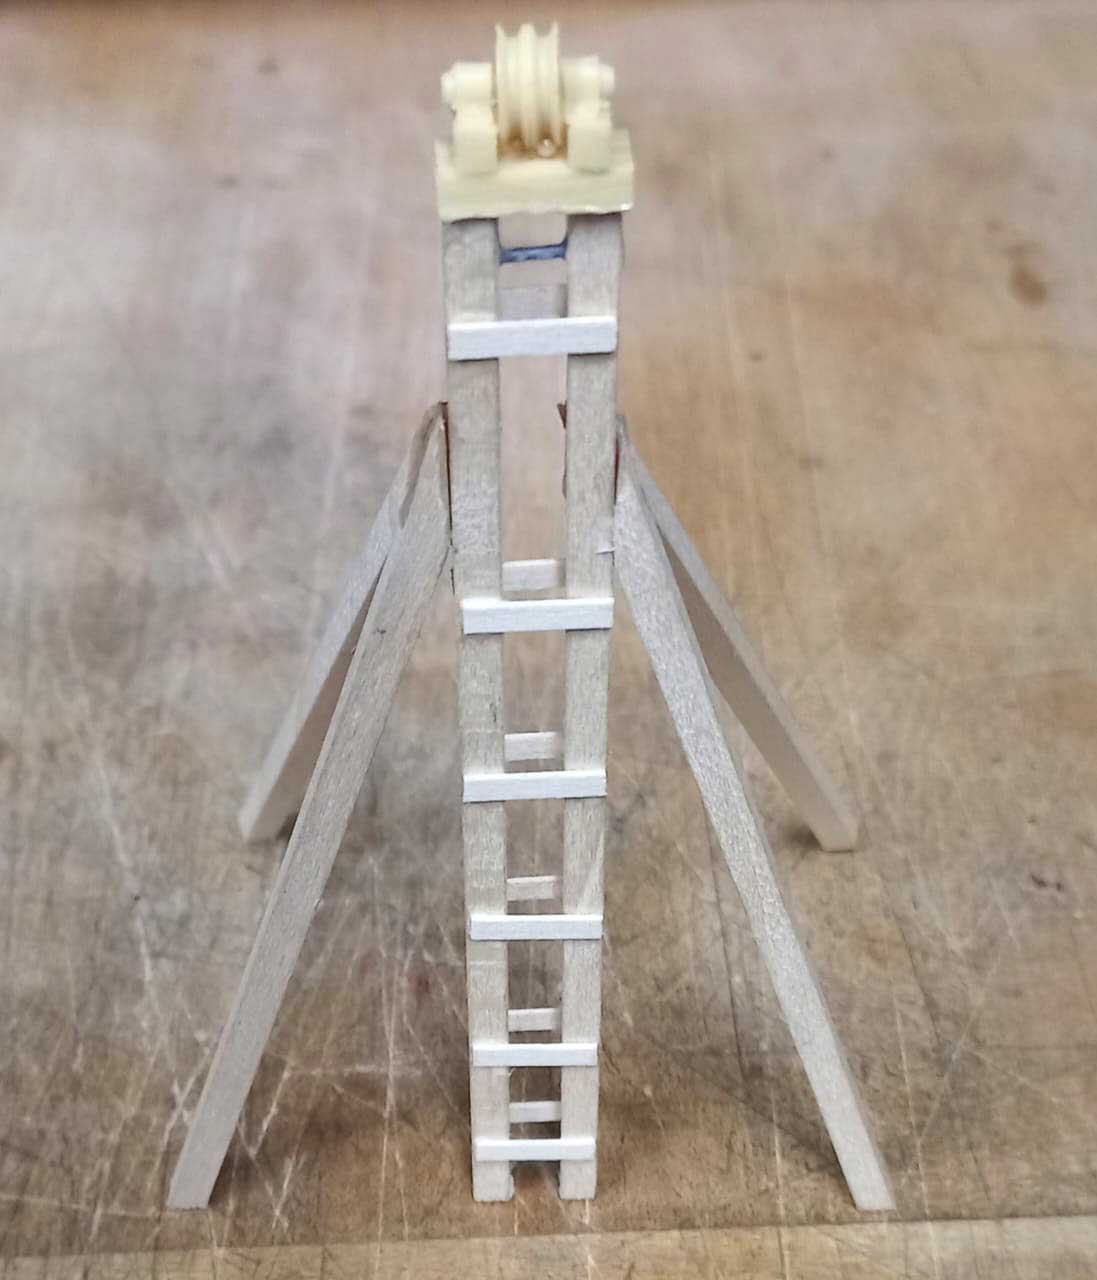
The scrathbuilt superstructure with one of my resin pulley castings for the top.
The pulleys here is where the cabling will go over the top from the cabin pulleys to the top pulleys of the jib to raise and will lower the clamshell bucket.
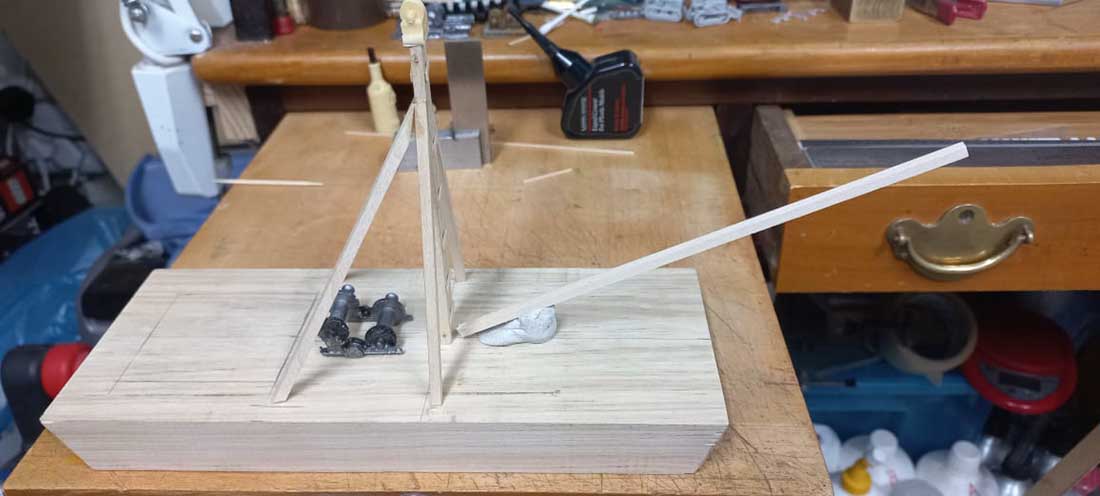
Below, working out the length of the jib.
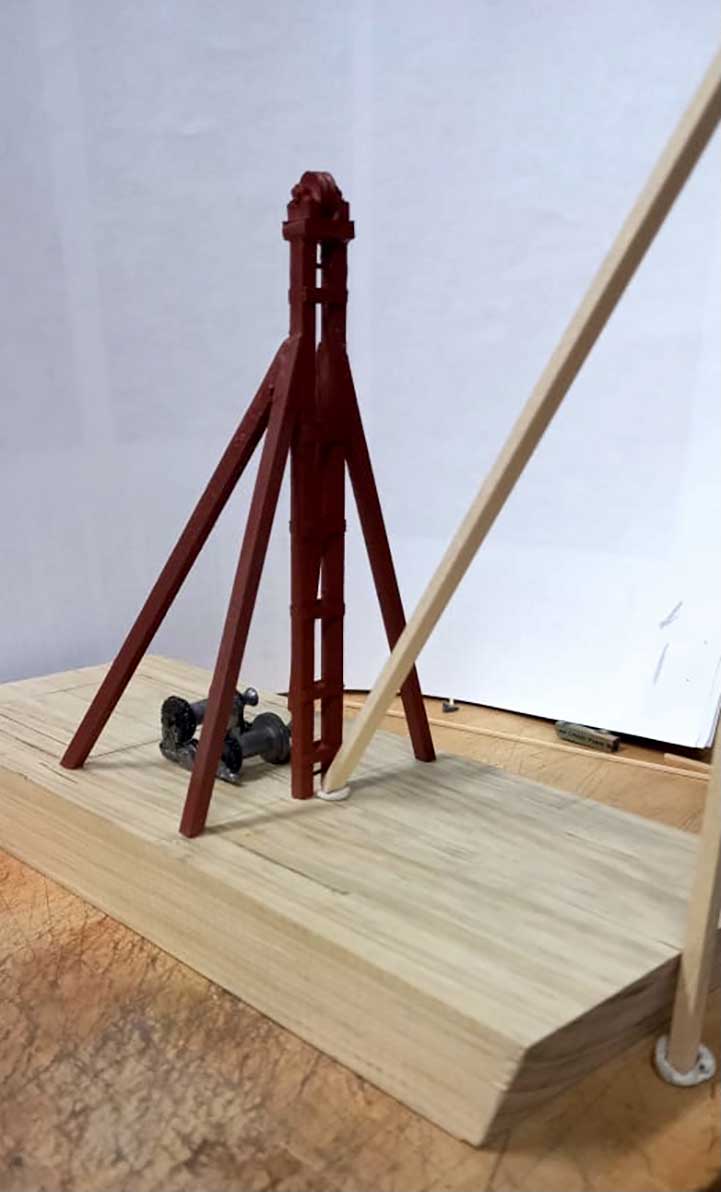
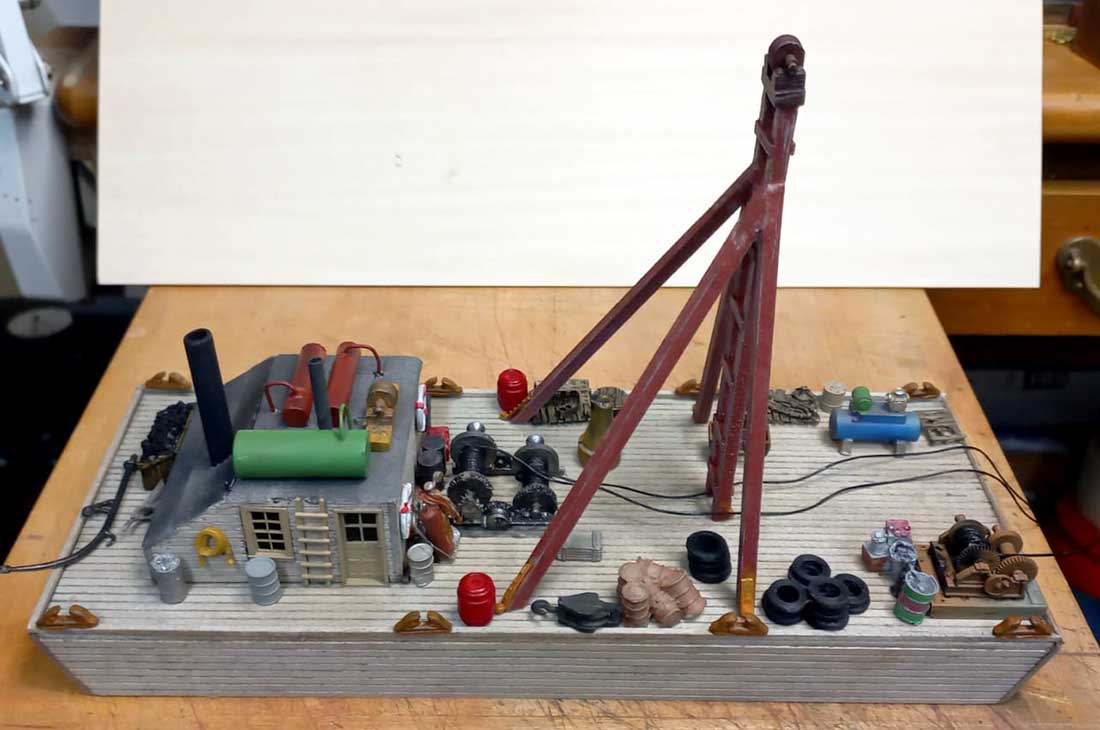
Superstructure in the process of painting before weathering and the temporary jib.
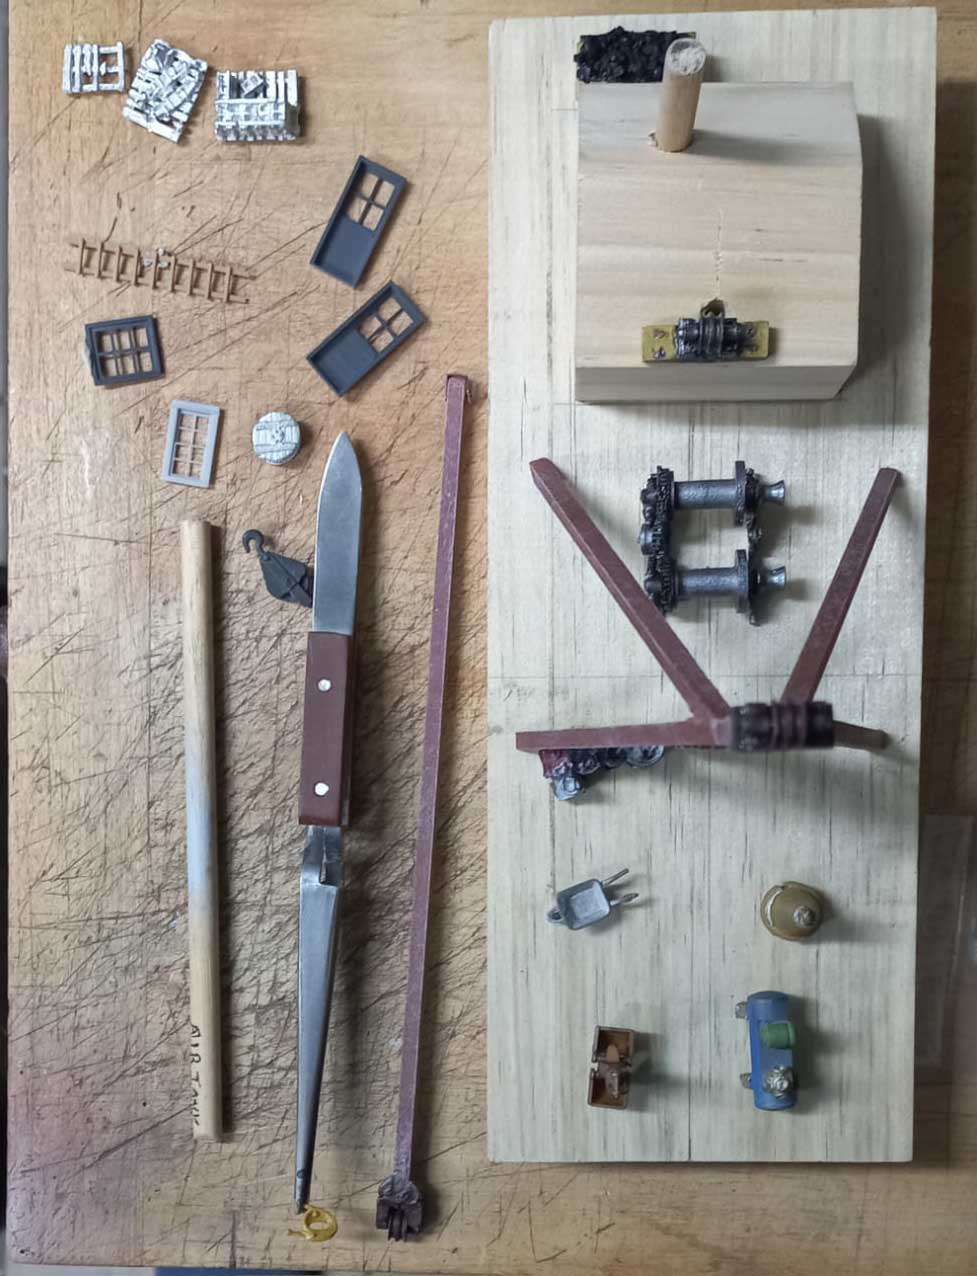
Below – figuring out what goes where. The set of winding drums shown here will be used to move the jib left or right as needed. Shown here on top of the cabin is the other set of pulleys.
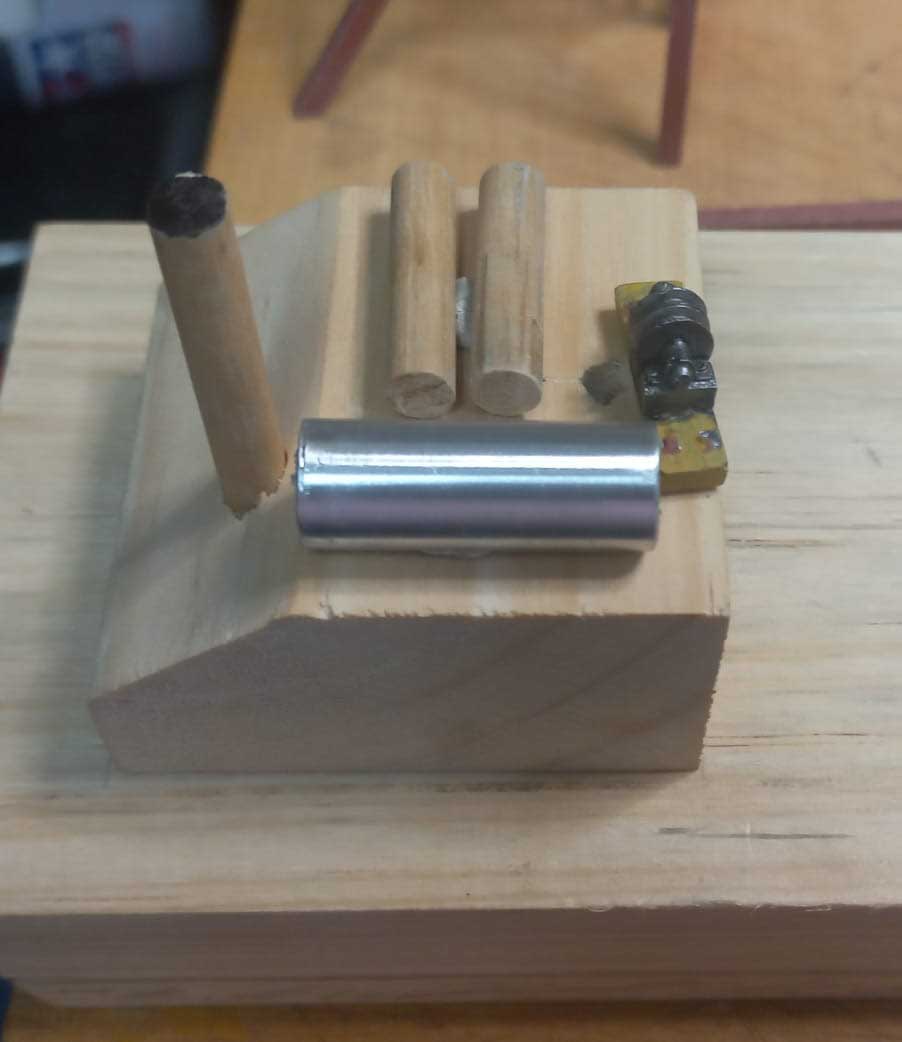
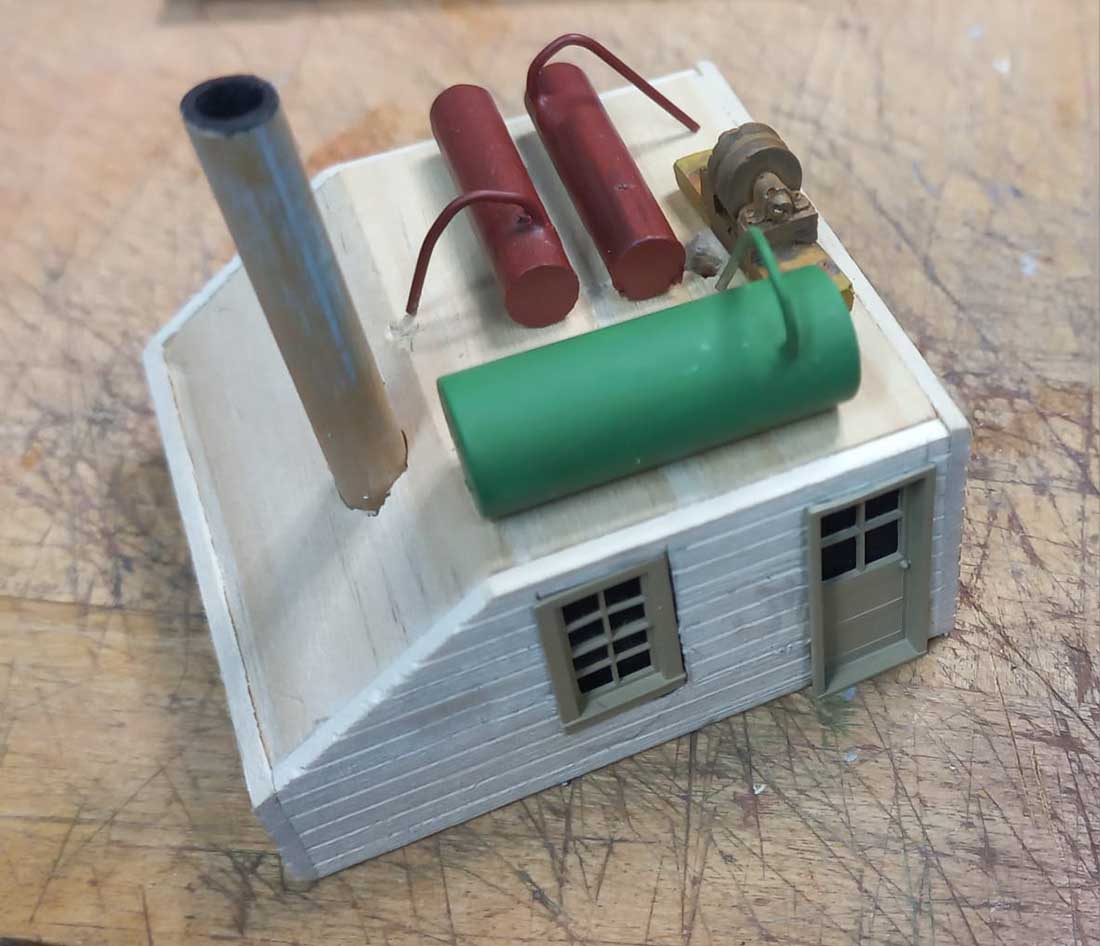
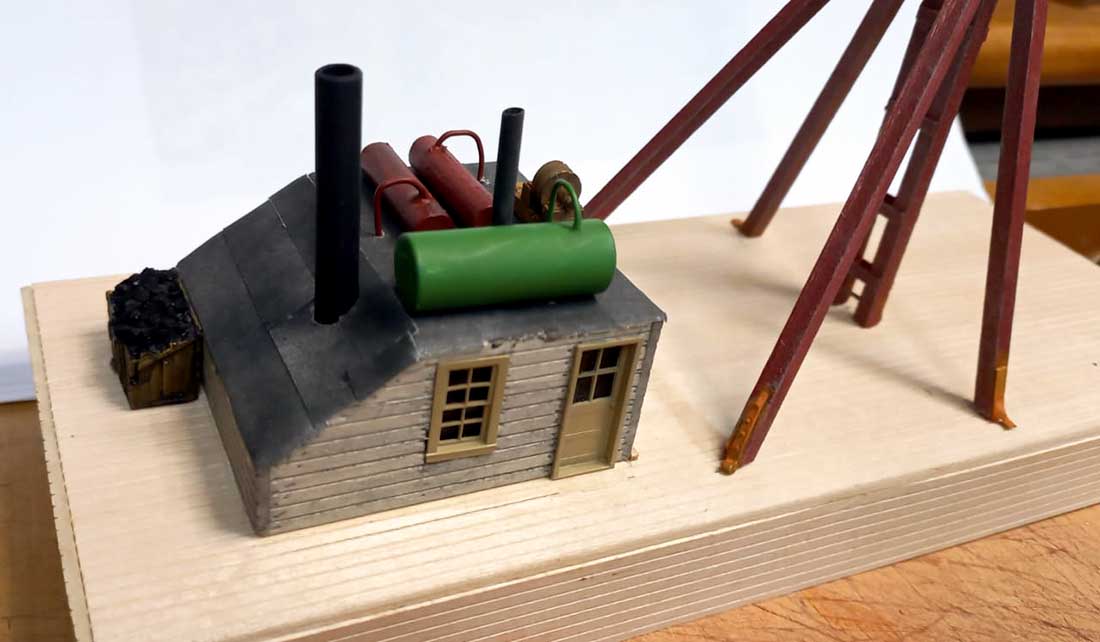
Placing all the cabin roof top details – air tanks, water tank, pulleys for the cables and the smoke stack before adding the tarpaper covering. The smoke stack is for the steam driven engine inside the cabin.
Added the scribed siding all around the cabin as well as the doors and windows before adding the tarpaper roofing material.
Again checking the placement of the cabin and superstructure before gluing it in place.
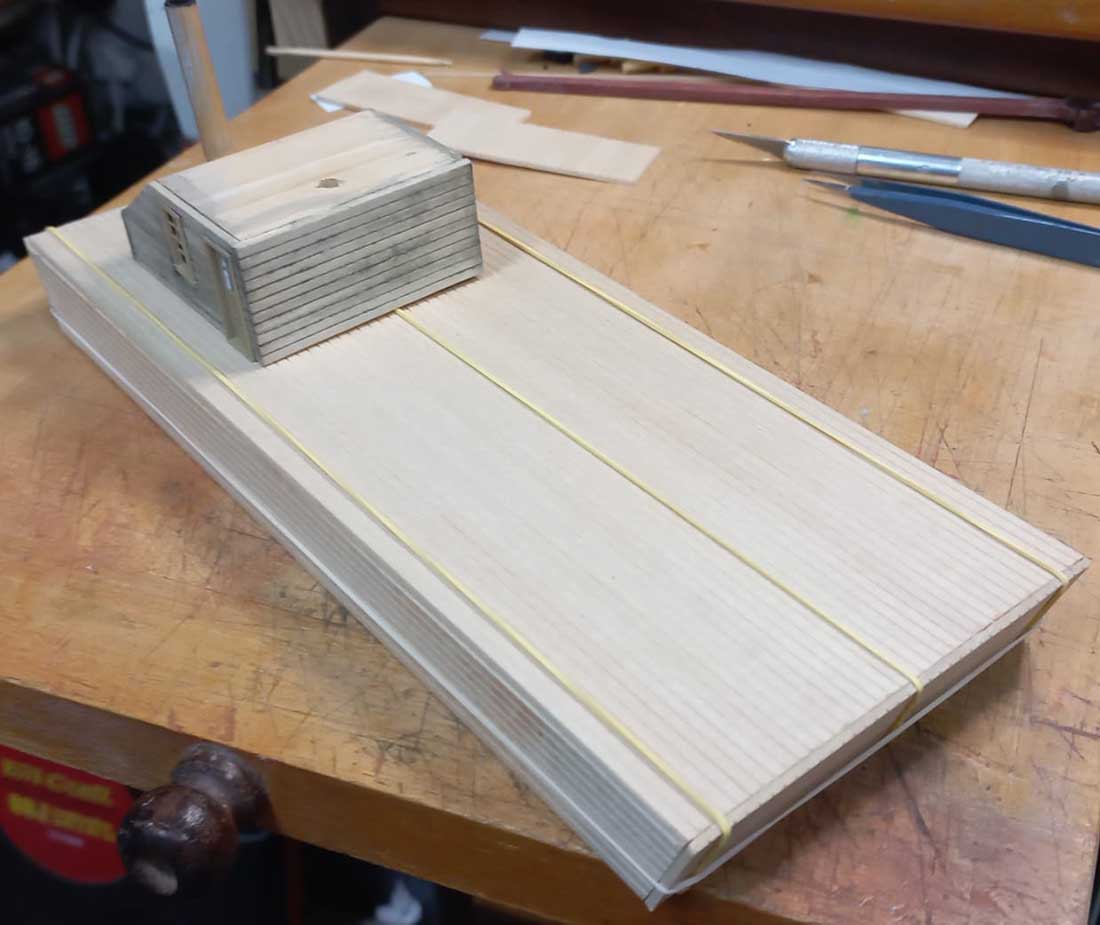
Elastic bands to hold the scribed siding while the glue dries. Roof will be covered with tarpaper. The hole in the top is for the cabling to raise and lower the clamshell bucket.
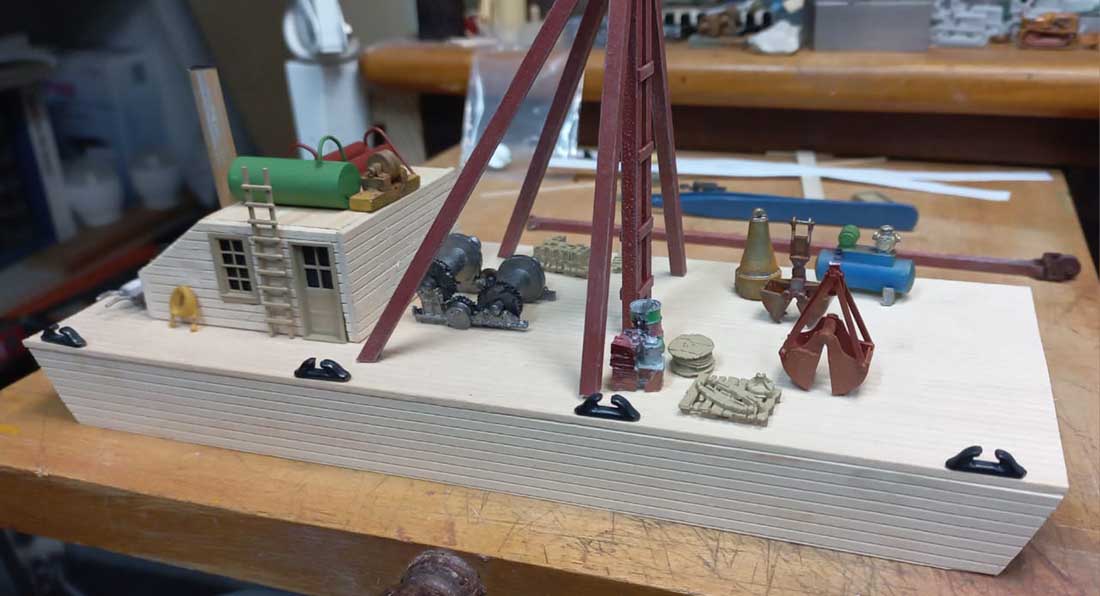
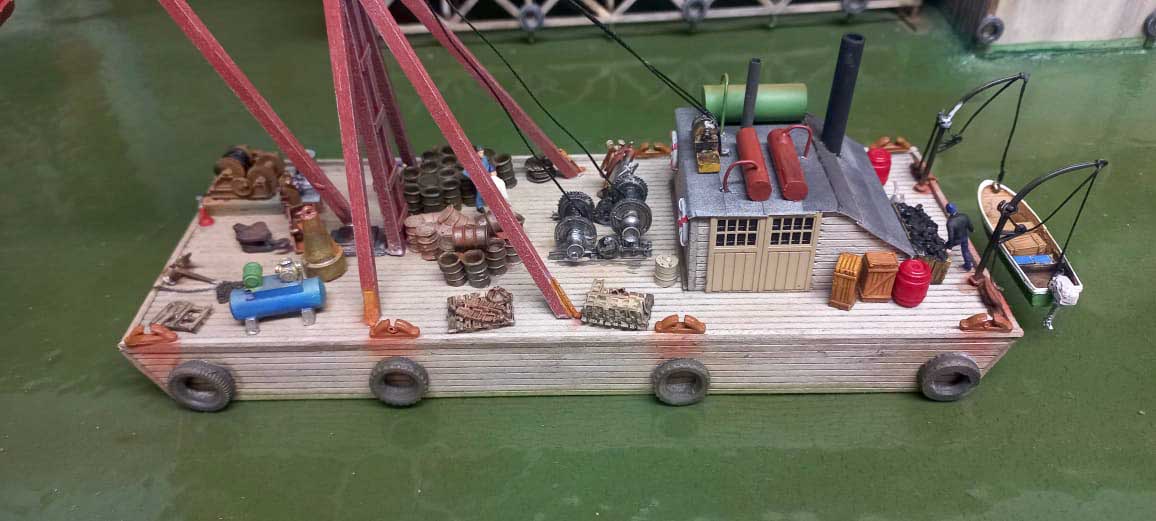
Cabin has been weathered and glued in place. Note the coal box behind the cabin.
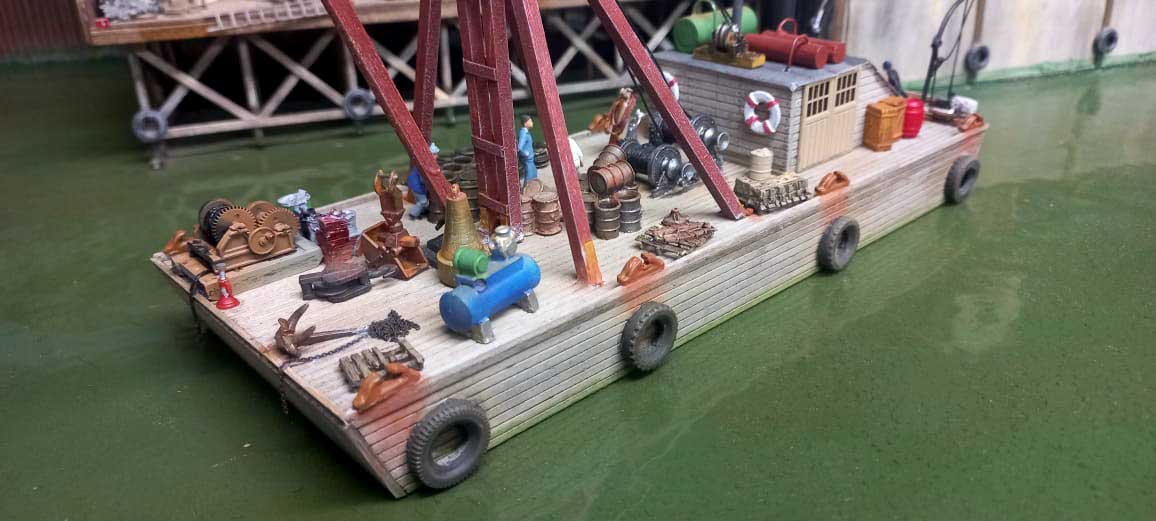
Gluing almost all the details on the deck.
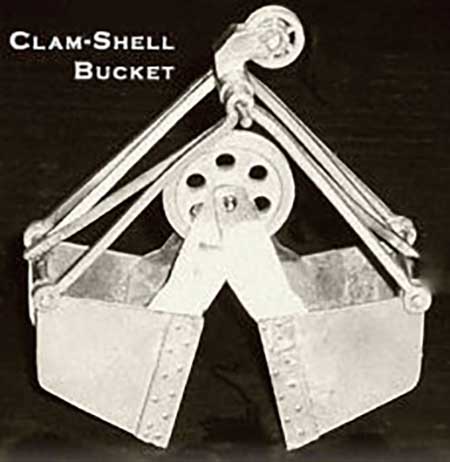
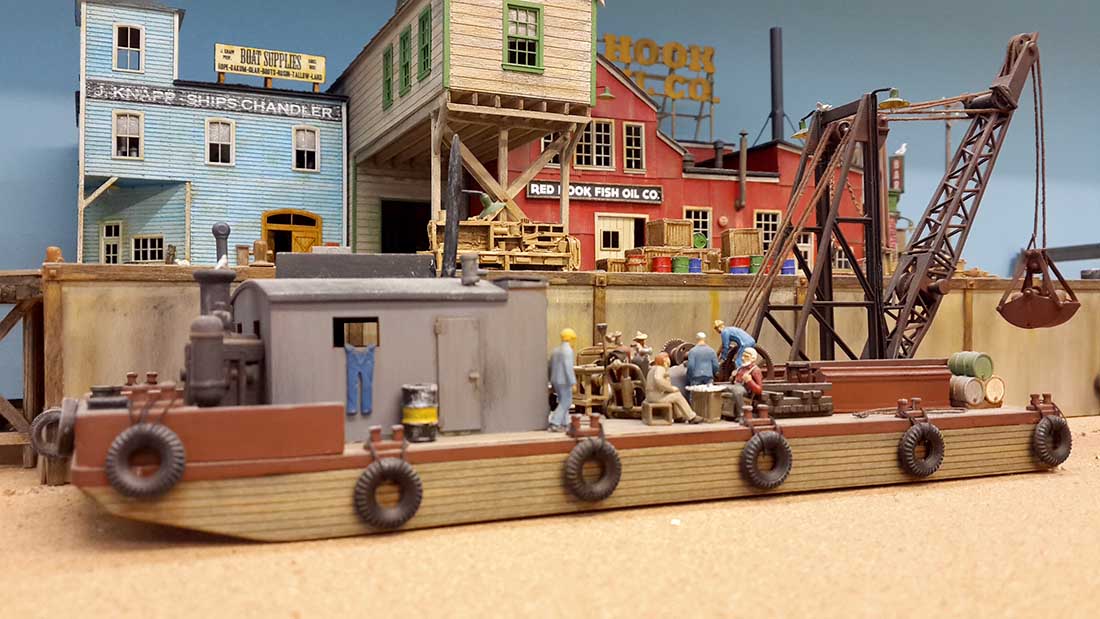
Found a bigger clamshell bucket metal kit for the barge. I have assembled and painted it. It replaced a smaller plastic one which is now placed on the deck as a standby.
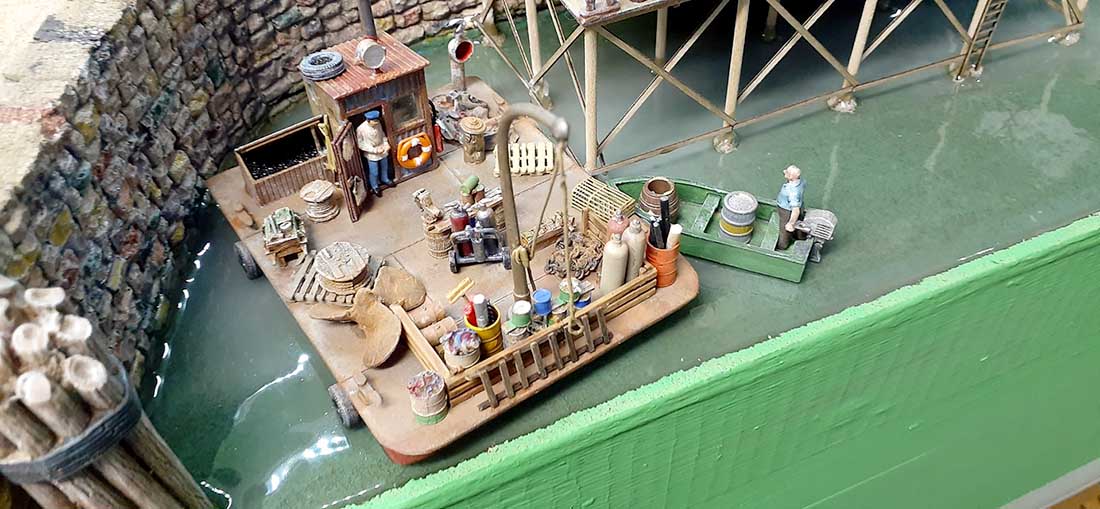
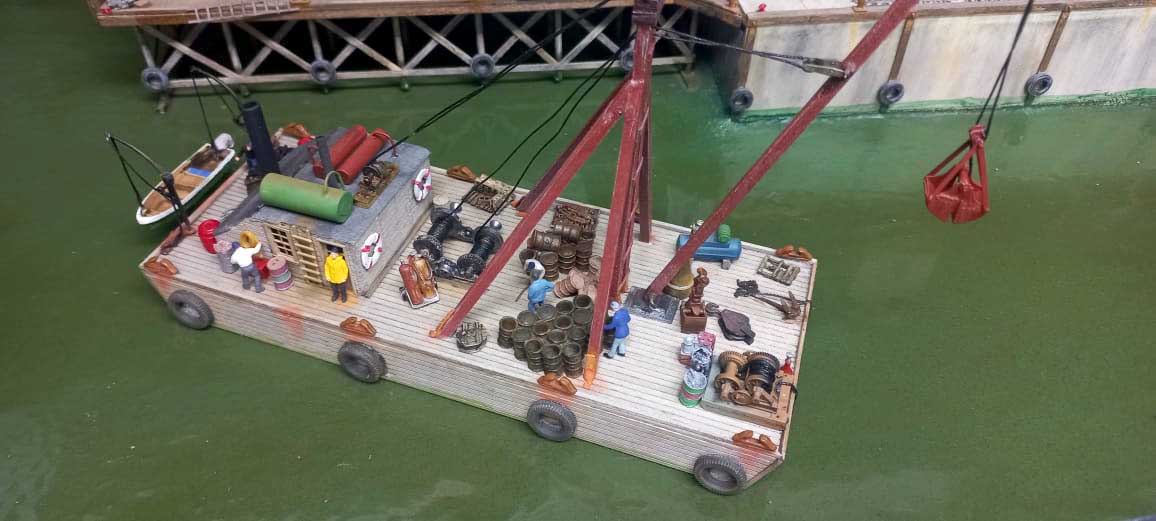
Added the boat for the crew on the back if needed for returning to shore. My smaller scratch built barge shown along side. The build of that one was in a previous article.
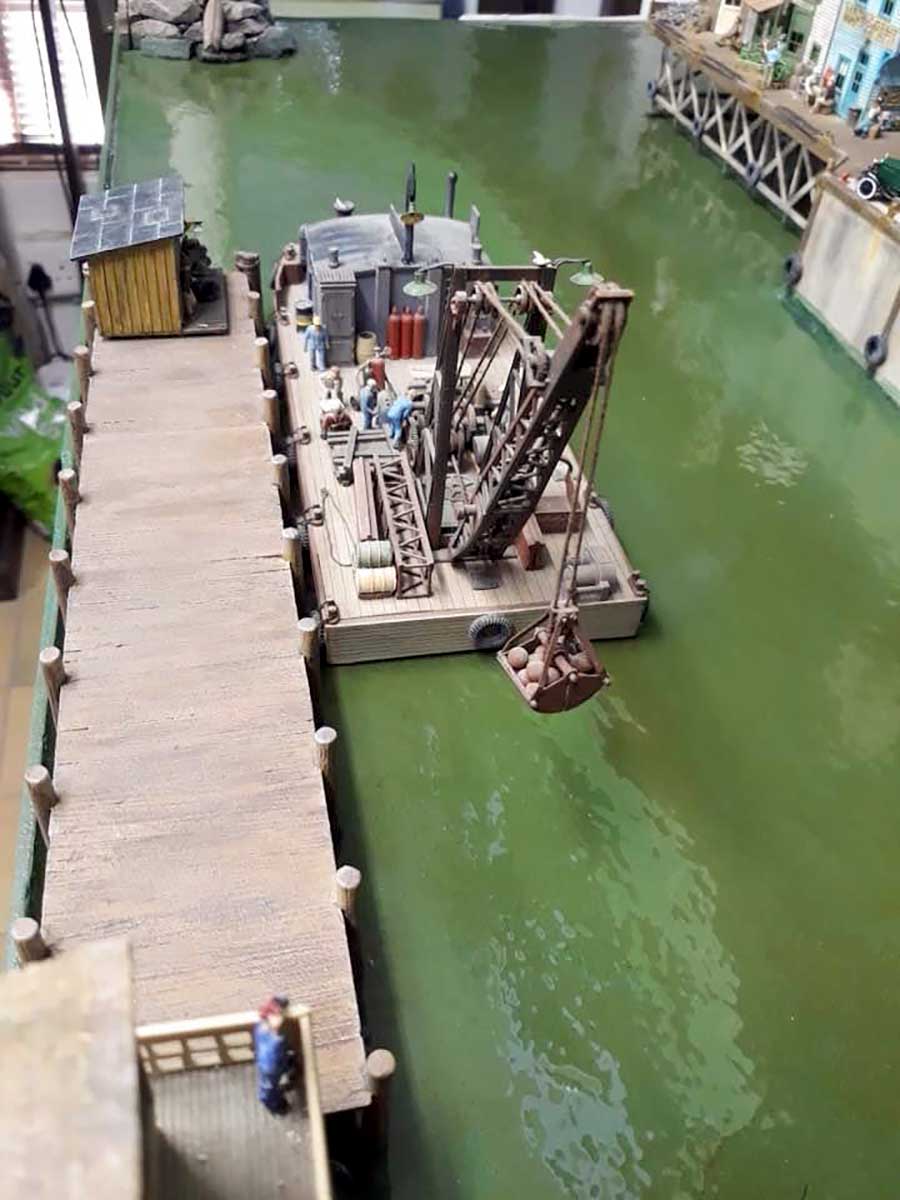
Temporary placement in the harbour while I search my bits box for the tyre bumpers to go on the sides.
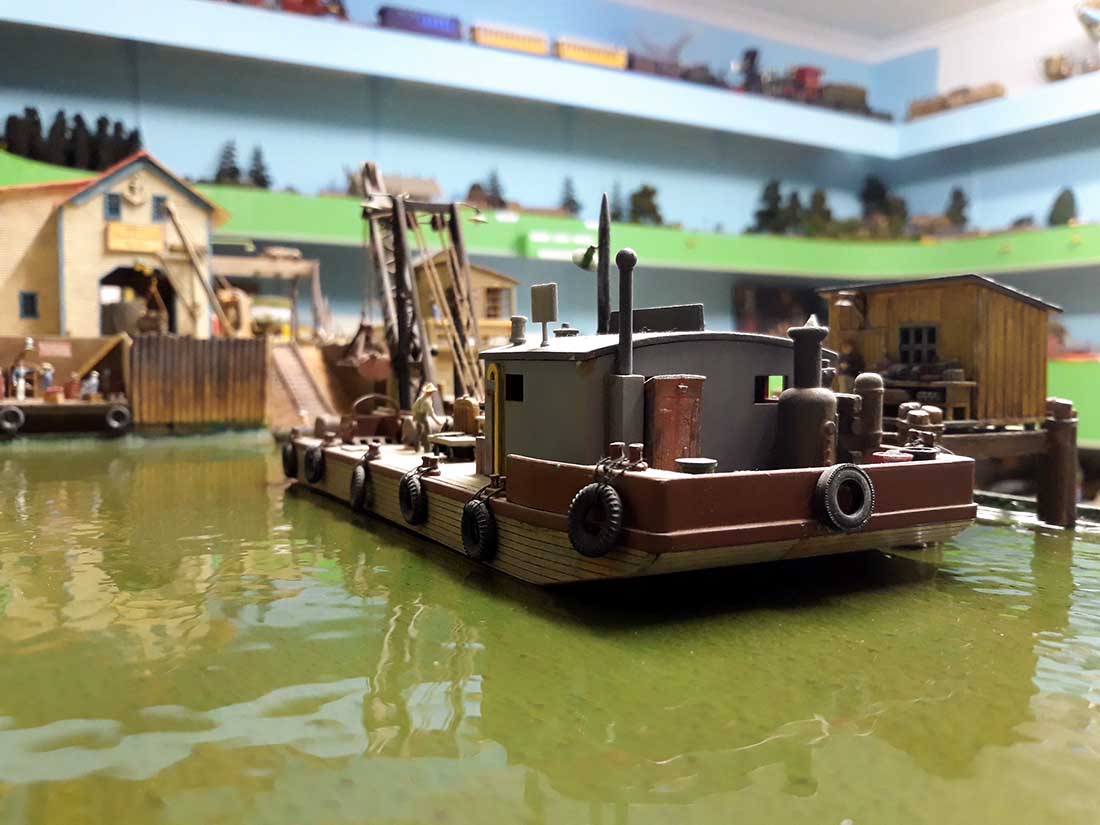
Finally the completed model ready to be put to work in the harbour.
Photos below are of my other two scratch built barges.
Well that is another project taken off layouts my bucket list. (For now ??)
Wishing all the Modellers here on this site, a Merry Christmas for the festive season and a prosperous new year.
And best of all, Alastair and his family.
Brian – the HOn3 guy in Knysna RSA”
A huge big thanks to Brian for sharing his ho scale river barge – it’s a stunning scratch build. I loved it.
You can see more of Brian in the Hall of Fame.
And his other barge posts are here:
That’s all for this time folks.
Please do keep ’em coming.
And if creating your own model railroad is an itch you just have to scratch, the the Beginner’s Guide is here..
Best
Al
PS Latest ebay cheat sheet is here.
PPS More HO scale train layouts here if that’s your thing.
Need buildings for your layout? Have a look at the Silly Discount bundle.



Amazing work Brian! How you manage to find all the right stuff to litter the decks with in your “bits box” blows my mind. Thanks once again for sharing and Merry Christmas to you and all who read Al’s blog.
Nice work Brian ..all the bet to you for Xmas and teh New Year
Hi Brian. Nice model. In reality it would be very limited in its capacity. You have placed the base of the jib so far towards the front of the barge as to really limit its lifting capacity. If you look at the original drawing you will see that the bottom of the jib is amid ships allowing much greater lifting capacity.
The cross bracing on the cable tower looks like a ladder. Obviously it is bracing but I think it would be flush with the sides of the tower and not stick onto the outsides. These barges were built at a time where good engineering practices were employed no matter how basic the item being would be undertaken
Still a nice model and I’m sure will only enhance you layout.
Happy Xmas to all our fellow followers
Many thanks Brian. It’s great to see somebody doing excellent work. I am still at the pipe dream stage. Merry Christmas. IAN
Great work Brian – as always! Merry Christmas to you and your family from Glyn the Rhodesian in Santa Fe.
Waw !
That’s awesome ! Thank you for sharing the steps and progress , too cool to see a block of wood transition into a work of art . Very impressive . You must have a massive layout to be able to house a harbor scene as well . Great job , thanks for sharing , very insightful and inspiring.
Outstanding work. Detail is amazing. Your skills are Wow!
Thank you for sharing.
Great job on the barge. really inspiring, ….Gordy Grindey
I love the barge! If u didn’t know the two black balls in the drawing are Day Shapes for a vessel not under command,usually reserved for vessels due to some exceptional circumstance (tho could be used for dredging if the stipulations are met) they tell other vesssels that they have certain things going on and can’t maneuver as collision regs require on the water.. Optionally a ball diamond ball symbol could be displayed signaling they are Restricted in Ability to Manuever. As I said luv the barge, and now think I just might make one like it, as it looks like a fun challenge. My experience with barges are they are messy as they are working vessels but have an organization to them, extra chains cable’s, and steel and welding equipment on deck. Luv model railroading.
Great modeling of the barge. All the best, Rob
Wonderful job, looks like it was always there.
MERRY CHRISTMAS TO ALL MOLDERS OUT THERE HEALTHY NEW YEAR.
THANKS AGAIN AL.
Your water effect is BANG right on! WOW. Amazing…. looks so real. Good job and excellent job on the barge.
That’s first class modeling at its finest. You are one dedicated modeler dedicated to creating highly detailed and realistic designs and models.
Jim AZ
Nice Work!!! Love to see more of your layout. Inspirational
That’s dedication to the hobby.
Brian, thank you for the step by step instructions and the diagram on the contractors barge it really looks awesome.
A Harbor and railroad blends two things I love trains and the waterfront and ships the trade with other nations fishing and canning industry the railroad to move the goods all over the country the sea has always been a good thing for me out away from the madness and travel to exotic places on my once commercial ocean going tug with 2 TA V16-92- 2 stroke Detroit’s in it wish Id never sold her . but I could not afford to run it with today’s fuel prices ! .
Superb! Brilliant! It has inspired me away from pre-made to self-made! Cheers!
I was looking all over the deck for some manholes to gain access to the barges interior for pumping out water. Nice job though. Hi 5s for keeping good modeling alive.
Steve Guy, the access to the interior of the barge is through the cabin. There are doors on both sides of it to gain access to the inner hull.
Cheers
Brian – the HOn3 guy in Knysna RSA
Brian
This shows why you are the one of the top modelers.
Awesome