Dan’s been back in touch – this time with some very good advice on HO scale roads, as you’ll read:
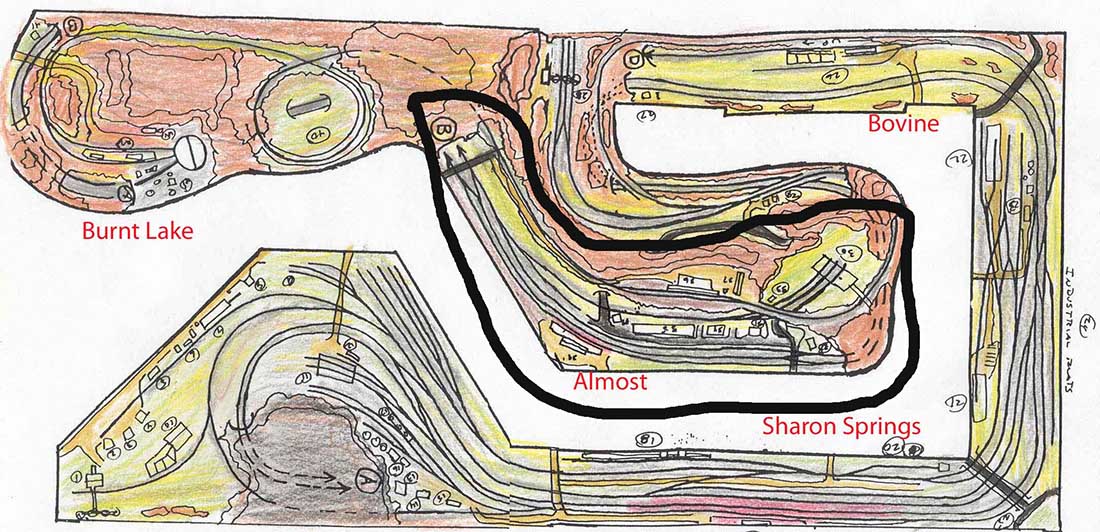
The construction of ‘Almost’.
Almost is so named because it is almost at the summit of that division.
The summit happens to be in a tunnel therefore, “almost to the summit.”
Rail enthusiasts all know that many names along the railroads have interesting names. In the US there is Altamont, Mount Summit Crestline and so on.
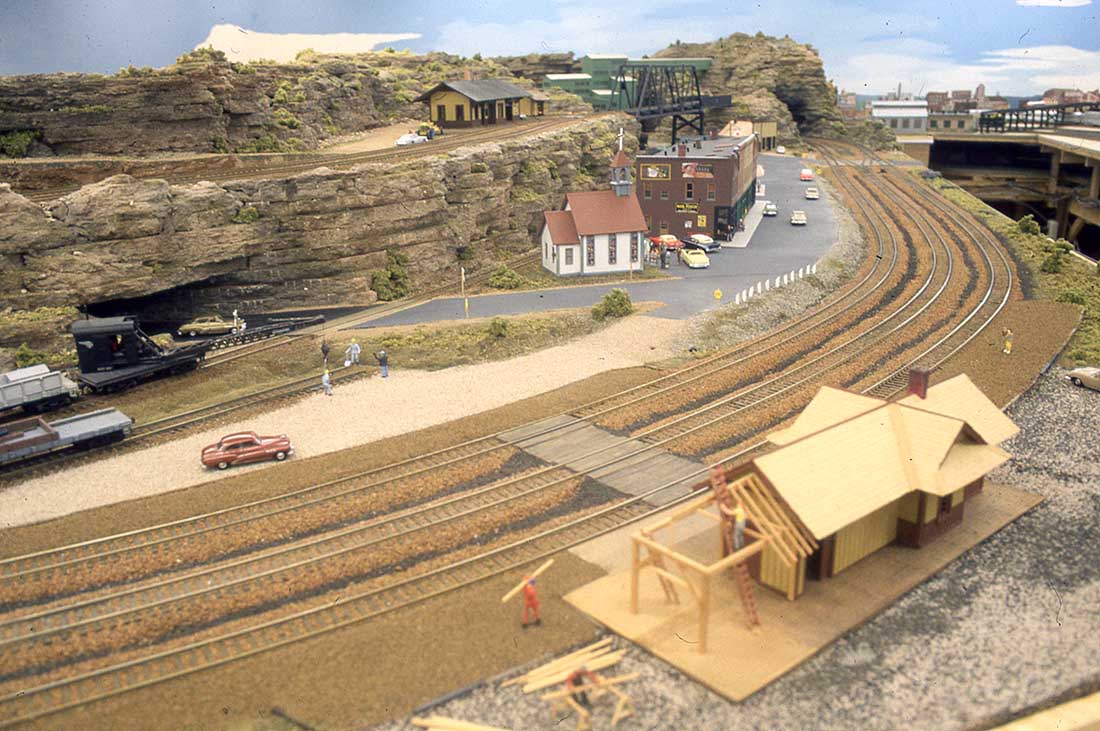
Almost has had the good fortune to be the home of Almost Mine the “Home of Almost Clean Coal” because of the low sulfur content. The station at Almost is having an addition added to it to handle the population growth. The station is a Campbell kit.
Above Almost is Ruth, a station on the old mainline that eventually goes to the resort, Burnt Lake. You will see that in another installment.
In keeping with my narrative, Almost represents the realignment and lowering of the grade and double tracking the mainline when money came available.
Let the construction begin!
The section of the layout that will be shown under construction.
The basic open grid work foundation.
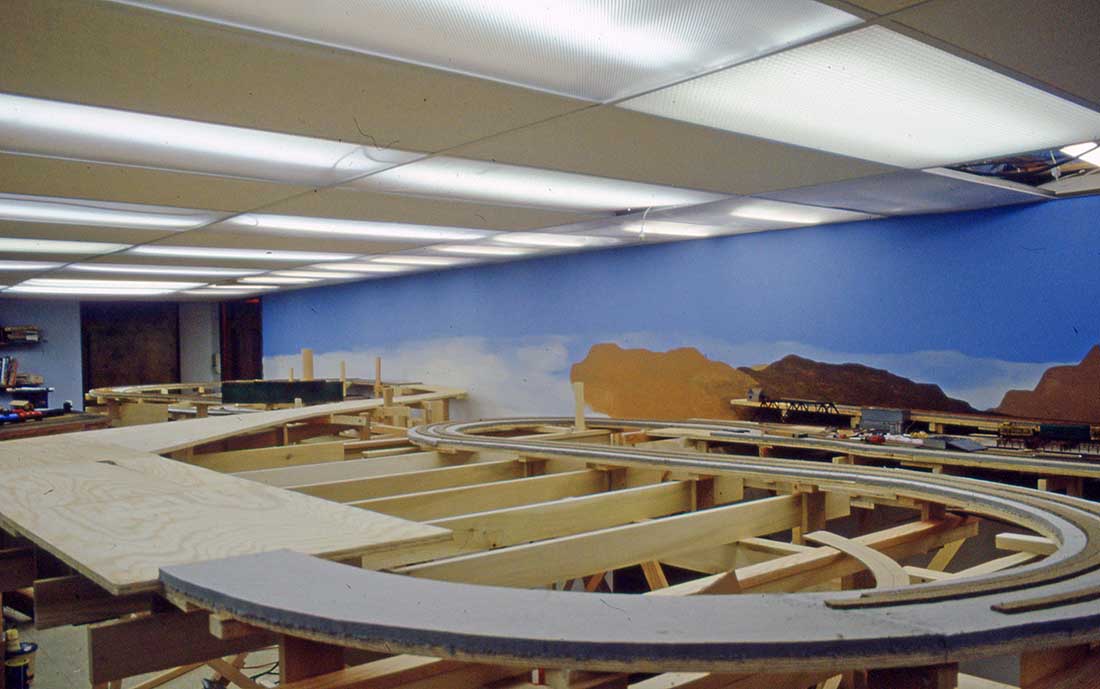
A view looking the other way.
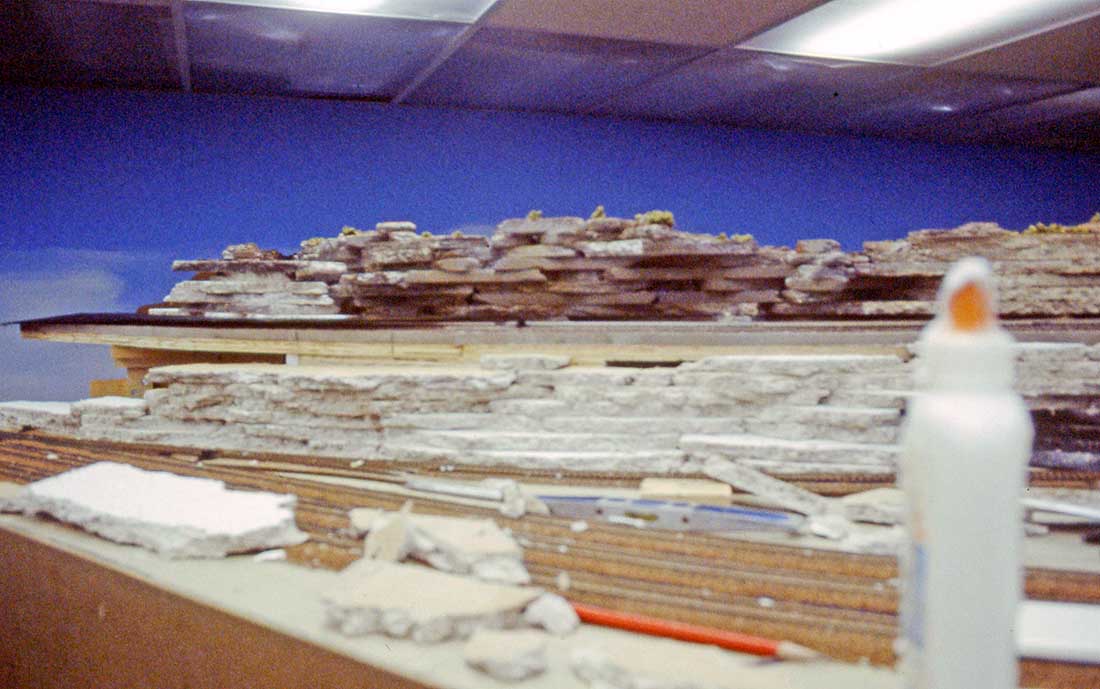
The first part of Almost was the coal mine. Notice that colored rocks are of the other side of my last post. There is quite a reach over the rocks and track in place. Usually not a good idea.
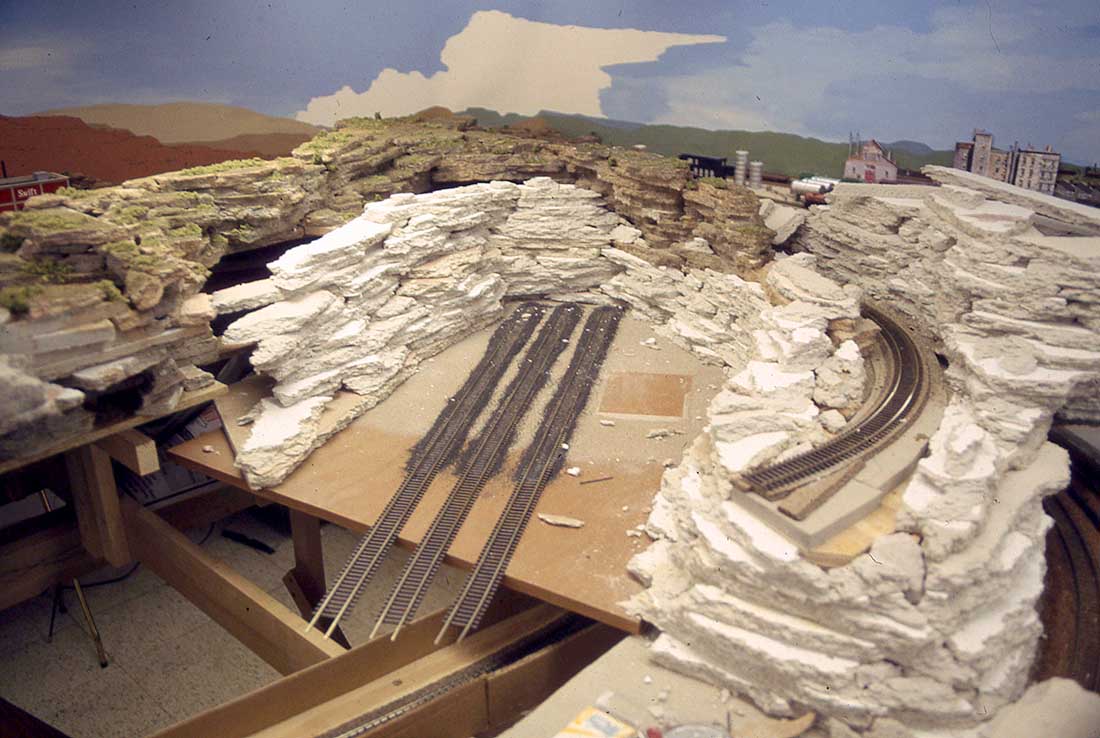
This happened because the original plan was to be on the upper level even with the track already in place. If the mine would have stayed in place, it would have messed up the view block my hills/mountains I use for this. You would see a mine sticking up in the air. View blocks prevent seeing the entire layout at one time.
I have built two telescopes and amused to seeing things in reverse. I used a mirror to help place the ceiling tile rocks.
The mine in place. The Walther’s New River coal mine.
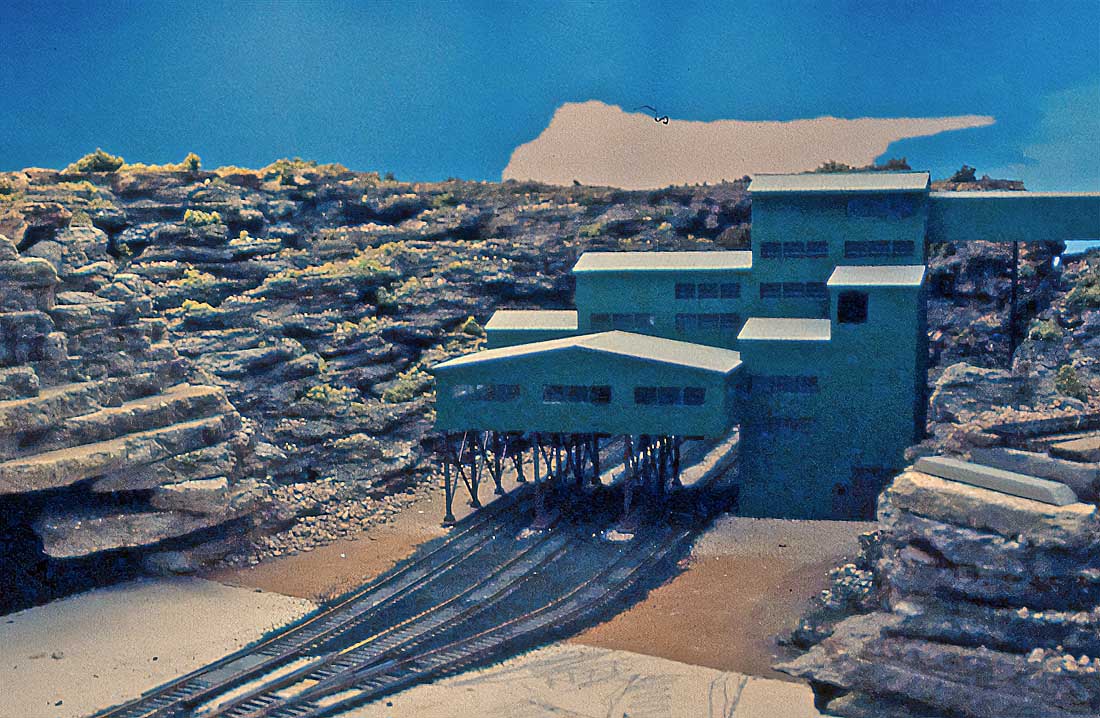
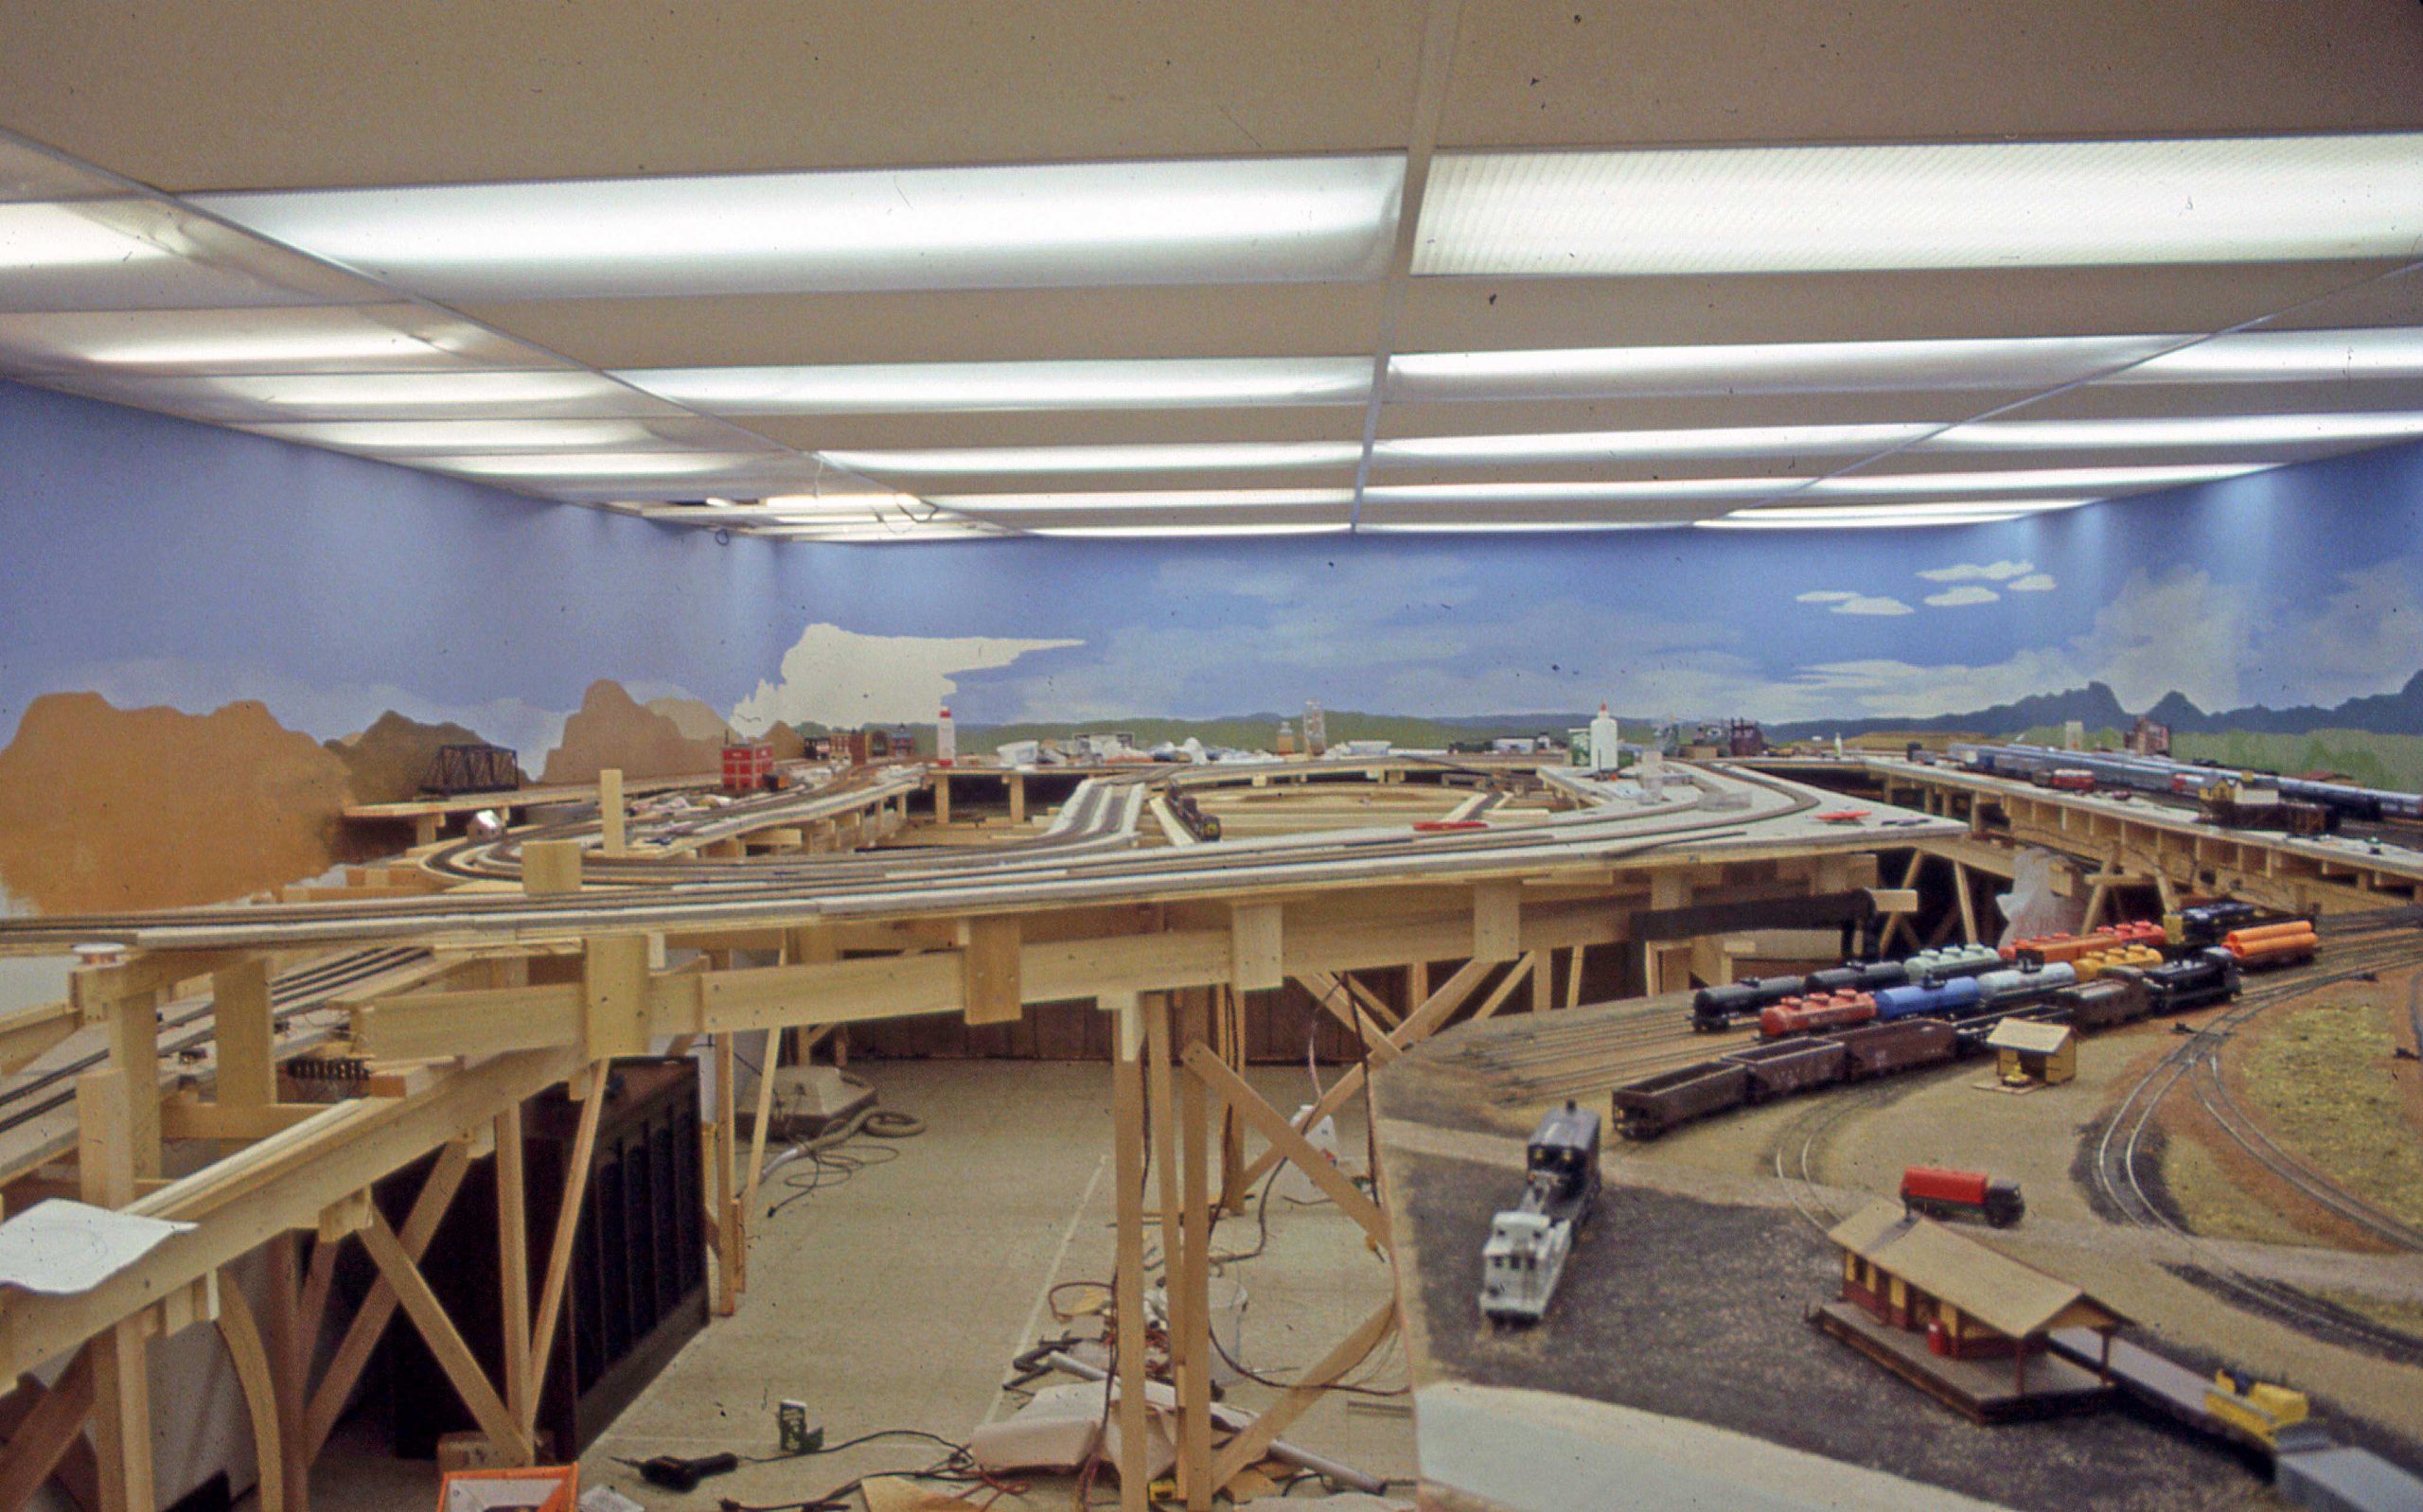
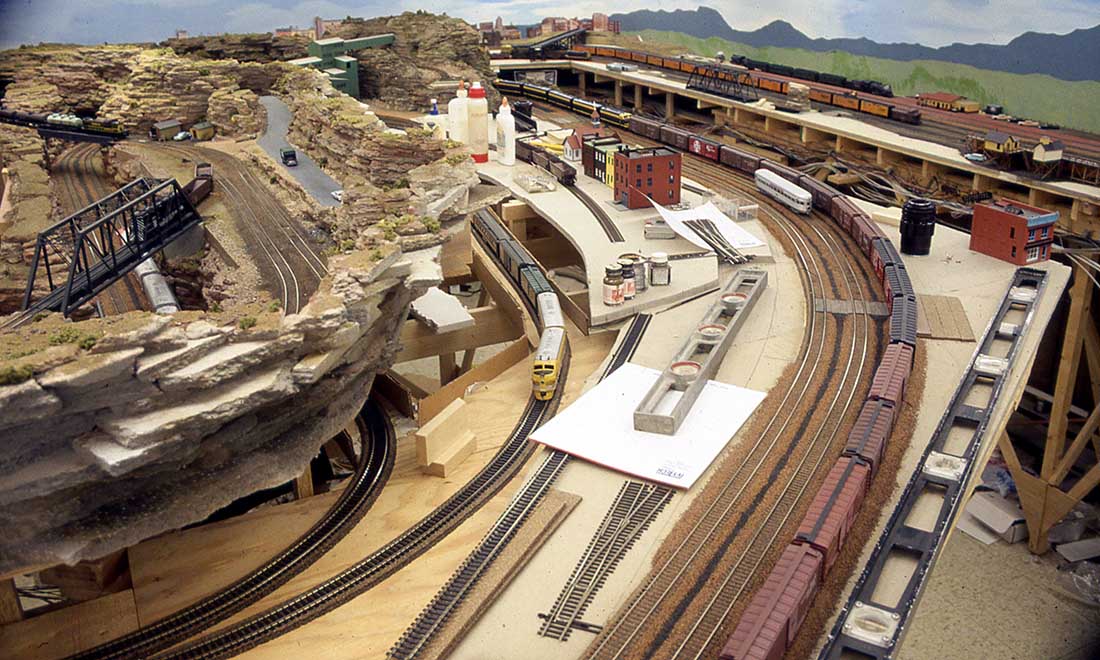
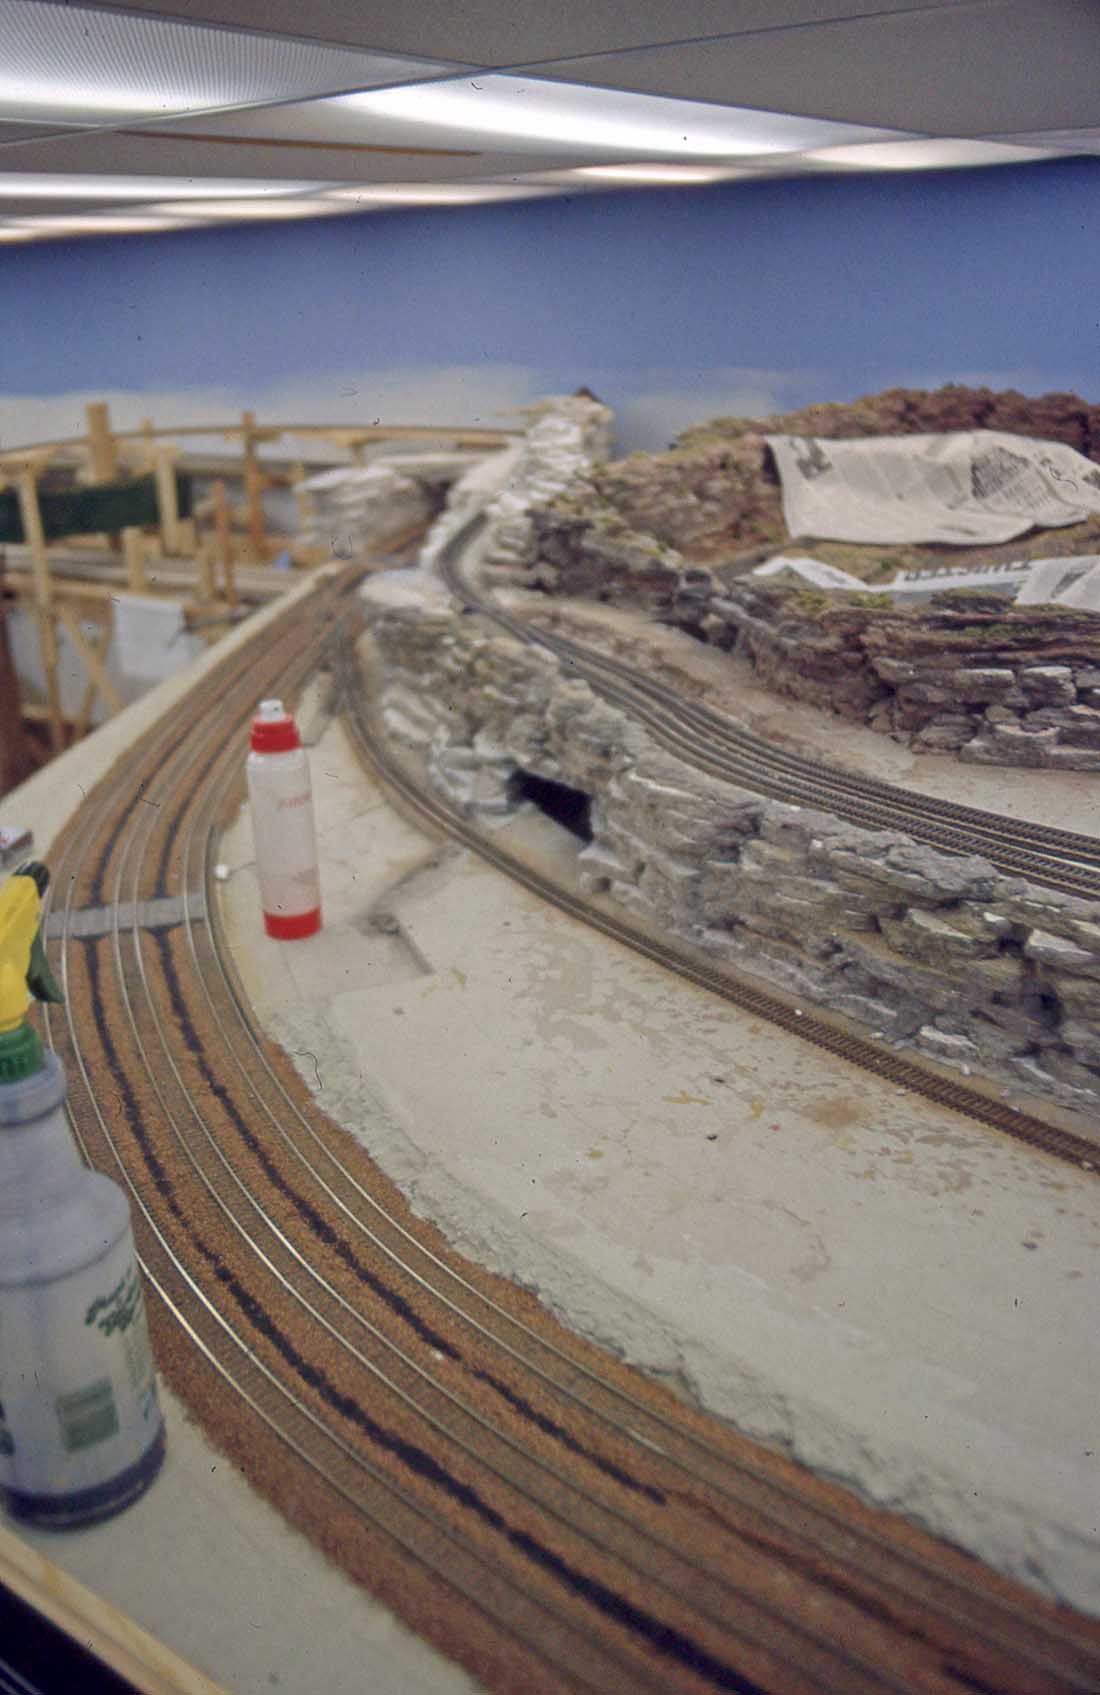
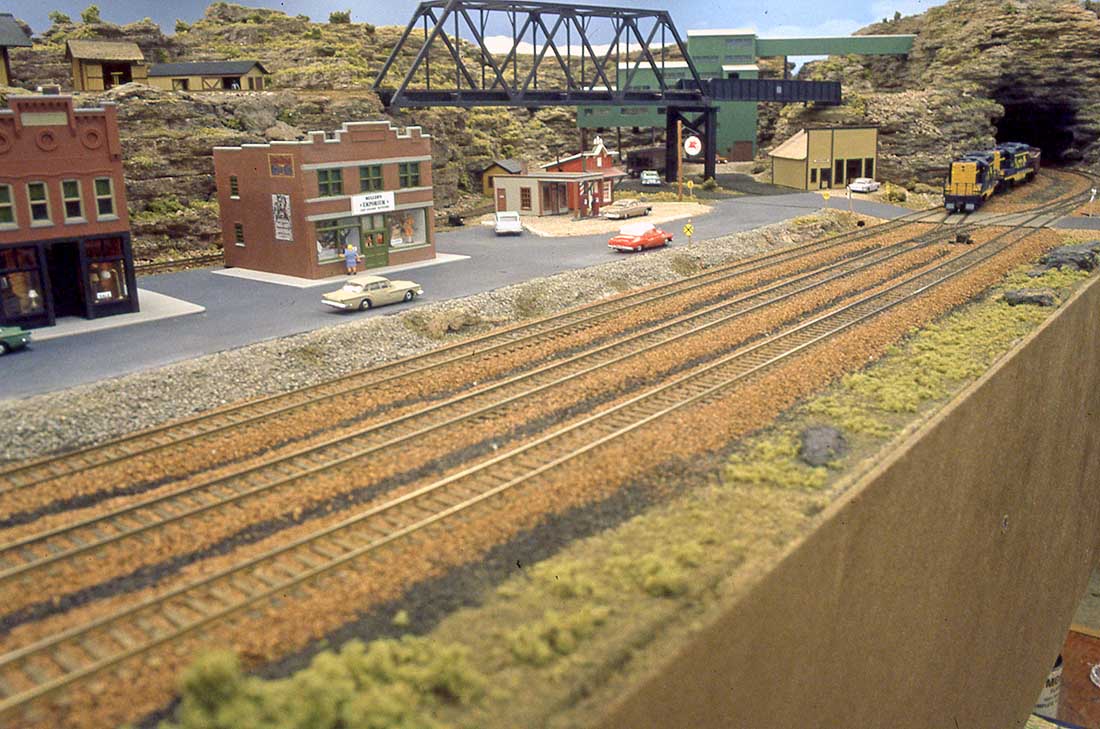
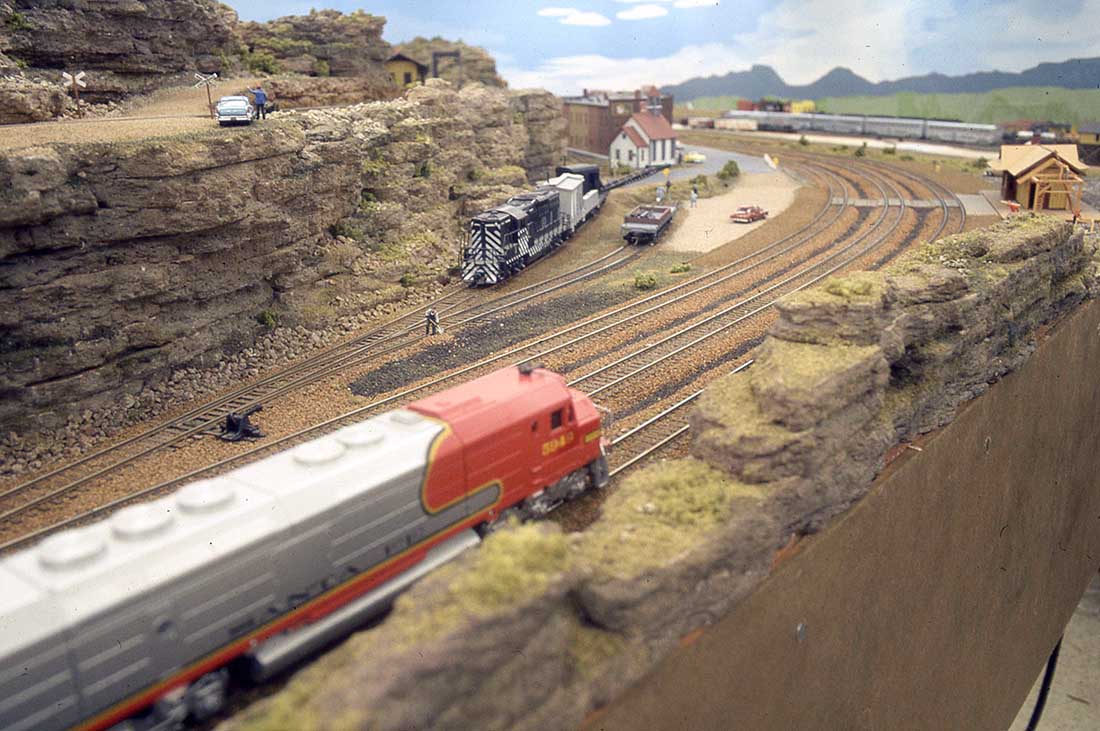
This shows the general positioning of things. The unballasted track with the yellow Rio Grand loco is “Denver” the storage/staging track for interchange.
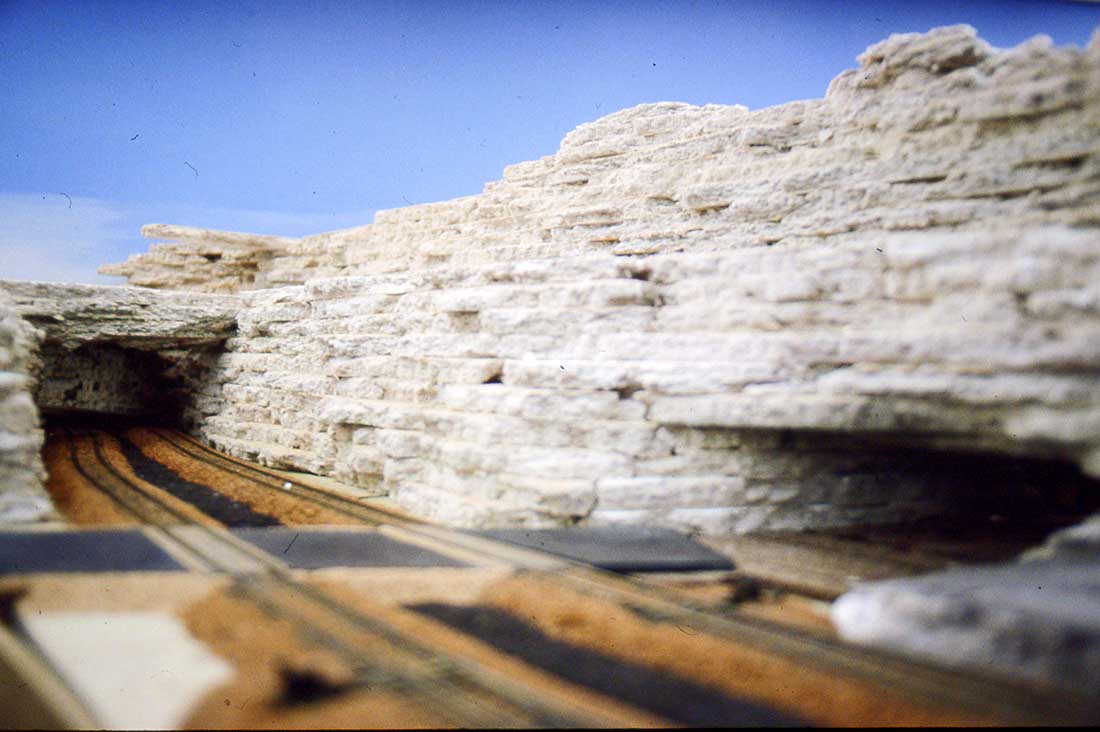
Making rocks.
HO scale roads up to Ruth on the old mainline. Note the use of Sculpta mold as a base to smooth out the path of the road. It has black paint added to the Sculpta mold mix.
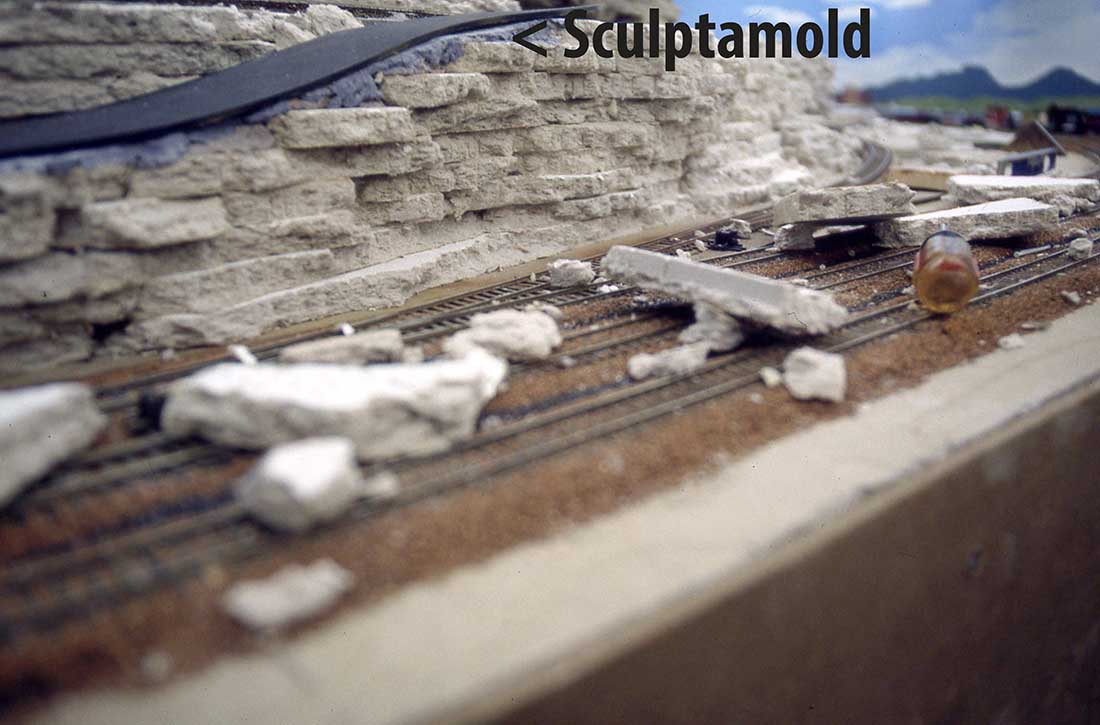
The road is an interesting material. My brother-in-law worked at a place that made folding doors. You have seen them in schools and used tack boards. The tack board material has a buckram base with a cork like material over it. It is about 1/4 inch thick. He gave me cut off pieces. I could easily cut it to any shape and length I needed. It can be sanded and painted with craft paint.
As a teacher I never quit teaching. I used this particular section to teach the fact that roads often rise and fall with the terrain and the railroads go a flat as possible.
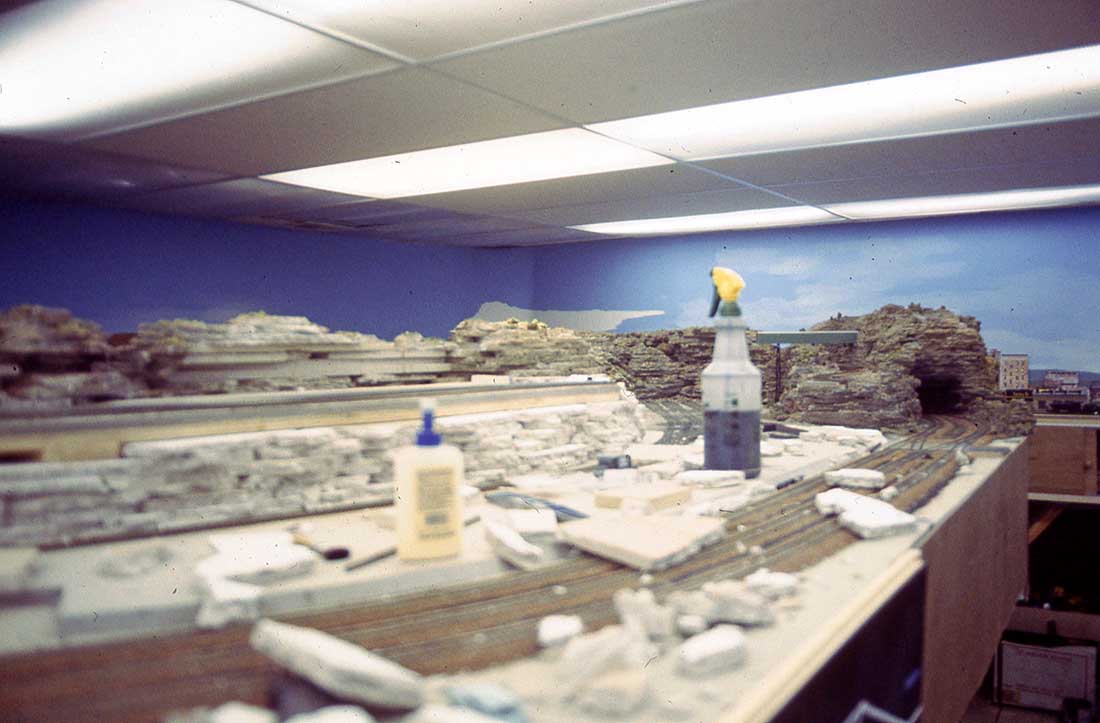
The area above Almost.

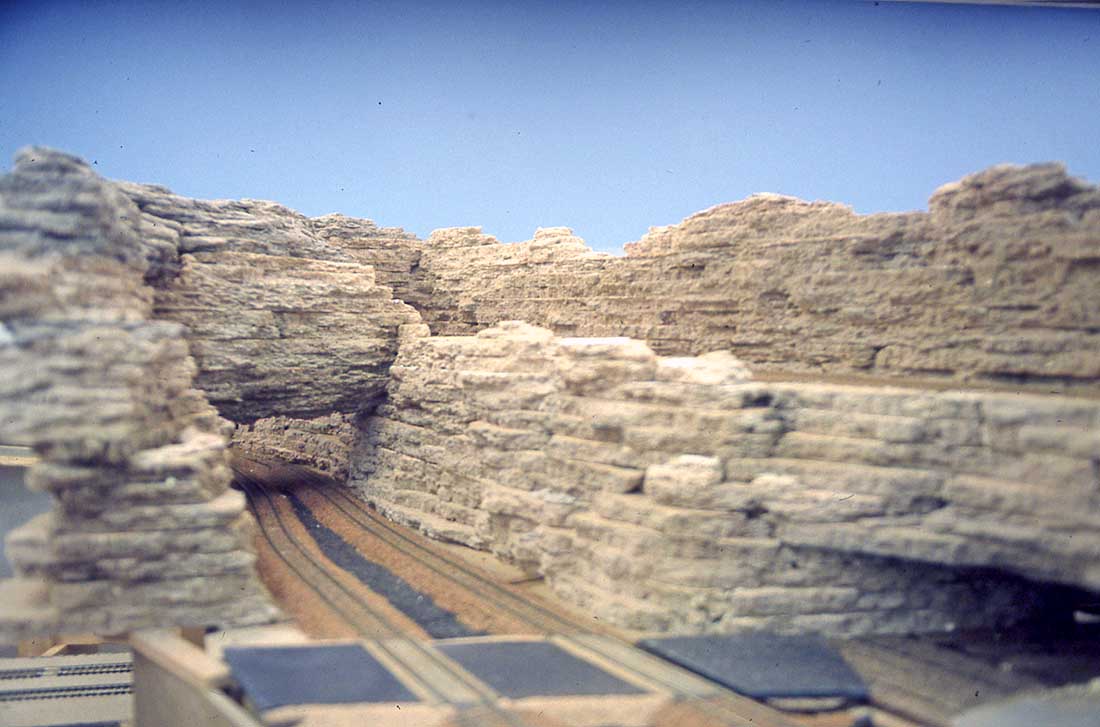
This is the base for the HO scale roads in the previous photo heading toward the tunnel.
The railroad tunnel and a highway tunnel to the right.
Basic painting done here. The upper track will also have a tunnel. You can see the Sculpta mold base for the road up to Ruth. Also, look at the pieces for the road crossing. This is the tack board material. All road crossings on the layout are individual boards. More about that later.
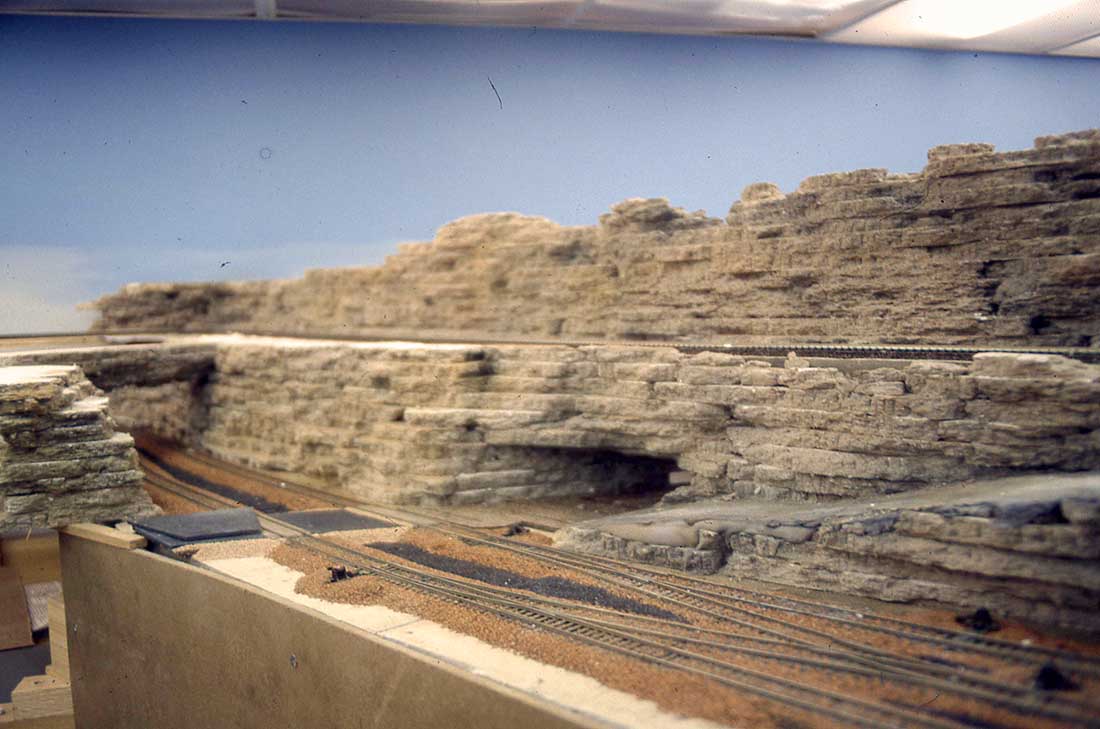
Moving along.
Nearly finished roughing in.
I have sprayed a mix of India ink and alcohol on the rocks. More where I wanted a damp look or where the exhaust would show on the rocks.

Almost as it was in 1995. I have added more cars and finer detail over the years.
You can see the workers adding to the station. You cant see the skill saw in the workers hand bu the saw horse. A skill saw did not exist when I did this scene. However, there was a lumber jack set. I cut off the chain part of a chainsaw and bingo, a skill saw.
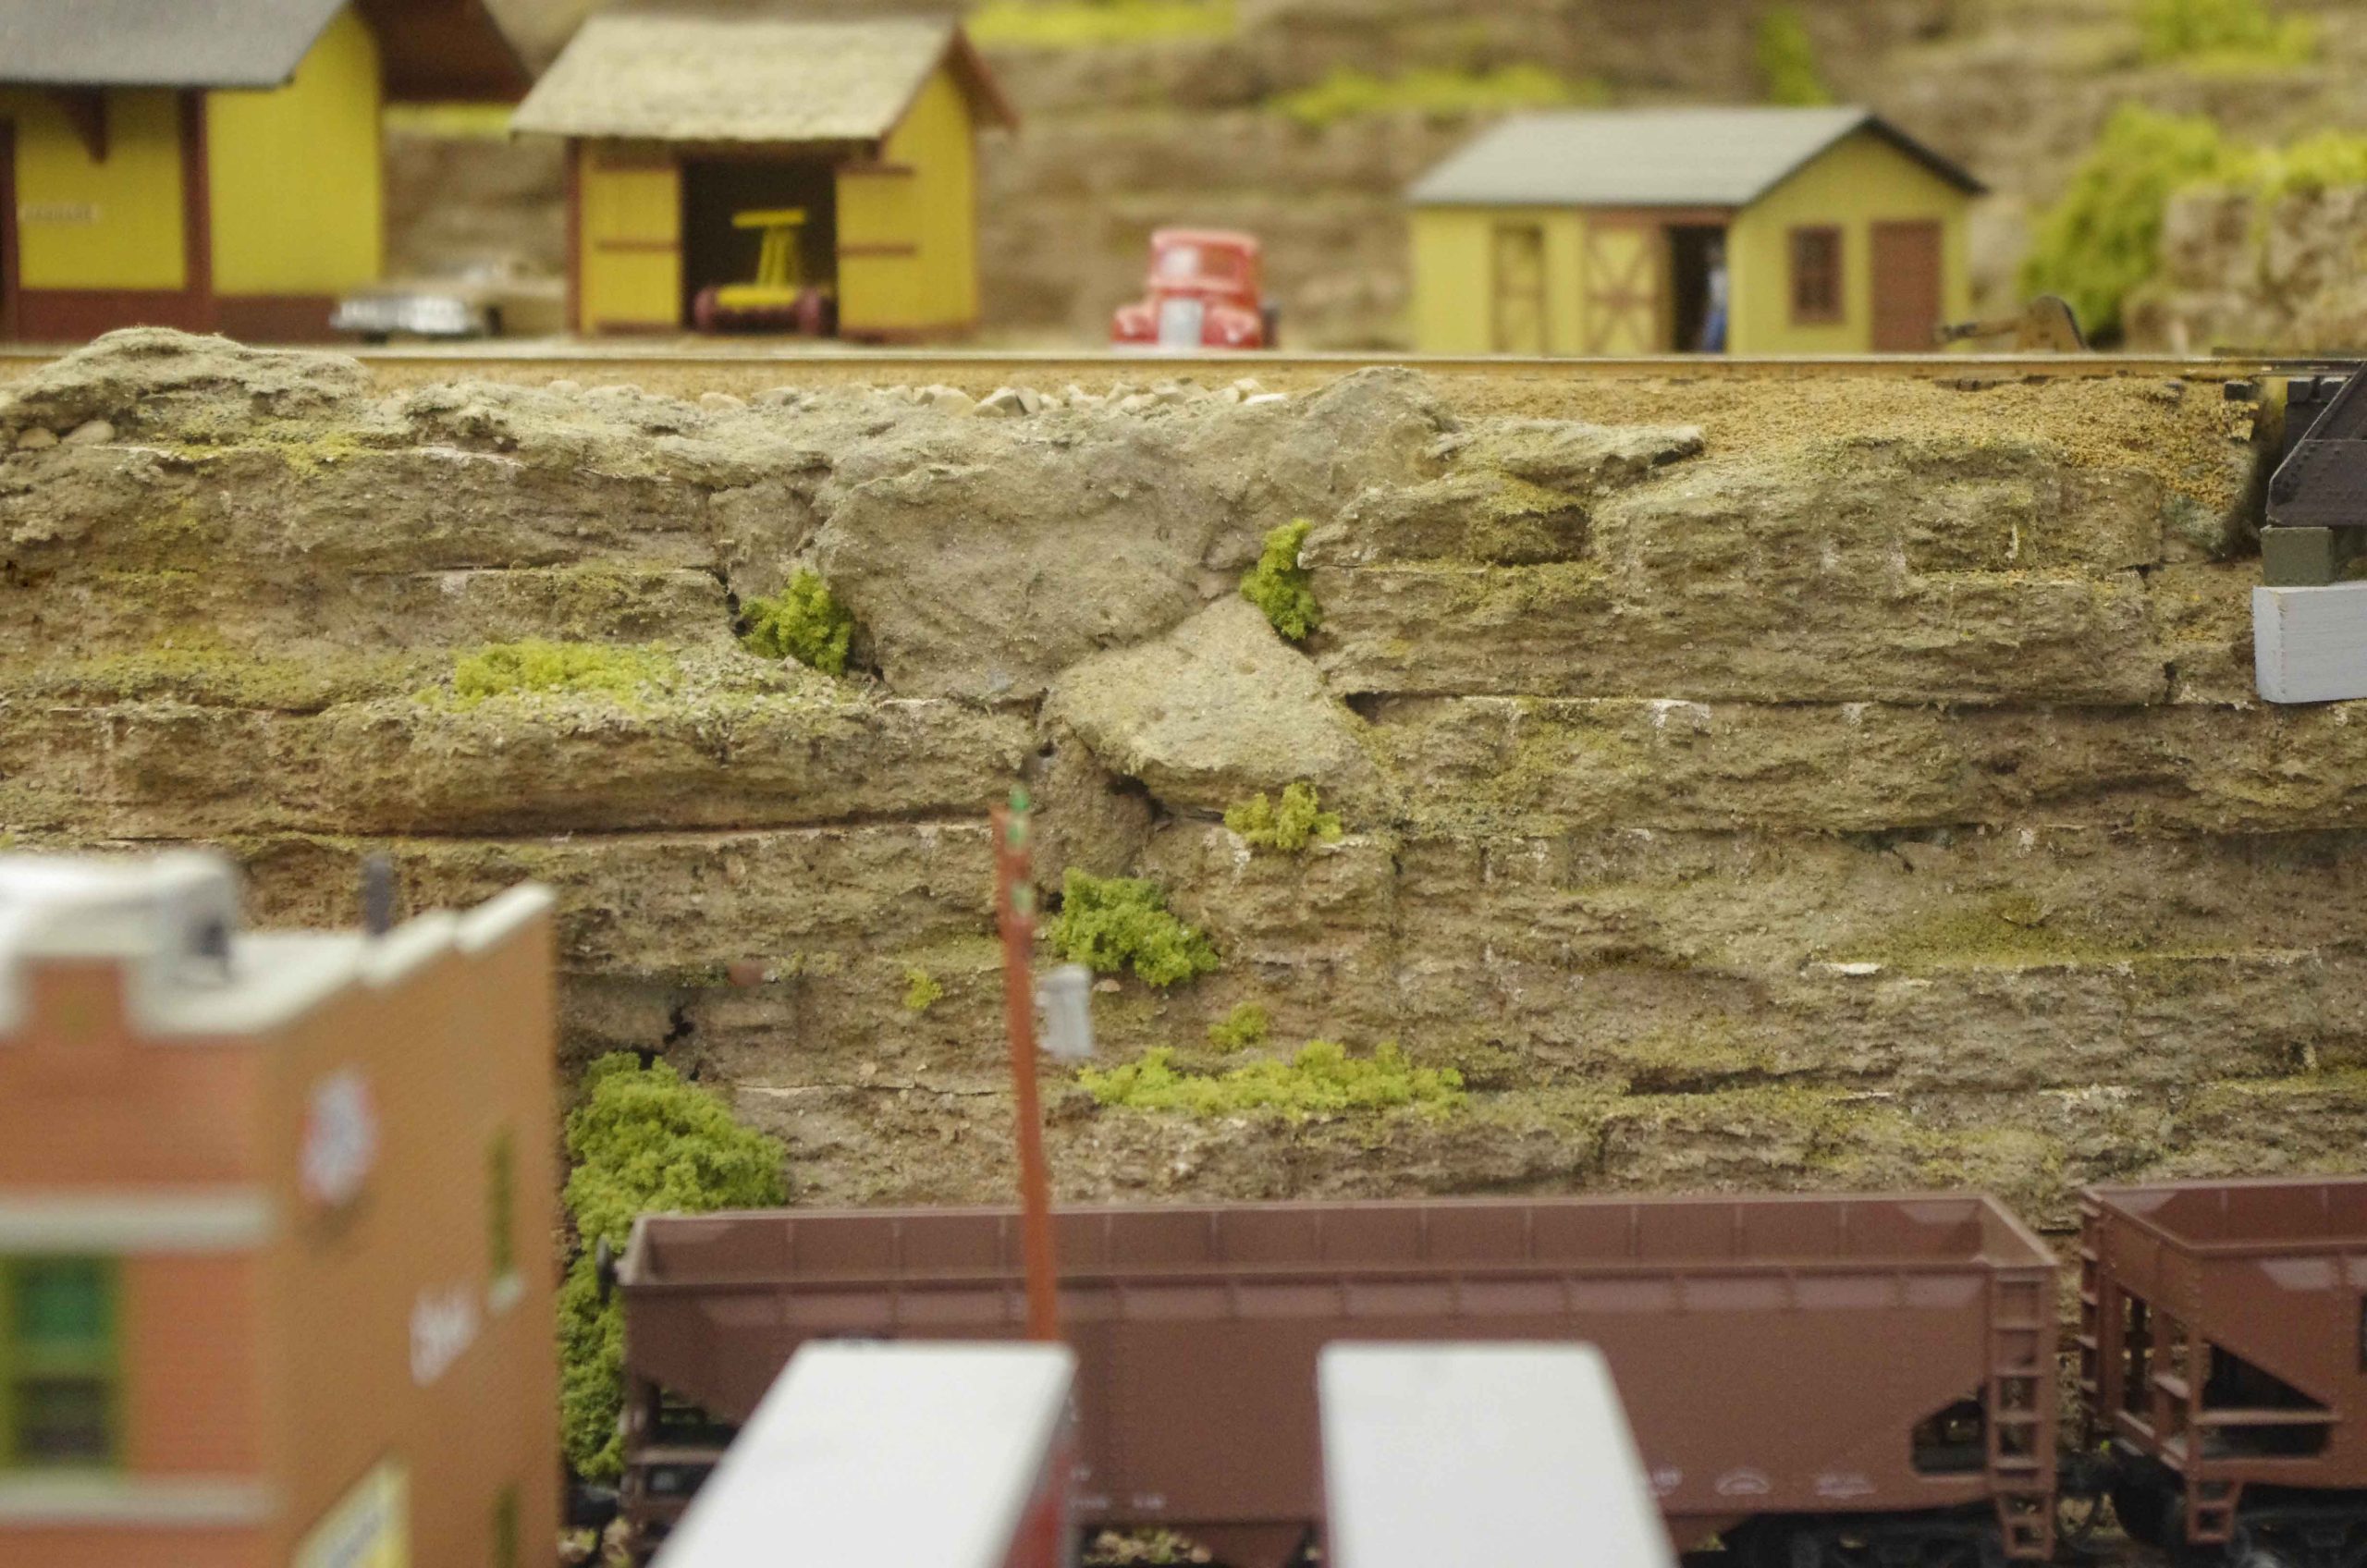
Store fronts.
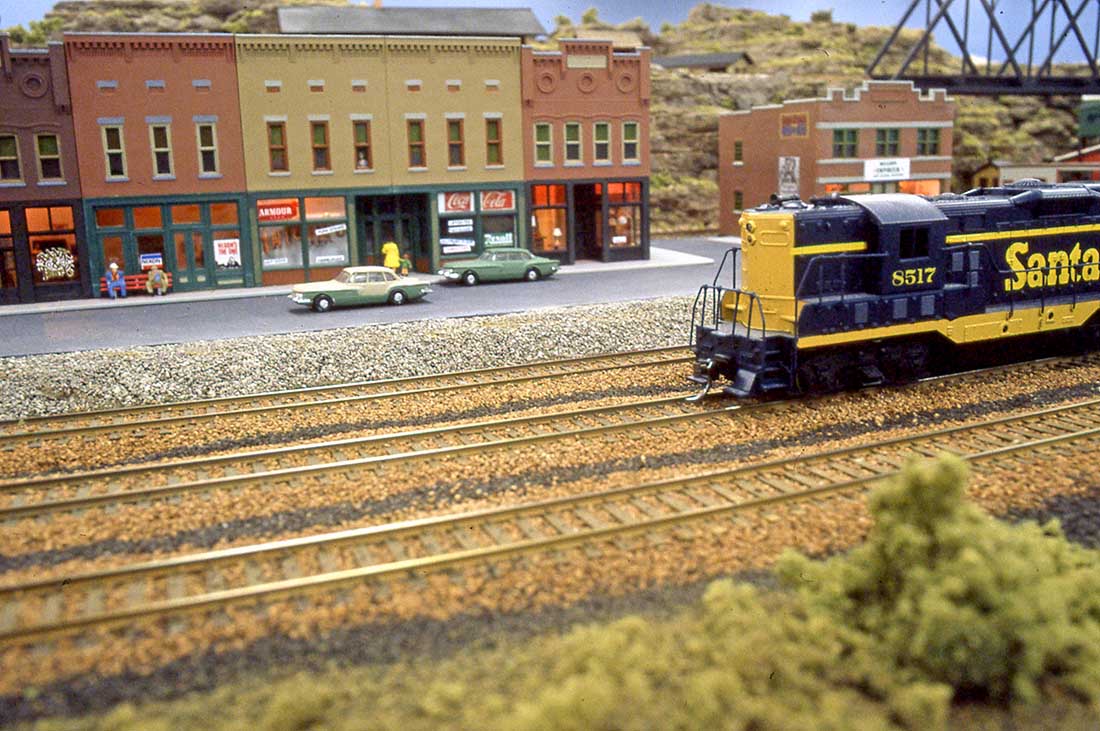
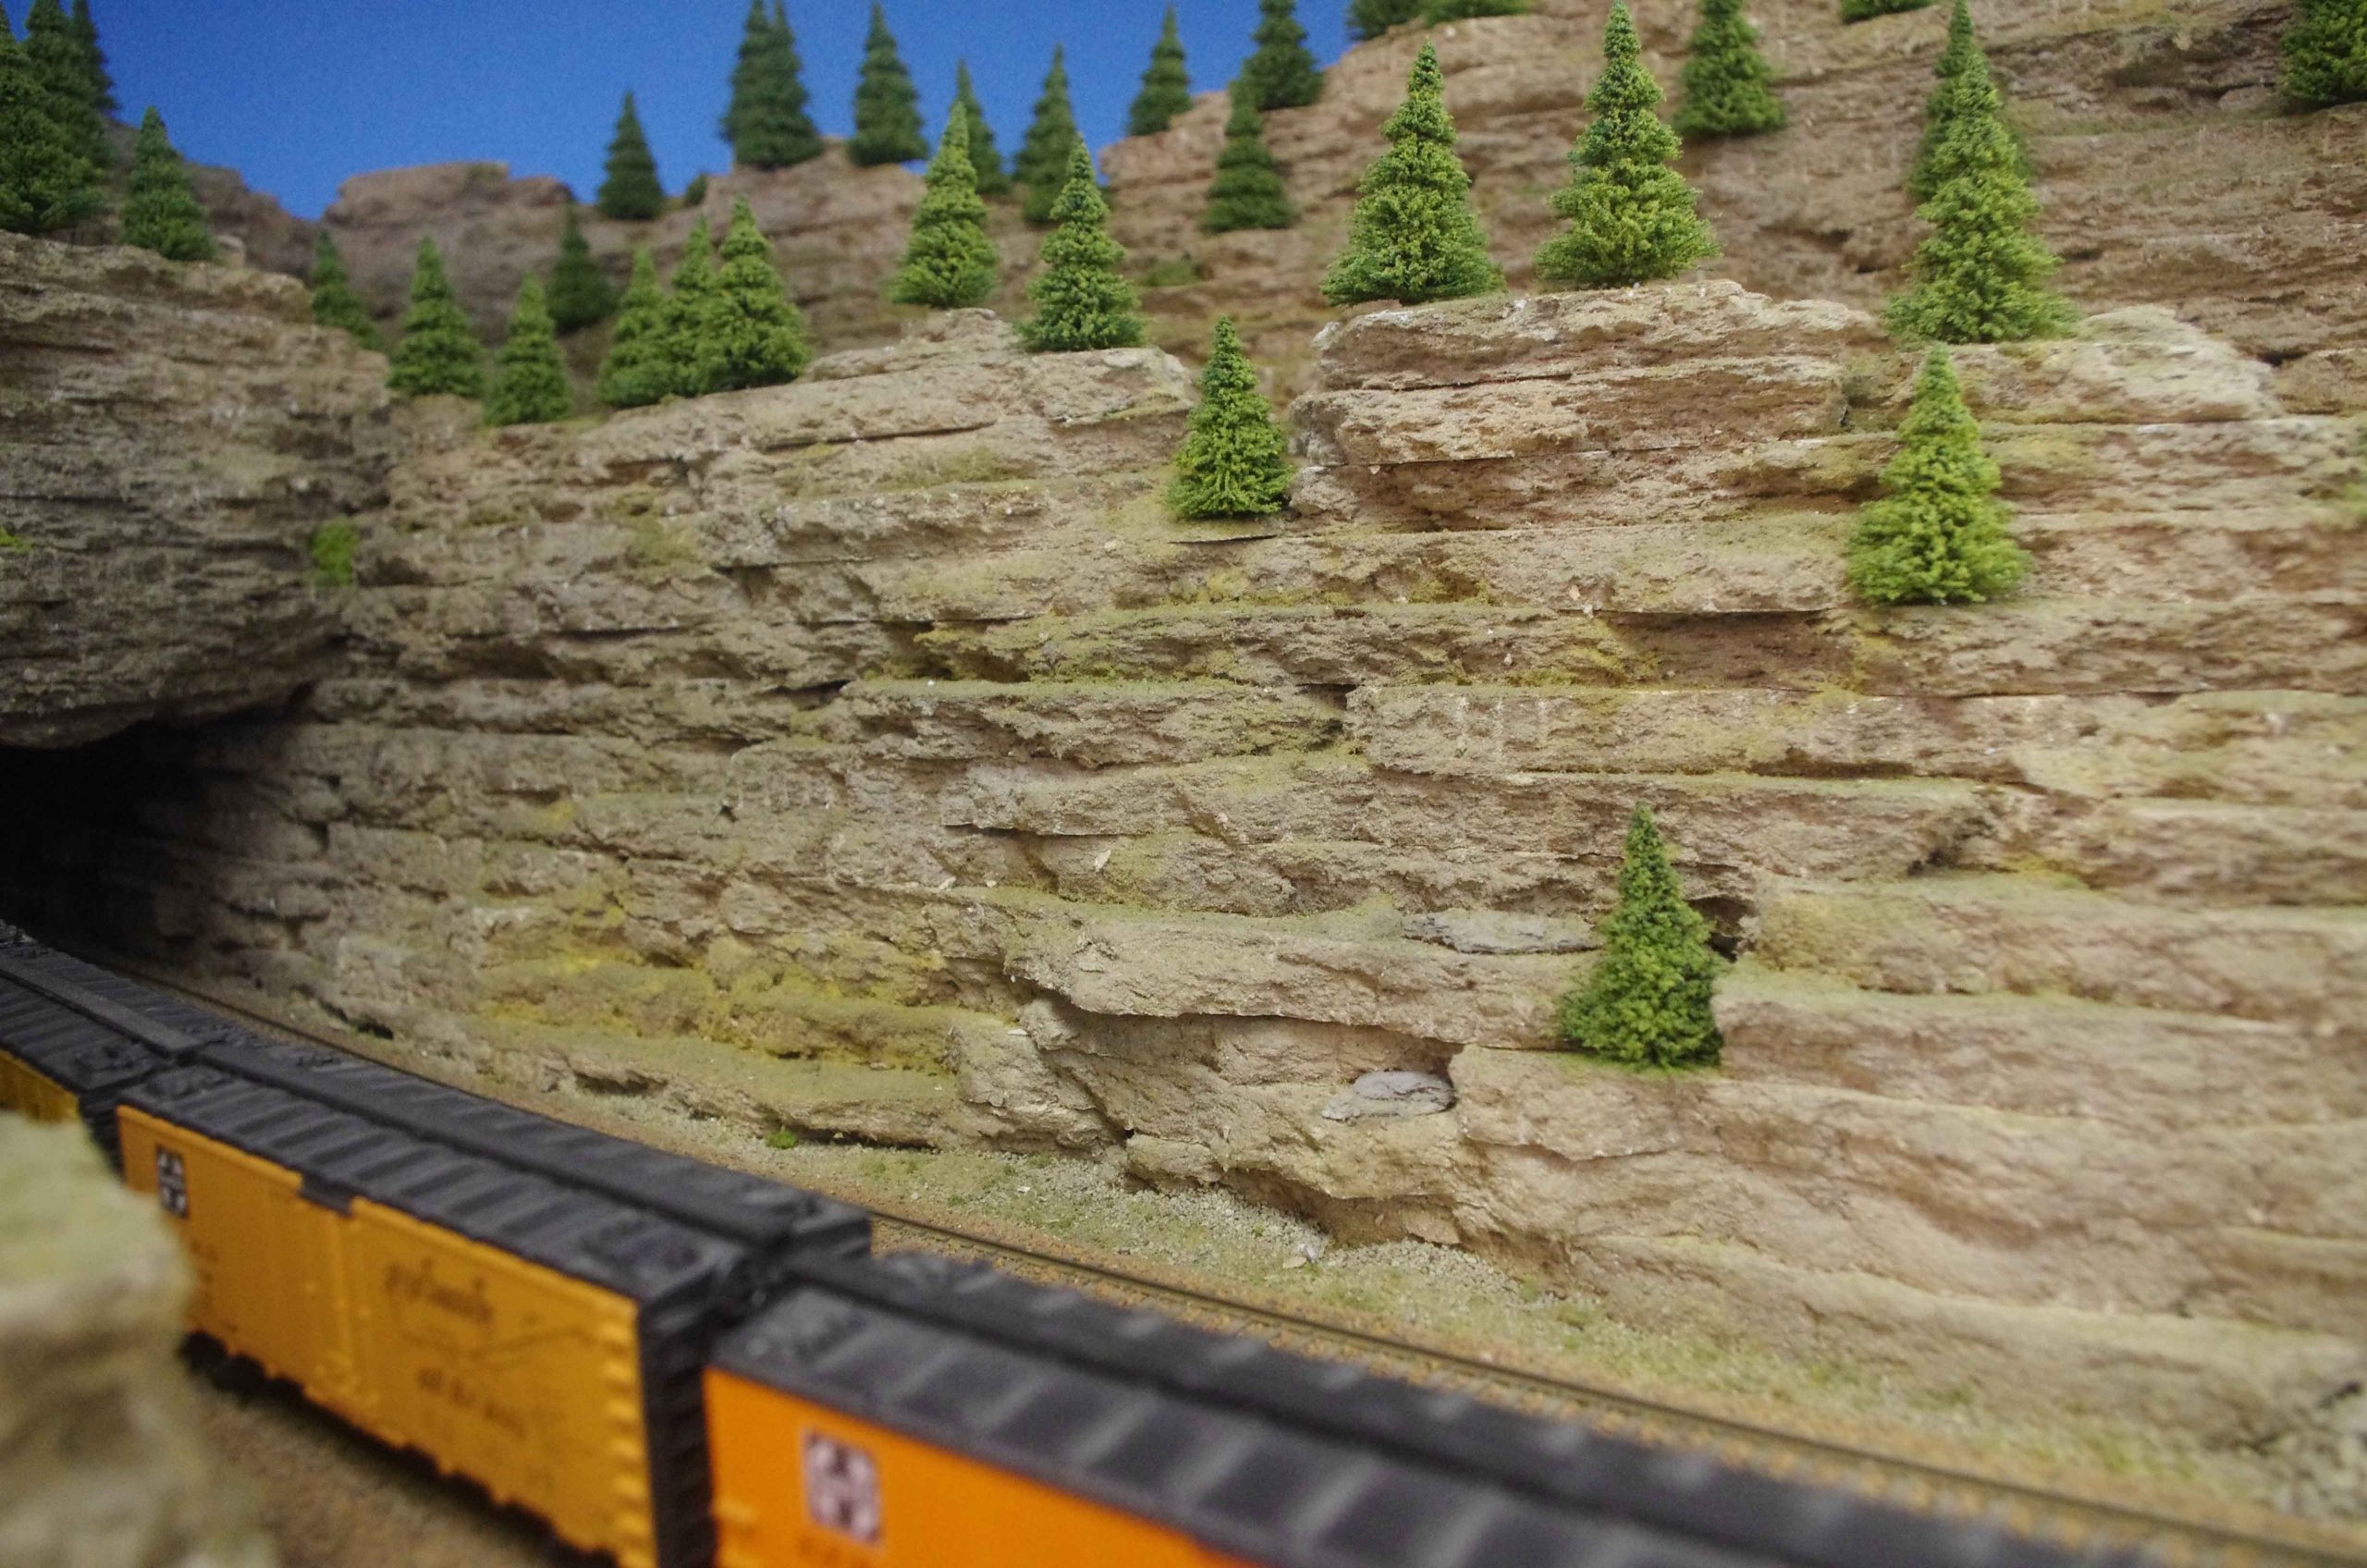
A very important part of a layout (If you have the space.) is to have some interesting scenery between the viewer and the trains.
Some scarce vegetation and small kitty litter rocks. Some ceiling tile have acoustic noise reduction holes in them. Used to our advantage, they look like drill holes when they were clearing the rocks.
Another fine detail. A fallen rock and some Sculpta mold dirt that has filled in.
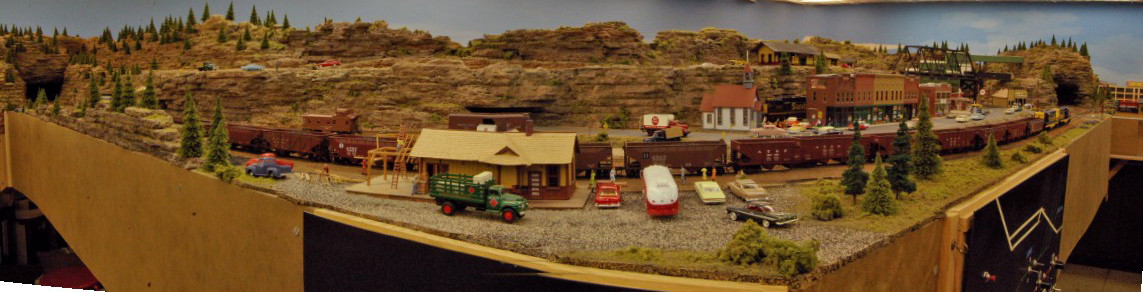
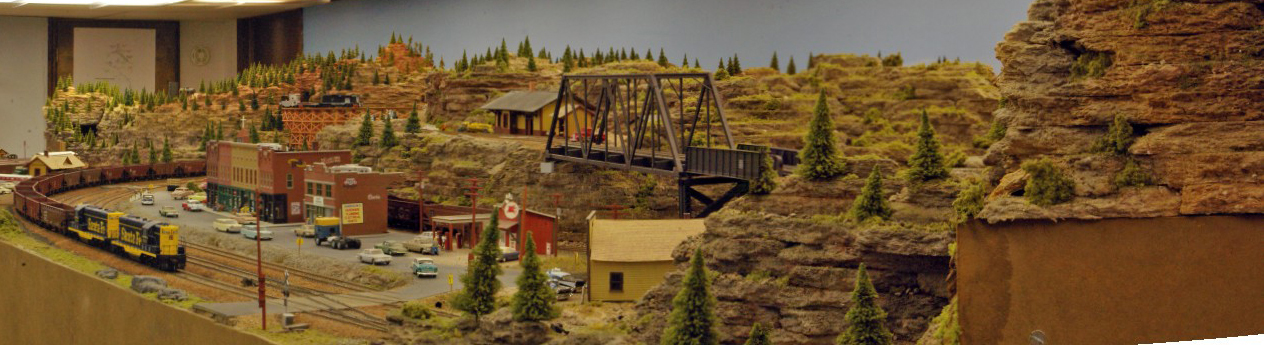
Panorama of Almost
The rest of Almost.
I hope my fellow Bloggers like these.
Dan”
Stunning stuff – A huge big thanks to Dan for sharing his pics and obvservations on HO scale roads, it’s simple advice but it made me think about what looks natural and what doesn’t.
If you missed his last post, it’s here:
That’s all for today folks.
Please do keep ’em coming.
And if today is the day you get started on your layout, the Beginner’s Guide is here.
Best
Al
PS Latest ebay cheat sheet is here.
PPS More HO scale layouts here if that’s your thing.


wow impressive period
Excellent photos and tutorial Don. The ceiling tile rock layers look pretty realistic except that in nature, many of the layers would have been folded and tilted at odd angles other than straight horizontal. Still, overall, it’s a neat technique for building light-weight mountains,
I’d like to know more about the tackboard material that you used for the roads. Also, the text alluded to an explanation for the all-wood grade crossings, but I didn’t find it in this posting. Thanks for sharing your great layout. I really like the western US theme and all those Santa Fe and Rio Grande locos.
Impressive work, my model railroad is based in Wyoming and has a coal mine. Fun weathering it and it’s fun to run the BNSF Coal Trains as I remember from living there.
Will, it all depends on the region you choose to model. I simply choose the more layered look as to the lifting.
I will show the crossings later.
The tack board material is a cork like product. My brother in law gave me pieces that were cut off. I was able to pry off the tack board from the door pieces. This was one of those lucky finds. I would have no idea as to where to find it. The leaving after a remodel project of a church or school?
Dan
Thanks for the tips. Your work and planning is spot on and the buildings are very well done.
Could you please do a quicky and show us how you got the buildings, sidewalks, and roads so neat and real. Mine look like a child did it and I cant seem to get it right.
Love the Valiants. Had one and it brought back fond memories.
Big Al
Dan, coffee & Big Al- Very nice.
Beautiful. How about a video from train view?
very nice job. lots of work.
Santafedan,What a beautiful and realistic layout.
Beginner???? Can’t wait to see you when you’re no longer a novice. GREAT JOB !
Well done
Excellent beginning show us as you progress
I will try to incorporate the “drill hole” concept into my design.
Wow! – Great modelling, and Wow! to having so much space for a layout
Best wishes from Down Under
Andrew in Oz
BEAUTIFUL WORK, a Master Piece