Bob’s been in touch. He shares how he makes sure his model train bench is level.
I think Bob got in touch after yesterday’s post.
It seems Rick’s “belt and braces” approach to his bench work struck a chord with a few of you.
And it’s not just Rick going to great lengths – Bob’s also doing a thorough job on his layout table.
“In my last post I said I was going to do things right this time around.
So I got out my Bosch Pro Laser Level and identified that my new L-girder framework to take into account the slope in the floor.
The room originally was going to be a screened in patio thus the slope. I tended up full-blown 16’ x 28’ addition to the house. There is a difference of ¾-in in 8’.
I started with building an 8’ section and a 6’ section of framework. The two sections highlighted in this picture:
The red line represents where I used the laser. I built four sets of legs, two sets for each section, and setup the laser at the high point.
I made the first set of legs so the top of the L-girder at 42” and lined up the lase with the top of that set of legs and then swung it to make that height on the 2x2s for the other legs of that framework and built that set of legs.
In the videos I watched about L-girder framework they recommend adjustable feet for the legs so you can avoid the use of shims as much as possible.
I looked up leveling feet and they are expensive to my way of thinking. One of the videos suggested tee nuts and hex bolts. I bought two 25 packs of tee nuts at $6.98 each and a box of 50 hex bolts for about $14.00. I put them on the legs:
This will allow about 1-in of adjustment once the framework is put together which should be adequate since the initial height of the leg sets has been set with the laser.
After patting myself for saving by using hex bolts and tree nuts, I looked at the legs and thought: All the weight of the frame is going to be resting on four ½-in wide hex bolts. I studied the situation and decided I need to create wider feet for the legs.
My solution was to take a piece of 1×2-in left from the cross bracing and mark off squares and then use a ½-in forstner bit to drill holes in the center of the squares. The holes were the depth of the hex nut head.
I drove the bolts into the holes with a hammer. The dark strip on the bottom is a strip of whiteboard that I glued with contact cement with the smooth side down to allow the feet to turn easy on the carpet. Next I cut each block to make individual feet.
The finished product adds about 1and 1/2-in to the height of the legs.
As I go along I will submit updates and discoveries.
Bob, Virginia”
A huge thanks to Bob for sharing his model train bench tips.
Some of you may think this is a lot of effort to go to – but as Bob found out, getting your bench / table level is critical.
A table that is not level, uneven or wobbly table will slowly drive you insane and sap all of the enjoyment from you.
I’m with Bob: tables that aren’t level are the work of the devil.
Please leave a comment below and share your own thoughts – I’d love to hear them on this.
Now on to Wayne – I missed these last few pics from him before he disappeared on his bike trip.
I thought I’d post them because there are some layouts where raw enthusiasm just shines through, and Wayne certainly is in this camp.
If you want to get up to speed on his HO scale, his last post is here.
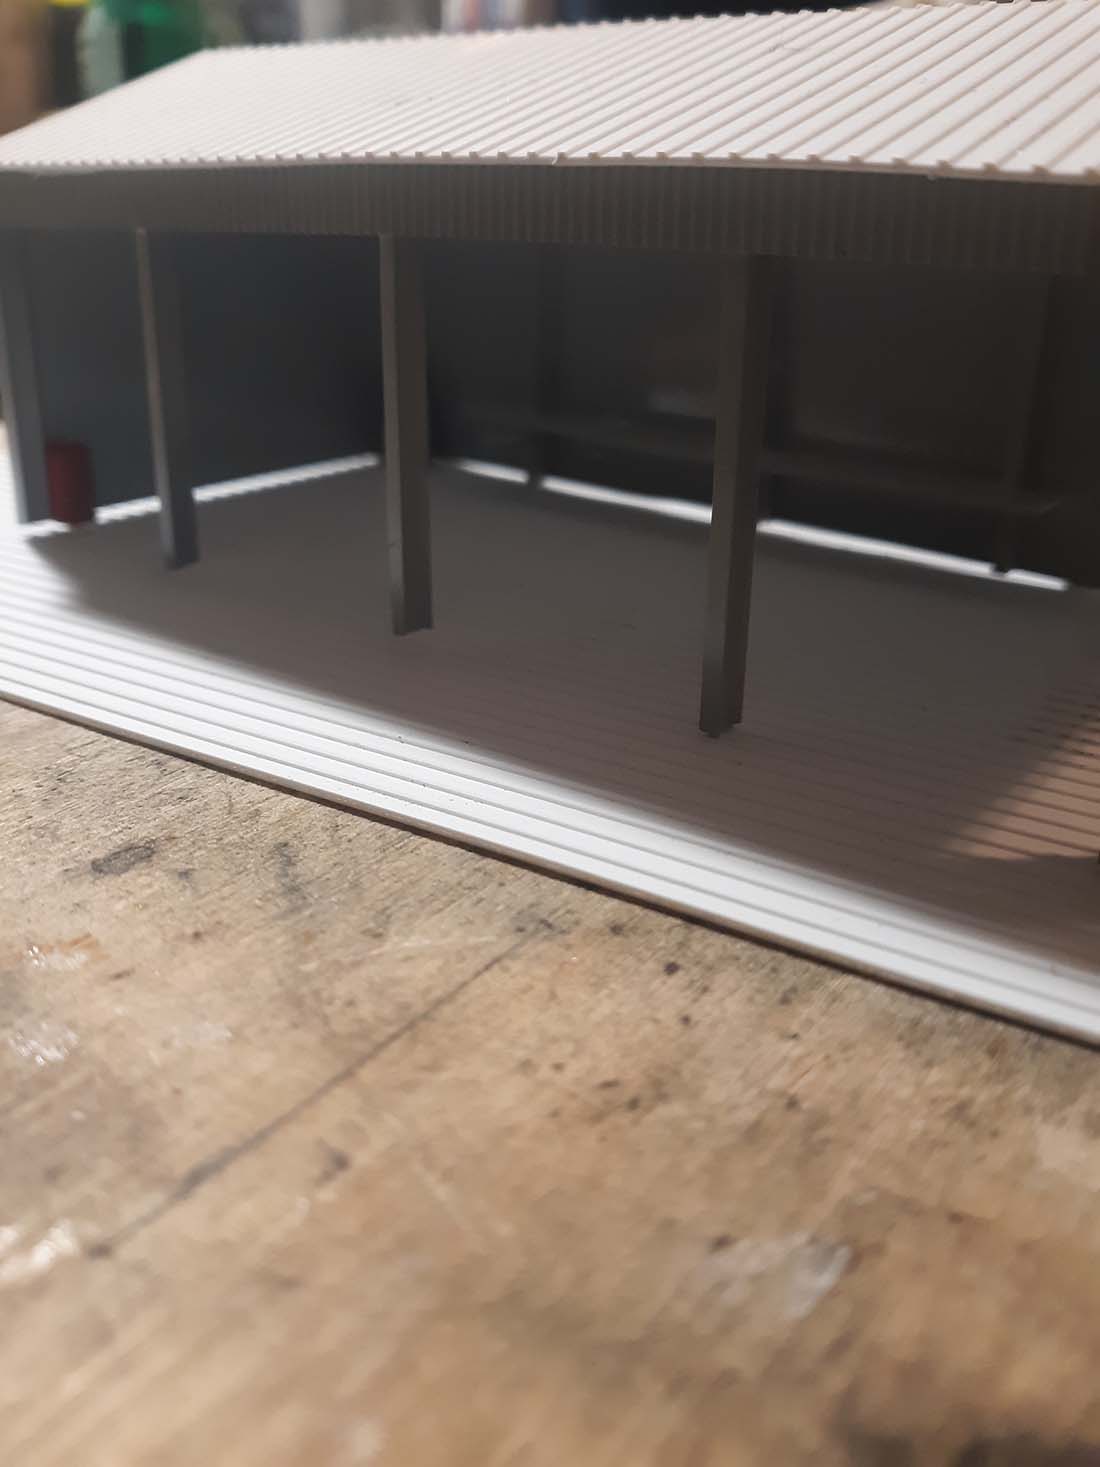
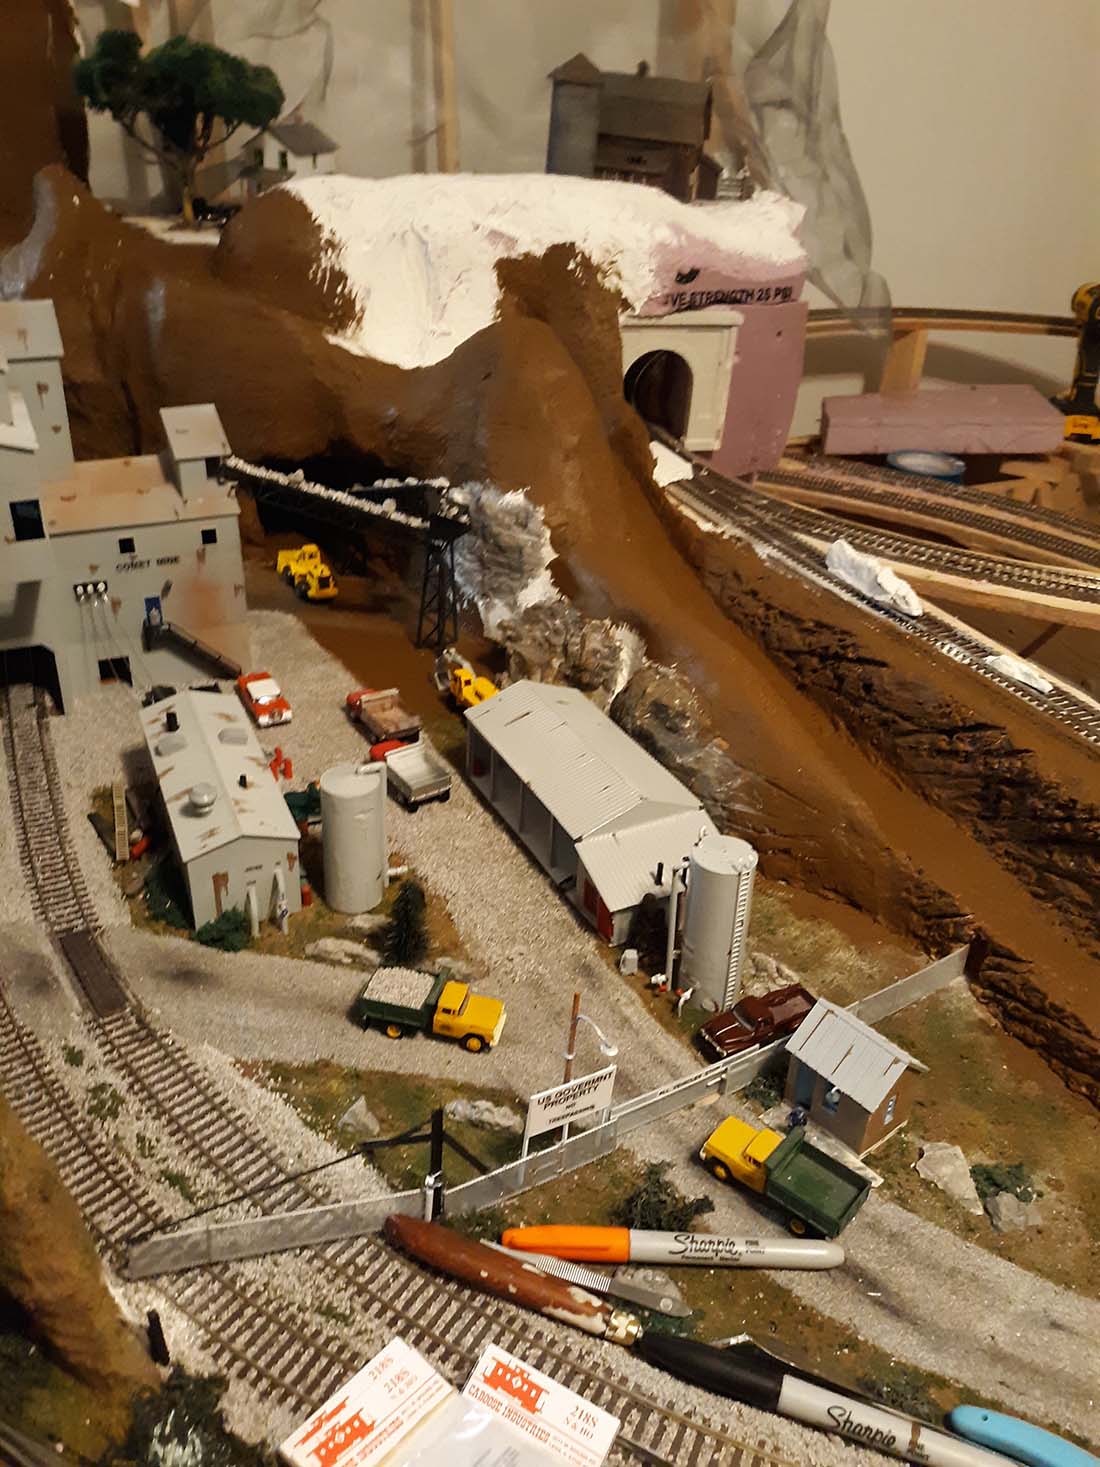
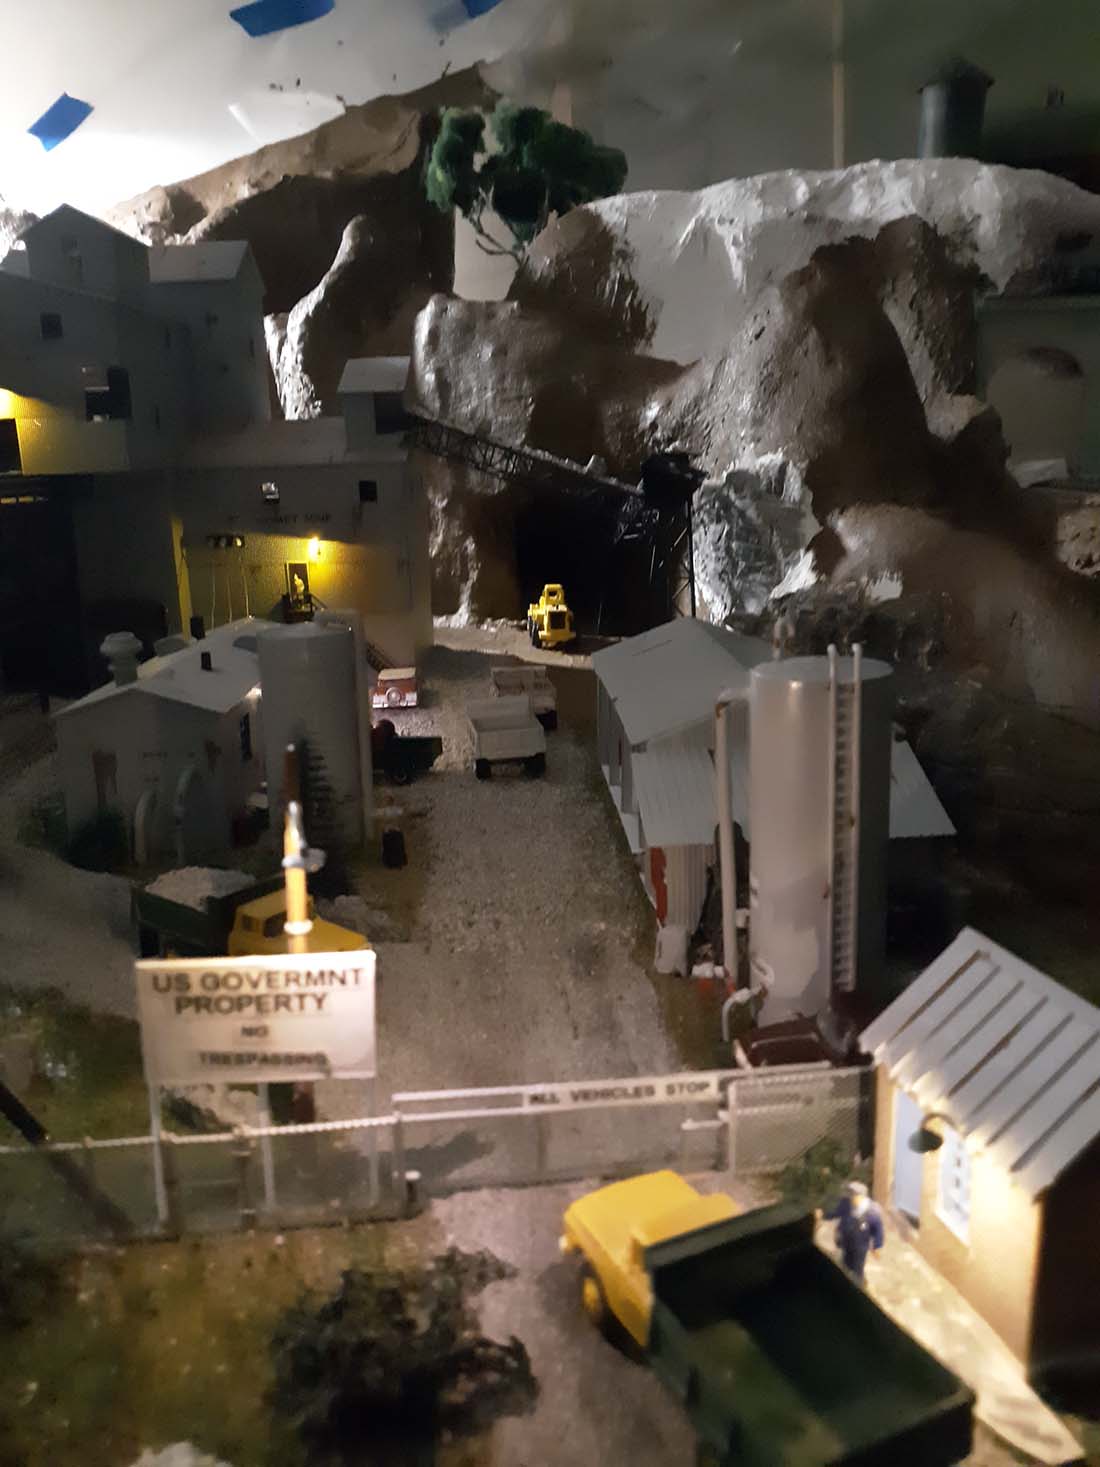
“The power & water shed has a very large vert. tank, to run the the diesel engines for power & water.
Across the road is the equiptment maint. shead.
I have work bench’s, a10 ton chain hoist,outside work benchs, & a vert.gas tank, one gas pump, & one diesel pump.
Stoped at a small train store in lompoc Calif.today. I went crazy. They had all kinds of HO rolling stock from a estate sale.
Wayne, The old biker”
That’s all for today folks.
Please do keep ’em coming. To say it’s thin on the ground this end would be a big understatement.
And lastly, don’t forget the Beginner’s Guide is here if you wan to get going on your layout.
Best
Al
PS Latest ebay cheat sheet is here.


Bob Leveling your lay out shouldn’t be any expense.. cut all your leg lengths the same, your cross members the same and use a chalk line and a carpenters level
If your off by a mm or cm so what. Mine isn’t perfectly level .not noticeable. No harm no foul. why waste money where you don’t have to.
The Critic
Pretty Neat. !!!!!
Before laser levelers, [mid-1950s] dad and I used this simple method to mark walls in order to make sure the ceiling tiles we installed were level and in-plane.
Using a sufficient length of 6mm [.25] or 12mm [.50] ID clear plastic tubing filled with water, plugged at both ends. Positioned the water level at the “zero” elevation.[the start point]. Position the other end at the elevation to be checked. Remove the plugs. The position of the second end shows which direction the second point needs to be adjusted to level the table.
Proper levelers instead of bolts are not that expensive [in small quantities.]
Both the orange guy and the blue guy sell them.
The trick is that you have to know that they’re called, “Elevator Bolts” and are in the drawers in the nuts and bolts aisle.
They work the same with the “T” nuts, but have a bigger foot and can be adjusted with an open end wrench.
Not sure why others seem to believe that if a layout is not level it is okay. I did the same as you did on mine except I failed to add the nice bottoms to the bolt heads. I will be adding the end pieces that you did. I haven’t seen any damage YET. And would rather not have to replace an entire floor due to some dents or scratches the bolts made. I tend to agree on making them all the same lengths as the project may be moved to different places. The size of the bolts may need to change to adopt to the requirements as needed. Have a great day and thank you for the idea!
Bob …… great tip………i am actually going to try this. I have one corner that drives me nuts.
Wayne….great detail but I think you have to move the Sharpies. Is that fence across the tracks intentional?
This concern with level is not in accord with prototypes. I have noticed in many videos of actual railroads that the elevation of the track is constantly changing. On my current layout, a 4′ x 8′ foam board on a table, you can’t tell, but in my planned larger setup I will be setting everything to vary by 2% or so on all tracks.
The T-nut and bolt leveler works for all types of “tables”. I use this system all the time for outdoor patio furniture that I build. Of course the bolt heads don’t affect concrete patios like wood or tile floors. Great explanation on how you did it.
Level is always good.