John’s been back in touch, showing us how to make printable buildings for your train layout.
“As my “Little Layout” nears completion (The first module that is), I had an open area needing a “Landmark” building.
The kit I chose was Al’s “Canal” Warehouse. Of course a few modifications were necessary as the building is one of his “low relief” structures and I needed a full 3 dimensional structure. (Actually I needed two for the planned area but…)
Here is a tutorial on how I built one of the walls.
Hopefully this will give someone else an idea or two on how to use Al’s buildings to give you unique structures that are your own.
Part of the fun of this hobby is creating your own little world and modifying kits is just one way to make that world “just a little bit different”.
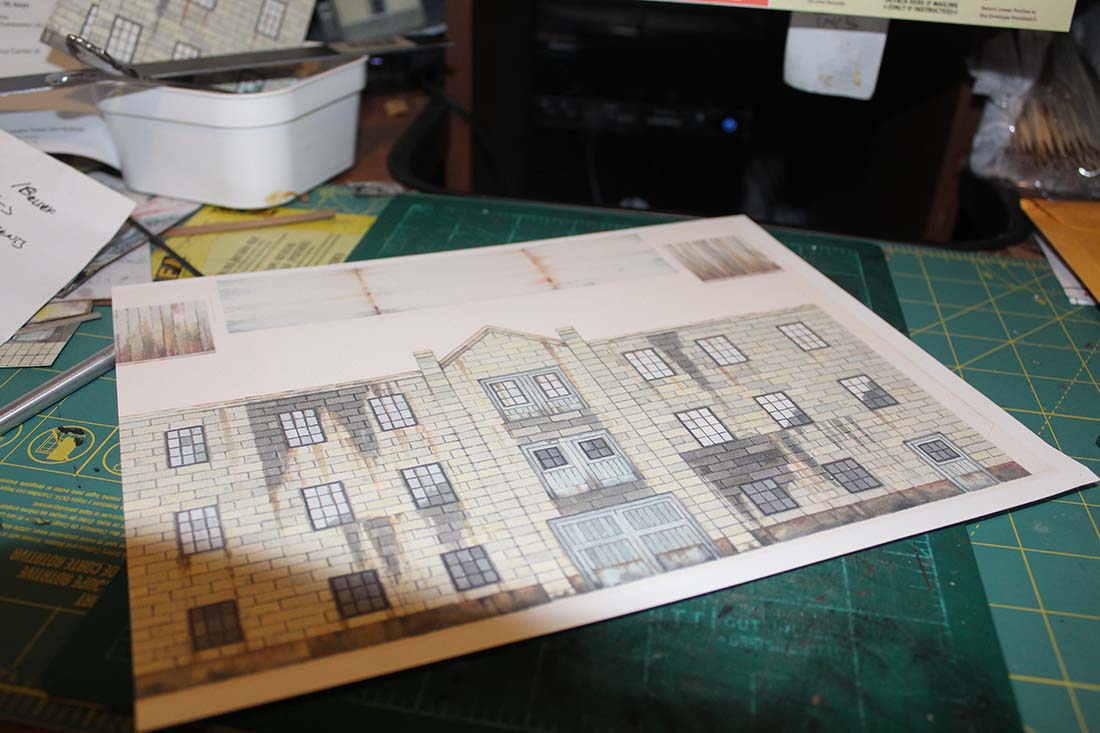
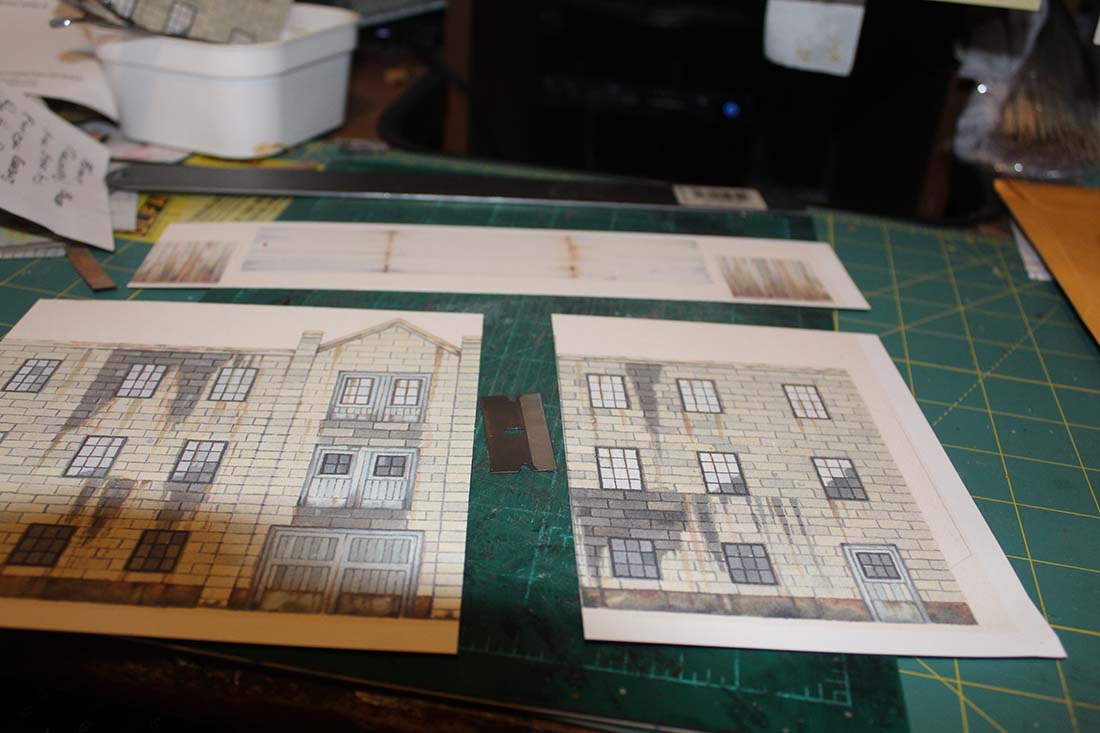
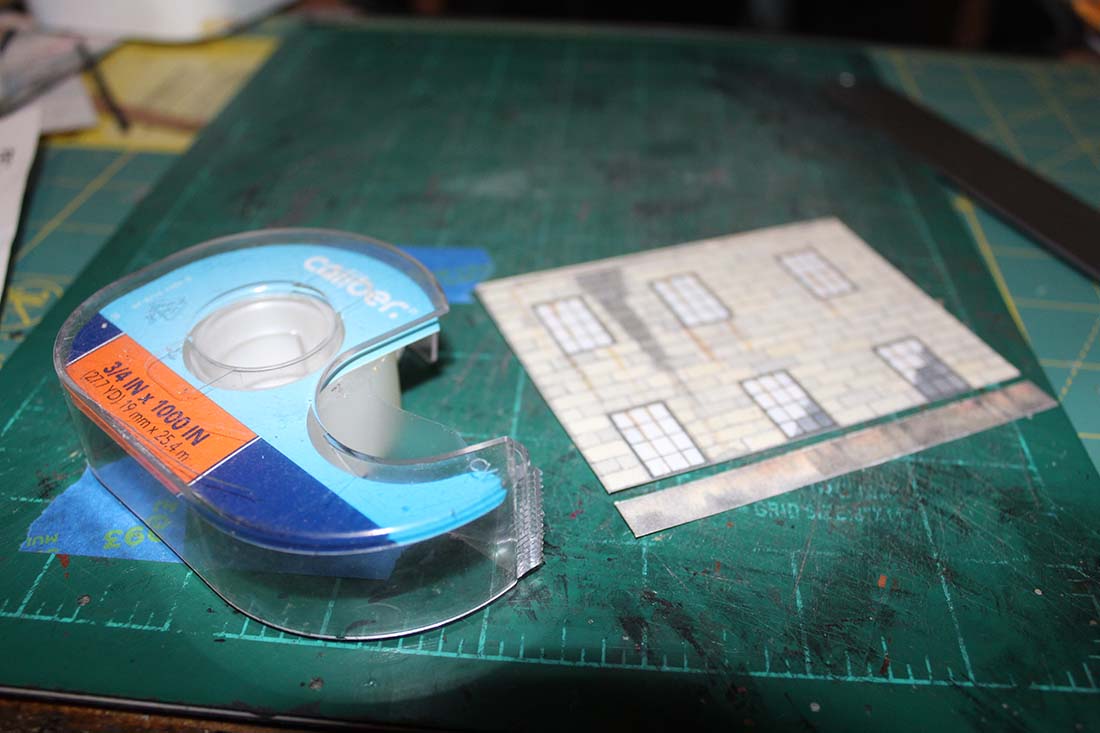
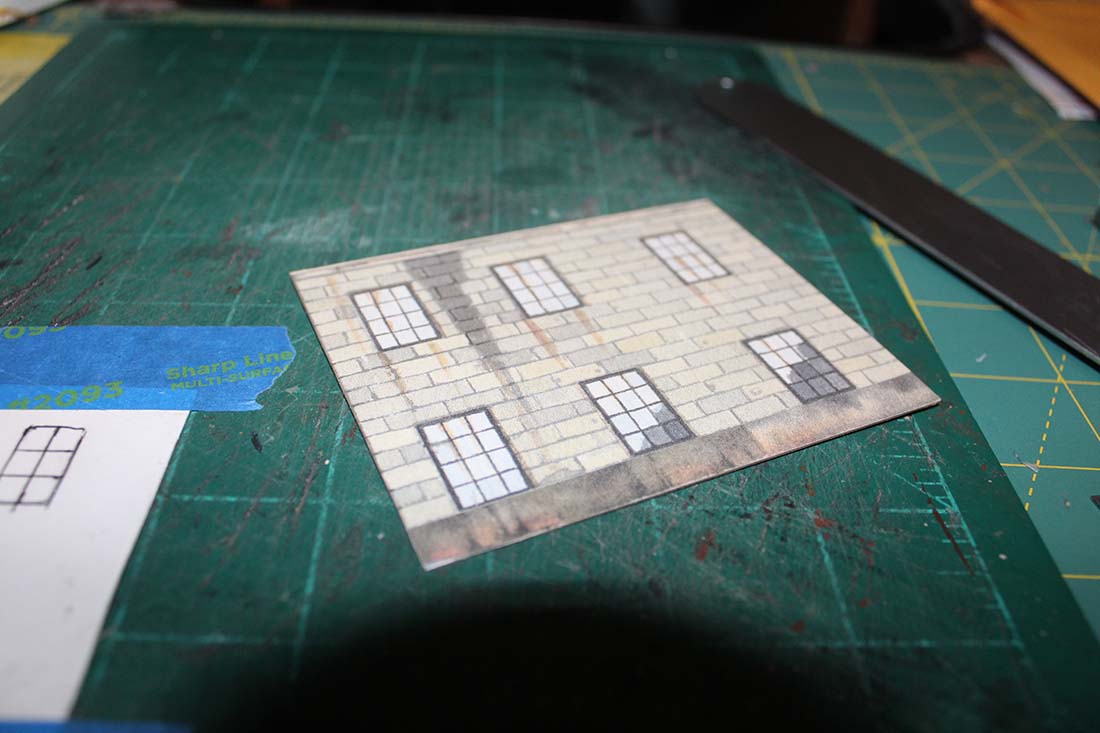
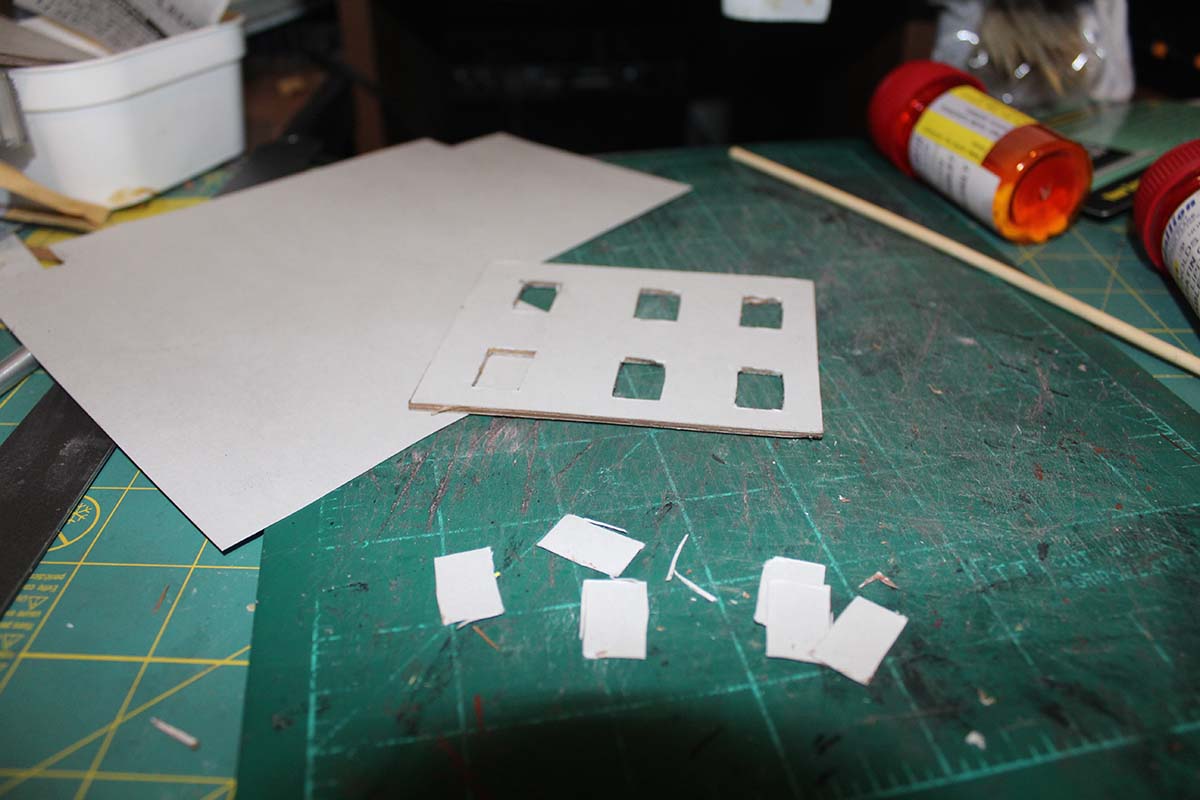
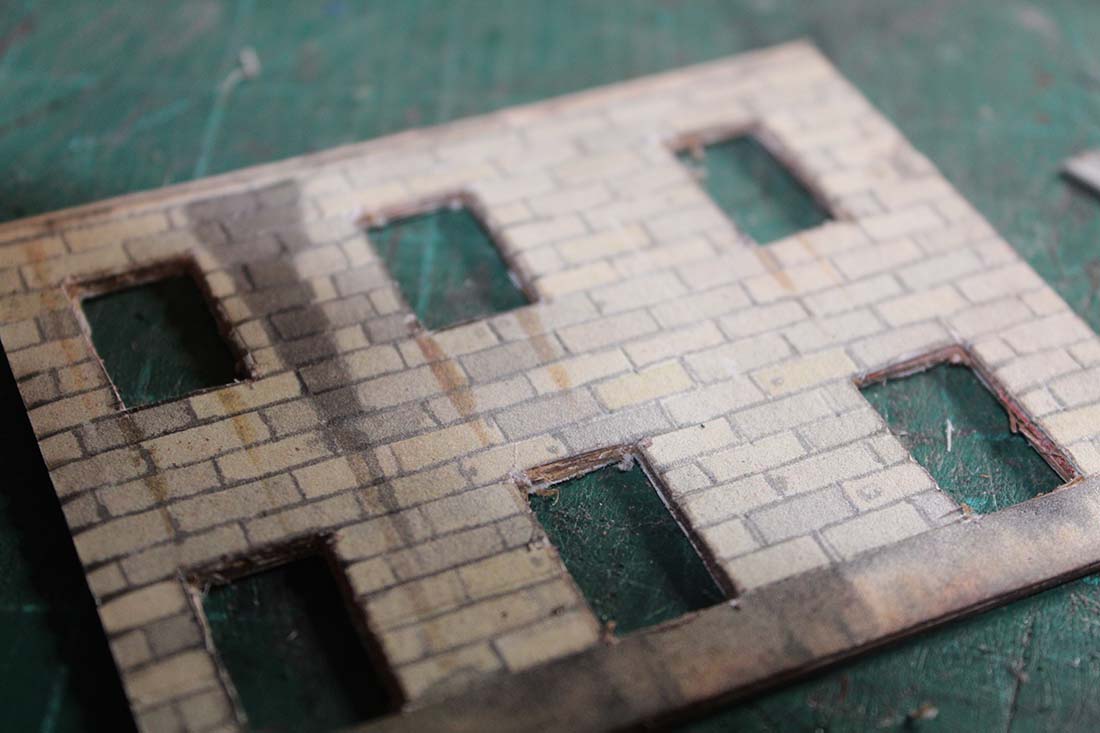
What you see in the first four pictures is the kit as printed and the beginning of the process of adaptation.
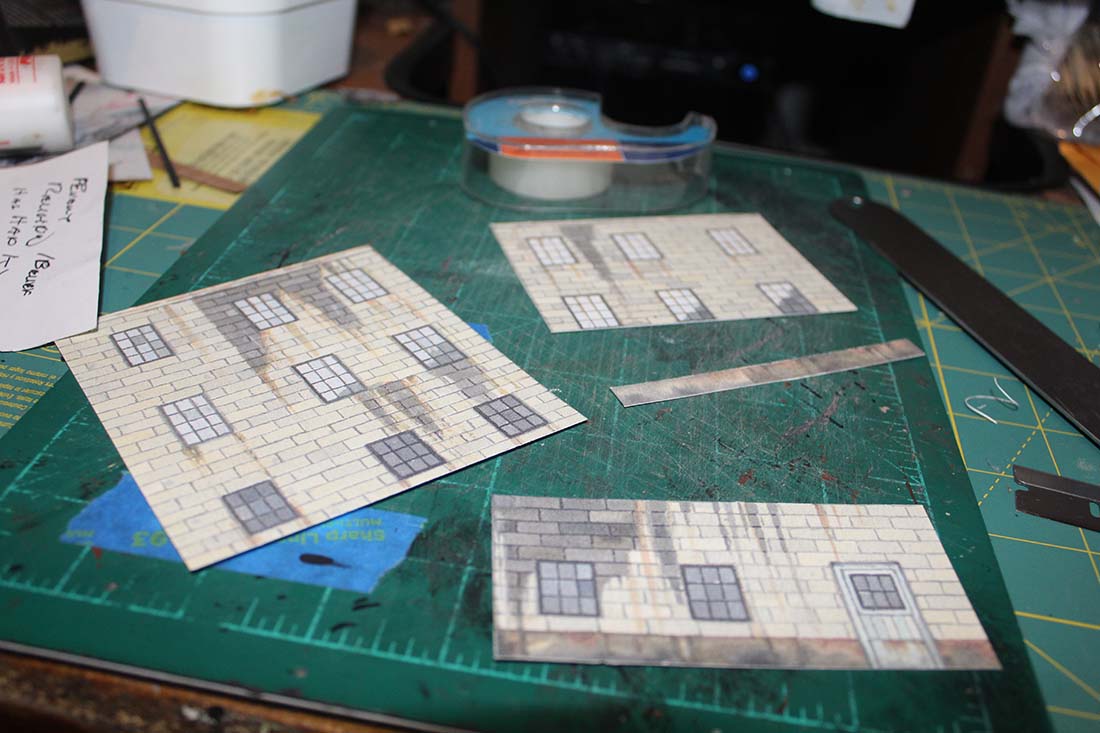
Once I know the parts I want, it is a matter of putting them together with tape and then securing them to card.
For card I use soda can boxes primarily, they seem to use a better finished card than some other food packaging boxes.
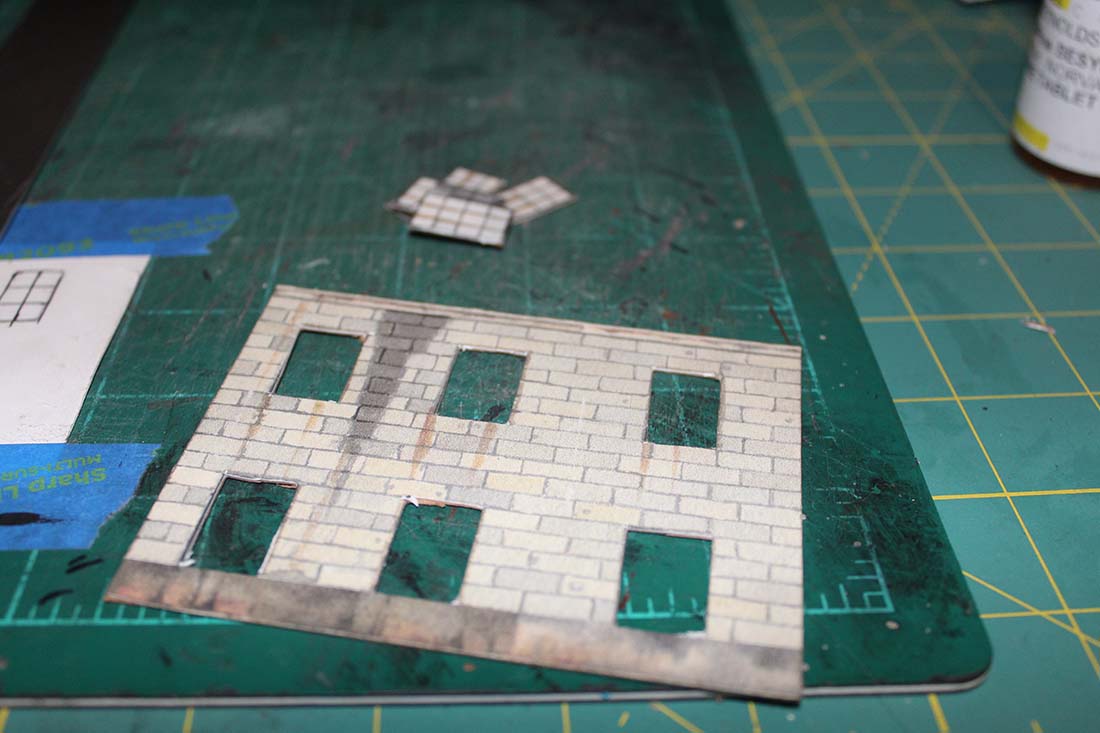
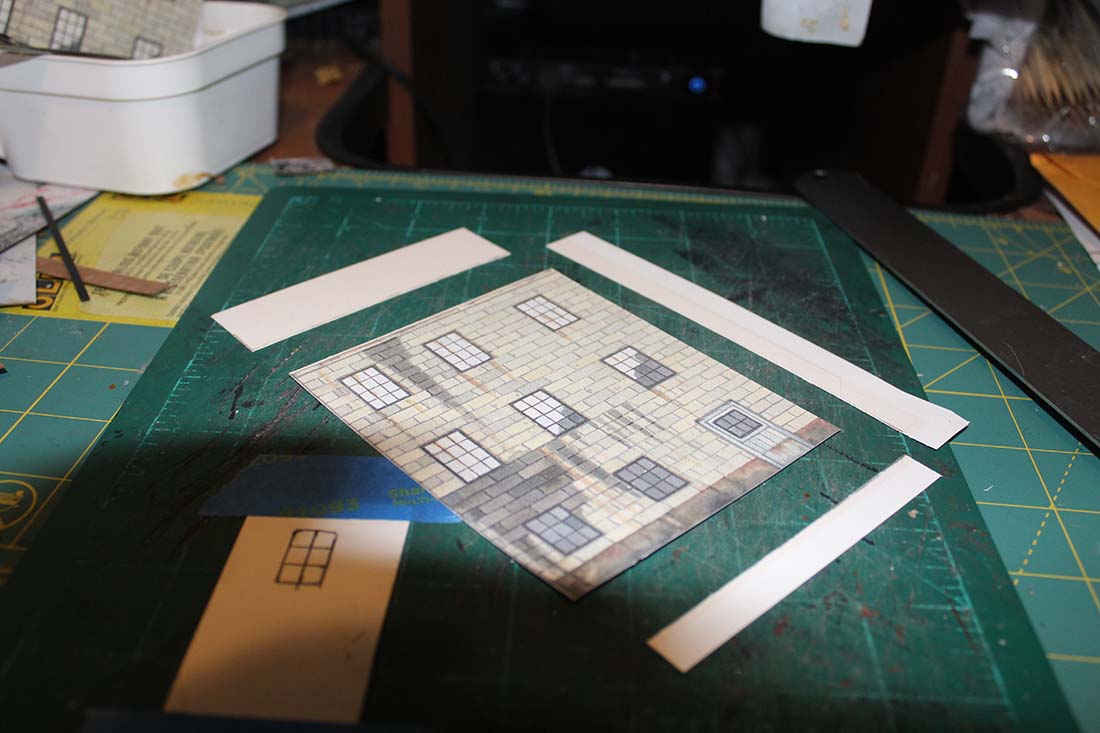
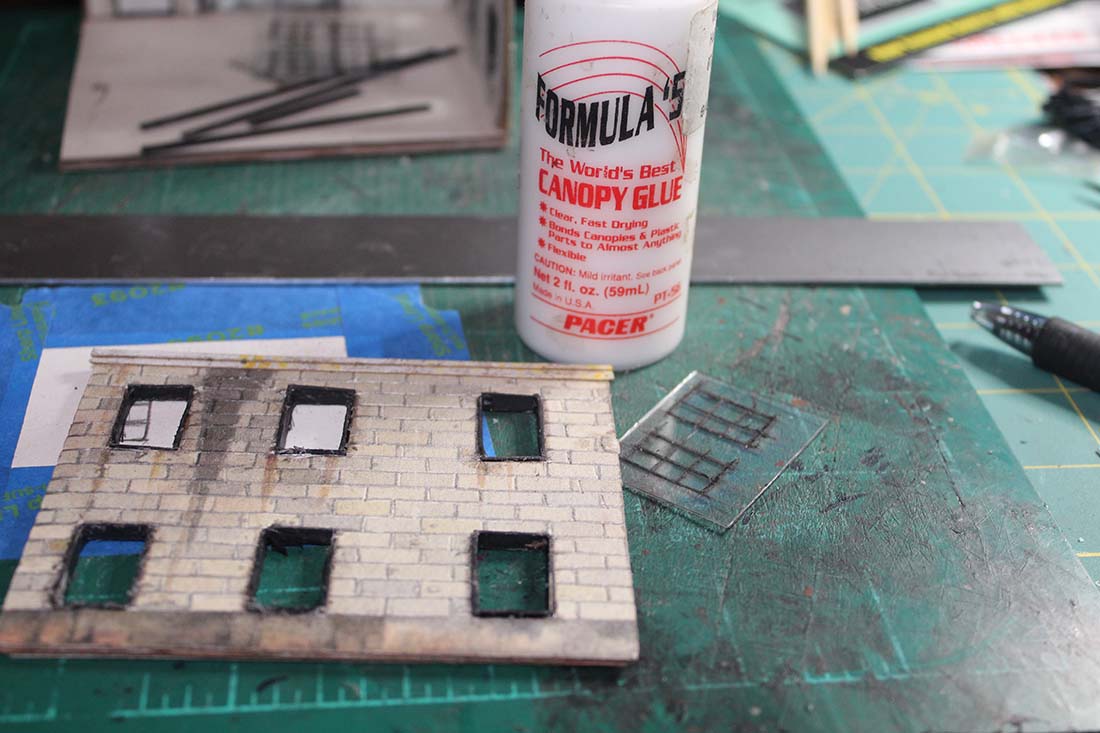
You will notice I have cut out all the windows. The “magic” happens soon. One thing with ALL paper kits is that the windows are a weak point when compared to the plastic kits common in the US and elsewhere.
Part of this tutorial is all about adding dimension and clarity so that your paper models are as realistic as the plastic or card models available from the hobby shop or from any online retailer.
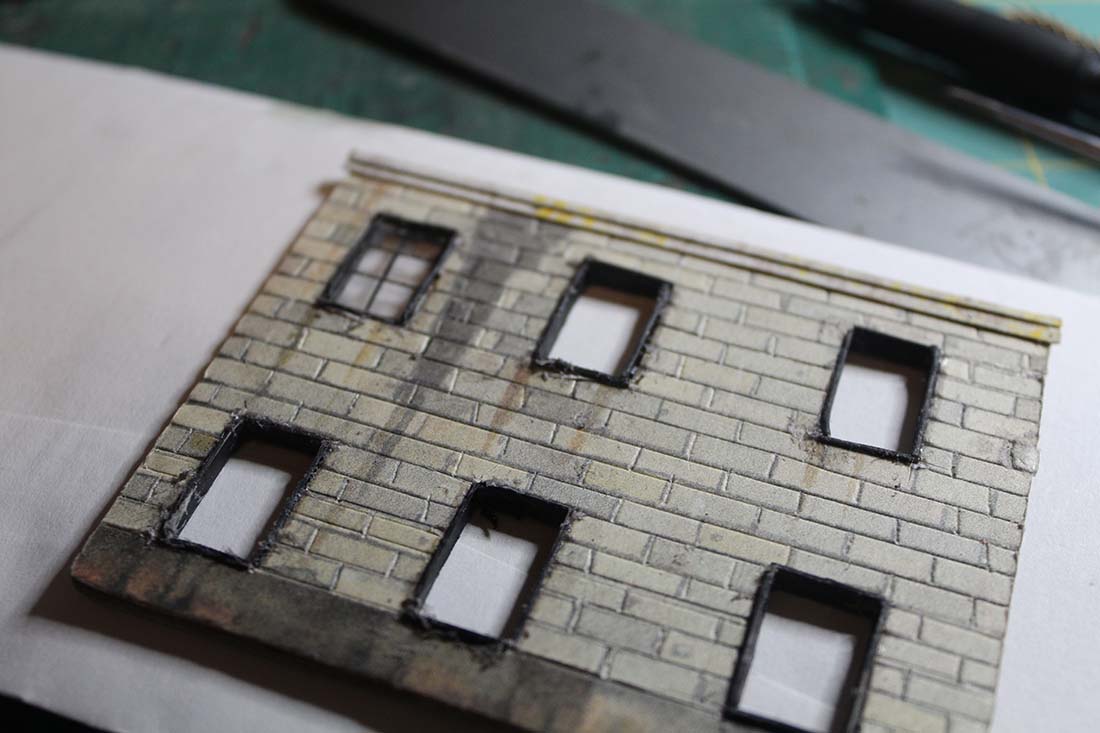
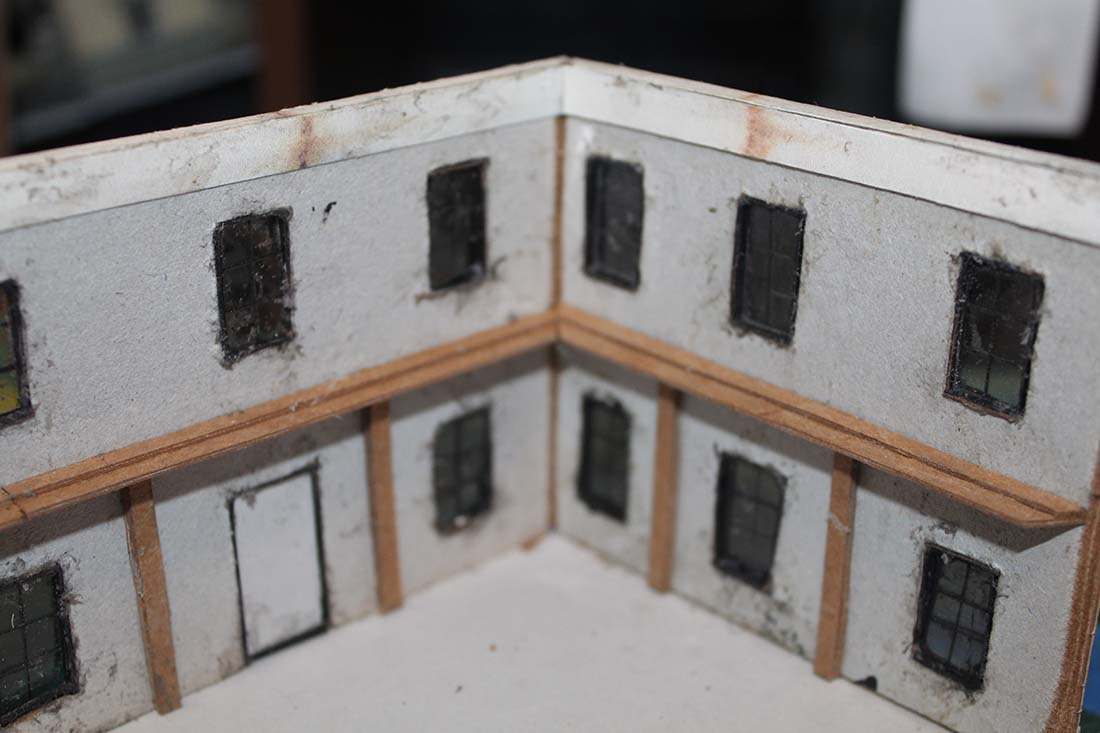
Among the tricks I have learned over many kits now is to build the walls with one layer of card at a time. This is more time consuming but the cuts are easier and cleaner.
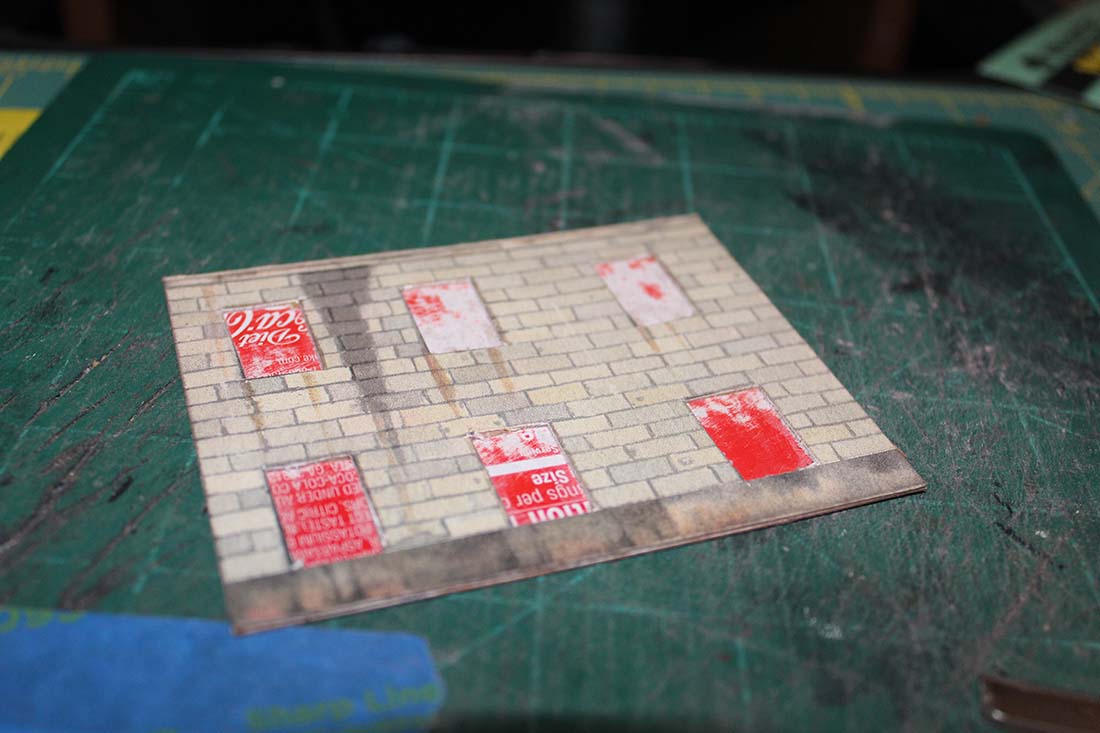
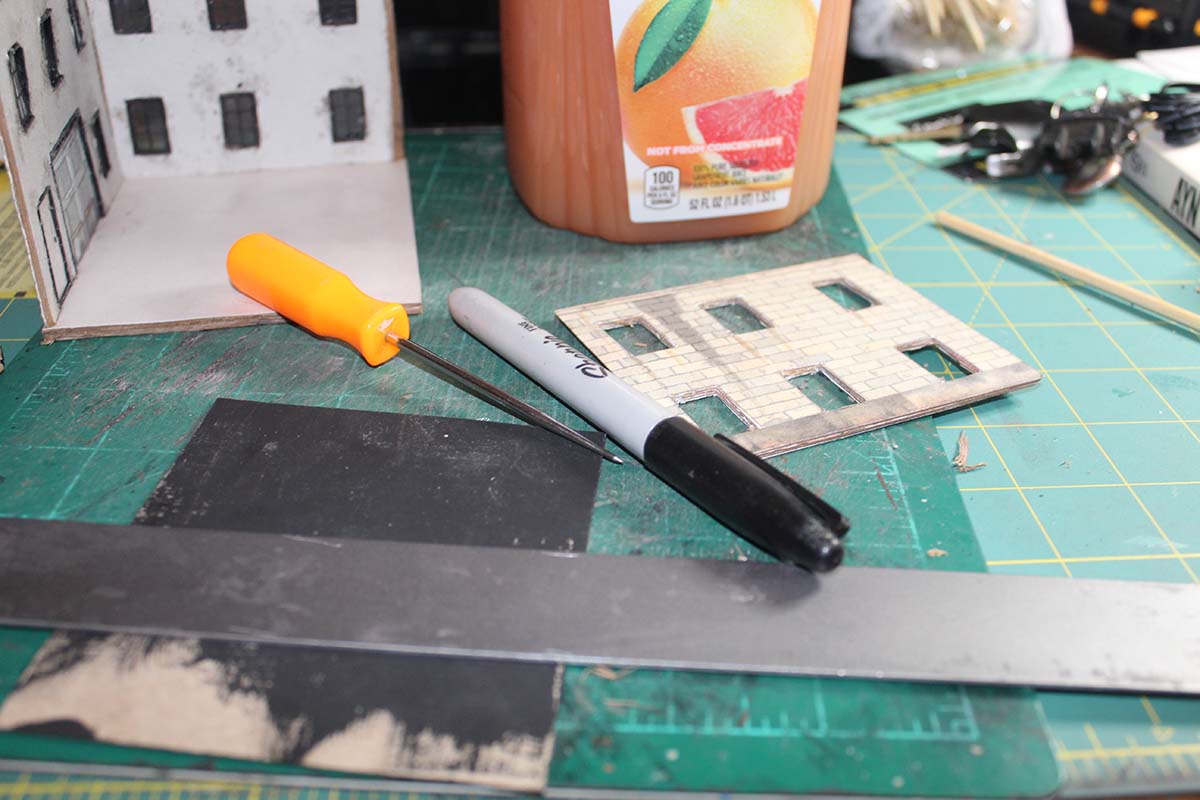
I have used a bit of colored card to “paint” the inside of the building and I have scribed all the mortar joints in the wall to give a three dimensional effect to the brickwork.
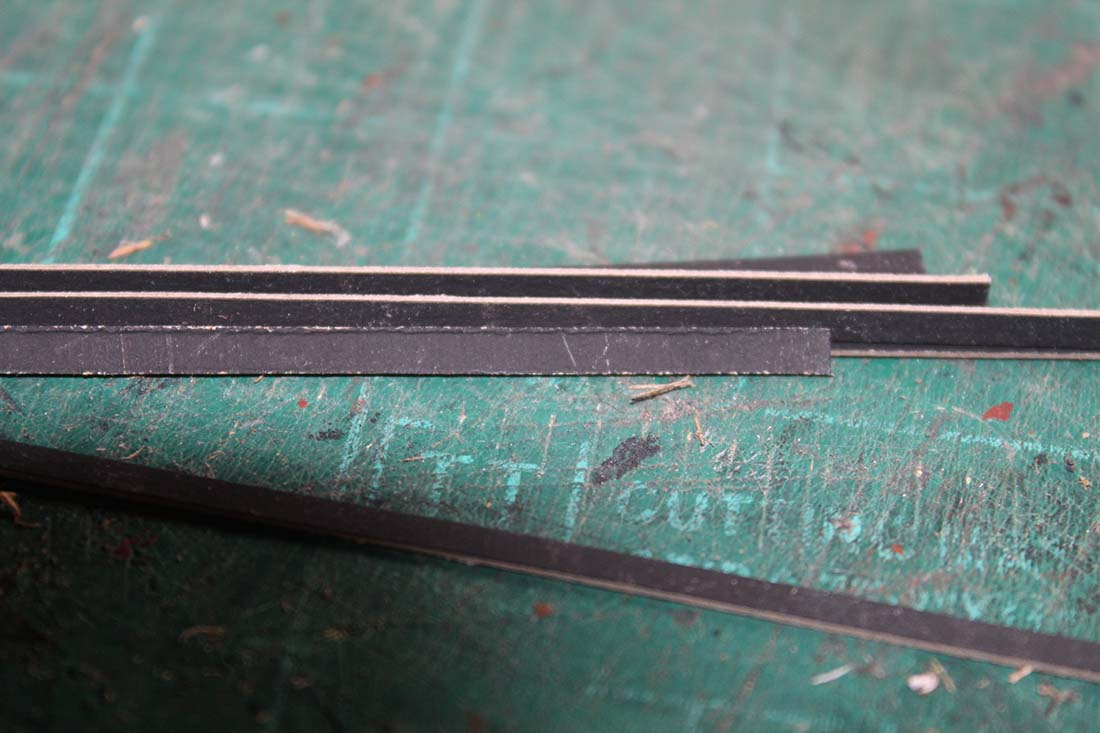
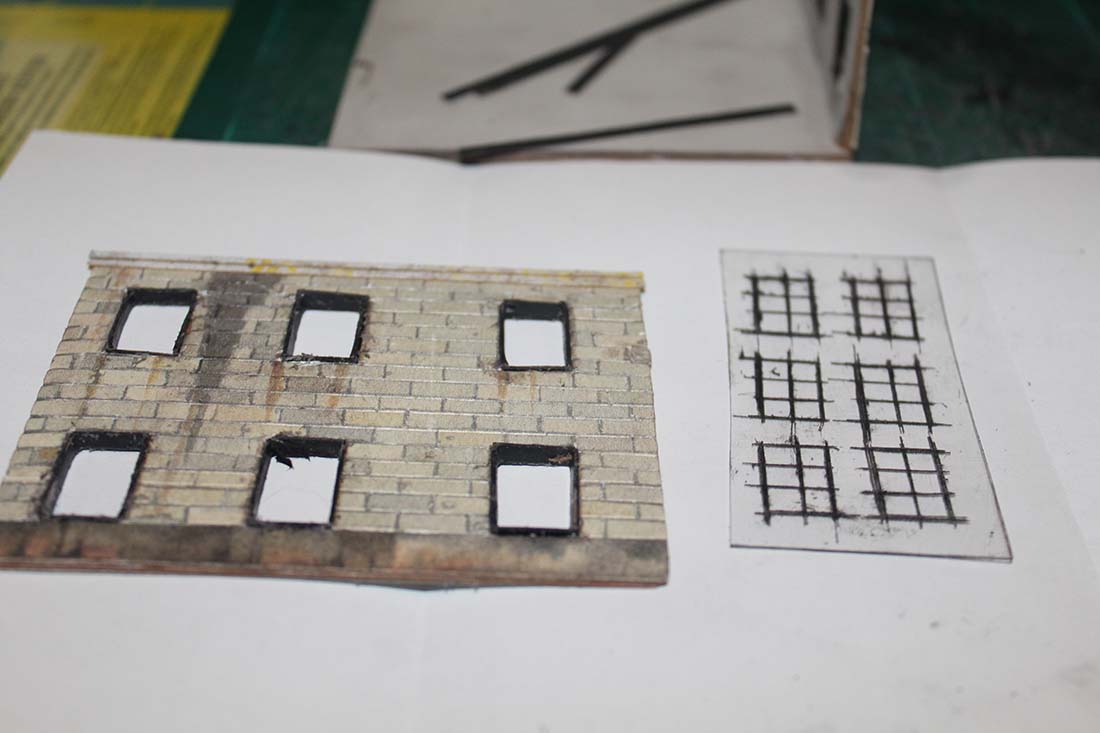
Now I begin dealing with the windows. I cut a single thickness of card that I painted black. I used a black “Sharpie” pen to color the edges of the card as these edges are VERY VISIBLE in the new window frames. Whenever I make printable buildings, whatever the design, I do this.
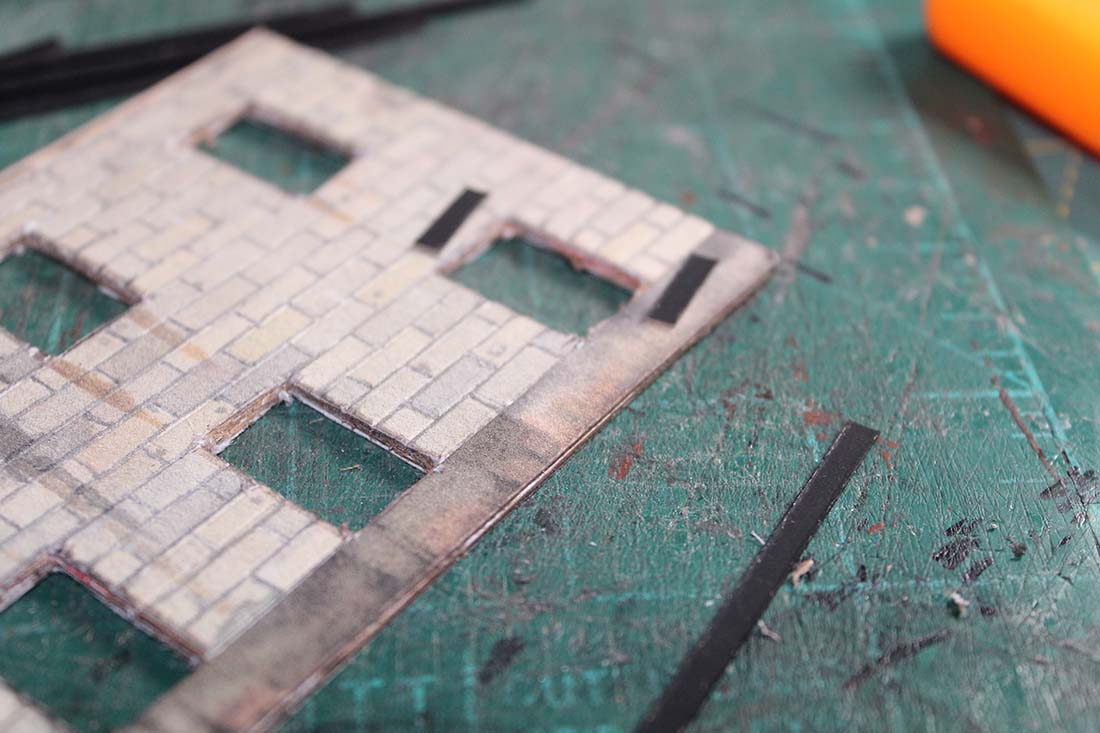
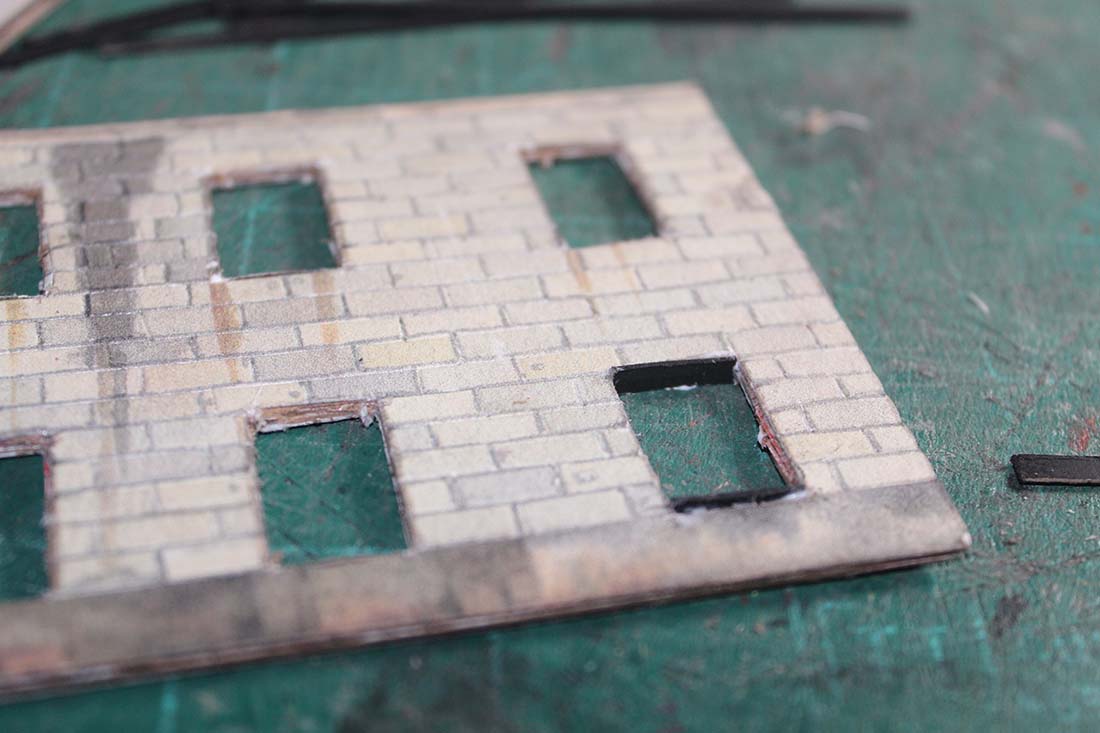
Once all the windows are framed, it is time to start glazing them.
I use clear plastic from various sources. This project used the packaging from a set of Peco points (turnouts/switches).
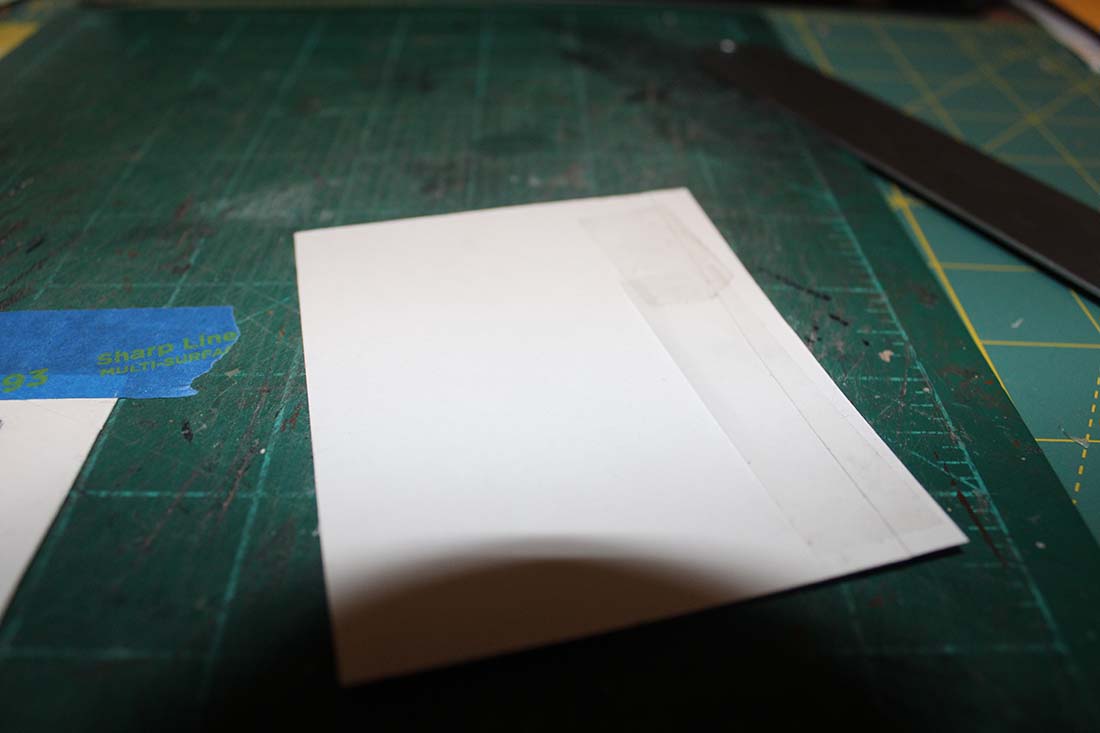
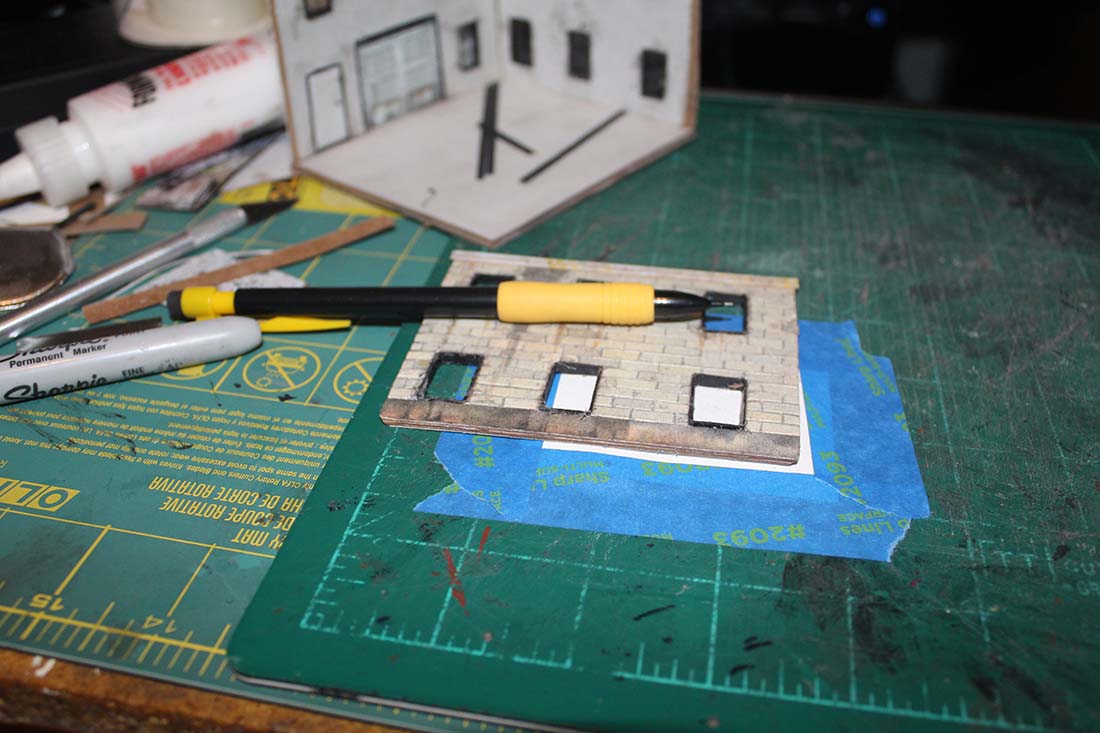
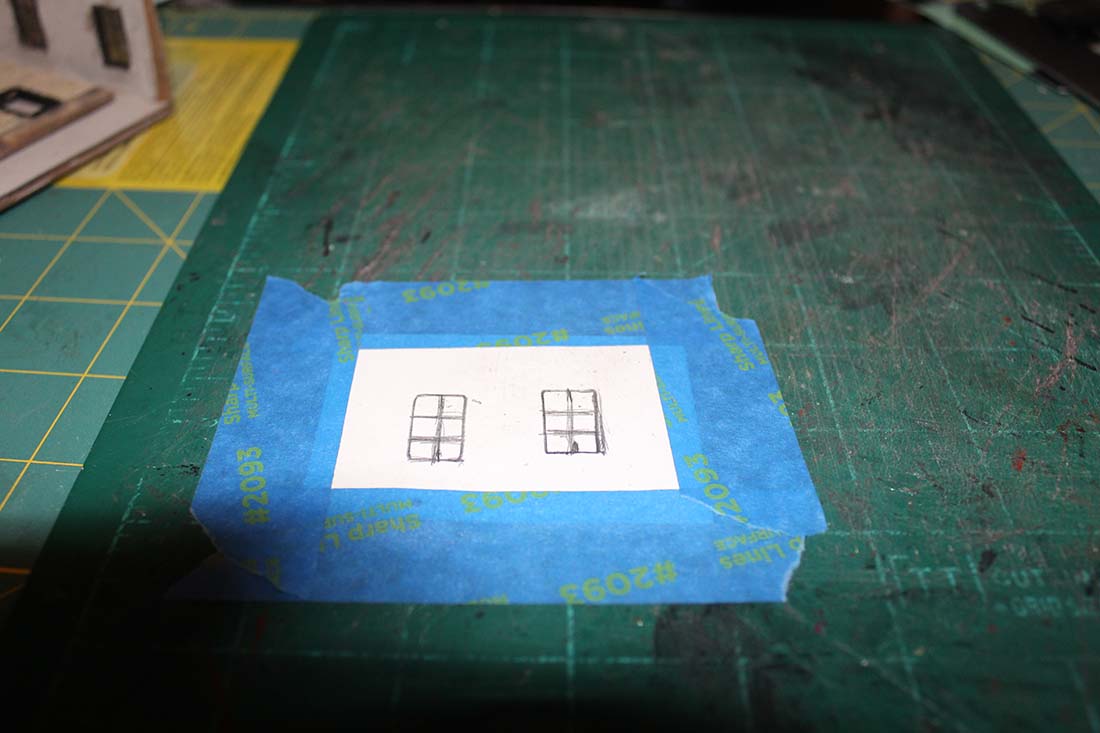
The first thing I do is secure a bit of white card to my work surface with blue painter’s tape. I use a sharp pencil to trace inside the window frame. The frames are not all the exact same size but they are pretty close. Choosing one of the larger openings gives you a little more space to work with.
The work surface I am using is one of the common “self healing” cutting boards. They are not fully “self healing” but they are good for many models before replacing.
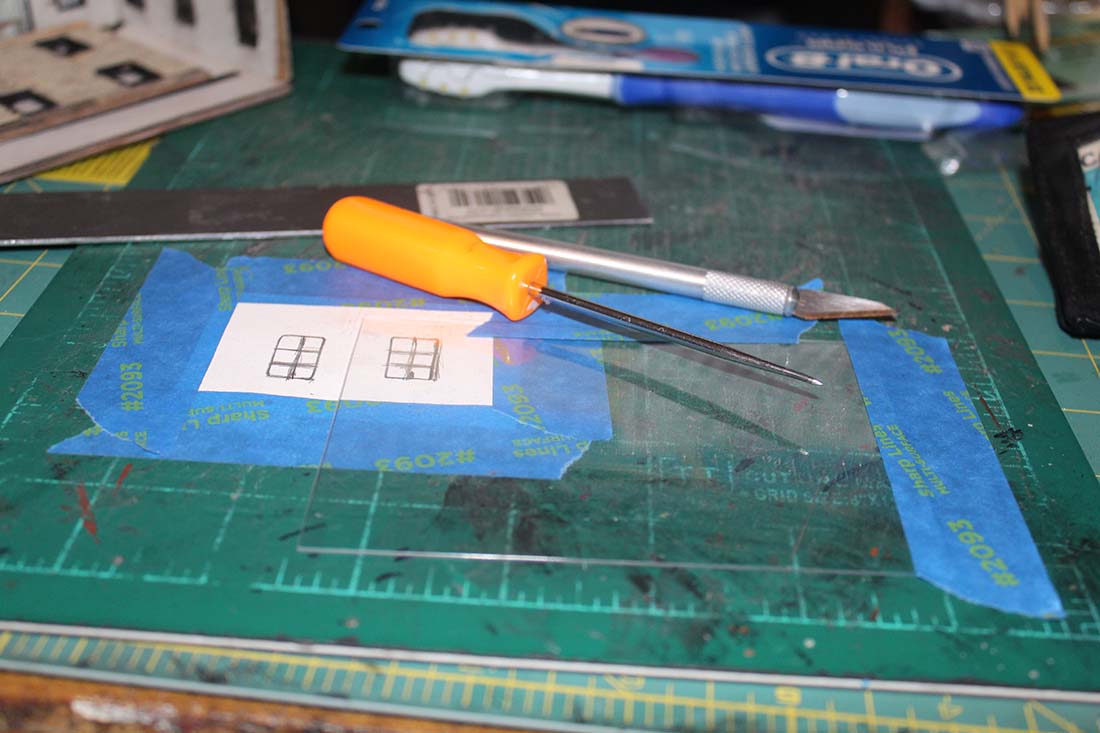
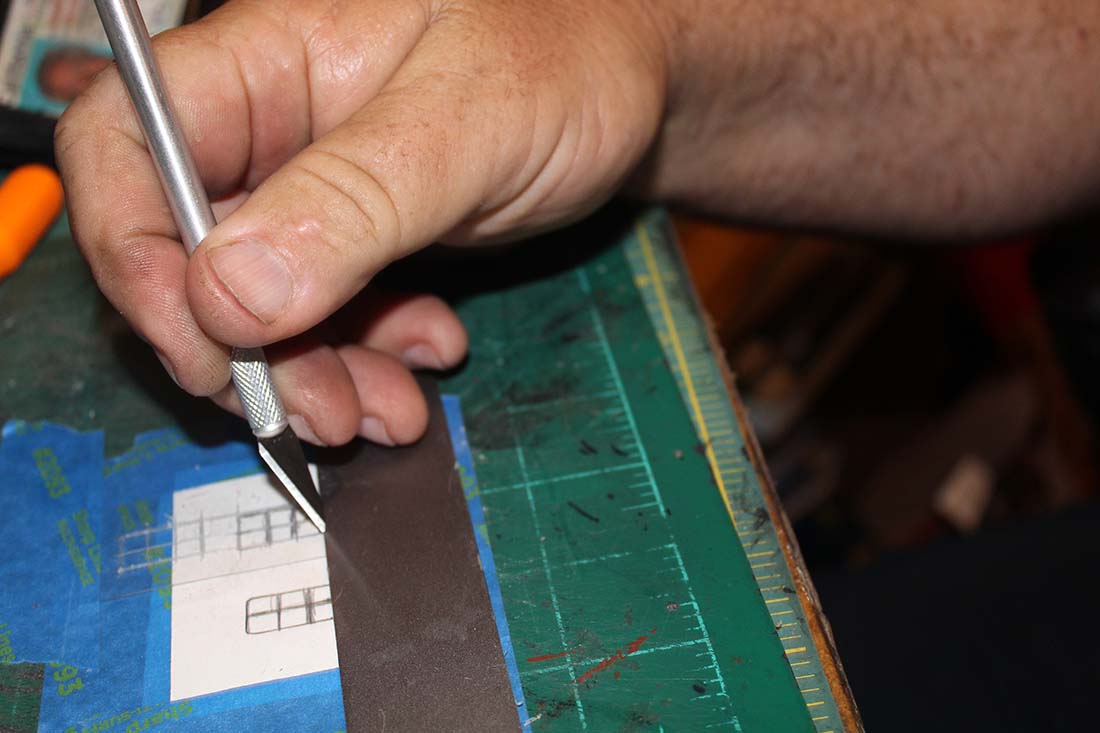
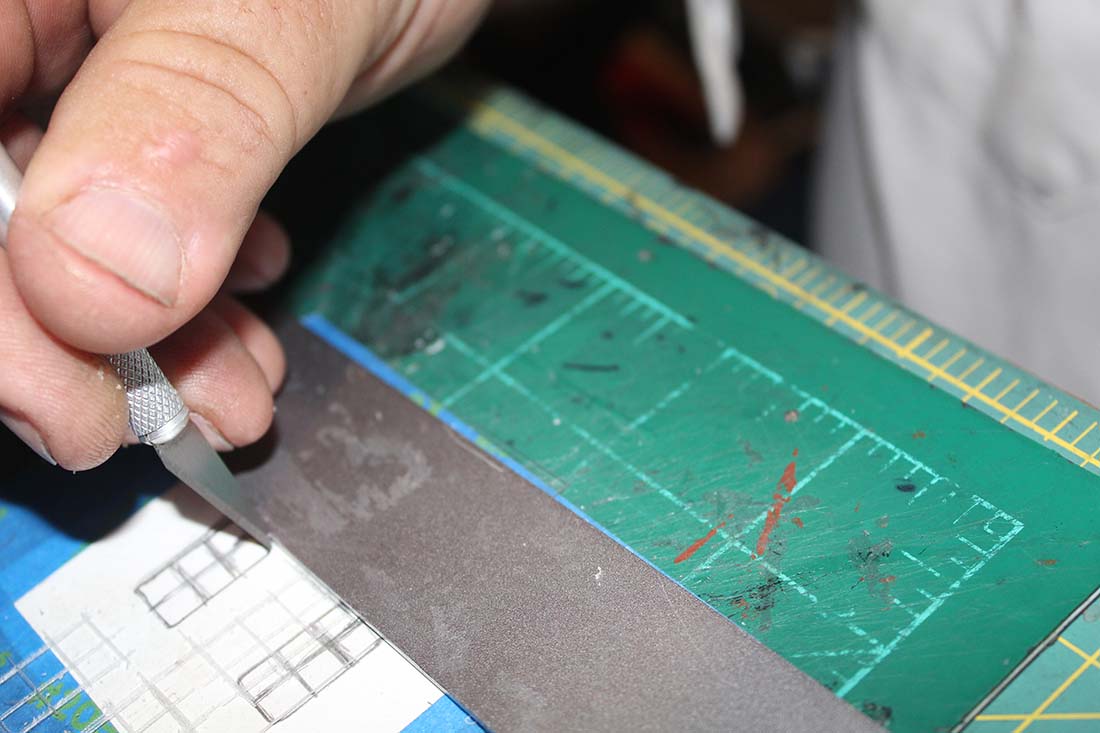
You will notice that once I have the window marked on the card, I add the mullion lines to match the window design from Al’s kit. The clear plastic is then taped over the pattern I have made and then scribed. I use the flat side of an exacto blade to scribe the lines and then also a cheap scribe from Harbor Freight to deepen and clean the scribed lines.

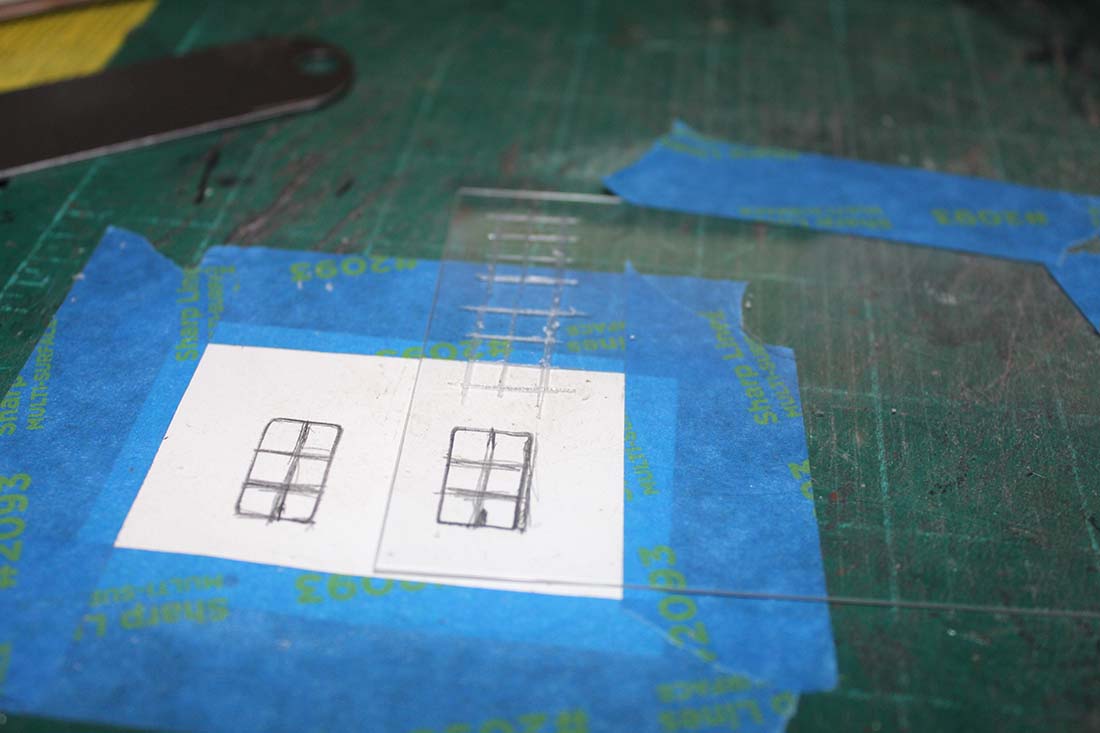
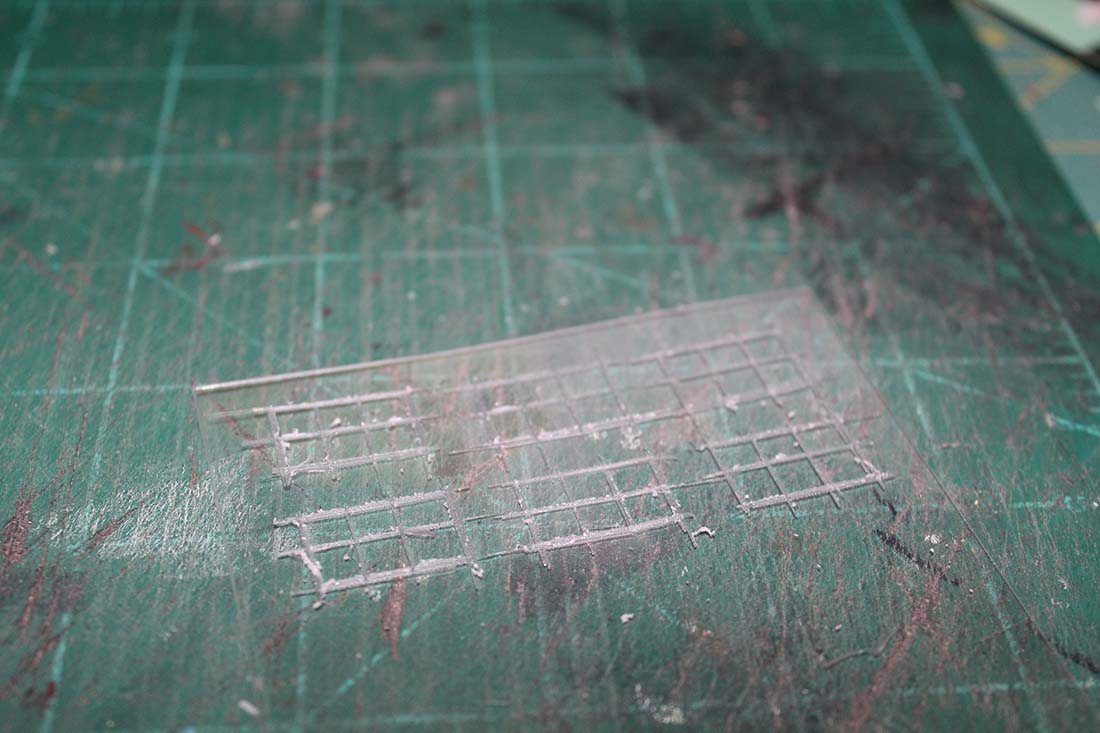
Here is a bit of the scribing process. This should show the completed scribed windows also.
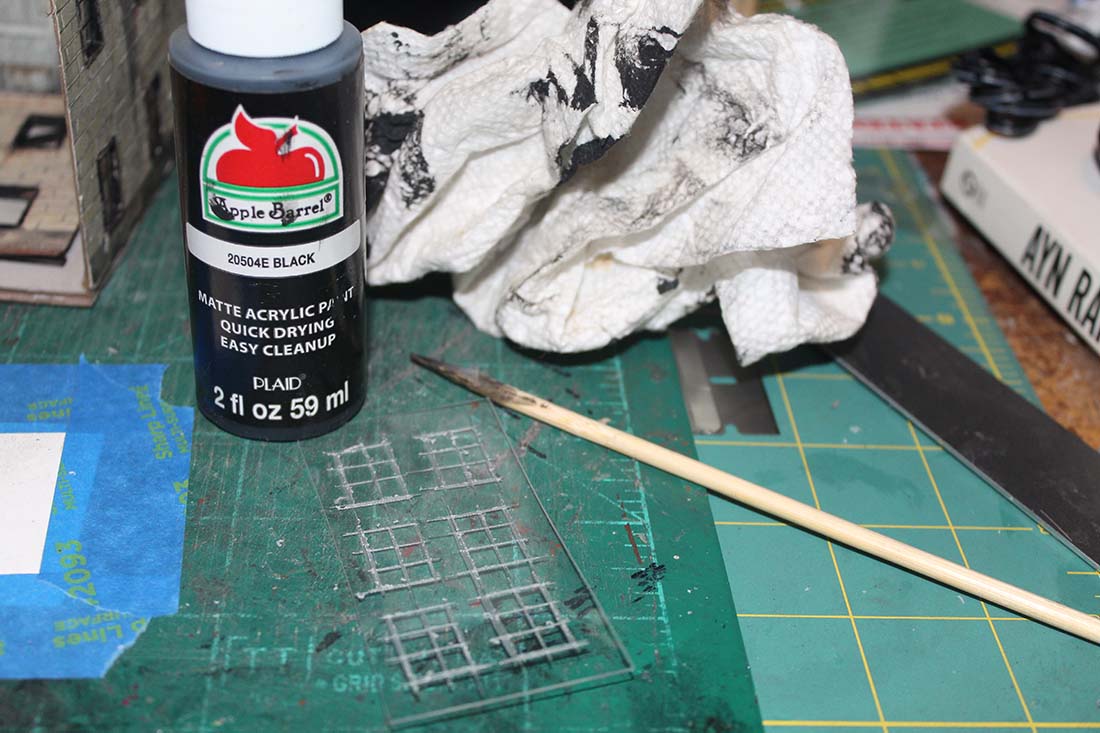
Now that I have scribed windows, painting is the next step. This is easy and fun.
A clever modeler can see how the look of a building could easily be changed with choosing a different color for both the window frames and the mullions in the windows. The print for the Canal building had black mullions and frames so that is what I did here.
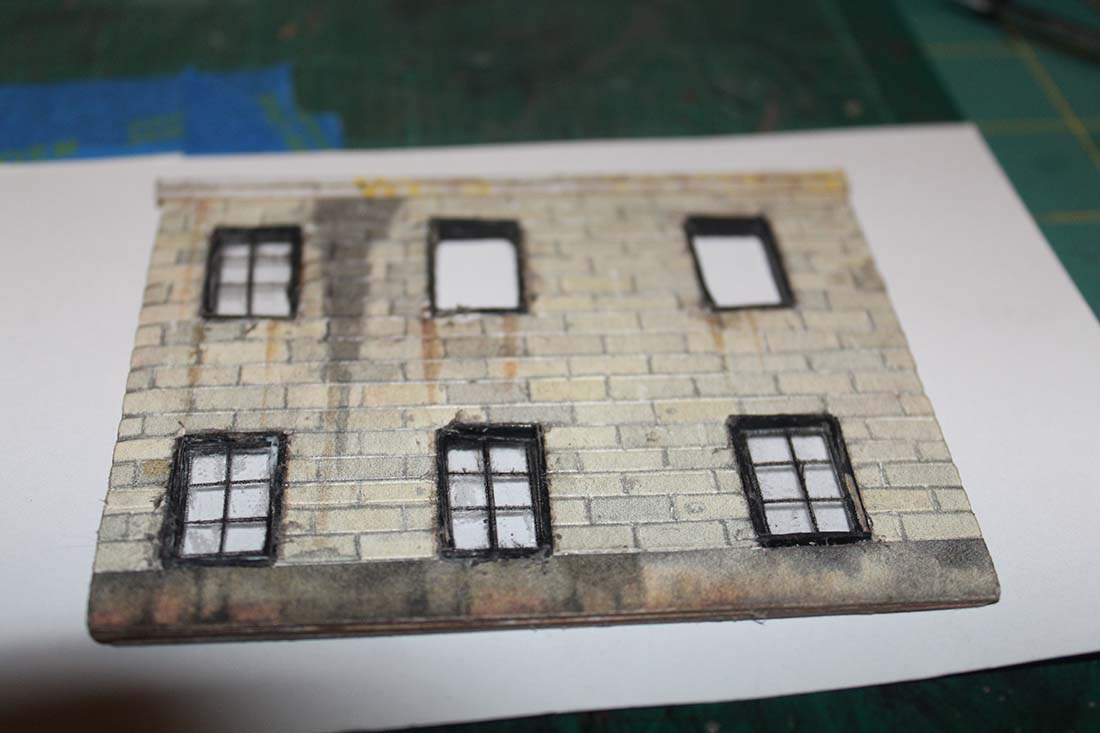
The process is a simple one. Wipe paint onto the windows you have scribed and then wipe off immediately with a paper towel.
The paint will stay in the scribed areas and give you the look you are looking for. It does take some practice but it is easy and gives you very nice windows for your print out kit.
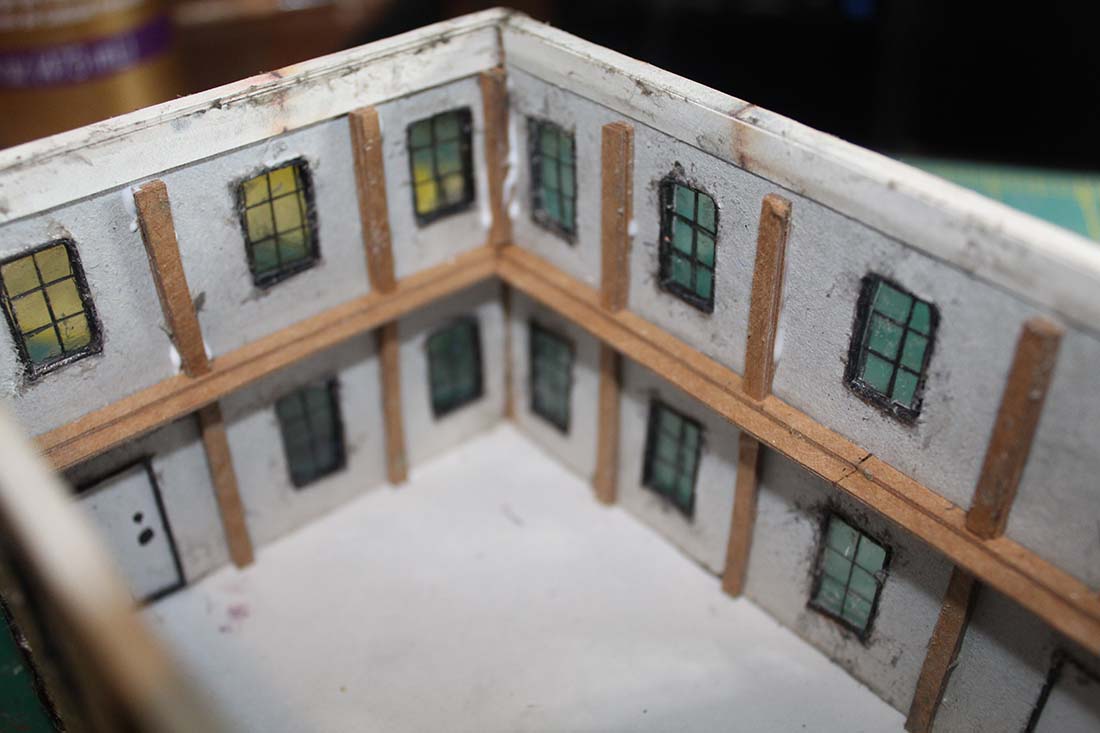
Onde the windows are painted and dry, I cut them out to fit each space. I glue the windows into place with Formula’s 560 Canopy Glue.
This is a PVA type glue that dries clear and adheres to almost any surface. It is designed for the model aircraft folks to glue the clear plastic canopies to their model airplanes without the clouding that would occur if they used a solvent based glue.

These pictures show the trimmed windows being installed and how the completed wall looks with the clear windows in place. I also used some other bits from the kit to complete the top of the wall.
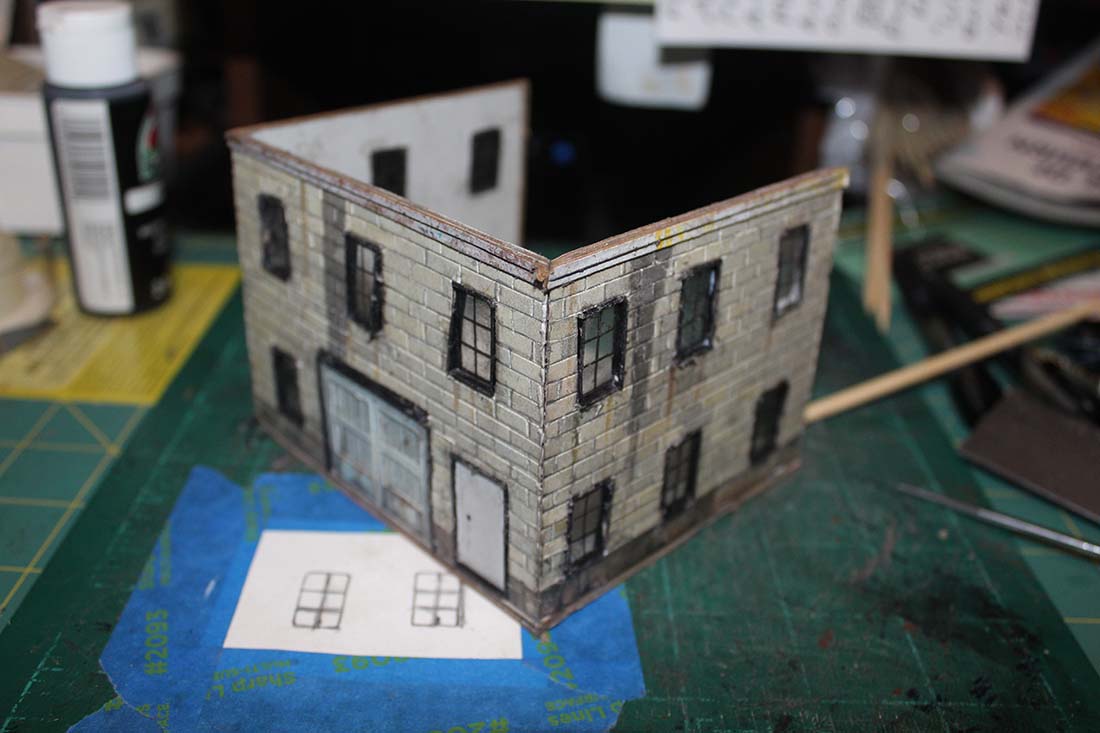
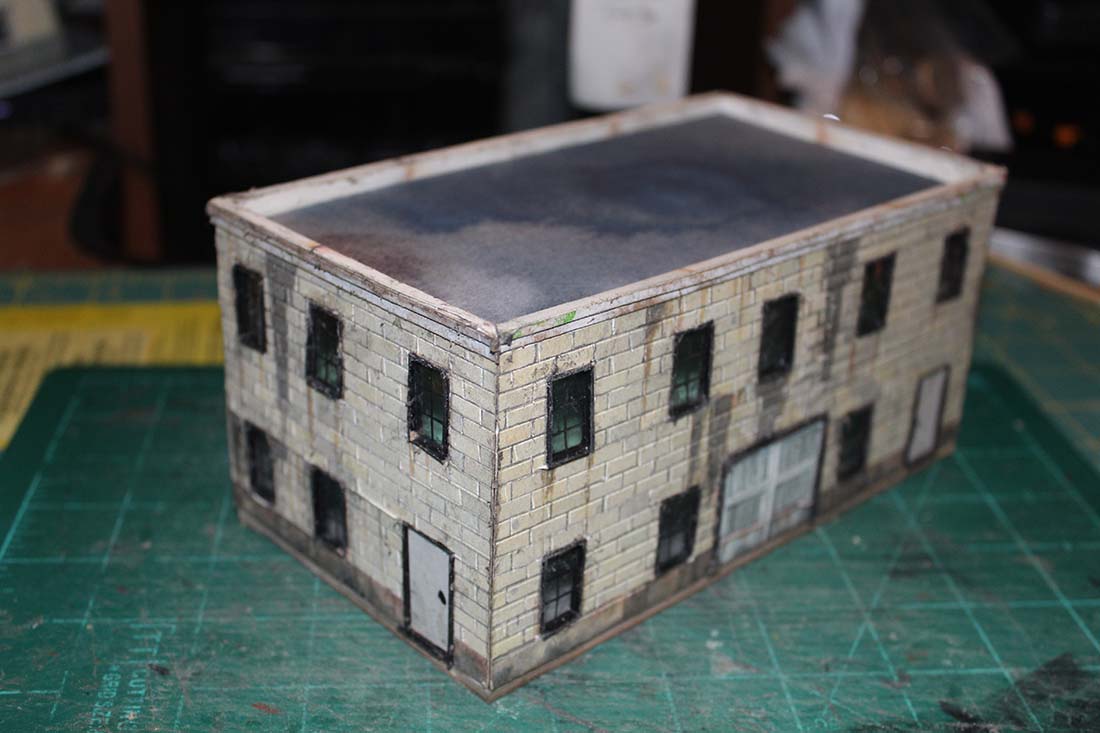
Here I am finishing the building. It took some creativity to plan for the floors and the roof. These buildings may receive interiors some day and lighting as well so both the floor of the second story and the roof had to be removable.

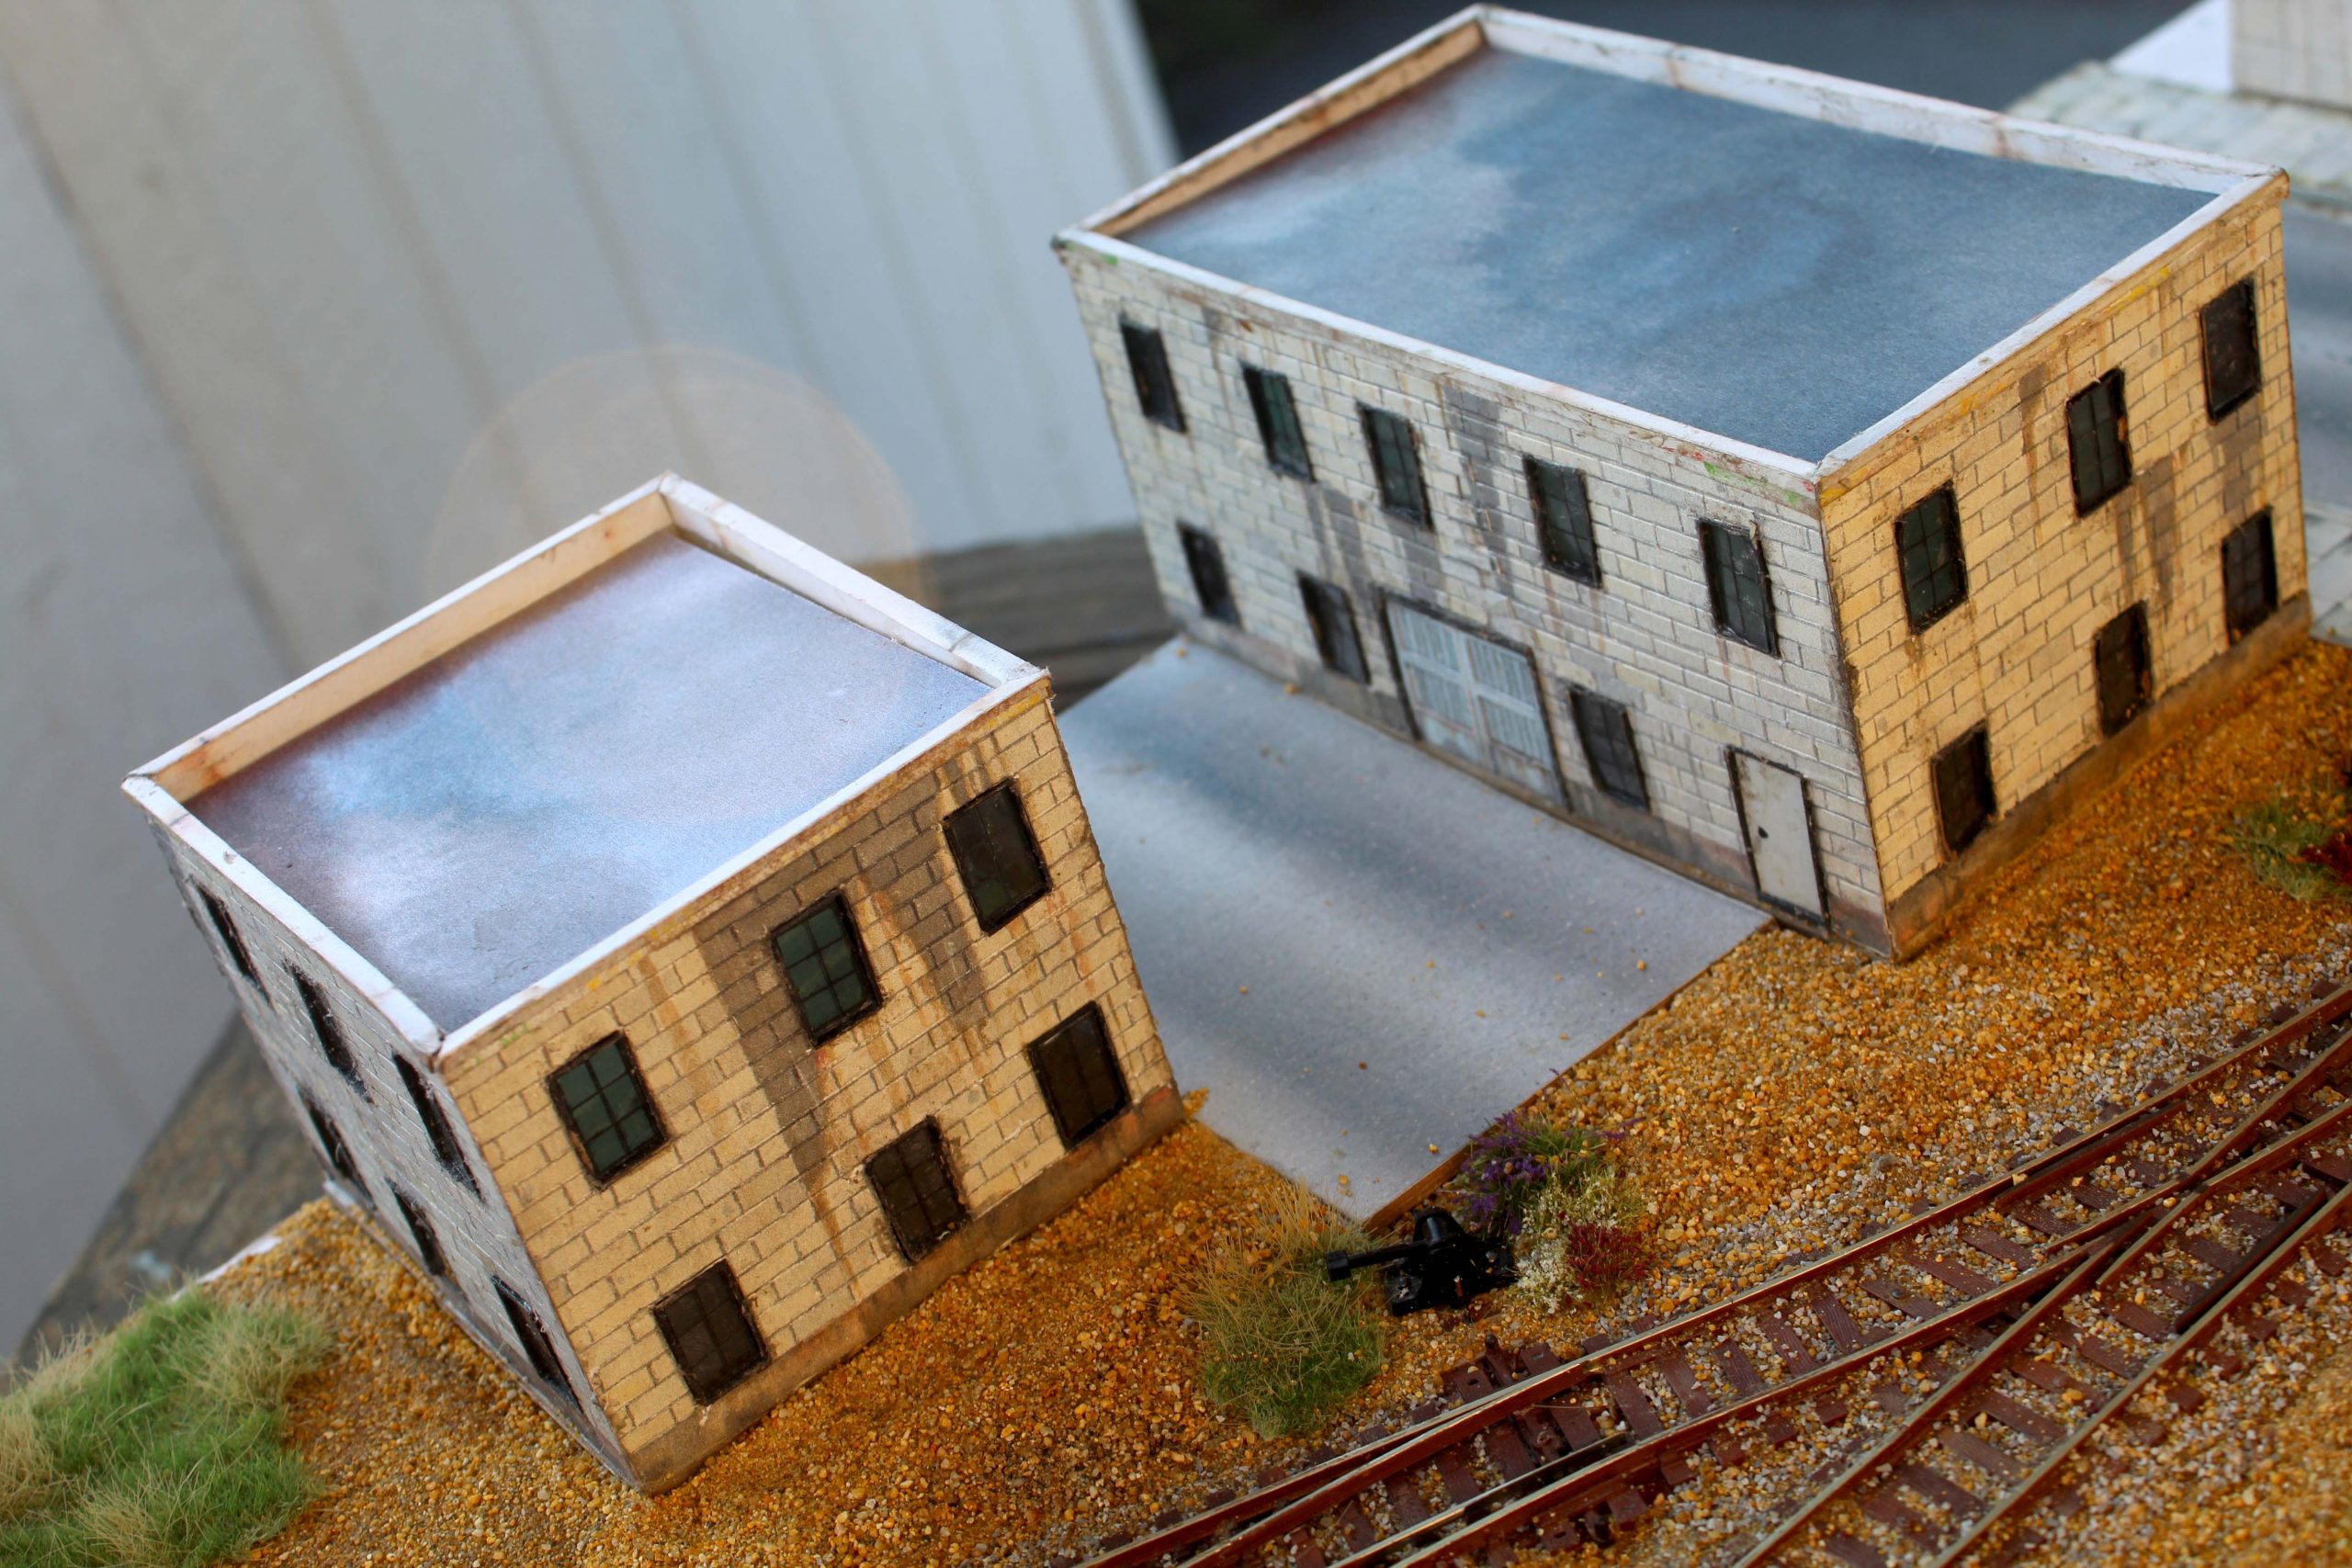
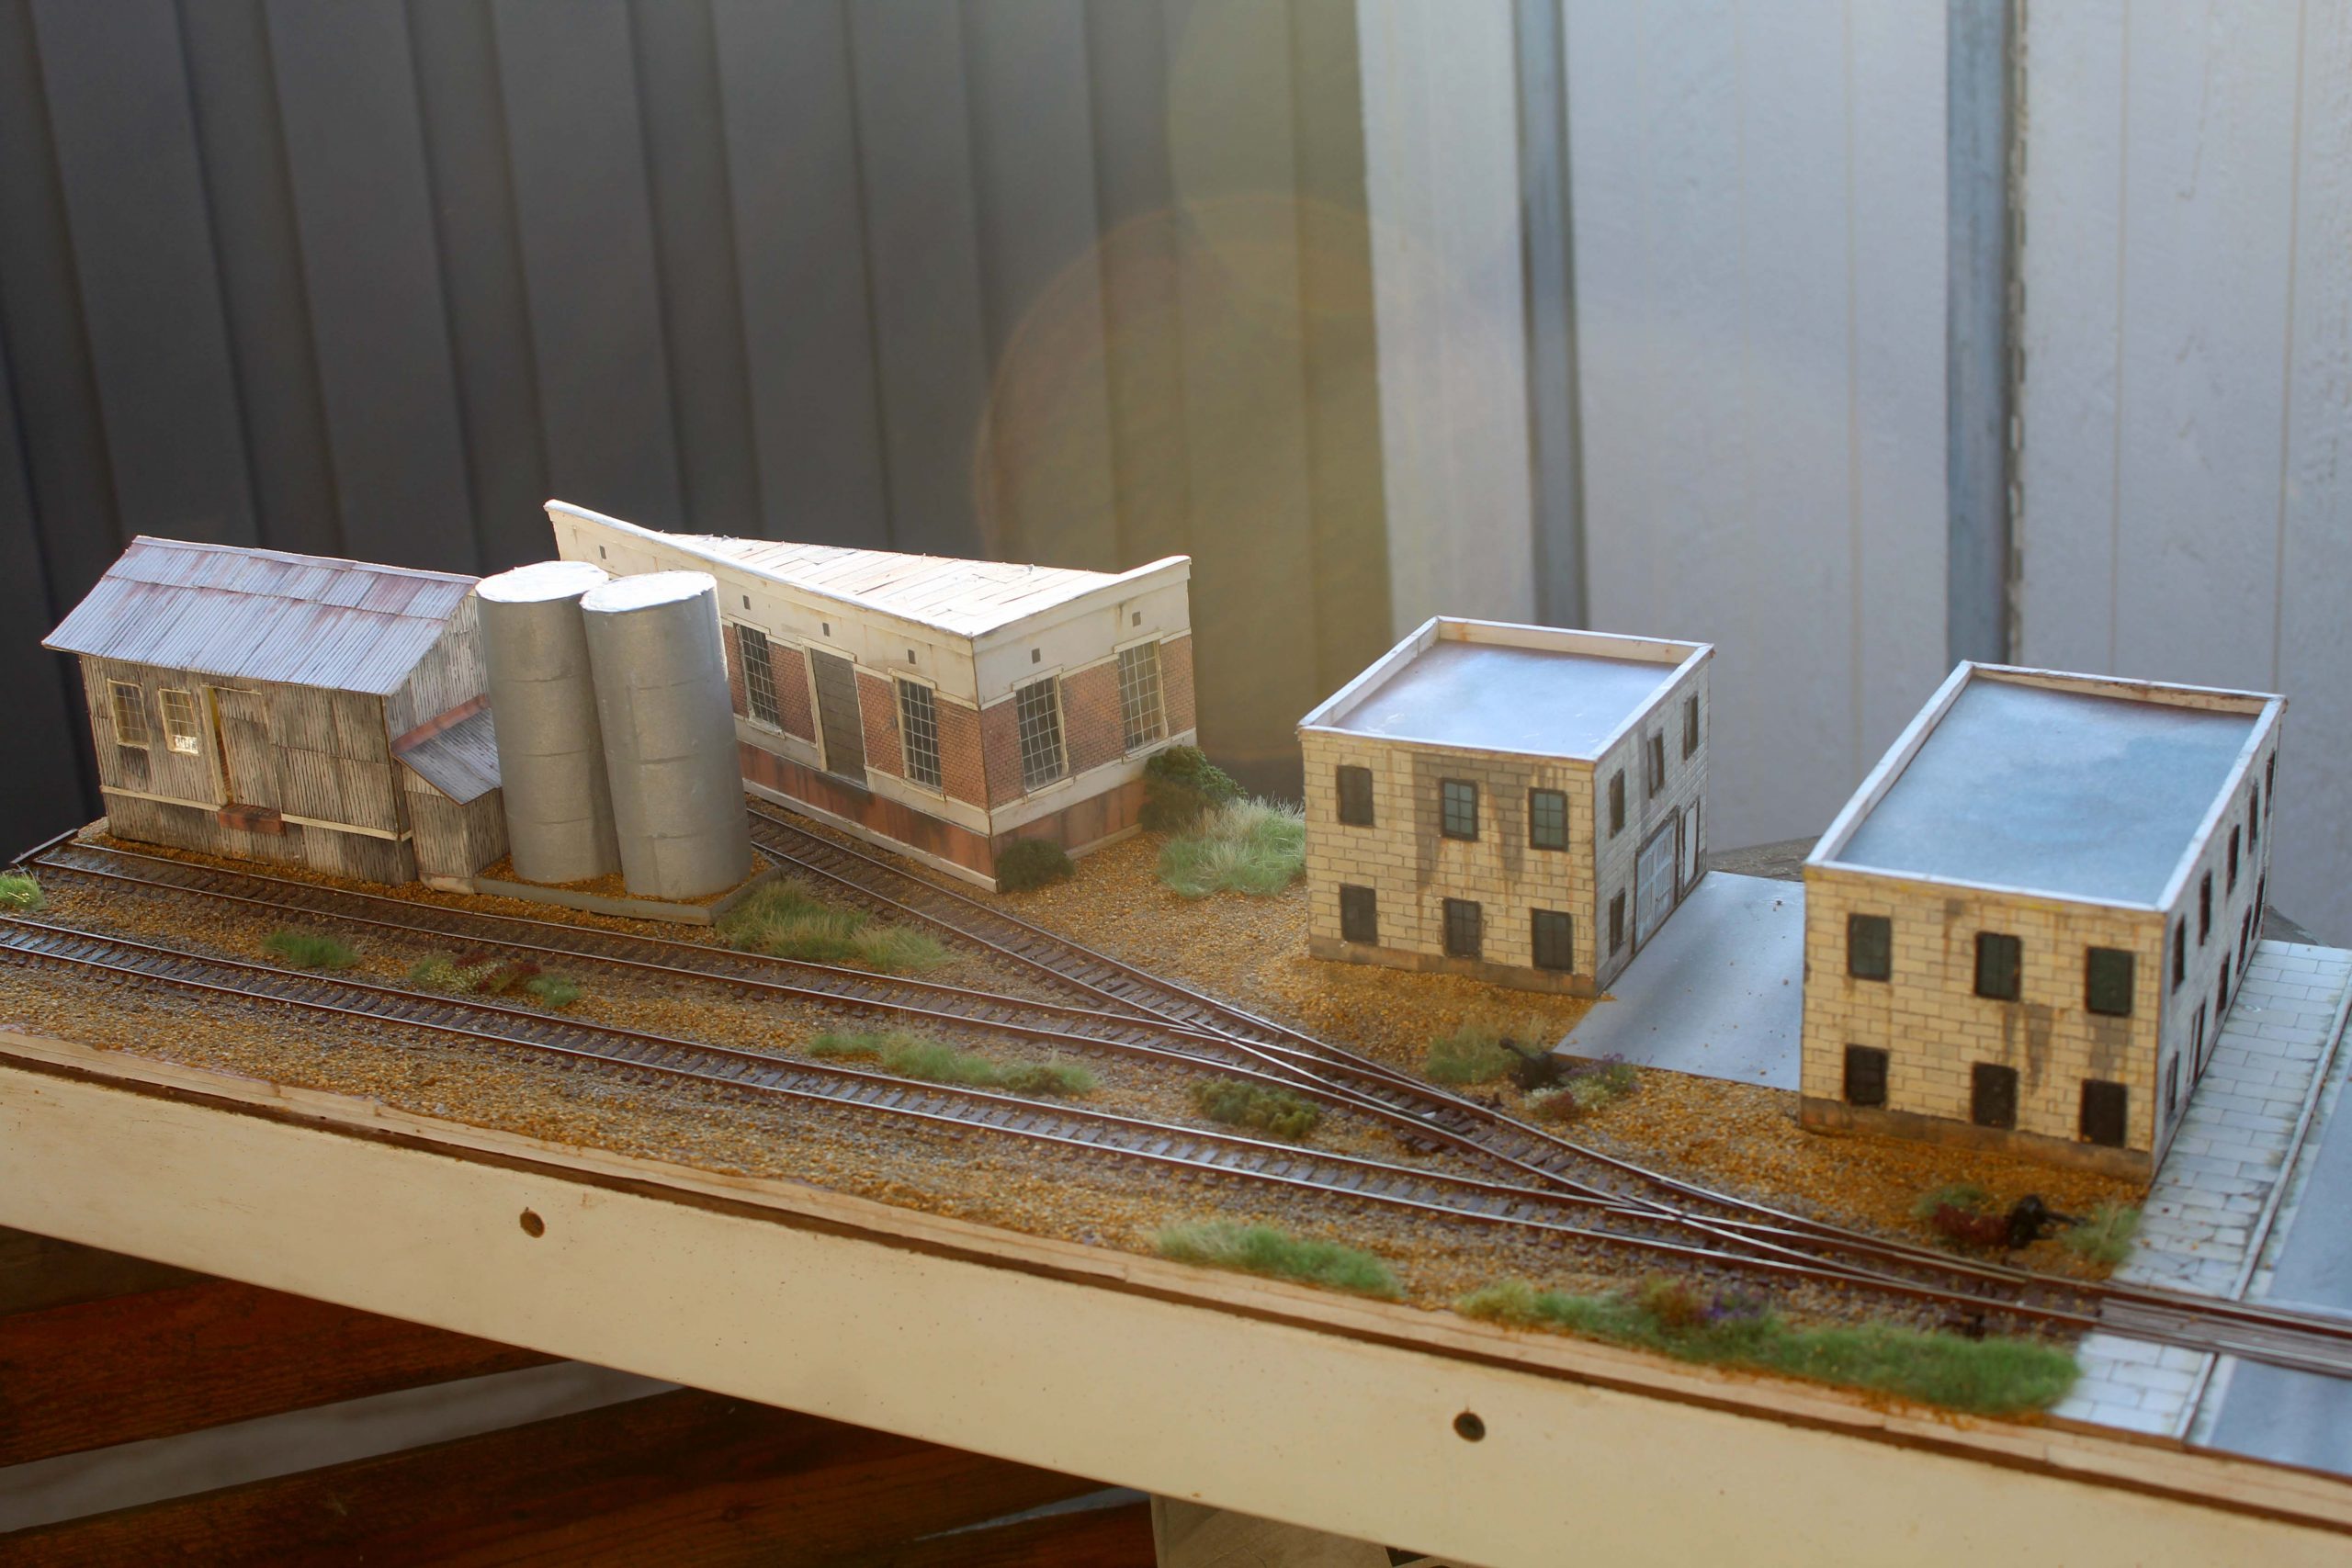
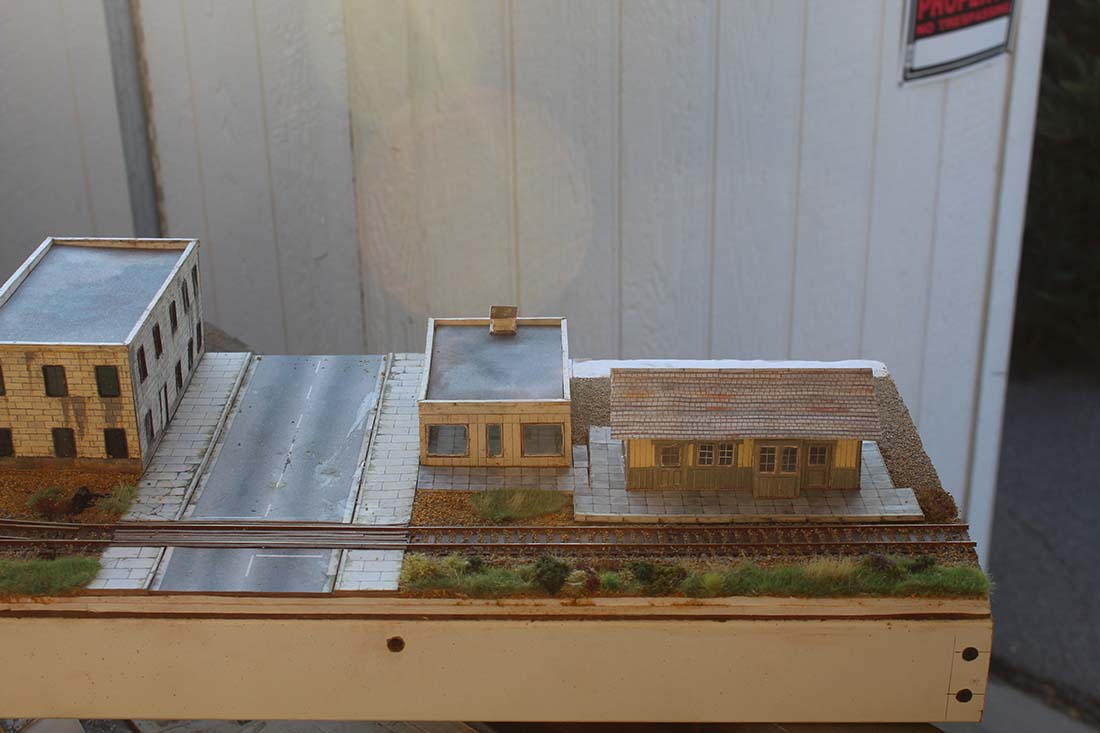
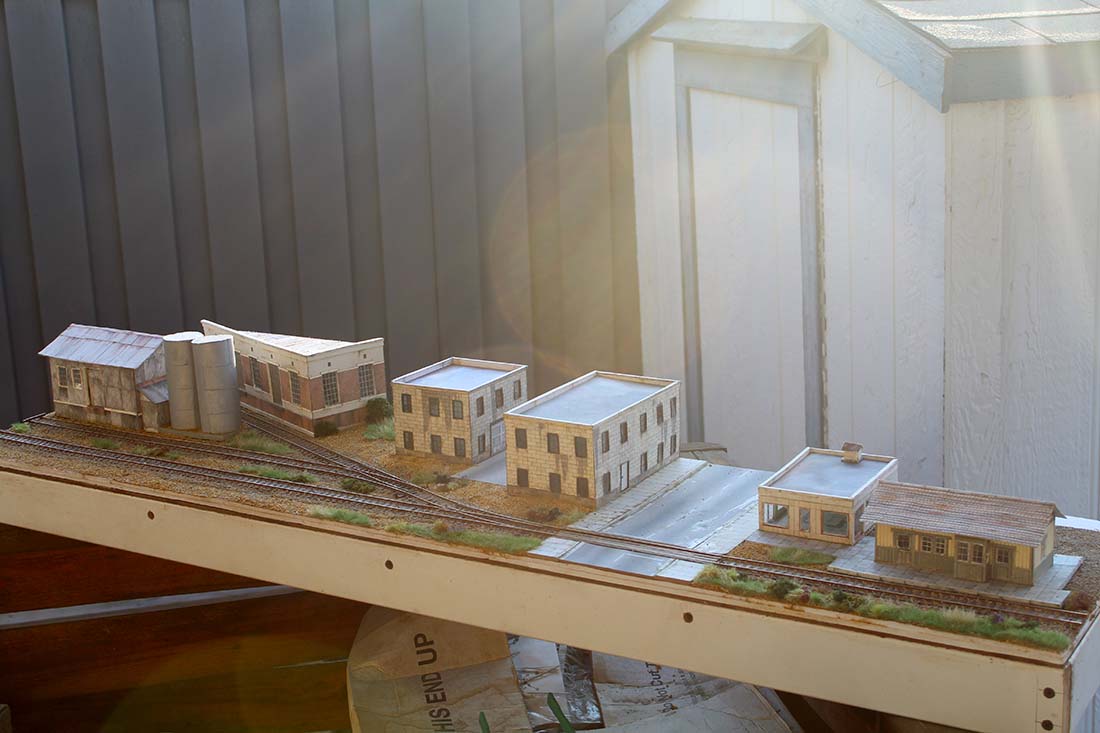
This is my “little layout” as it currently is…
Every building began as one of Al’s print-outs…
There is a little to finish (the backscene mainly).
A huge thanks to John for putting this together.
You can see more of the buildings range here.
John’s last tutorial on how to make printable buildings, which is just as detailed, is here.
His engine shed tutorial is here.
I’m alway reminded of his ‘pizza pye’ post too.
I’m constantly amazed at the scratch builds that come in from the print out scenery.
I still haven’t managed to put it all in one place yet, so some of it is in the store, and some of it’s here.
But this chore is moving higher and higher on my to-do list, I really would like to get them all in one place soon.
That’s all for today folks.
Please do keep ’em coming – I can’t tell you how empty my inbox is at the mo.
And lastly, don’t forget the Beginner’s Guide is here if you wan to get going on your very own layout.
Best
Al
PS Latest ebay cheat sheet is here.


Dear Al,
I saw an attractive offer to buy one cardboard building for 9$ and get some more for free, and now I can not find it.
Where is it? Is it still a valid offer?
Brilliant! Cost cutting and yet effective!
Just to make things a little easier buy the window frames from Ebay.
Less hassle. Cut card board to fit frames, Walla !
The Critic
Nicely done, and ditto Robert’s Father’s Day comment.
I like that canal building, but can’t seem to find it.
Cheers Al.
Mn Dan
Pretty Neat. !!!!!
John and Al…….what a great how to on building realistic structures. Wonderful pictures and wonderful narrative.
Guys…….keep this kind of information coming. It really helps when seeing in detail how to make out layouts look so realistic.
I’m assuming you are using a color printer to copy all your printouts. Is there a particular color printer you would recommend?
Any color printer will do the job, Ron.