Jim’s been in touch again with his DIY model train mountains. They are really coming along.
(His last post is here if you missed it.)
“Hello Alastair
Its Jim again from across the big pond with a great idea to save money when building a layout.
For those of us who have bridges, bridge piers are a must. So to cut expenses I purchased a bridge pier from Walters, paid $13.00 US. Now I needed 10 of those piers, six for the 6 foot span on my layout with a couple left over for other area’s. Now purchasing 10 of these would have been $130.00 US, so I got creative, and made my own. How you ask? Very simple, make copies of them.
Now there is a very cheap and easy way to do this. Purchase a rubber mold kit from a craft store. The kit I use is called “ALUMILITE AMAZING MOLD RUBBER” It is a two part kit, the rubber substance and a small bottle of hardener. What I do is mix the entire kit, you will need all of it. I use a plastic container that I get soup in its about 16 oz. liquid tall, any tall container will do as long as it is equal size. Place the original part in the container with the wide side facing up. Once the rubber substance is mixed, pour it all in the container with the original. It will take up to 2 to 4 hours for the rubber to solidify. Then you can demold the part from it.
Now to make your copies. Mix up a batch of HYDROCAl, according to directions, pour the HYDROCAL into the rubber mold, and wait for plaster to set up and become hard. Remove the casted part and it is ready for paint. And there you have it. Save the mold, you never know when you may need it again.
Here’s today’s update on the mountain for the Starrpoint Railroad part two.
Now just a recap! Everyone remembers how the mountain looked before the plaster cloth was applied. Just for a reminder is a picture of it.
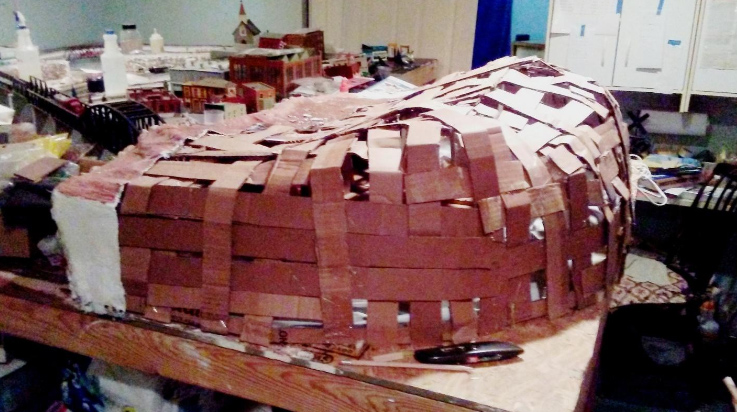
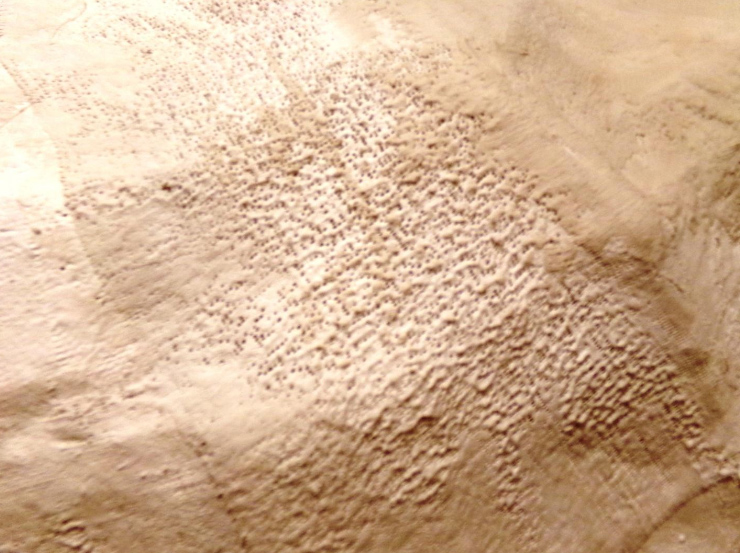
With three layers of plaster cloth applied the mountain now looks like this.
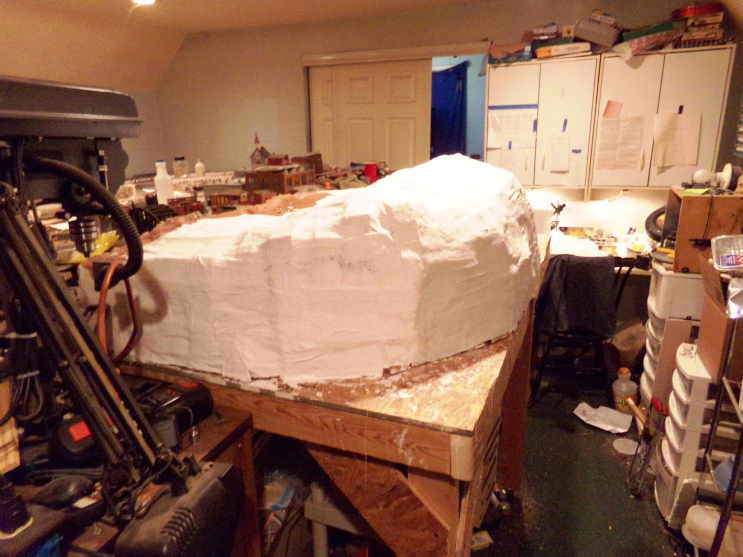
The lighting in the room hinders the look of the mountain. I will try and correct it.
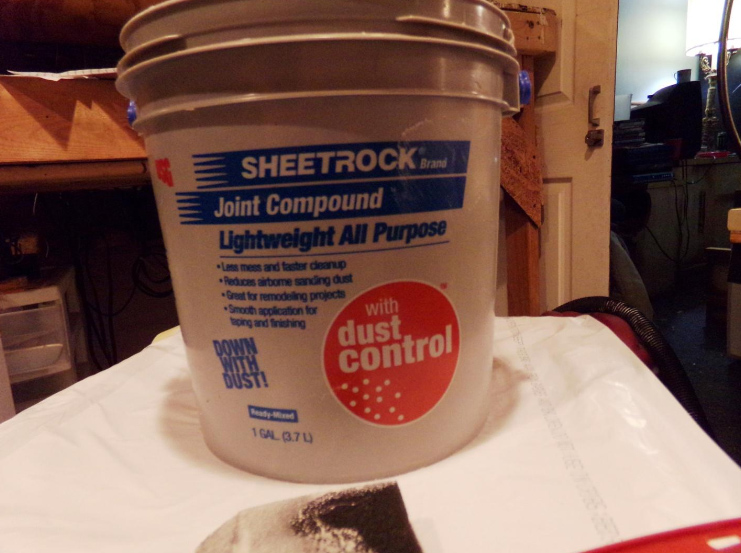
Now for the plaster painting! What I use is joint compound, diluted with water, to make a semi-thick paint. Now some modelers use plaster of paris, which is ok, but I find for me a least the diluted joint compound works best. You can work the mixture into all of the nooks and crannies.
This is what it looks like diluted in the pail.
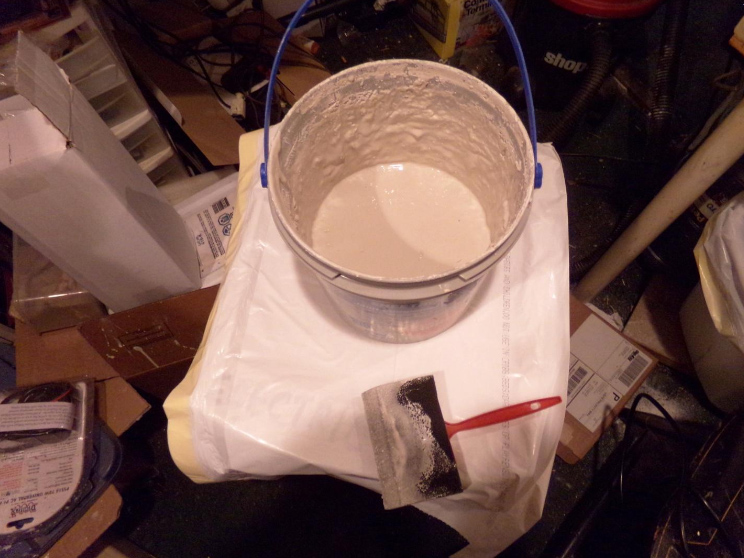
I use a cheap sponge brush that you can purchase at any home improvement centre in you area. I had a friend of mine use a spatula and it did not work out too well for him. So he decided to try my method and it worked, took some time to complete but it is well work it.
Now the reason for using this mixture, it will fill in all of the pin holes on the mountain. No matter how hard you try, you will get pin holes showing, and those tine pin holes can be a nuisance when you work on you scene.
Here is are some pin holes on the mountain.
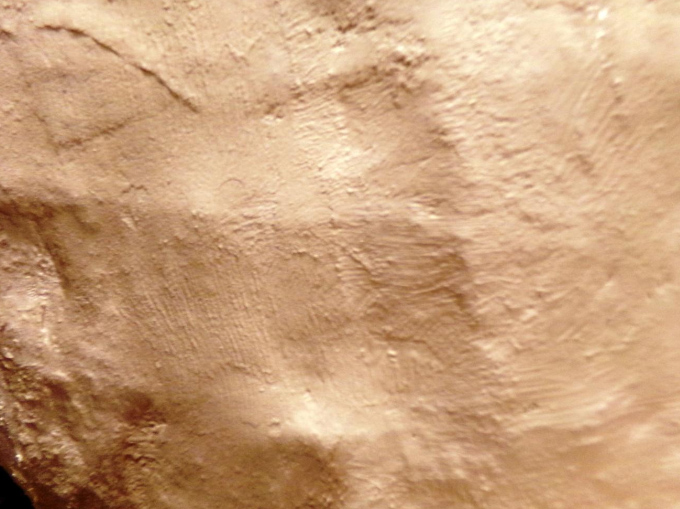
And no pin holes once the plaster paint is applied.
I am letting the first half of my DIY model train mountains sit for 24 hours, before I finish the rest.
I plan on painting the whole mountain with a base coat of white paint, and then will decide what colour I will use after. I plan on trees, a working radar station (more on that latter), deer, bears and whatever else I think of.
Stay tuned for part 3 of my DIY model train mountains coming in a week or so.
Jim
“Hi Al-
I just started subscribing and haven’t had much chance yet to read your posts but it looks interesting.
My favorite part of modeling is scenery and my tip for scenery is to pay a lot of attention to modeling people.
Nothing bothers me more than to see a photo of a wonderful scene- beautiful loco, amazing scratch built structure etc- and few, if any people! And many times, if there are figures, they are randomly placed, with no thought about do they fit? The same applies to vehicles, we are lucky to have a huge selection- so keep the era correct!
Think of it this way- we pay a lot of attention to prototype- getting the era, the numbering, the correct paint all accurate. People and vehicles have prototypes too!
The good thing is- fixing this is easy. Look at photos of your layout and just look at vehicles and people. Are there enough? (Usually not). And do they look right? Small changes and additions can add a lot to any scene.
Best regards,
Tony”
“My tip would be not to wait till you have it perfect in your mind just keep doing it and the improvements will keep coming. Its more fun that way.
Noel”
A big thanks to Jim for sharing his DIY model train mountains, and to Noel and Tony.
Regular readers will know how much I love an update, so I’m really looking forward to seeing how Jim’s layout comes along.
That’s all for today folks.
Please do keep ’em coming.
And if today is the day you get started on your layout, the Beginner’s Guide is here.
Best
Al
PS Latest ebay cheat sheet is here.
PPS More HO scale train layouts here if that’s your thing.


Is there a setup to run several train engines (trains) on the same track? How would that work? I have the trains for my grandson but have been looking at many setups before starting setup.
great tips thanks so much, I wonder how spackel will work for some really large stone detail on the side of the mountain. thanks again
I built in one day 2.5 hours painted next day and planted trees and shrubs 3rd day
I can’t upload pic.
Hi Jim, thanks for sharing your thoughts and ideas about how you are building your mountain. I am at the point in my layout where I am sort of finalizing my plan. I will use some bulk styrofoam (from shipping containers) for the base, carved to the rough shape I want. I will cover this with the plaster cloth, then spread hydrocal over that for stability. It is white cement and usually sells for about $1 per pound. I will use a 50#bag – large double peak mountain. It drys quickly and very hard (you almost need to drill into it to place a tree). It also is easy to paint, and I use watercolors which soak in nicely.
It is unethical to duplicate products that you have purchaed.
Hey Jim ,Noel, Tony and Al, I know everyone has there set ups the way they like them. Starting from setup and to the build, such as dry past to working with concrete, yes I said concrete. Wow, I guess note only the grandkids will be running the trians but also mountain climbing as well, ha ha. But to get back to riding the rail, everyone’s setup will always be different in one way or another. The point I am making is that everyone is happy with the way they are building there own layout. It is nice to see something that you make with your own hands and to see the out come. I for one can’t wait to see my on, if I can only get lost in my mancave and my better half can’t find me to put more things that she thinks that needs to be done. O well if I don’t get the time to do it here in this life, maybe my next life. Lol
SDG Saint Petersburg Florida USA
Hi
Running several trails on the one track…….
That is exactly the purpose of DCC.
Each loco has a chip in it with its own separate address. The track provides the power and the controller tells each loco what to do with that power.
So do some searching around Digital Command Control DCC before setting your layout up for your grandson.
Regards
Mal
(North Wales)
Just saw Dave’s update #4. Always hard to understand him, but the subtitles were hilarious .