John’s been in touch with an unusual O scale paper model:
“I mentioned in my last mail that my father had built a paper model in 1953 from a cut out print on the back cover of Railroad Model Craftsman.
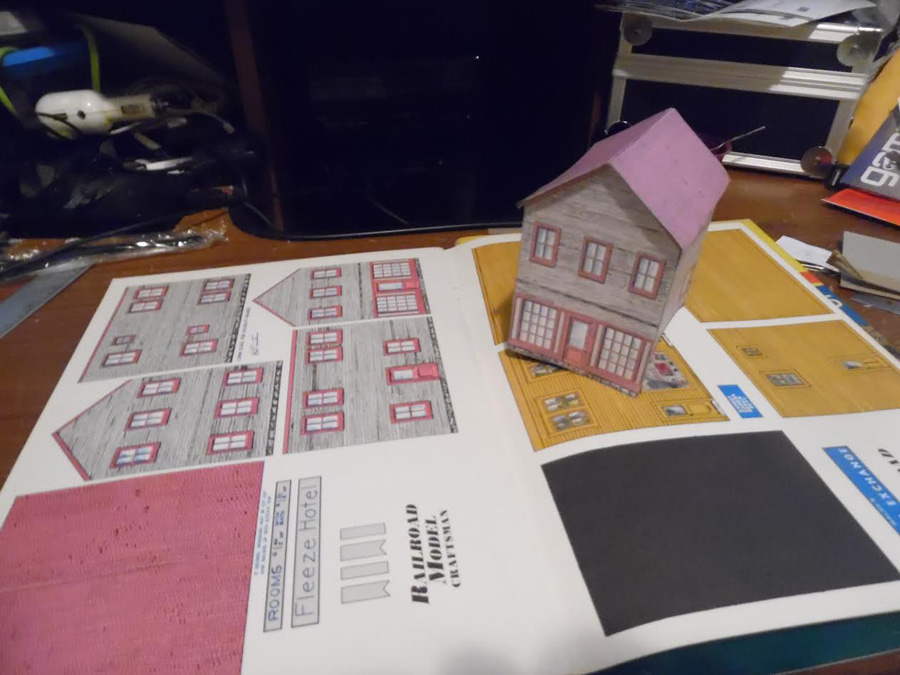
I also mentioned that I had his model for many years until I lost it about 10 years ago… I found the issue he cut his model from and the later print in a book they put out… I printed a copy and built a duplicate of my father’s model. BUT THERE IS MORE…
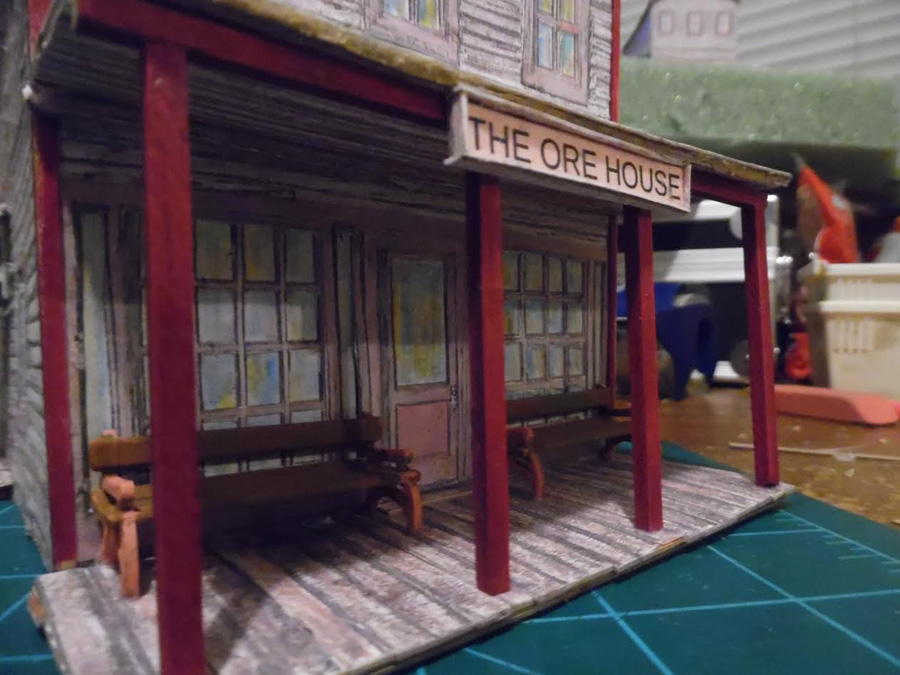
Thanks to your site and John’s videos I was able to build the same building in O scale with a lot of detail that my father could not have done in 1953.
The cutout my father built was HO (American 3.5 mm) Here are some photos of my tribute model…
Sincerely,
John”

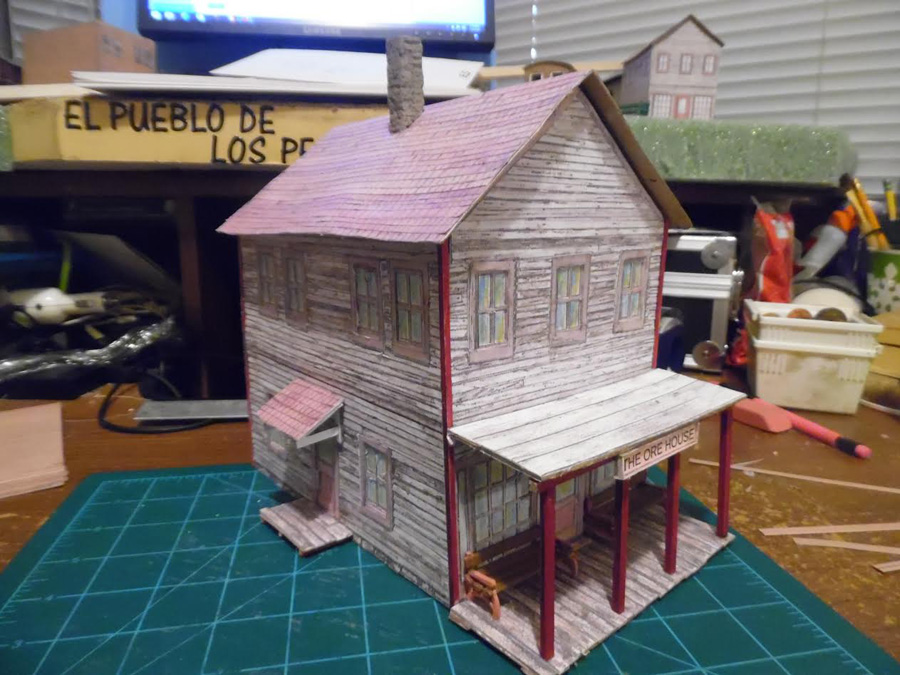
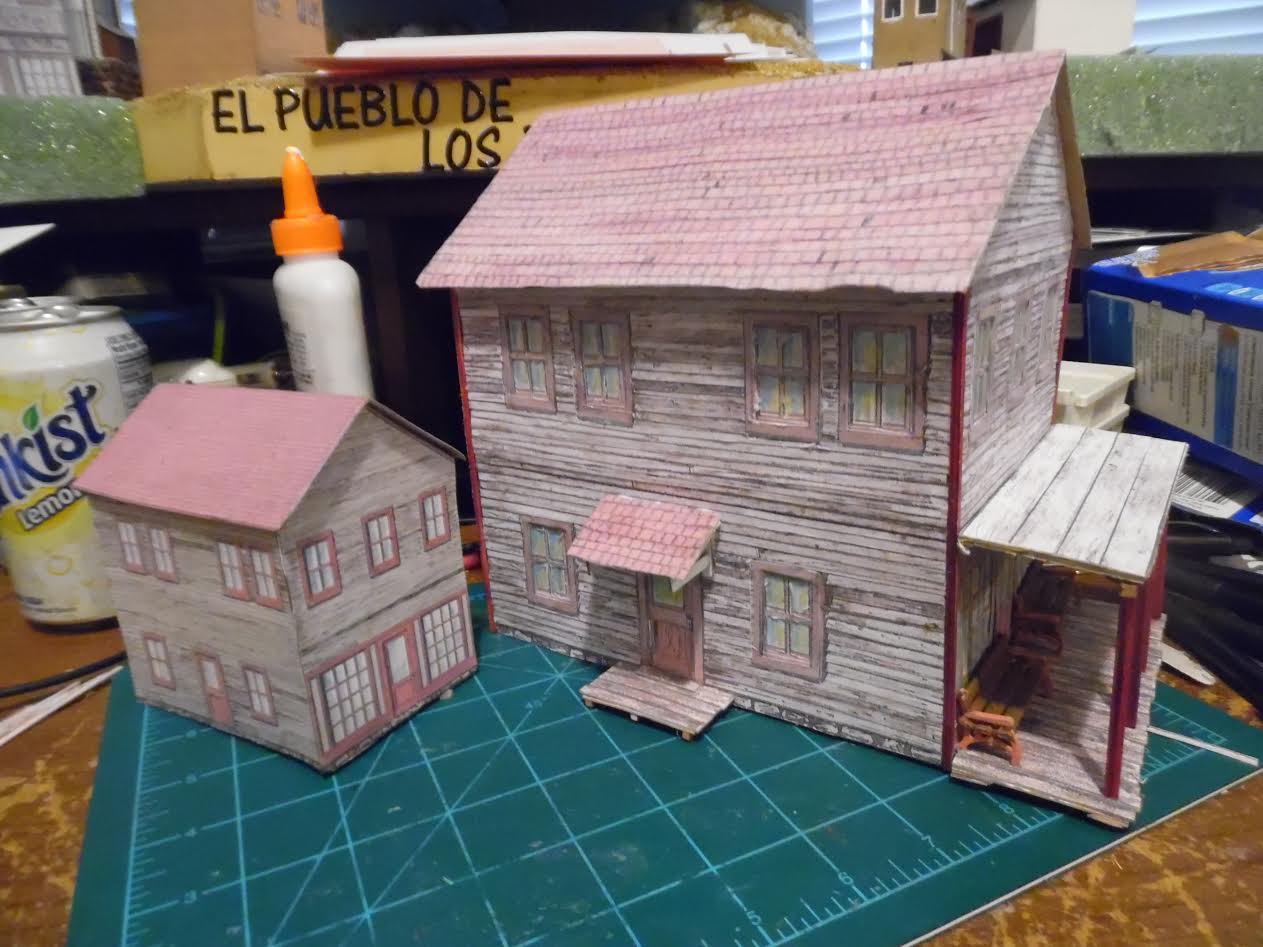
Loved how John was able to find and create the same O scale paper model his father had.
It’s not one of the print-out models in the store, but I’ll but it was just as much as fun to build.
Now from a O scale paper model building to some paper model building tips:
“Alastair,
I am located in Up-State New York, USA, but my OO layout is the North country (imagined) portion of the West Coast, Scottish Border, portion of the pre-Nationalization LMS. As a result I have to scratch build most of my buildings from heavy card stock. I reference them from photographs from the mid 1920’s and there are a lot of stone cottages and farm buildings.
To give them the right look of white washed, rough cut stone, I have found that I can use a product called “White Out”. It is a correction fluid used to mask errors on written or typed materials. I use it to “paint” on the stone pattern, building up random “stones” to give the walls of the cottages the right look. This is then given an over all wash of white acrylic water based paint. Then I finish it by weathering it as would be done for any structure. I have tried using the embossed plastic sheets, but found them to not be to my liking, as they are too “predictable”.
To do the roofs and sides of farm and industrial buildings, sheds, and the like, that use corrugated iron sheeting. I lay down a thick coat of Elmer’s “Carpenters Wood Glue” on heavy paper stock. Let it start to set up (2 or 3 minutes) and then pull a fine tooth hair comb across it. The result, when fully dried, is a very useful representation of corrugated iron sheeting that is easily cut to shape, painted, and given proper weathering.
I suspect that these are not unique ideas about how to create specific effects for scratch built structures, but I thought I would pass then on, as they may help some other modelers with similar challenges.
In closing, I have followed your postings for a number of years now and found them to be both helpful and inspiring. I can not tell you how much I appreciate what you bring to model railway building…. THANK YOU!
Rob
Endicott, New York”
“A friend just gave me a wonderful tip for making grass or dirt that works great.
Take some fine sawdust, (can get probably free from a local sawmill or building contractor) put it in a container with a lid (I used a clear plastic pretzel container) put in some acrylic paint, then stir or shake it. Keep mixing until sawdust is covered (mine didn’t totally cover but left a nice two tone effect).
You can keep adding paint or sawdust to get the right mix you’re looking for. Very simple and inexpensive.
Have fun
Linda”
Big thanks to Linda, Rob and to John for sharing his O scale paper model (who remembers Linda’s train room?).
That’s all for today folks.
Please do keep ’em coming.
And if today is the day you start laying track again, the Beginner’s Guide is here.
Best
Al
PS Latest ebay cheat sheet is here.
PPS More HO scale train layouts here if that’s your thing.


John,
Love the Building, What an awesome tribute to your Dad.
Cary B
Continuing Lindas’ Acrylic-paint tip – Add 2/3-1 water to your acrylic paint, plus a little white-glue and ‘soak’ your sawdust for a complete dyeing – Dry-off a proportion and repeat with the colour, plus a shading tone. Do this two / three/more times and when all the batches are dryed-off, re-mix a portion of each for a realistic self-shading. If you seive the sawdust firstly, the dustier-part is excellent for grass with the slightly larger flakes for leaves . . . dependant on your scale. Painting after construction only needs touching-up any glues or adding ‘apples’. This same also works with nylon pot-scourers – torn for rougher edges and white-glued for hedges then paint-dyed, followed by application of the ‘leaf’ sawdust. Miles and miles of ‘cheap’, realistic hedging.
John, that is a beautiful building you made.
Rob, great tips on making the corrugated iron sheets and the white out idea. I am going to try them on my next scratch build.
Linda, great idea on the saw dust grass and also whoever continued with the suggestion of adding water and letting it soak.
Great tip from Rob on making corrugated metal. I’ve tried a lot of things but never glue. Thanks ROB!!
I lost my Dad a couple of years ago before I could show him what I was doing with my Model RR. Your tribute put a lump in my throat and a tear in my eye. I wish he was here today to show him Al’s stuff and what you can do. Keep it up my friend. And for the rest of you, your Dad won’t be here forever, so cherish your NOW time.
Rick
from Southern Ontario, Canada