The talented Dan has been back in touch, this time with some great tips on model railroad layout lighting:
“Lighting our layout is very important. We generally just think about having enough light to see everything. The first rule of thumb is that the higher the layout is the more light you need. We achieve this in various ways. Basic general overall with perhaps floods or spots.
Photo 1 shows my overall lighting. Basically, fluorescent lights are well distributed.
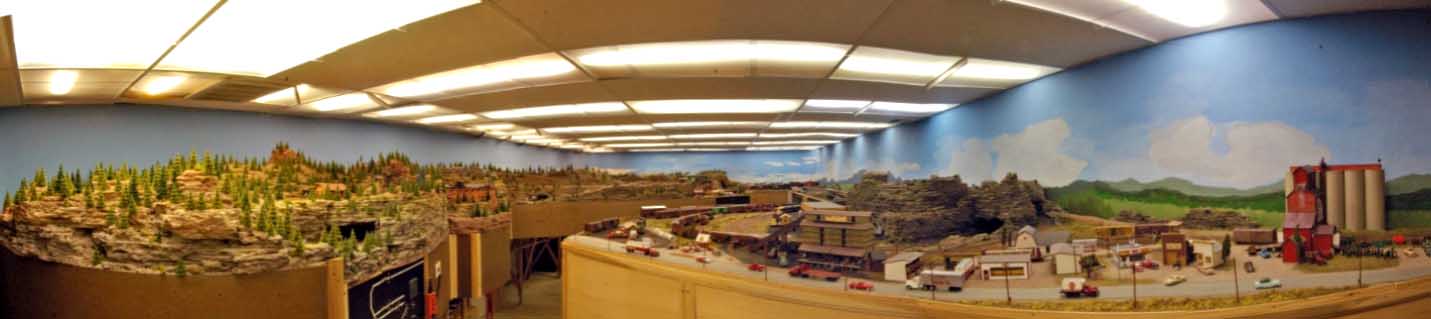
This worked well for me. There are no areas of darkness or shadows. I wanted more or less a flat lighting If I wanted shadows, I would use some directional lamps to create the shadows I want. As is the layout photographs very well. I will show a few examples.
I use a flexible necked lamp with a 60 watt an incandescent bulb. I was an old reading lamp that you could extend the height of the light. My normal lighting is on 3 circuits.
The lights down the left wall are GE Light sticks. They have a warmer light level because I wanted that area to be redder to help with the desert look. It does not show much in this photo, but it does work. All the other lights are 50/50 on the 2 circuits.
Varying which lights I want, I can get the effects I will show you.
Photo 2 is a “sunset” view.
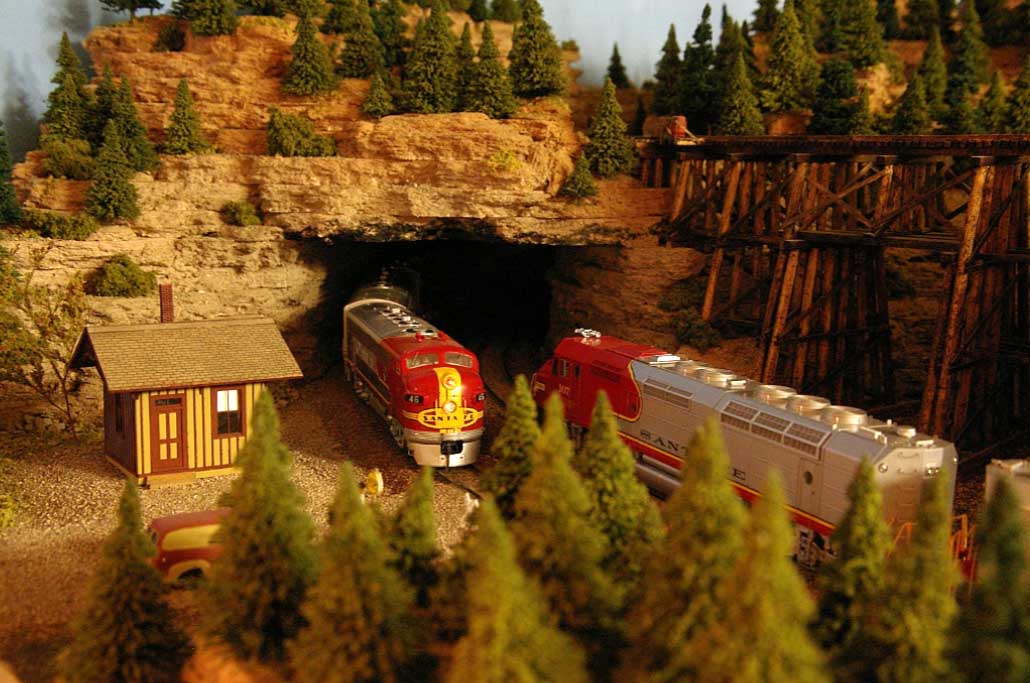
Photo 3 the same area without the “sunset” look.
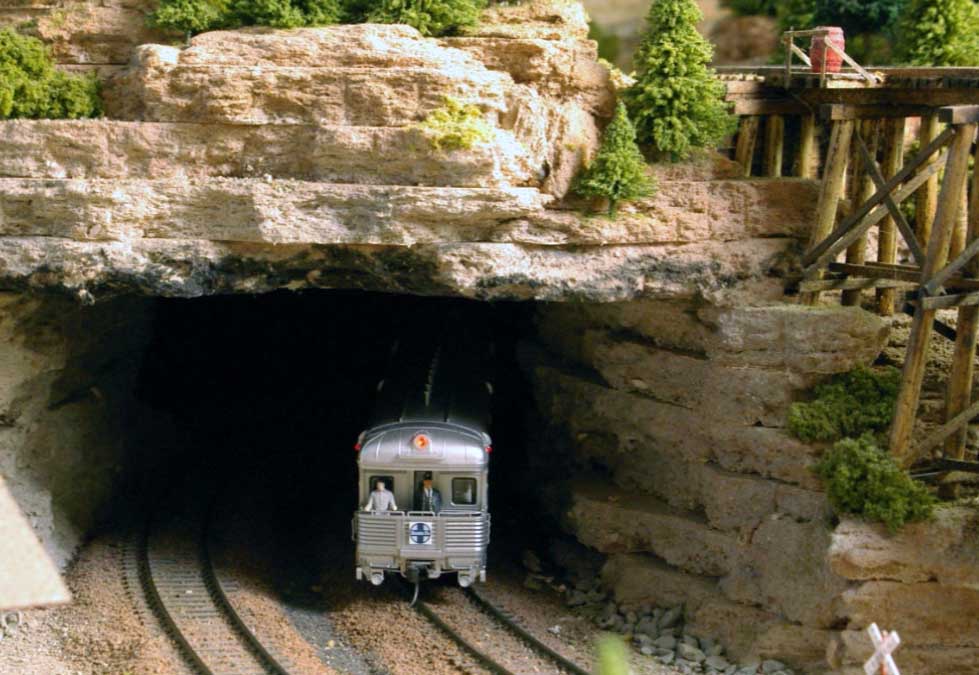
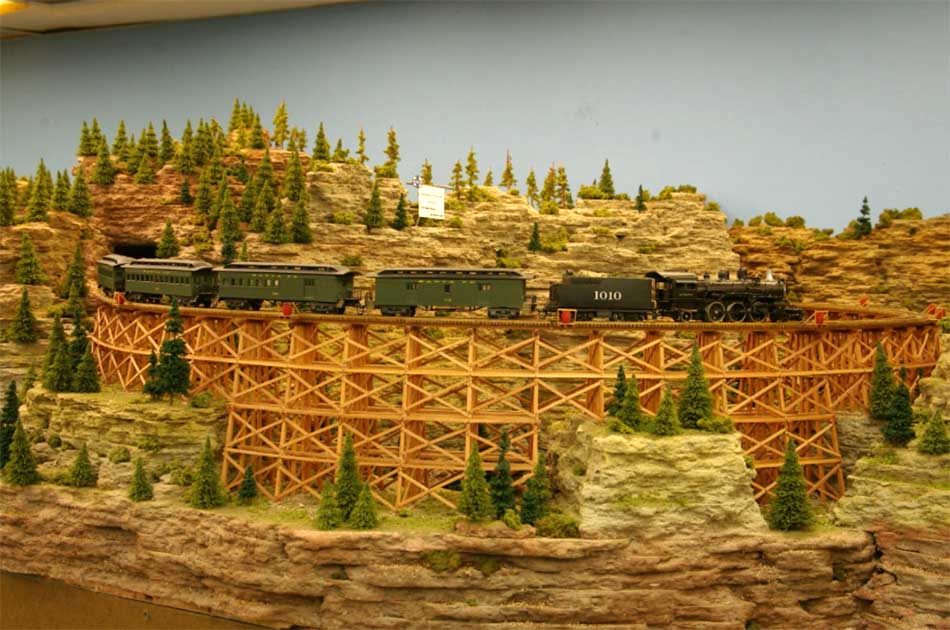
Photo 4 is a scene I use sometimes at open houses. I don’t run trains over the trestle then because folks taking photos get a little too close for my comfort. I am busy talking and answering questions.
In fact, one of the braces at the fire barrel came up missing after such an occurrence.
So, I created this scene. A work crew fixing that issue.
This photo is in my “normal” lighting.

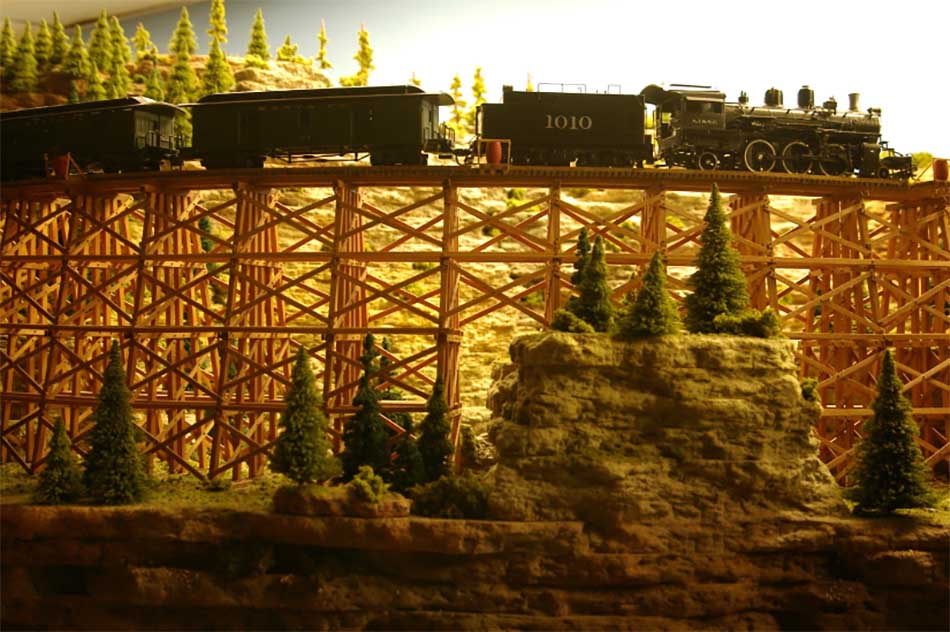
Photo 5 is with less normal lighting and using the lamp to bounce the light from the background behind the trestle.

Photo 6 has the same technique.
And photo 7 is a “Before” photo.
I hope you liked this. It is fun to put your model work in a different light.
Santa Fe Dan”
A big thanks to Dan for sharing his model railroad layout lighting tips.
You can see lots more of Dan’s work in the Hall of fame.
That’s all for this time folks.
Please do keep ’em coming.
And if today is the day you grab the bull by the horns, the Beginner’s Guide is here.
Best
Al
PS More HO scale train layouts here if that’s your thing.
Need buildings for your layout? Have a look at the store.
They are great fun to make and great value too.

Dan, great photos and very useful information. It’s really amazing how much difference the lighting can make in model railroad photos.
Nice lighting and some excellent photography Dan. Well done.
Brian – the HOn3 guy from Knysna RSA
Let there be light! Fantastic!
Thanks for sharing those photos with the comparison and explanation of how lighting effects provide a unique and interesting visual experience. It’s a great looking and interesting layout.
Jim AZ
W0W!!! Very Impressive Layout !!! Nicely done
Absolutely fabulous layout with fantastic lighting!! A whole lot of work went into that miniature world and it does show in a big way!!