Gary’s been back in touch with his model train DCC wiring – which is all on a fold away table. Quite a project!
(His previous post is here: Folding train table.)
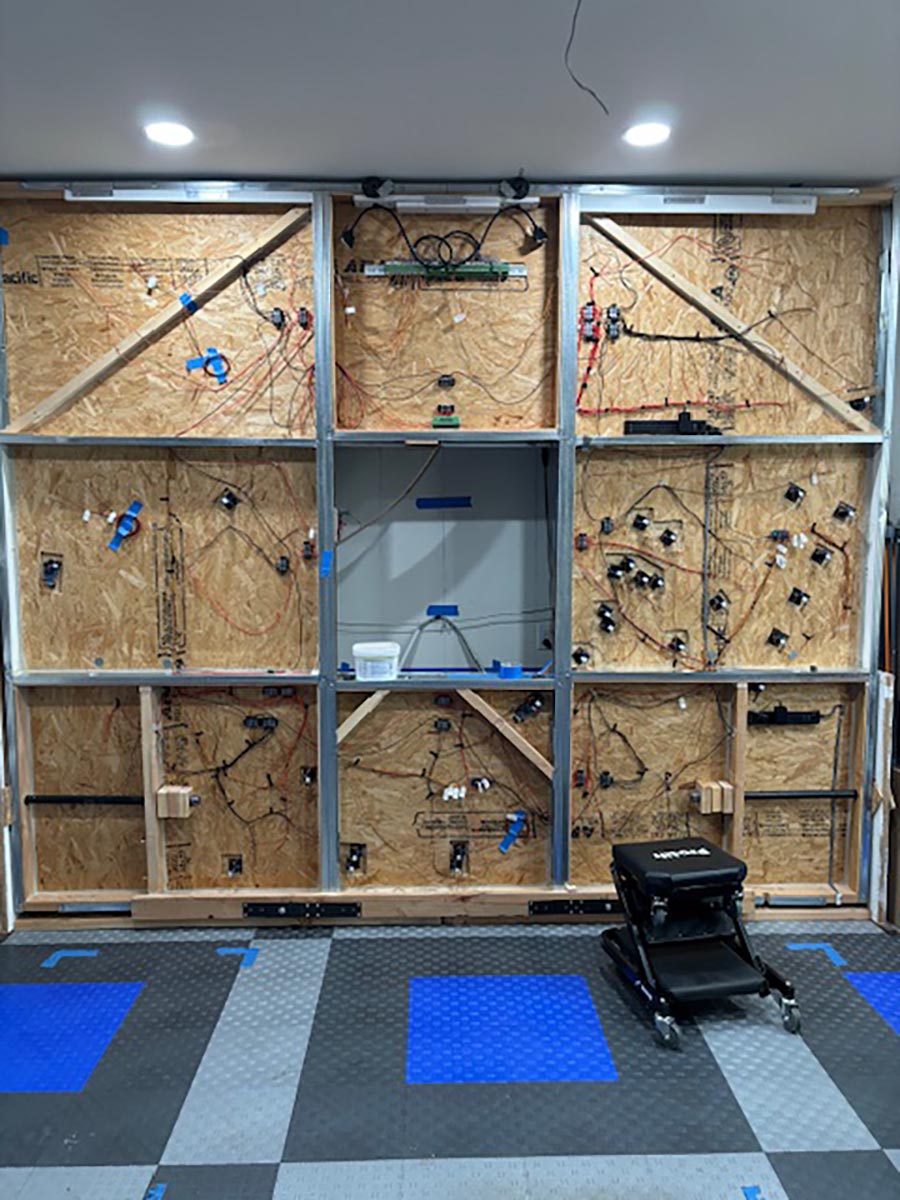
“So, it’s on to wiring. To provide DCC power to the track, I’m using 18 AWG for the main Buss that’s connected to my DigiTrax DCS 52 Control Unit.
I went with 22 AWG for the feeder drops, a drop every three feet and one on every line in the yard and sidings for a total of 58 pairs of feeder wires, probably more than I needed.
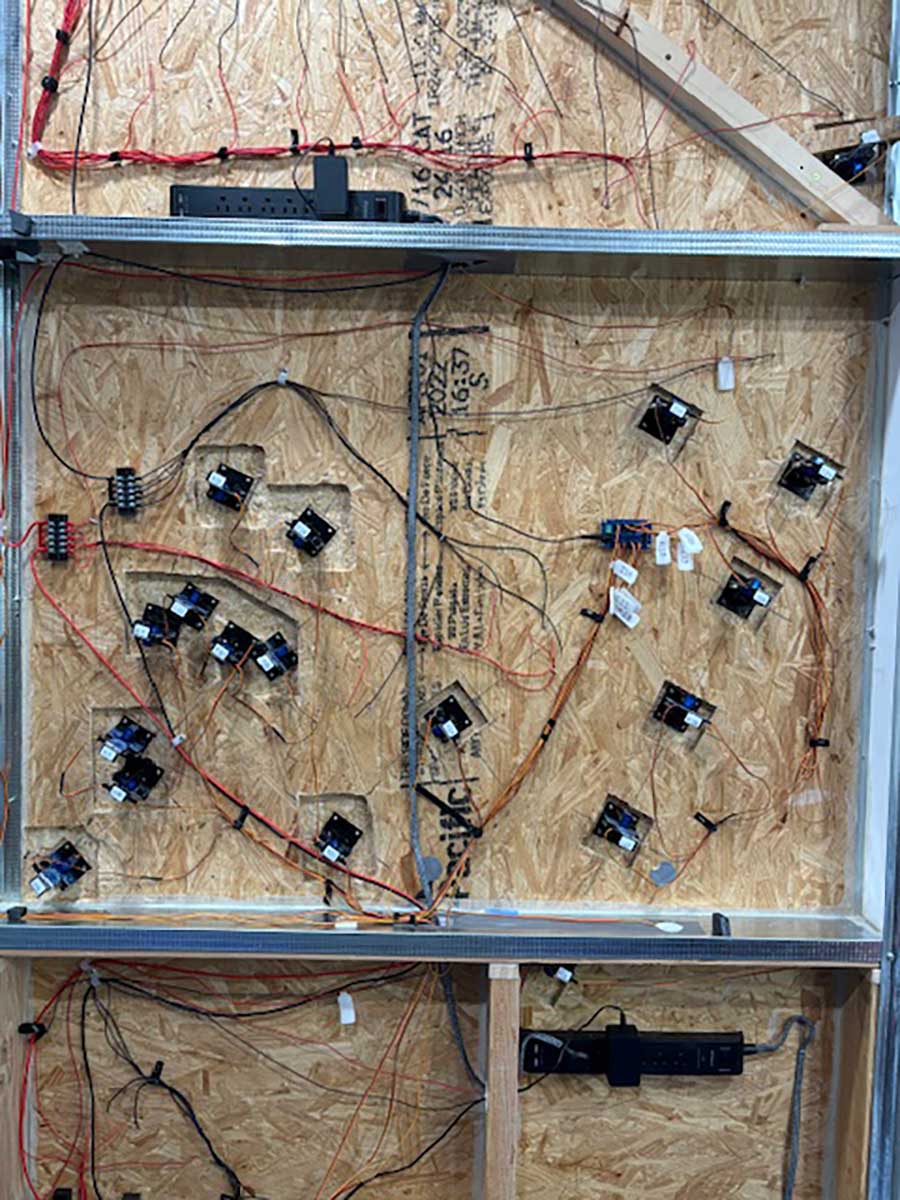
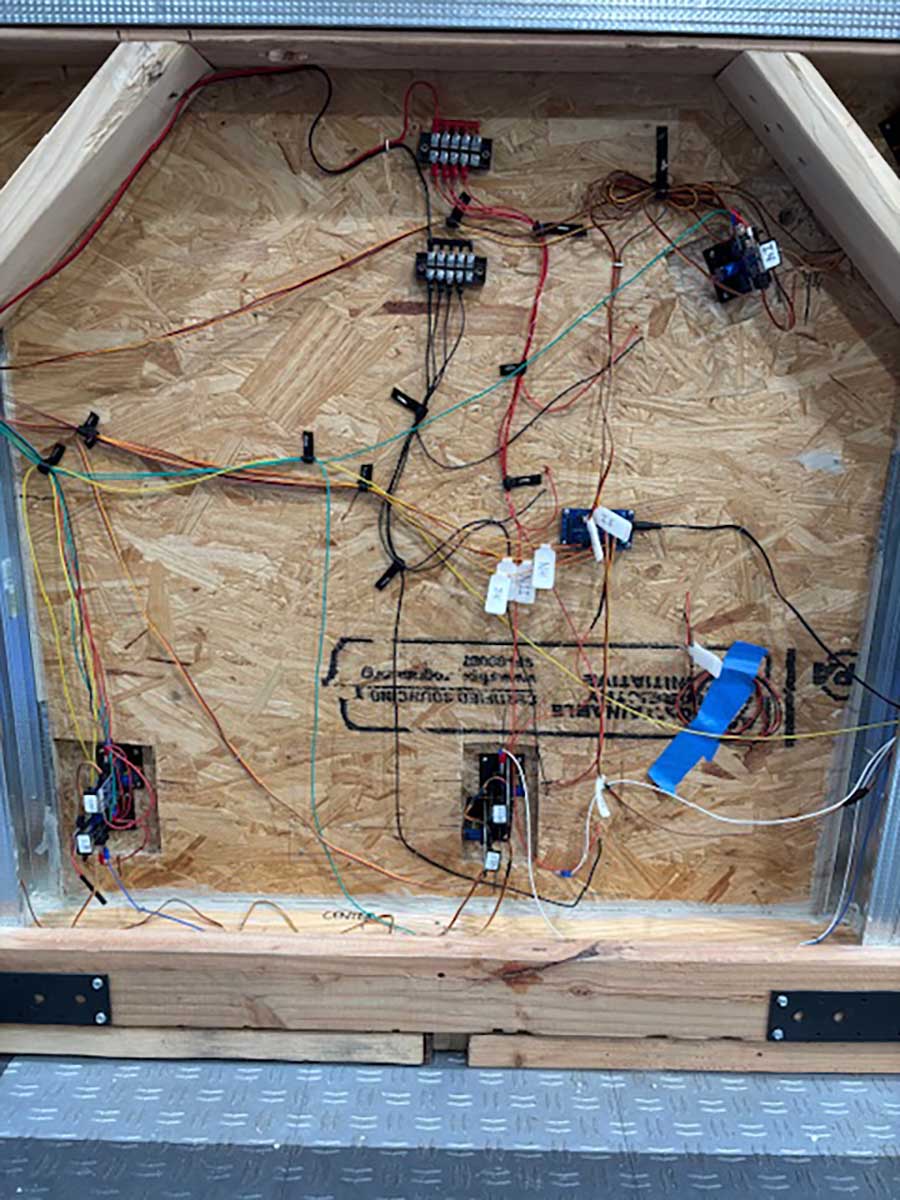
I decided to use Walthers Switch Machines, wiring, and their power distribution blocks. There are 28 Switch Machines (SM) controlled by 24 SPDT toggle switches.
One toggle switch controls two SM through a cascade connection for one of the sidings, and then another toggle switch controls four SM for the double crossover.
I was able to get by with just two power distribution blocks because a single SM allows daisy chaining power to as many as four other SM.
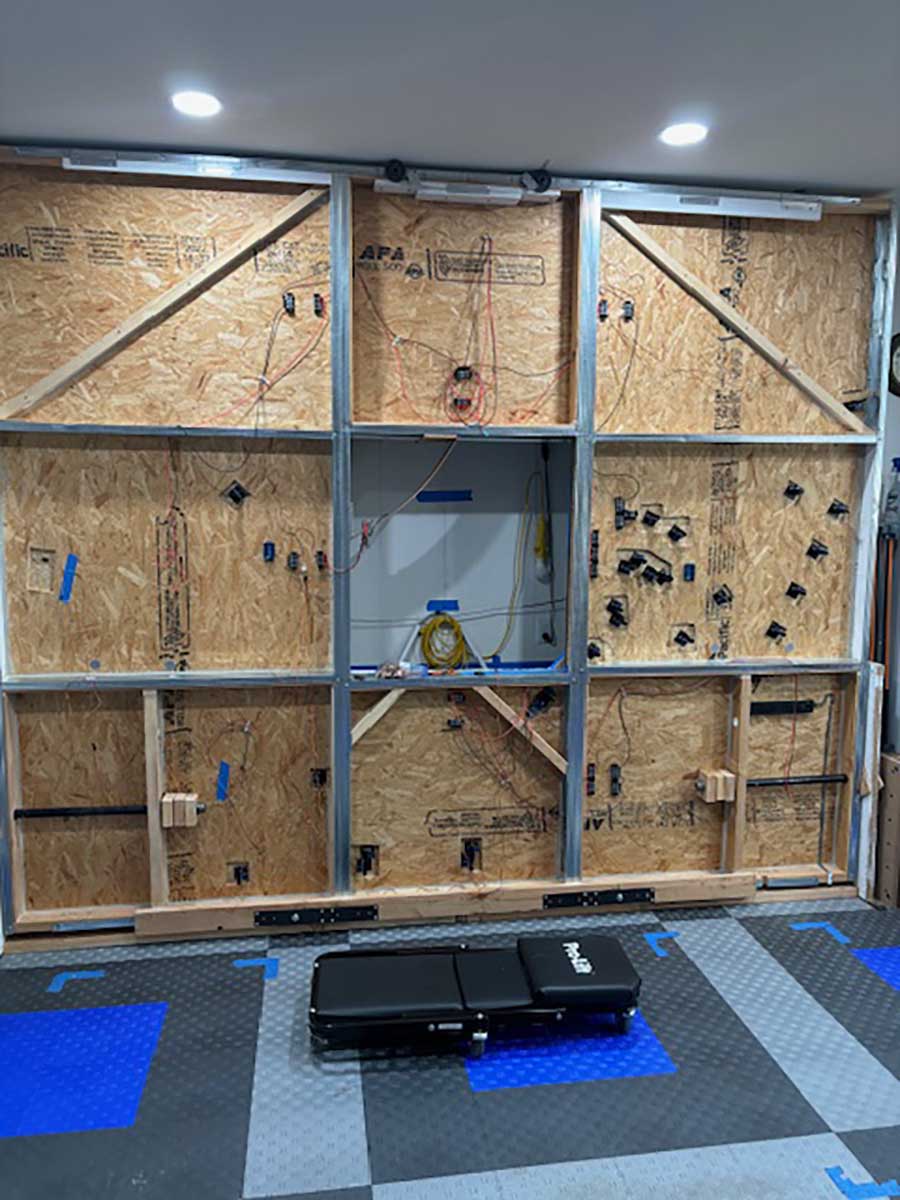
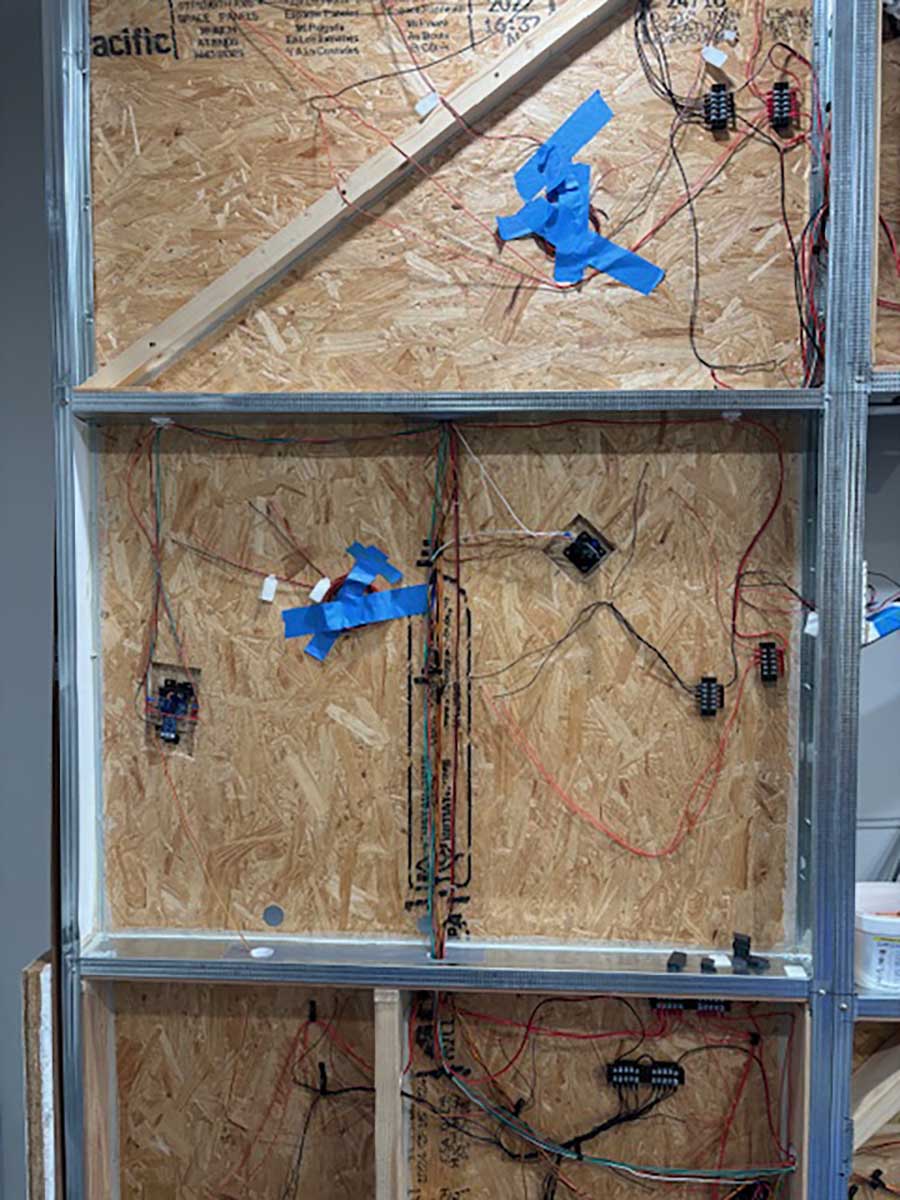
Although my table folds up, making it easier for wiring access, it was a little difficult mounting each SM under the table. I had used two layers of 7/16” plywood to make the table rigid but ended up having to cut out a layer of plywood so that the Actuator Wire from the SM would protrude far enough to reach the access hole of each turnout.
I started using a router bit to remove the single layer of plywood but found that an oscillating multi-tool with a saw blade worked much better with a lot less saw dust.
The Walther’s Control System wiring instructions were easy to follow, even if you’re using your own toggle switches. Their wiring cables and extensions work well too. In some cases, I’m using one or both micro switches attached to the SM to operate LED indicators on my Control Board.
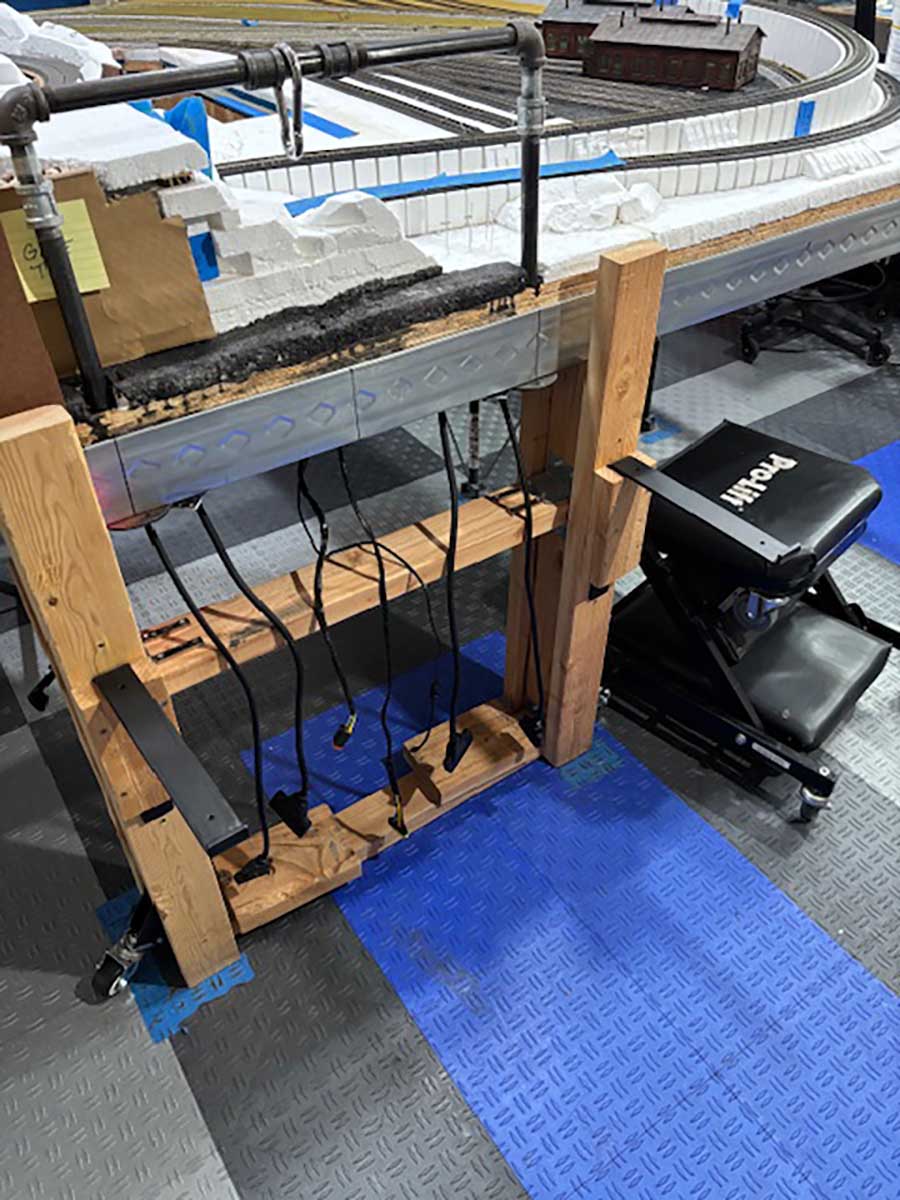
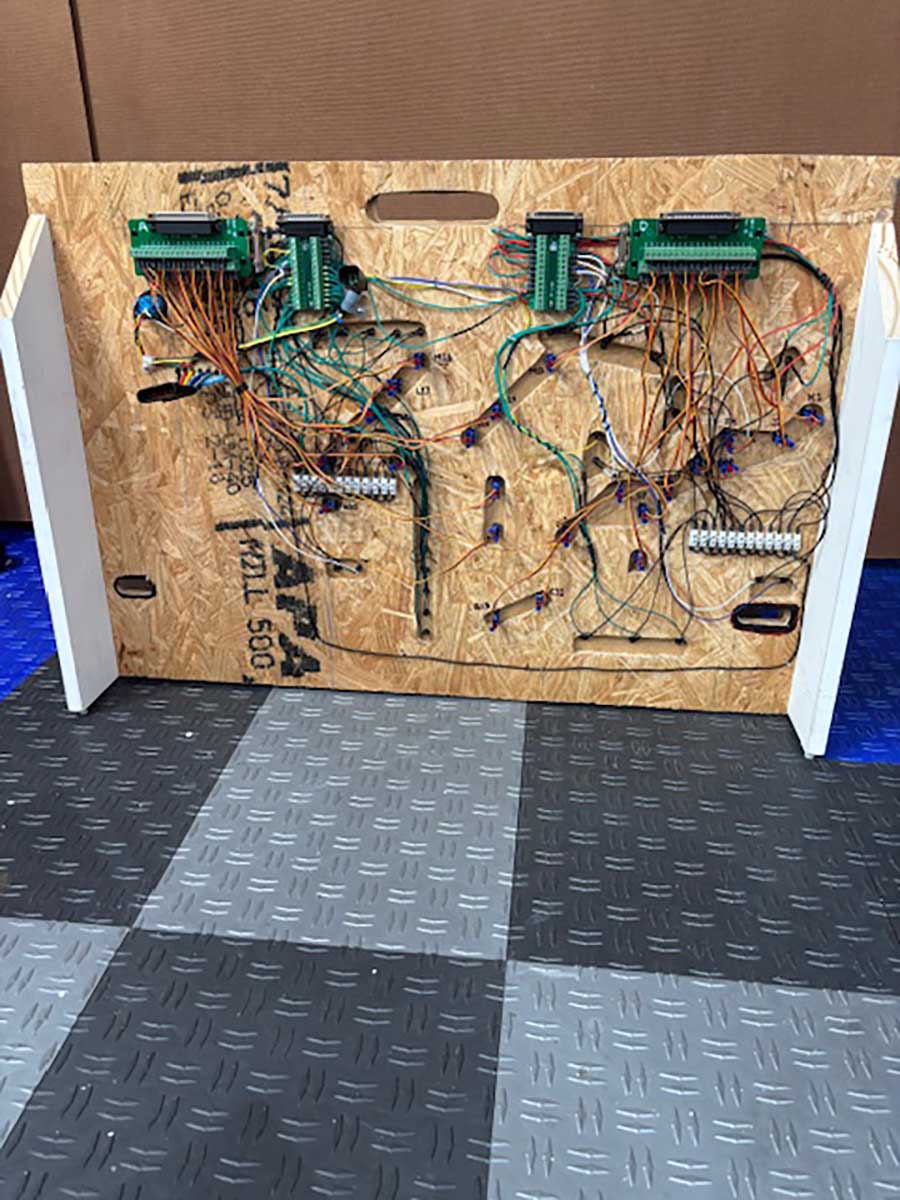
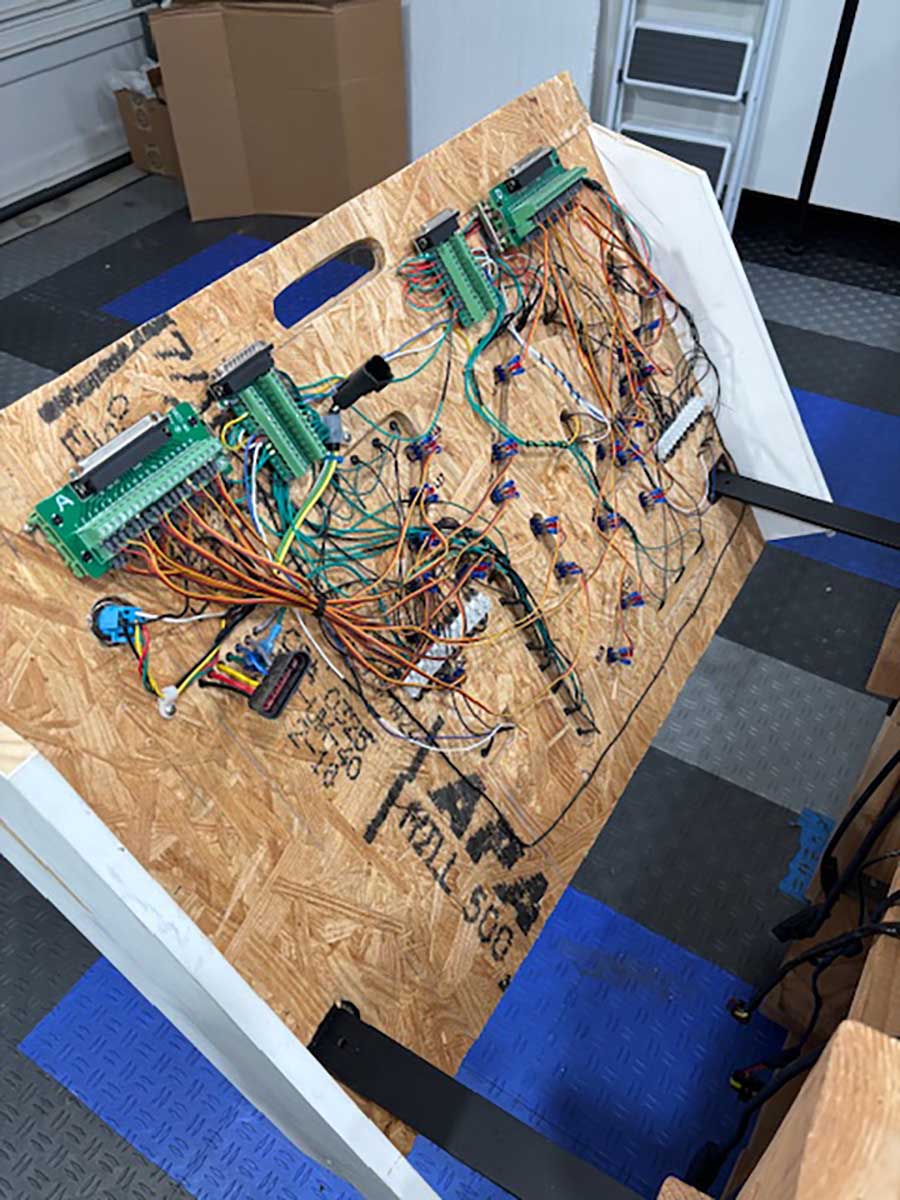
When the table is down, it rests on two Centipede Workbenches. To prevent any wiring from getting pinched, I used a lot of Velcro tie wraps stapled to the table. Also, a lot of ‘twist ties and cable clips were used to secure multiple wire bundles to the underside of the table.
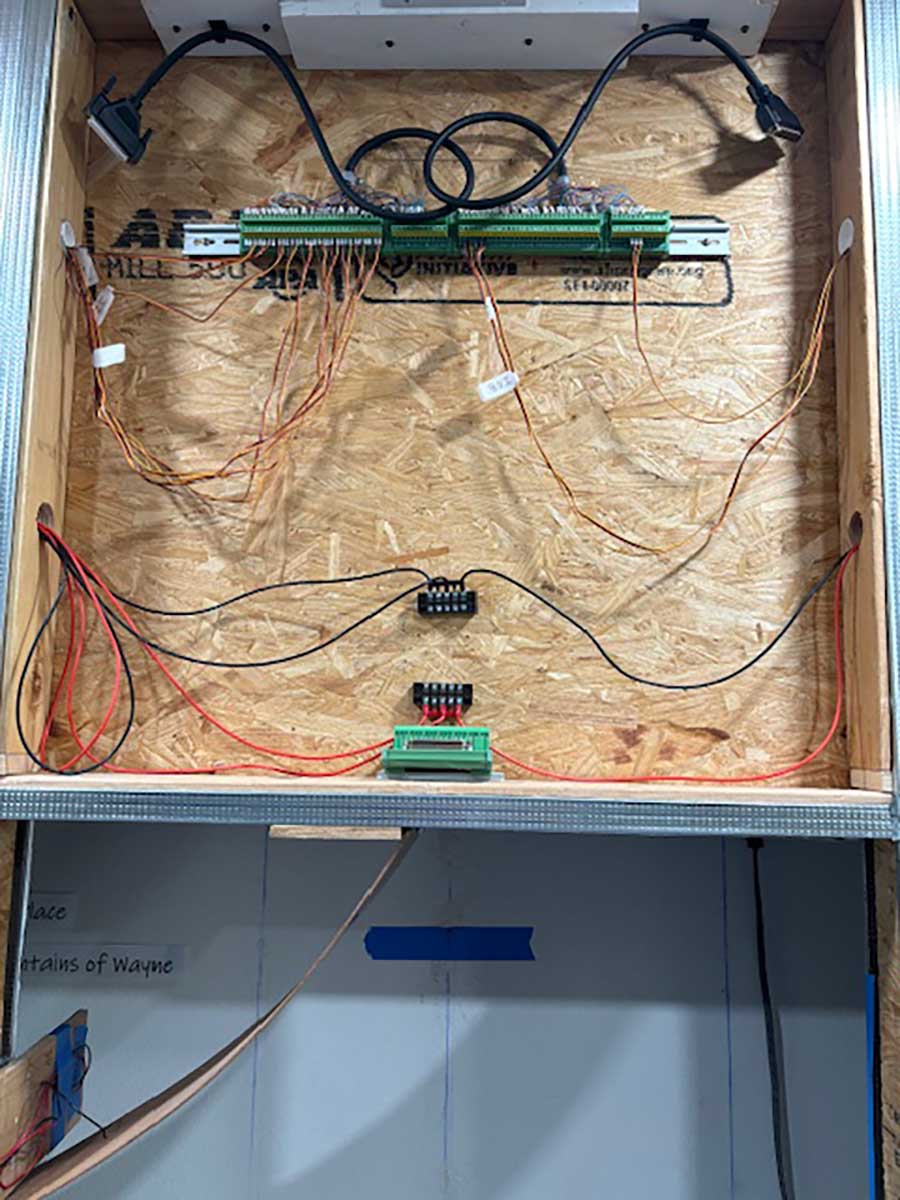
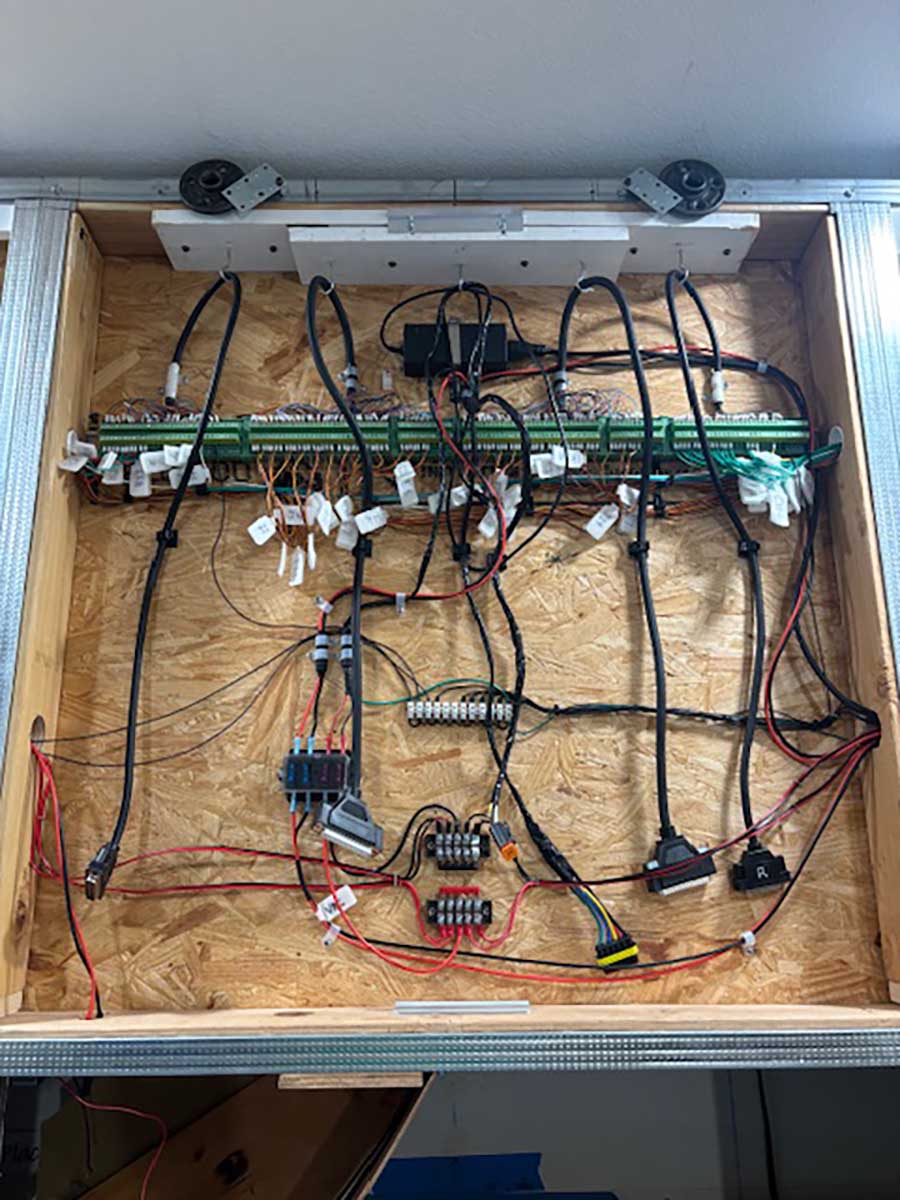
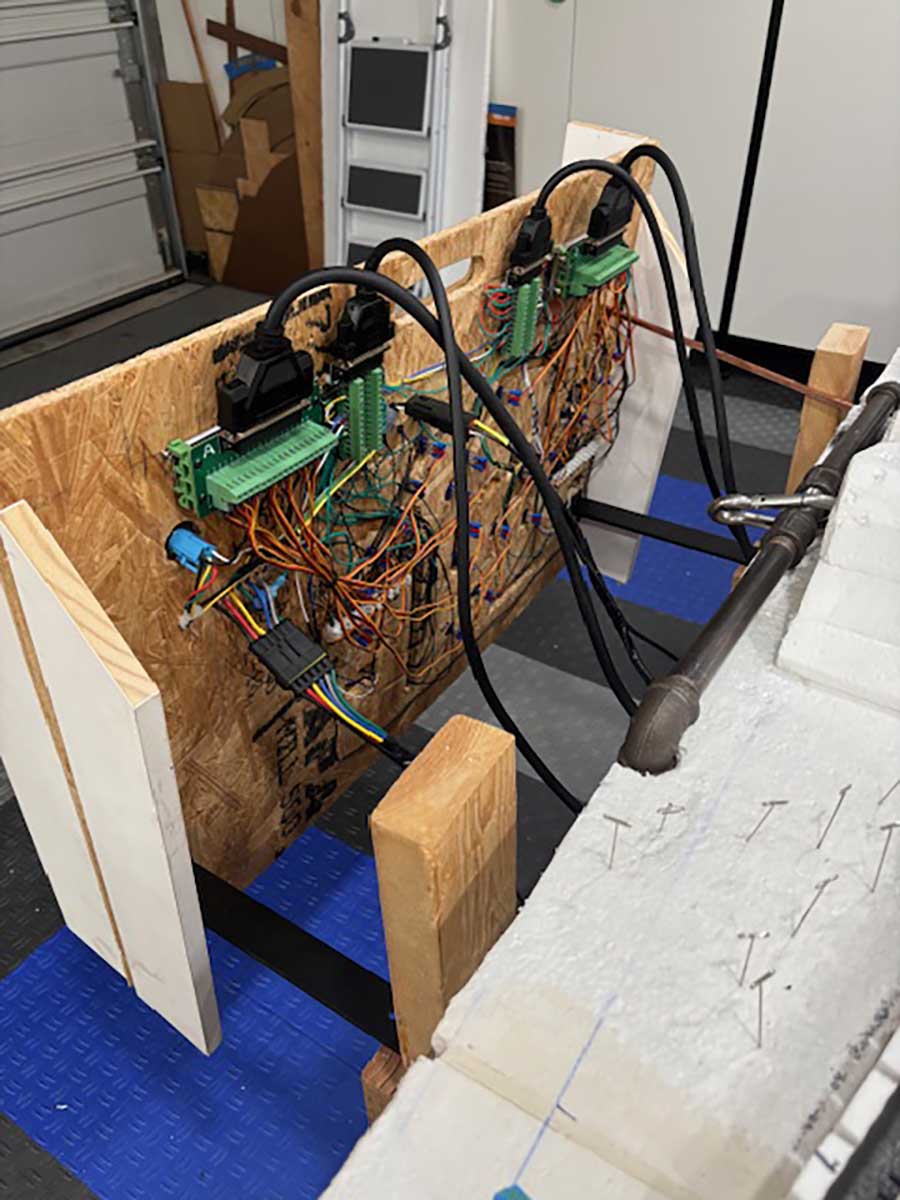
On the table, there are two DB37 cables for SM operations and two DB25 cables for the LED indicators. These cables are connected to Terminal Distribution Blocks.
The wiring from the SM and the micro switches connect to the other side of the Terminal Distribution Blocks. The four cables from the table then plug into the male and female Terminal Distribution Blocks on the Control Board.
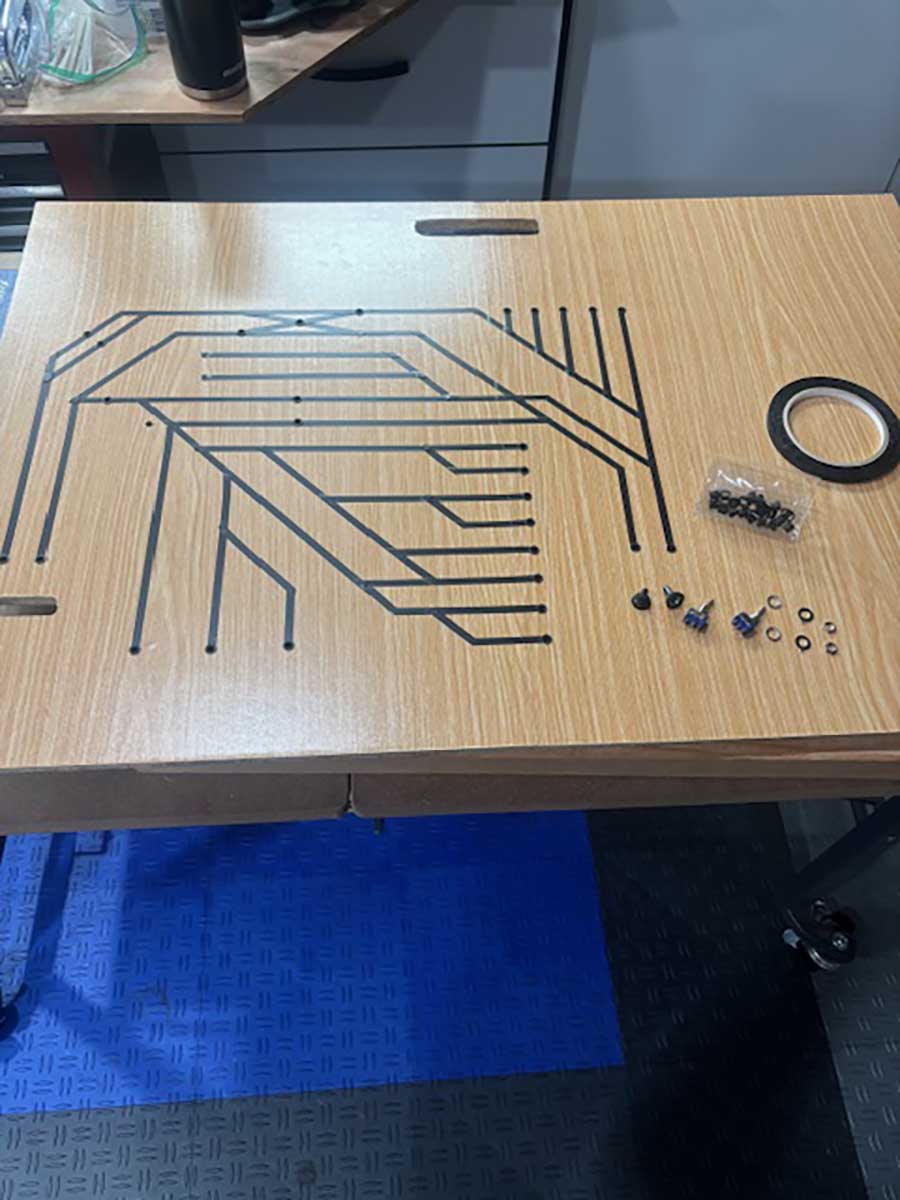
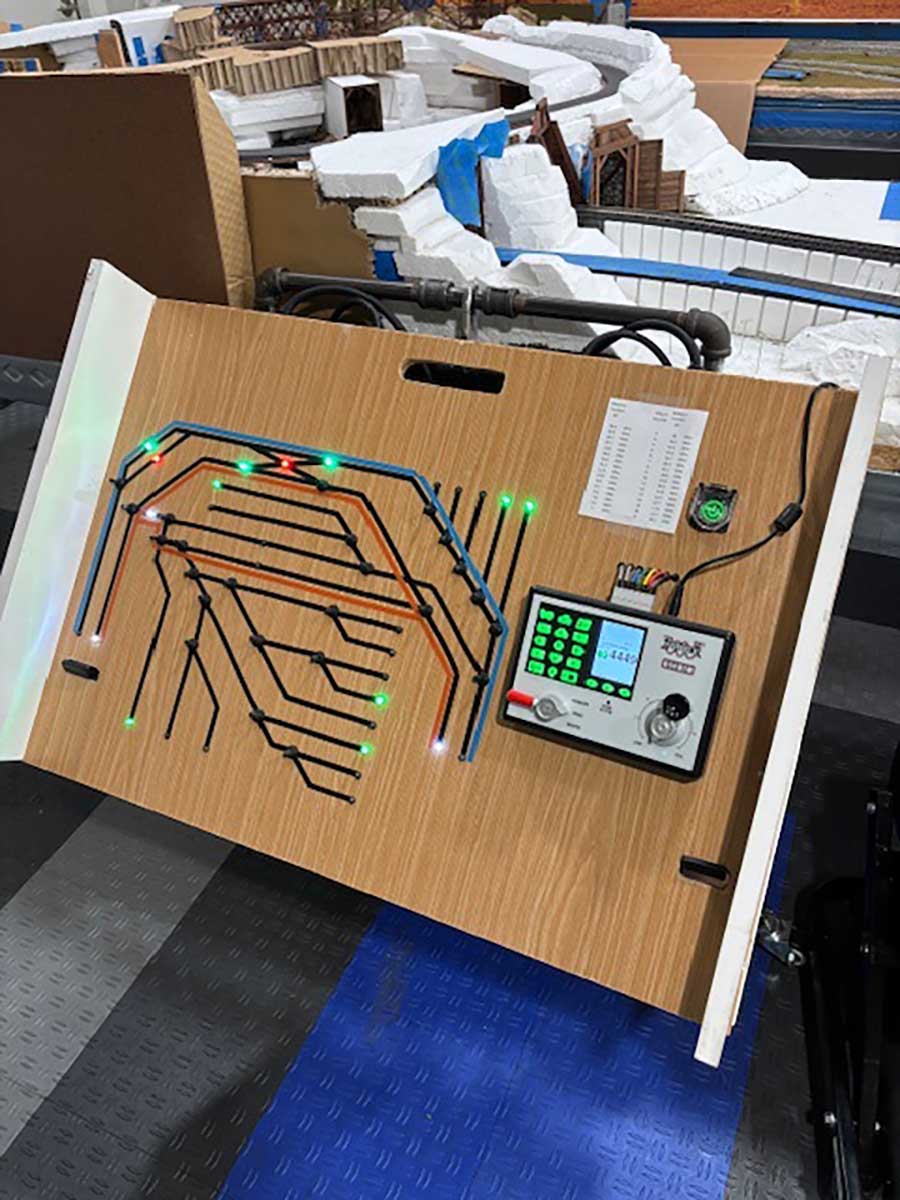
The Control Board is a separate unit that attaches to the table and is supported by two 10” shelf brackets attached to the portable center support structure. Then on the Control Board, the wiring from the SPDT toggle switches and the LED indicators connect to the Distribution Blocks completing the circuit.
All connectors are either spade, fork, or ferrule connectors (over 400 in total). A lot of hand crimping and about a week or two wearing a wrist brace.
There are two basic routes that I’ve designated as the “Mountain Loop” and the “Valley Loop”. I’ve used different colored tape on the Control Board to mark these routes.
Next will be scenery and landscaping, which I’m not looking forward to. I’m just hoping it doesn’t turn out too cartoonish.
Gary”
A big thanks to Gary for sharing his update on his model train DCC wiring.
I’m really looking forward to seeing the next update with the scenery. A big thanks to Gary for this.
That’s all for this time folks.
Please do keep ’em coming.
And if you feel like you’re missing out on the fun, the Beginner’s Guide is here.
Best
Al
PS More HO scale train layouts here if that’s your thing.
Need buildings for your layout? Have a look at the store.
They are great fun to make and great value too.

Very neat and well thought out.
Gary, it’s obvious that you’re very skilled at wiring your layout for DCC and the control panel is a thing of beauty. Your use of Woodland Scenic risers and foam chunks to create your grade separations and tunnels looks well done also. My suggestion on scenery if you’re worried about it turning out good would be to buy a Woodland Scenic scenery diorama kit. It contains all you need to practice building realistic scenery in about 10 x 20 inches. When finished, the diorama can be used to display a favorite locomotive or take photos for eBay postings and product reviews. Also, Bill in Virginia’s scenery building videos are excellent tutorials on how to achieve good-looking scenery with simple methods and materials.
Gary, too many feeder wires is better than not enough, and having to add more after all the scenery is in can make a mess. Nice, neat wiring. As model raiways get bigger, and things keep getting added later on, it becomes impossible to keep things neat. In other words, once you have 1000 wires under the table, it gets messy. 😉
Seems as though the electrical cost more time and money than the actual layout. That’s all over my head.
love the control panel