Dan’s been in touch with an impressive model railroad module construction for the Benjamin Harrison musuem.
He starts with some back ground:
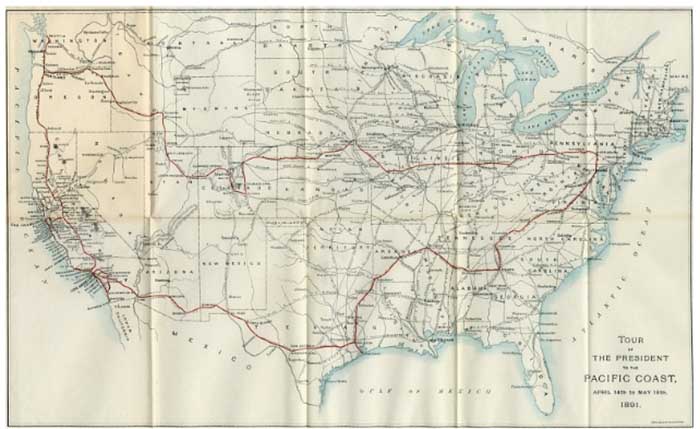
Benjamin Harrison was the first president to take a train tour of the south and west. He took the trip in his third year as president in 1891.
By this time “whistle stop” campaigning was common. A whistle stop campaign is a trip through a region when running for office.
The train stopped at towns along the route and made campaign speeches. This trip was very long and was unusual in that regard.
The route covered over 5000 miles. He drew large crowds along the way. Most towns and cities had never had a sitting president visit.
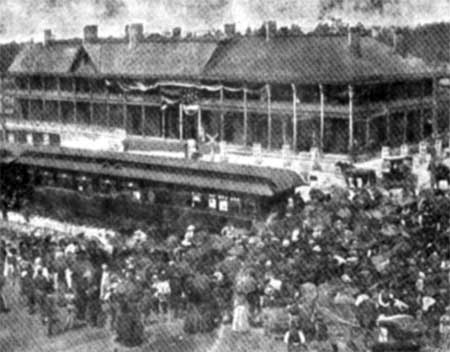
An example of a large crowd.
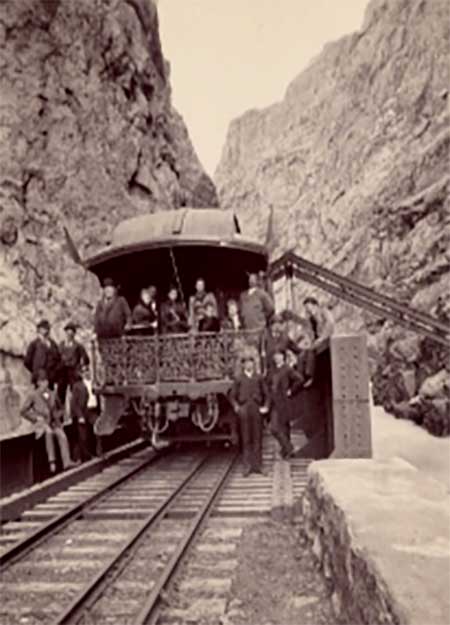
A stop at the bottom of the Royal Gorge in Colorado.
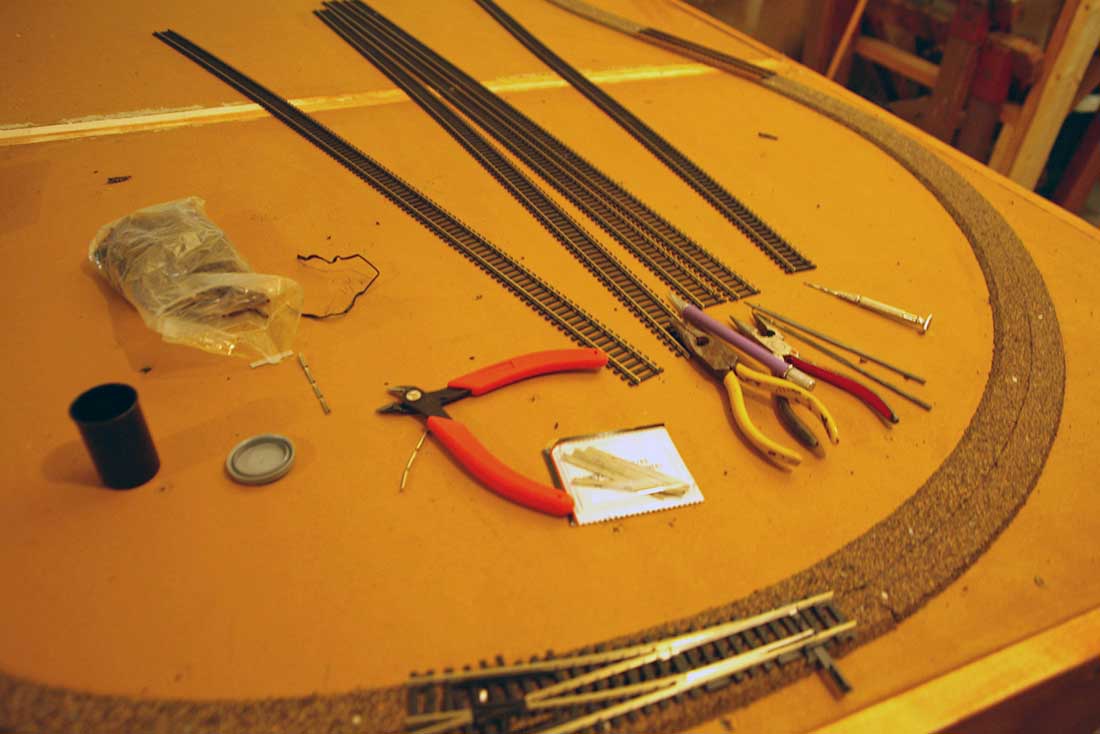
Tools needed for model railroad module construction. Track cutters, needle nosed pliers, files, rail joiners, track nails, and flex track.
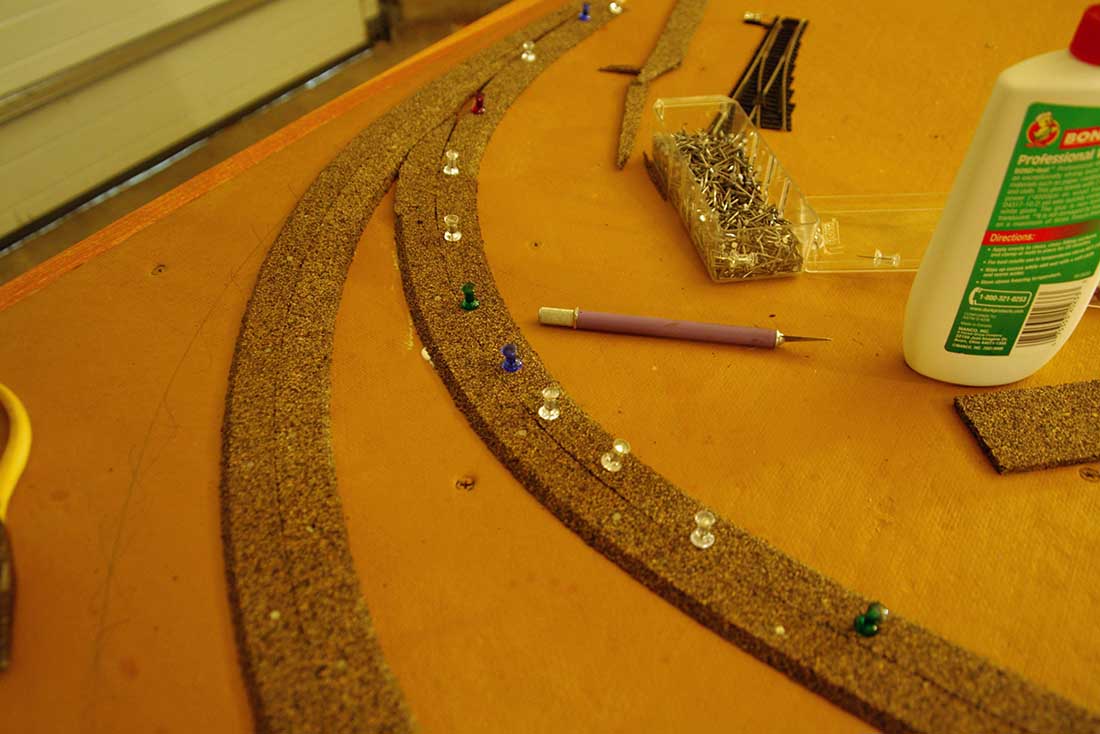
Tacking down the cork roadbed while the white glue dries.
Model railroad module construction:
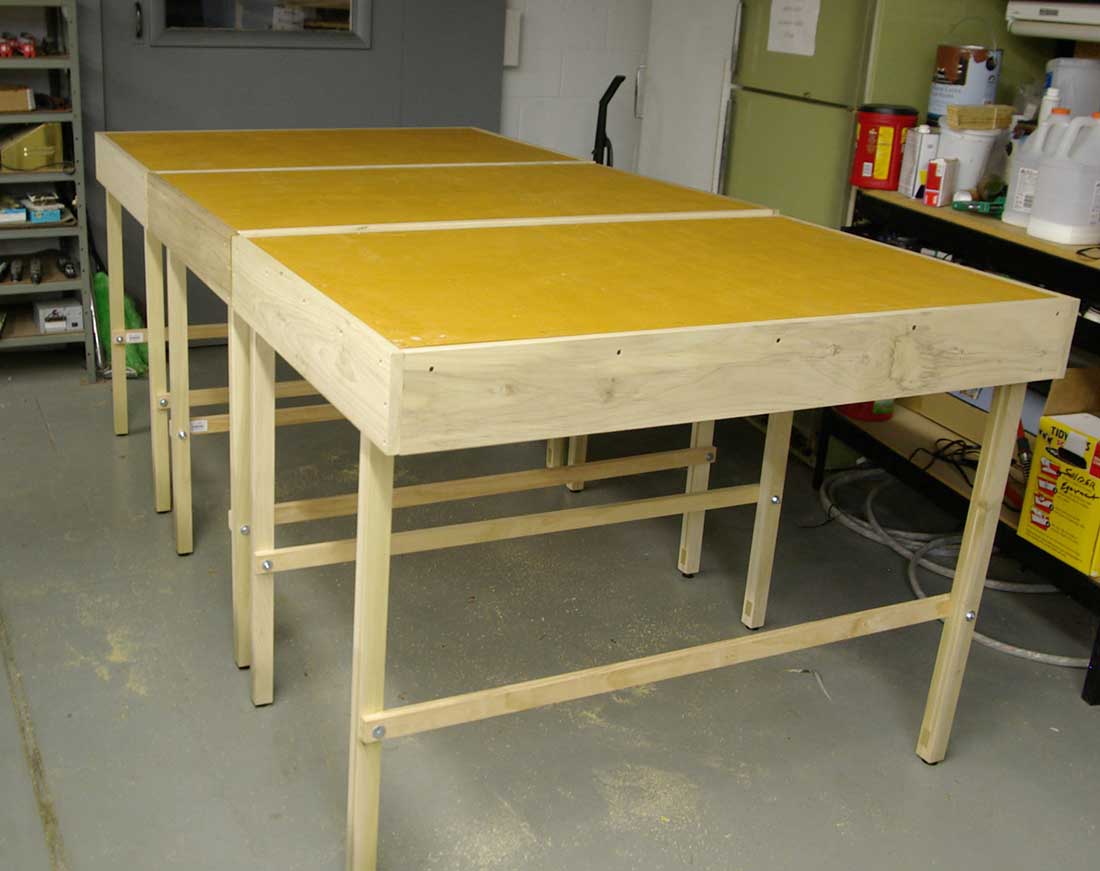
The three modules required for the move. It is simple box construction. Where they join I used carriage bolts and wing nuts.
Not shown: where the bolts pass through each module, I inserted a short piece of copper tubing in the hole. This is to prevent over tightening the wing nuts and compressing the softer wood. ( I use this process on the Christmas modules. The holes have gone through 32 ups and downs. )
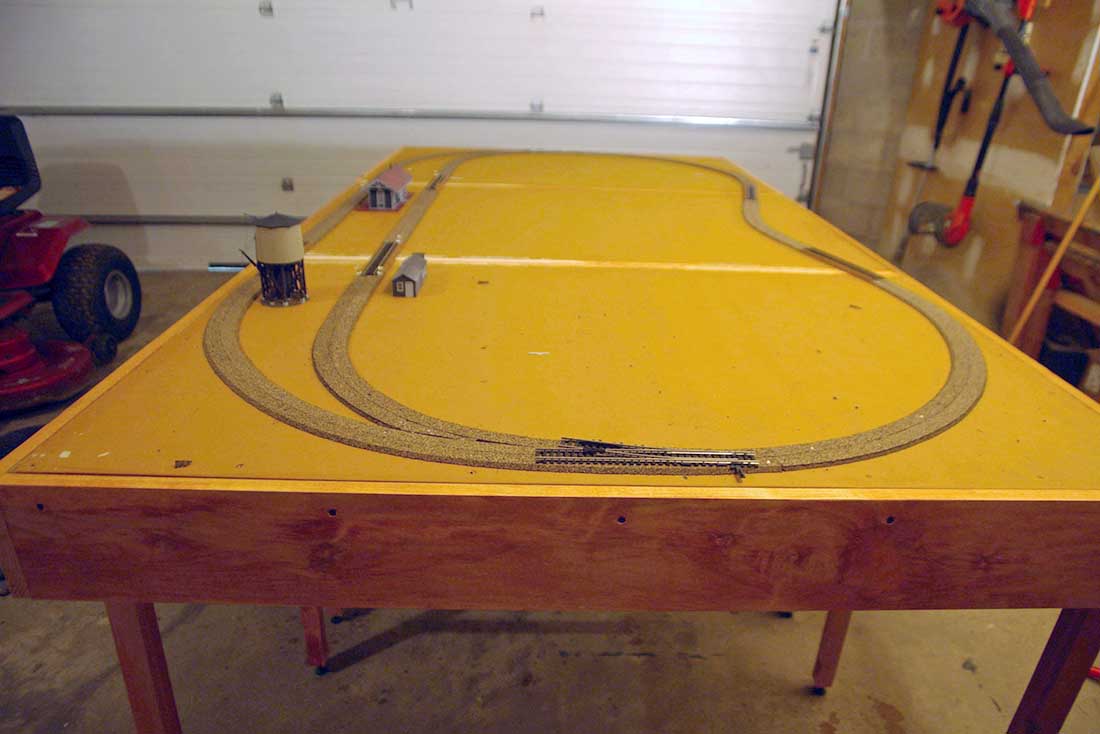
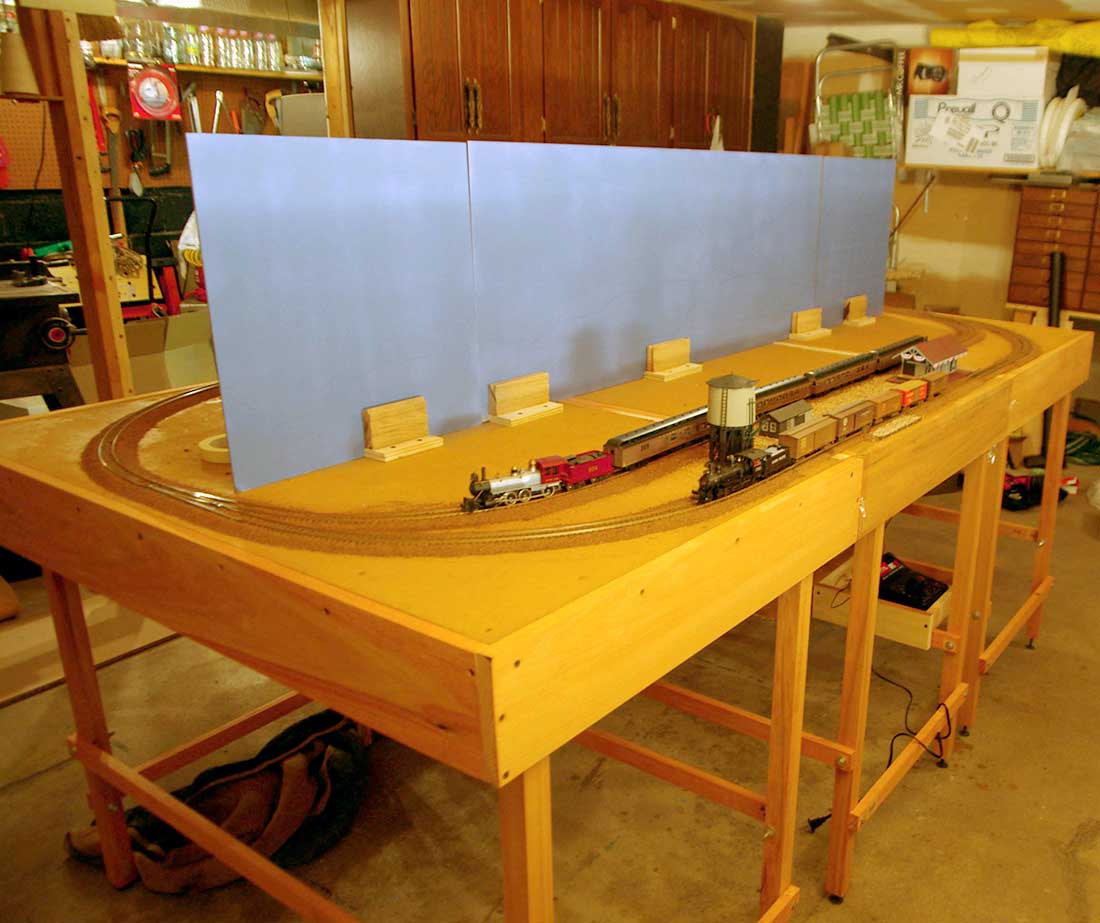
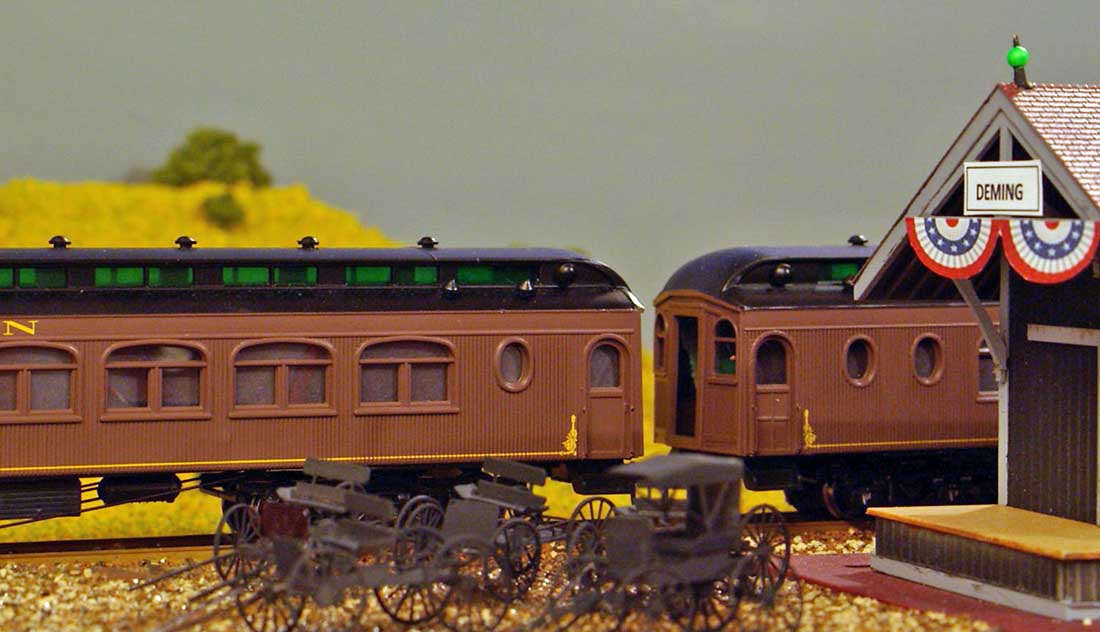
The simple model railroad track plan. The passing (house) track where the station will go. On the single track side notice the slight curve. Thus avoiding a straight along the side look.
The divider back drop. They slip in and out of the “L” shaped blocks for easy construction. Everything on the modules had to be removable.
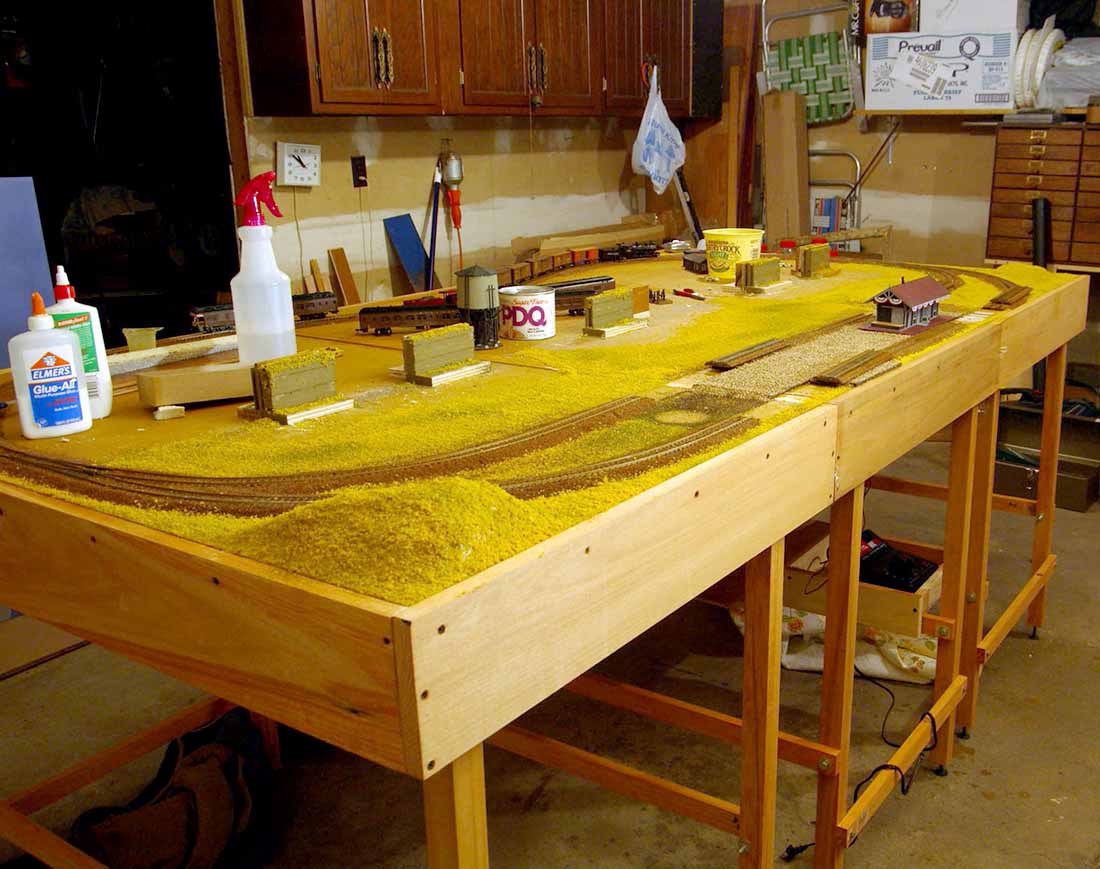
Applying the ground cover. Ground foam to simulate the dry southwest.
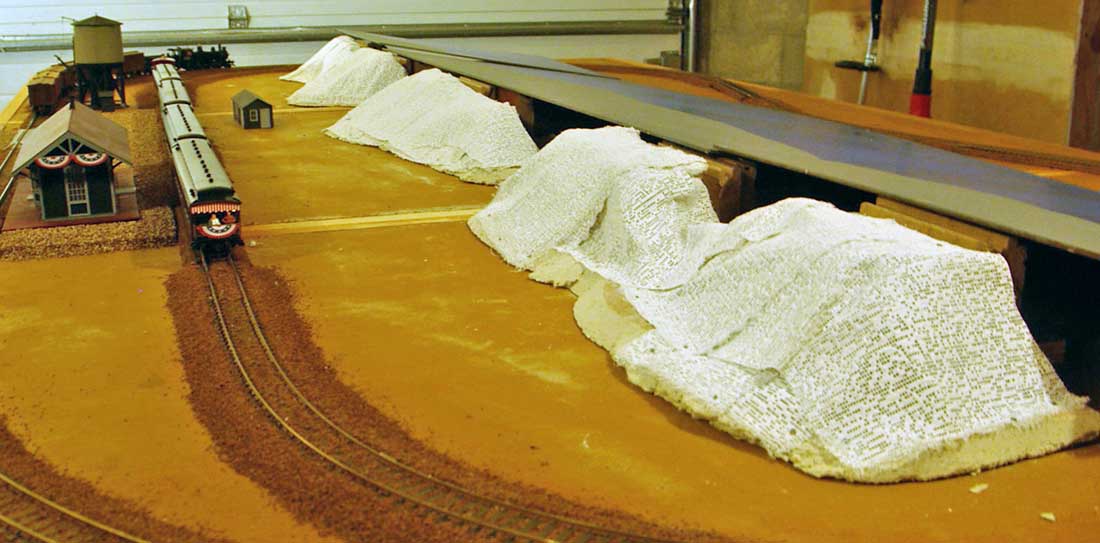
The basic “near distant” hills under construction. Just pieces of ceiling tile for the basic form.

The hills covered with plaster cloth. Ready for the Sculptamold.
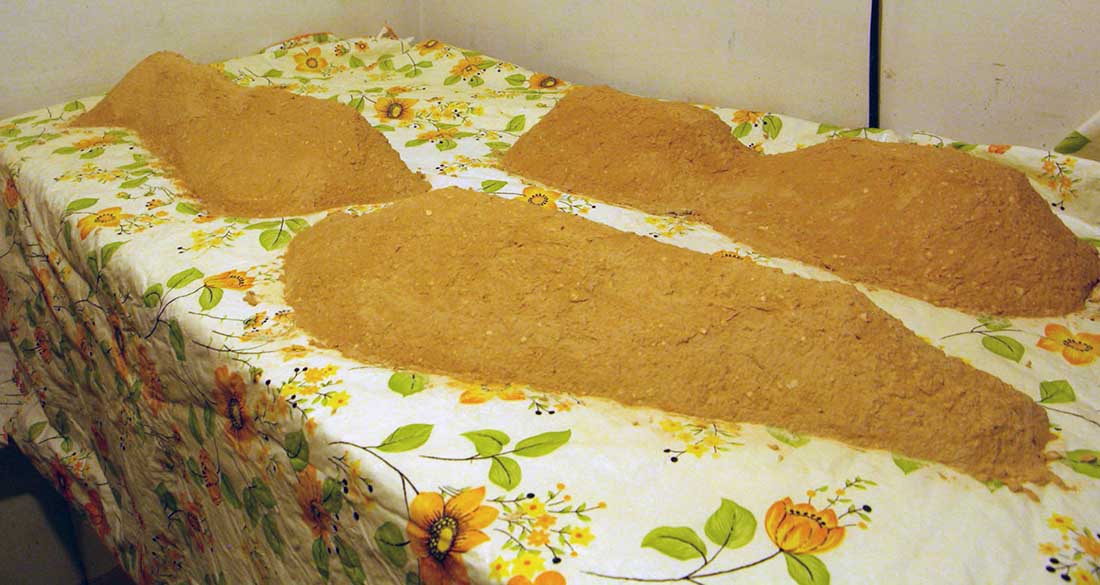
Sculptamold that has been colored with the craft paints I use for the dirt color I wanted.
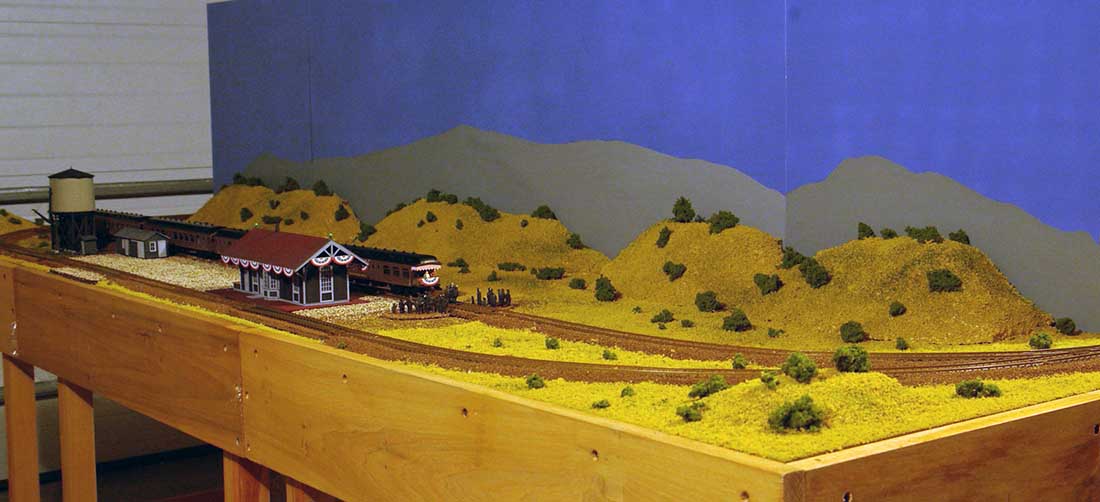
Progress at Deming. I painted the “Distant” hills with my craft paints. They just need to be a background without details. Too much detail would be a distraction form where I want you to look.
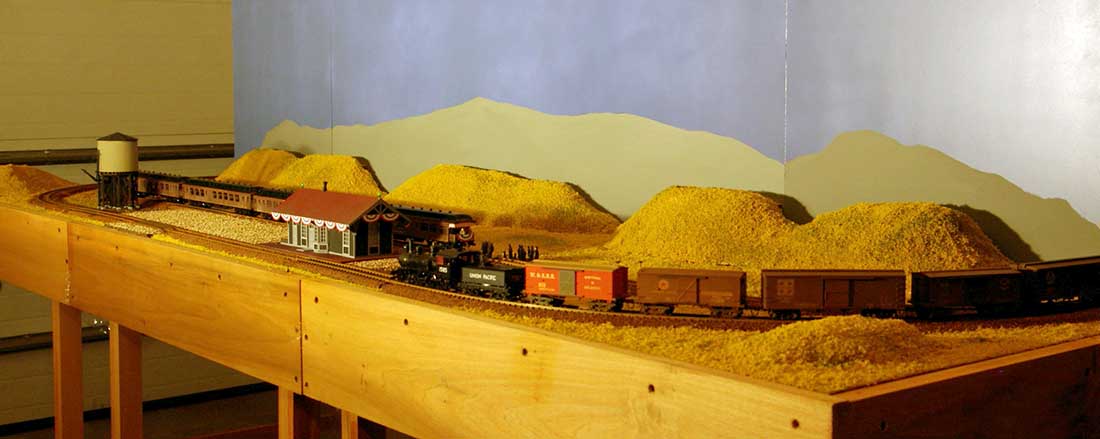
Nearly finished look at Deming.
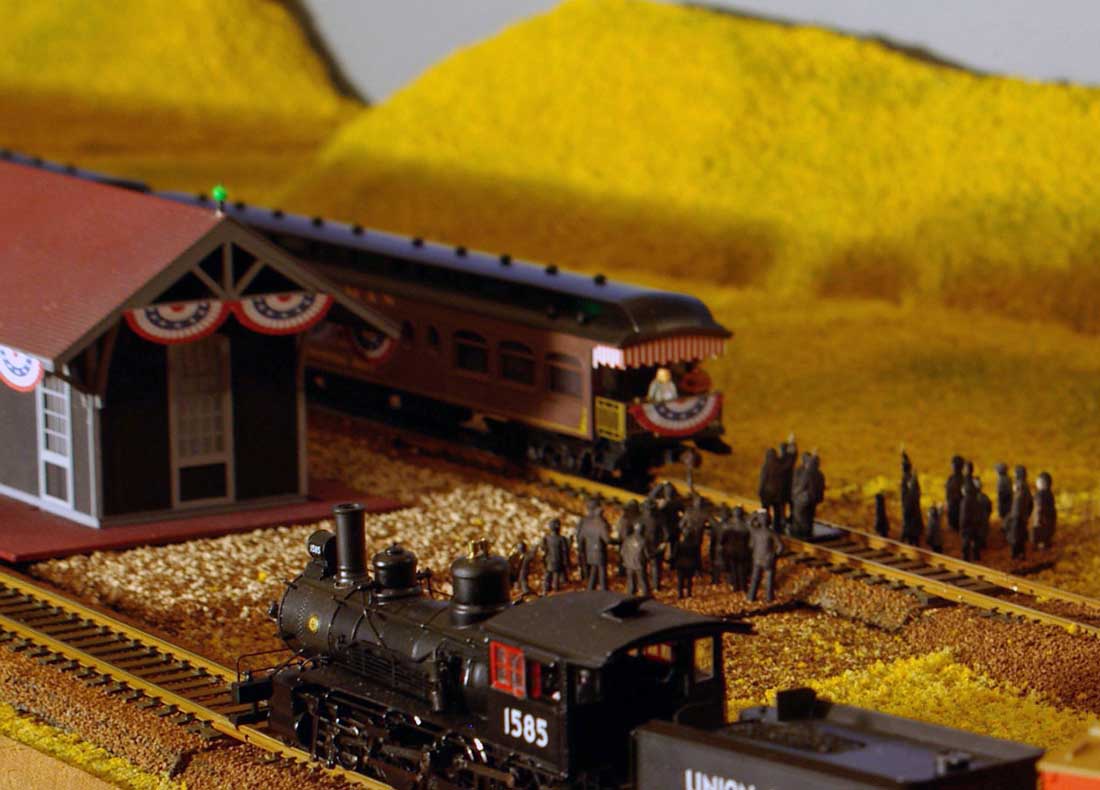
The all important crowd listening to the President. The crowd scene took a lot of thinking. Colored figures are very expensive. There aren’t many of them available if any for the era.
Eventually, I bought a bag of about 50 or so unpainted figures. Next, I spray painted them all a light shade of black. Then, I painted flesh colored hands and faces.
For some of the women, I painted some skirts a grey color for variety. The figures were then glued to two pieces of styrene so they could be easily removed. Harrison was a rather large man. I found a set of “rotund” figured and used one of them as the President.
The “Horse Power” of the day.
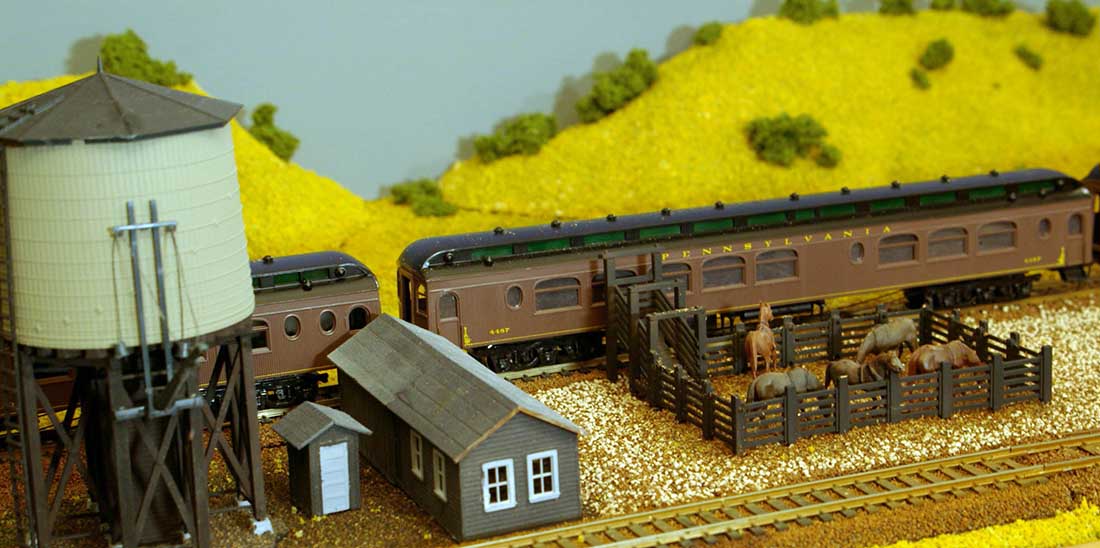
The carriages. These were the hardest part of the model railroad project. These kits are very difficult. I forgot the name of the kit.
Connecting the wheels to the axles and getting them square was a chore.
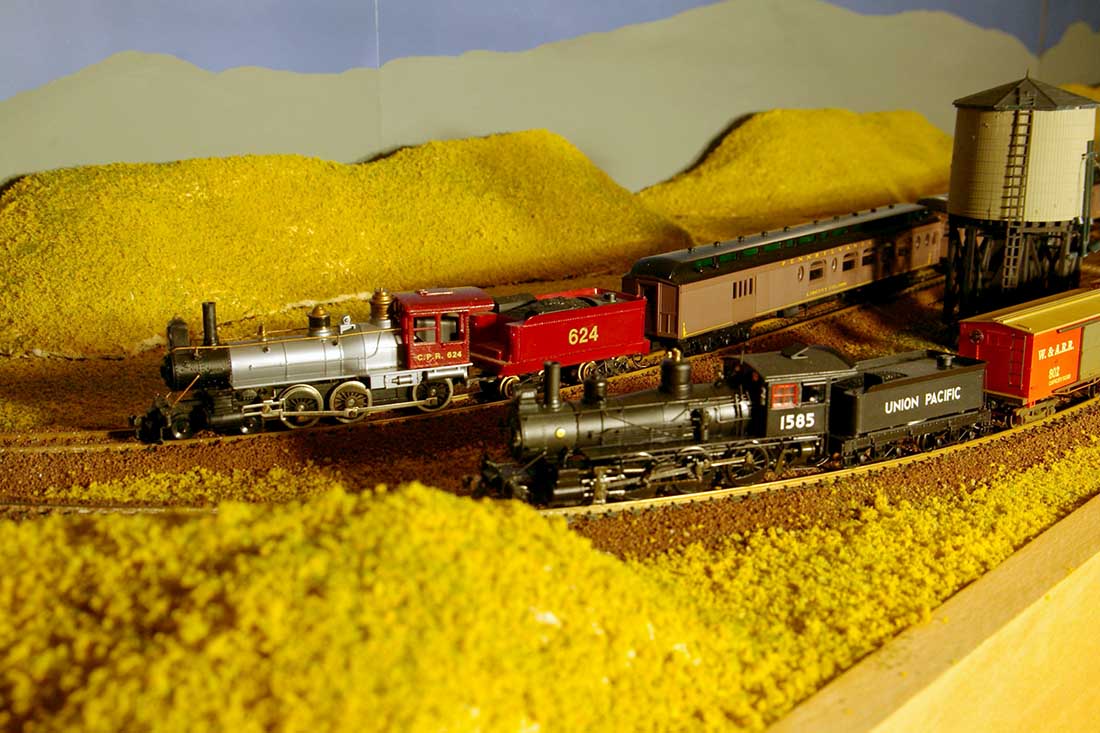
The locos.
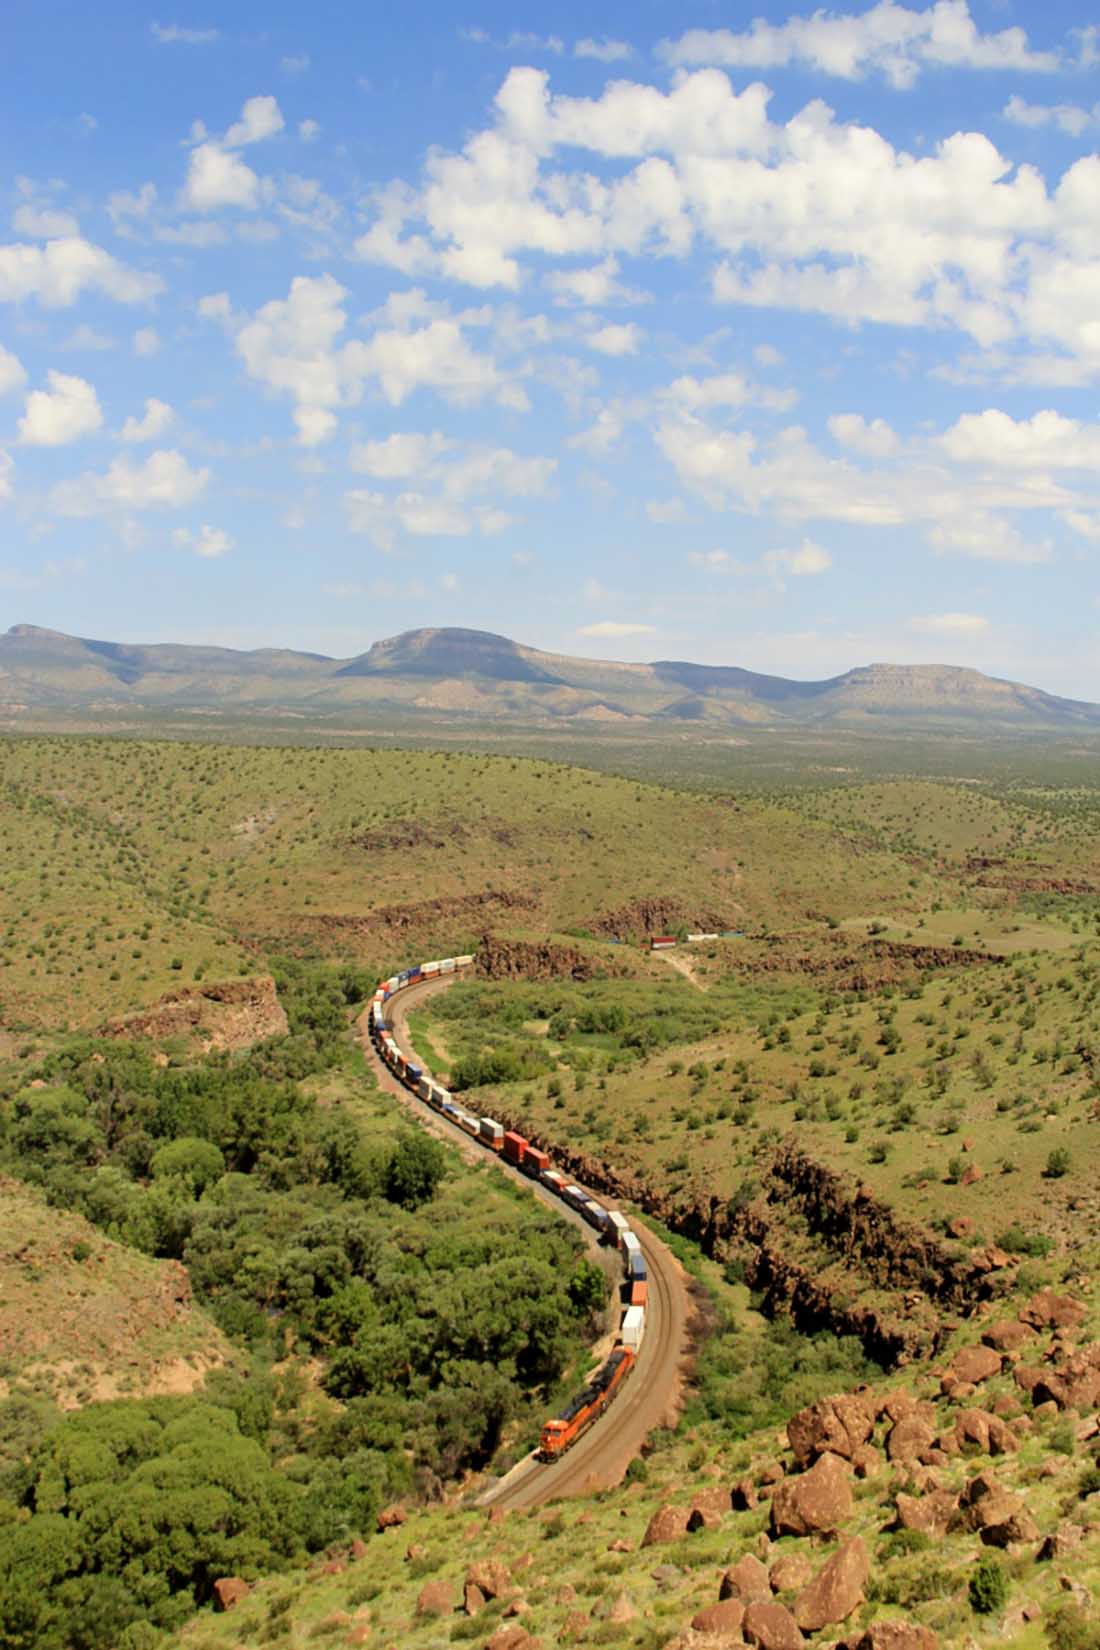
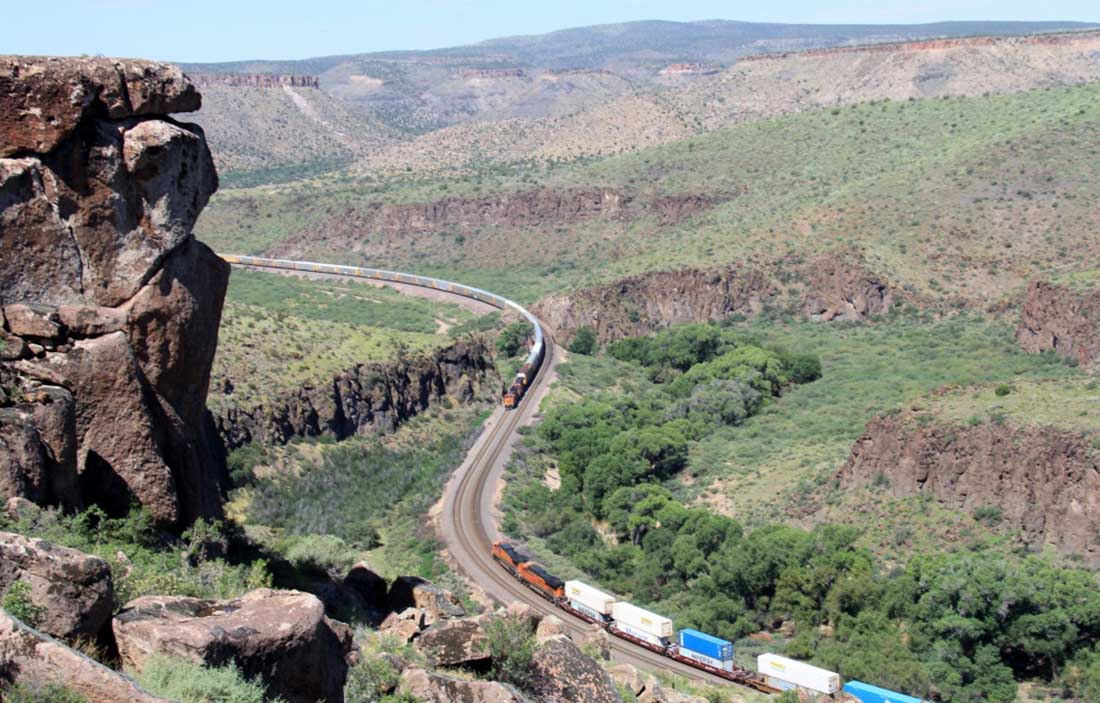
General views of the area in New Mexico.
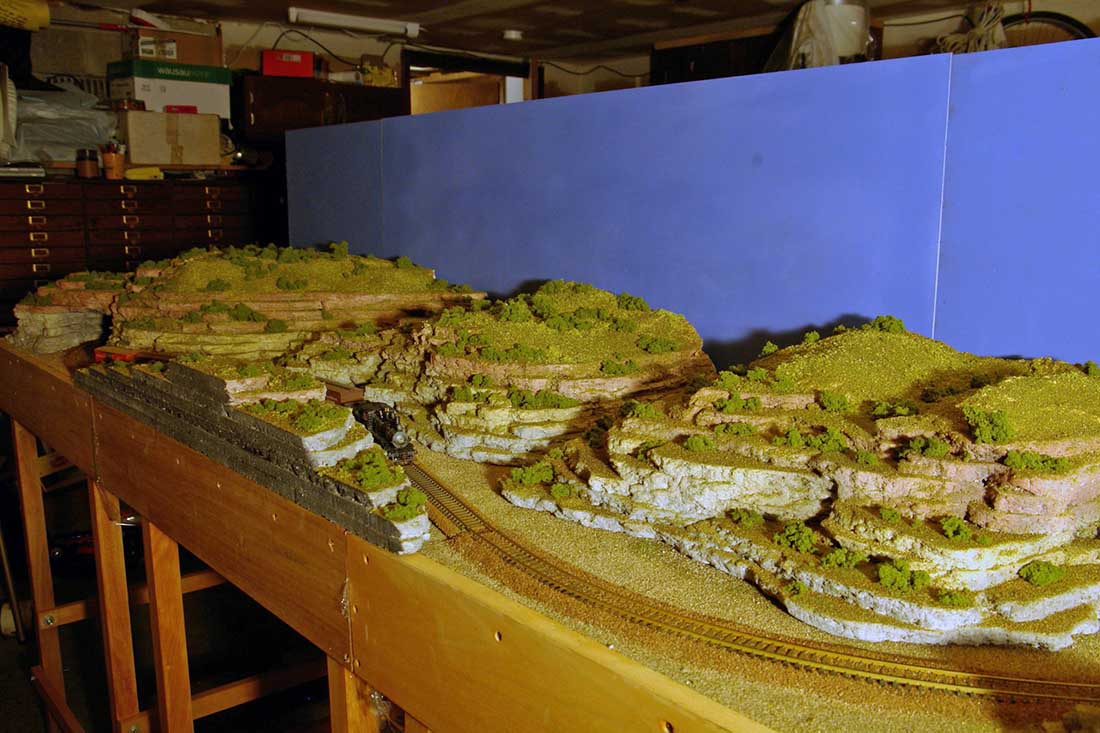
The “other side” of the modules. The basic ceiling tile rock construction. Remember that there are three parts to the layout. That spiral staircase was pretty tight. Even the mountains had to be removed. This is the left mountain.
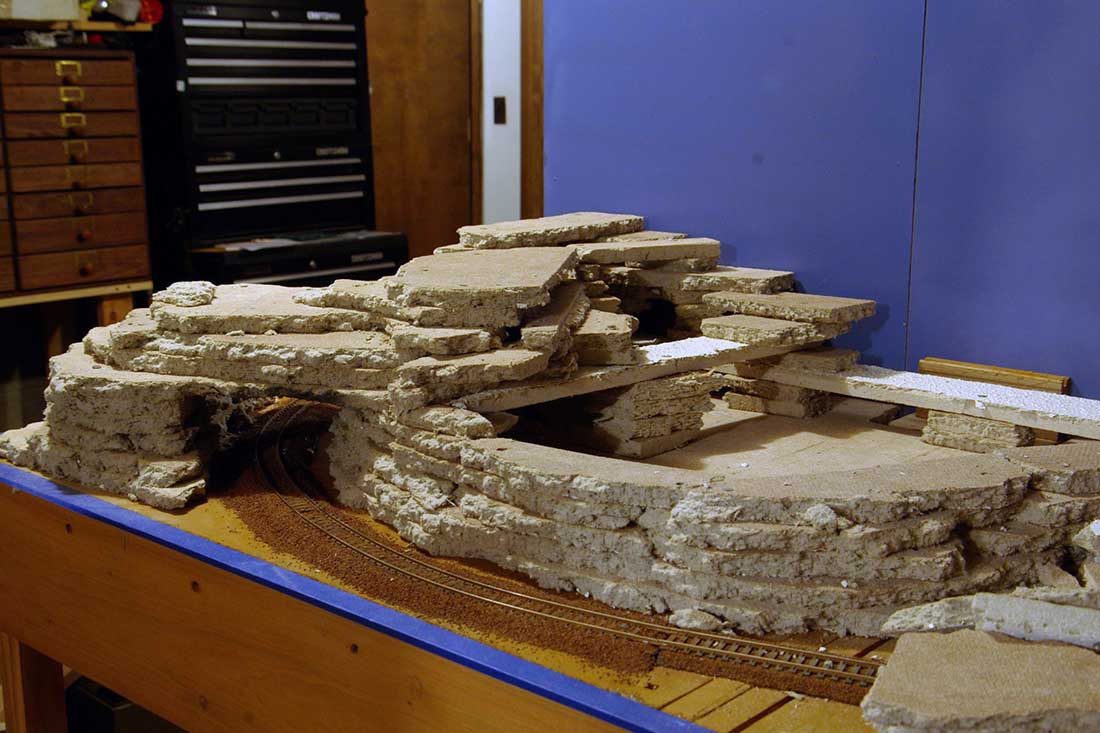
This is the right module. The black part you will partly block the view of a train. This is at the curve seen in the track plan photo. This will add interest as will the tunnel in photo 16.
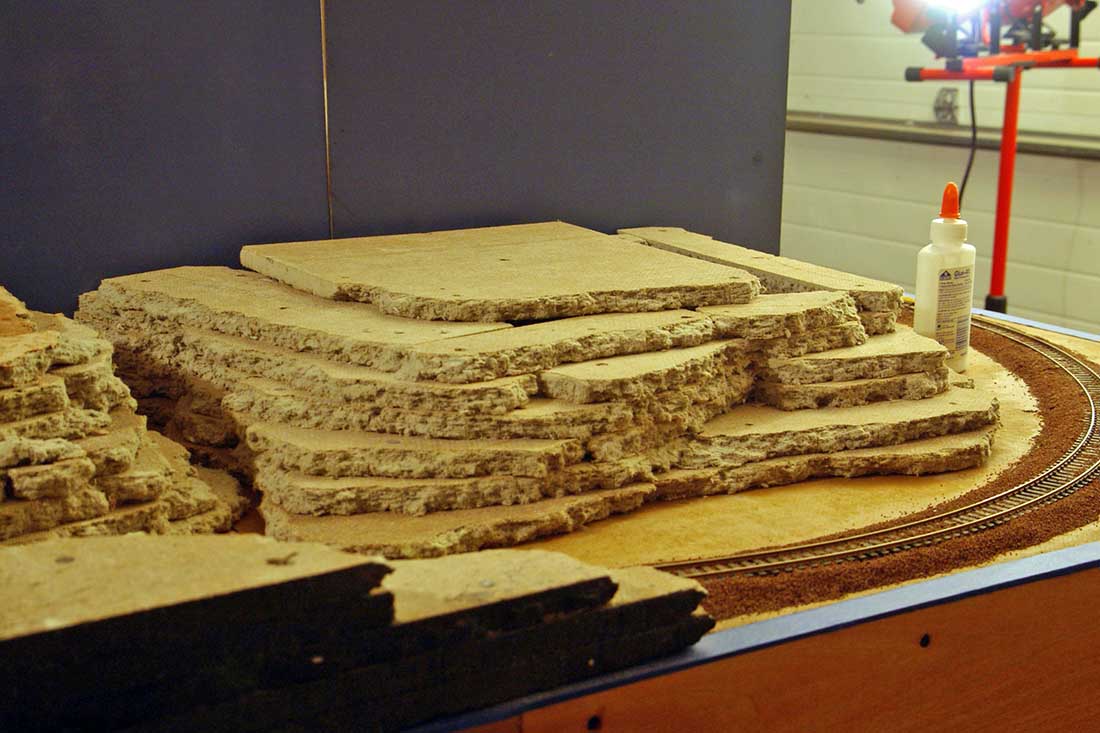
This is the middle module with out the view block in place.
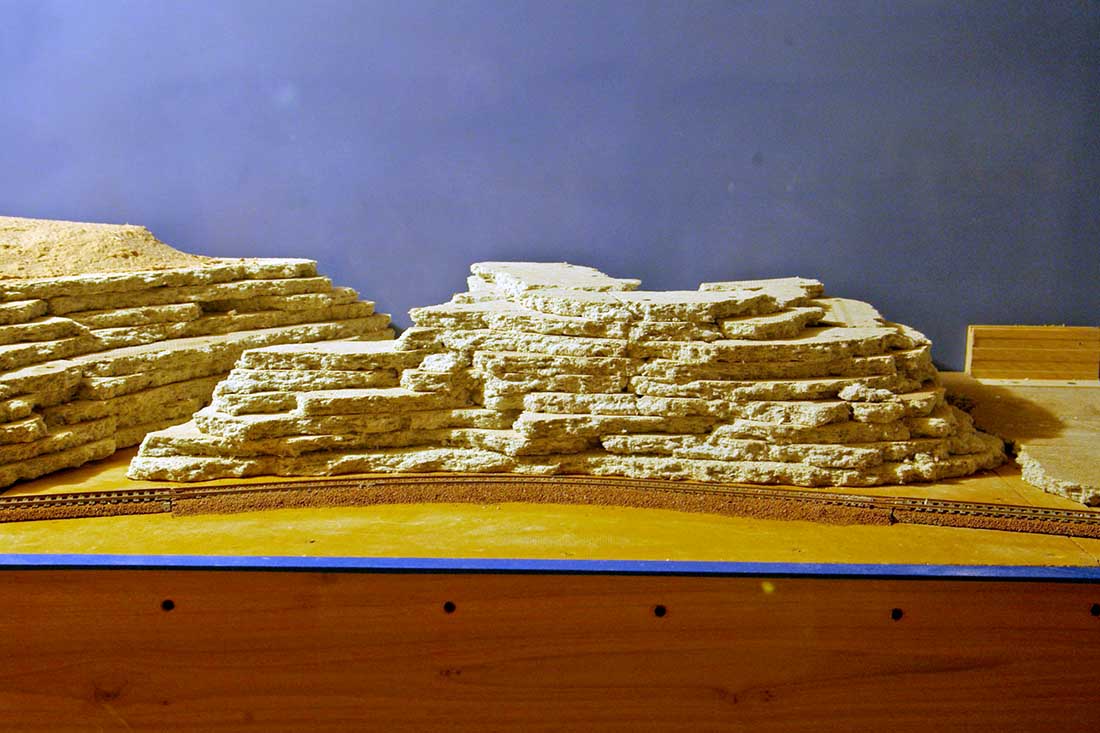
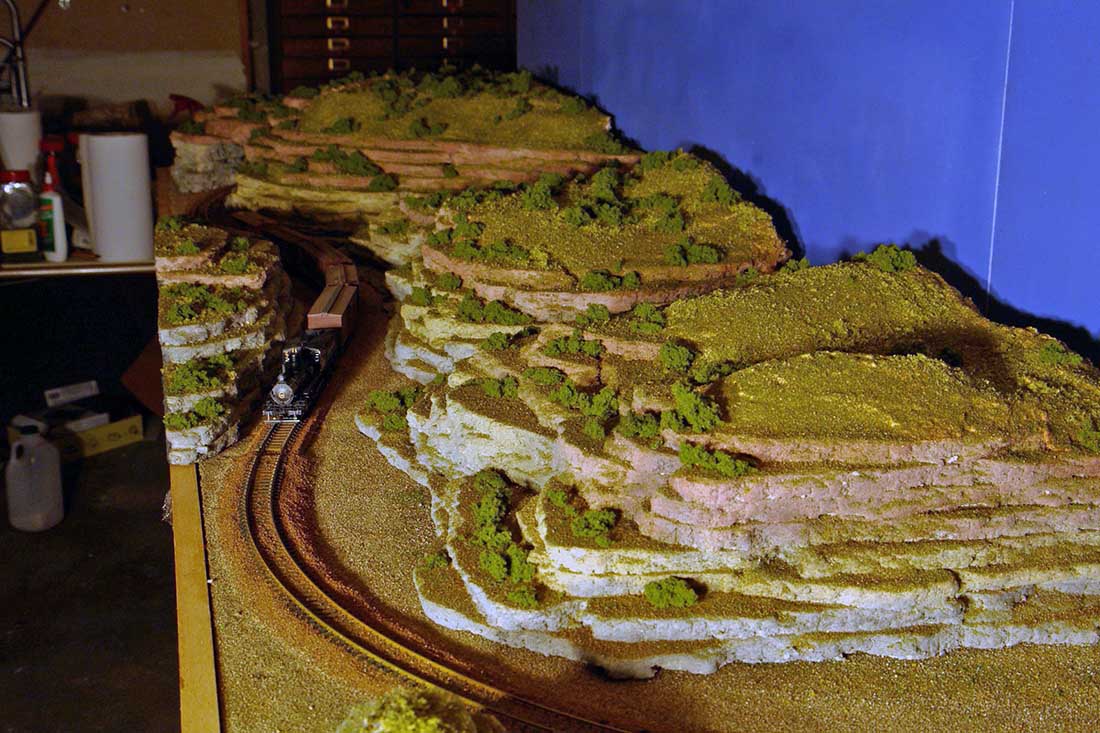
General overall view of the mountain side of the module consruction, unfinished.
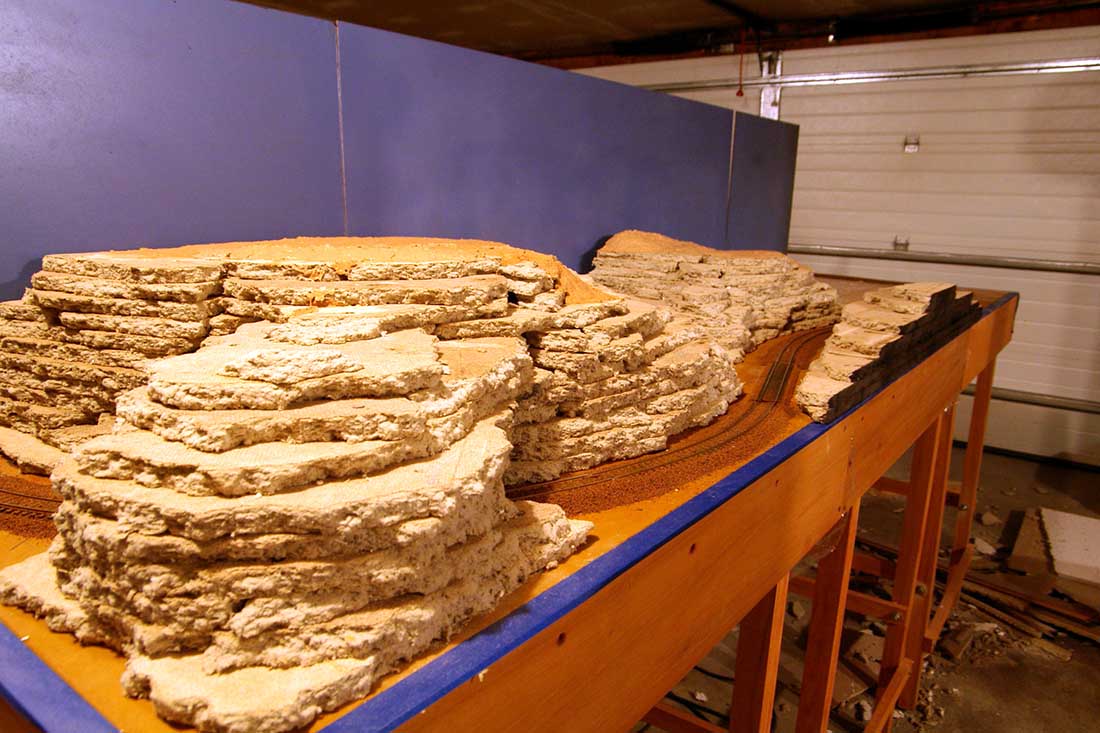
Note the different colored layers of the rocks.

Model railroad module construction finished look.
Sun set.
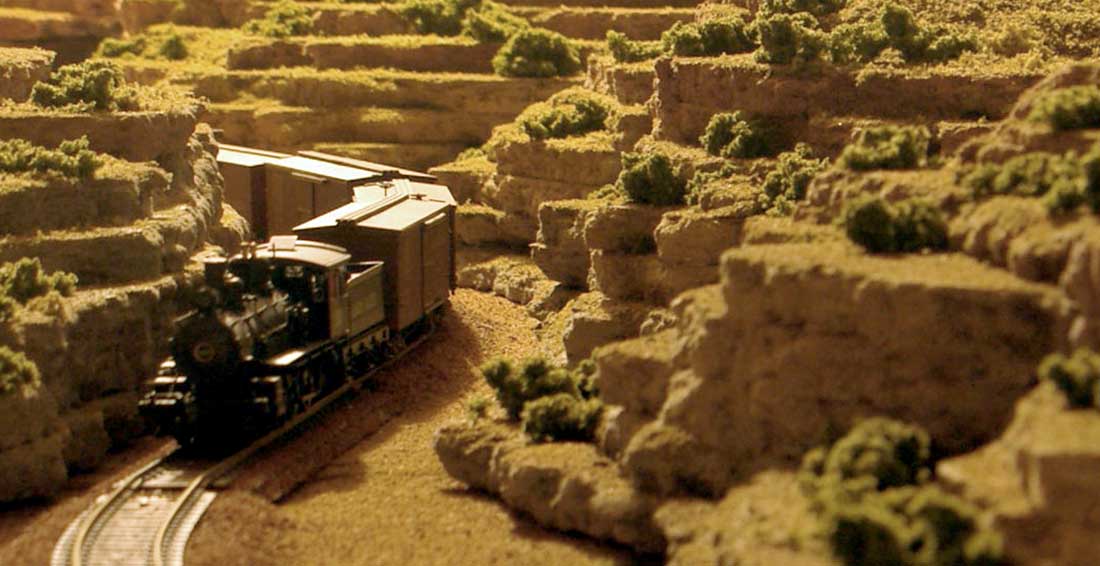
Midday.
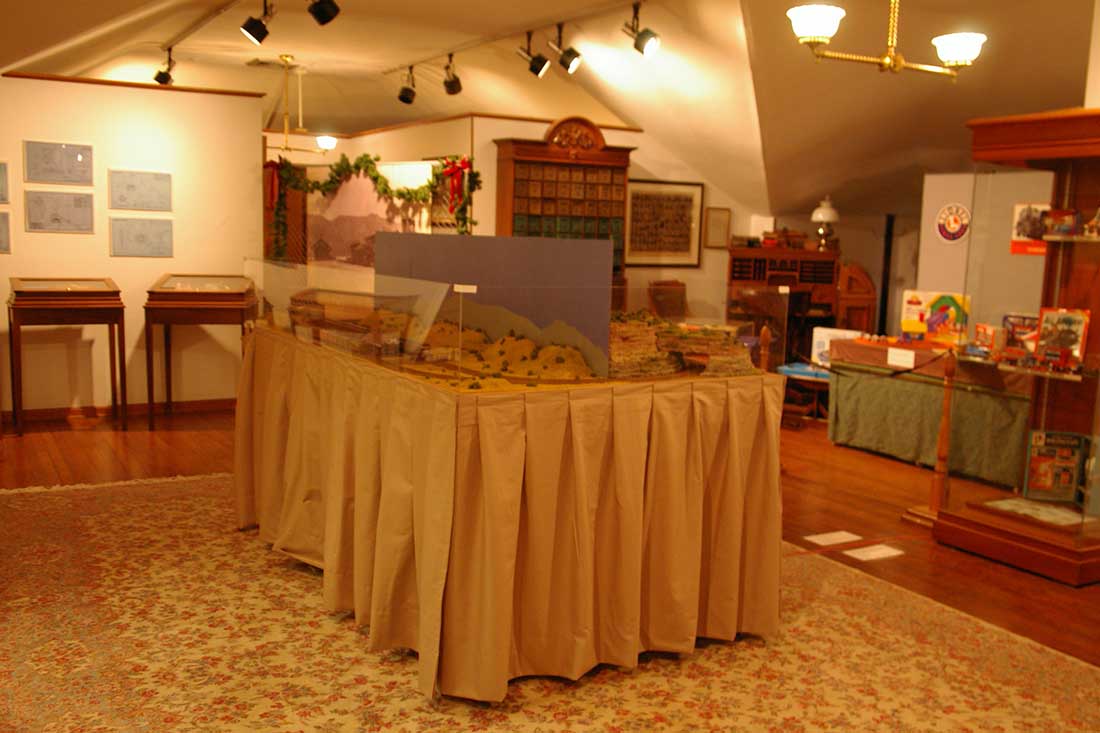
The layout in place at the Benjamin Harrison Museum toy room.
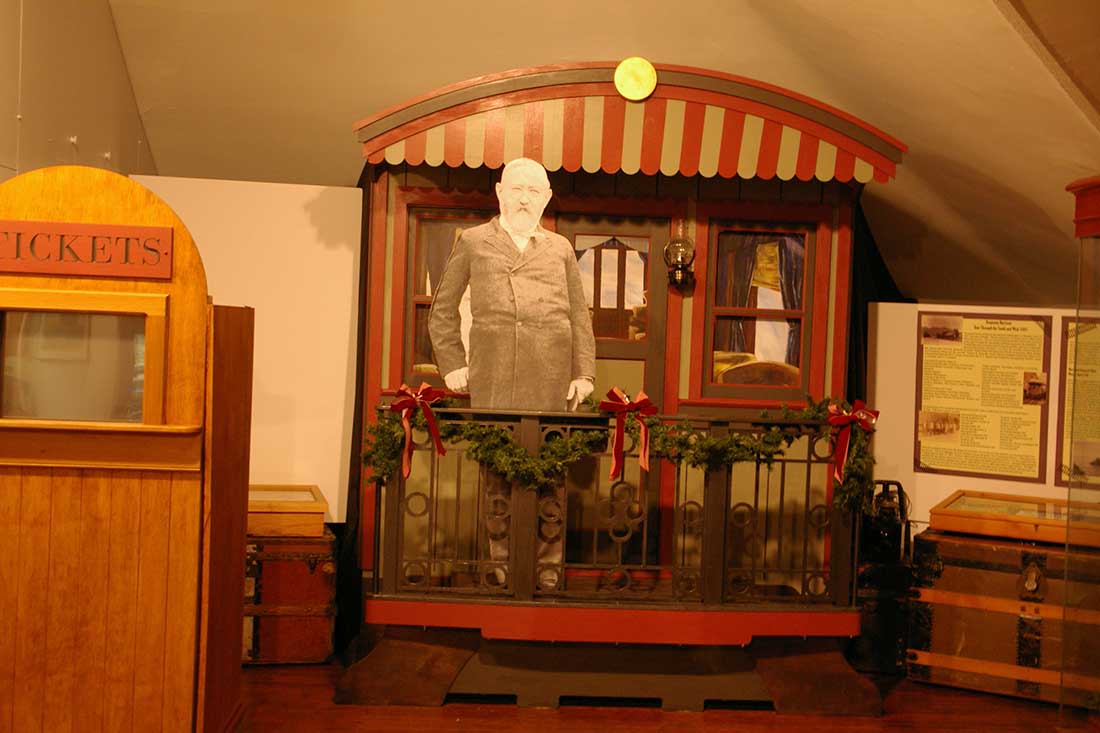
The man himself. Full sized image.
This was a challenging and rewarding adventure. I never thought I would be featured in a museum. In a sense this made me a “professional” model railroader. If you don’t add the hours of work, I did earn a little cash. It was the opportunity that made the project worth the time. I hope you liked the model railroad module construction project.
Dan*
A huge big thanks to Dan for sharing his museum model railroad module construction – really enjoyed the history background too.
You can see more of Dan in the Hall of Fame.
That’s all for today folks.
Please do keep ’em coming.
And if today is the day you stop dreaming and start doing, the Beginner’s Guide is here.
Best
Al
Need buildings for your layout? Have a look at the store.
They are great fun to make and great value too.

A person who has become a friend, recommended me for the project. He had seen my model work and the rest is history.
well done, love the Presidential train & the landscape
Very good terrain building ,good colours and backdrops
Just mesmerizing, though the wood stained borders looked pretty good without skirting. And to get the trains, buildings, carriages/horses even period correct.
Rich
Excellent work! Very timely for me as I have just started (attempting) to scratchbuild a 4mm scale Pullman car similar to the one shown in the old photos from the whistle-stop tour. The Midland Railway in the 1870s used some imported U.S. Pullmans and I have always fancied a model of one. I am using a “how-to” article from the Feb 1965 Railway Modeller by the late, great David Jenkinson. If I ever get it done 😏 I will send in a picture to Al.
Why someone invented the word “Magnificent!”
Dan, what a great idea it is to put the copper tubes where the sections join at the bolt holes. I wish I had known about that when I built my CONW layout in n scale. It wouldv’e solved a couple of problems I had with the layout. You have a great museum and train room, plus a lovely layout too. Rob
Wonderful job! I am a former modeler who has no business critiquing anybody’s work on this site. That said do you notice how the skirting compliments the overall look of the layout? I am a nut for blending the border (fascia) of the table with colors that are similar to the scene instead of the hard break created by some with treatments that have no connection at all. This is a case in point where the foreground leads the eye into the scene gently and compliments and enhances the overall effect. Jus’ Sayin’ Cheers! Foreground Rob
A truly amazing creation of history and scenery. The terrain and coloration is quite stunning and realistic. Great job. Thanks for sharing.
Jim AZ
presidential train, very nice. love the terrain.
Wonderful, interesting and historic model, it must be an excellent additional attraction at the museum.
Separately I was intrigued by the dual track gauges seen in the Royal Gorge in Colorado photo. Does anyone know the reason for this?
The only place I have seen more than one gauge in the same location is at Peterborough, South Australia where three railroads met – Standard, broad and narrow gauge. There is a turntable at the Steamtown Rail Museum in Peterborough with all three gauges.
Andrew in Oz
At the time of the photos dual gauge was common in the area. The Rio Grand railroad had 3 foot track and in some places the 4’81/2″ was beginning to take over.
There are still 3 foot track trains running in Colorado. The Durango and Silverton is a good example. Where they mingled you would find a mix of the two.
A very detailed layout for everyone to see at the museum. Benjamin Harrison was also one of the first presidents to be recorded on wax cylinder record.
Terrific job on the topography. Looks like a lot of work was put into fabricating these mountains.
Love the set up. Beautiful.
An excellent presentation of the presidential trip. Well done Dan.
Brian – The HOn3 guy in Knysna RSA.
An interesting interpretation of an historical event in Deming, NM Dan. I really appreciate your series of photos showing how the layout came together and its eventual placement in the museum. A couple of thoughts on the Presidential visit scene: Preiser makes several sets of 1890’s figures in era-appropriate clothing styles that could enhance the crowd scene. Also, I think most people attending the event would have left their horses attached to their carriages, buckboards and buggies as you can see in the “Example of a large crowd” black and white photo. The carriages on your layout were probably Jordan Highway Miniatures kits, some of which are still available on eBay. All in all, a very clever display layout.
nice