Rob’s been back in touch with his model train water effects.
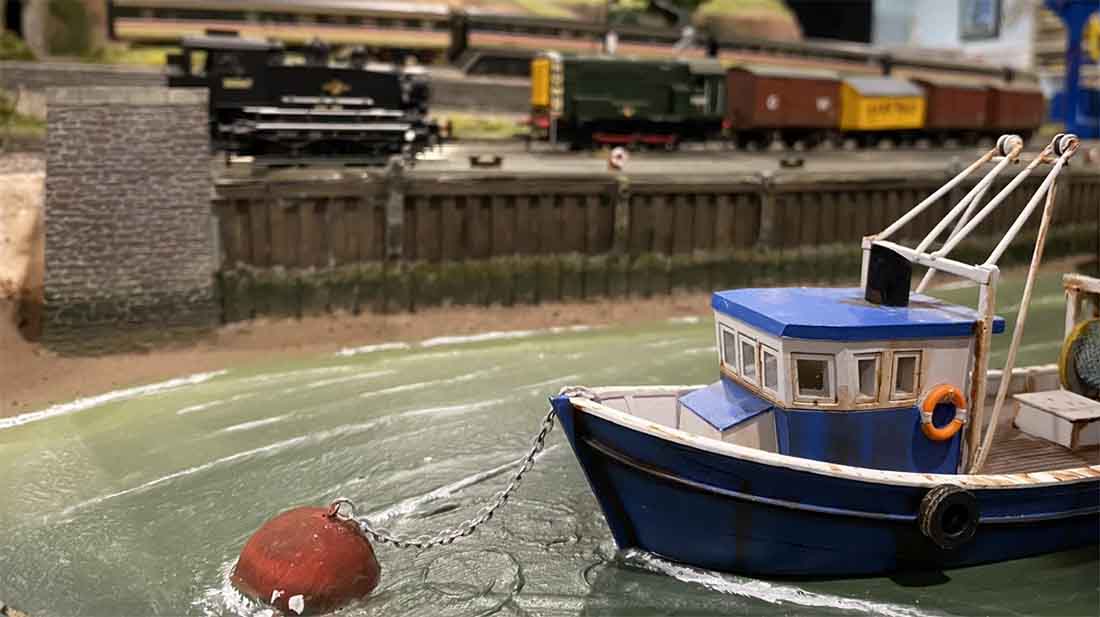
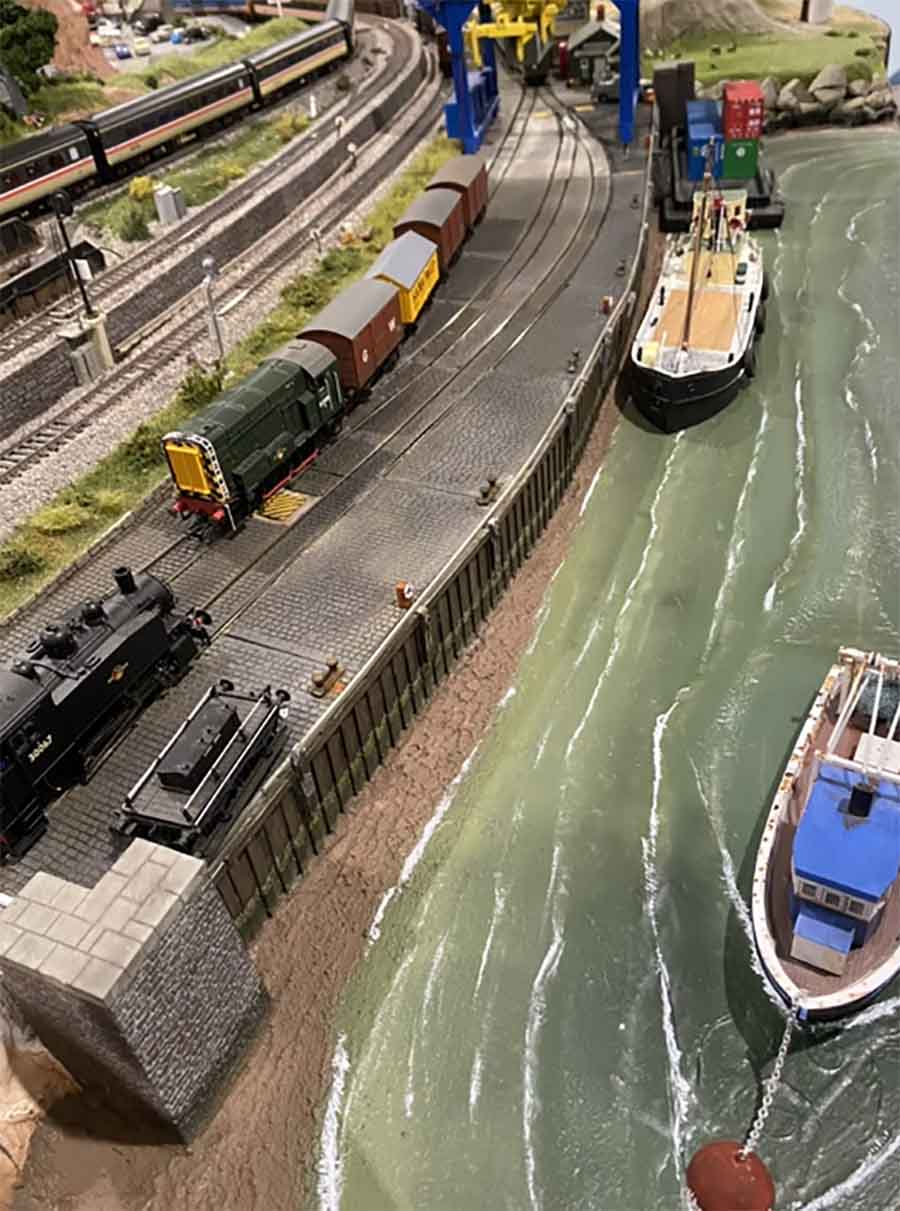
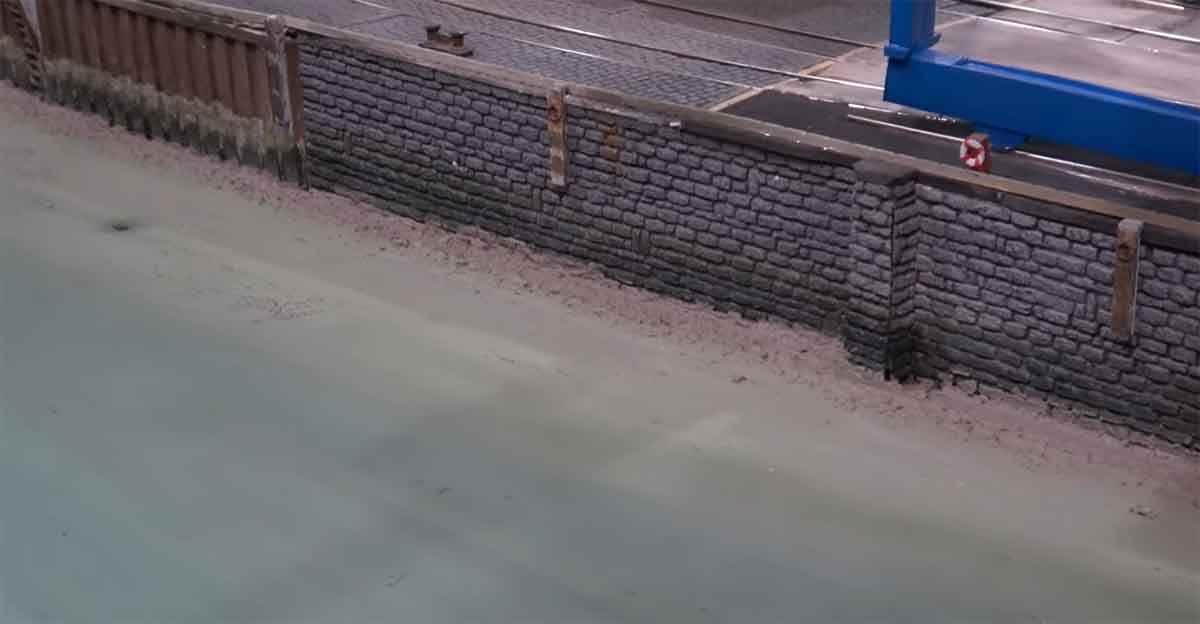
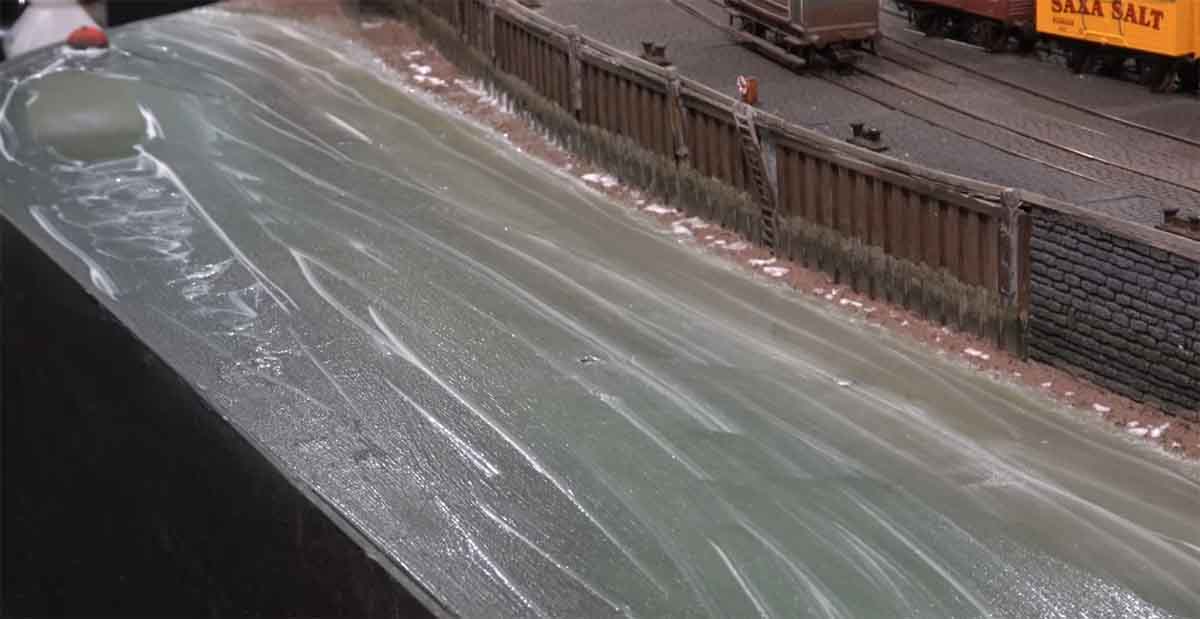
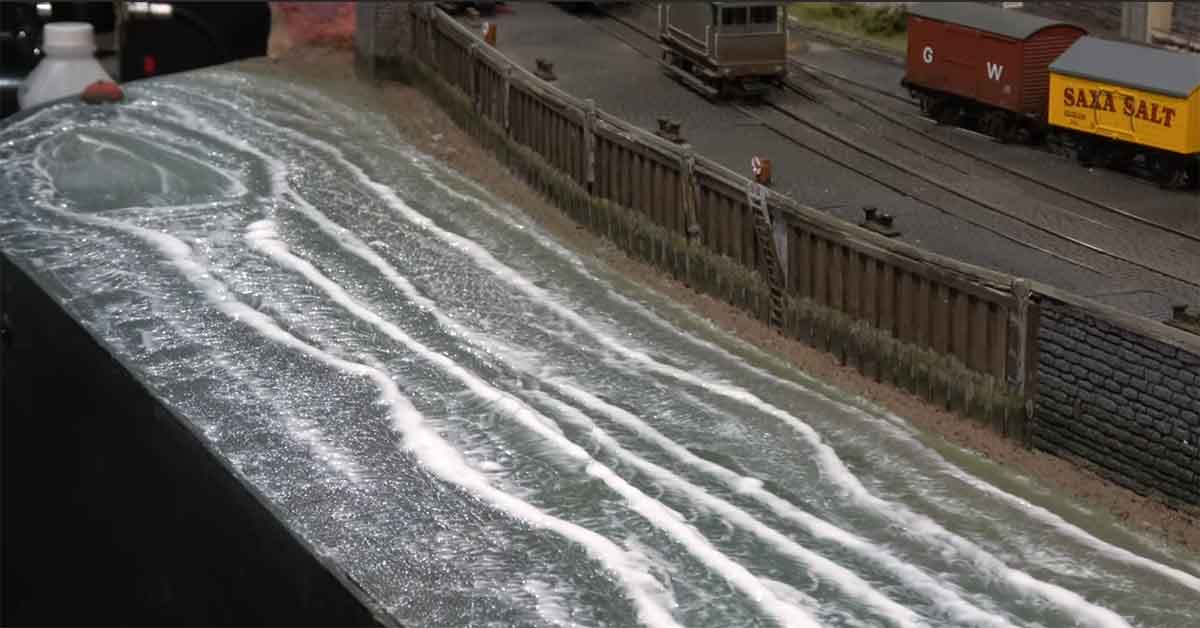
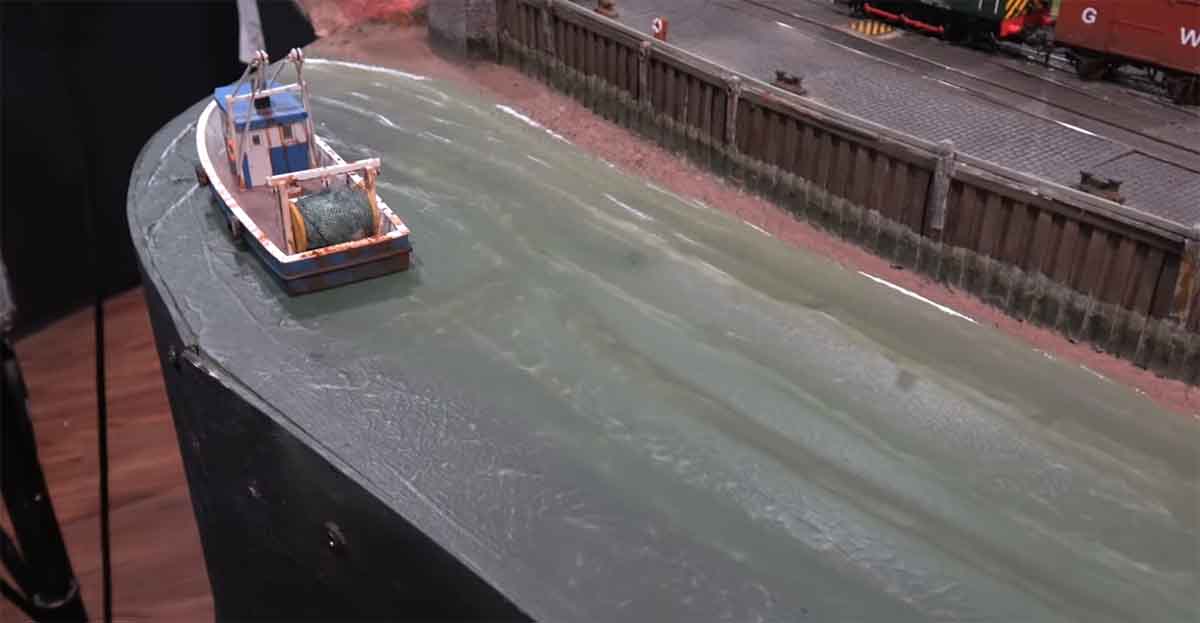
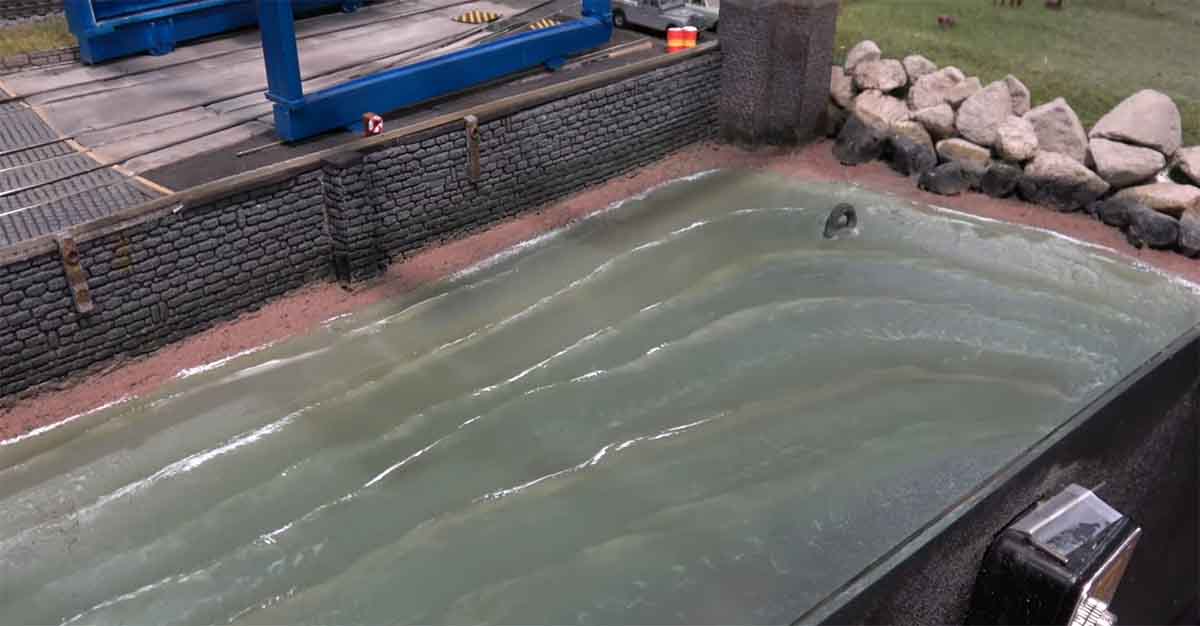
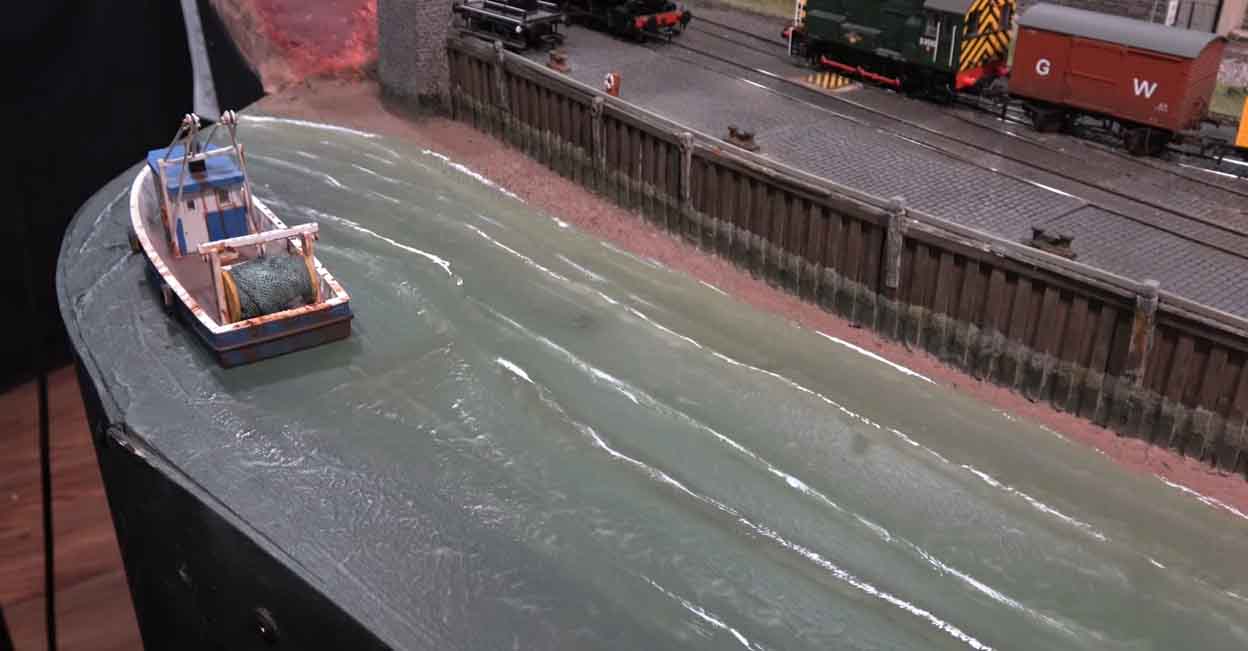
This time he shares how he made the waves on his harbor wall look so realistic:
“Hi Al,
This video is about painting and adding a little relief to my harbor water element. It was easy and fun to do. It is a method that is for anyone.
You do not need a high skill level to manage this method so it is for beginners and advanced hobbyists.
I used a product called matt medium. It is generally used for thinning acrylic paints. If used for that it does not thin the color as water does. It just adds liquidity to the solution so it applies and brushes more easily.
I used a graining brush to apply the white foam accents but any brush would work as long as you wiped the excess paint from it before you touched the waves.
The graining brush offers more delicate bristles at the end and that is why I used it.
I wanted to be sure the traces of white paint were very fine and my graining brush worked a treat.
I also use a graining brush for certain aspects of weathering rolling stock so it is a good tool to have in the toolbox.
Thank you so much for your daily email. I know sometimes it probably seems like a bit of a grind to get one out every day, but I and your other readers really look forward to seeing what other modelers are up to.
Thank you so very much,
Rob – Farland Howe”
A big thanks to Rob for sharing his model train water effects. Stunning stuff.
Now on to Andrew:
“Dear Alistair,
It is always a pleasure to open your blog every morning to see other peoples layouts and receive tips and guidance to improve our modelling skills.
I was puzzled when I first saw this post as a platform to me is the raised area beside the track at stations to allow passengers to embark/disembark from trains. Much higher in the UK when compared to many European mainland stations and some in USA.
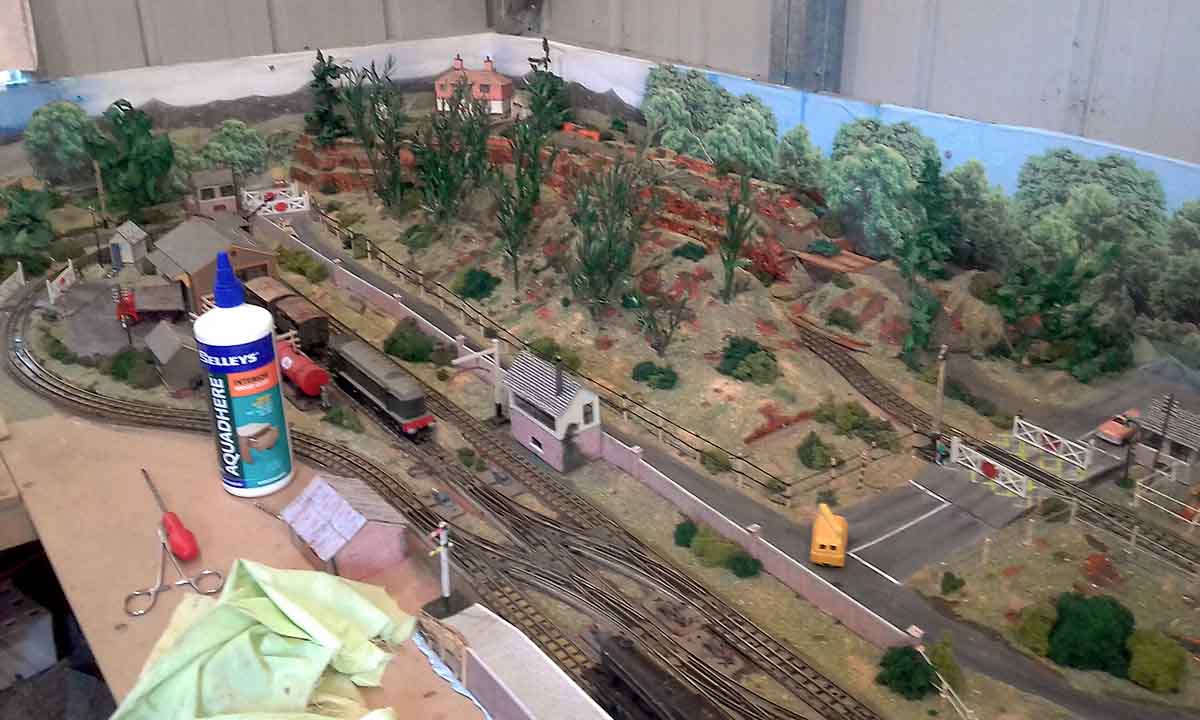
Having said that I also use platform modelling as described by Gary. Building scenery on a workbench which allows easy viewing, sculpting, and painting from every angle without getting mess on the track or layout. Something advantageous when the layout is against a wall as is the case with my layout.
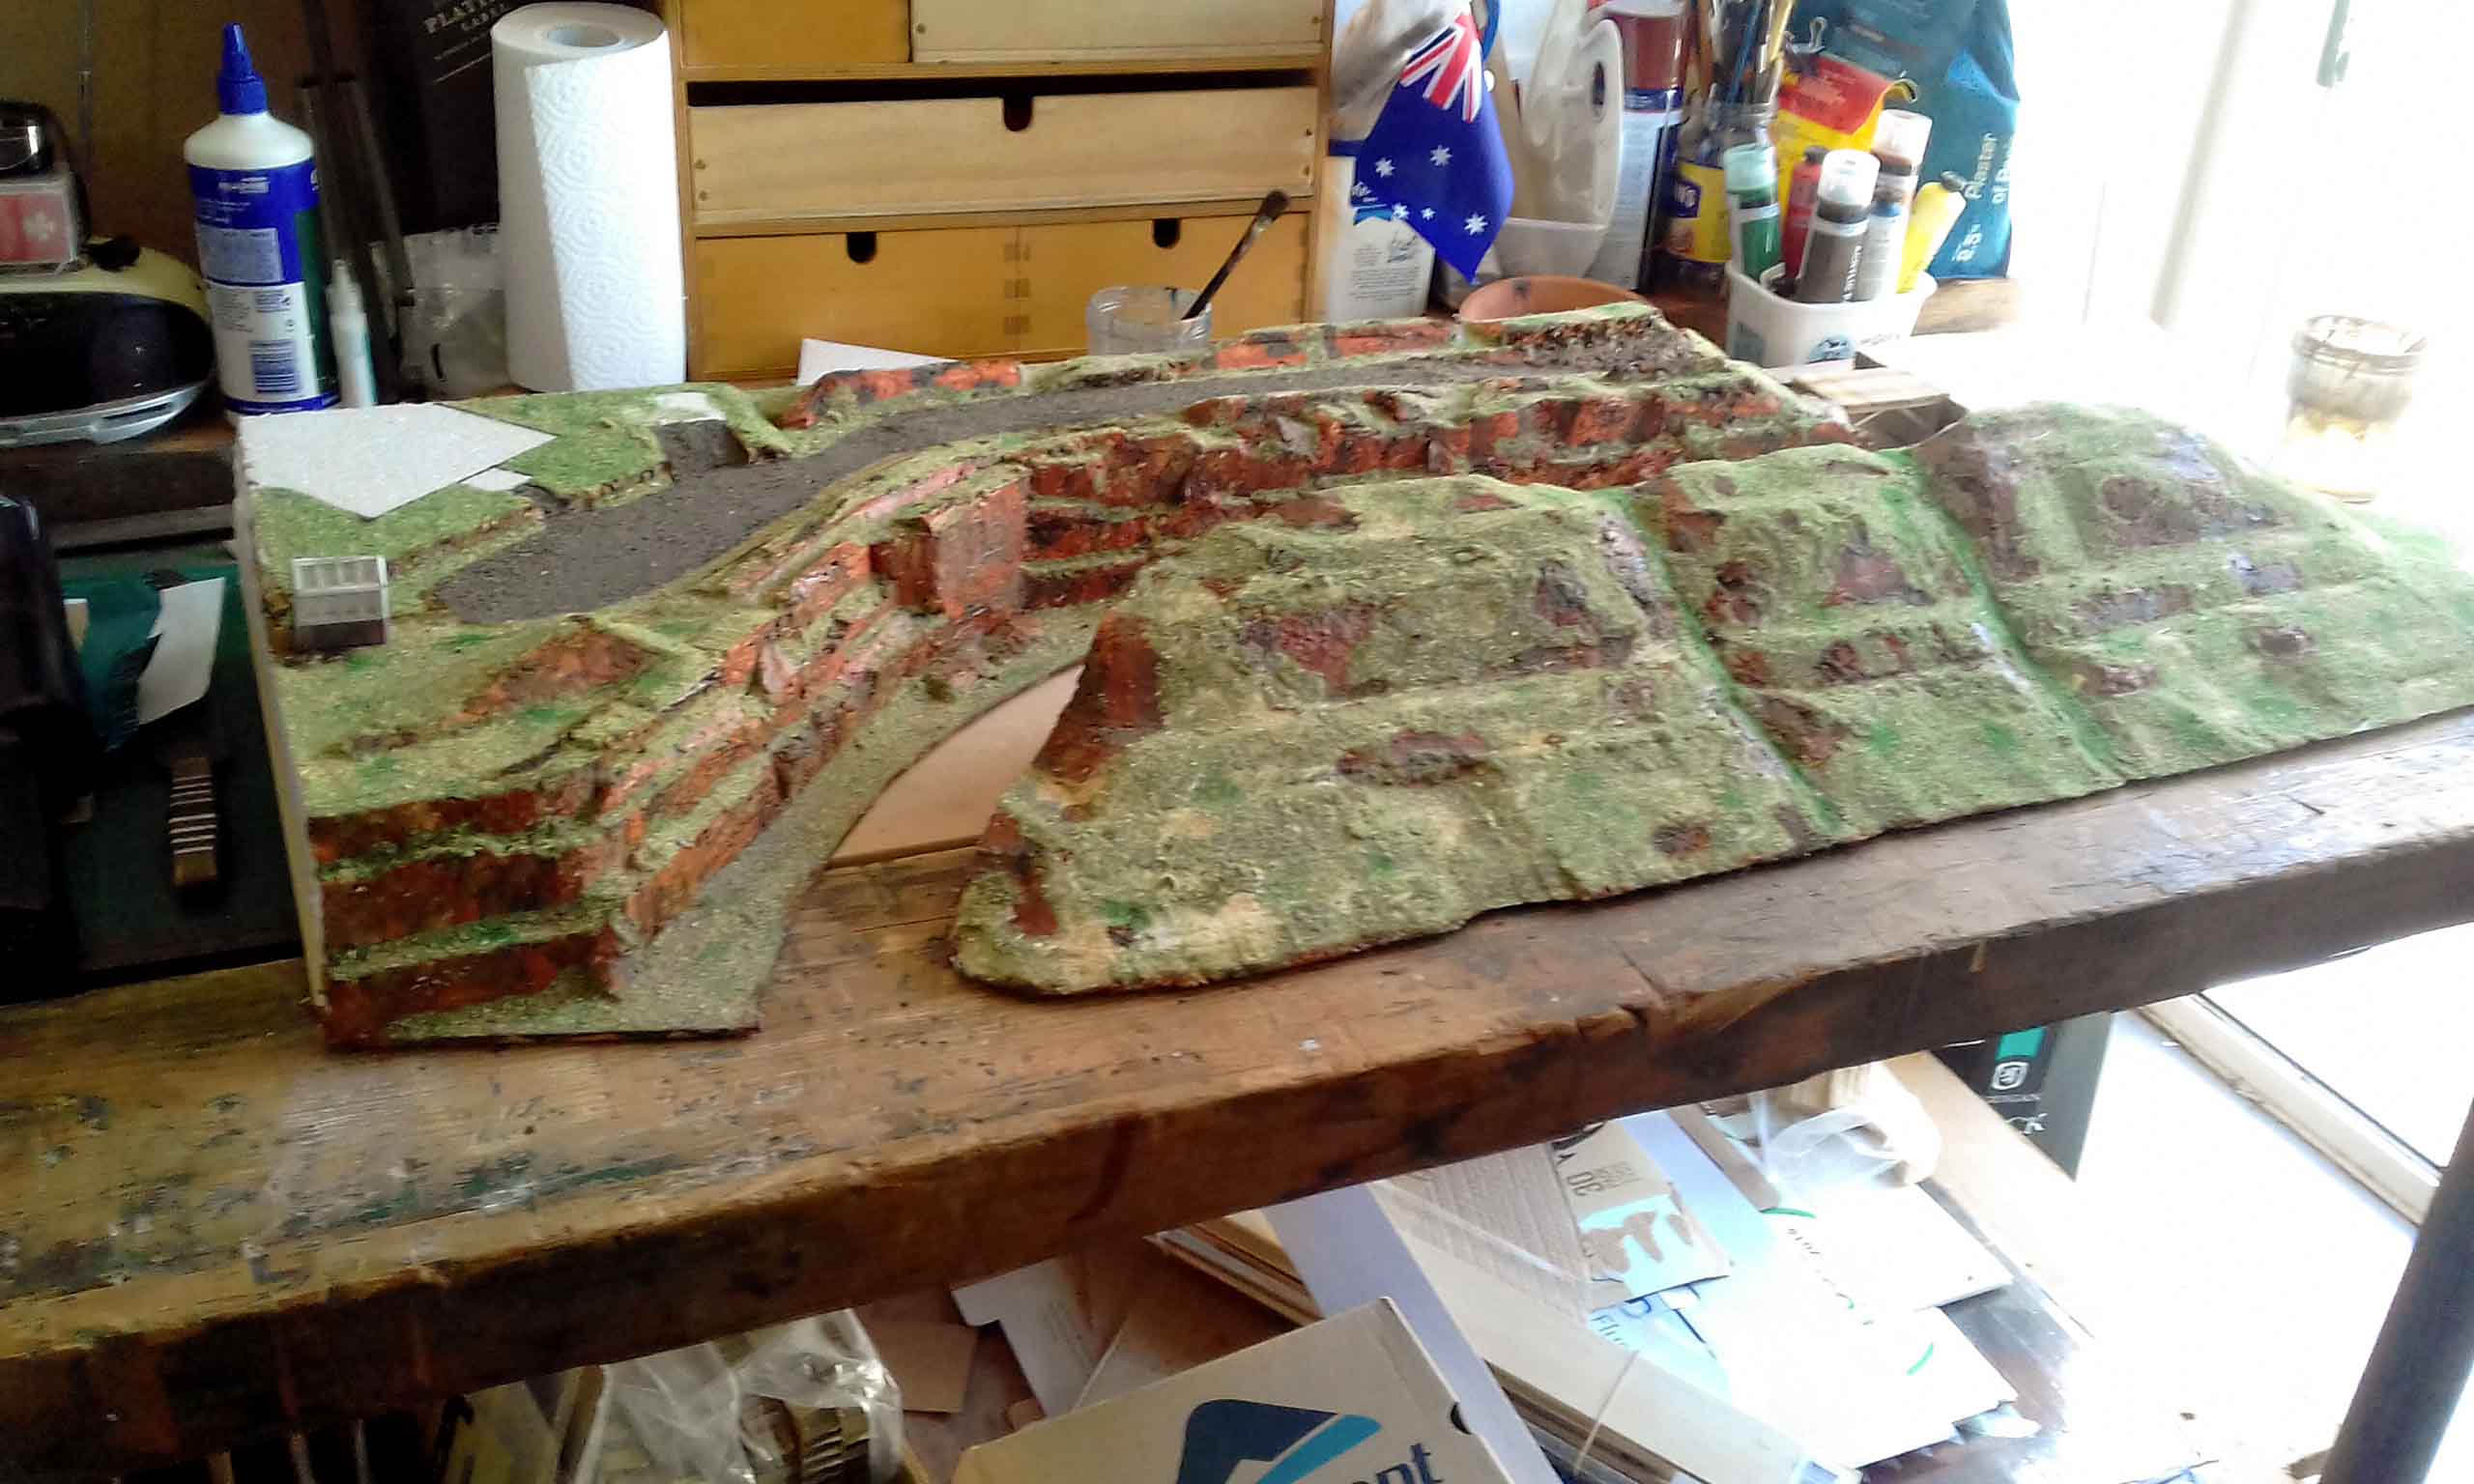
Please find attached a railway cutting built to fit into a corner of my layout.
A paper template is made of the area to be modelled and transferred to a thin ply or MDF base on which the scenery is constructed with sufficient rigidity for transport onto the layout.
Thought has to be given to hiding the joins between the baseboard and the platform and there are many creative ways to achieve this.
Thank you and best wishes to all you contributors.
Andrew”
A big thanks to Andrew, and to Hall of Fame member Rob for sharing how he created his water scene.
I’d like to think of a word besides stunning, but I’m struggling to do so. Leave a comment below if you can!
Rob’s post also reminded me of Brian’s tips on water effects.
That’s all for today folks.
Please do keep ’em coming.
And if today is the day you stop dreaming and start doing, the Beginner’s Guide is here.
Best
Al
PS More HO scale train layouts here if that’s your thing.
Need buildings for your layout? Have a look at the Silly Discount bundle.

great wave motion Rob. you ‘shore’ do have the knack,
Looks like tide coming in .
The Critic
Can’t criticize you Rob .
Ingenious !
Great work on the waves Rob. I don’t have wave lines as you do but I’m thinking I’ll do some white caps. Thanks so much for the lesson.
Bob in NJ USA
Good morning Al, I like to say that the water on Rob’s layout is wonderful, very realistic. I would also like to offer another water system for waves. On Marklin of Sweden web site there is a video of waves made from toilet paper. I think Rob’s layout is one of the most interesting layouts.
That’s a great. Mountain you got there, very good. Thanks
Wow what an amazing piece of art . Truly remarkable detail . You all make it appear so simple , it’s not , it’s impressive what you’ve done .
Rob, I love all the progress of your layout. The water looks great very realistic. You are the kind of guy that inspires me. I have been watching all your videos and everything that you do is top notch. I look at the pictures you send in and it looks so real that it doesn’t even look like a model at all. Thank you for sharing.
Great workmanship.!!!!!!!!!!!!!
I have water on my layout. Very real. I thought it came from a broken water pipe. But it came from an overflowing rain gutter that further flowed into my basement and onto the part of me layout against the outer wall. Yes very realistic
Rob…..you really are an artist……..beautiful.
Andrew……nice work……great idea….
Great build, Andrew. It gives me some ideas for raised areas that I am thinking of making. Your first picture reminds me of a section of the snake river canyon.
Rob, I really like the composition of the wharves. They look attractive and realistic.
Rob: the flat earth society salutes you
Rob,
Cannot thank you enough for such a great video.
I am about to build a couple of micro layouts which will both feature a little harbor (harbour?) scene.
Your water looks excellent.
John
Andrew, Wonderful waterfront; great technique and resulting realism.
Small suggestion
Given the strength of the current as manifested by the waves at the bow of the anchored boat, and those in the surrounding water, the anchor chain should be taut with no visible catenary!
Rob. Great display of how to produce a realistic looking wave formation. Bring super critical. Waves in the harbour are approaching at 90 degrees to the harbour wall. However you have got the wave motion at the right hand side near the tyre approaching in a curve for the corner. The waves would still be coming in at 90 degrees to the harbour wall. The waves should be at 90 to the wall with the edge at the rhs where it would hit near the boulders would be white topped
Nice water effects Rob, but I have found sites that show you how to make the water effects without spending all that money by using things around the house that wouldn’t cost all that money.
great work, it’s hard to get the color right, not too green, not too gray
WAves lookmgeeat and the tip onmatt medium will be checked out thanks.
Fantastic water effects
Great Water Effect
Rob and Andrew great jobs on those layouts!