Peter’s been in touch with his N scale train diorama:
“Greetings from central florida.
Here are some pics of a 2×2 foot diorama i finished a while back.
Sorry for the first few blurry pics hope you enjoy.
Peace Pete”
There’s quite a few dioramas on the blog now:
Model railroad diorama ho scale.
Next, some of your tips:
“Some tips I have come up with:
1. for station strip lighting (or any cheap LED lighting) try using the 5m reels of smd leds.
The reals can be cut every 3 led’s (5cm)and are 12v ready – though i opperate them at 9 v as i find them too bright at 12v.
They are also self adhesive and can be painted with humbrol enamel paints if needed.
My12 platform cathedral roof station would have cost £150 to light with brand lights instead it cost about £5 (I still had 1/3 of a reel left for houses/shops). you alsohave the option of two colours: cool white for fluorescent lighting and warm white for incandescent
2. Want a panal of turnout indicator lights on your DCC layout without the expence and hassle of micro switches? (this method even shows that the frog has connected rather than just showing that the motor has thrown).
Simply add insulating plates to the “V” and solder a separate wire up from under the base board to each arm of the V. run the wires back to the control panel and add a LED and 1k resistor.
All the leds (of the same polarity) then just need 1 common return to the respective output from the control unit or bus. NB not worried about wether the frog has completely thrown – simply wire or solder the anode of one led to the cathode of another (you can even use just one resistor).
In this way you only need to run a single wire from one arm of the V with 2 much shorter common return wires to the respective polarities of the controller or bus. 1 wire being attached to all the led anodes and the other to all the free cathodes
Steve”
“Hello Al,
just thought I’d pass on a scenery tip that our club had used successfully a number of years ago and I’m sure it’ll still look fine today.
We took the flowering buds from a grove of wild sumac trees and let them dry for a week or so. You can get these in random sizes and they’ll make fine fir trees.
We used an out door oil base stain tinted green for the foliage and clipped the stem level and inserted a 2 – 3 inch long brass thin rod for mounting. Individually placed or clustered on a hillside makes a fine scenery point of interest.
thanks for your tips,
Jim”
Some nice tips, this time.
And thanks to Peter for sharing his N scale train diorama.
Please do keep ’em coming. You’ve all gone very quiet…
That’s all for today folks.
And if you want to make that start – your layout won’t build itself – the Beginner’s Guide is here.
Best
Al
PS More HO scale train layouts here if that’s your thing.
Need buildings for your layout? Have a look at the Silly Discount bundle.
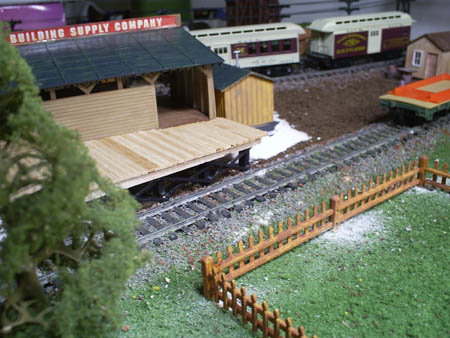
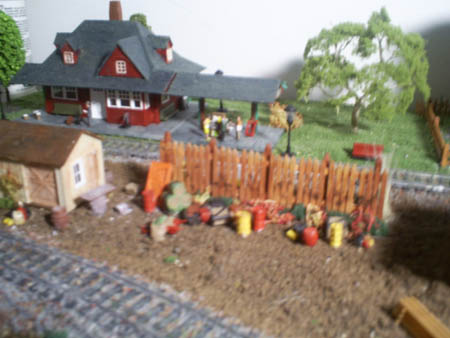
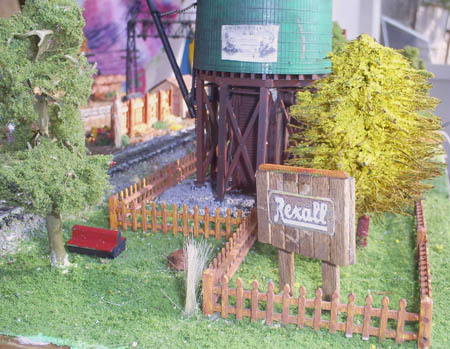
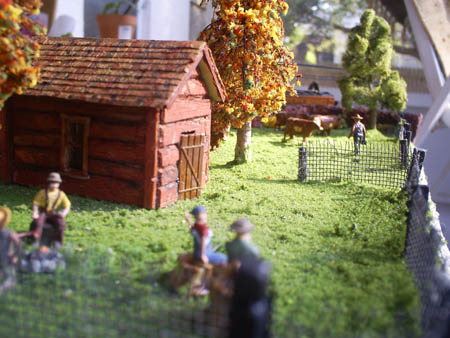
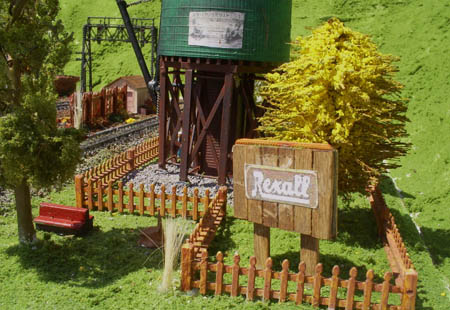
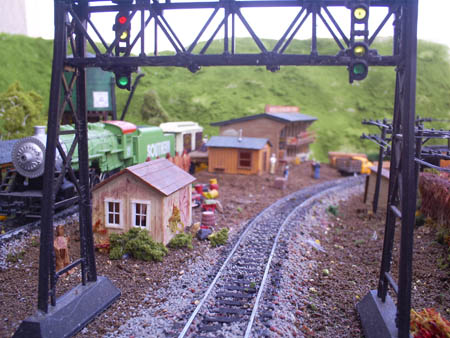
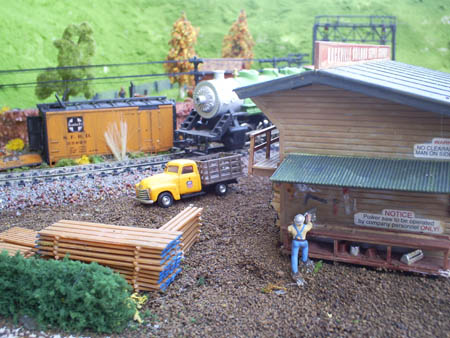
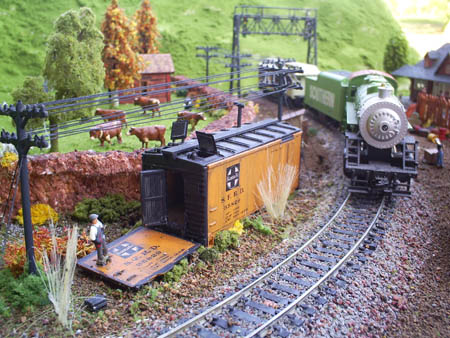

Looks good in the daylight. Now take the same shots during the “night” to show the effects of your lighting Please.
Could Steve provide a wiring diagrame for his V frog wiring please. Bothe the electrical tips are great ideas – Keith
I would like to see layout plans, o,s ho. thanks tor johnson
thanks for all the information of LED lighting … tree making … and picutres from the 2 ‘ x 2’ diorama fantastic as well as the great detailed work.
Thanks all for sharing!
regards,
Tom
NICE LOOKING.
With Keith, I’d like to see a circuit diagram. Also, I’m curious about the meaning of ‘NB’. Thanks for the continuing flow of tips—Herbert
nice photos
Steve, Which SMD value did you use? Would you please submit a diagram of the wiring for the turnout LED schematic?
Let’s see the following:
SMD 3528
consists of one light-emitting chip
dimension of chip : 35 x 28 mm
power: 0.08W/ pearl
SMD 5050
consists of three light-emitting chips
dimension of chip : 50 x 50 mm
power: 0.24W/pearl
SMD 5630
consists of one light-emitting chip
dimension of chip : 56 x 30 mm
power: 0.5W/pearl
SAMSUNG 5630 LED, super brighter
Theoretically, SMD5050 is 3 times brighter than SMD3528. One SMD5630 LED is one and a half more the brightness of a SMD5050.
Mind bloing, just fantastic, I will see real seen there.
Steve,
Your comments are great, I am going thru the control board problem at the moment, I have 42 turnouts and my control board is going to look like a Christmas tree, but you may have given me a great solution. Can you post a more detailed description of what you did with the LEDs.
Regards,
Michael
Melbourne, Australia
Love the idea of using LED strip lights. Just ordered 5m warm white, transformer, dimmer and connectors. Can’t wait to give it a try. Thanks for the idea.
Steve, HELP!!. Loved your LED lighting tip and got a strip off ebay. Cut off a 3 light strip, tried all sorts of ideas to connect to the tiny brass type spots at either end but nothing works. At one point I put tiny pins through and it worked but not a reliable method. Not very adept at soldering in the first place so the thought of trying to peel back the covering, which seems to be welded, and then soldering to the spot without melting everything is a bit beyond me. Any good tips ?
They all look bigger than 2X2. Just didn’t see the perimeter of the hole layout.
I would love to see the whole layout with one photo shot
Nice
Nice job— looks good !
I don’t post many responses but read and enjoy all of them. I truly enjoy all of the tips, advise, and ideas I get from all who care enough to share. One of these days when I have acquired the skills I have learned from all of you ill be proud to share some of my own work. Thanks for sharing and passing on a fantastic hobby for future generations.
Dan, Ohio
Someone asked about soldering without melting insulation etc. Use a “heat sink”. Ideal is what I call “forceps” like doctors use. Can buy or ask for some that have passed their medical use life. Quick substitute…..wrap rubber band around handles of small needle nose pliers Force open and place nose between insulation and area to be soldered. Will absorb heat before heat melts insulation or destroy heat sensitive components. Then solder per normal; allow to cool before removing.;
Pete,
Please send an aerial view photo. It is hard for me to believe this diorama is only 2 ft square. It has wonderful detail of everything.
Every Christmas there’s string lights of tiny LED lights with battery boxes attatched. Very low priced and so nicely spaced. l plan to use one string from a prelit Christmas tree light l got from a small tree. lt will be great for my big Oscale engine house. Thanks for enlightening me on LEDs.
I sure like the pictures of the 2 x 2 layout, but would love to see a picture showing the overall setup and get a feel for the scale of all of it. If it’s only 2 x 2 it should be easy to frame it all in one camera shot. Would love to see the whole thing as I am considering doing a layout and have limited space to do it in.
Really great tips and love the 2×2 diorama! As others have already noted would like to see more from all posters – Bill from Virginia
Jim,
I assume you are using the buds of red sumac, which isn’t poisonous, to make your trees. The white sumac, on the other hand, is poisonous.
Also, the end-of-summer cones from red sumac make pretty convincing evergreens. Spray the red cones green, then affix various shades of green foam or whatever.
Very nice
You should sell these fully constructed!
Pete , peace to you as well .. thank you . Very impressive display , amazing detail and scenery … really looks real .
Great job !
nicely done
Hi Herbert, NB is the abbreviation of the Latin, Nota Bene = take note, or note well. Read it as ‘Take note’, and the sentence makes sense. Cheers
very nice work. good layout.
Nice looking layout Pete, well done.