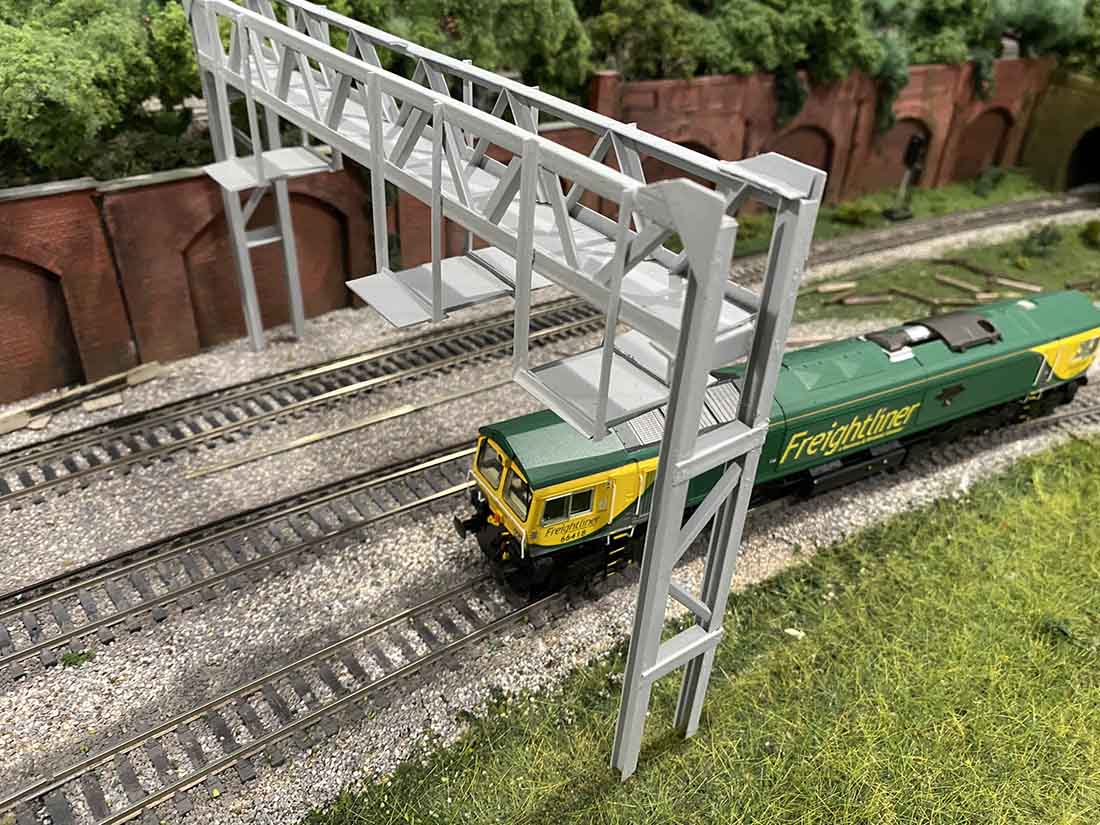
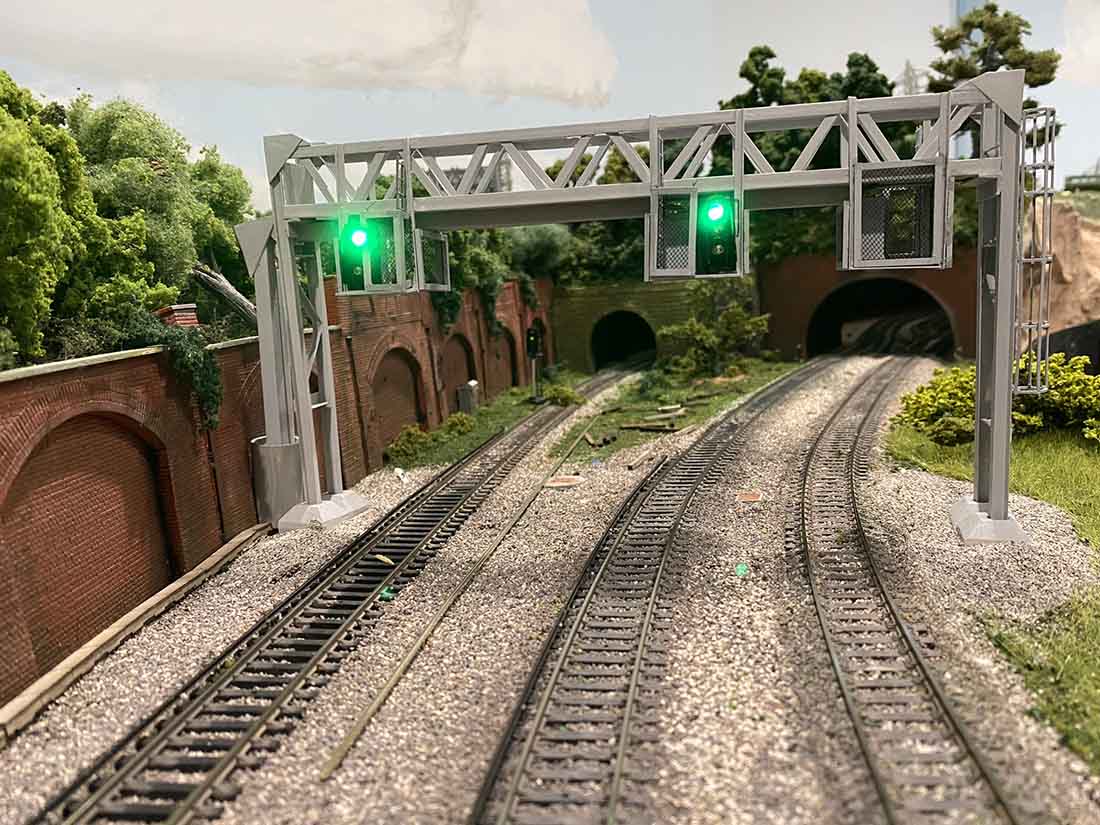
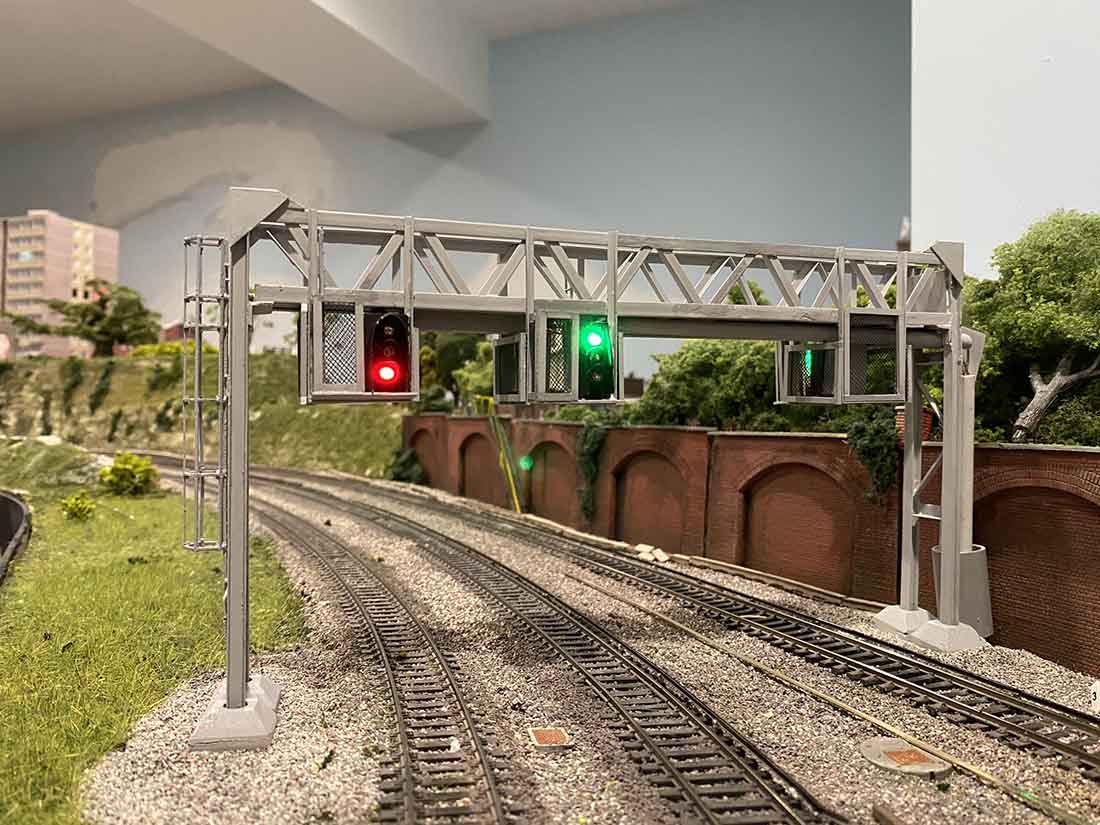
Rob’s been back in touch – this time he makes a signal gantry:
“Hi Al,
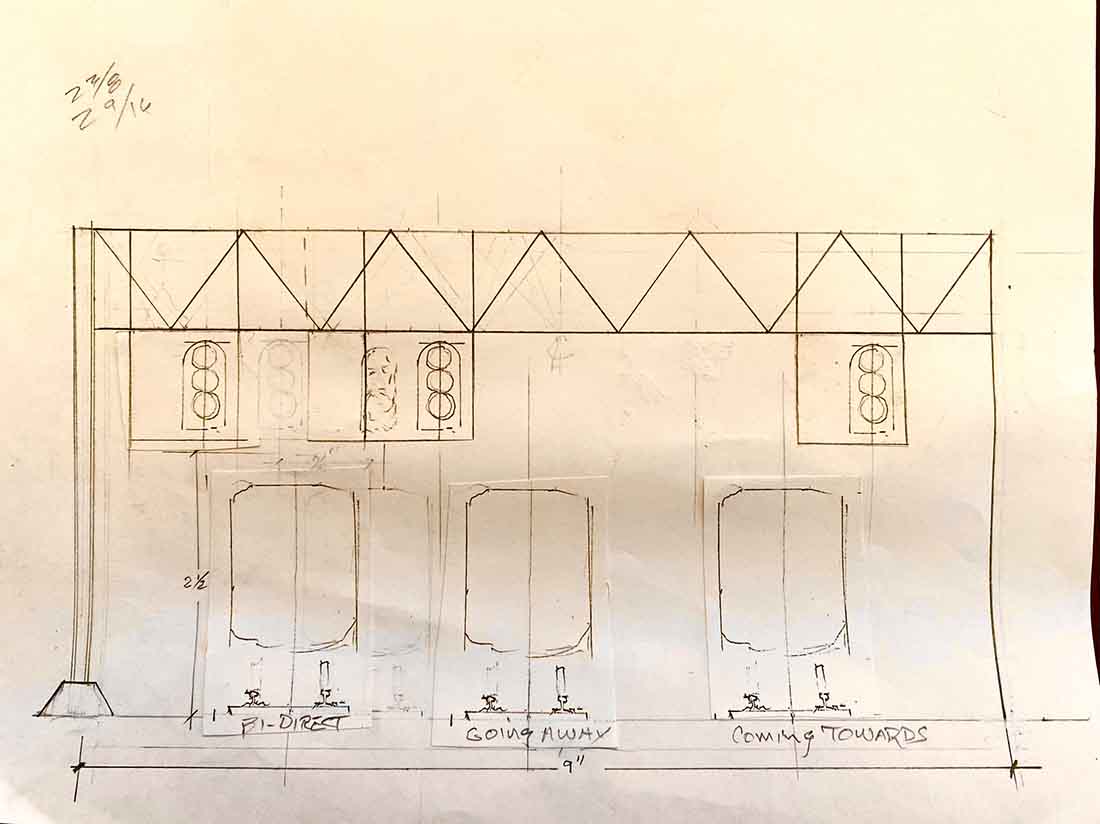
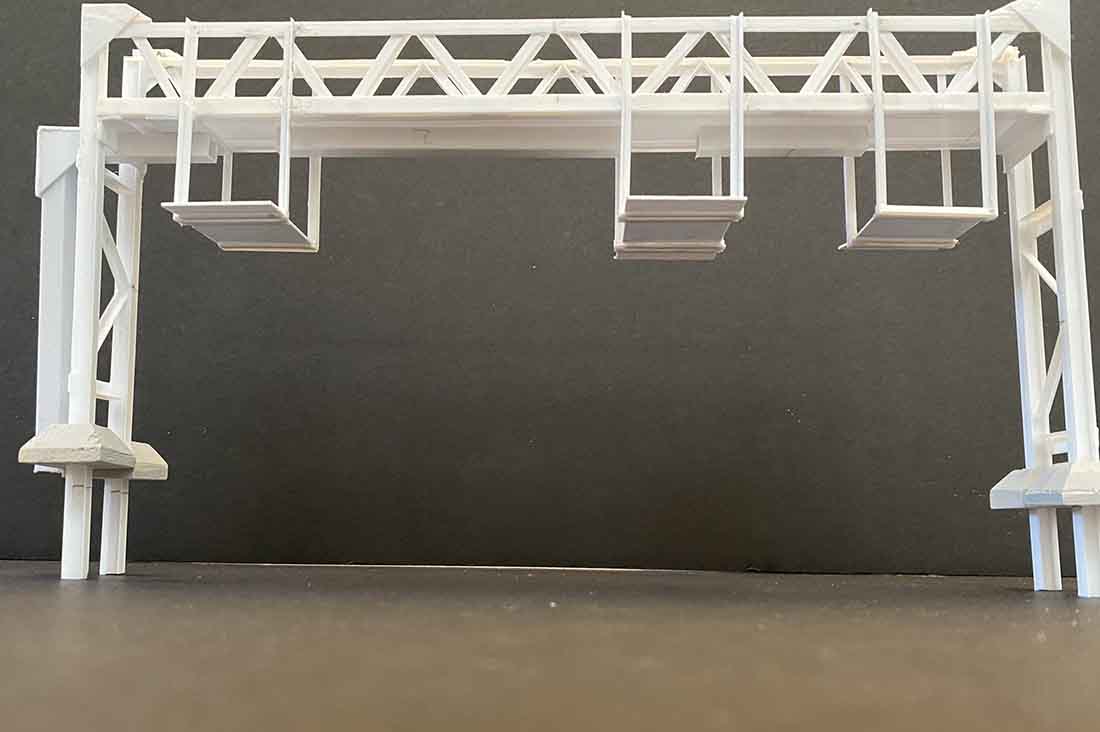
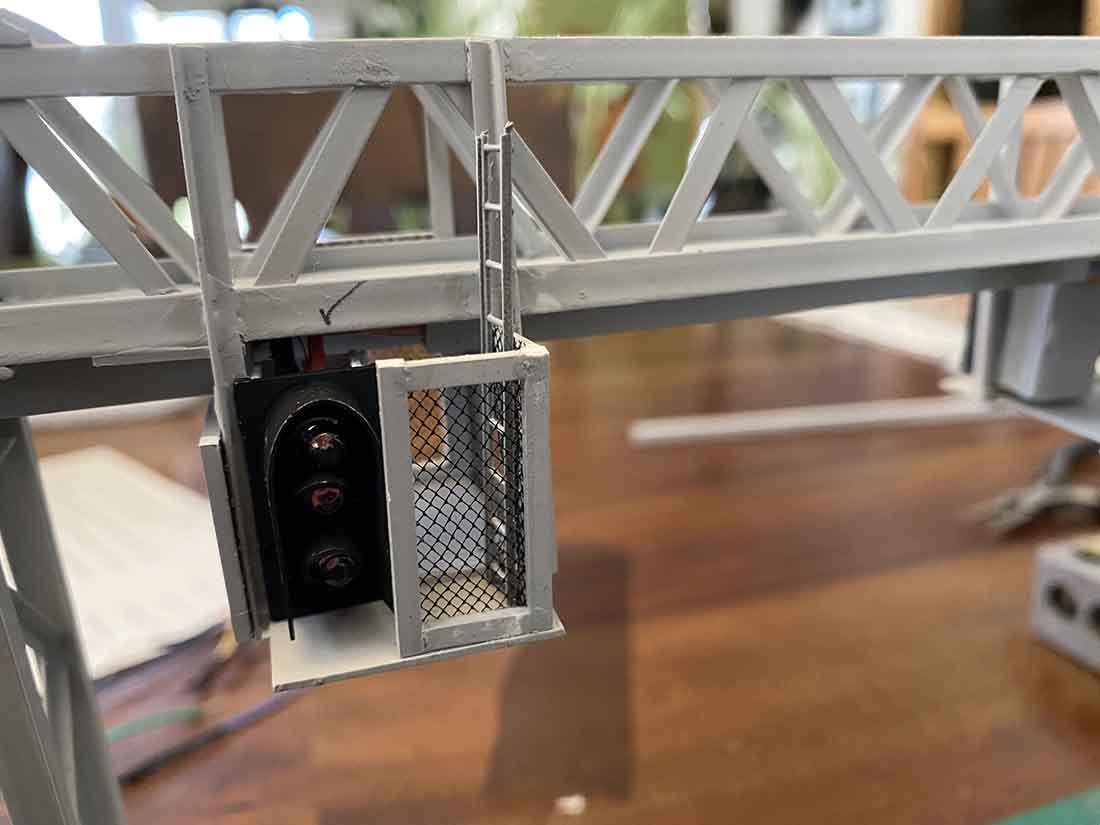
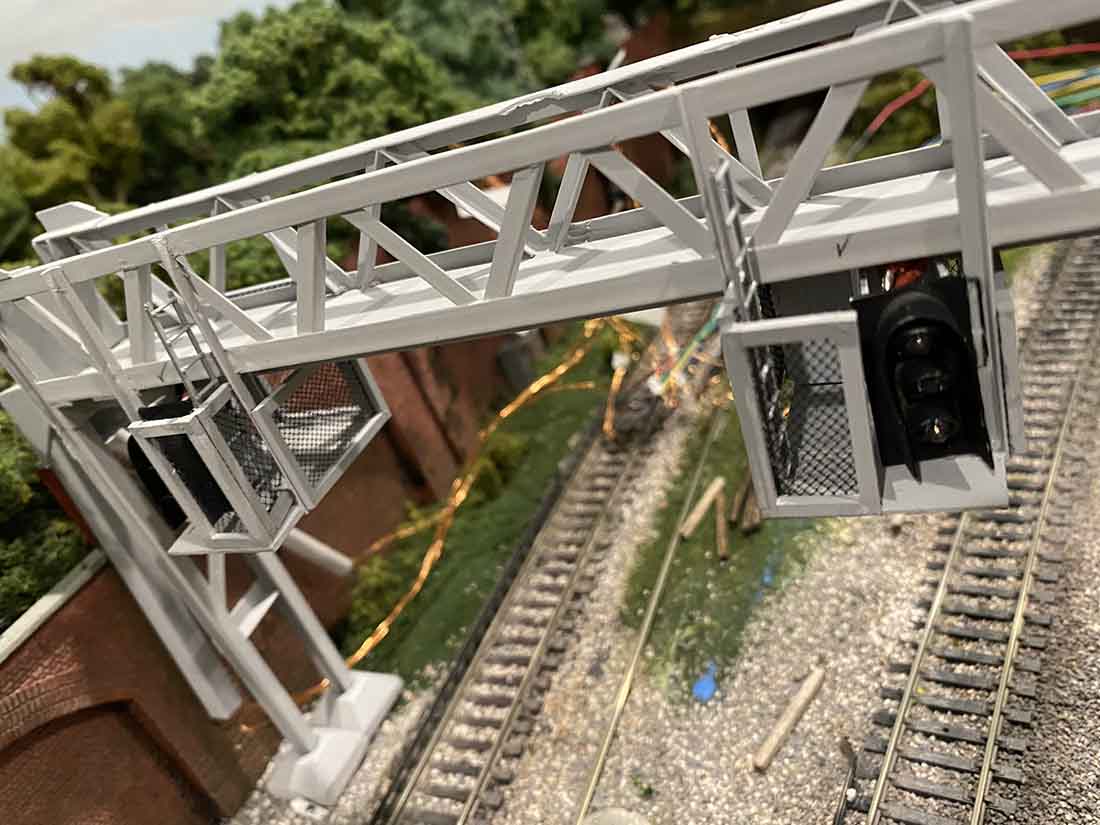
This time I am building a three-track signal gantry from scratch with styrene plastic in structural shapes.
I spent quite a bit of time watching UK cab ride videos and snapping photos of the screen as we passed interesting structures.
I finally started sketching up what I thought would be a good compromise between all the various designs I saw out on the railways and what would work both considering the strength of materials I had to work with and the shapes and sizes available.
You’ll notice the final form of what I have built is a bit fatter and thicker than what can be done full scale in steel. That is one of those compromises I mentioned.
It could have been to scale and I expect it would have supported itself, but it would have been fragile and I wanted it to be able to survive my clumsiness at least for a while.
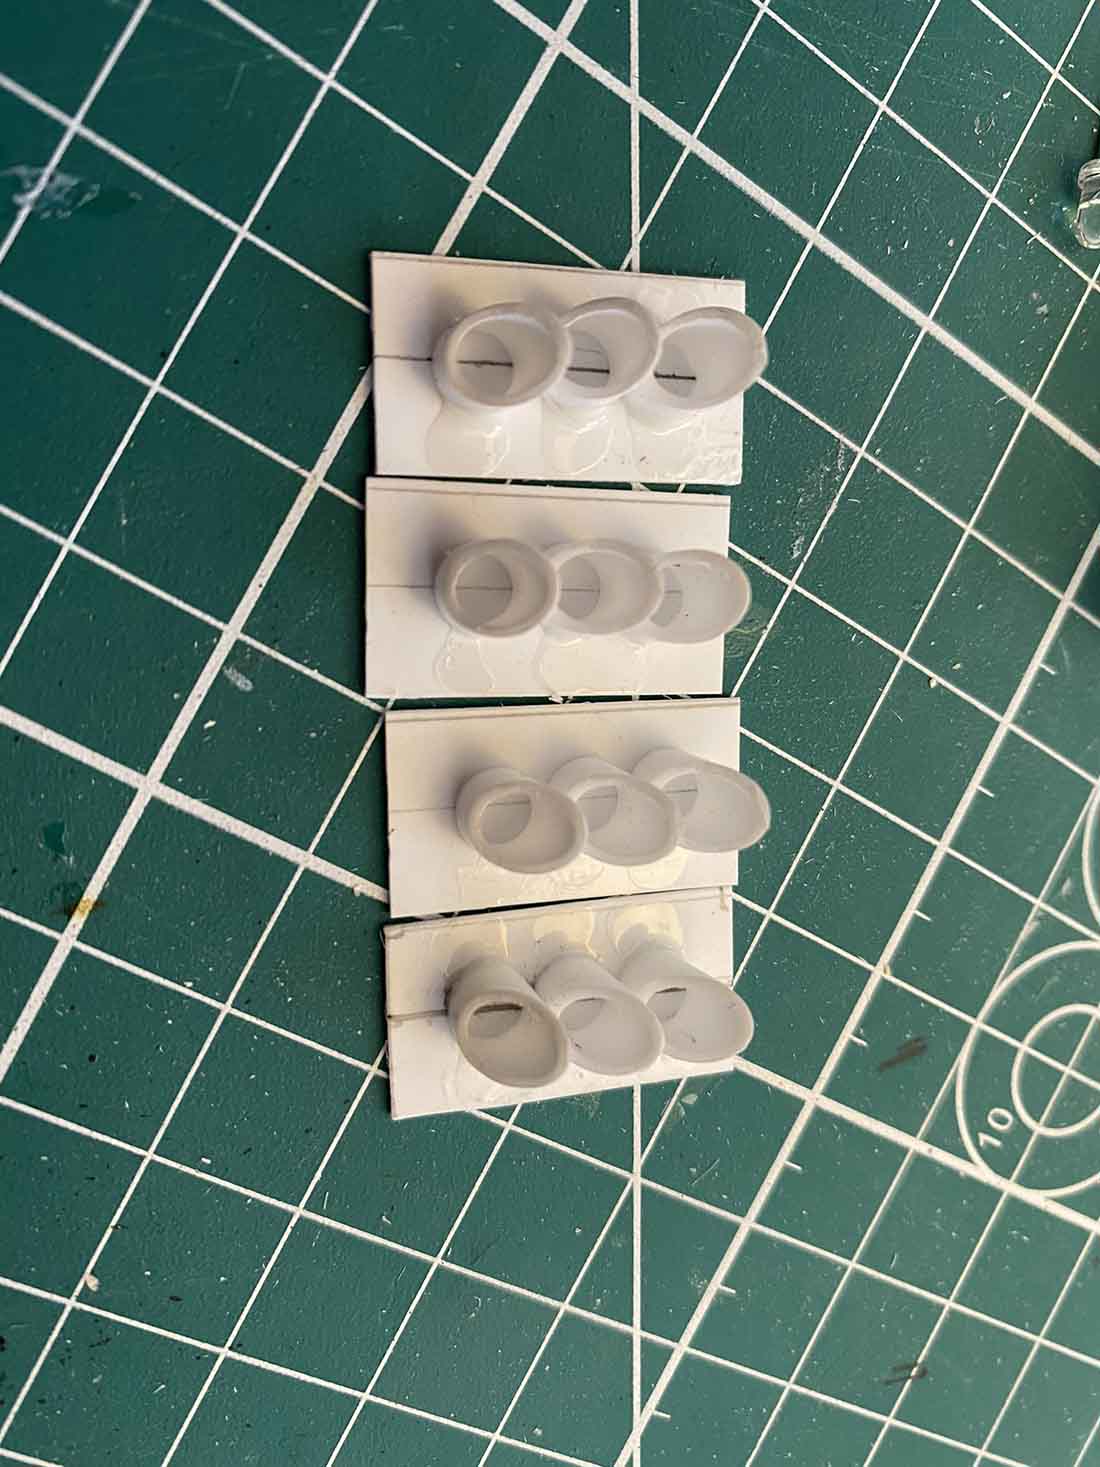
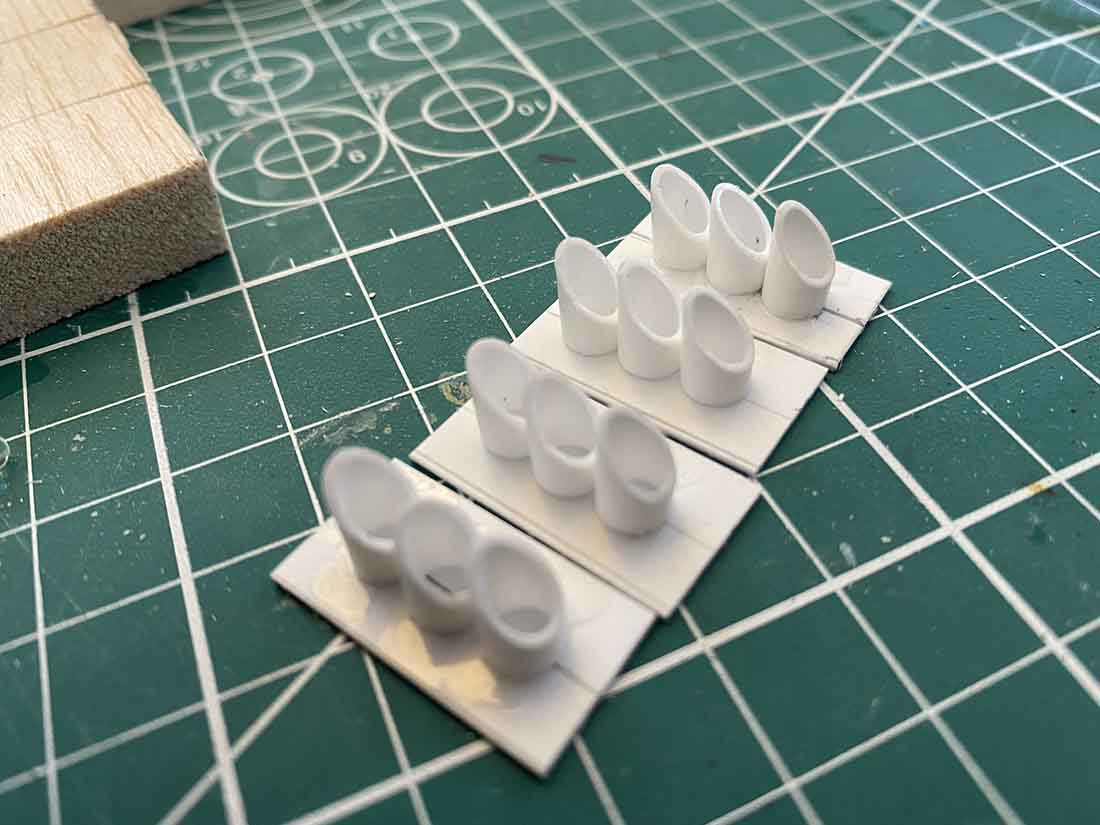
I have done videos about scratch building the signal lamps before so I didn’t go into that part.
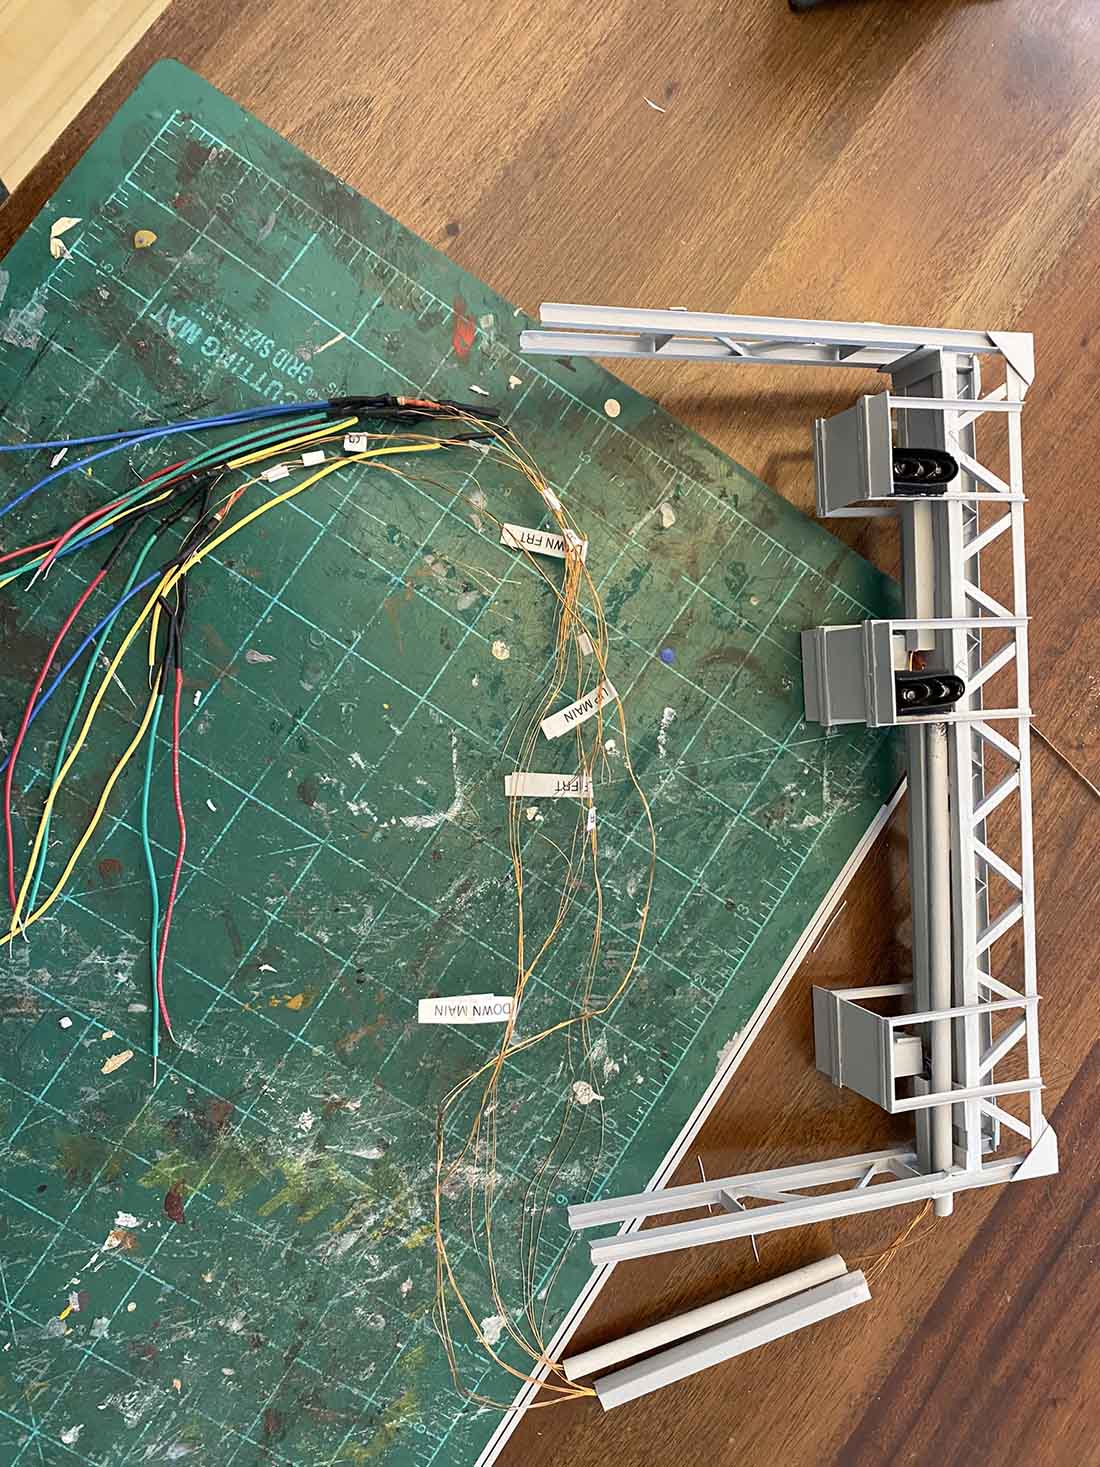
In order to prevent someone else from making the same mistake I made, when putting the wires in the cable trunking or conduit running through the gantry, put the resistors on later after you have pulled the wires through (Thank you Henry Best for that suggestion).
I used magnet wire to run all wires in the structure itself then soldered on extensions of regular hook-up wire to feed the conductors to my panel.
This video does not include the automation of the signals, which will come in a subsequent video if anyone is interested.
Rob”
And here’s the post where Rob scratch builds the lights for the signals.
A huge big thanks to Hall of Fame member, Rob.
His signal gantry looks spot on.
I do so enjoy looking at the scratch builds and creative solutions you lot all come up with.
Please do leave a comment below and let us know your thoughts.
That’s all for this time peeps.
Keep ’em coming.
If Rob has inspired you to make that all important start, the Beginner’s Guide is here.
Best
Al
PS Latest ebay cheat sheet is here.


The signal bridge is great! I have been trying to find a two track one in N scale as there was one right in the center of my home town during the period I am modeling it. I found a couple on EBay, but hate to order one item at a time and pay shipping on it. Plus I think they may be coming from China.
marvellous
Wow Rob, what an amazing job. Those signals have good detail and look great.
Rob
Great job. Definitely interested in the automation. Your attention to detail is amazing.
Thanks
Pretty neat. I hope mine turns out that good.
Rob great, your alway giving us great work and ideas. Thanks again. looking for more video is and helpful stuff.
A small tip for you:
Cover your drawing with a sheet of waxed paper before starting to assemble. This will prevent your parts from sticking to your drawing where you glued.
I enjoyed your video and will look forward to further installments.
Alastair, would it be too much to ask that whenever you feature a modeler’s layout, to state which gauge is being modeled? Sometimes it’s hard to tell.
Thanks, from a regular follower.
Fantastic build. One of these days I’ll have to dabble and give more scratch building a try
Those signals were awesome. You did a great job. How big is your layout? The other thing I’d like to know is your camera truck. Can you show a picture of it. I’d be interested in seeing it and how it was mounted or constructed. Thank you for the video.
Based on the dimensions, I conclude the scale is HO. What is the story about the outside third rail I notice on your trackwork? I have been looking for parts for third rail and any information. I assume you are in the UK. Is third rail used much in the UK? It was common in the USA on O scale trains in areas where third rail was used but pretty much non-existent today.
Beautiful work and well worthy of the dramatic music for its initiation.