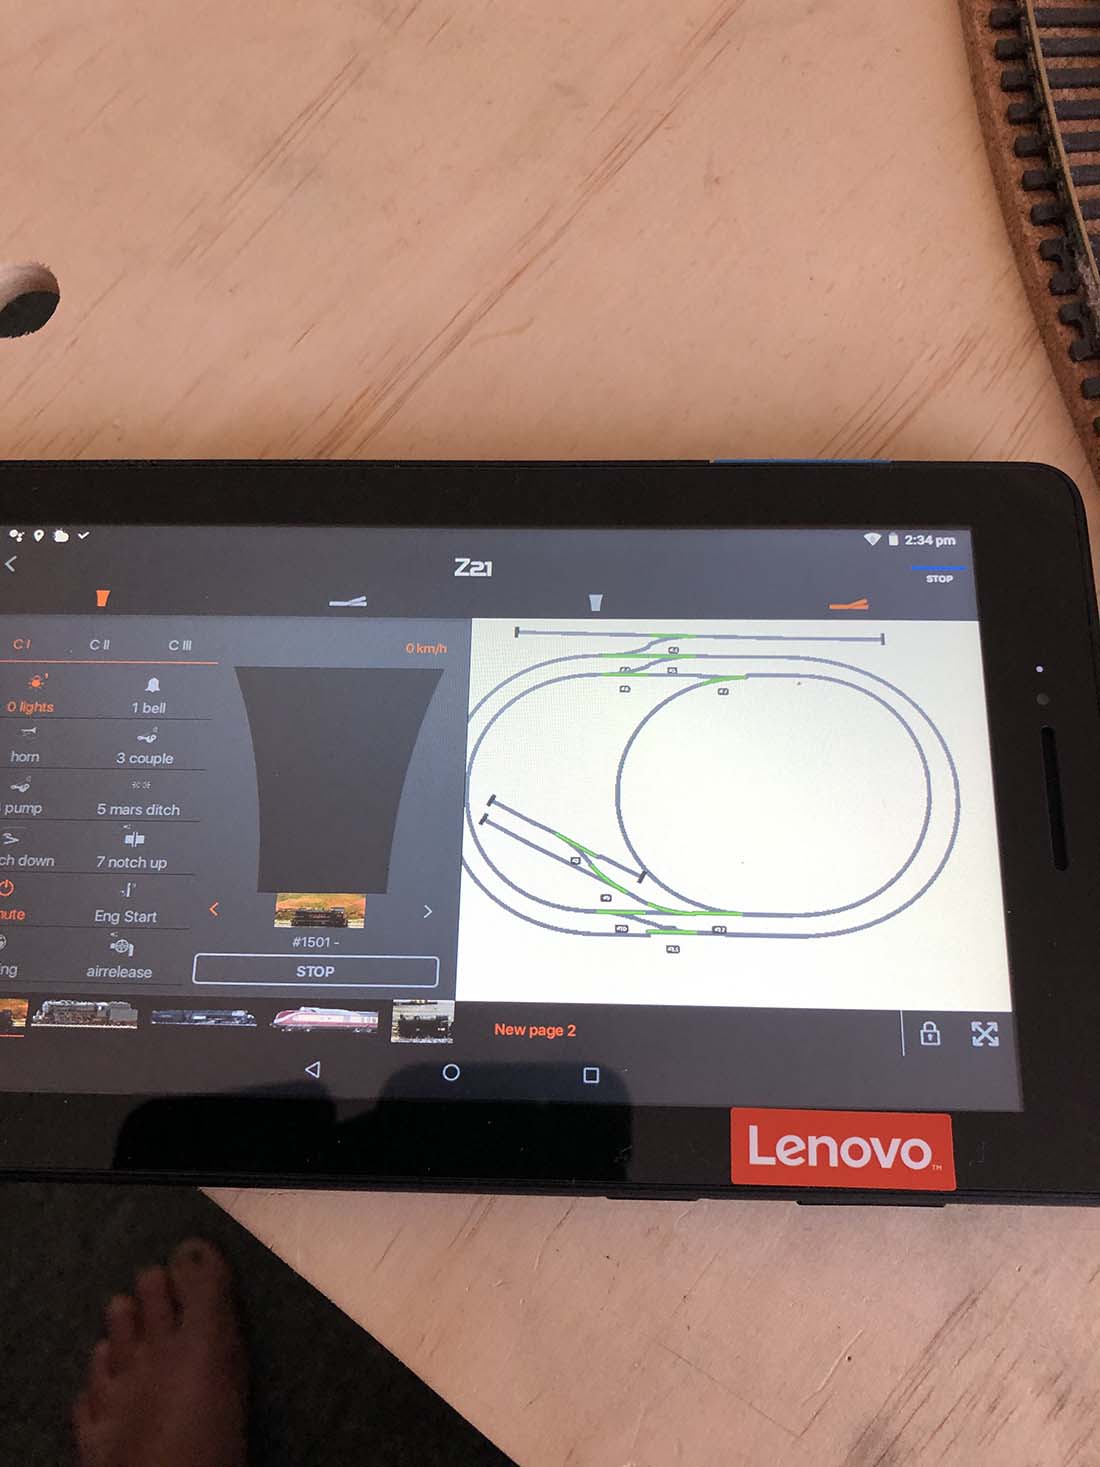
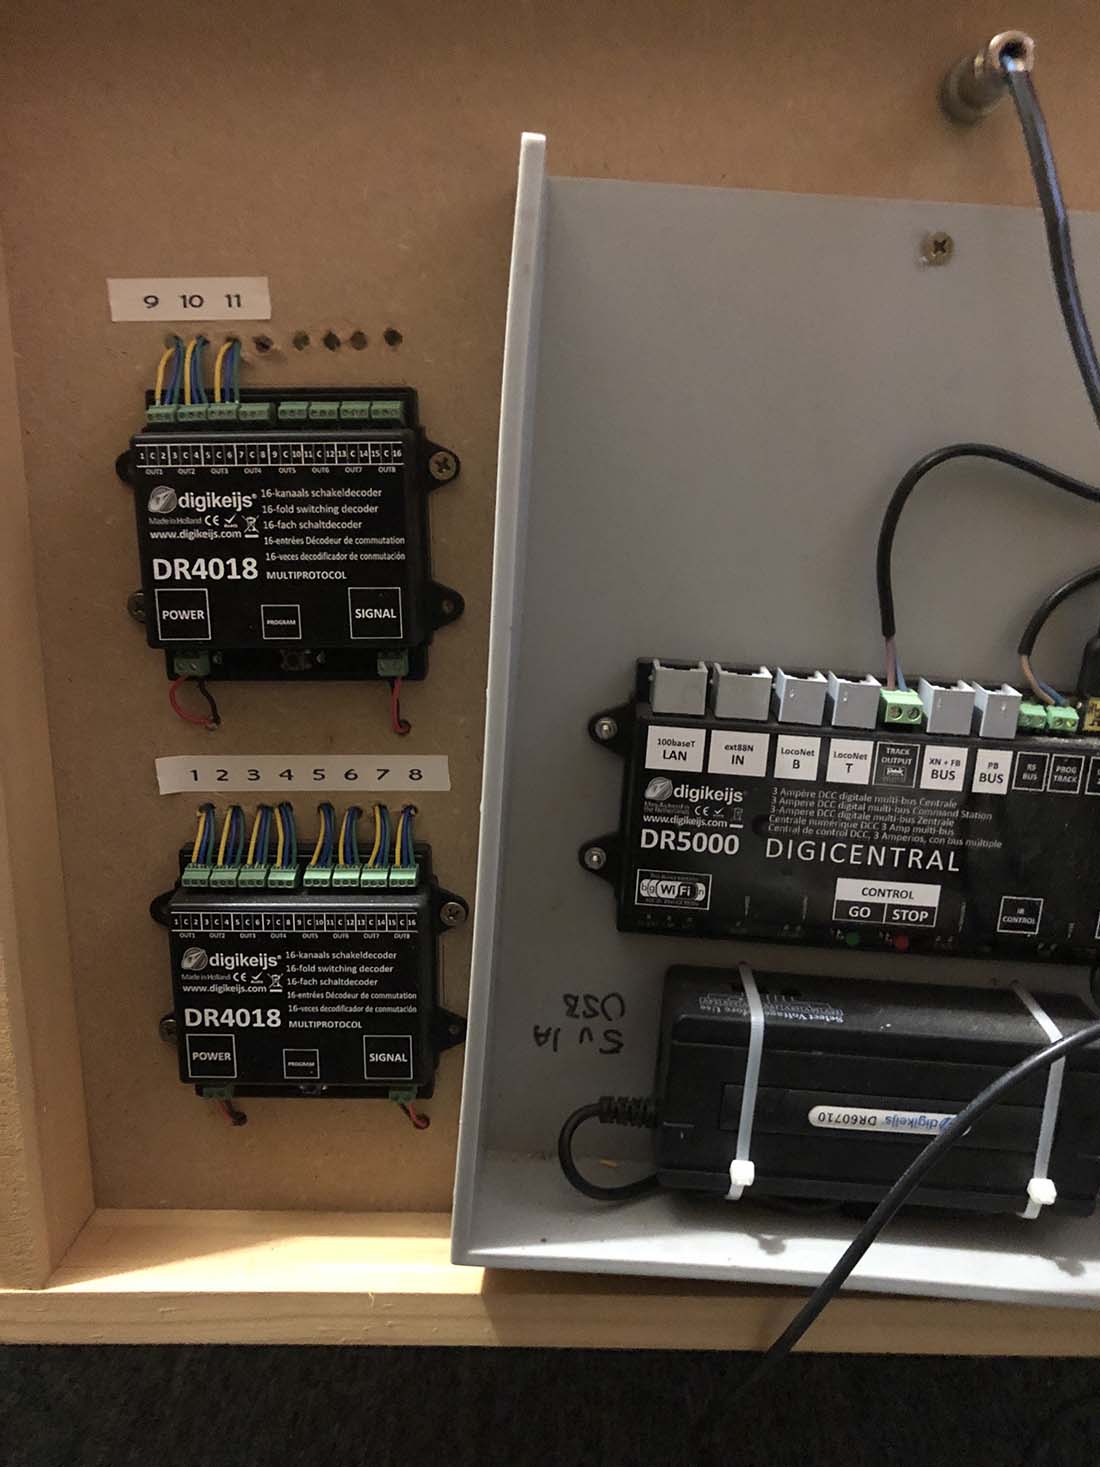
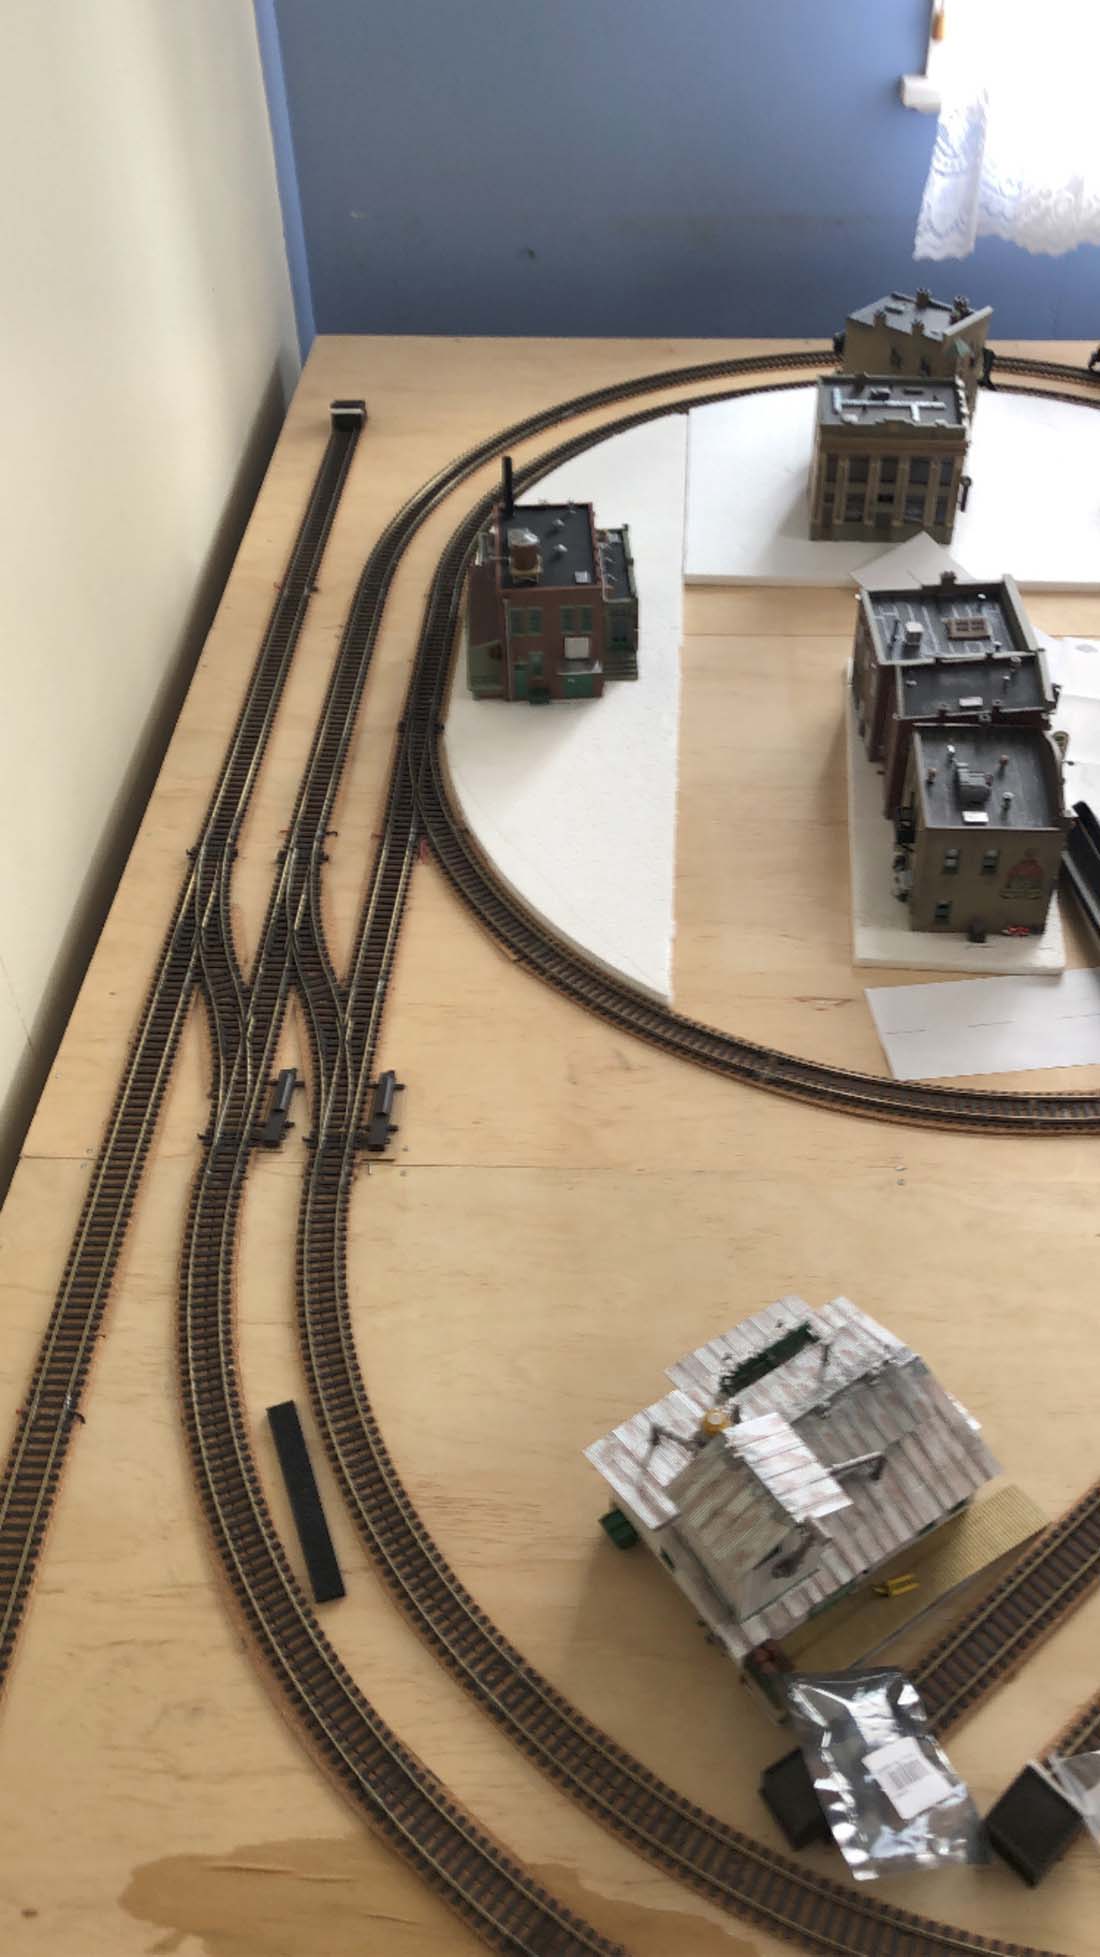
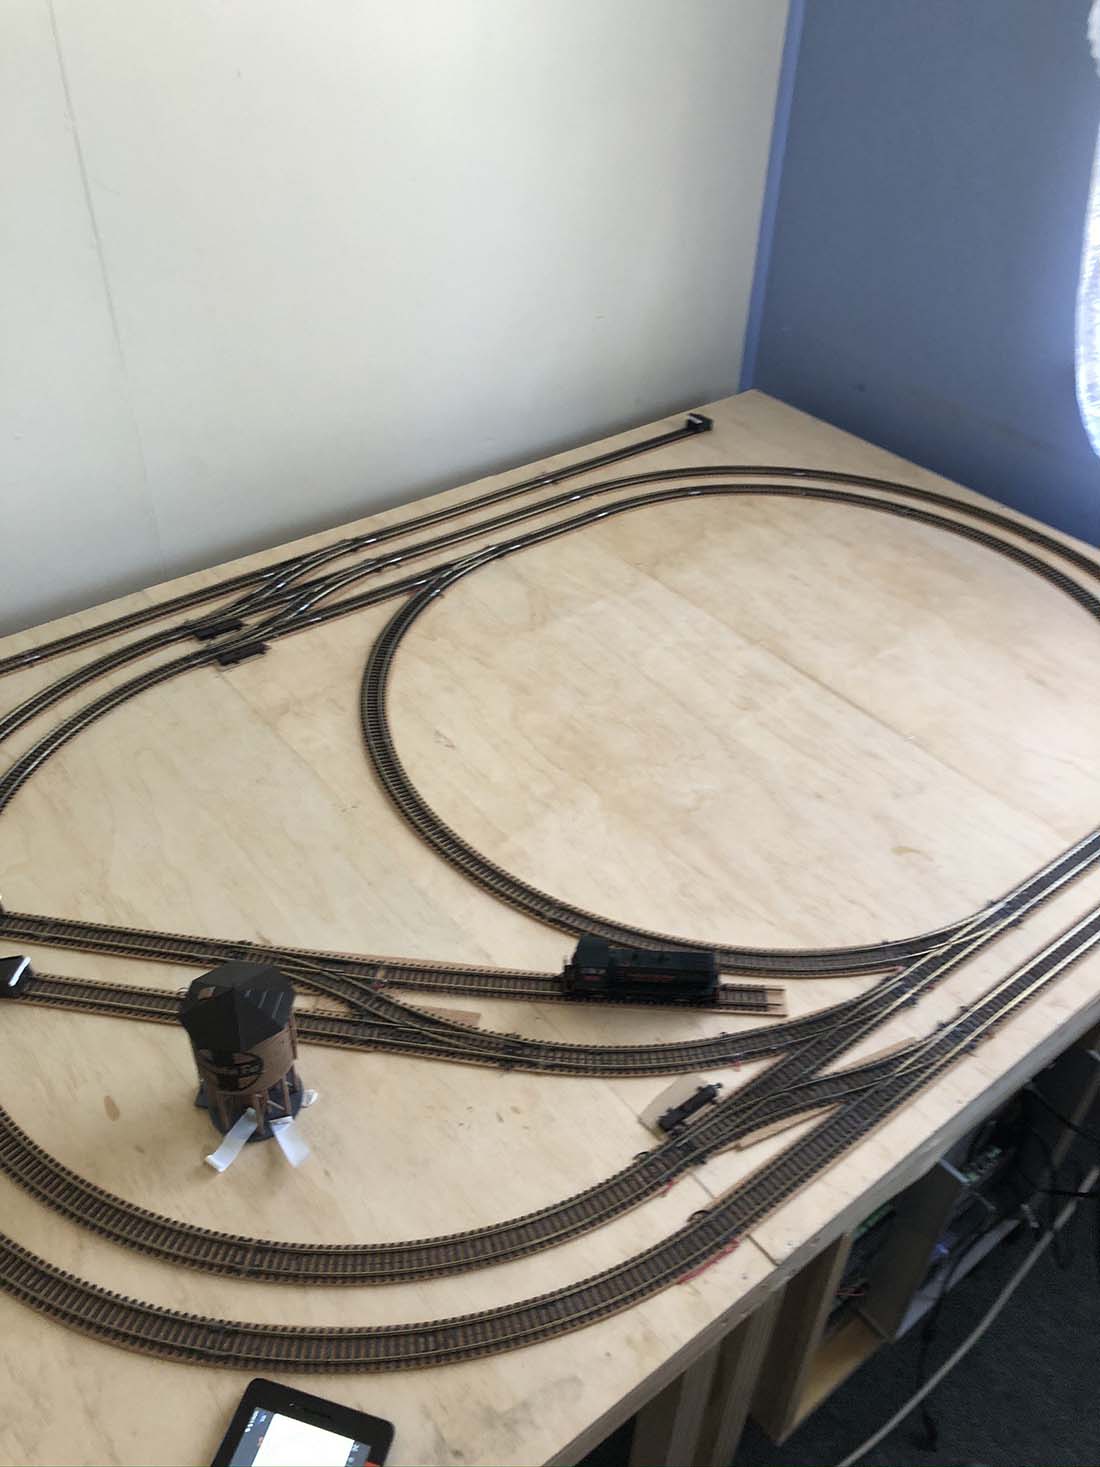
Starting with Steve’s layout today – which really is like a model train starter set.
As a rule, I don’t usually post when people only send in pics. A little narrative or back story adds so much to the post.
But Steve pics, focus on my favourite topic – making a start – so I thought I’d make an exception:
I think a model train starter set is a great idea – anything that gets you laying tracks and getting the feel of what needs to be done and why is a good thing.
And talking of making a start, I recently did a little survey on some of you.
To my surprise, some of you didn’t know there was Beginner’s Guide to help you make that start. So if that’s you, here it is.
Now on to Paul:
“My pics showing installation of permanent magnets for uncoupling in a switching layout.
This photo shows the slot cut in the bottom of the screw to allow adjustment from underneath the baseboard.
This photo shows the cars being uncoupled.
This shows the partially finished switching layout.
This photo shows the finished product.
Paul”
And now on to Brian – a blast from the past.
I watched Murder on the Orient express last night, and it made me think of his layout.
I’ve said it before, but I really do think one the things that makes a good layout is a theme:
“Having more or less finished my n-gauge layout a while ago, although of course as we all know a layout is never really finished, I decided to start a OO gauge layout in the loft and
venture into the world of DCC operation and sound.
Although the various sounds of steam and diesel for each locomotive are incredible, I hadn’t foreseen the problems of working and running a model railway in an environment with extreme temperatures in winter and summer (yes, even here in the UK).
Anyway, I won’t dwell on that, especially as my finance manager won’t approve the budget for a full loft conversion or even roof insulation, funny that!
Moving swiftly on. With a friend and his little boy coming around to see my n-gauge layout recently, I thought I’d better tidy the shed up, and consequently sold quite a few items on e- bay. As the star of my layout is the eight coach Kato Orient Express (with lights), I decided to purchase another more up to date loco to pull it, the Fleischmann SBB-CFF-FFS Re460 (popularly known as the Lok 2000).
There are several manufacturers who have produced this locomotive in N gauge including Minitrix and Kato, and all are very fine models, but Iopted for the Fleischmann and haven’t been disappointed.
It’s interesting that the Swiss Federal Railways decided to benefit from the revenue generated from advertising on the Re460’s, and that the model manufacturers have faithfully reproduced some of these.
However, finding the fantastic photograph of the VSOE (Venice Simplon Orient Express) crossing the Luogelkin viaduct in Switzerland double-headed by the SBB Re460’s in standard red livery (see my video), I had to have this version.
The Orient Express coaches that you see in the video are one of the two CIWL (Compagnie Internationale des Wagon-Lits) coach packs produced by Kato to celebrate the 1988 record breaking ‘longest railway journey’ (15,000km) Paris to Hong Kong via the Soviet Union and
China, staged by Japan’s Fuji Television.
After arriving in Hong Kong the train was shipped to Japan for a three-month schedule of promotional journeys. The quality of the Kato models is exceptional. Mouldings are crisp and the detailing of door handles and windows is outstanding. The lettering and CIWL badge are so good, that through an eyeglass one can read the lettering in the logo.
Unlike the early Lima CIWL cars, the Kato models have detailed interiors. The Pullman saloon car is supplied with table lamps that light up as standard, and the other cars (in my set) have been fitted with the Kato lighting kit that gives a general level of lighting to each car.
I think you’ll agree that the complete train looks just great on my layout, but it failed to take the ‘star spot’ in my friend’s little boy’s opinion. That was taken by Tomix’s Thomas the tank engine with Annie and Clarabel. Now, there’s a surprise.
Brian, Berkshire, UK”
Latest ebay cheat sheet is here.
Thanks for the emails yesterday about Mike’s ebay bridges. It got me thinking: Please do let me know about any odd, wierd, wonderful products on ebay.
I think it would be quite fun to post about them.
That’s all for today folks.
A big thanks to Steve, Paul and Brian – please do leave a comment below if you want to get involved.
That’s all for today folks. Keep ’em coming!
And don’t forget the Beginner’s Guide is here if you want to get going on your own layout.
Best
Al

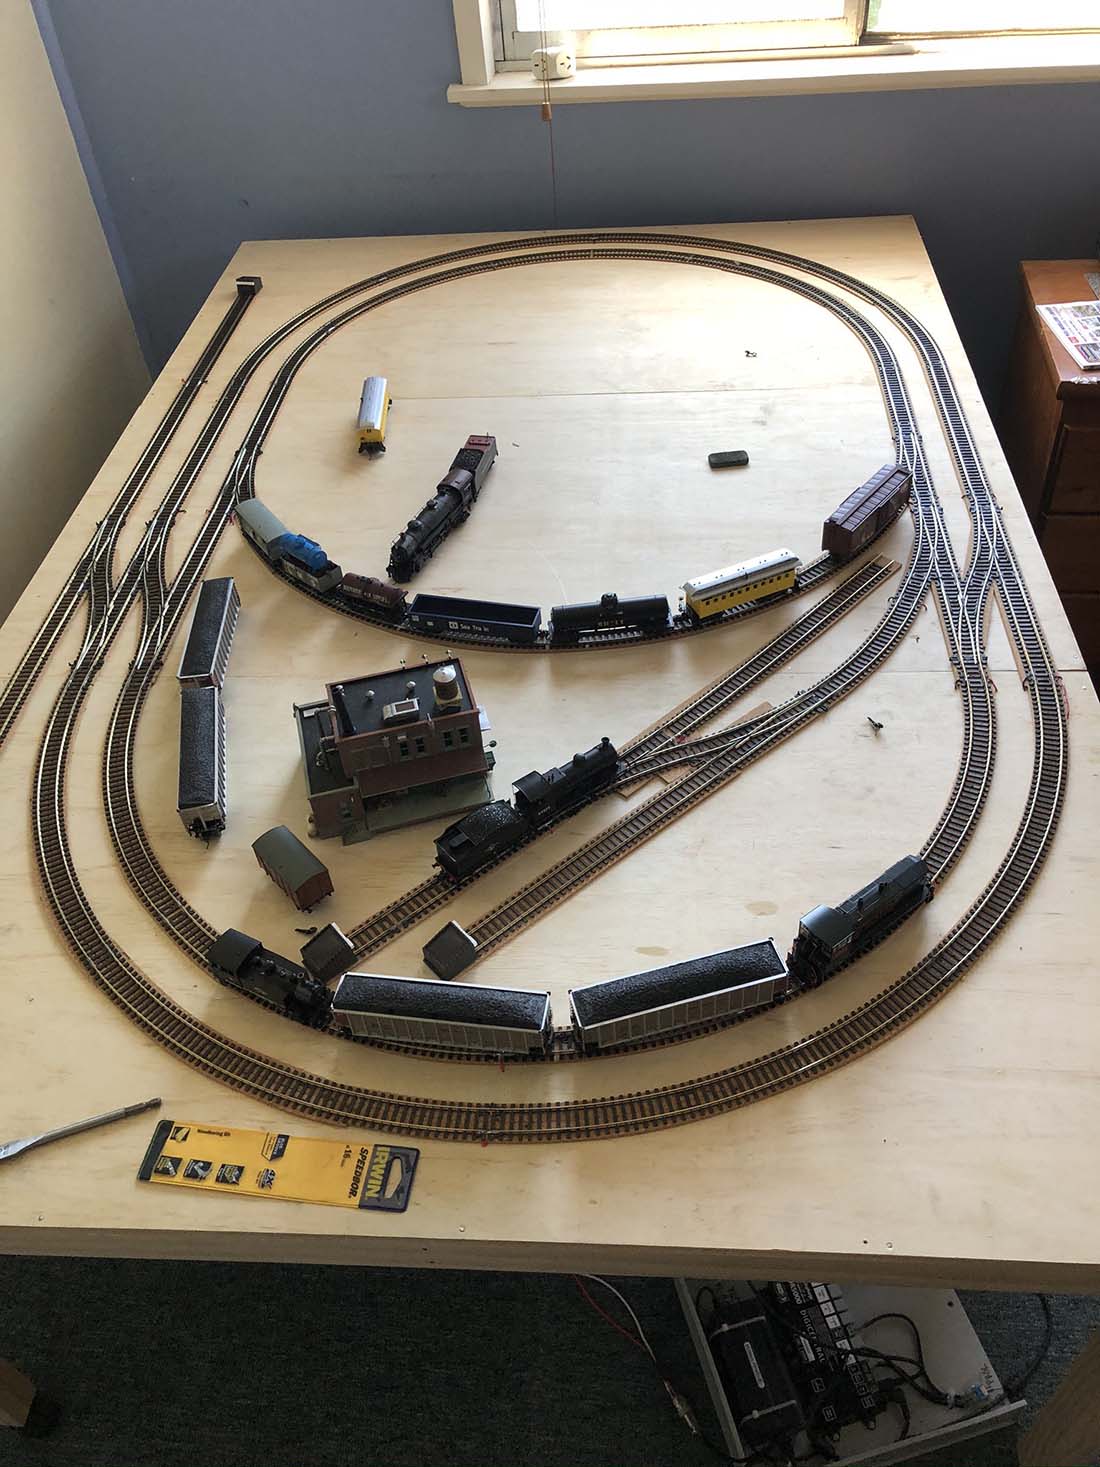


Awesome Idea Steve
I love the shape of the track placing with all of the stopping areas and points!
Well done from Germany!
Enjoying your posts. Thanks.
Paul…..those magnets work very well. I just competed five passenger tracks so that I ca switch engines.
Nice layout!
It looks a lot my mine – my very first layout – which will take me some time to flesh out and finish to my satisfaction. You have an outside siding, while I do not. I have an inner loop on an incline (actually, both the inner and outer loops on the left end are inclined) to give it some interest. It’s also giving me some problems! LOL
I have really enjoyed building scenery from the various card kits out there. A couple of them have been quite challenging, and a lot of fun. So I have an old English town siting on my layout right here on Long Island! My issue with authenticity is that my buildings live inside the smaller loop, with a station/industry on that spur on the left side. There is no access for people, cars in either, if this was the real world. But it’s MY world, and I think I will just let it be.
Nice
I have been impressed with all the effort shown by everyone. I am clearing out space to start my own layout. It is not yet in the planning stage. When it is started, I will photo document the progress.
I would have liked to know about the wiring shown in Steve’s picture. Words are always helpful. The solution from Paul is great. How critical is the spacing, and height below the track? Magnet size? Also, what is the polarity orientation of the magnets? The screws adjust the orientation and height. I am redoing my layout (picks to follow) and would like to add these magnets to the new layout, they re very cheap on Ebay.
Steve….great layout……should be a lot of fun with a lot of switching activity.
Can Steve let us know what scale he is using and the size of his layout?
What is the overall size of the layout and gauge of the rolling stock?
Steve, I am curious to see how your layout looks with that tight little track plan. I like small layouts that look nice, but are also realistically functional. I see those switches, so I know you have ideas in my mind.
Paul, do magnets work with any type of couplers or just certain ones. I remember years ago that most people wanted to install Kadee couplers to make coupling and uncoupling easier.
Brian…nice video. Your layout is visually stunning.
Frank in Orlando
Hi I really like all the post in the Orient Express video real cool I’m wondering about those magnets that Frank commented on is it possible to show how you put those through your bench work as far as being able to screw them up or down to get them to work properly?
Regarding the magnets: I suggest you setup a test track mounted on plywood since the thread of the screws actually cuts the mating thread into the plywood. Therefore this will not work if you are only have a foam baseboard. Drill the hole slightly smaller so the screw can cut a thread. You will have to experiment with the size of the magnets and their placement in relation to the track both height wise and laterally. I used 6, 8 & 10 mm magnets while developing this method. Obviously this only works with magnetic couplers. Have fun.
Hi Brian, i have a similarly minded finance manager about our loft! Thanks for posting.
To Steve:
What software (noticed on your Lenovo tablet) are you using here? Also, nice shot of your (?) big toe! (LOL)
I use rectangular magnets for the same purpose; they are easier to obtain the correct magnetic field.